Tag Archives: sewing

Tap shorts giveaway winner!!

DSC_6965_edited-1
*drum roll please*

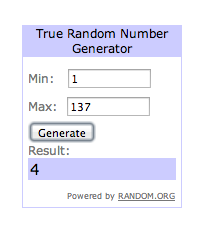
The winner of the Tap shorts giveaway is…..
Screen Shot 2014-06-23 at 11.26.01 PM Screen Shot 2014-06-23 at 11.26.25 PM

Congrats to Kat H! You’ll be receiving 2 yards of luscious cotton/linen polka dot fabric from Grey’s, 2 coordinating zippers, thread, interfacing, and a pdf of the Tap shorts pattern. I have faith in your welt-pocketing abilities!

Please contact me to receive your prize. And thanks so much to Katy & Laney for the awesome giveaway!

If you didn’t win and are still lusting over this fabric (for which I would totally not blame you because I’m totally eyeing it in a Gollum-esque manner and might go snag some for myself..), you can find all of these items at Grey’s Fabric and Notions. And the Tap shorts pattern can be purchased here.

Katy-&-Laney-Tap-Short-Tour-8

K&L Tap Shorts + giveaway!

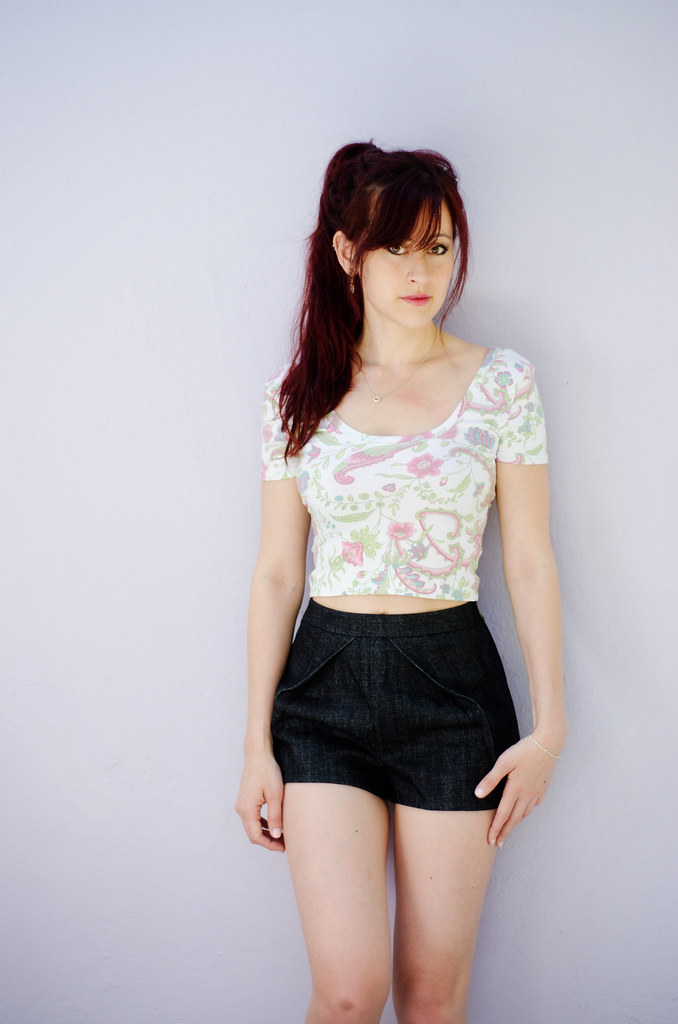
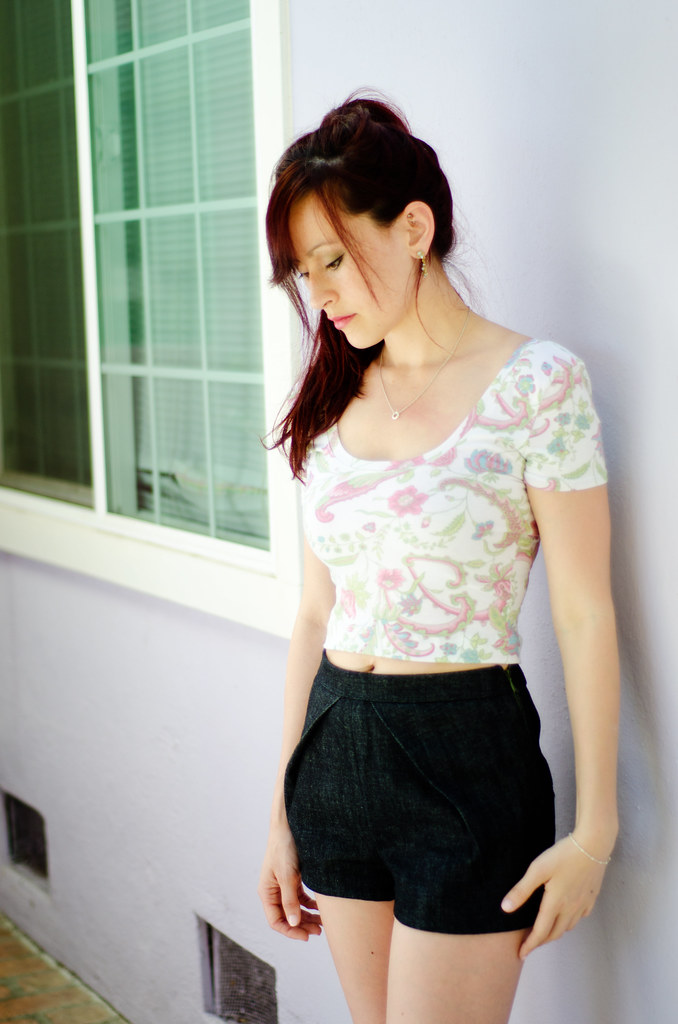
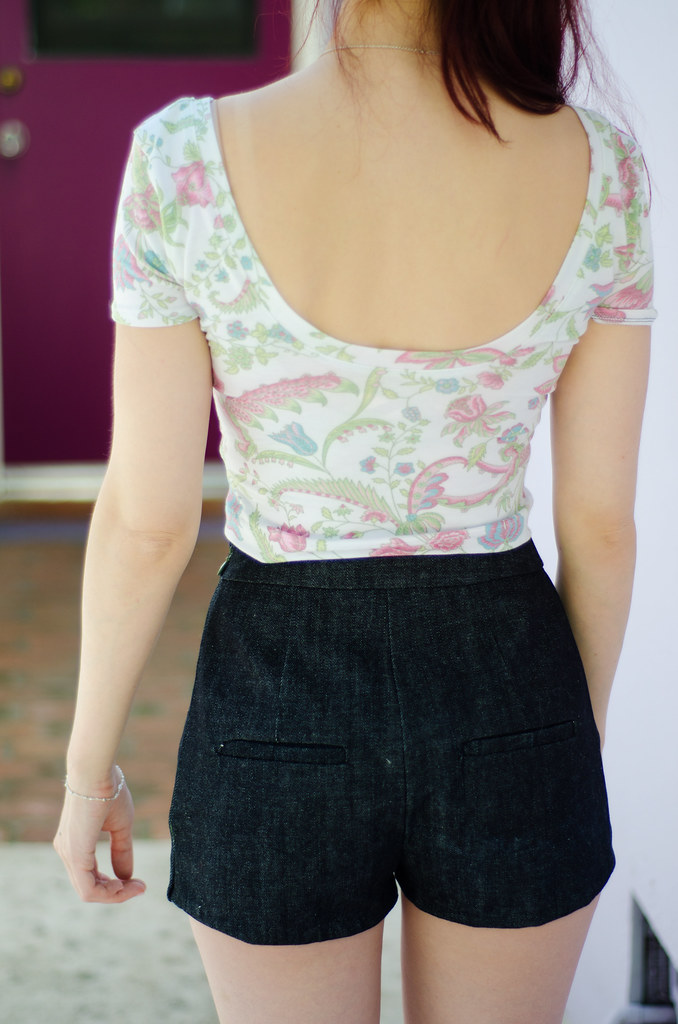
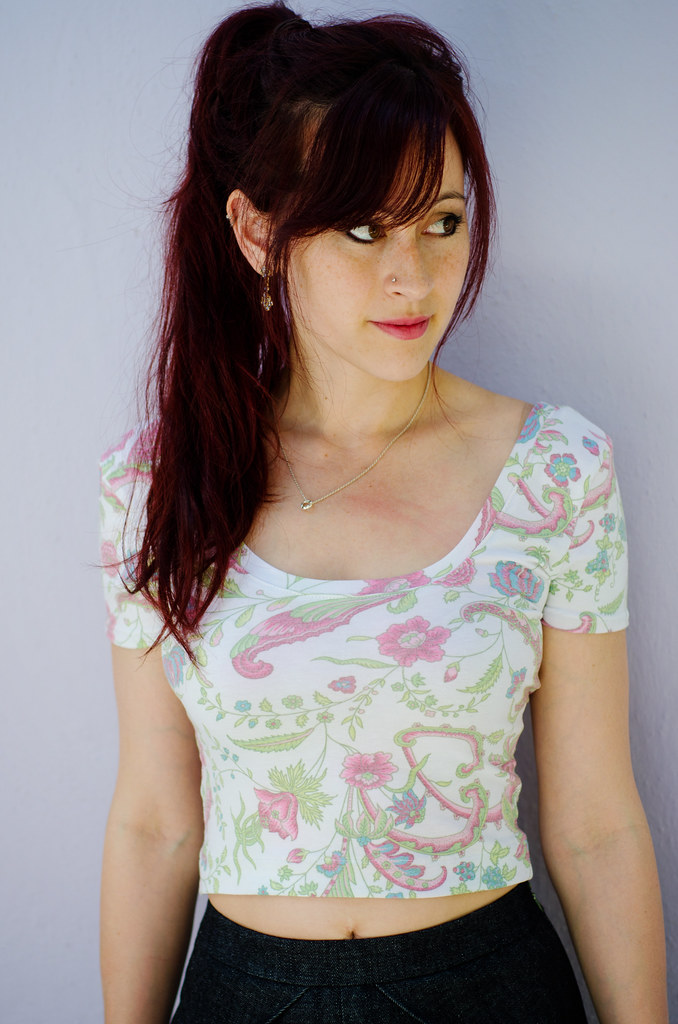
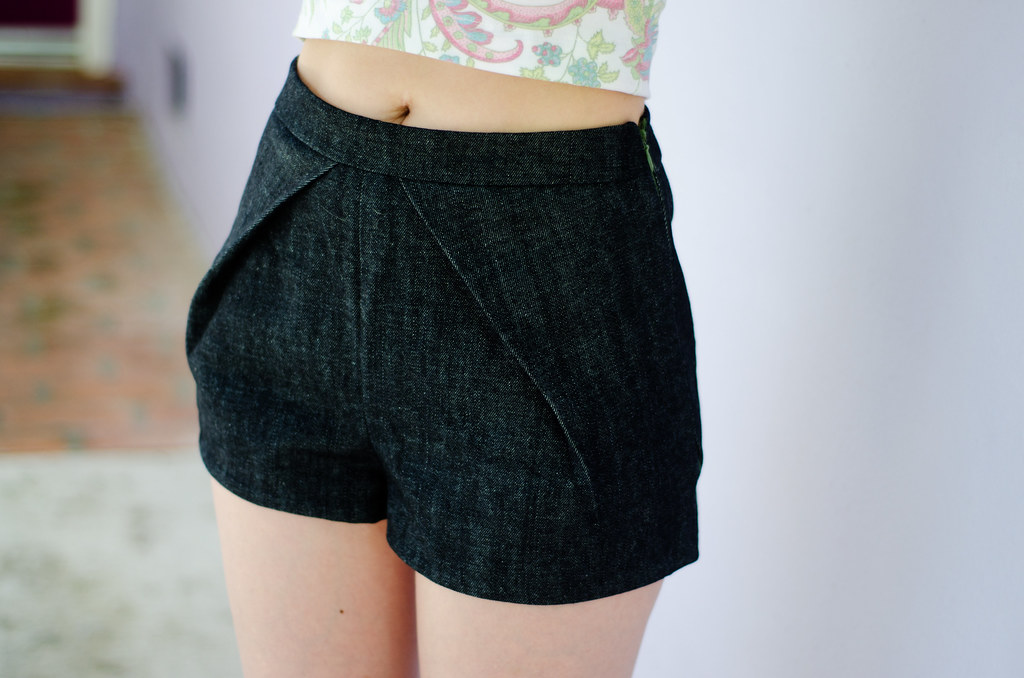
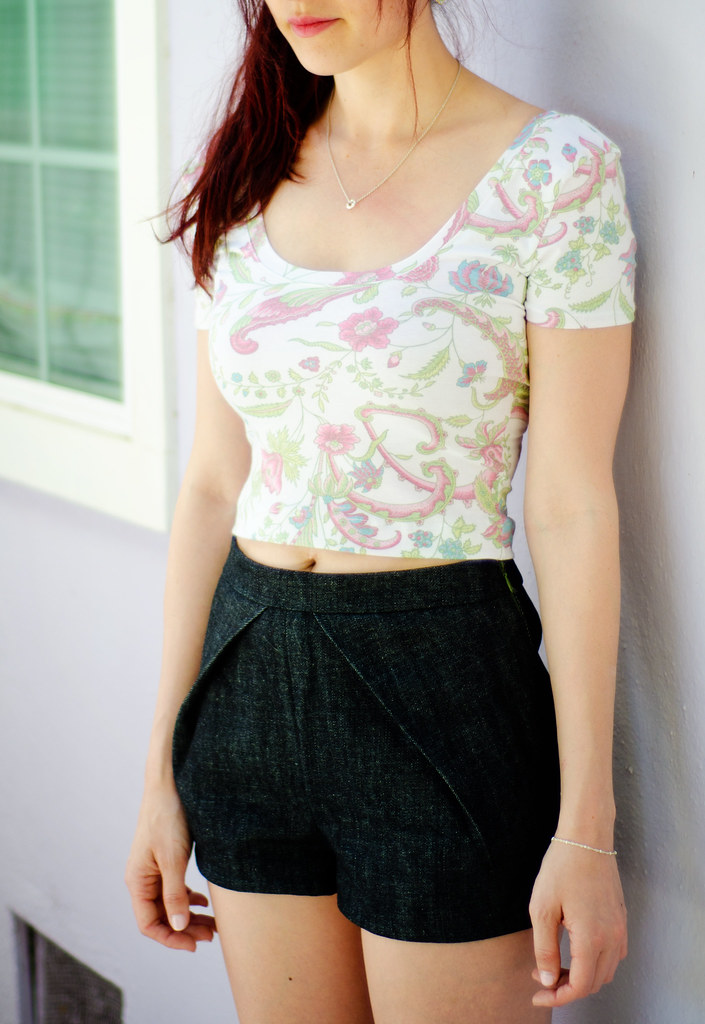
Denim Tap shorts Denim Tap shorts Denim Tap shorts Denim Tap shorts Denim Tap shorts Denim Tap shorts Denim Tap shorts

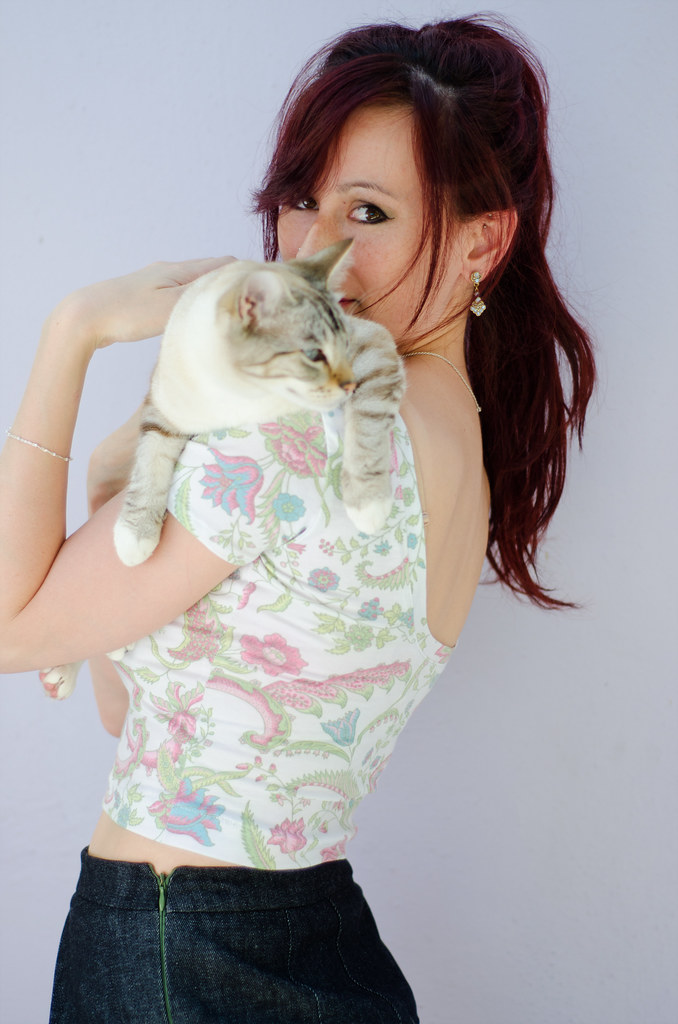
shorts: self-made, pattern here // top: self-made, pattern here // earrings: Michal Golan // kitten: named Kaylee, borrowed from Seester

Once upon a time (last summer) I came up with all these big ideas about making shorts. I was going to use this pattern, there were going to be two bows on the sides where the pockets are, and they were going to come out perfectly. Except everything became a huge mess, nothing came together correctly and I was slightly traumatized.

Fast forward to a few weeks ago, Katy and Laney announced they were making a pattern and did I want to test it? Um, yes! These guys always look amazing and I had no doubts their pattern would be super cute as well. Oh, but it’s shorts. Ruh roh.

But then I remembered all the times I’ve shown up sewing club dramatically proclaiming that I could never in a million years learn how to do a particular thing (e.g. button holes, invisible zippers, self-made bias tape, etc.) and each time one of them has been like “Nay, here is how,” (not an exact quote) and within ten minutes I’m pretty much able to do it myself. So I had faith in their instructable abilities.

And I was not wrong! These shorts came together easy peasy. The pattern comes with two back views, one with welt pockets and one without. I’m just going to say that I 100% do not understand how welt pockets work so I went into it extremely tentatively. They just looked so cute I knew I would be sad if I didn’t at least try. Luckily Katy and Laney’s awesome instructable abilities didn’t let me down one bit and I managed to make two pretty decent looking welt pockets! There’s definitely room for growth there but practice makes perfect and all that.

I did make a few changes to the pattern. I was somewhere between a size 0 and 2 so I cut a 2 in the waist and graded down to a 0 around the crotch area. I wanted the leg openings to be a little less dramatically wide and going down a size in the bottom half achieved that for me. I also trimmed off a good 2-3″ off the bottom so these are quite cheeky. Hee.

When they sent me the pattern it only included the pleated view so that’s the only one I’ve tried so far and I absolutely love it. I made it in a thick denim (and a second soon-to-be blogged pair in a lighter weight linen) and I love the way the heavy weight fabric holds the pleat. They do puff out a bit when I sit down but I don’t really mind. I can’t really speak for how curvier ladies might find this effect. I do want to add though that I think it’s pretty awesome that the K&L ladies took the feedback they received about how the pleat might not be for everyone and created two whole new views. I, for one, am super excited to try out a pair of front-zip ones. (Maybe I’ll get my side pocket bow shorts after all.) Tap Shorts for everyone!
DSC_6965_edited-1

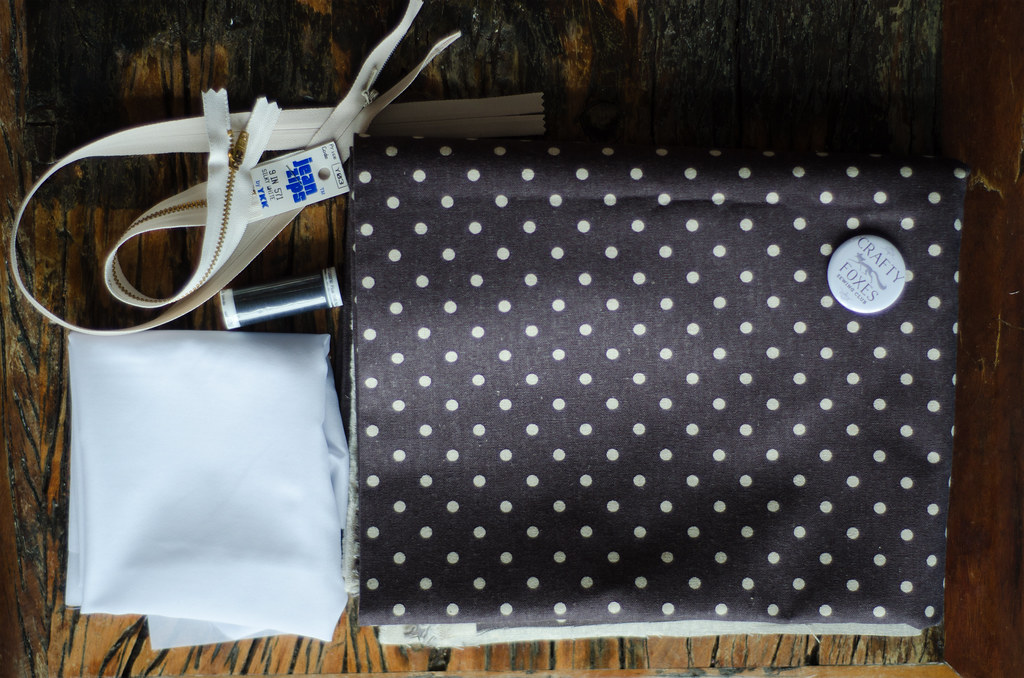
Andd to celebrate the release of their inaugural pattern, Katy and Laney are generously offering up a Tap Short kit to one lucky Peneloping reader! You’ll receive:

-a PDF copy of the pattern
-2 yards of fabric + required interfacing
-coordinating zippers, thread

Just comment below telling me one sewing technique you never thought you’d be able to master. Make sure you include your email so you can be contacted about receiving your prize!

[CLOSED]

This giveaway is open to readers worldwide and will be open until midnight Friday, June 20th. The winner will be announced shortly after. In the meantime, make sure you check out the rest of the Tap Shorts blog tour!
Katy-&-Laney-Tap-Short-Tour-8

Thursday, June 12th: Heather at Closet Case Files

Friday, June 13th: Ping at Peneloping

Saturday, June 14th: Jenny at Cashmerette

Monday, June 16th: Mary at Idle Fancy

Wednesday, June 18th: Sarah at Grey’s Fabric and Notions

Thursday, June 19th: Jennifer at Workroom Social

Friday, June 20th: Kelli at True Bias

Saturday, June 21st: Mary at Young, Broke, and Fabulous

Sunday, June 22nd: T at Uandmii

Tuesday, June 24th: MacKenzie at Some Real Things
Schmimmin’ + Perfect Pattern Parcel #3

Dotted Bombshell

Dotted Bombshell

Dotted Bombshell

Dotted Bombshell

Dotted Bombshellswimsuit: self-made, pattern here // necklace: Michal Golan // photos taken by Boyfriend

Can I just get overly squeal-y for a second and proclaim that I MADE A SWIMSUIT?!

I’m not usually one for one-pieces but I loved the bombshell silhouette and I literally have not seen a single person not look good in this one. I know people say that a lot but Heather did something magical when she designed this.

I only changed two things when I sewed this up. First I lengthened it by one inch at each lengthen line for a total of 2″ extra. In retrospect I think this was excessive because the side seam ended up a little wonky with all the extra material. I think next time I’ll only add one inch total. The other thing I changed was that I used Sophie’s strap tutorial (except I just sewed mine straight onto the swimsuit) instead of using the thicker straps in the pattern.

Another thing to keep an eye out for is how much the top edge stretches out during the sewing process. I had originally cut my elastic to the exact length of the top edge but due to massive amounts of gaping I had to rip it out and cut off 2-3″ before reattaching it, which was not really a huge deal to do.

I’ve talked before about how I used to be deathly afraid of sewing with knits, so you can imagine how much exponentially lower my confidence in my own swimwear creating abilities used to be. Those fears have mostly all vanished. I made this entirely on my sewing machine and everything turned out fine. Swimwear fabric is not actually that hard to work with (unless you have the super slippery stuff but the interwebs is full of tips and tricks on how to handle that), the zig zag stitch is never going to look as professionally clean as a serged edge but it’ll do just fine. Just make sure you invest in ball point needles for your machine! ***EDITED TO ADD: Sonja from Gingermakes made a really good point (bahaha) that some swim fabrics don’t get along with ball point needles, so if you’re running into issues try a stretch needle!***

The only thing I was most concerned about was the boob-age cups because I’ve really never used them before. The ones I bought ended up giving me quite the cone boobs so I ended up going the Lladybird route and snagged some from store bought clearance swimsuits and all was well.

I also highly highly recommend using Heather’s sew along tutorials as a guide. This was me before I started:

I-Have-No-Idea-What-I-am-Doing-5

In the end I managed to cobble together a gorgeous swimsuit that’s super comfy, sticks to me like a glove, and survived all kinds of lake-related shenanigans (including inebriated night swimming). I even bought fabric for another Bombshell and have decided I need a black two-piece one too.

And the best part is that Heather’s Bombshell pattern is part of Pattern Parcel #3! If you haven’t heard of this program, the way it works is that for a two week period, select designers offer up their patterns and you not only get to decide how much you want to pay for the set, but also how you want to split it between the designer, a charity supporting children’s education, and PPP itself. You can read more about them and what they do here.

These are all of the patterns offered in the current Pattern Parcel:

Bombshell Swimsuit by Closet Case Files
Jorna Tank Dress by Jenna Brand
Staple Dress by April Rhodes
Poppy Tunic by Make it Perfect
Water Bottle Tote by Radiant Home Studio
Bonus Pattern: Prefontaine Shorts by Made with Moxie (only offered if you choose to pay $28 or more)

And you can see the rest of the Perfect Pattern Parcel #3 blog tour here:

Friday, May 30 Sew Busy Lizzy // Pienkel // SeamstressErin
Monday, June 9 Sew Sweetness // True Bias // Ozzy Blackbeard
Wednesday, June 11 Peneloping // YoSaMi // sewVery
Thursday, June 12 la inglesita // La Pantigana // Sanae Ishida
Friday, June 13 Seamster Sewing Patterns // Paunnet


Buy Pattern Parcel #3


Kaywinnet Lee Frye

Kaylee shindig dress

Kaylee shindig dress

Kaylee shindig dress

Kaylee shindig dress

Kaylee shindig dress

Kaylee shindig dress

Kaylee shindig dress

Kaylee shindig dress

Also known as a confection in nine layers.

You guys, I finally got to photograph this dress (read: I dragged Seester out of bed while she was trying to nap and made her take photos of me) and I’m so excited to finally share it! I’ve been planning this dress ever since the first time I watched Shindig and the tiniest flicker of “Ooh maybe I should make that someday!” crossed my mind back in 2006. Then there was that time in 2007 when idiot me decided to try to make it in what was essentially quilting cotton. That was actually quite comical. I think I got about two ruffles in when I tried the skirt on and realized it already weighed ten pounds. Yikes!

Anyway, it’s done! The nitpicky perfectionist in me is twitching slighting and wanting to trim 1.5″ off the peplum and add a ribbon trim but I’m trying to smother her with pillows and shut her in an attic closet somewhere.

Since there are so many parts to this dress I thought I’d briefly share how I did each section.

Bodice: 

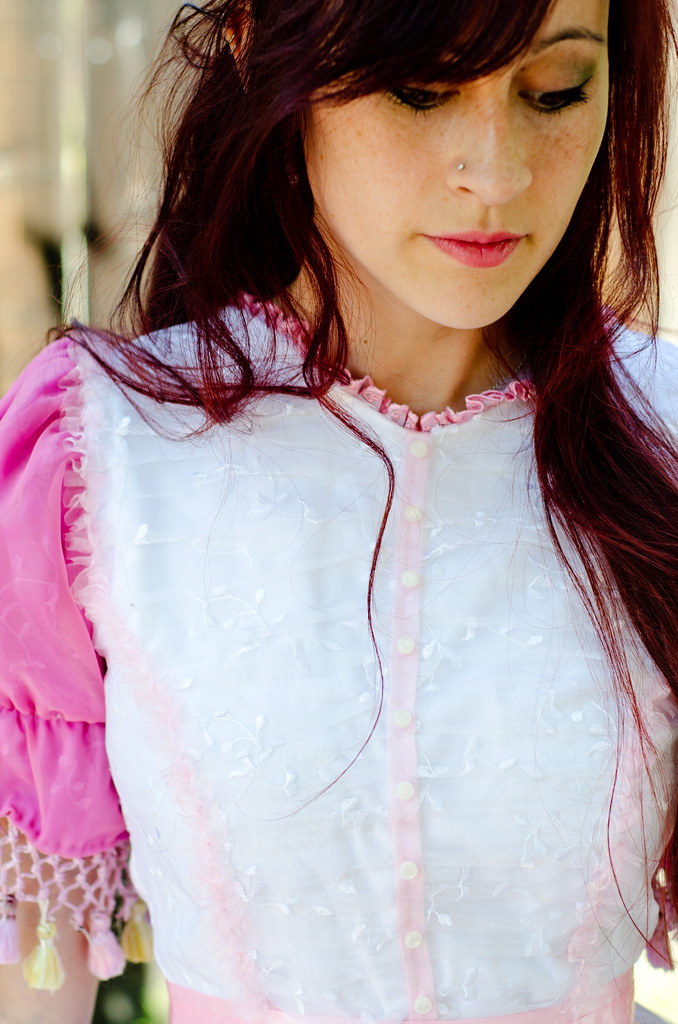
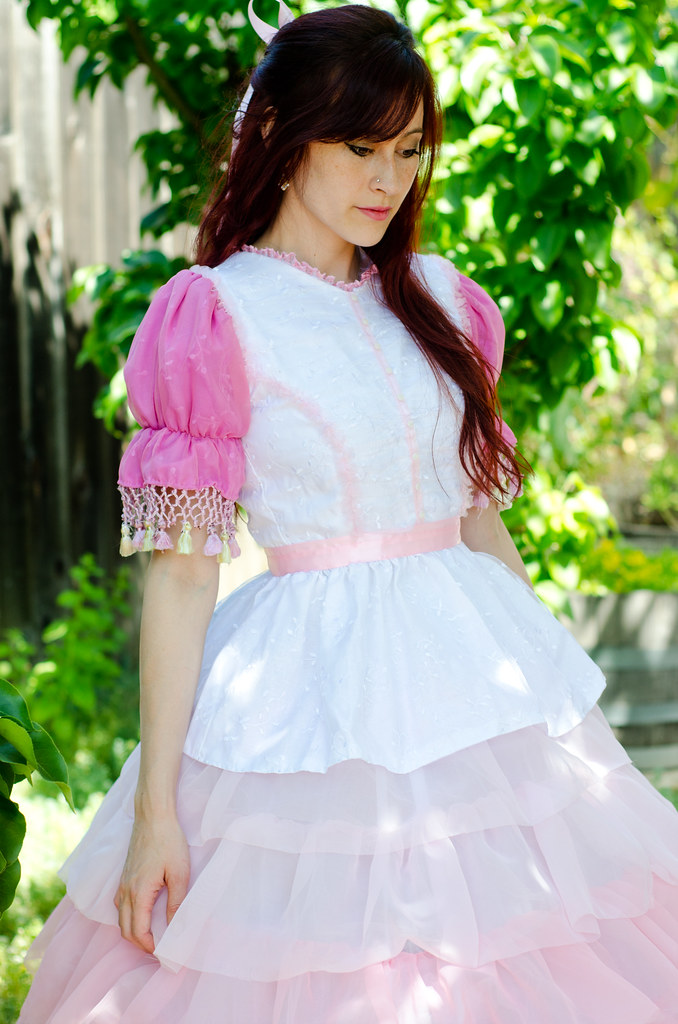
You’re going to laugh at me but remember in this post when I mentioned that to date I’d only made one successful By Hand London Elisalex? Well this was it. No joke. Obviously I altered the neckline a bit but that’s the pattern I started with. I raised the neckline significantly and then cut a slightly curvy V-shape. For the fabric I used some sheer white floral organza over a layer of white rayon challis, a layer of muslin for thickness, and then a layer of this crappy lining fabric that I sort of hate but was the right color. To get the ruffly/pleated look in the front, I basically used the same technique as with this dress to cut out the pattern piece, but then instead of tiny tucks, I just pinned down the pleats, ironed them in place, and then basted the sides down to the rayon challis and muslin and treated it all as one pattern piece.

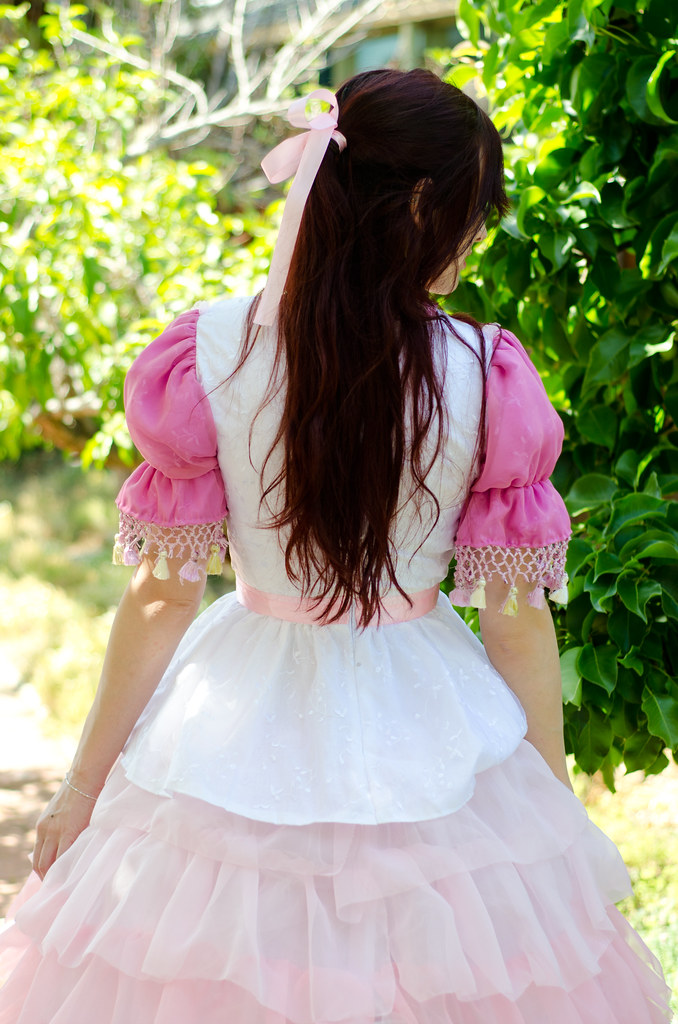
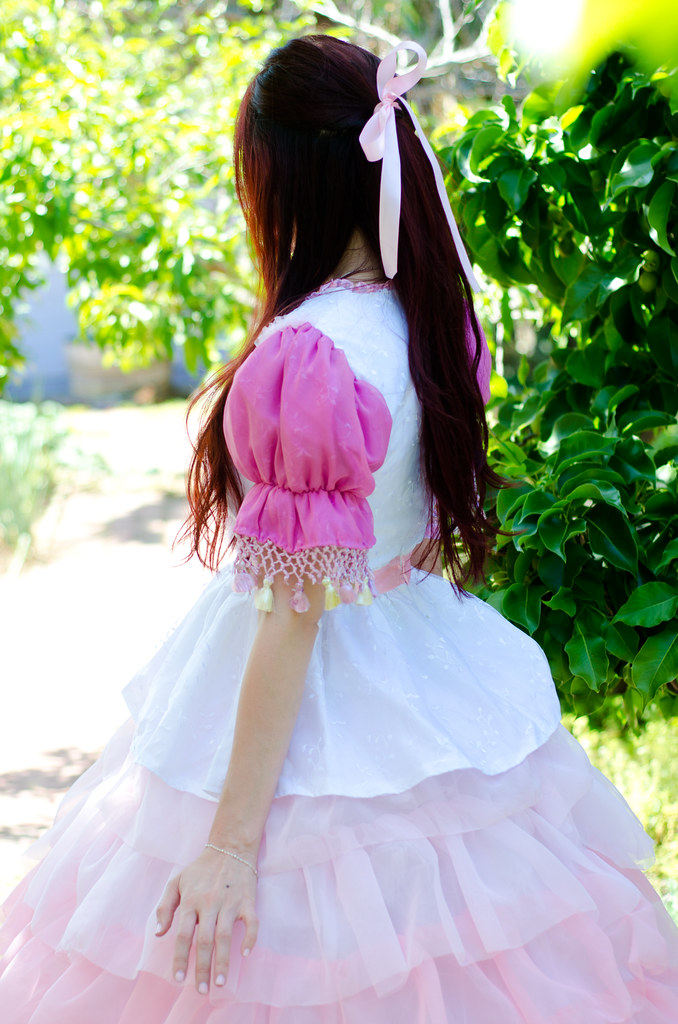
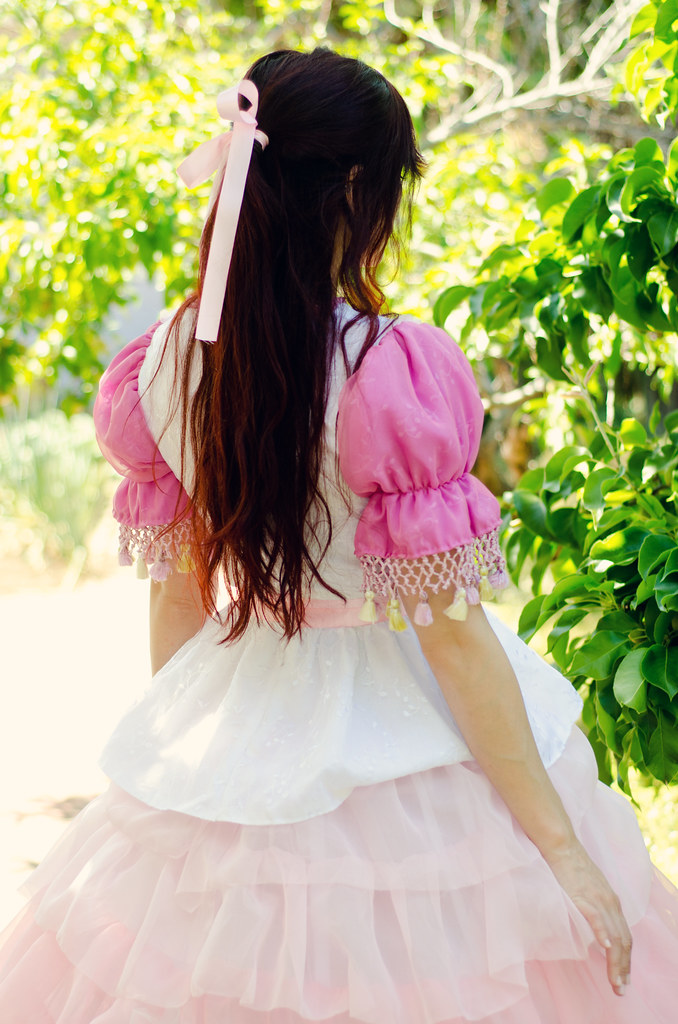
I used pink organza ribbon (2-3 layers I think) for the pink stripe down the middle and then just sewed white buttons on top of them like a false button placket. The “belt” is also wider pink organza ribbon. There’s also some pink lace trim along the neckline that I hand-stitched in. The peplum was done the same way as the rest of the bodice and was self-drafted by cutting out two curved trapezoids, and then cutting the back in half to accommodate a zipper. I measured the width by making the top edge of each trapezoid two times wider than the lower bodice edge it would be attached to in order to account for gathering. The back of the bodice is just held together by an invisible zipper.

Sleeves:

The sleeves were a bit tricky! First I kept drafting puffed sleeves that were too small. I still think they could be a touch more dramatic but whatever. Then I couldn’t get them the right color. I couldn’t find the sheer floral organza in the right shade of pink so I decided to dye them, which led to a wonderfully fun (and smelly) adventure of polyester fabric dye. It actually worked great except that the pink dye I bought turned out to be a more purply fuchsia that made the rest of the dress look orange. Ruh roh. So I tossed that idea, cut out new sleeves in white, and decided to sew a layer of the same pink chiffon used on the bottom tier of the skirt as an overlay over the white organza. You can still see the floral detail and they match the rest of the dress perfectly. I have no idea why I didn’t think of that first.

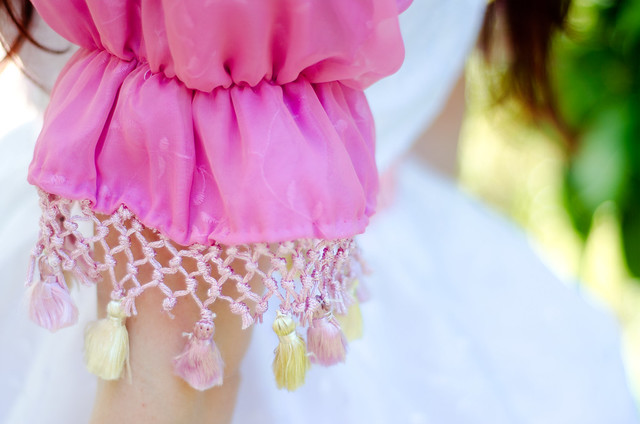
The chainette fringe thing was hilarious. I bought this fringe on ebay and then proceeded to watch all the youtube tutorials to knot it by hand. At one point I had it pinned to my pants and was trying to keep it even while knotting. In the end it was easiest to just pin it to the sleeve (which was at this point already attached to the bodice) and do it standing. The little tassels were harvested from a heinous upholstery trim that happened to have gold and pale ivory tassels. I had tossed the ivory ones in the pink polyester dye and luckily they didn’t turn out totally fuchsia. I sewed those on by hand, not terribly gracefully but I’m pretty happy with the effect.

Skirt:

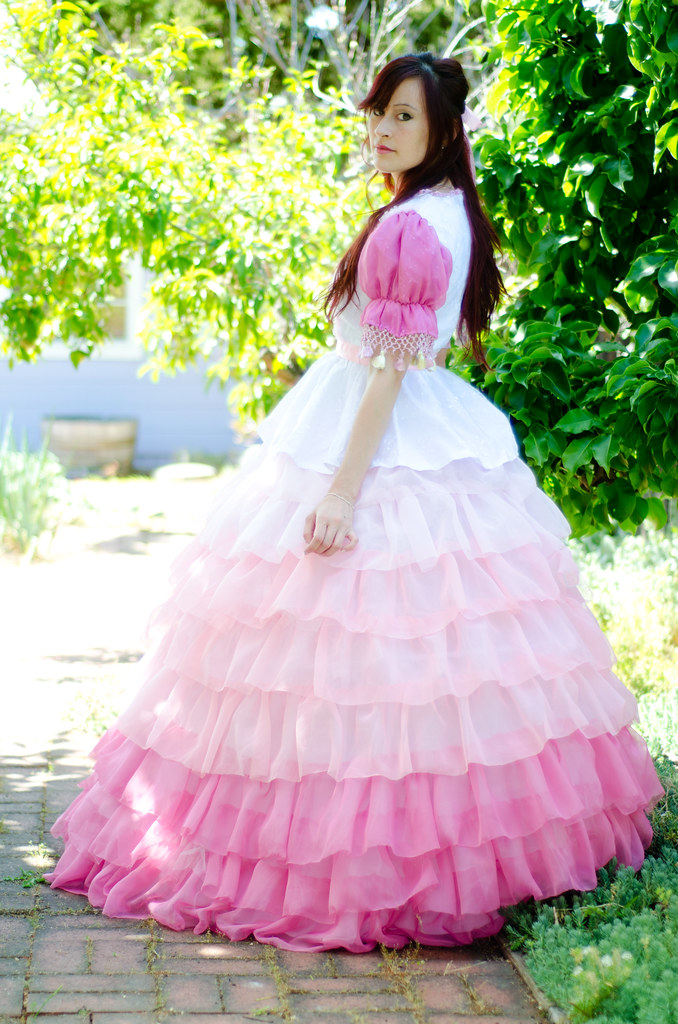
This thing was straight up madness. I can’t even. I have a notebook somewhere with pages of scribbling as I struggled to do the math required to even figure out how many yards of each color I needed. I basically made a gigantic floor-length circle skirt out of a lightweight cotton, and then marked rows where each tier would go. Each tier consisted of sewing down a 7″ tall strip of hand-gathered tulle, then sewing down an 8″ strip of hand-gathered chiffon. I used poly chiffon so I just burned the edges to prevent fraying because the idea of anything else would’ve made me cry tears.

Once all the tiers were sewn down I put a zip in the back and we were good to go!

Hoopskirt:

I read like ten tutorials on how to make a hoopskirt and sort of cobbled together my own method. I knew I didn’t want the hoops to be attached to another skirt because it was already going to be a lot of fabric so I opted for a hoop + strips of fabric method. I was originally going to make a tutorial on how to do it but honestly it turned out looking not so pretty so I’m pretty sure no one should use this method haha. I basically used this tutorial except I used thick twill tape instead of fabric and had no way of stabilizing each inserted hoop where it was supposed to go so the hoops kept sliding around and not staying put. You can kind of see what I’m talking about here and here.

I used about 10 yards of plastic tubing from Home Depot (the kind that was 5/8″ outer circumference and 1/4″ opening). So yeah, the intersections of where the hoop meets the fabric/twill tape need to either be drilled down in place or staple-gunned or something. The tubing itself was great though. It was strong enough to hold its shape as a hoop but super lightweight. Since I didn’t want to spend $5 per tube attacher-thingy, I just cut up two 2″ strips of plastic boning, inserted it into one end of the tube, attached the other end of the hoop, and then taped it closed. It worked surprisingly well! Boyfriend hardcore doubted me. To be fair, it looks quite janky but again, I don’t recommend following this tutorial unless like me, you were three days from needing this dress to be poufy and had no other options.

Kaylee shindig dress

So anyway, WAHHH it’s done!! I can’t wait to wear this while I watch Shindig. I’m not remotely joking.

Sidenote: It just occurred to me that the hands-outstretched-with-fruit is highly reminiscent of the covers of a certain sparkly-undead-teenage-abusive-relationship story that will remain unnamed and now I can’t unsee it. GAH. I just needed to incorporate strawberries somehow and a banquet hall buffet table seemed unreasonable. How will we know unless we question it!