Tag Archives: lady skater

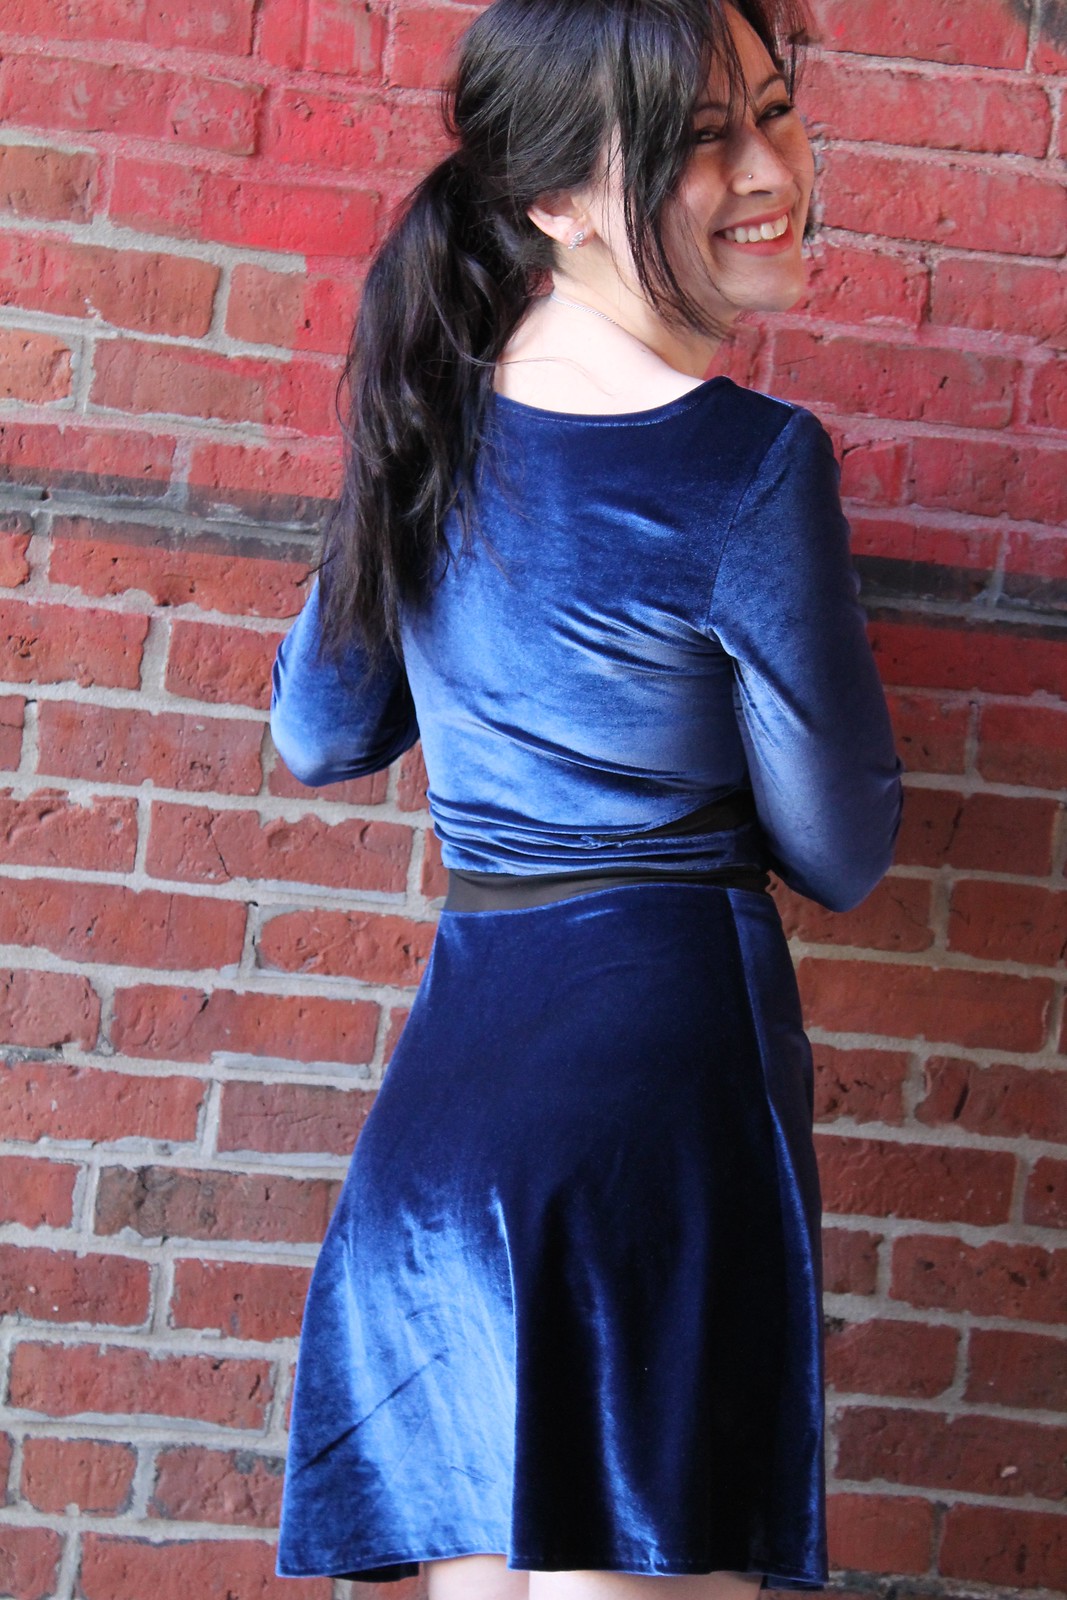
Lady velvet

IMG_5089

IMG_5133

IMG_3825

IMG_3822dress: self-made, pattern here // shoes: Seychelles

*The fabric for this project was provided by Funki Fabrics and all opinions, anecdotes, and messy hand-stitching are my own.

I feel like a lot of my project posts start off as “So Katie from Skunkboy posted this awesome outfit and I ran off and copied it.” This is not dissimilar from those. At least it’s not Dear Creatures for the umpteenth time!

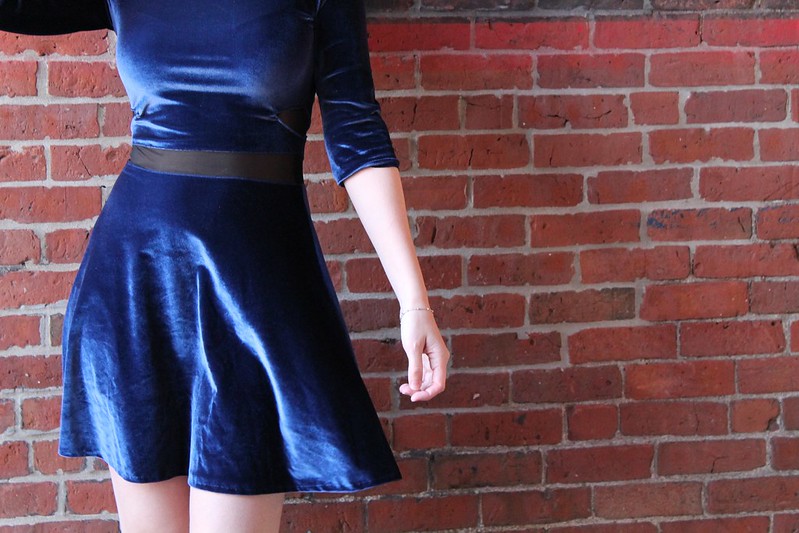
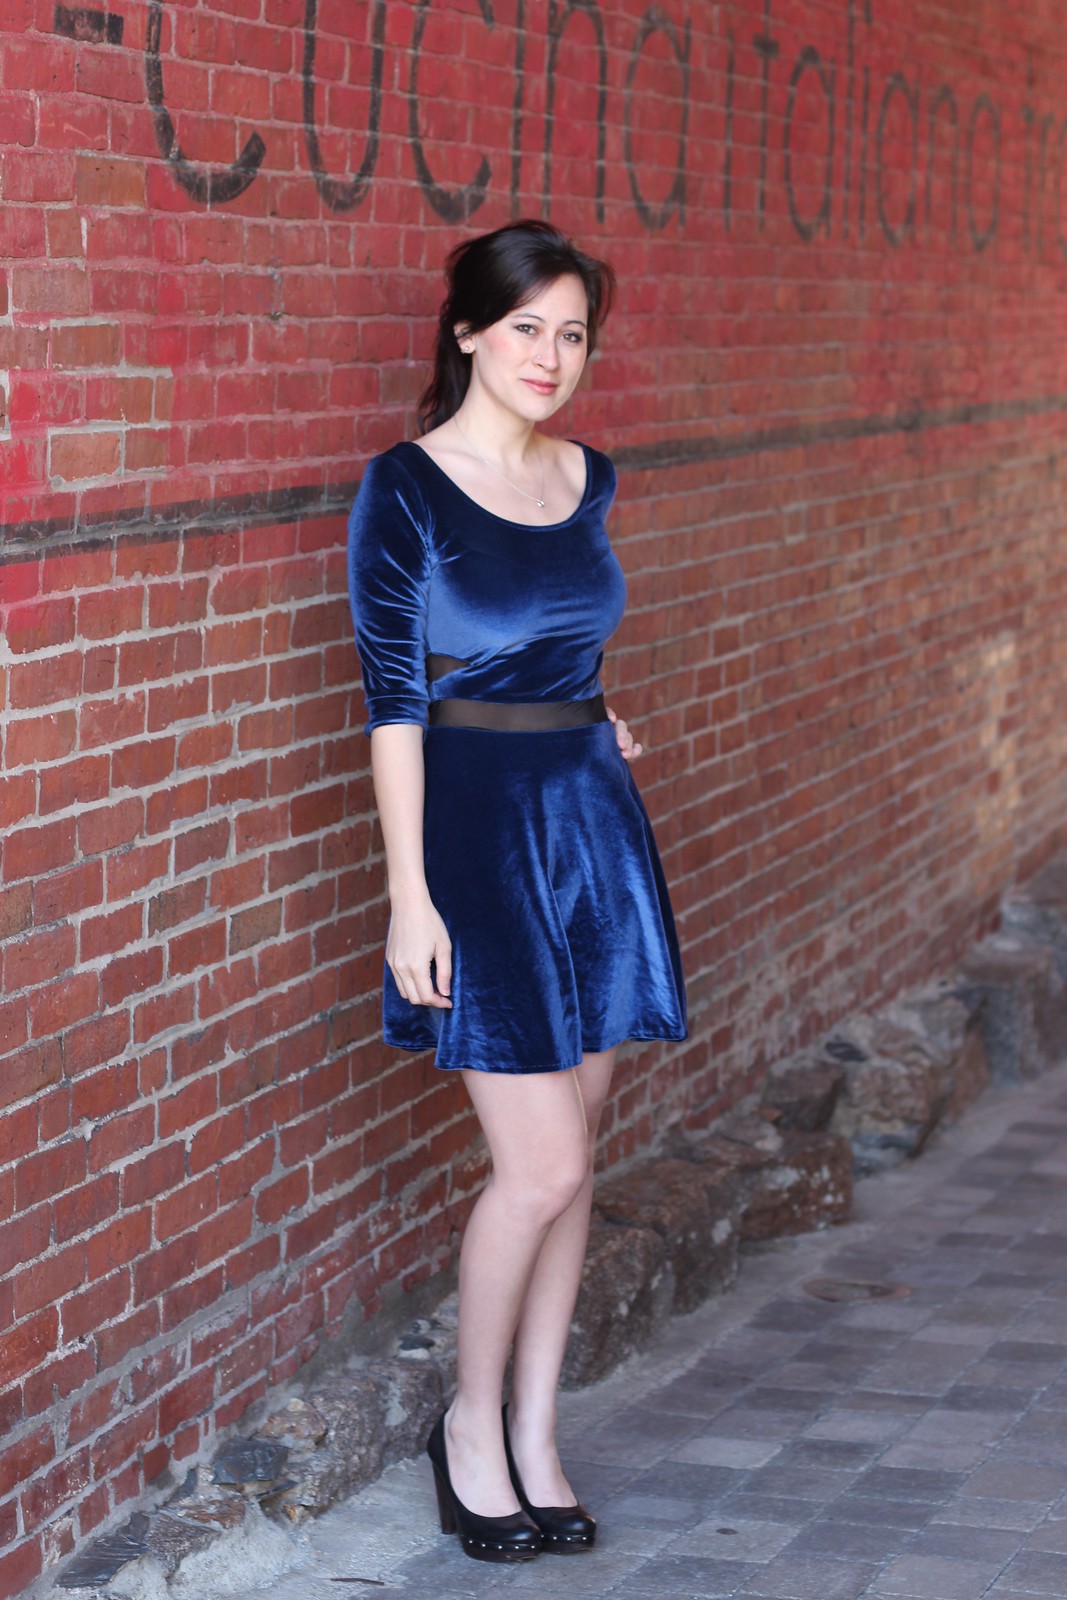
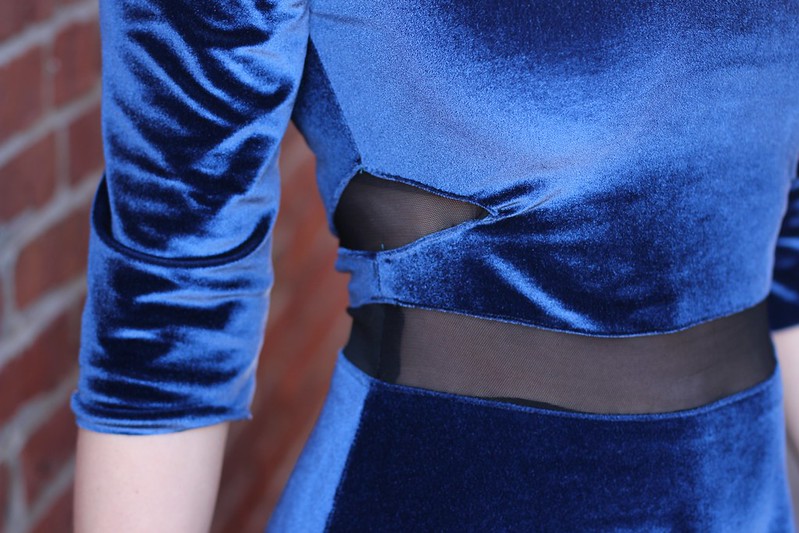
This dress was inspired by a Black Swan dress that I decided needed to be made in navy velvet with black mesh detailing. Funki Fabrics had just reached out to me about doing a collaboration and their navy stretch velvet sample was everything I was looking for for this project.

I started off with a lady skater and didn’t change too much. I omitted the neckband and arm bands to start. I also hacked off about 1″ from the bodice and 1/2″ from the top of the skirt. I cut a 1.5″ rectangle of black stretch net and sewed it between the bodice and skirt, and then top-stitched to keep it in place. Easy peasy. For the diamond cutouts, I drew up the shape I wanted, cut it out of the dress, and sewed mesh bits in by hand. They’re a bit messier than I would have liked; sadly my Bernina is sick and I’ve been using the back-up Brother which is just not up to working with difficult fabrics.

I think if I were to do this project again I would either leave out the diamond mesh cutouts or use a more stable knit. Or you know, have a decent working sewing machine. Hah.
Scuba dress

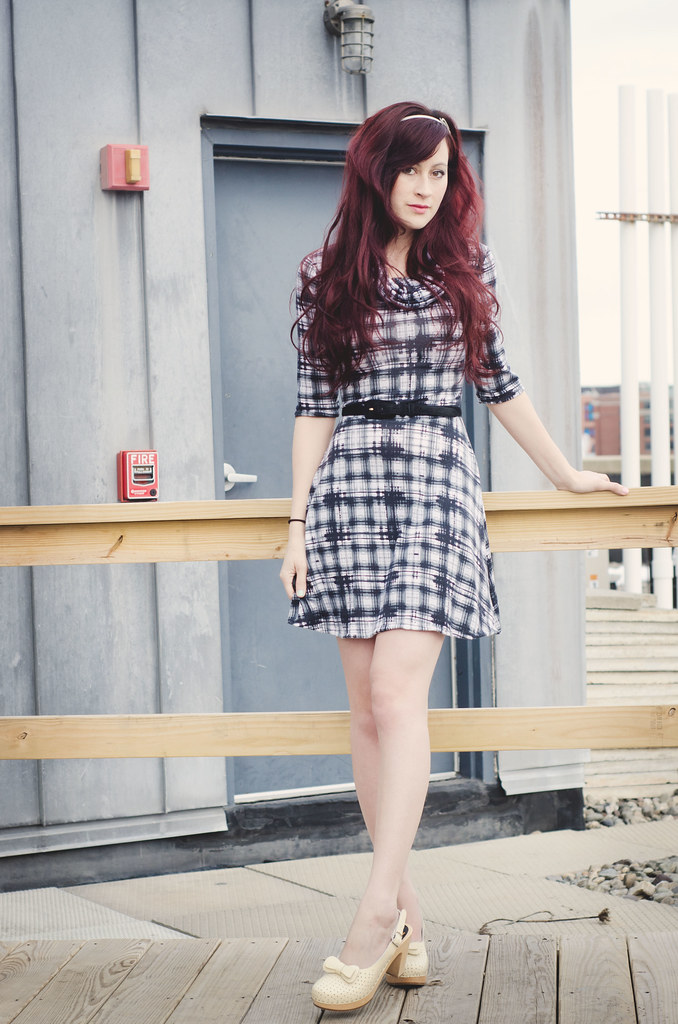
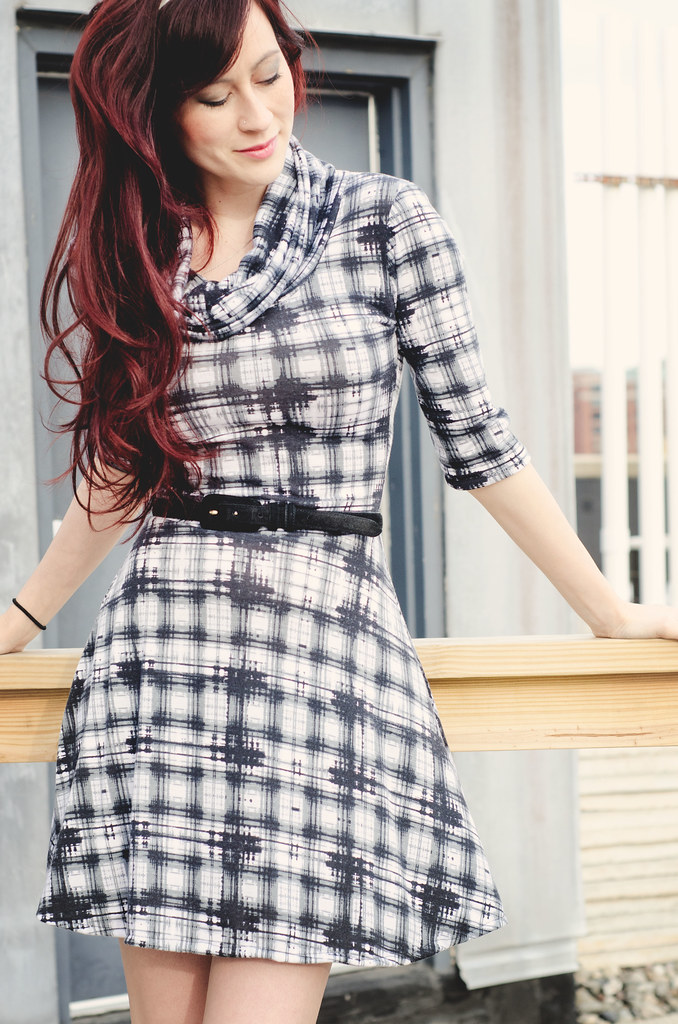
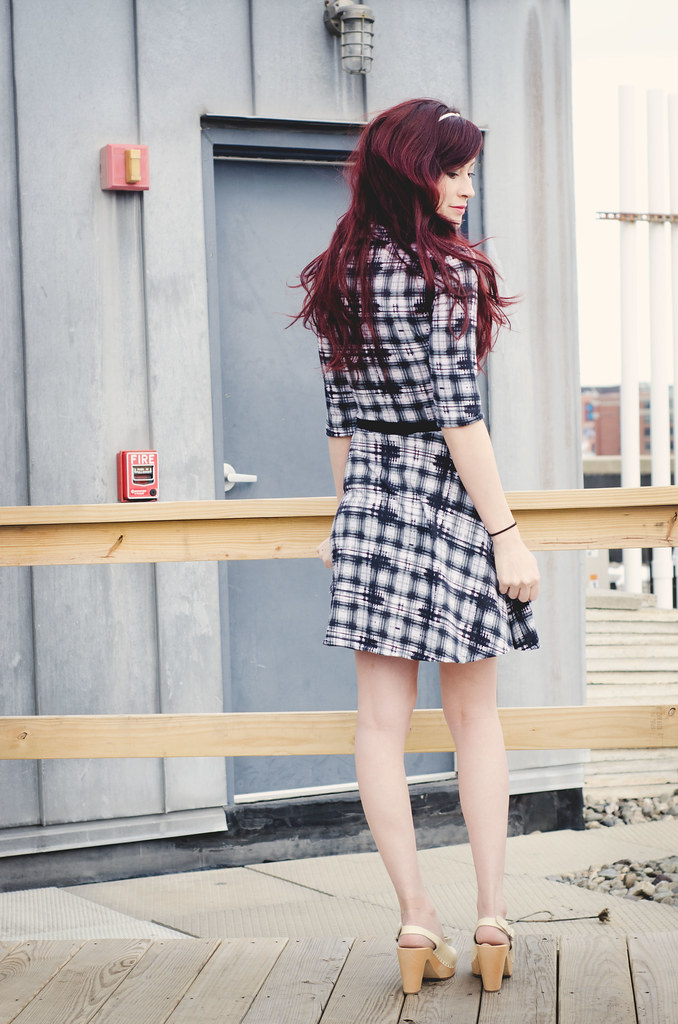
Plaid scuba dress

Plaid scuba dress

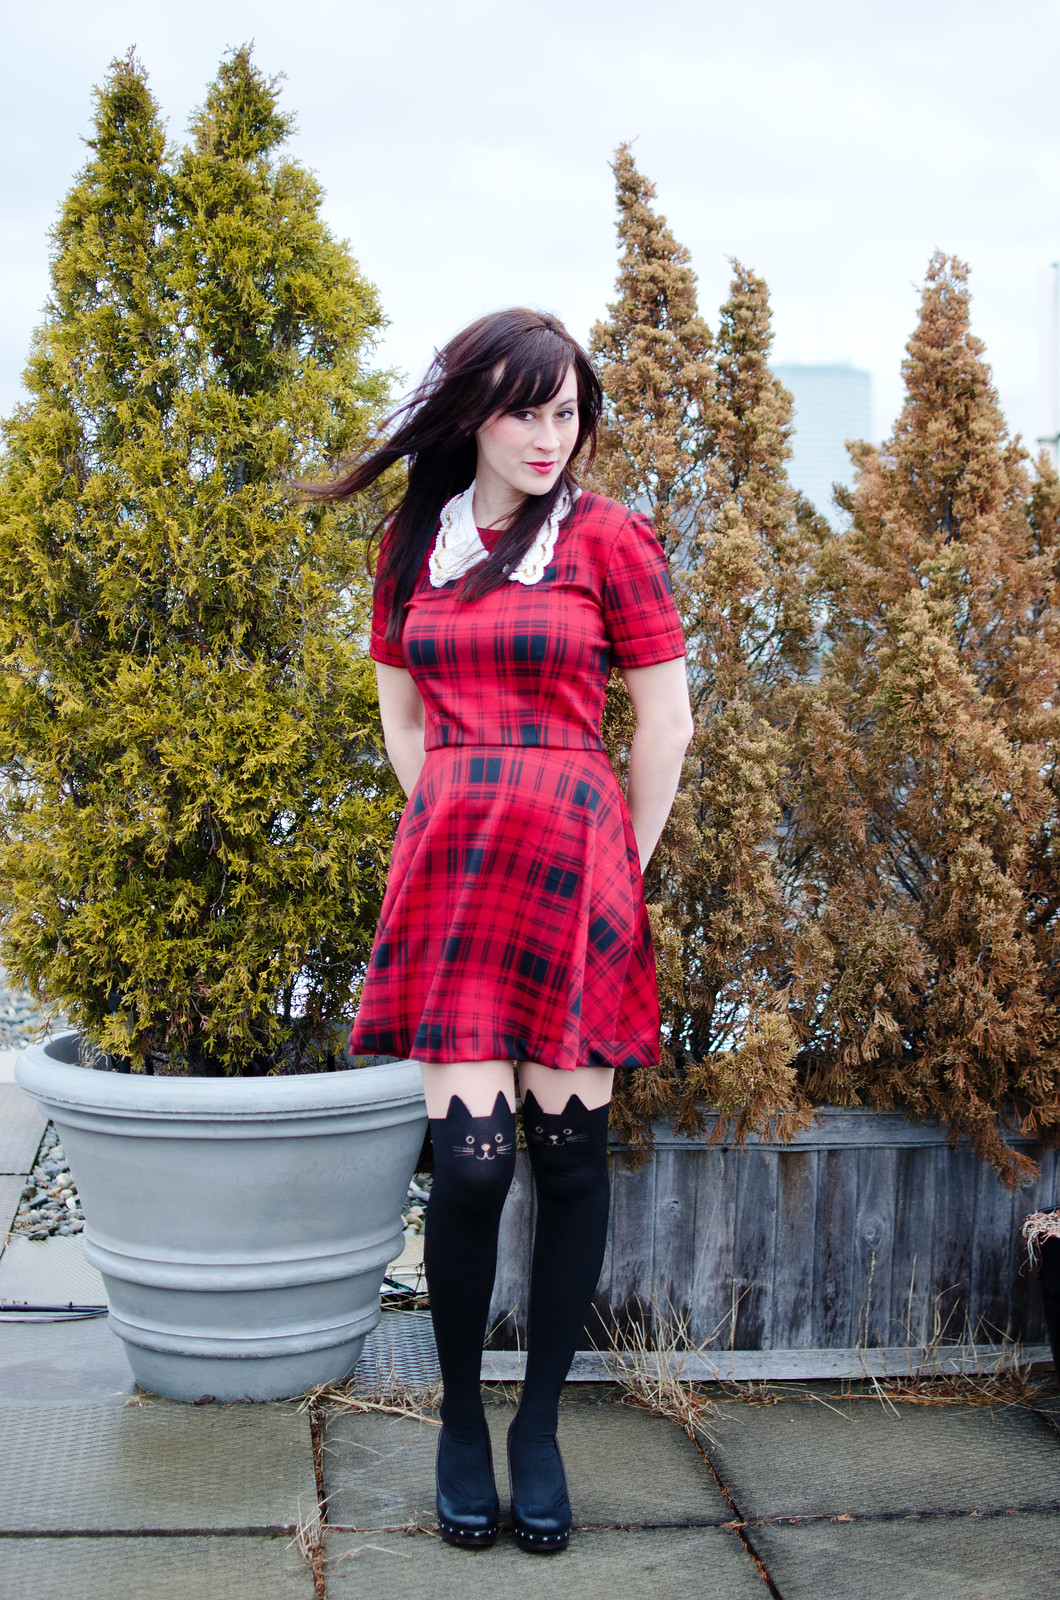
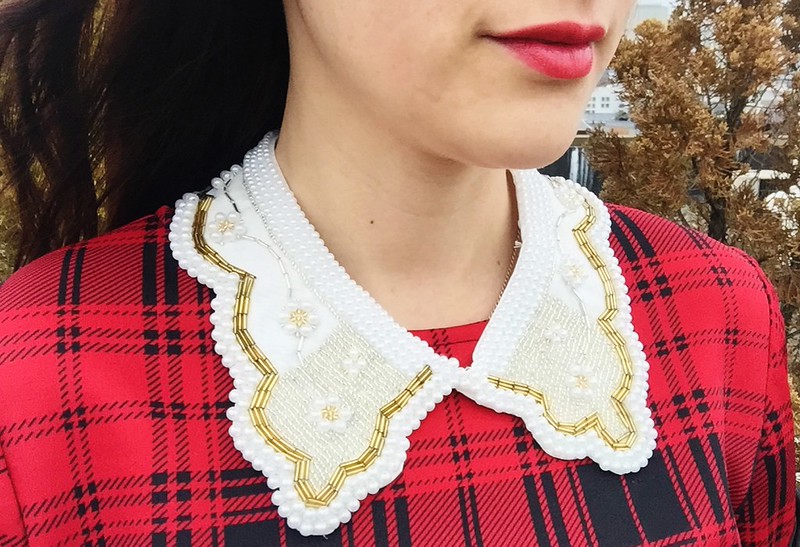
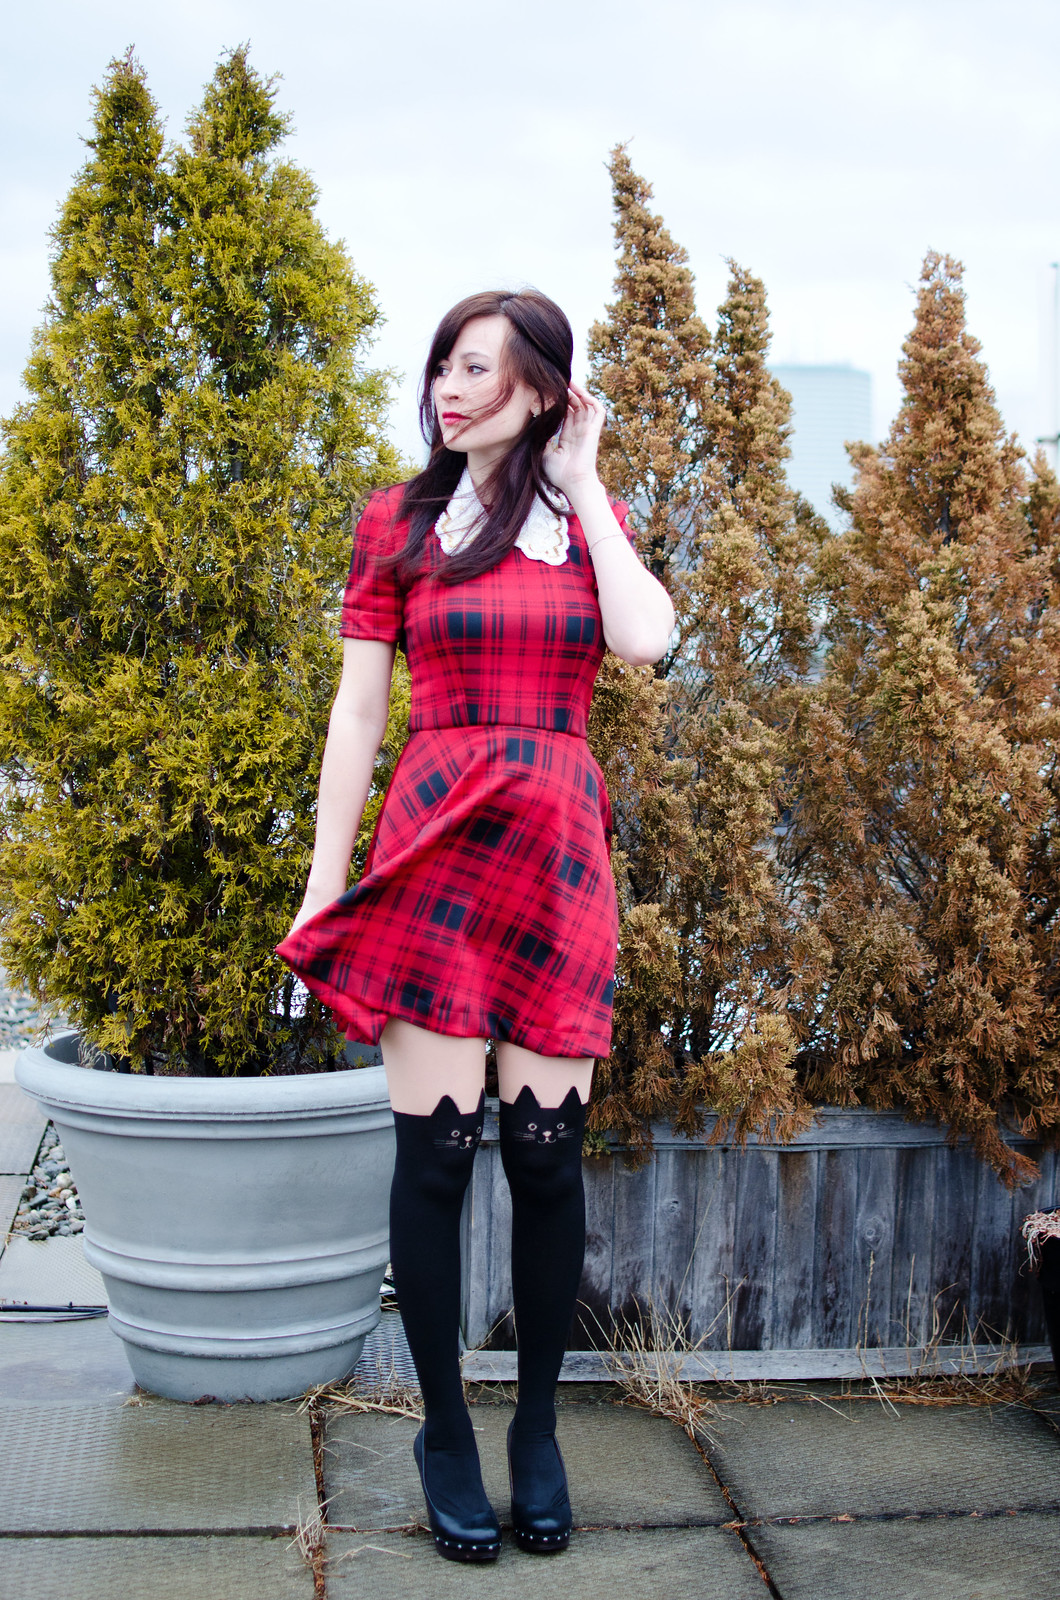
Plaid scuba dressdress: self-made, patterns here and here // detachable collar: self-made, pattern here // tights: random shop in a cat village in Taiwan // shoes: Seychelles

Hello 2015! Not sure how that happened. I’m still getting used to it not being summer anymore.

Anyway, sometime in November I wandered into Sewfisticated and they had randomly gotten a quite impressive selection of scuba knits. I briefly considered buying one of each but then came to my senses and went home with only two, a fancy floral and this lovely red plaid.

I had a pretty good idea of what I wanted to make: some kind of a short-sleeved skater/party dress kind of thing. I dug through some patterns and decided to use Burda 7739 with elongated sleeves for the top half and a slashed and widened lady skater skirt. Everything pretty much came together easily!

The scuba knit was so much fun to sew (and to wear! I often end up petting my skirt in public which is probably a bit weird). It’s kind of squashy and does what it’s told. I was entertained. The only issue I ran into was hemming the skirt and sleeves; I didn’t love the way the line of stitching stood out in the squashiness. I might undo it and do some kind of hidden hand-stitching on the inside instead.

I also realized that I somehow managed to recreate this dress pretty much exactly (other than the princess seams vs waist darts). I think this might even be the exact same fabric. Whoops?

I’m also so thrilled to have finally finished this detachable collar! I started it ages ago when Megan Nielsen first posted her tutorial and then got tired of beading and abandoned it. I mostly used her pattern but made the collar tips a little pointier. Of course when I picked it up again two months ago I decided to go even crazier and started hand-stitching seed beads onto it. My fingers were not pleased with this decision but I love the effect! I’ve been wearing it a lot to dress up lazy outfits.

In other news, I’m in love with these cat tights I picked up in Taiwan.

Sidenote: I’m giving the blog a bit of a facelift so excuse please the mess until I get things figured out!

Tutorial: Lady Peggy

Peggy dress

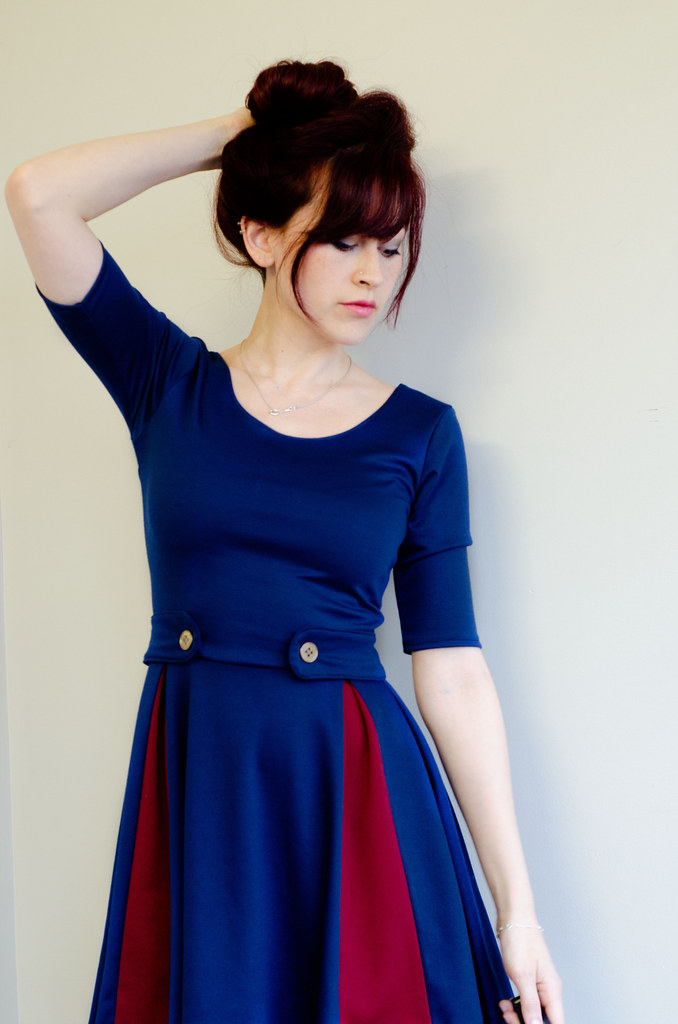
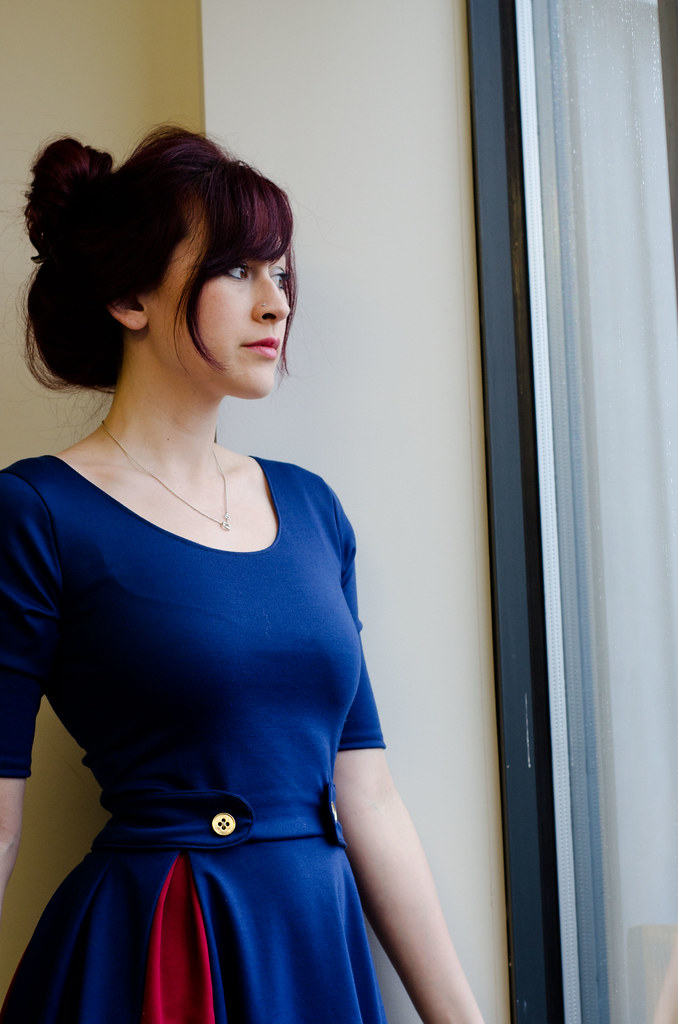
As promised, here’s a tutorial of how I made my navy and red Peggy dress from the Lady Skater pattern. I used thick knits for this but if you decide to use a woven fabric you can still apply the same general technique for the paneled skirt as long as you start off with a similarly shaped pattern meant for wovens.

What you’ll need:
-the Lady Skater pattern
-fabric as indicated by the pattern
-about an extra half yard of contrasting fabric
-two 1″ buttons (Peggy’s dress has gold ones)
-thread to match both fabrics

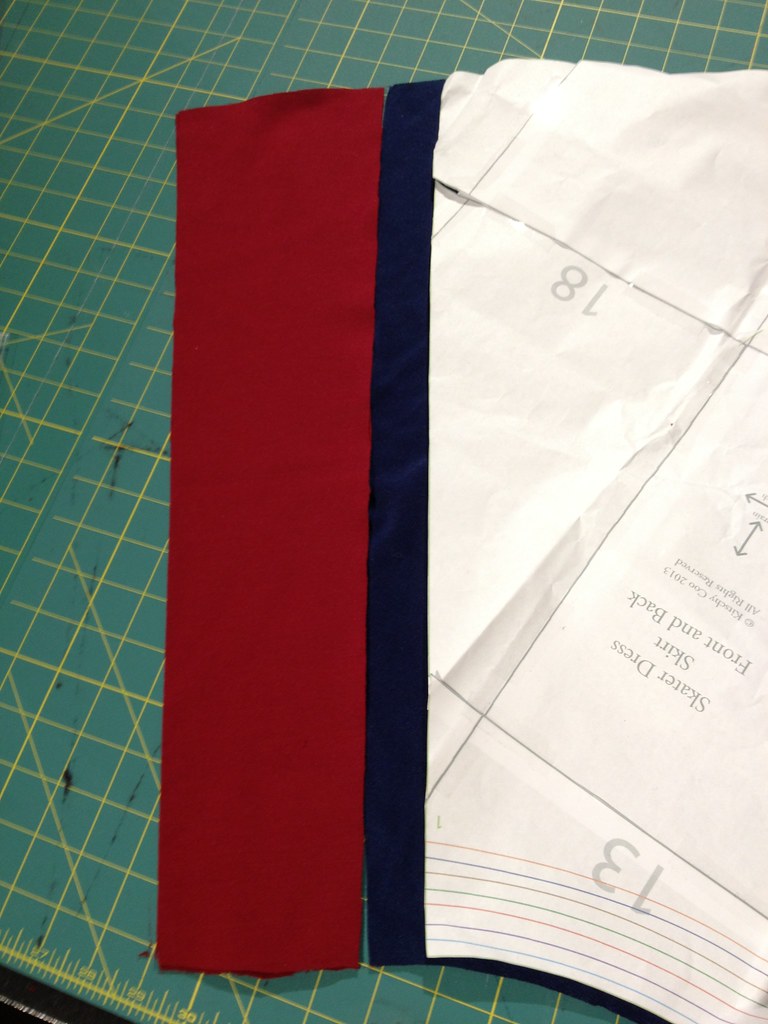
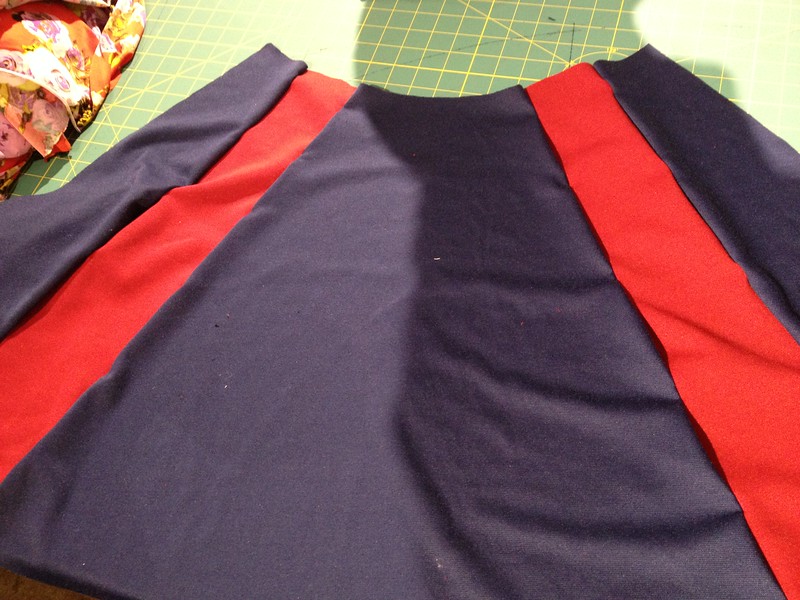
I started off with the skirt piece. Since I was using a thicker knit with less stretch than the Lady Skater pattern calls for, I cut about an extra inch past the skirt piece. I then cut a rectangle in red the same height as the skirt piece and about 5-6″ wide, depending how subtle you want the red panels to be.

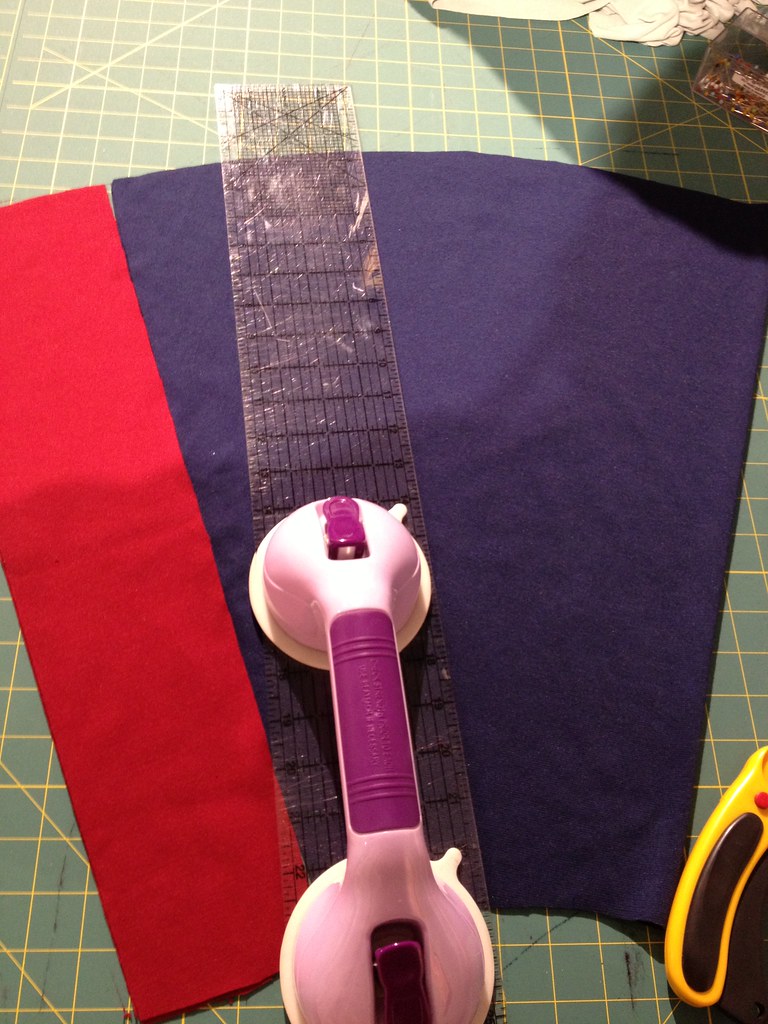
The photo on the right shows the ruler marker where I cut the navy fabric. I sort of eyeballed it. The navy fabric is one half of the skirt, cut on the fold.

Peggy dress how toPeggy dress how to

Once you’ve cut slices off the navy fabric, rearrange the panels so the red rectangle is inserted between the blue slices. Peggy dress how to

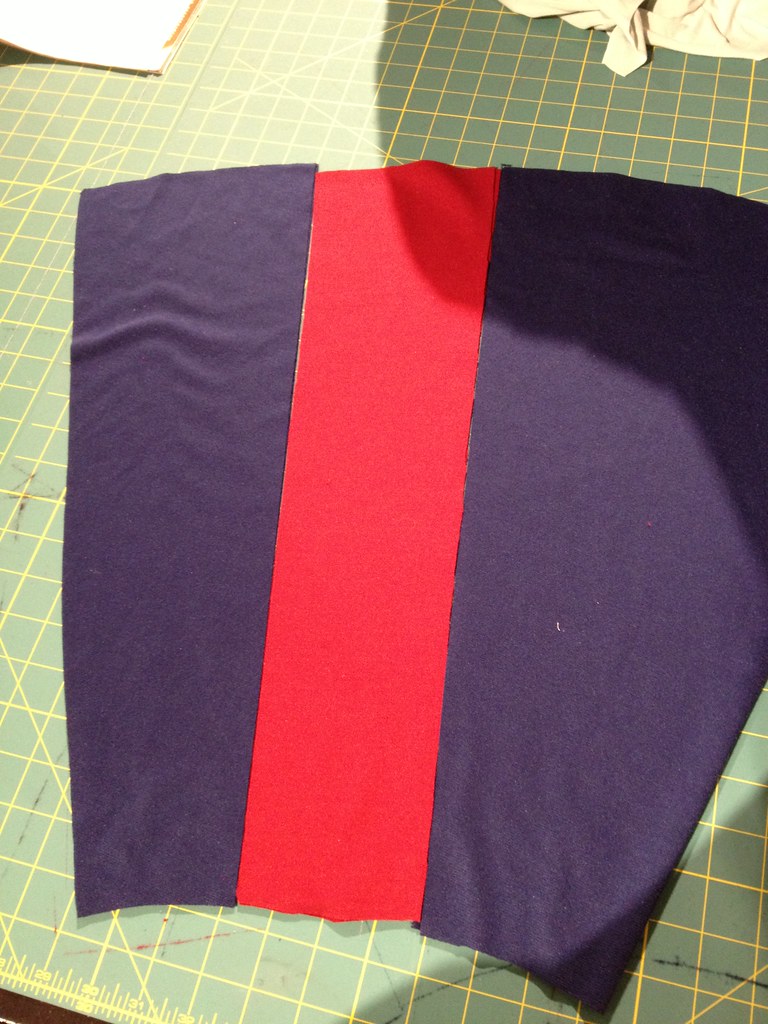
When you’ve sewn all the panels together, they should look like this. Remember, this is still just one half of the skirt. Now go back and do the same thing for the back of the skirt.

Peggy dress how to

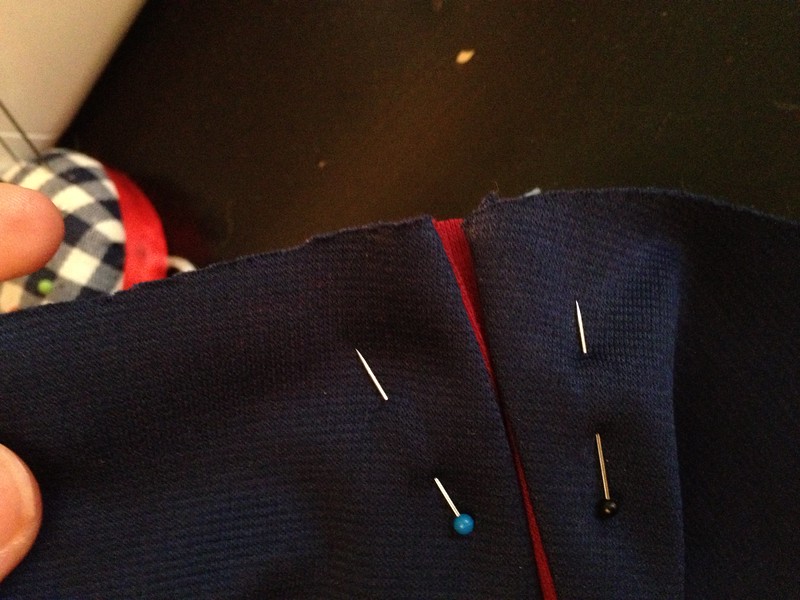
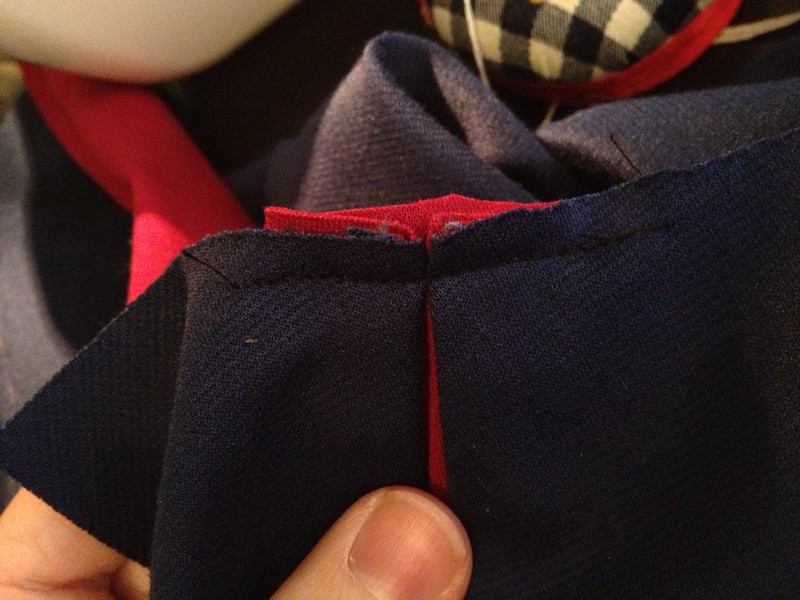
This is the fun part! You’re going to make a single box pleat at each red rectangle as shown. Baste it in place and treat it as normal.

Peggy dress how toPeggy dress how to

The rest of the dress is made mostly according to the pattern. The only changes I made were to omit the neckband and just folded it over instead. Ditto the sleeves.

I also made the waist button tab thing that I forgot to photograph but it was pretty simple to make. I measured the distance between the two front pleats, added about 2″ for seams and so it would lie past the pleats, and then cut two long ovals that length and 2.5″ tall. I sewed them together, leaving 3″ open on one of the side seams, and then turned the whole thing inside out and top-stitched around it, closing the open 3″ in the process. It’s attached to the dress by the two decorative buttons in the front.

Peggy dress
And there you have it! A Lady Peggy.

Lacy skater

Lacy skater

Lacy skater

Lacy skaterLacy skater

Lacy skater
dress: self-made, pattern here // belt: thrifted // boots: Boutique9

My Master’s thesis-y capstone paper thing is due in exactly eight days. Not scary at all.

Actually, I’m nearly done. All the tough writing stuff is done, I just have to go through and fix some formatting, do some last-minute proofreading, and add in a couple references. Oh, and write an introduction. I’m crossing my fingers but I should be done in a few days.

On to the dress! I’d been wanting a lacy springy dress for about two years and finally decided I needed to just make one. I had originally cut the smallest size, which was a little tight in the bust, so I decided to re-cut a size 4 in the bust graded down to a size 2 in the waist. This turned out to be overkill. Whenever I get motivated enough to cut it a third time, I need to cut a size 2 bust graded to a size 1 waist. Get on that, self!

Since I was using a lace overlay with a lining, I omitted the neckline band. I also lowered the back neckline by a few inches to give it kind of a leotard-esque feel. I wanted the skirt to be a bit fuller but I cut it kind of stupidly so most of the extra material swings around the hips. Oh well.

Ok, back to editing.

PS If you didn’t already see, I announced the winner to the Sew Fun giveaway one post back!

Ping copies Sarah’s Skaterfrew

Skaterfrew

Skaterfrew

Skaterfrew

Skaterfrew
dress: self-made, patterns here & here // shoes: Swedish Hasbeens // belt: thrifted // headband: F21

First of all, I absolutely loved hearing about everybody’s WIPs and it’s SO nice to know I’m not the only one with the attention span of a goldfish when it comes to unfinished projects. I’m thinking of making this a regular thing. I think every few weeks or so I’ll pick four things to finish in a set amount of time. If anyone wants to join me, feel free! Conquer all the WIP piles!

Anddd onto this lovely dress. If you haven’t seen Sarah’s Skaterfrew over on Katy & Laney you should probably go check it out immediately. I was already eyeing the Renfrew pattern but her dress version totally pushed me over the fence.

I’m going to have to steal Sonja’s term here because this one absolutely falls in the realm of secret pajamas. Full disclosure though, luckily you can’t tell because of the drapey collar, but I totally underestimated how much fabric I’d need (to be fair Sarah totally warned me). I’d forgotten (again!) that you have to cut out two collar pieces, both cut on the fold. Whoops. I was about an inch short on either side but I somehow made it work.

I’m definitely going to make a few more of these though! It’s perfect for those days when all you want to do is lie in bed all day imitating a slug but things like ‘sponsatilities and adulthood make you go to work.