Tag Archives: blue

brocade + bonus meowser

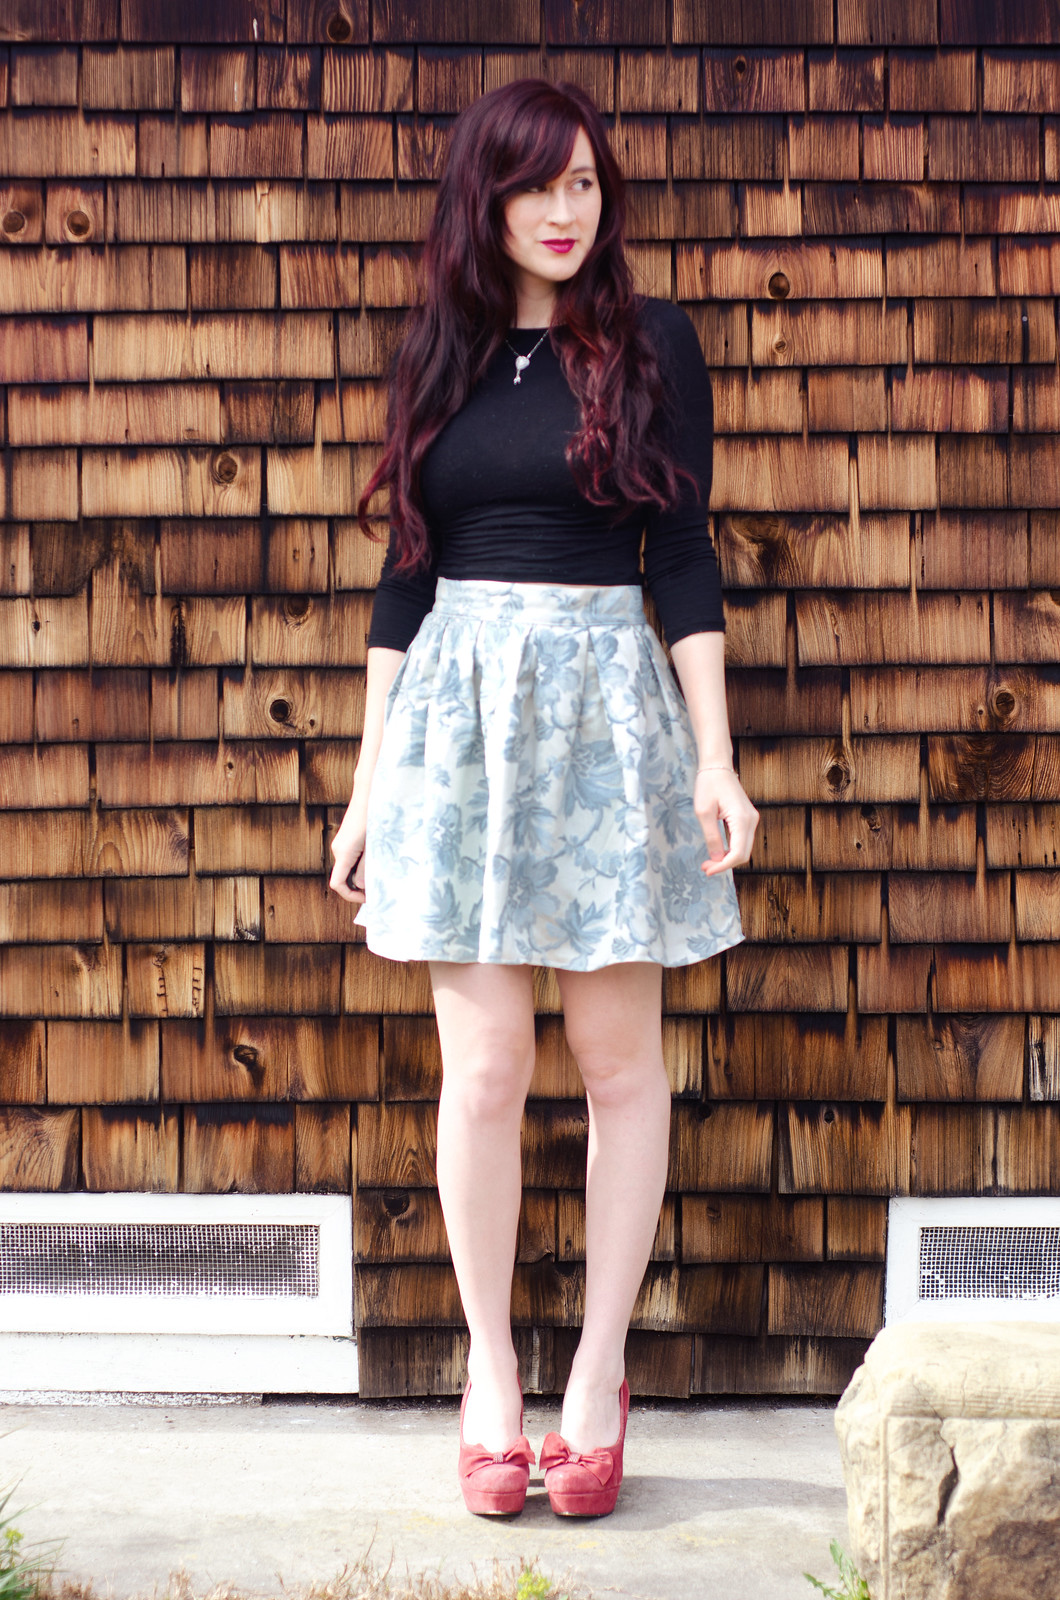
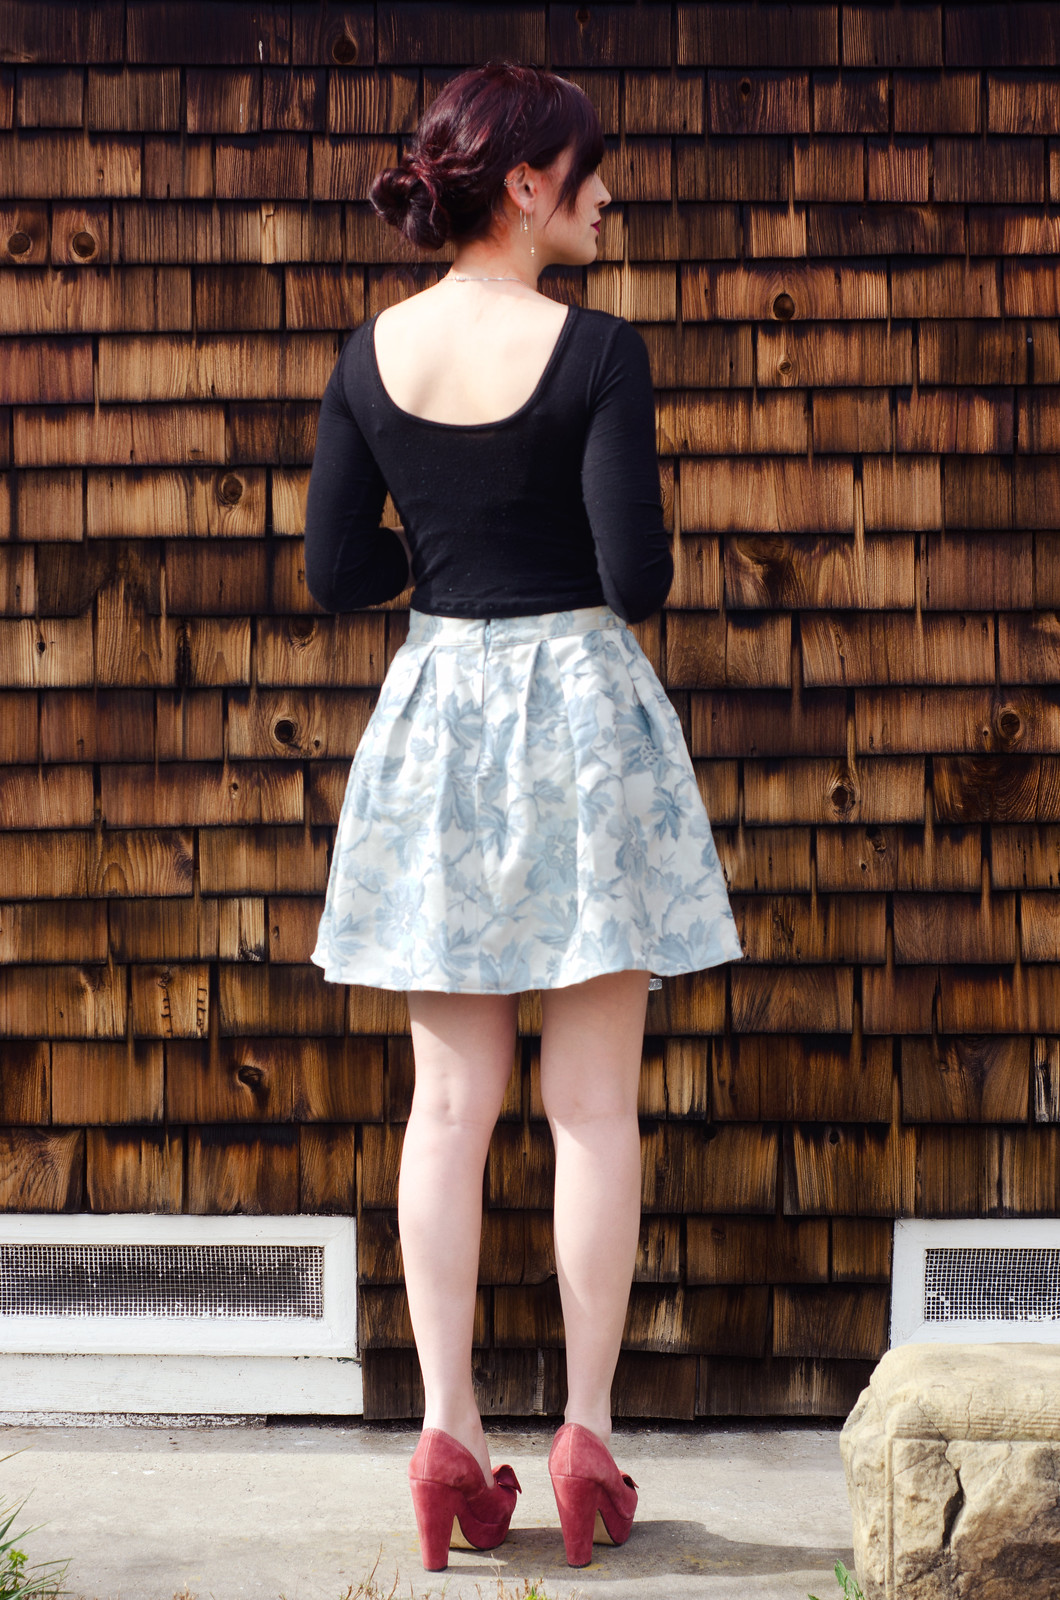
Pleated brocade skirt

Pleated brocade skirt

Pleated brocade skirt

Pleated brocade skirt

Pleated brocade skirtMy feline friend came to visit while I was taking photos hehe. 

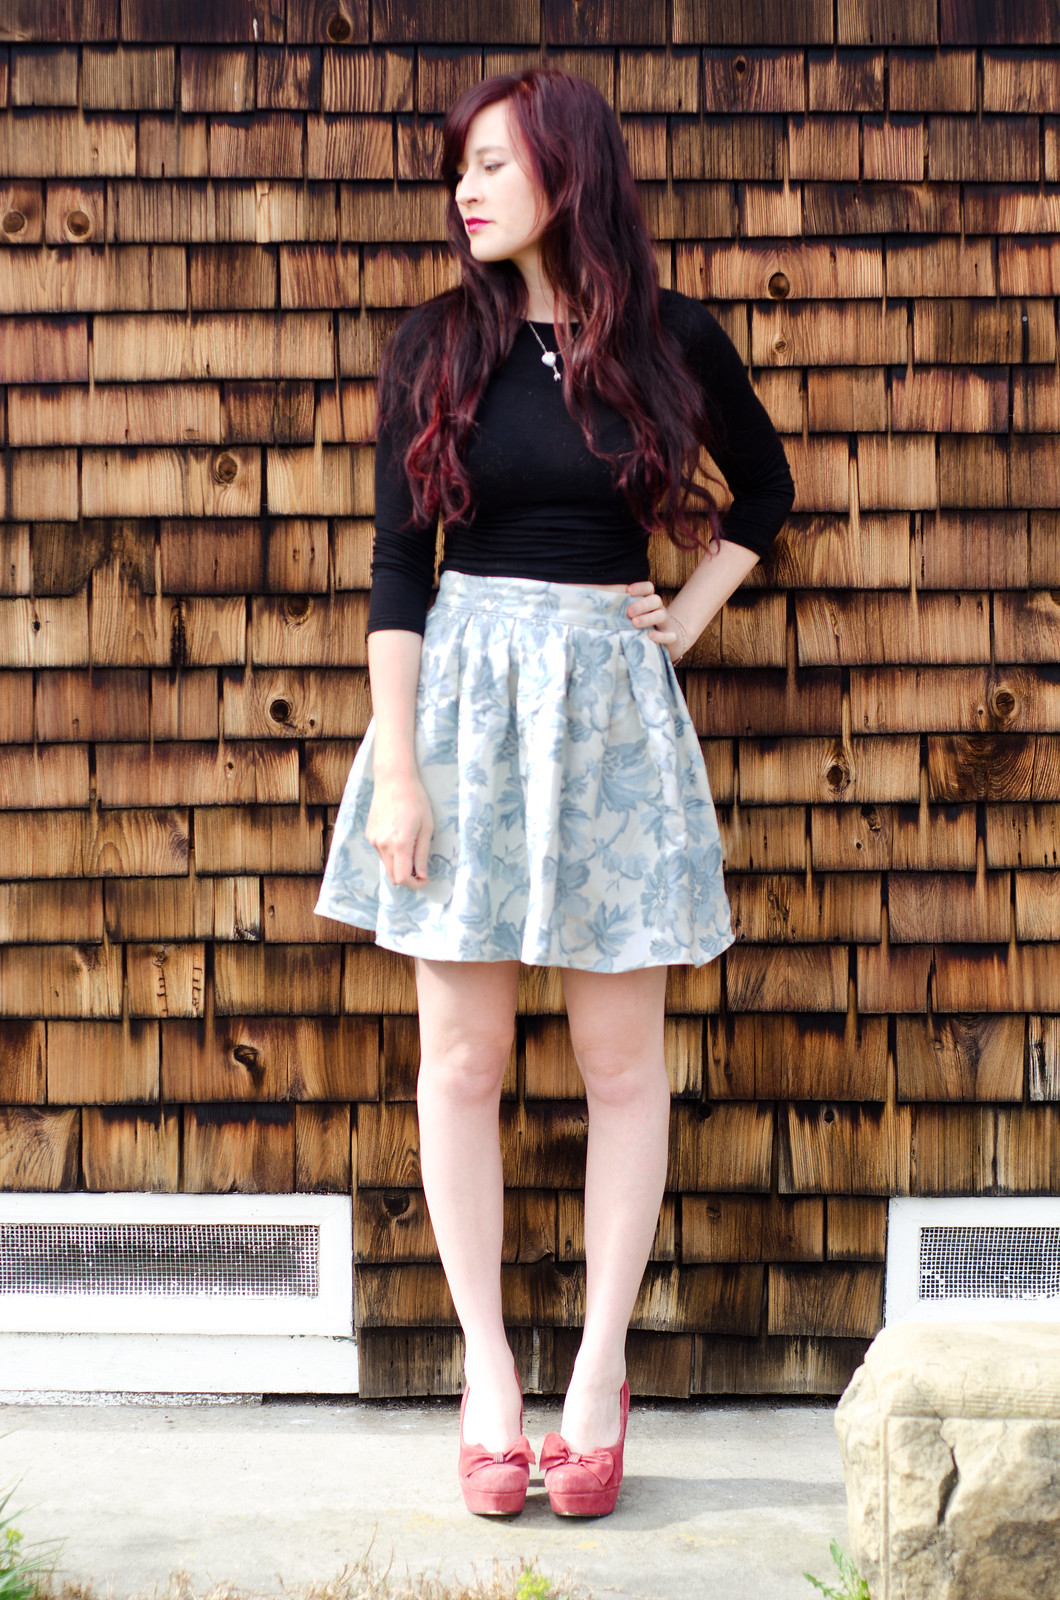
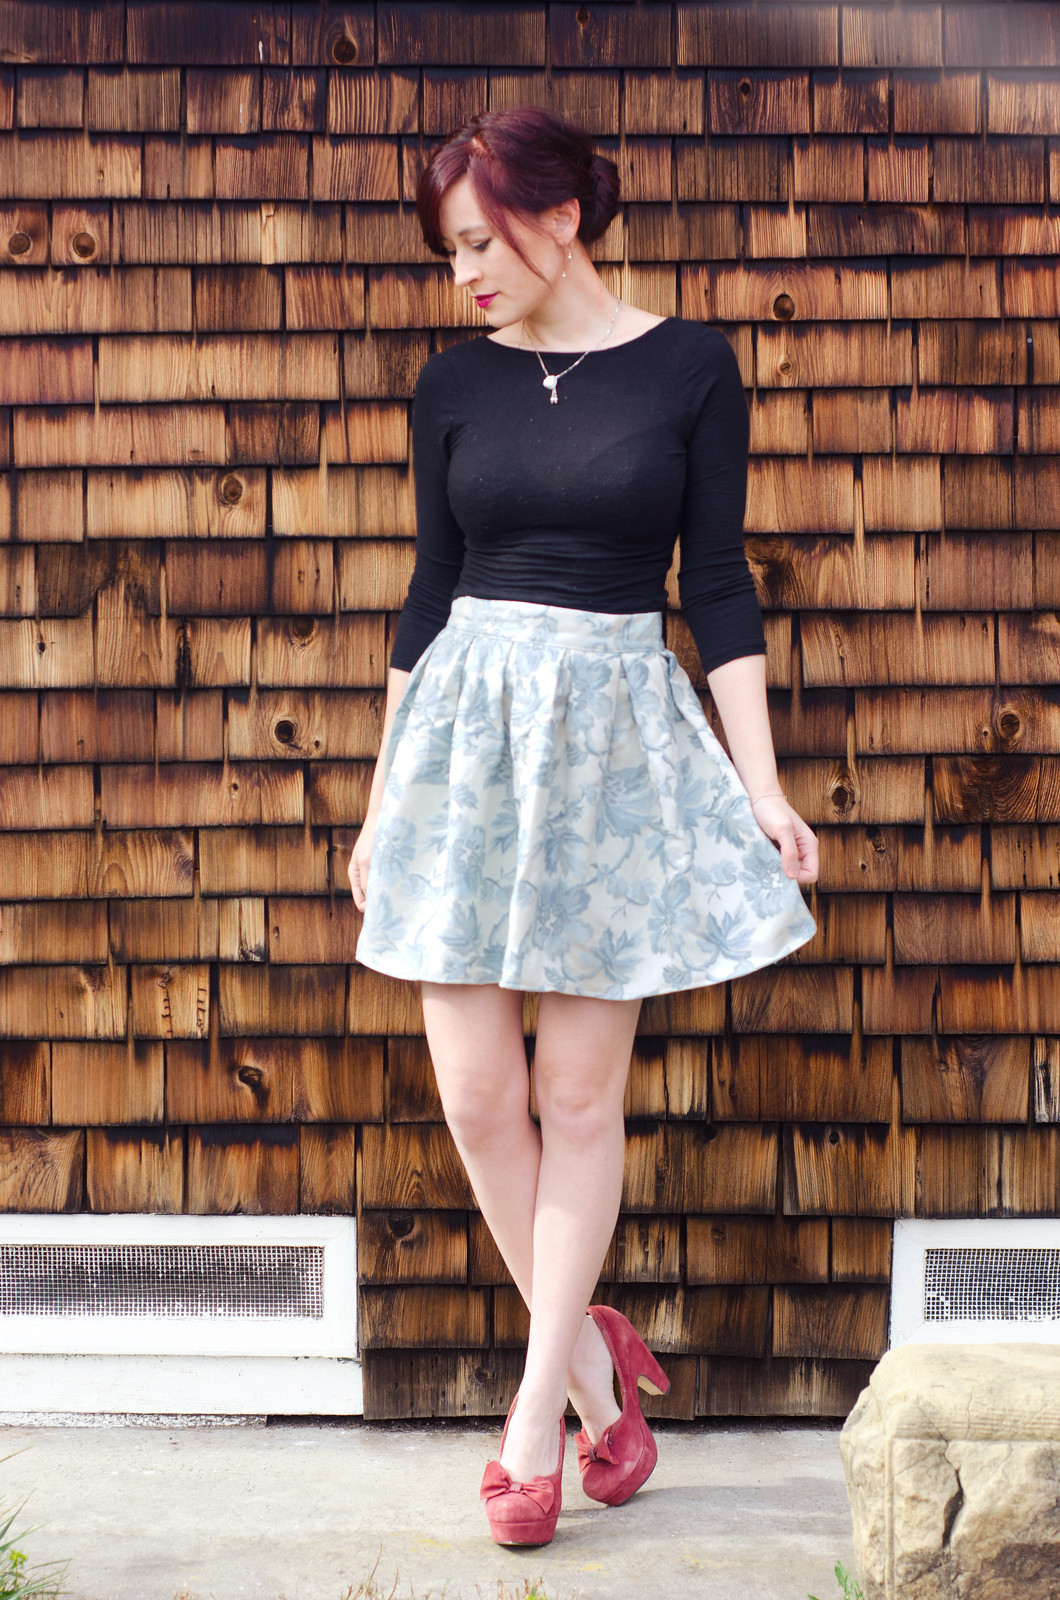
I actually made this skirt ages ago but it’s taken me forever to photograph it. I picked this fabric up at a rummage sale for something like $3. At first it was going to be some kind of zippy crop top, possibly with a peplum. Then I decided I would probably never wear that and fell down the rabbit hole of brocade skirts on Pinterest. Then it was an issue of whether it should be a Moss skirt, a pleated skirt, or something in between. I decided to go with the pleats.

It’s pretty basic, really. The Armstrong book talks about all kinds of technical shenanigans for making pleats but to be honest, I just measure out a waistband in the right size and then fuss with the pleats until they fit the waistband. The result is probably not quite as neat as it could be, but meh.

Helpful pleating tip: regardless of whether you measure out your pleats ahead of time, try to angle them so the inside fold of the pleat sticks out past the edge of the fabric. This keeps them from splaying open and keeps them nice and neat.

The top is actually a cropped Nettie top that I’m wearing backwards. It’s not technically meant to be reversible but I was getting dressed one day and the low scoop neck didn’t quite work with the outfit so I decided to try turning it around. The shoulders end up being slightly off but not really noticeably.

Now excuse me while I go pet the kitty who is currently indignantly meowing because I ignored him while I finished taking photos. (For the record, after that photo, he settled about halfway between me and the camera and licked his bits — out of view, thankfully.)
Refashion // beads & silk

Kimono refashion

Kimono refashion

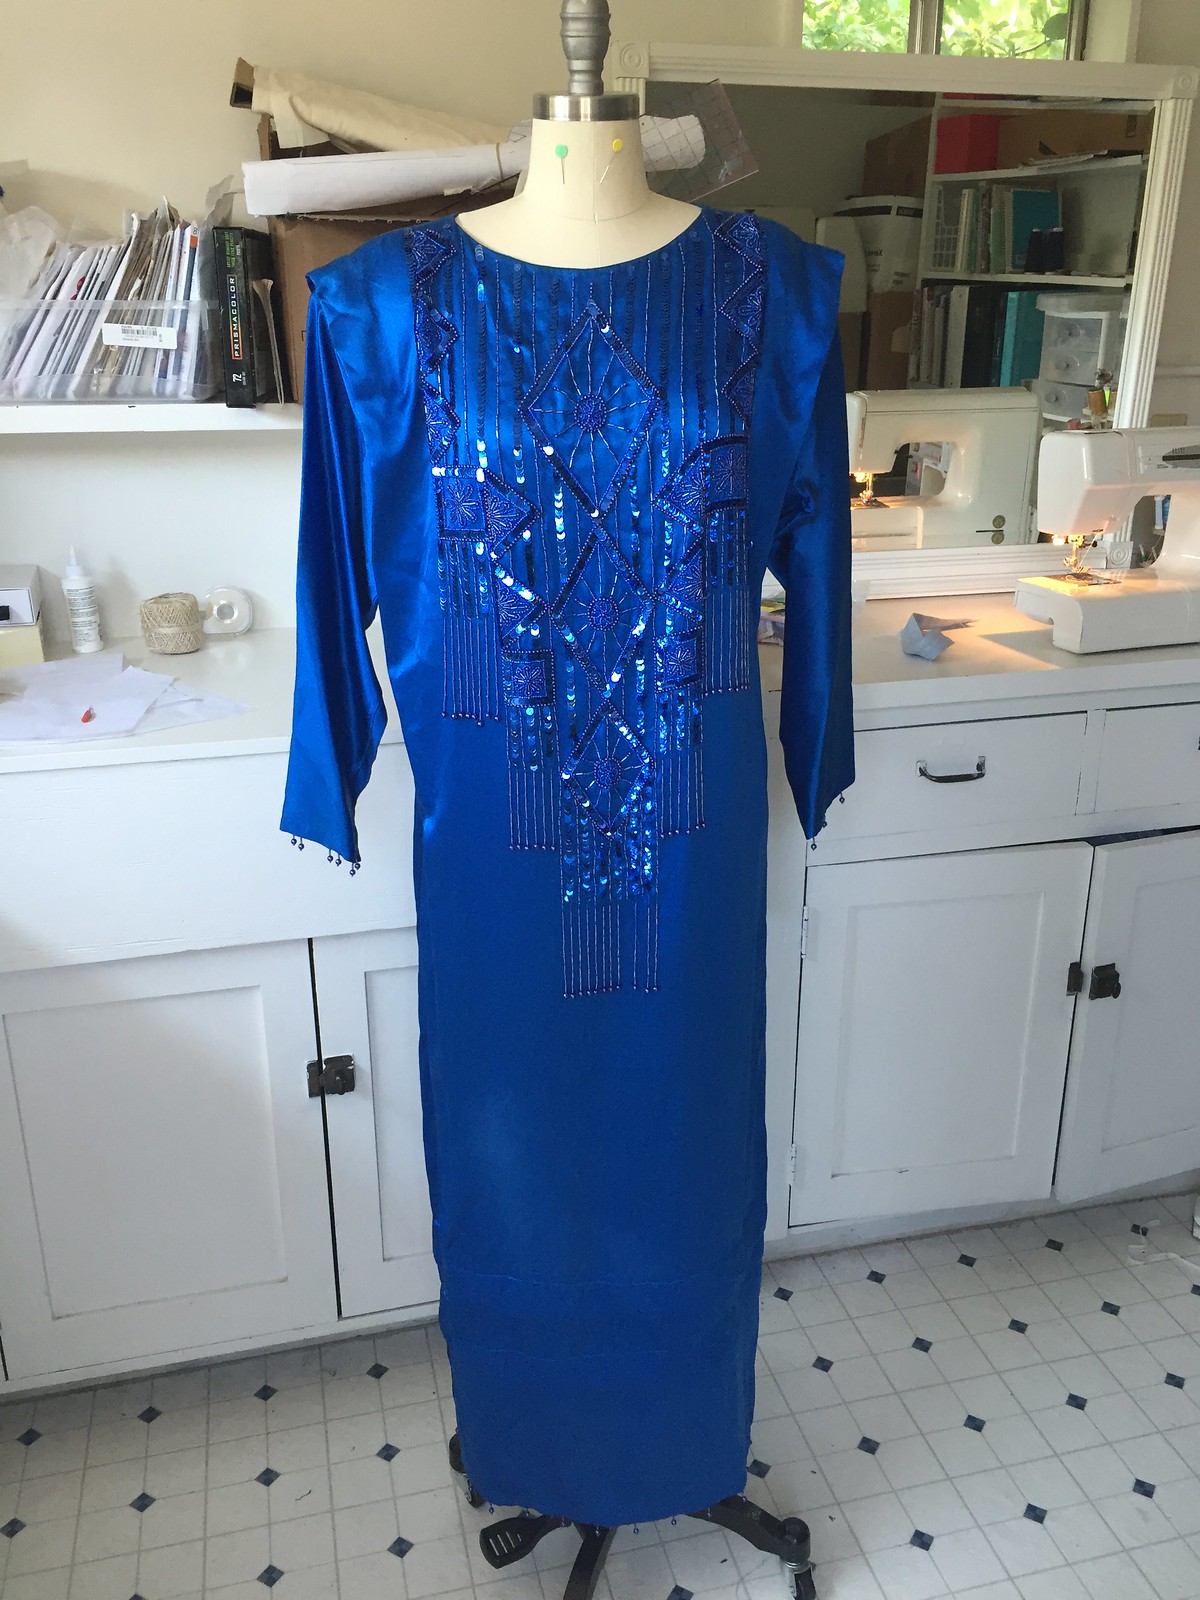
Vintage silk beaded dress refashion

Vintage silk beaded dress refashion

Kimono refashion

Vintage silk beaded dress refashion

Kimono refashion

Vintage silk beaded dress refashion

Kimono refashion

Vintage silk beaded dress refashion

I got a bunch of really gorgeous vintage dresses from one of Boyfriend’s relatives a few weeks ago and I was so excited about this one I dove right in and finished it in two days.

Kimono refashion

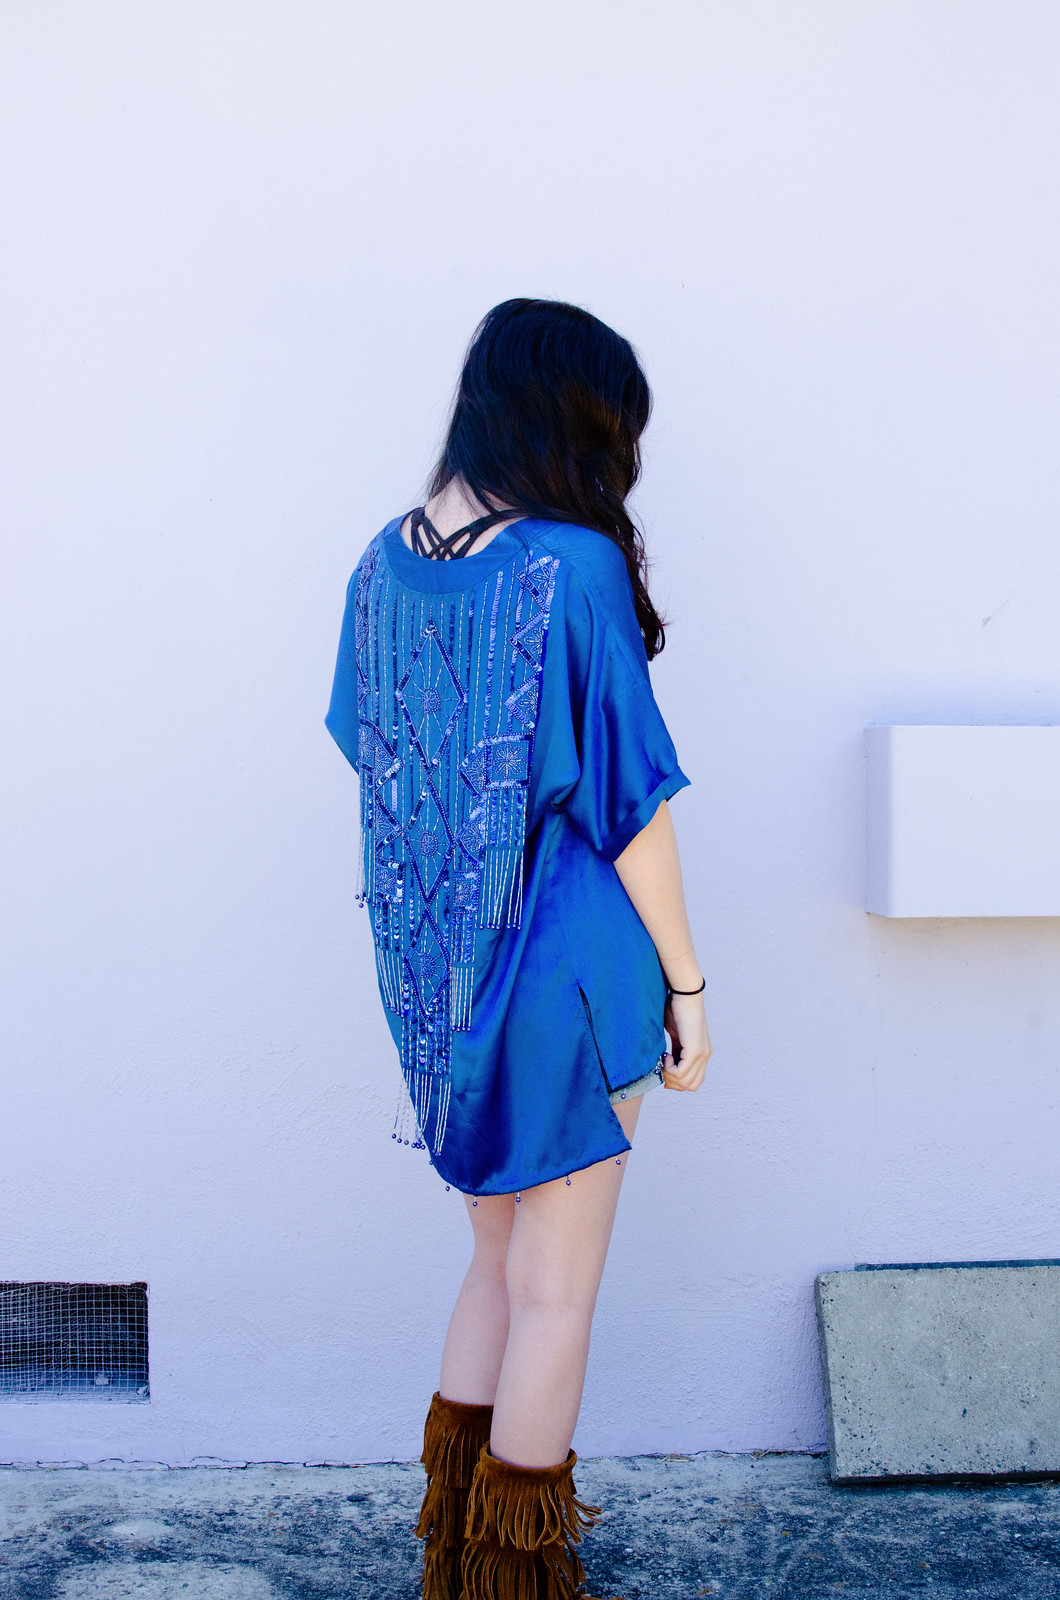
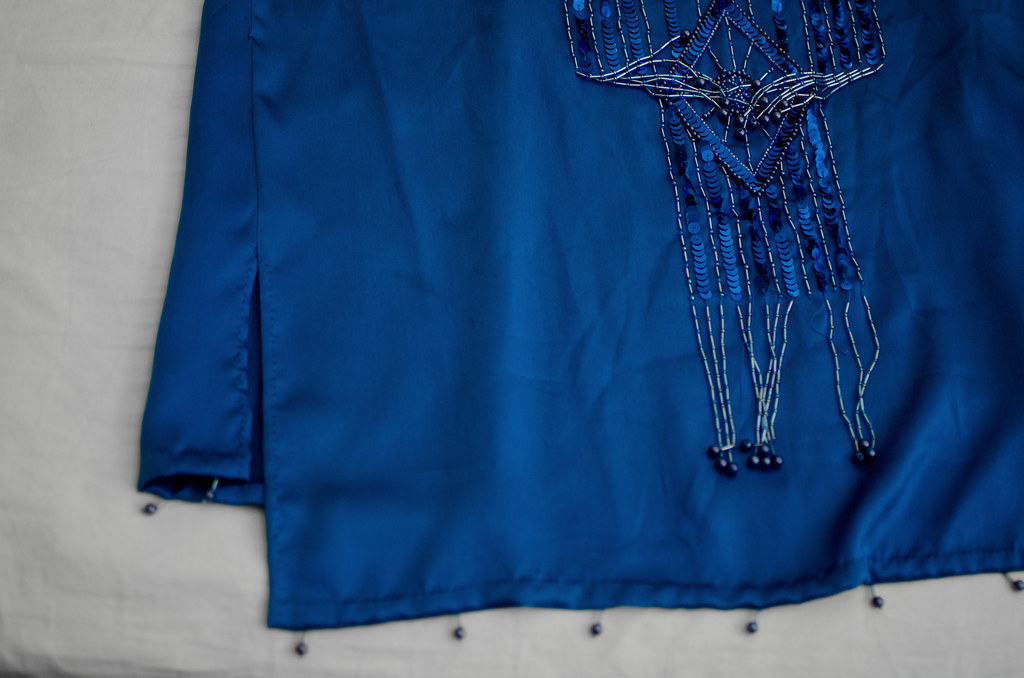
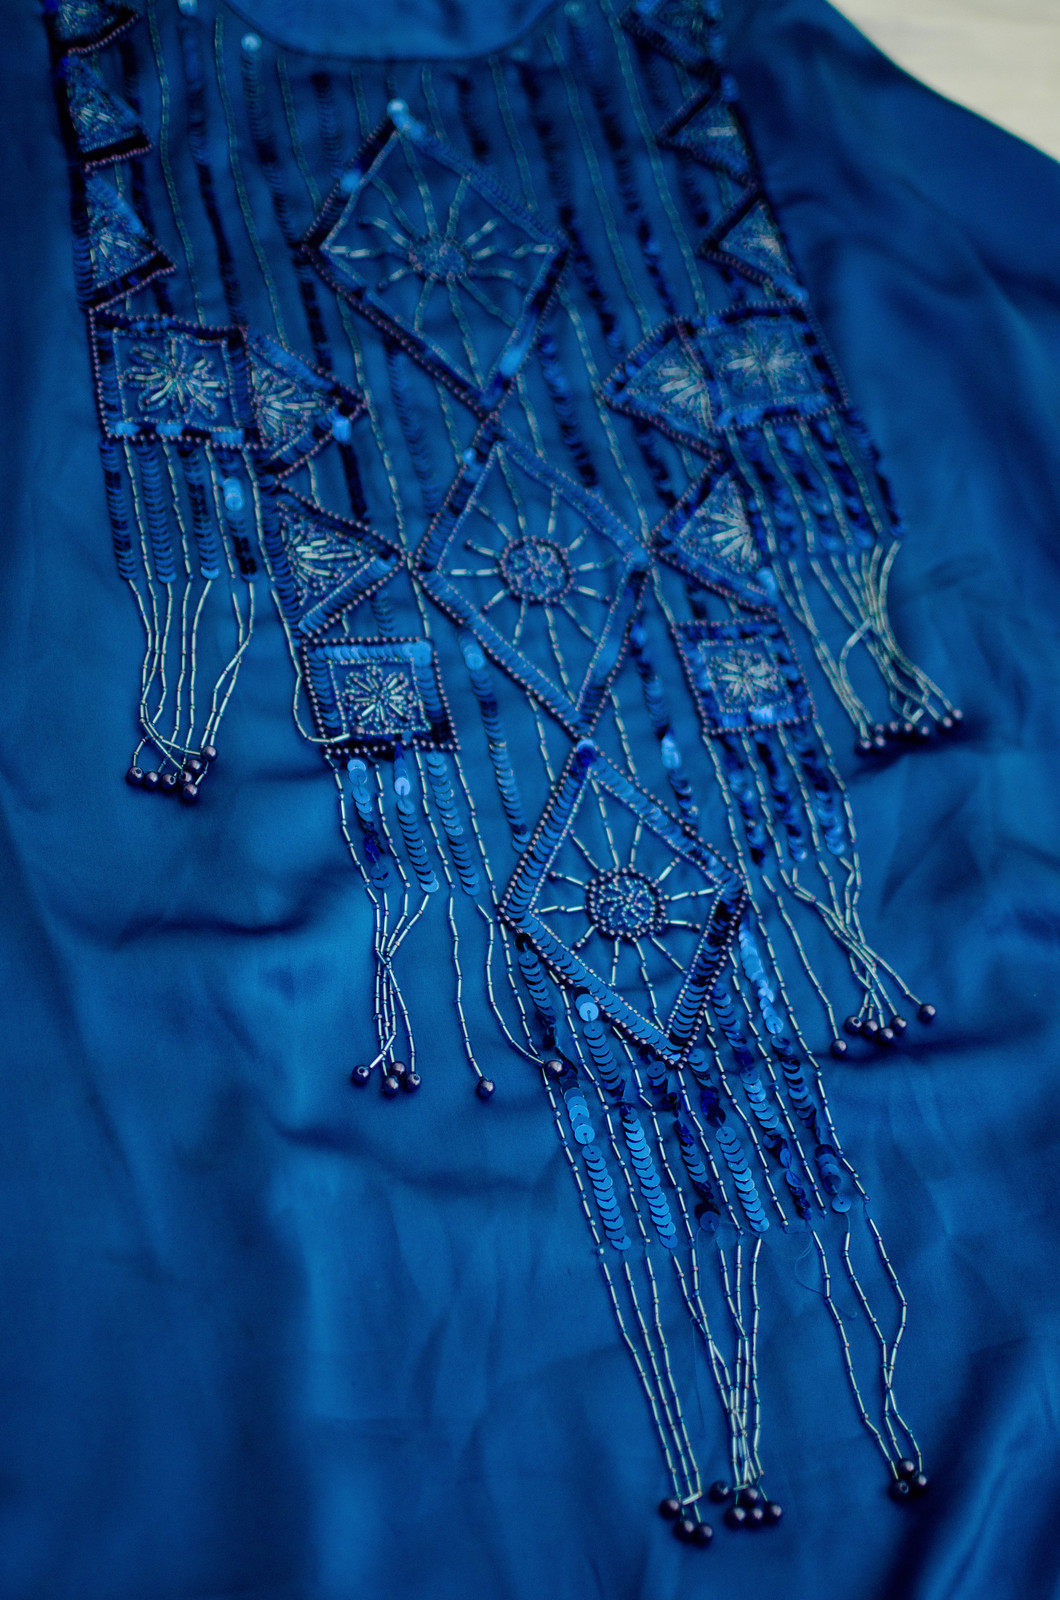
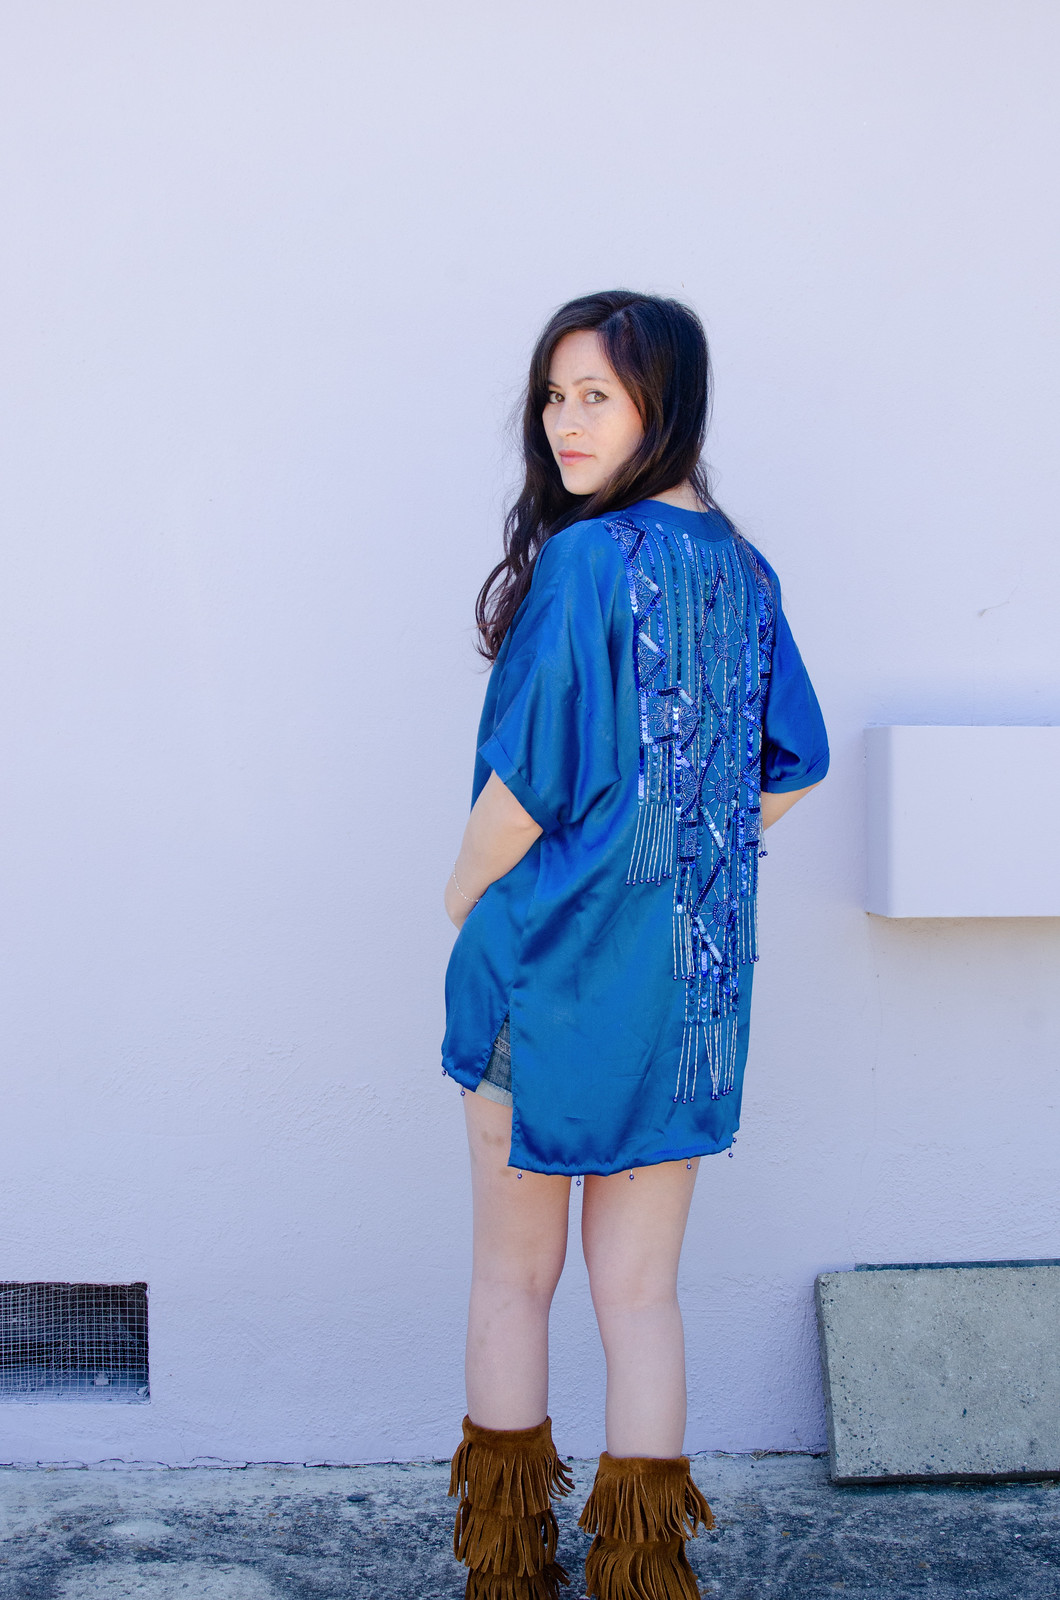
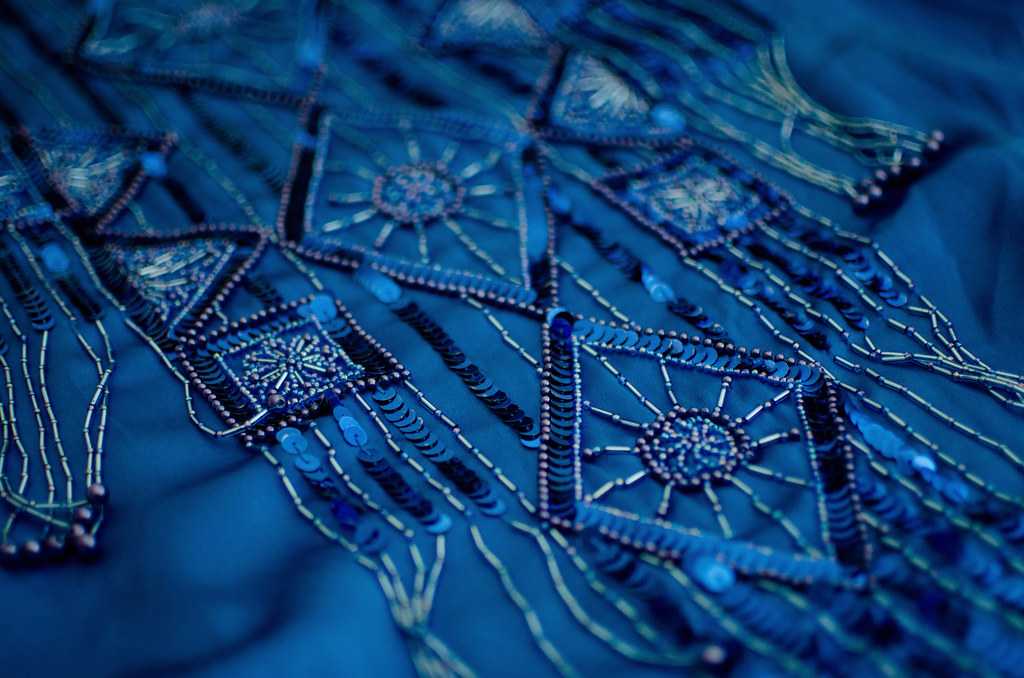
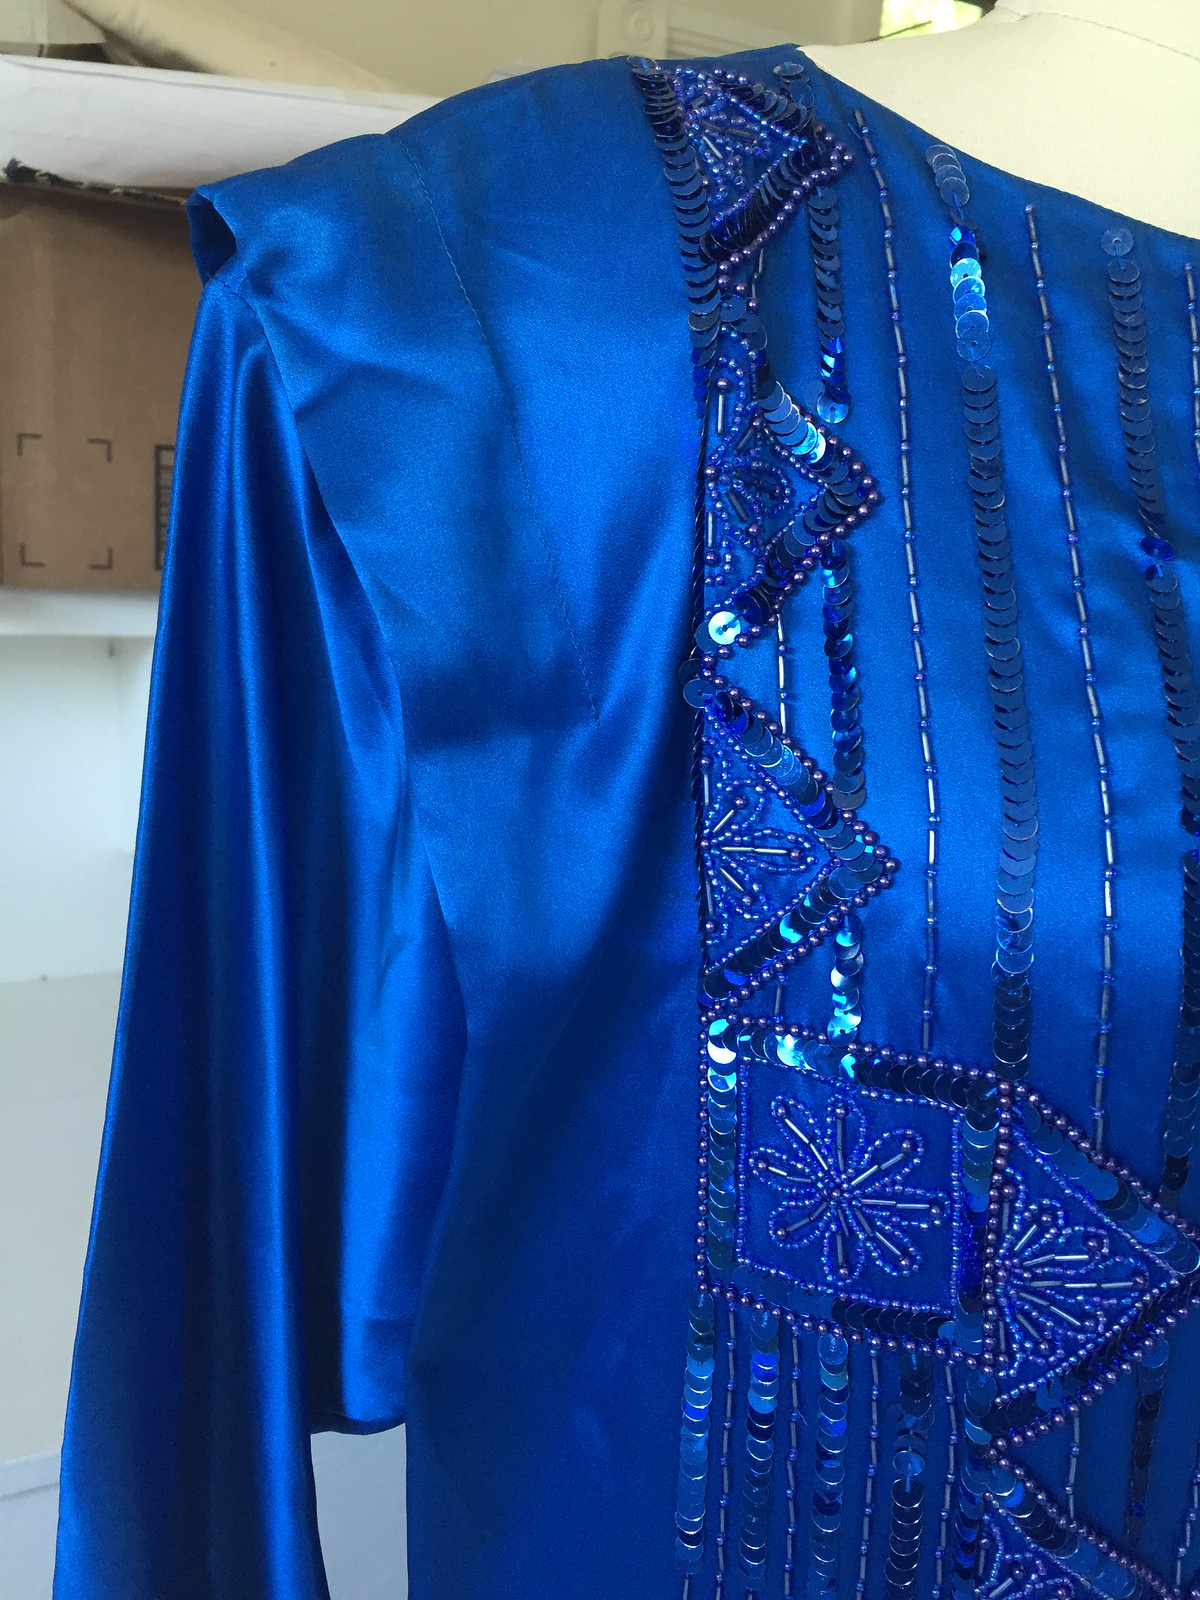
But let’s back up. This started out as a bit of a monstrosity. There were shoulder pads, shoulder flanges, no shaping darts anywhere, and awkwardly long sleeves. There was, however, the most gorgeous beading all over the back, as well as on the edges of the bottom and sleeves. Plus, it’s 100% silk and has the most luscious drape.

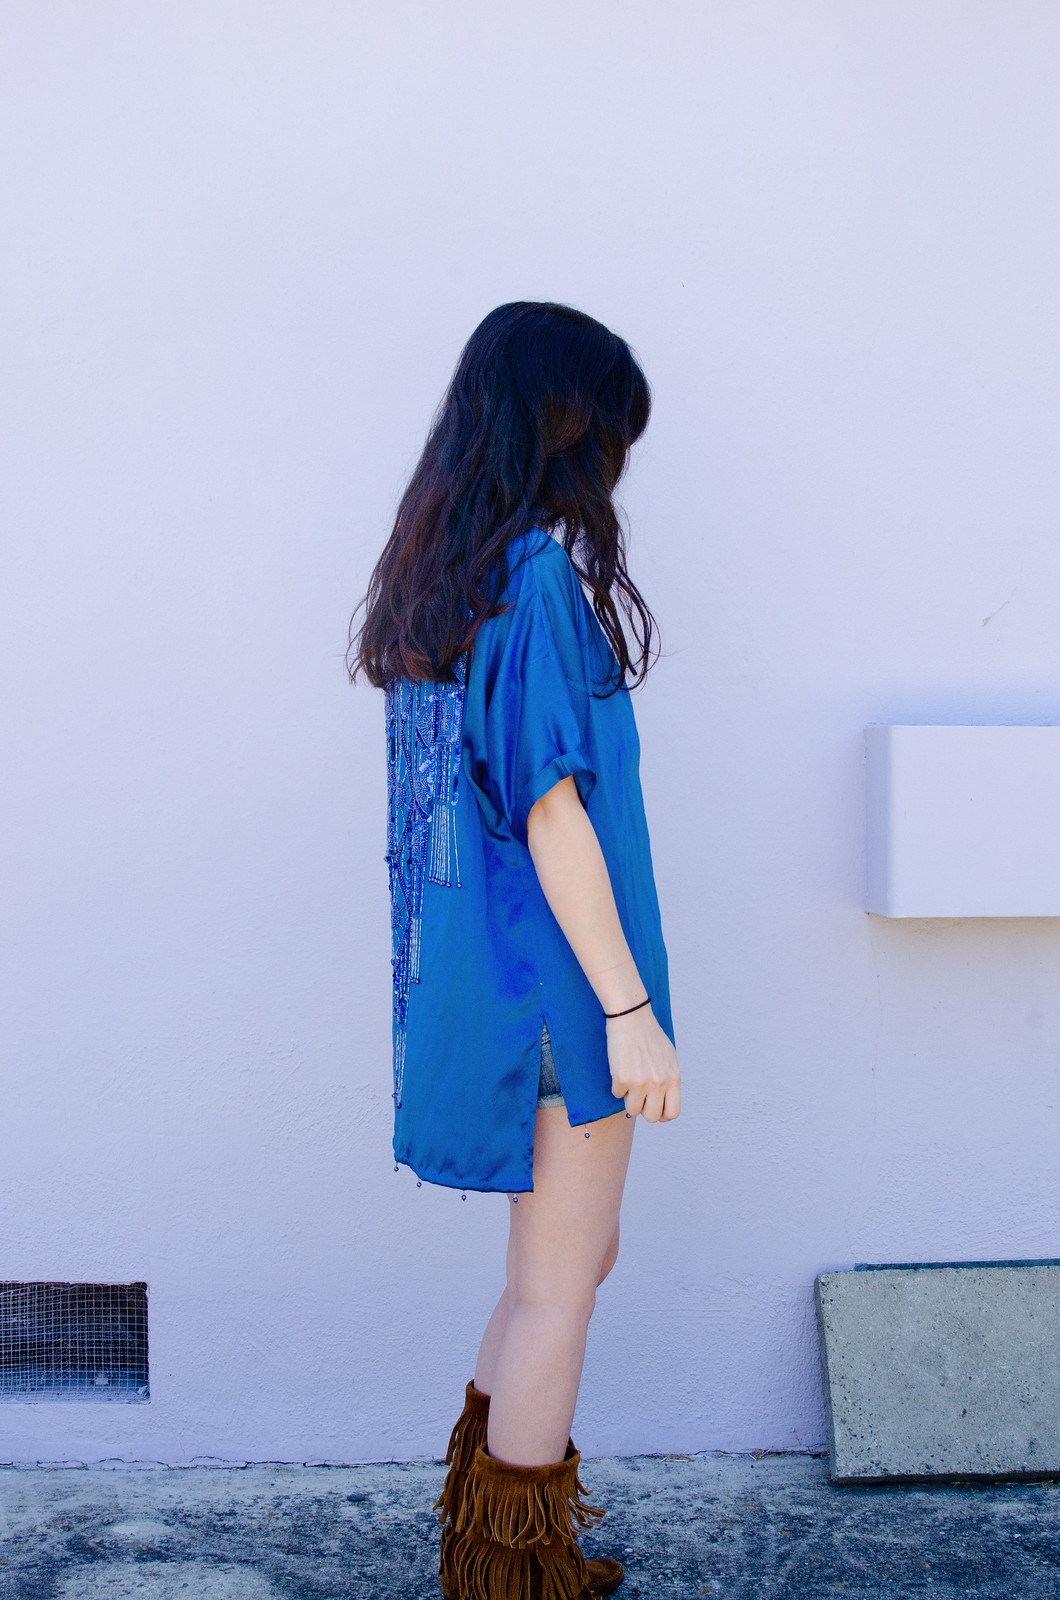
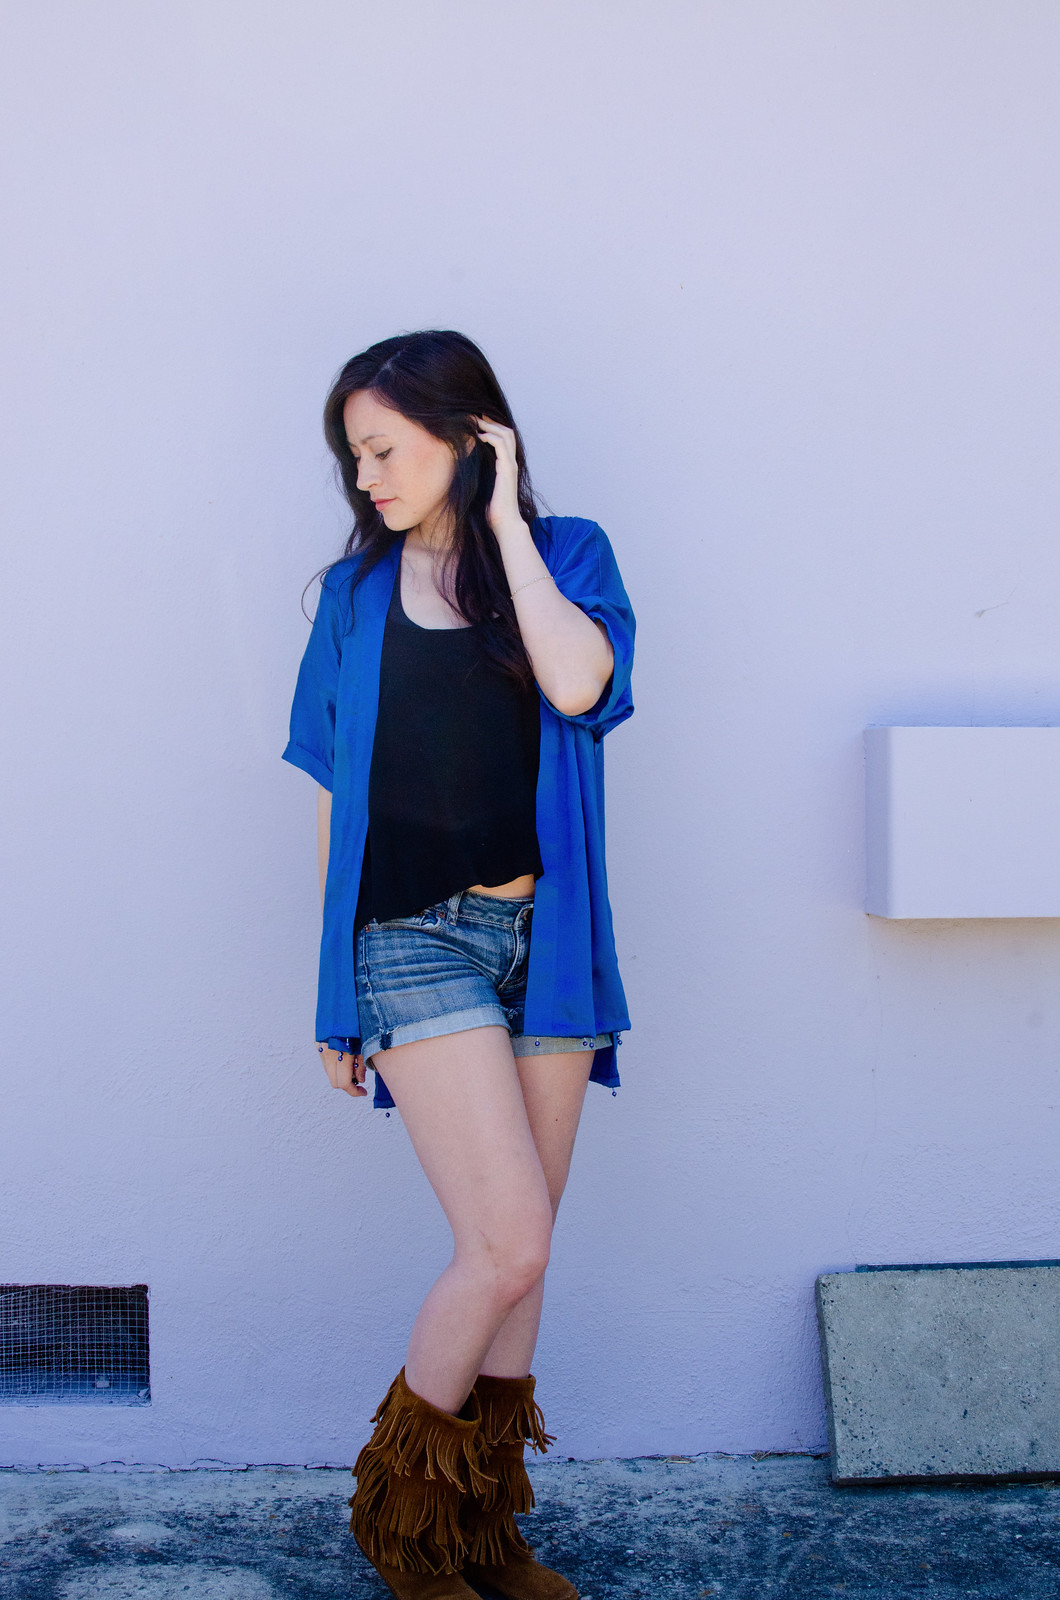
I knew immediately that I had to keep the beading all in on piece and not mess with it at all. I toyed with the idea of doing some kind of short shift dress, but all of the beading just seemed too heavy for that kind of design. Then I had one of those light bulb moments and realized that it would be much better balanced if I just turned it around and put the beading on the back.

Kimono refashion

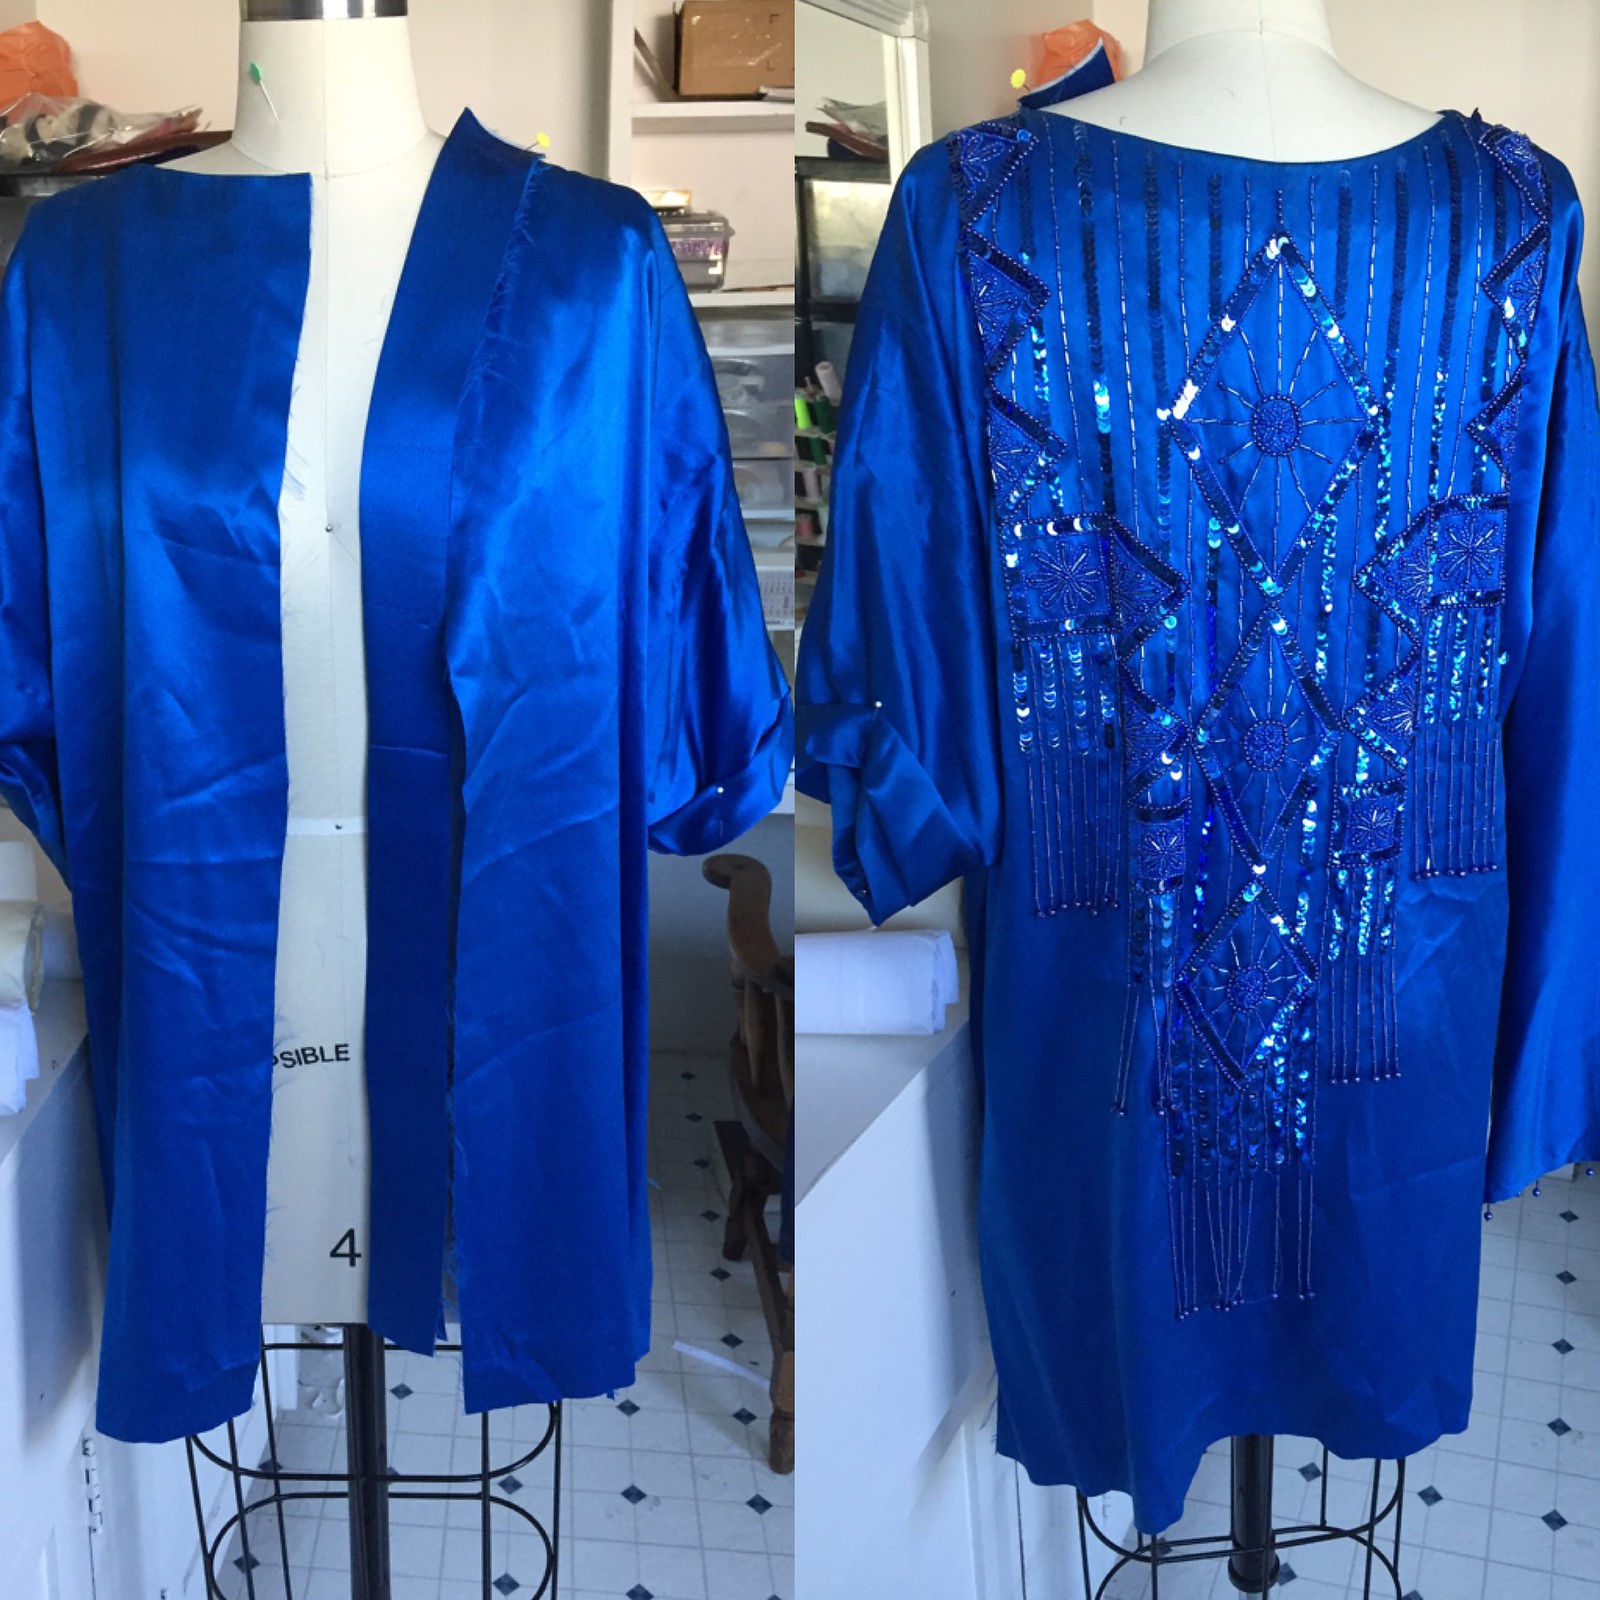
Once I had a design idea, the first thing I had to do was a lot of careful seam-ripping. I unpicked the shoulder flanges and then undid the side seams up to about where I wanted to hack off the skirt. Then I did a lot of procrastinating before actually slicing off the skirt.

Kimono refashion

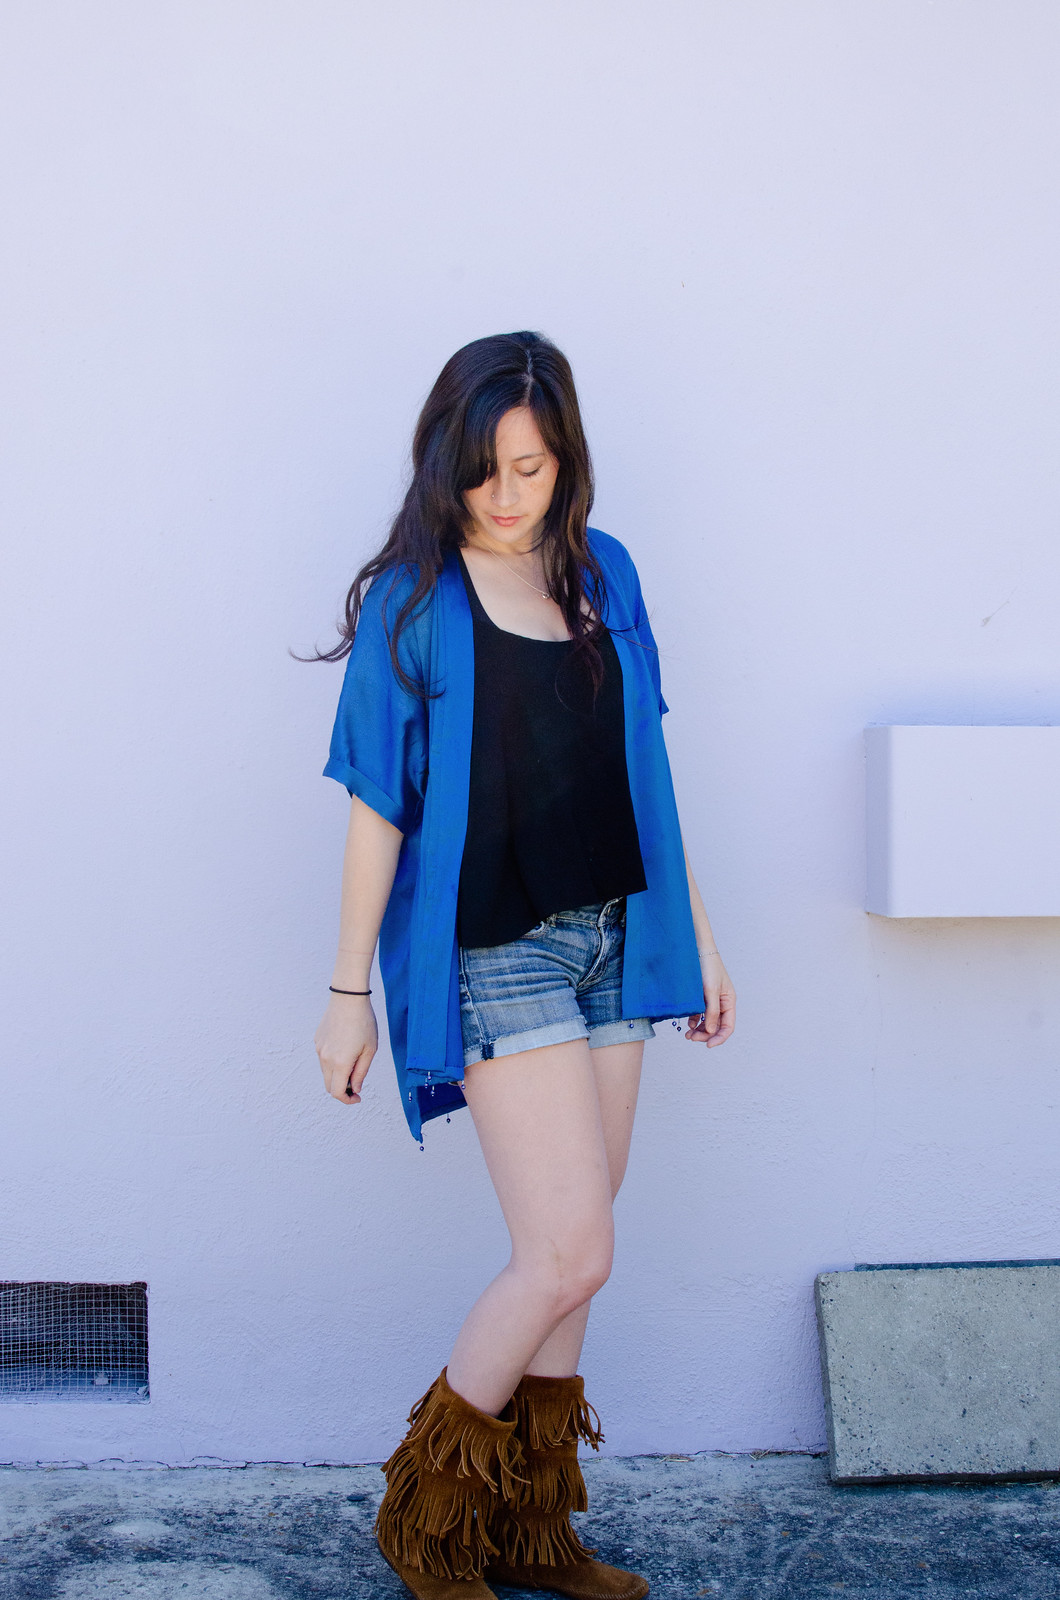
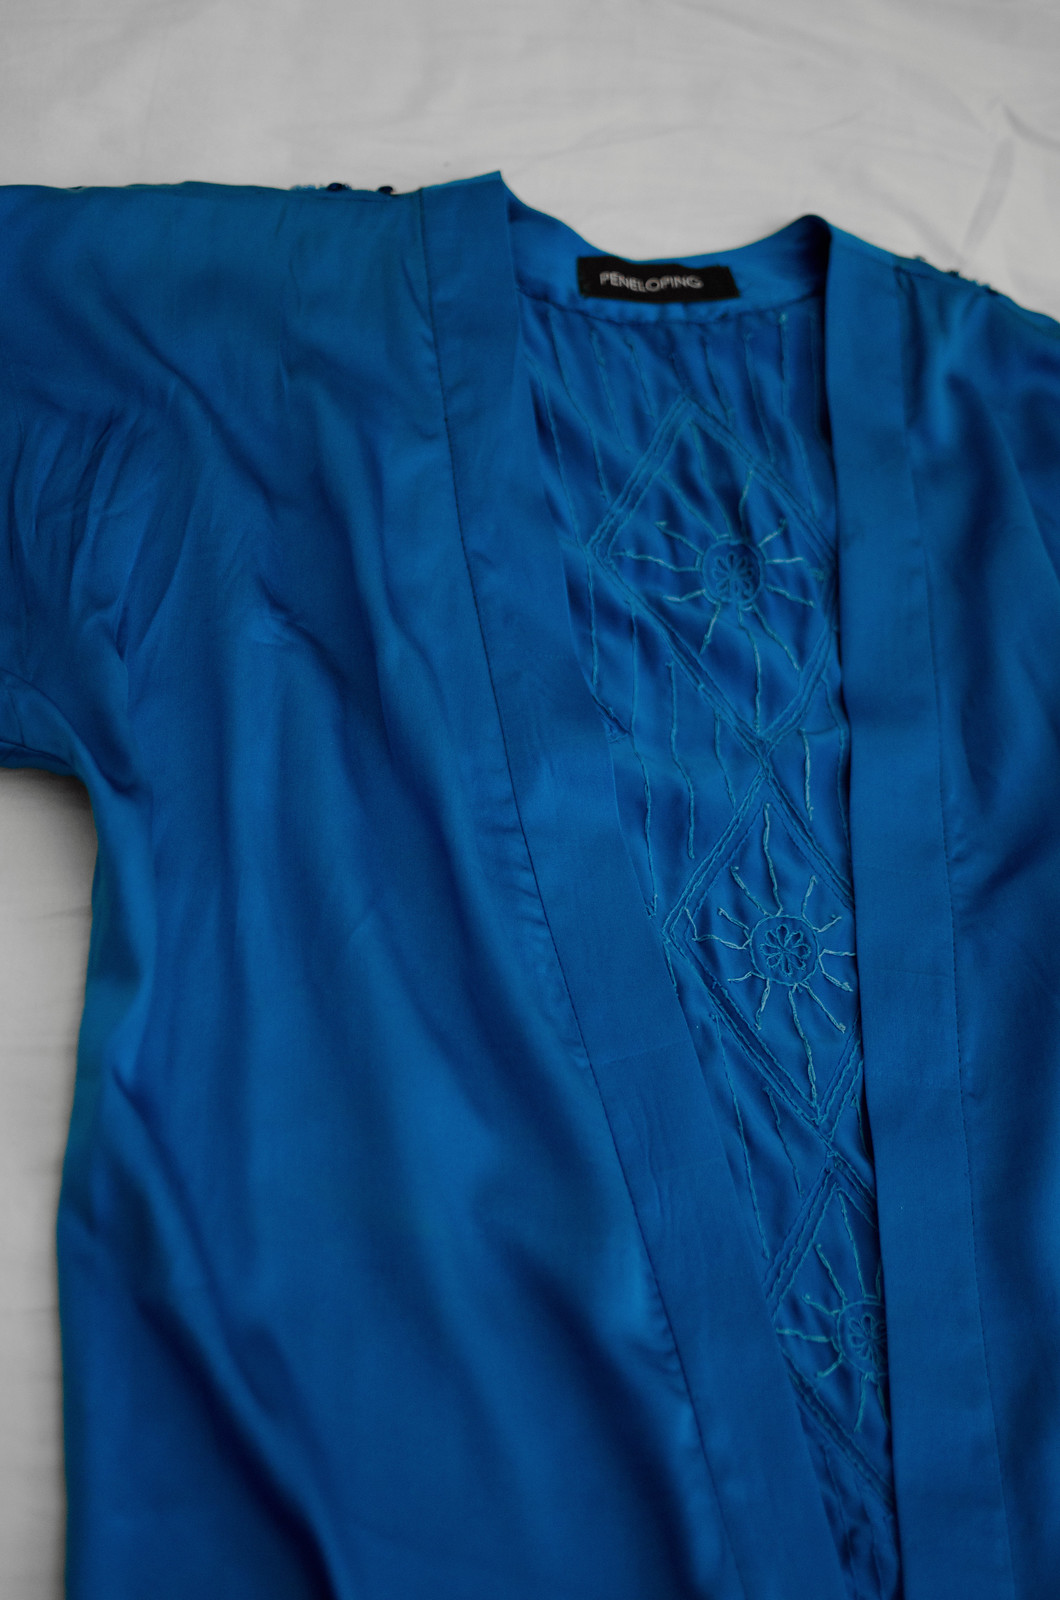
You guys, cutting into this thing was SO nerve-wracking. I chewed on my nails for a while and then just went for it. I decided I wanted a high-low thing going on at the hem so I measured and cut accordingly. The front is 3″ shorter than the back. Then I cut straight down the center back which would become the center front opening. I took the excess skirt fabric and cut long strips that would become the center front panels, and reshaped the front neckline to get a more kimono-esque shape. I also had to draft a back neck piece, which I sewed to the front panel strips, and unpick the facings, which I felt inordinately guilty doing since they were so beautifully sewn in.

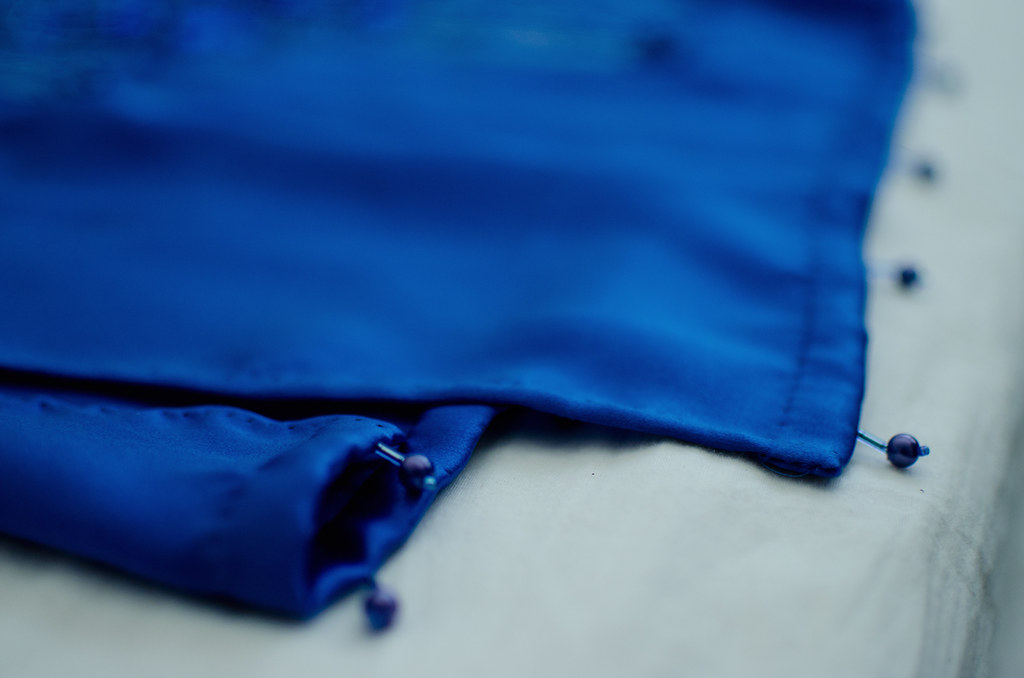
After that was a ton of hand-stitching. I sewed one side of the front panels on by machine but pretty much everything else was done by hand, including re-attaching all the beading to the bottom hem. I’m debating also adding beading to the end of the sleeves but haven’t decided if that would be a nice balance or just be too much.

Either way I absolutely love how it turned out. It’s super swishy and fun to wear. Actually I didn’t realize until just now that I subconsciously picked my swishy Minnetonka boots to wear with it. Multi-swish! I’m literally slightly bummed that it stands out so much because I keep wanting to wear it every day. (I finished it a week ago and have worn it like three times already.)

(And yes, I should steam that back hem again. Wherps.)

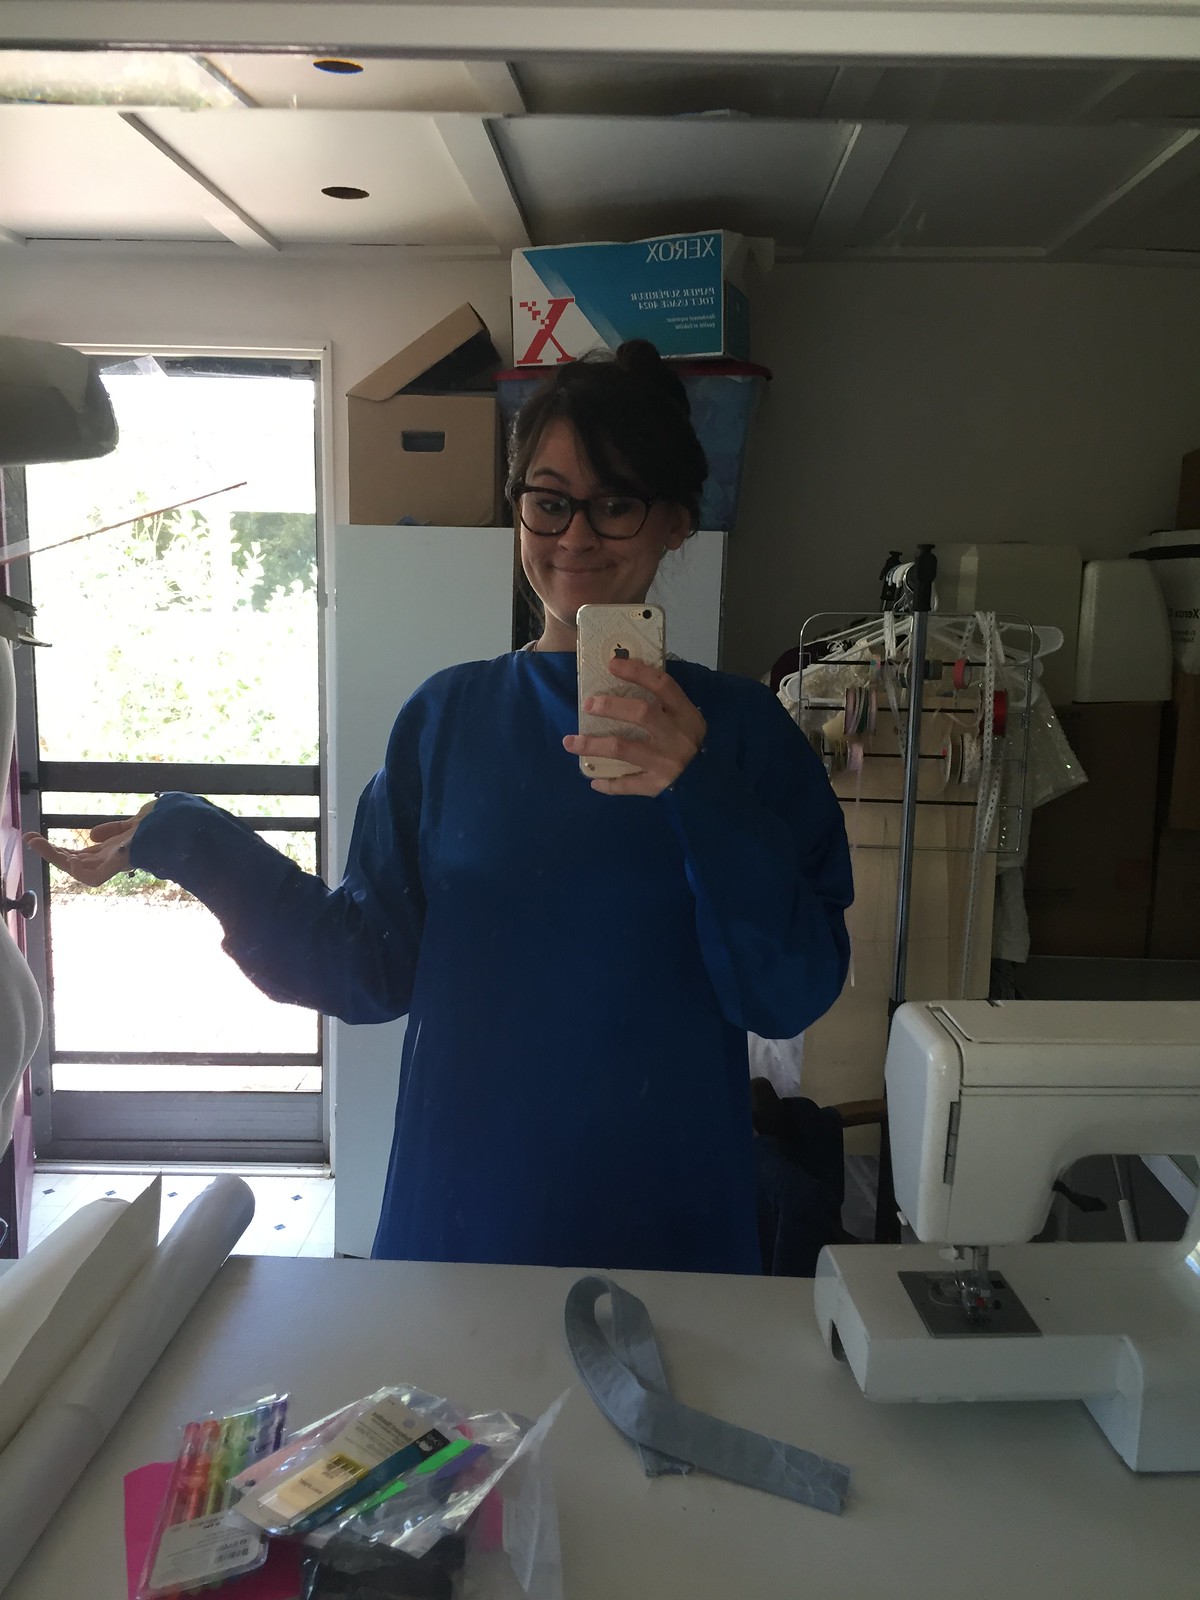
Anddd I’ll leave you with a photo of me looking utterly ravishing in a backwards shoulder-padsy dress.

Kimono refashion

Lady velvet

IMG_5089

IMG_5133

IMG_3825

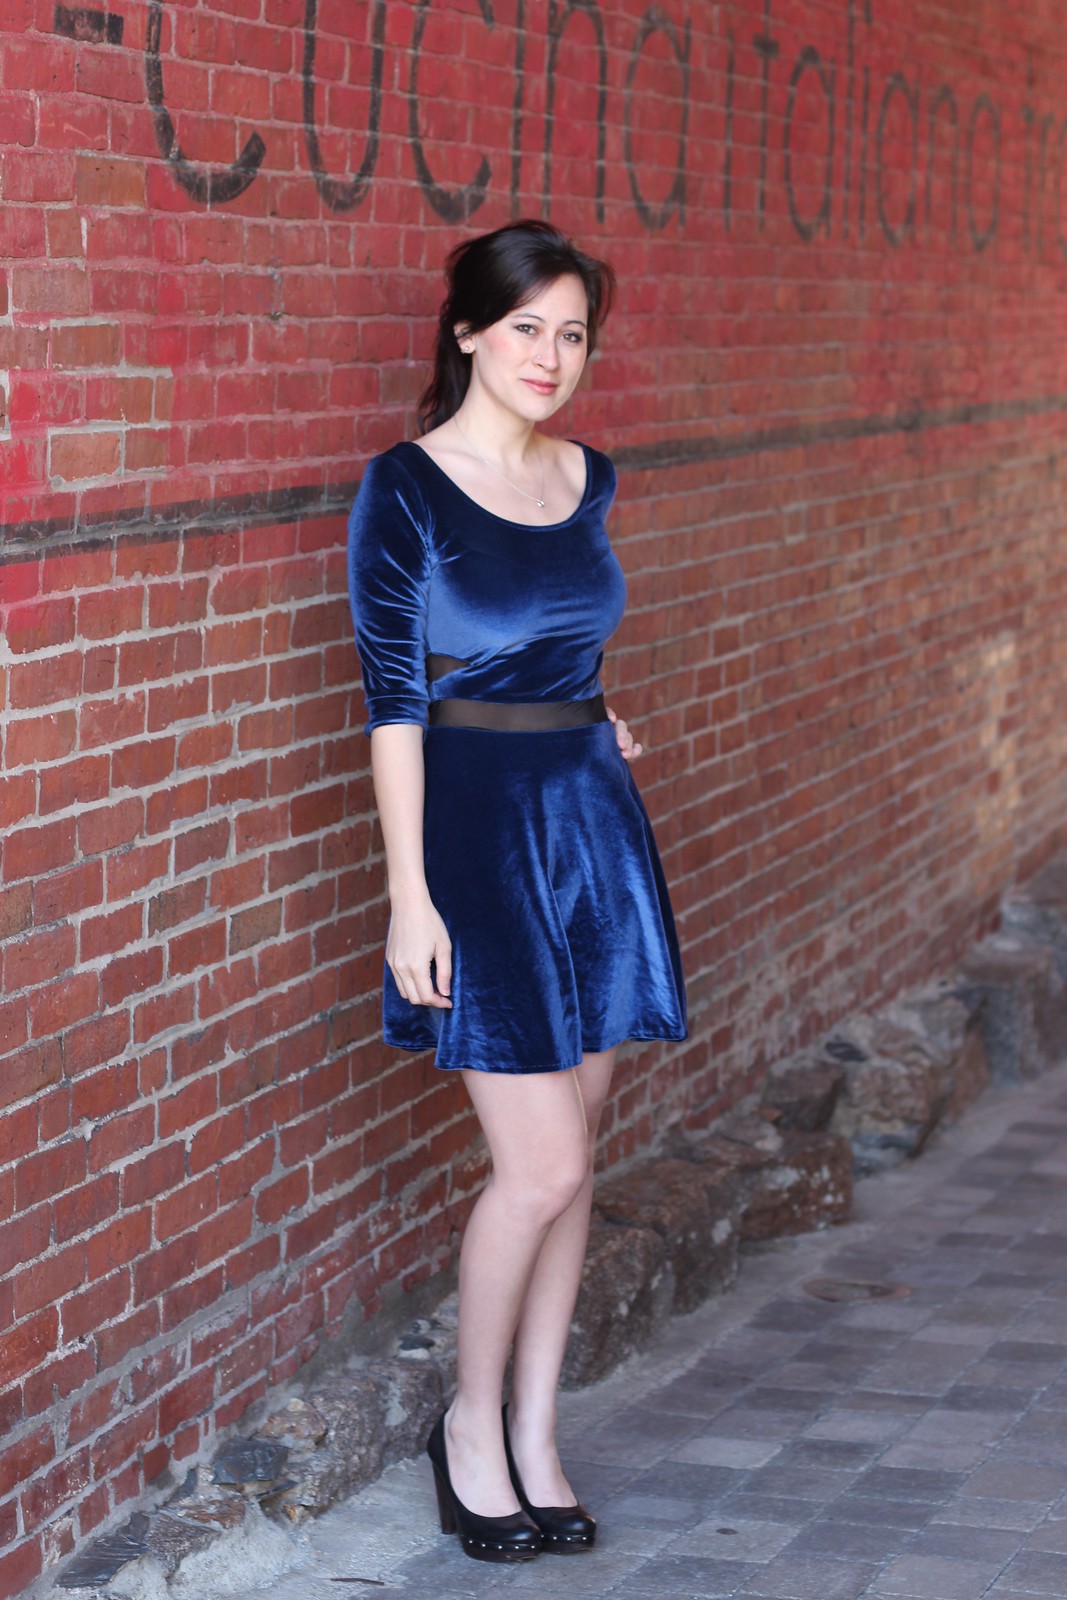
IMG_3822dress: self-made, pattern here // shoes: Seychelles

*The fabric for this project was provided by Funki Fabrics and all opinions, anecdotes, and messy hand-stitching are my own.

I feel like a lot of my project posts start off as “So Katie from Skunkboy posted this awesome outfit and I ran off and copied it.” This is not dissimilar from those. At least it’s not Dear Creatures for the umpteenth time!

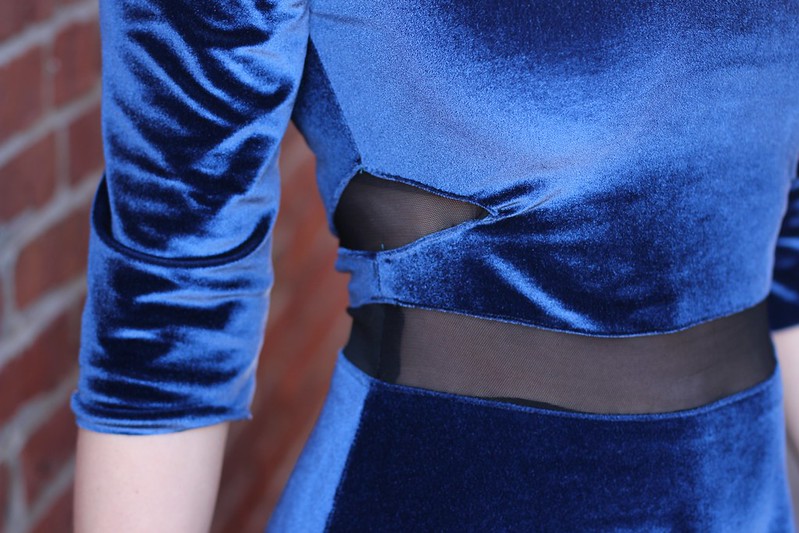
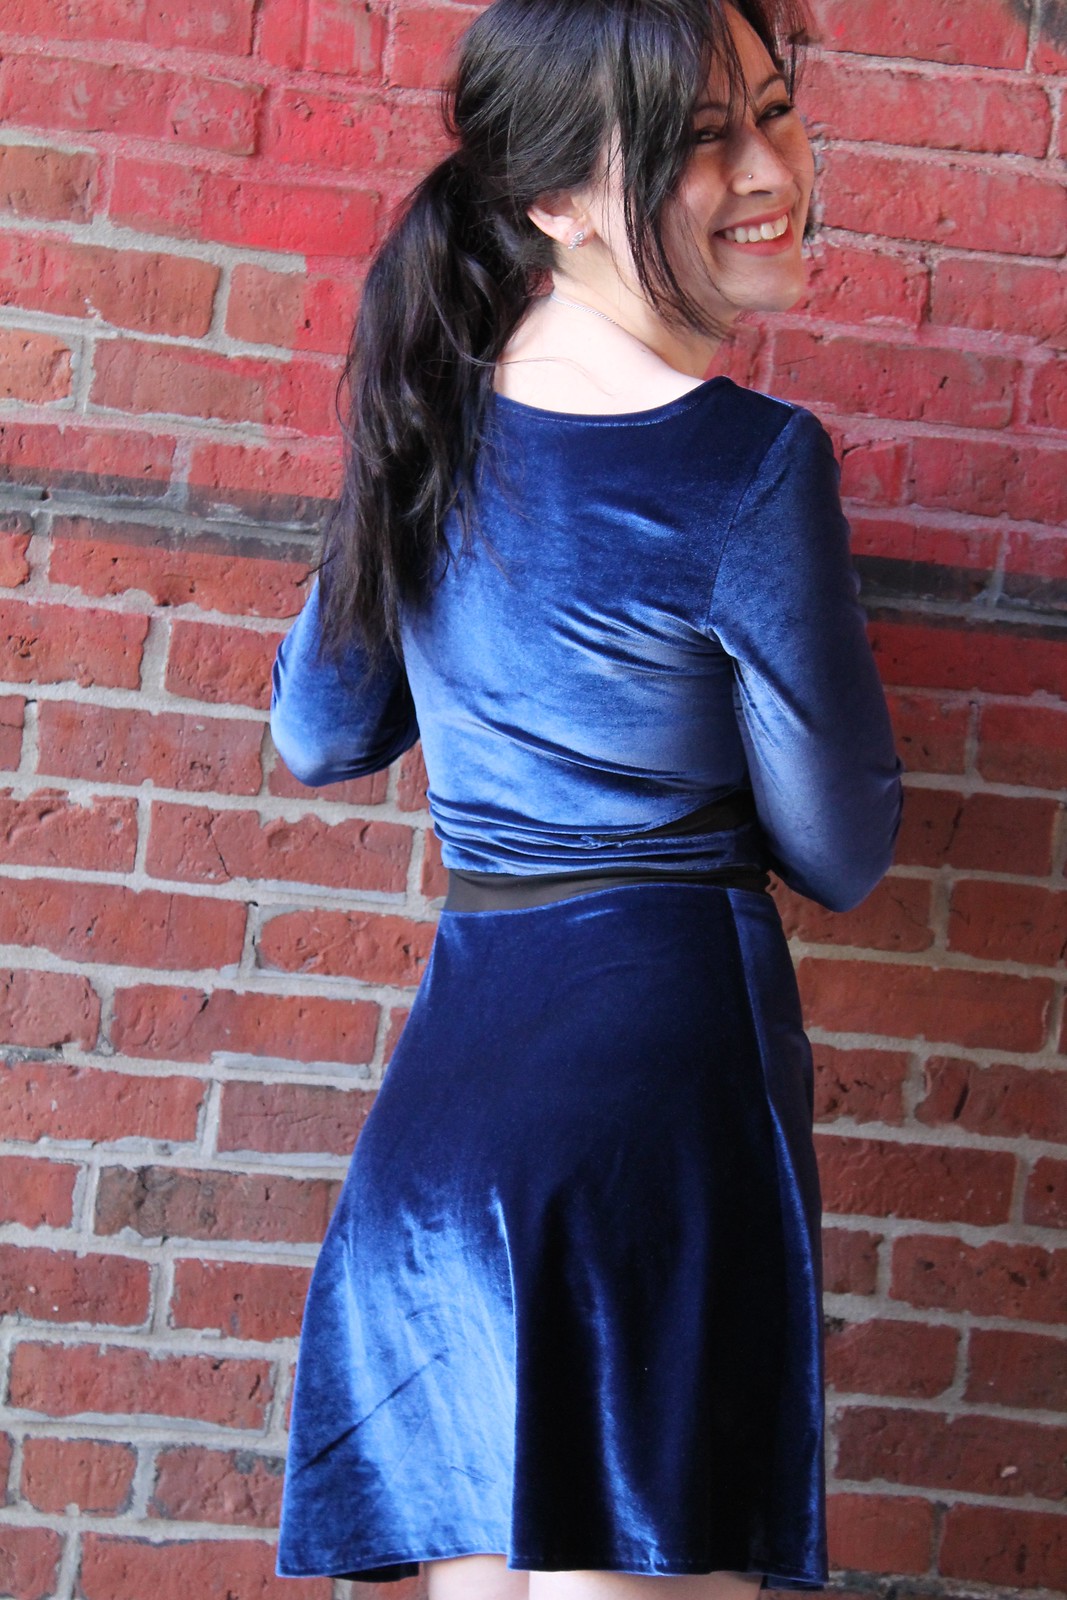
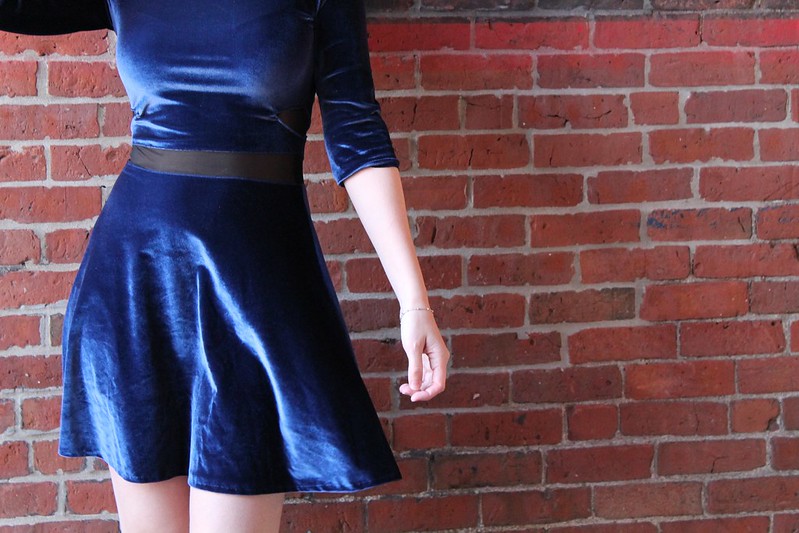
This dress was inspired by a Black Swan dress that I decided needed to be made in navy velvet with black mesh detailing. Funki Fabrics had just reached out to me about doing a collaboration and their navy stretch velvet sample was everything I was looking for for this project.

I started off with a lady skater and didn’t change too much. I omitted the neckband and arm bands to start. I also hacked off about 1″ from the bodice and 1/2″ from the top of the skirt. I cut a 1.5″ rectangle of black stretch net and sewed it between the bodice and skirt, and then top-stitched to keep it in place. Easy peasy. For the diamond cutouts, I drew up the shape I wanted, cut it out of the dress, and sewed mesh bits in by hand. They’re a bit messier than I would have liked; sadly my Bernina is sick and I’ve been using the back-up Brother which is just not up to working with difficult fabrics.

I think if I were to do this project again I would either leave out the diamond mesh cutouts or use a more stable knit. Or you know, have a decent working sewing machine. Hah.

Because peplum

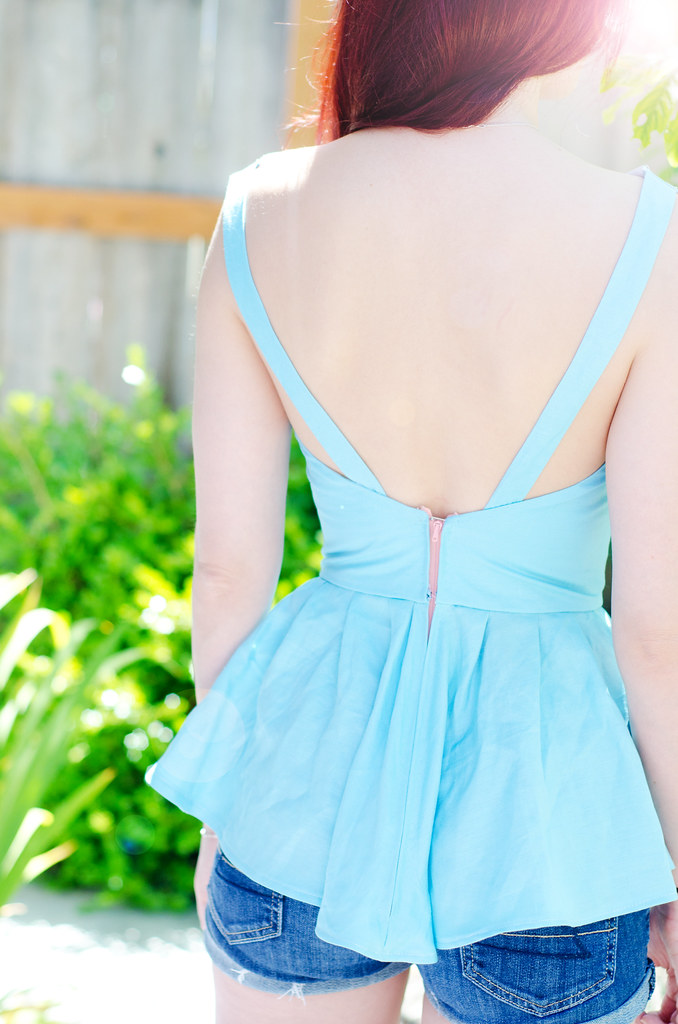
Burdastyle open back peplum

Burdastyle open back peplum

Burdastyle open back peplum

Burdastyle open back peplumtop: self-made, pattern here // shorts: AE // earrings: c/o Michal Golan

Burdastyle generously provided a copy of the pattern for this post, but all opinions, thoughts, and ramblings are my own.

I’m so so excited about how this top came out but there was quite a process to get here. I started off with a gorgeous purple and white stripey fabric that was going to be an epic backless maxi dress. Except then I remembered that something like that is pretty far out of my wardrobe comfort zone and would rarely get worn so I decided to go with something a little shorter, possibly with a bow in the back. And then I was doing some spring cleaning and came across this lovely pale blue linen blend and remembered when I pinned this top and decided that I was going to go with a flouncy hi-low peplum top instead of adding yet another dress to my ridiculous collection.

Seriously. SO glad I did. I wear tops and bottoms way more often than dresses these days and I can already envision wearing this with skinny jeans (which I would have worn in this post except that I really really sucked at packing for this trip and completely forgot to bring pants) and heels. Maybe I’ll even try a pencil skirt!

Sidenote: please ignore the shameful zipper. I ran out of invisible ones and had to make do. That one’s being replaced as soon as I’m reunited with my stash. Although i do actually really like the coral constrast.

Did I mention that I’m in California for the week? I don’t think I did. I also finally finished my Masters program! I’m basically a real adult now. (hah!)

Fit-wise this was a bit of an adventure. I think the linen stretched out a bit during the sewing process because while it seemed like it was going to fit great, as soon as I sewed the top to the lining, there was quite a bit of side-boob gape-age. Not in a good way. I added an extra dart there to close that up. The back pieces also didn’t quite fit the shape of my back quite right so I ended up having to cut zipper edge of the fabric at a bit of an angle to compensate. In the future I’ll definitely be doing this instead.

I definitely want to make more of these. I love how the peplum turned out but I think I want something even more exaggeratedly high-low. I left off the sleeve ruffle but it’d be interesting to add some kind of sheer sleeve to it. Maybe a flutter sleeve? Maybe a criss-cross across the back? Maybe shoulder bows a la Laney??

And in closing, I’ve now typed the word “peplum” so many times my brain has turned it into “pee-plum.”