Tag Archives: copycat

Adventures in drafting – overalls

Overalls

Overalls

Overalls

Overalls

Overalls

Overalls

Overalls

I was sooo sad when my pants drafting class ended. Huge sad face.

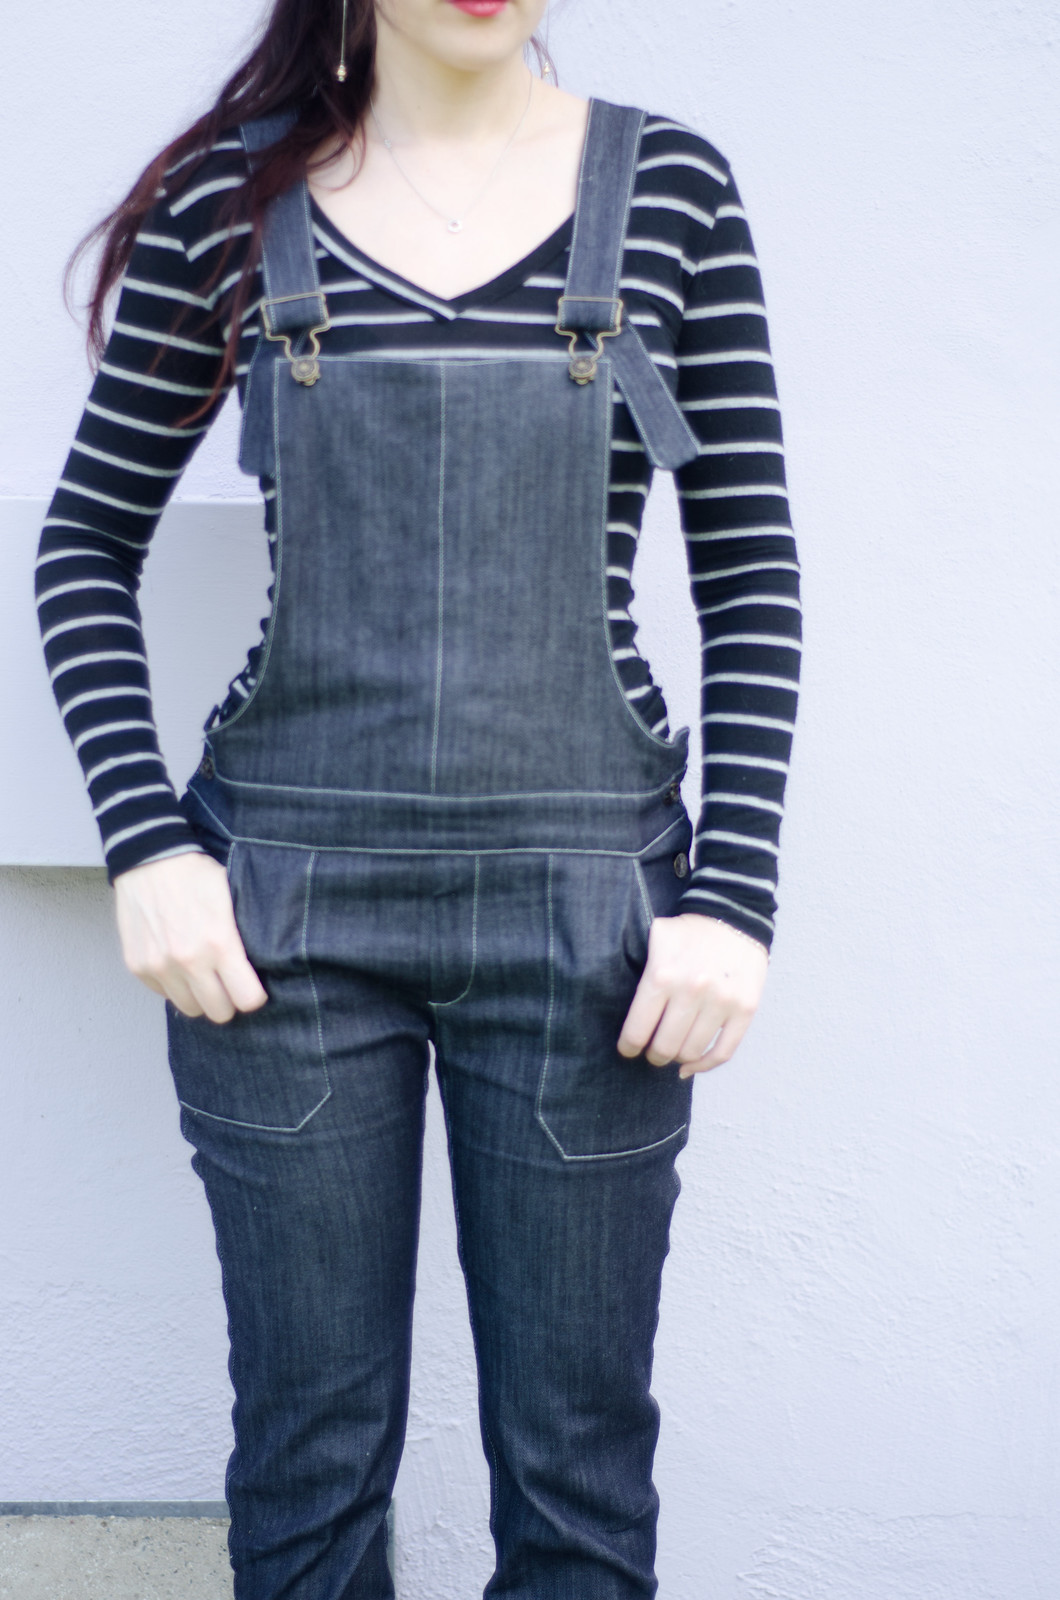
The class was taught by Lynda Maynard (who also taught the Copying RTW class I took over the summer) and it was so much fun and I feel like a master of crotch fit now. That sounds dirty. But then again, so did most of the class. We used Suzy Furrer’s book* and drafted from our own measurements, and then it was just making muslins to tweak the fit. The rest of the class consisted of taking turns putting on our muslins and standing on a table while the entire class investigated our lower halves and volunteers pinned out corrections. Super hilarious and super fun. I used my draft to make a pair of skinny jeans (more on these later) and then just because I thought it was hilarious that she included it in the book, I also drafted the overalls as my final project for the class.

*It’s weirdly super expensive on Amazon so I would check elsewhere first. I snagged my copy from my school bookstore for like $60. (EDIT — A reader helpfully suggested this link, where you can get it for $65 plus shipping. Thanks Anastacia!)

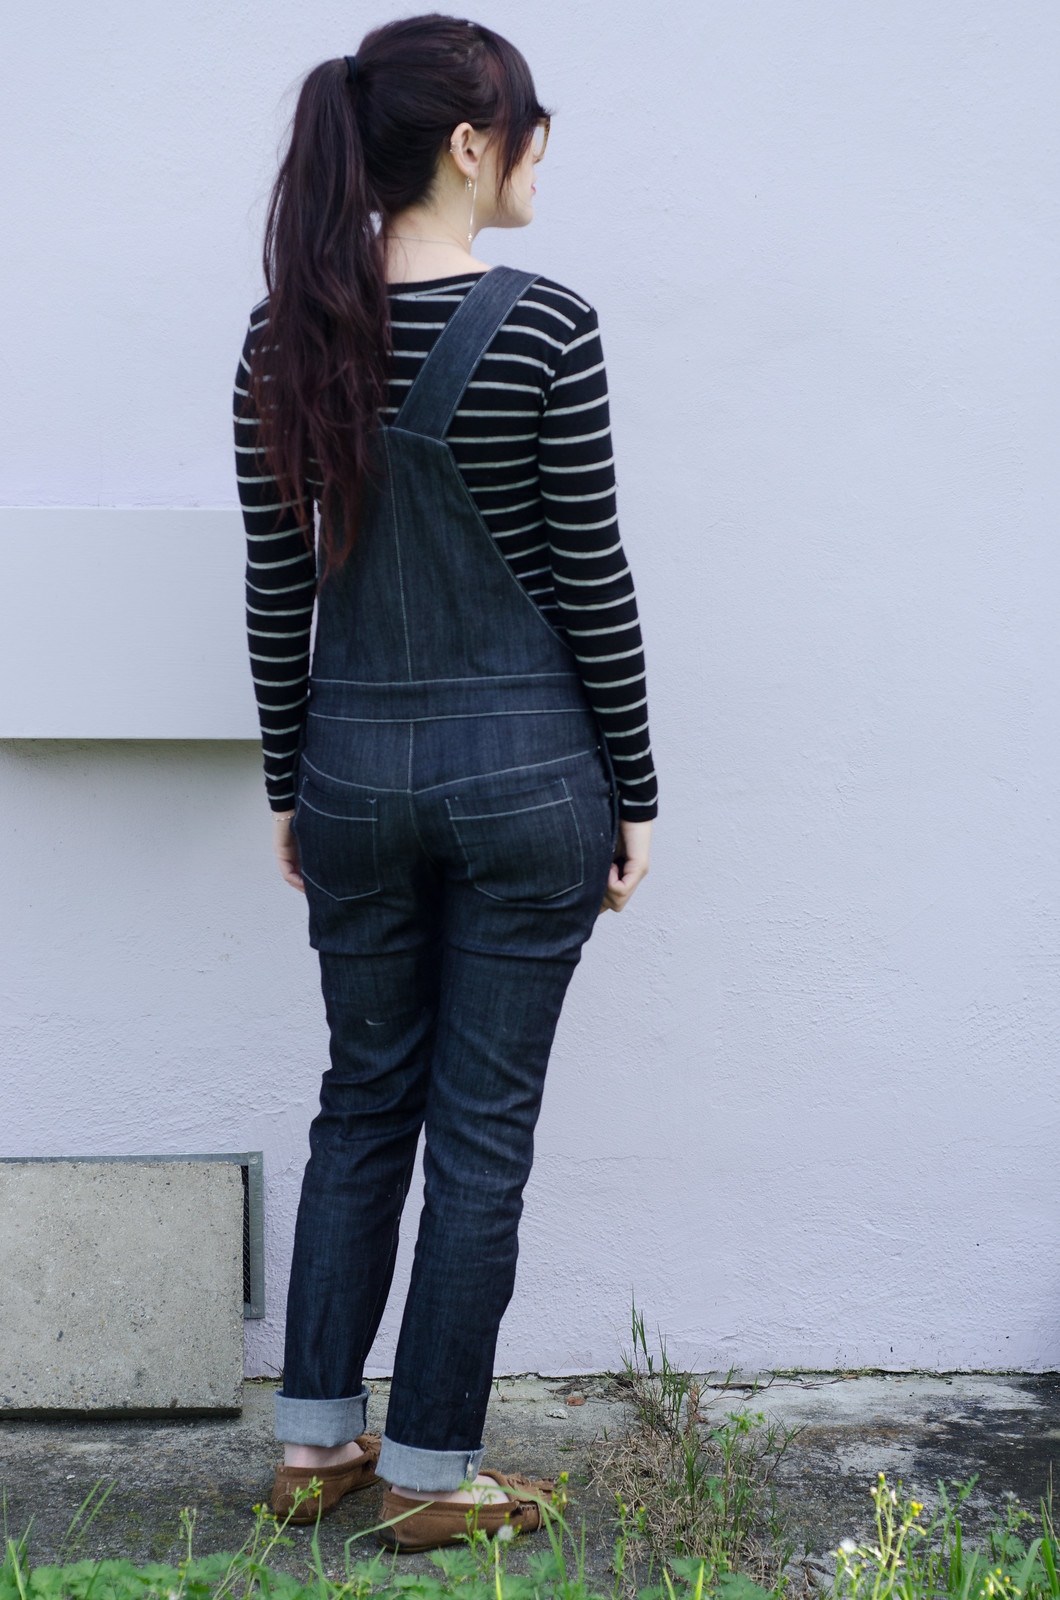
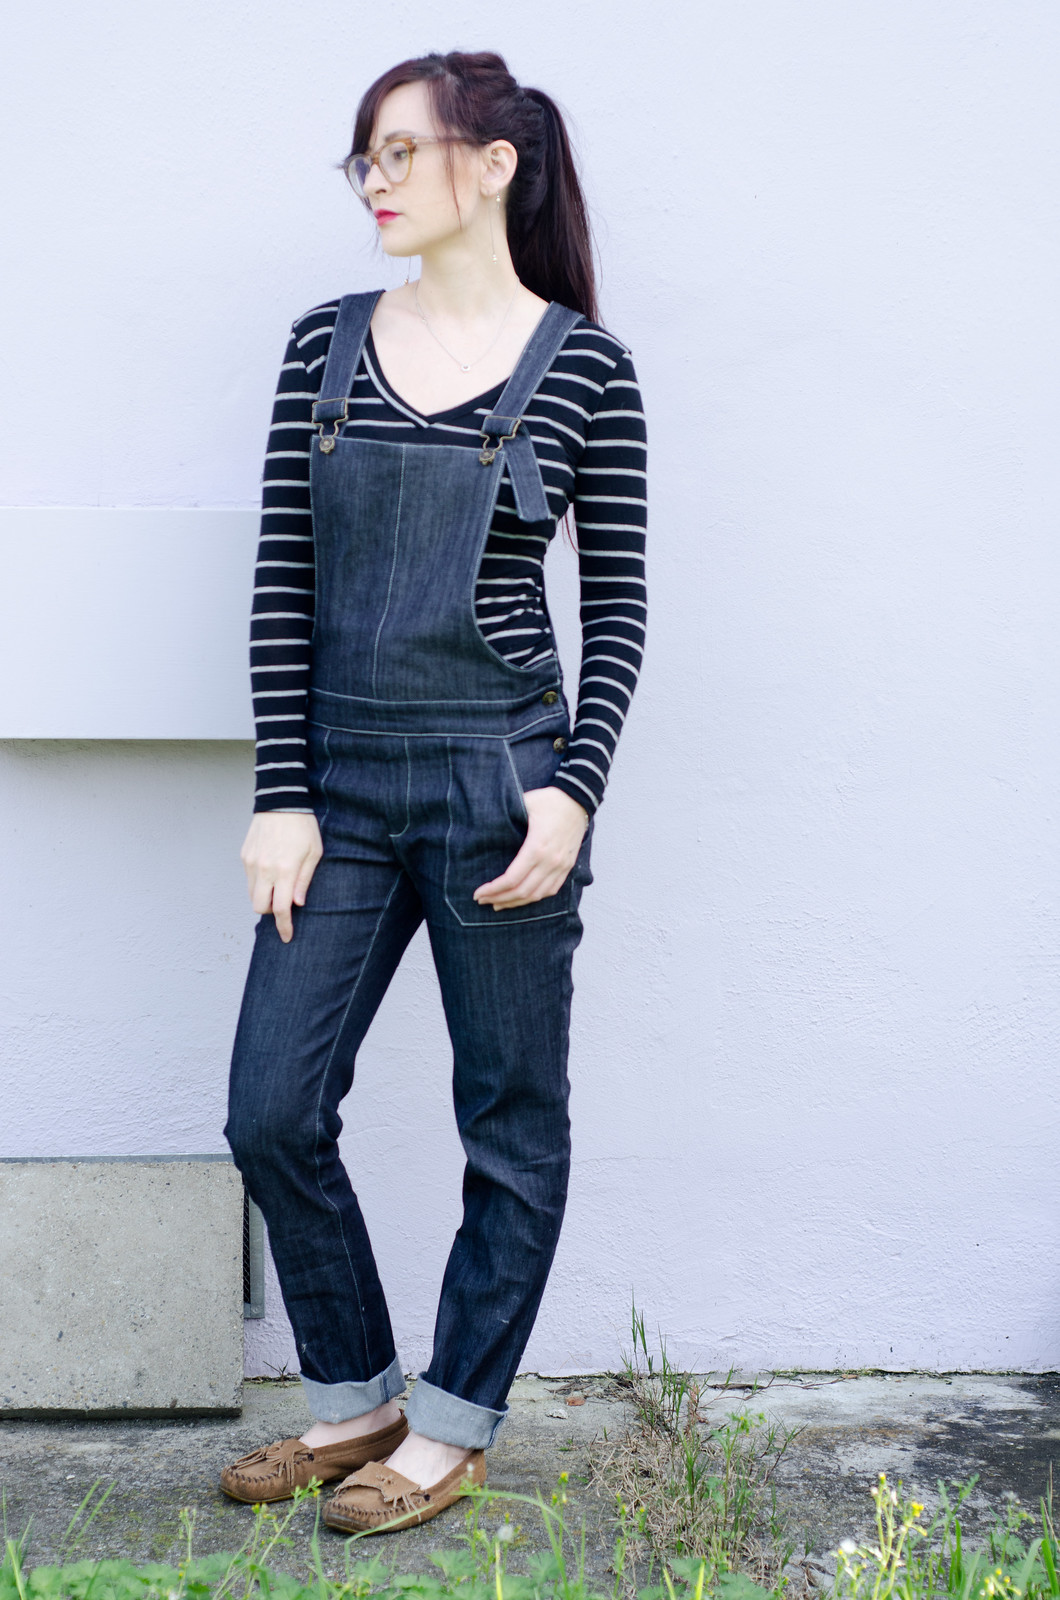
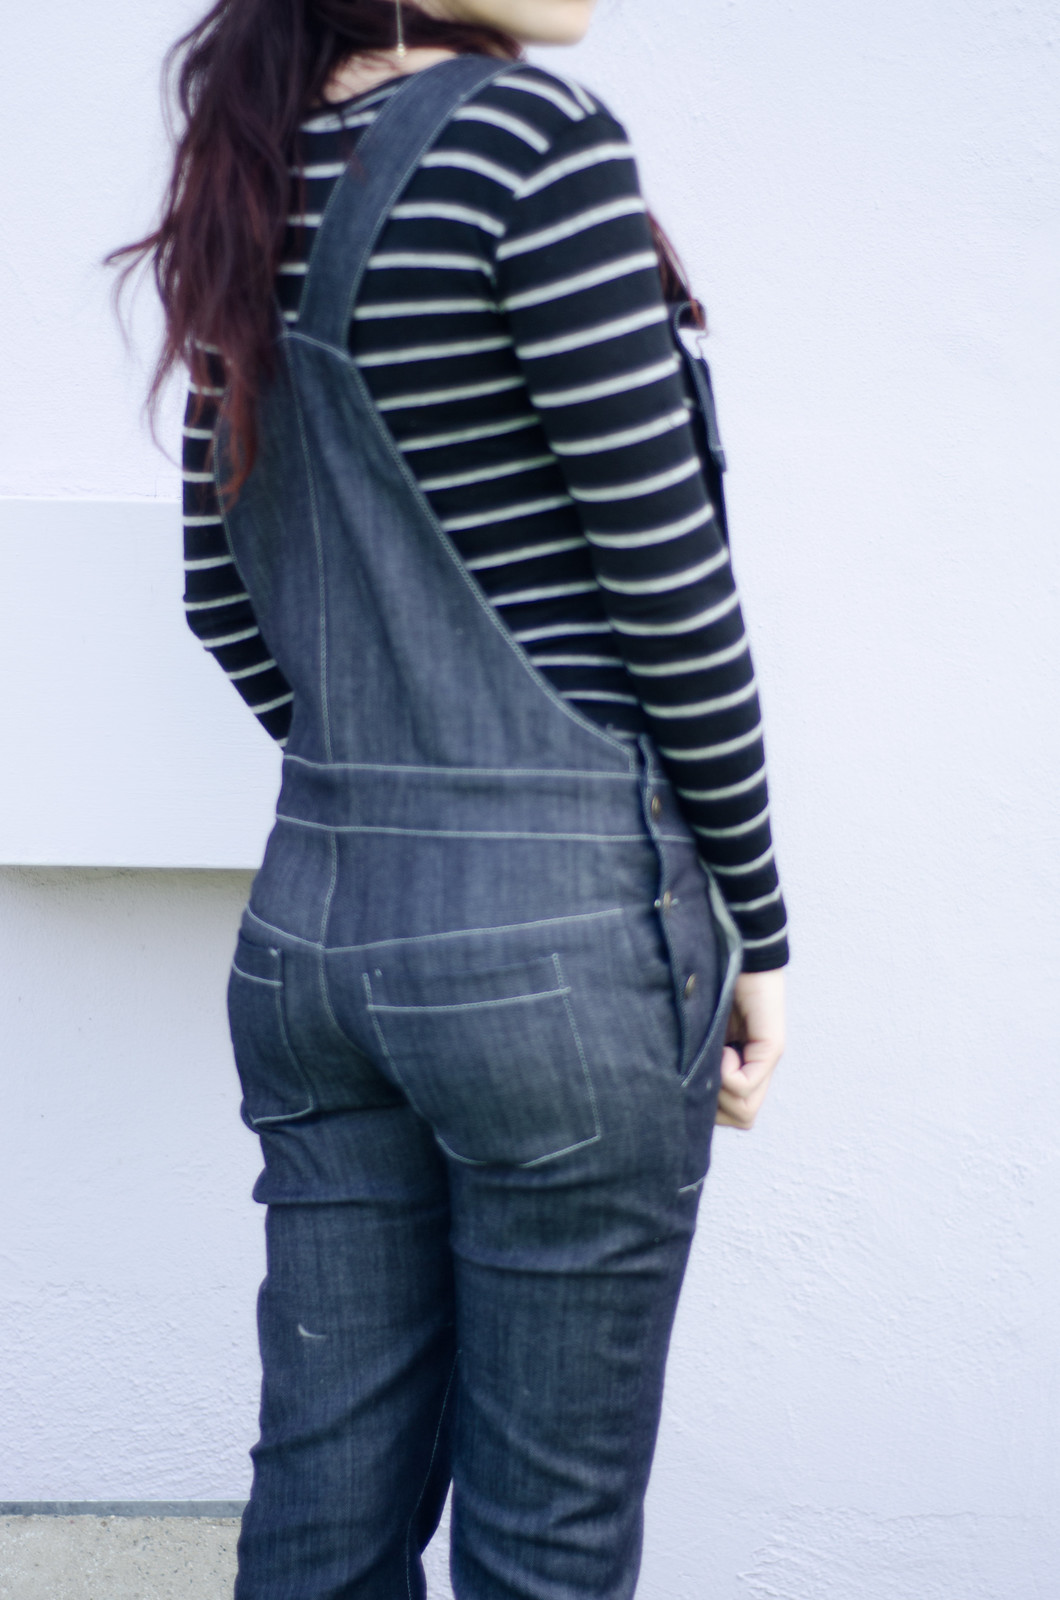
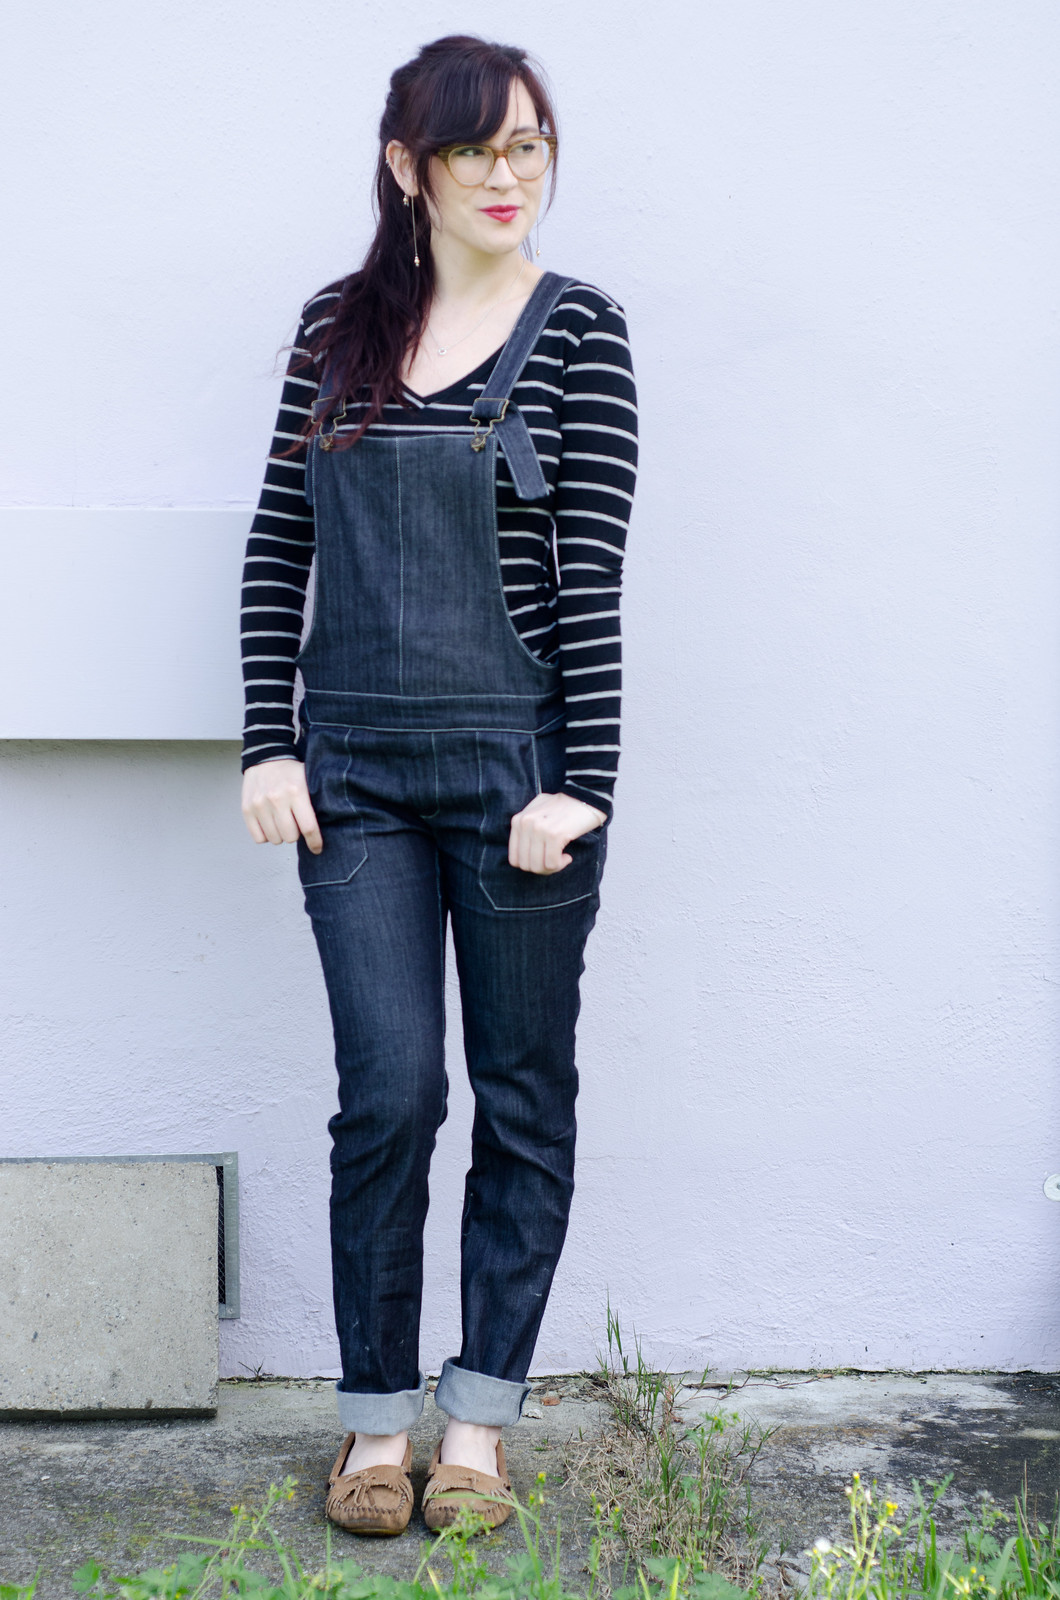
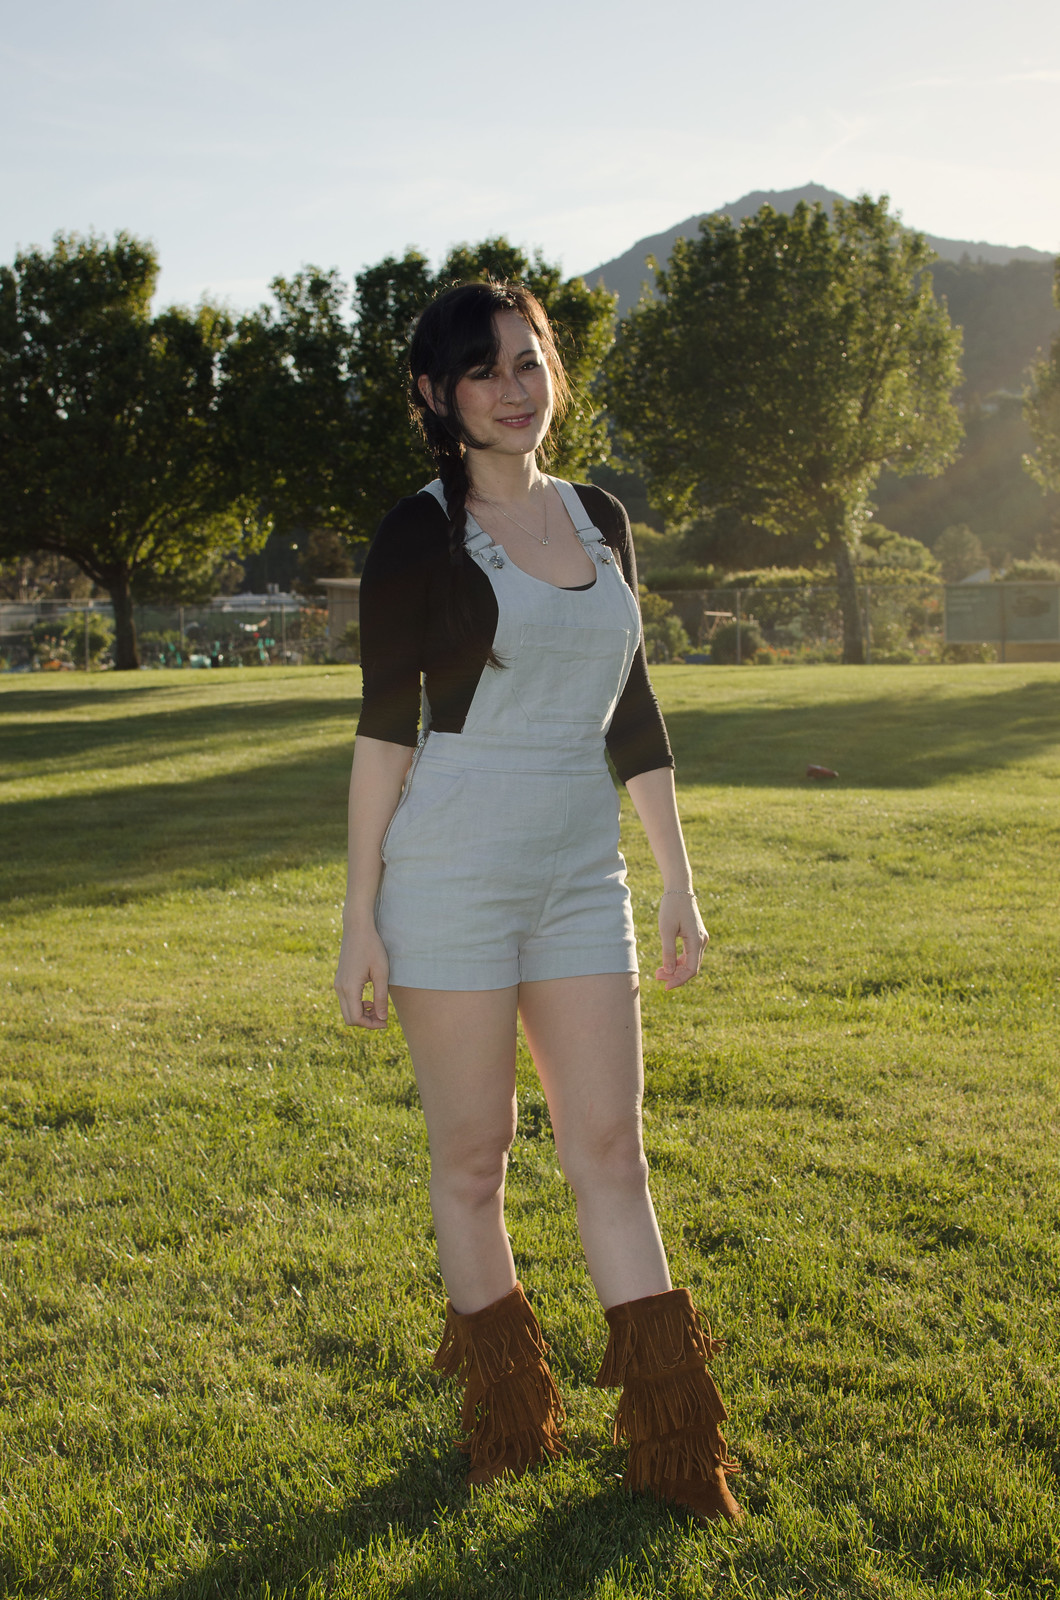
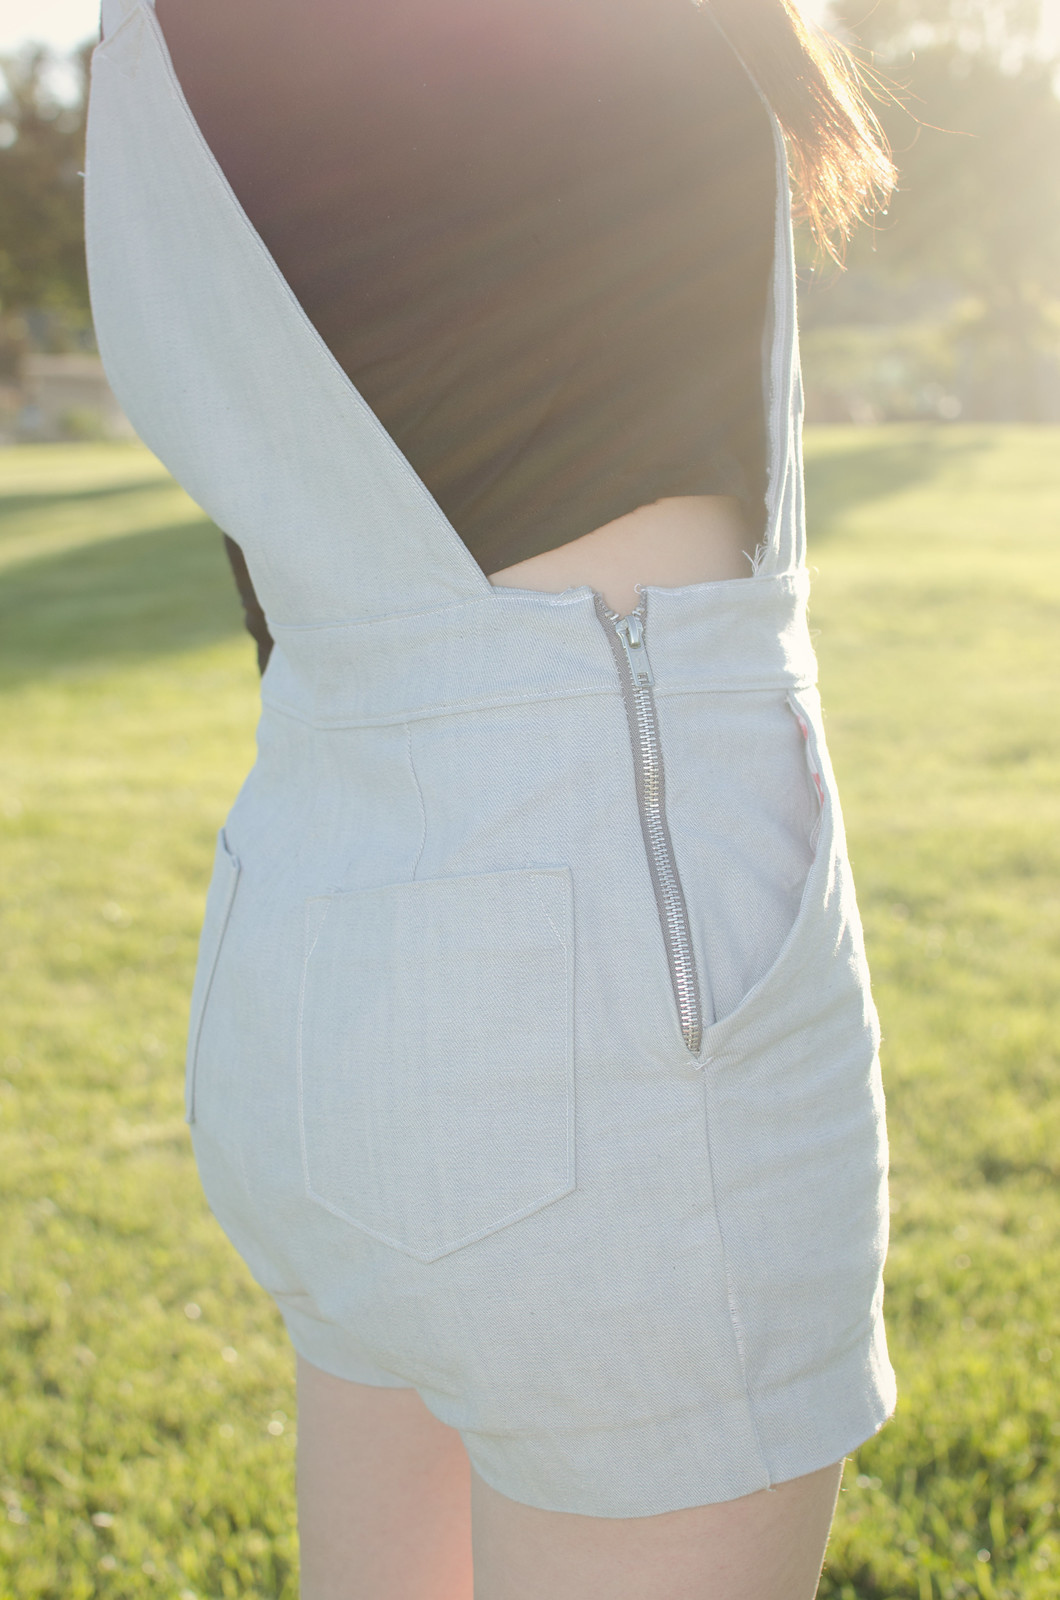
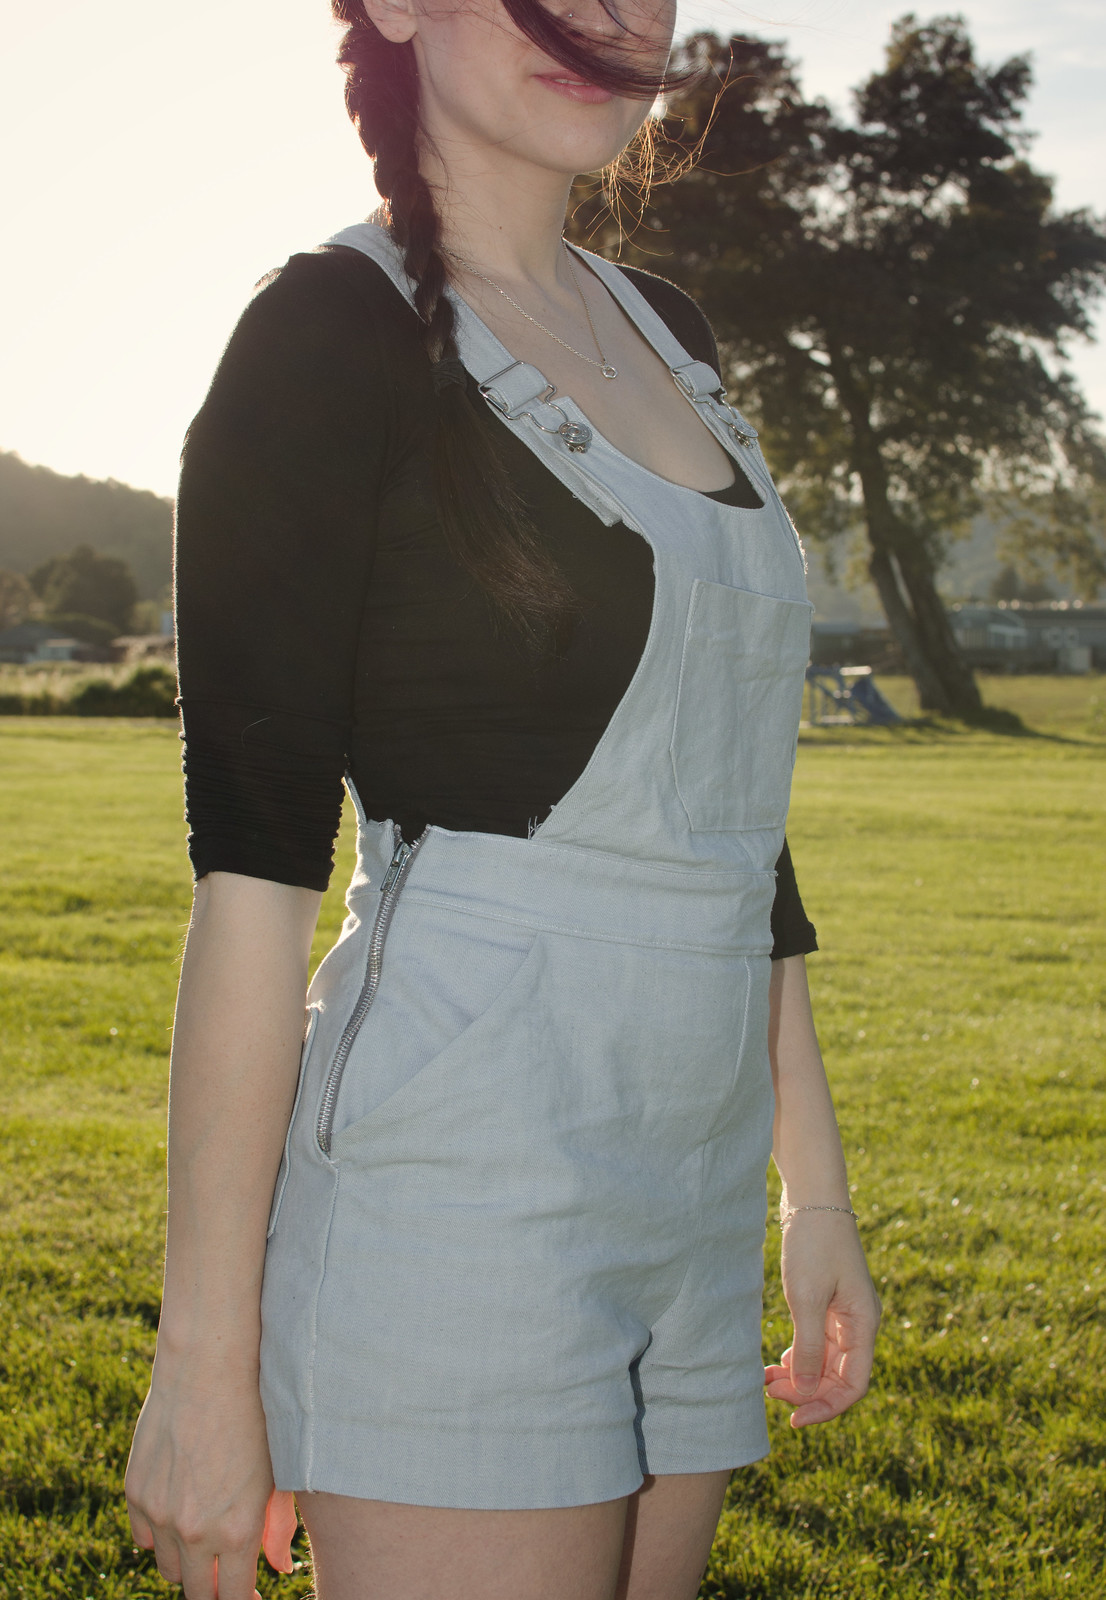
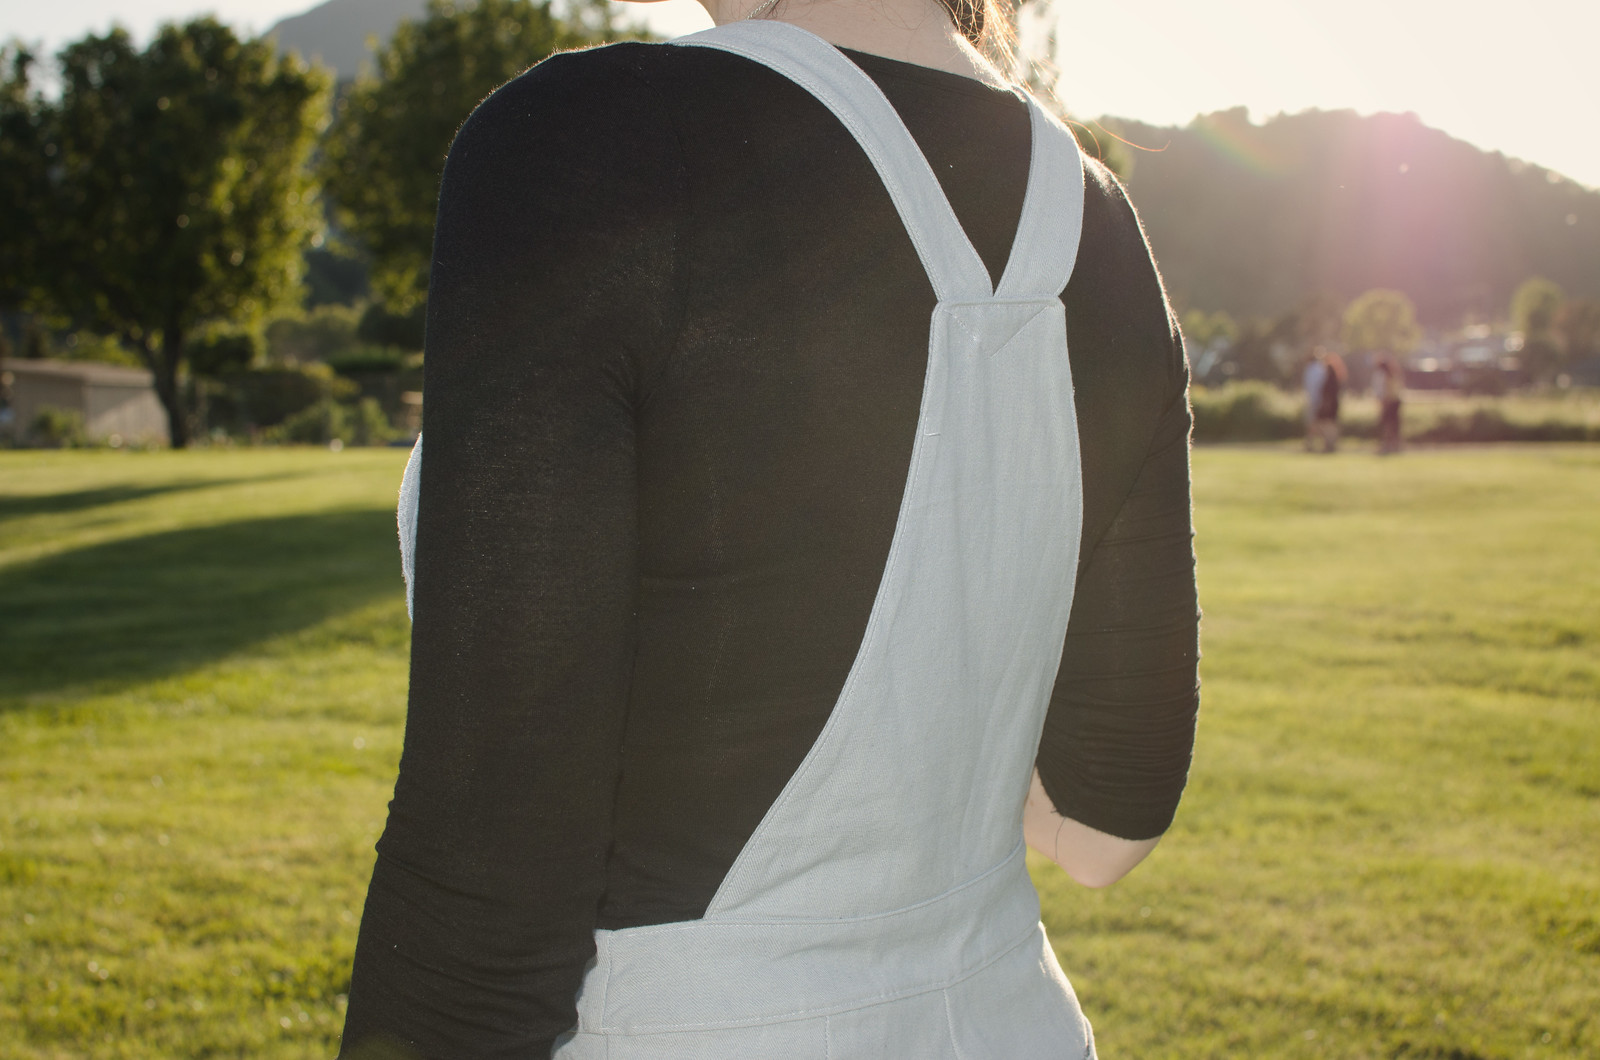
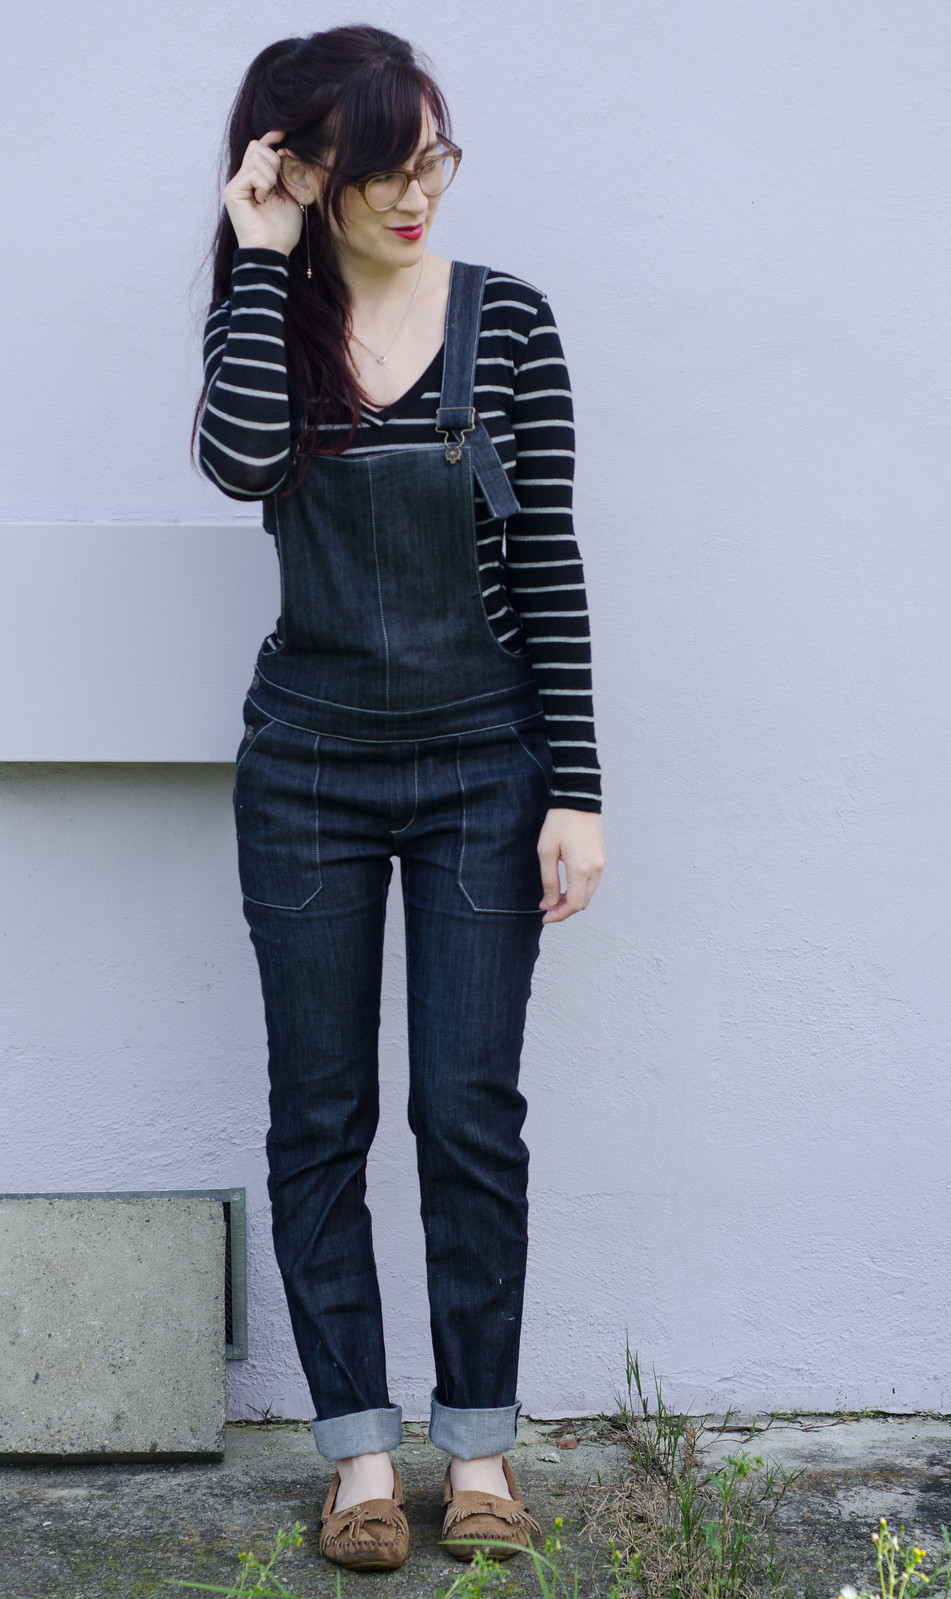
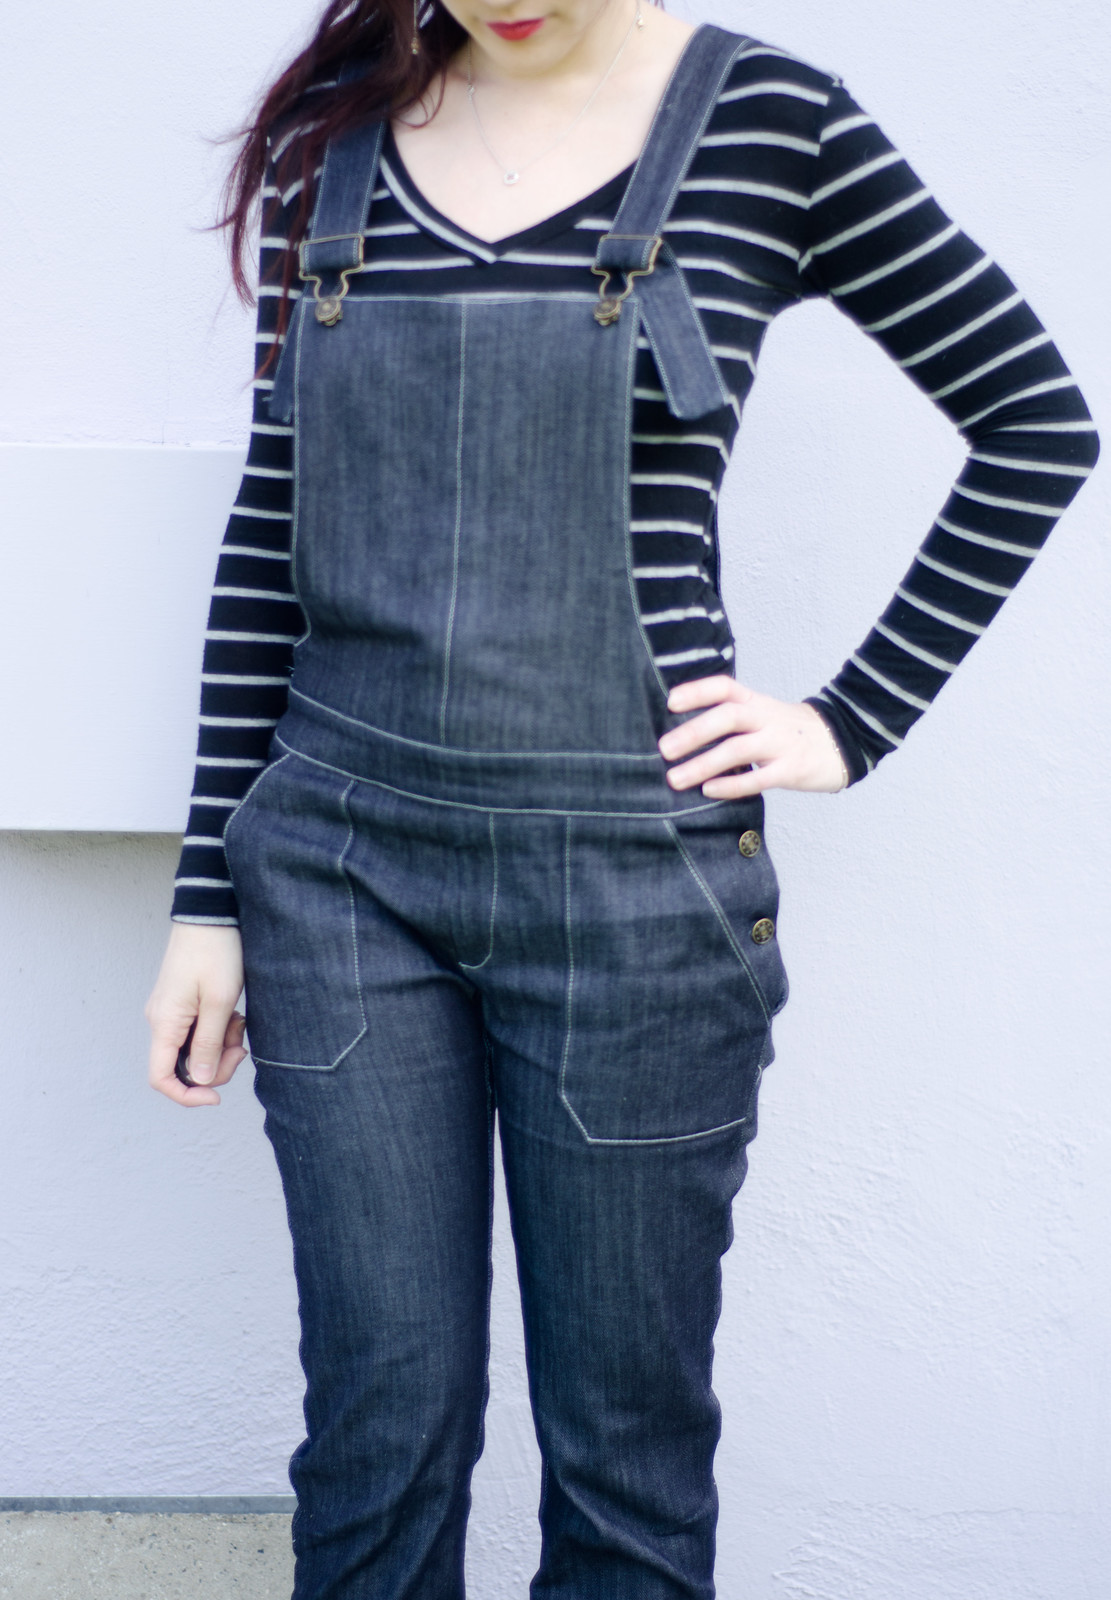
These overalls are SOCOMFY. I started off following Suzy Furrer’s drafting instructions but like most drafting books I’ve worked with, there are no construction details so I got really confused about the button facings and why there needed to be front and back ones of the same shape. I ended up kind of deviating completely from the book and basically just drafted a copy of these Madewell overalls.  I tried something new with the pockets and basically added a muslin lining and then attached them as patch pockets. I also used two strands of gray thread instead of topstitching thread (someone in my class did that and it looked really cool).

I actually really love them in a lighter wash so I’m thinking I might need to make them someday when these wear out because I’m not sure I needed a pair of overalls, much less two pairs. The fit is mostly spot on, I think they’re just a bit baggier than the leggings/tights/skinny jeans I’m used to wearing. I do think the bib is a bit long and I had wanted to add a front pocket but didn’t get around to it before class started. Whoops.

**If you live in the San Francisco Bay Area and want to learn the ins and outs of fitting your crotchal region, Lynda teaches this class every fall at Cañada. (She also used to teach a pants construction class here that I’ve been unsuccessfully campaigning for them to bring back.)
 

Flower-picking

Copying RTW - blue dress

Copying RTW - blue dress

Copying RTW - blue dress

Copying RTW - blue dress

Copying RTW - blue dress

Copying RTW - blue dress

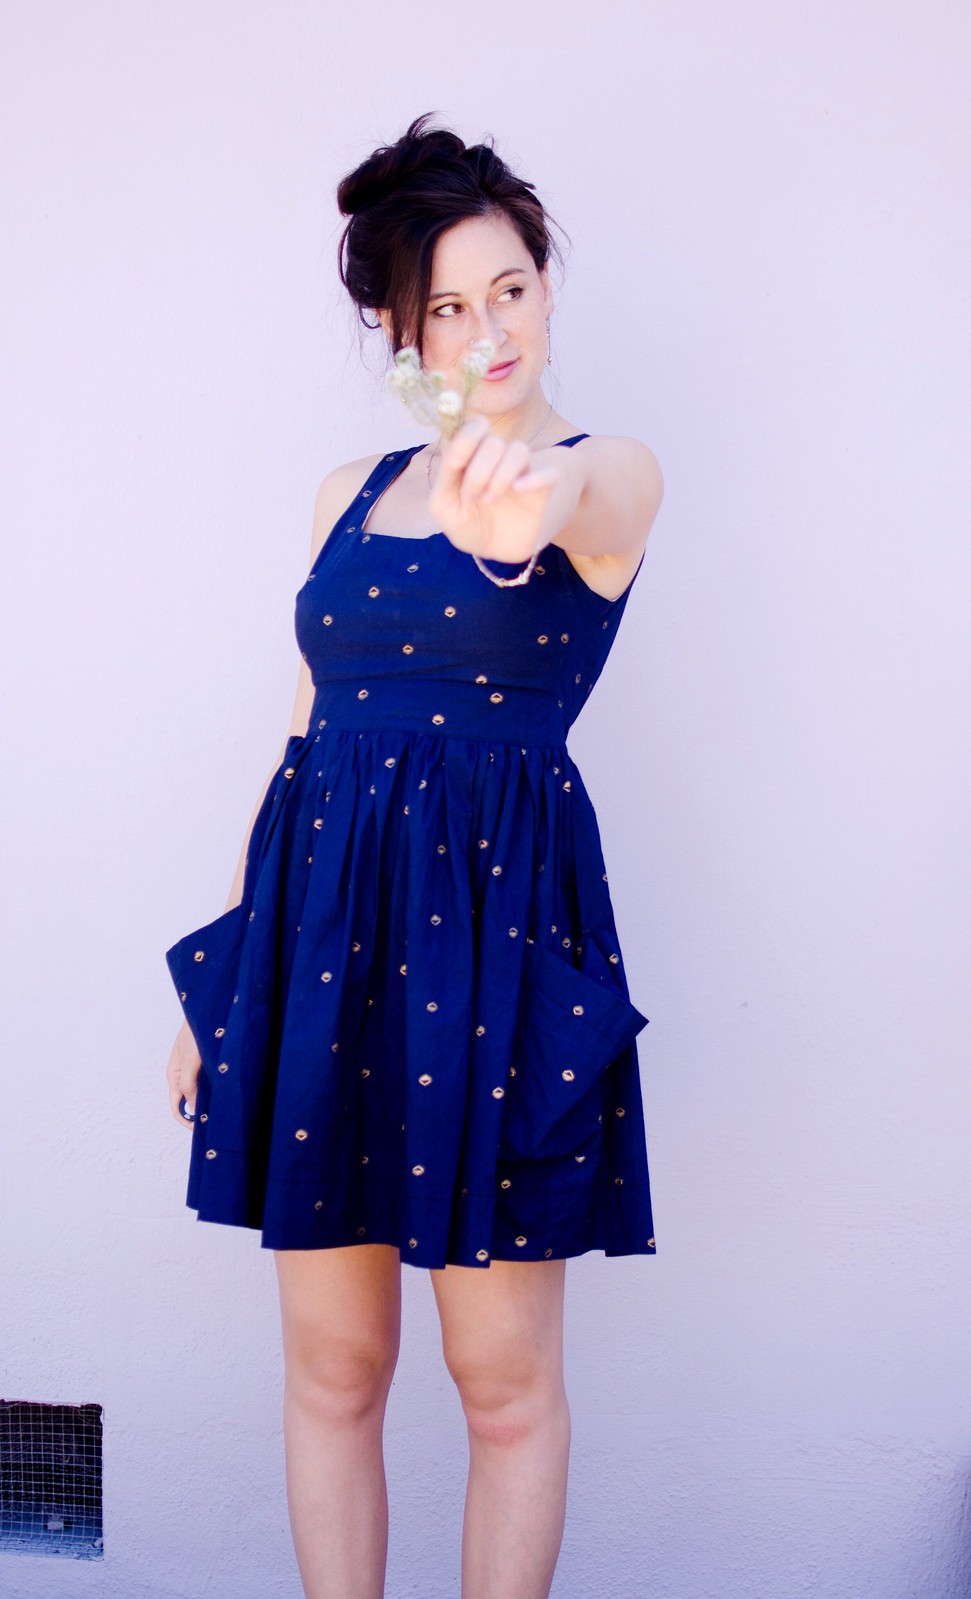
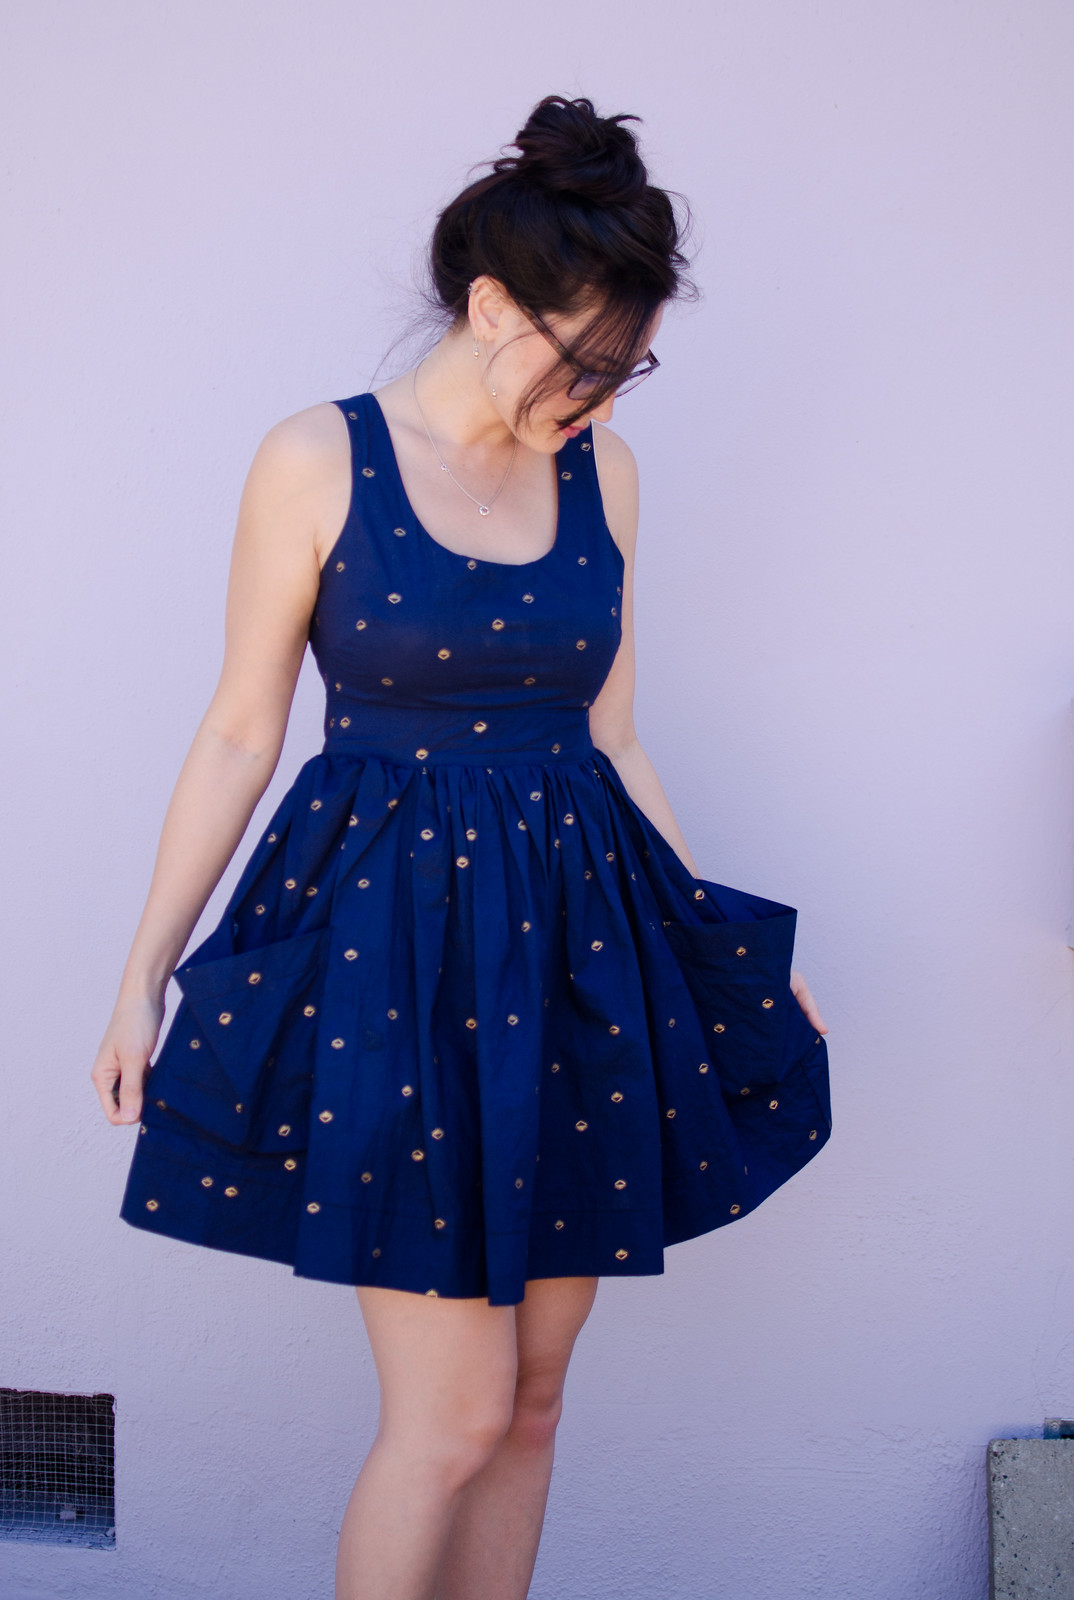
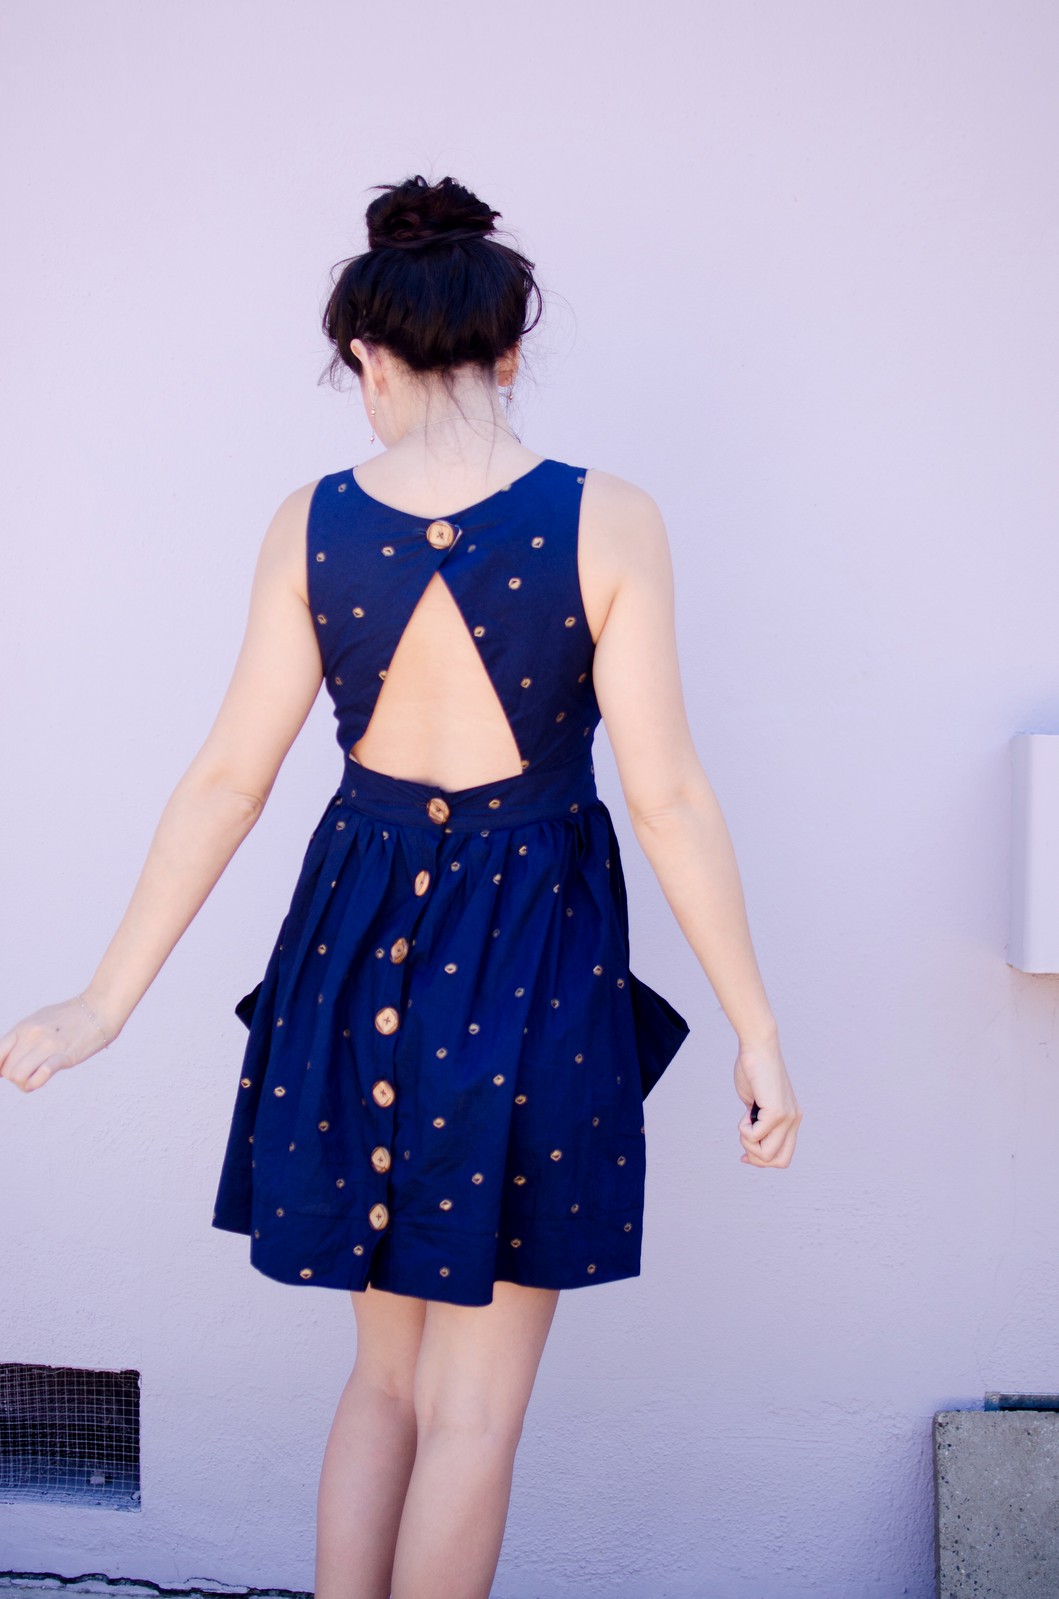
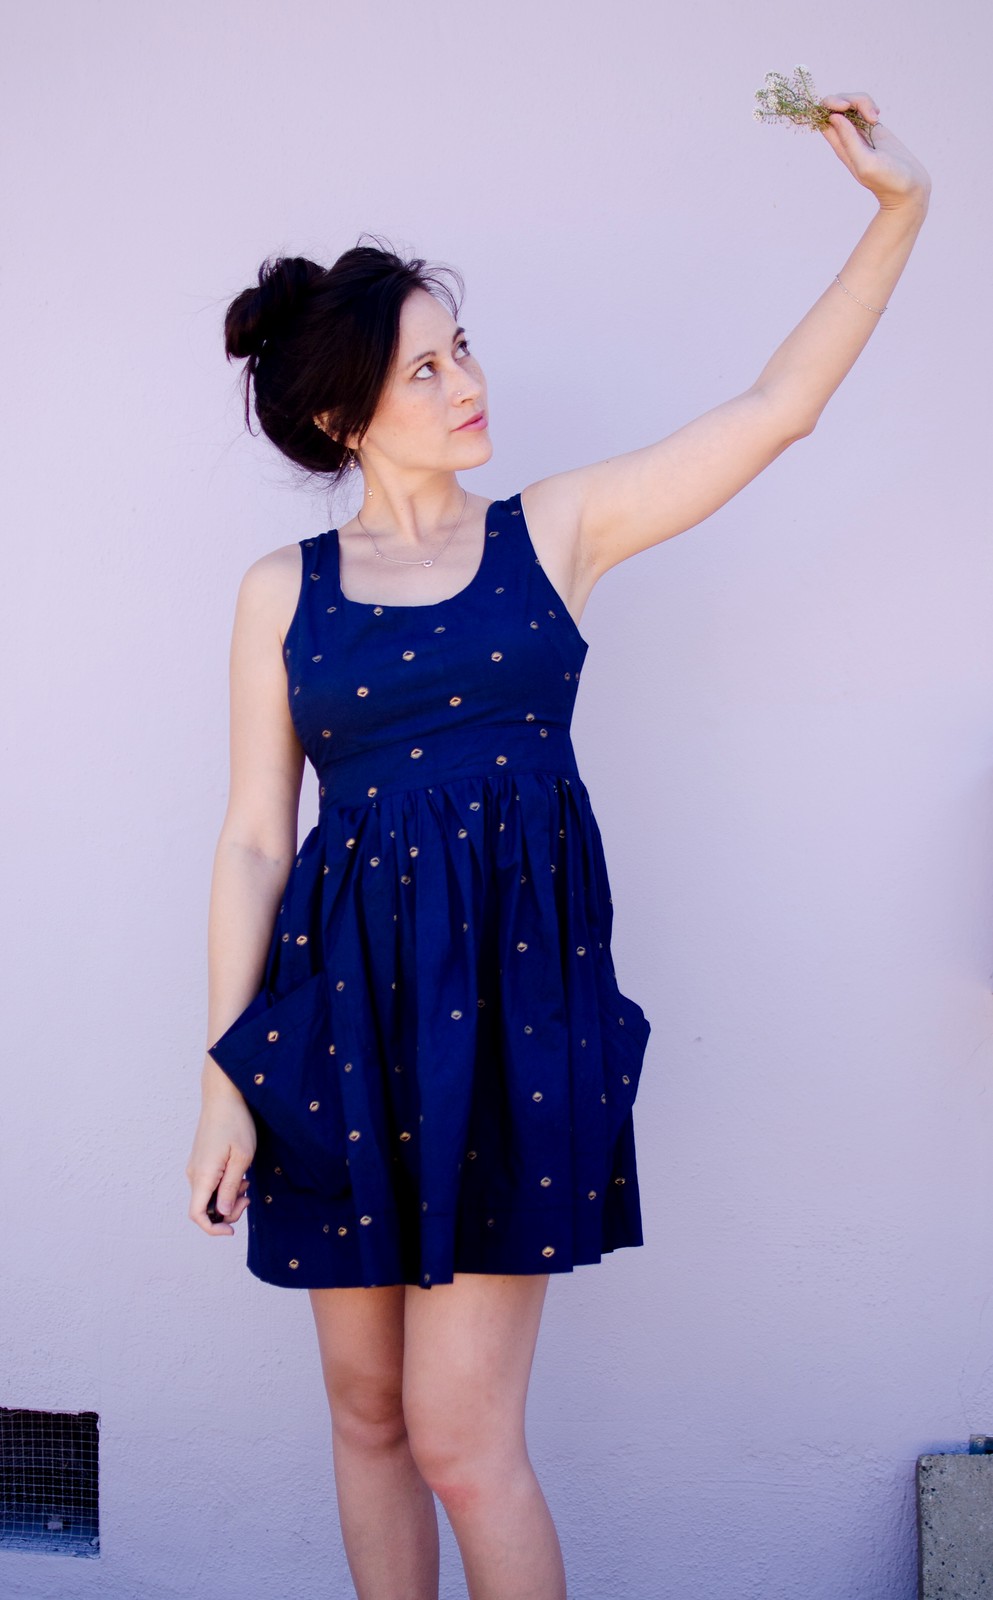
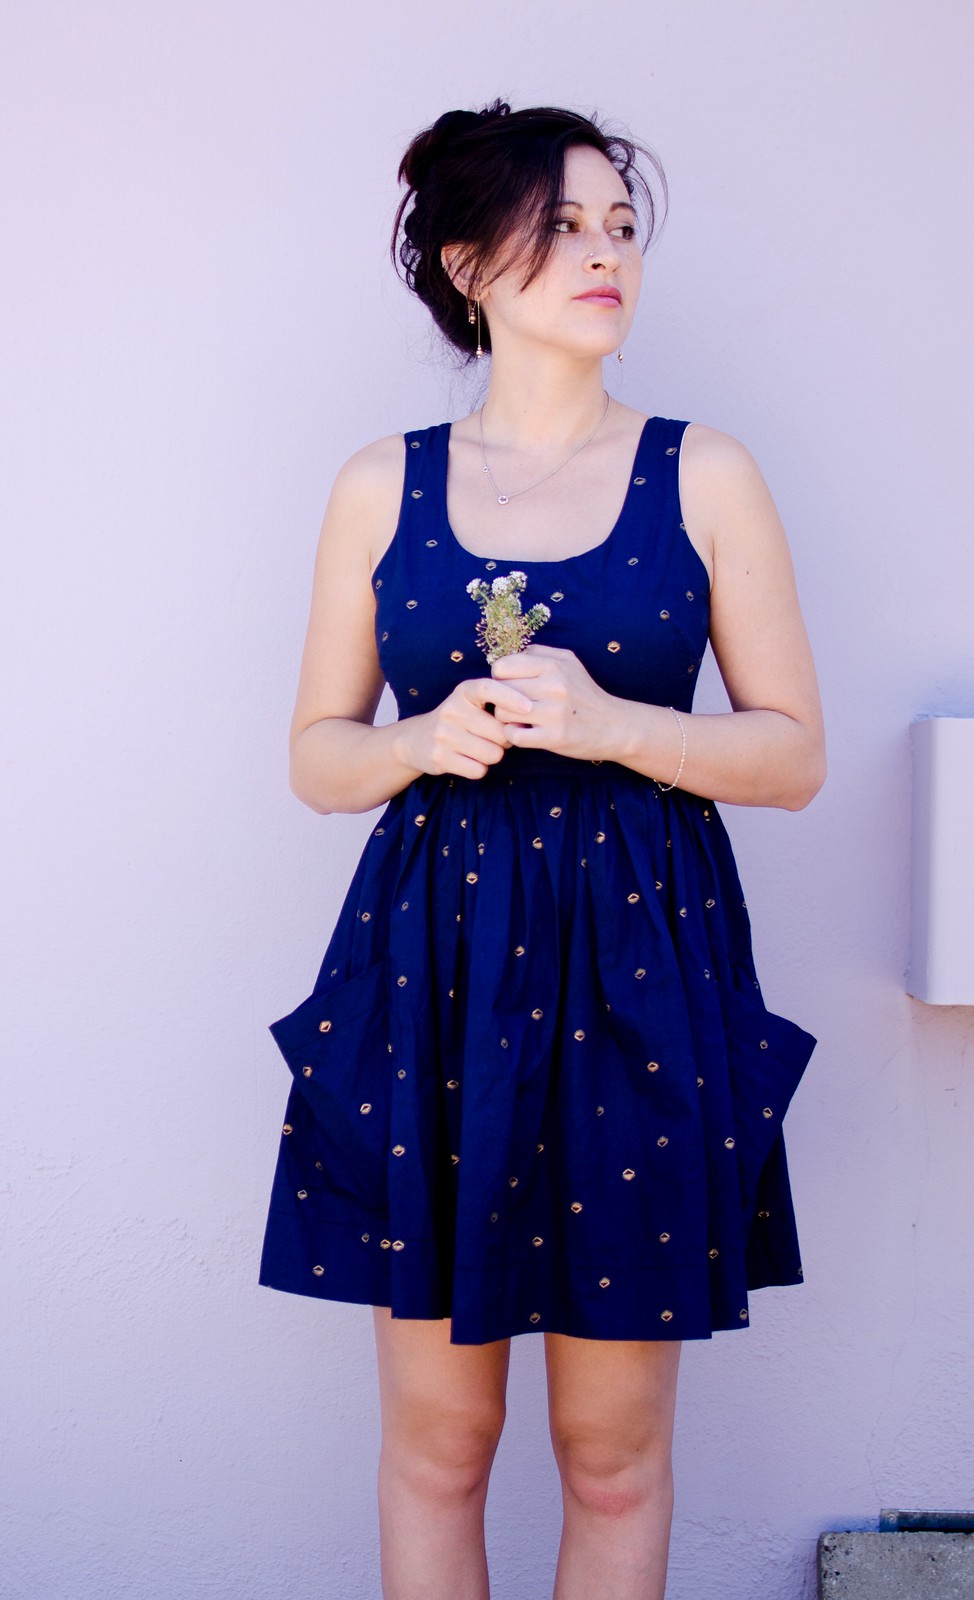
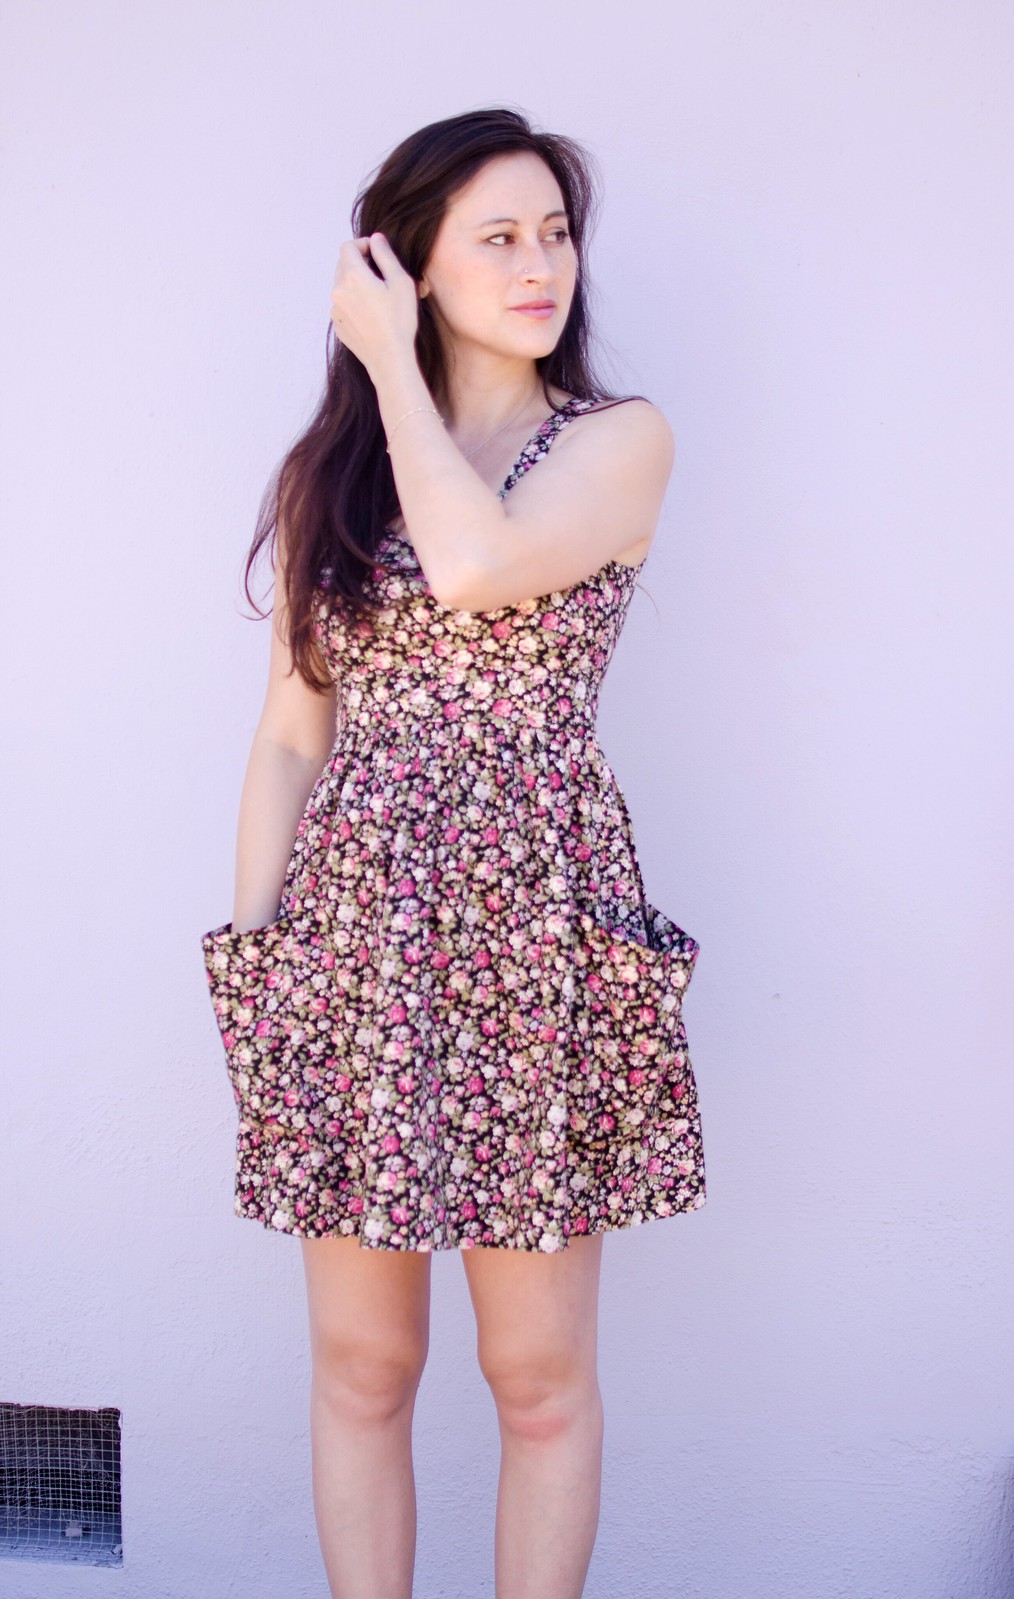
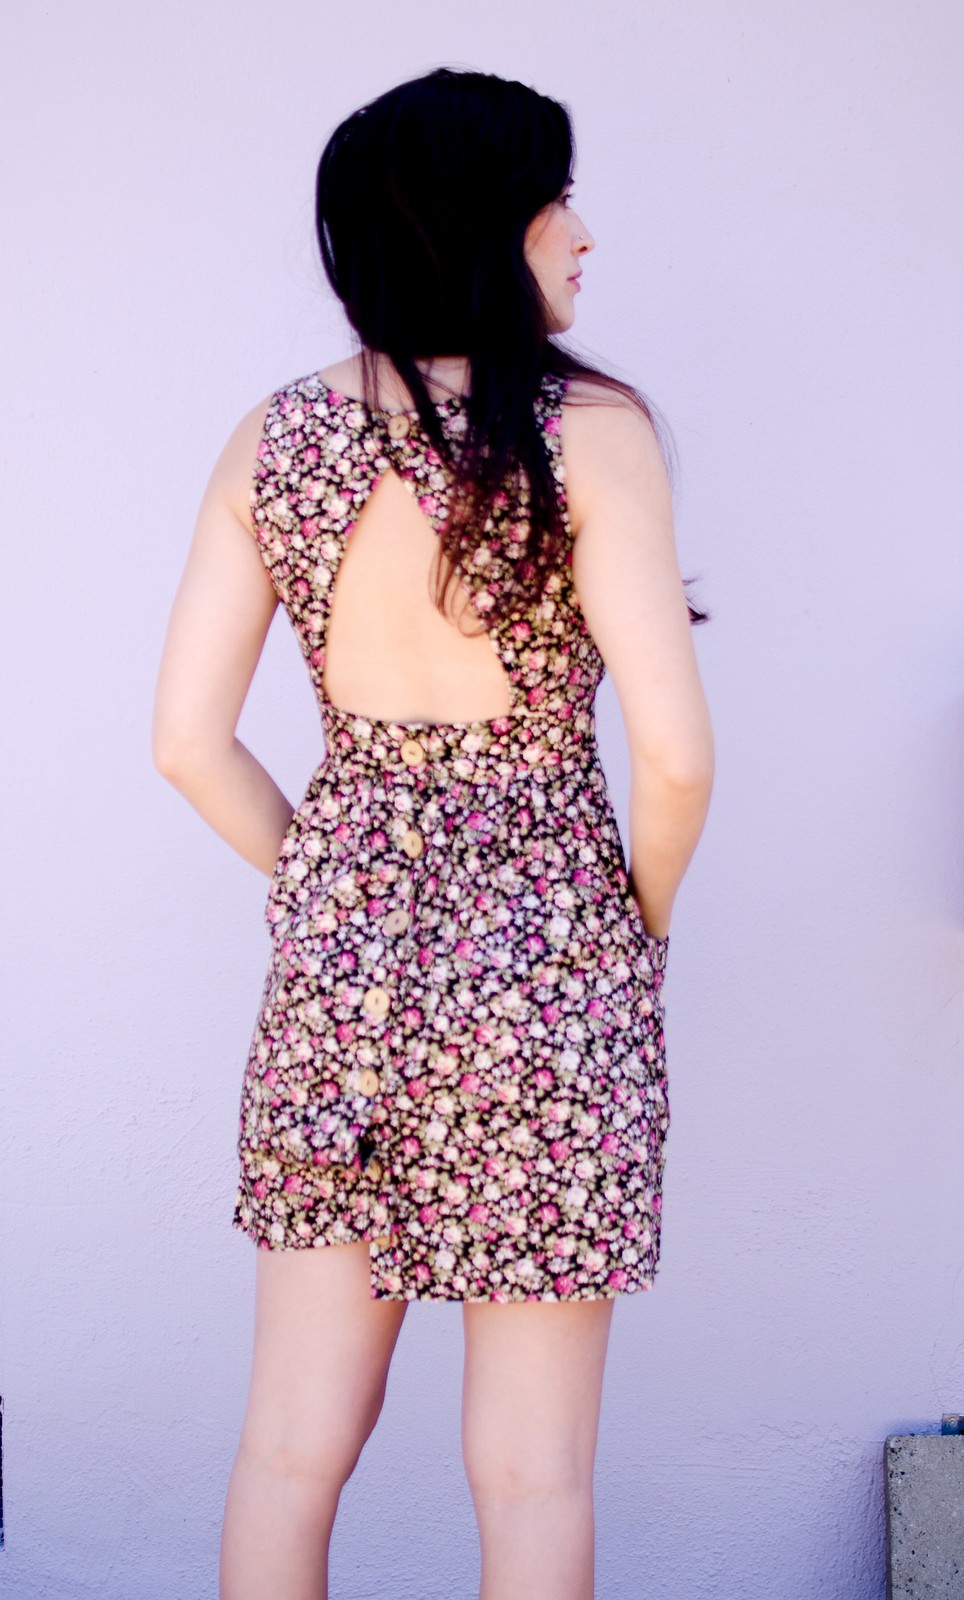
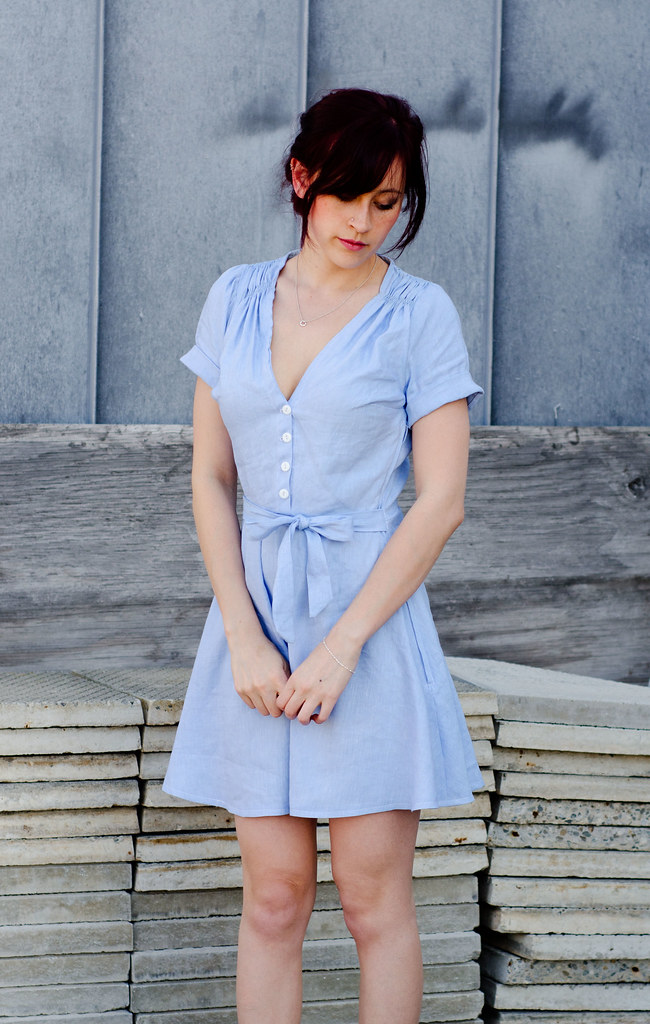
About a million years ago I bought this dress at Forever21. It was a cute little cotton floral dress with a lined bodice, back cut-out, gigantic pockets, and pretty wooden buttons along the back. It fit me perfectly and was the perfect comfy summer dress. Or the perfect dress for picking flowers and/or berries. I had to really resist making a flower crown for this post.

Anyway, over the years I’ve gotten rid of every other Forever21 purchase but I could never seem to let go of this one. I had this idea that I was going to try to make more of them but it never really seemed to happen. Then this summer I took a Copying Ready to Wear class at school. I decided to use a coat as my class project so I could learn all the more difficult stuff, but as soon as class was over I used the same techniques to whip up this dress. (And then immediately made a second one, and started a third. More on those later.)

Copying RTW - F21 dress

Copying RTW - F21 dress

I used this Cotton + Steel fabric (I actually ordered it from Craftsy but they don’t seem to have it anymore) and it’s so so so perfect. It’s got the great crispness of cotton which is perfect for all those gathers and the pockets, but it’s a lawn so lightweight and doesn’t look like it’s made of quilting cotton. Insert heart eyes here. And then there’s the buttons!! I knew I wanted wooden ones but I was in one of those situations where I wanted the dress to be done RIGHTTHISMINUTE so I could wear it, so I only had time to go to Joann’s. The only ones they had that were wood and big enough were these stupid square ones. Except then I realized if I turned them a bit they became diamonds and suddenly they fit perfectly with the print. *squee*

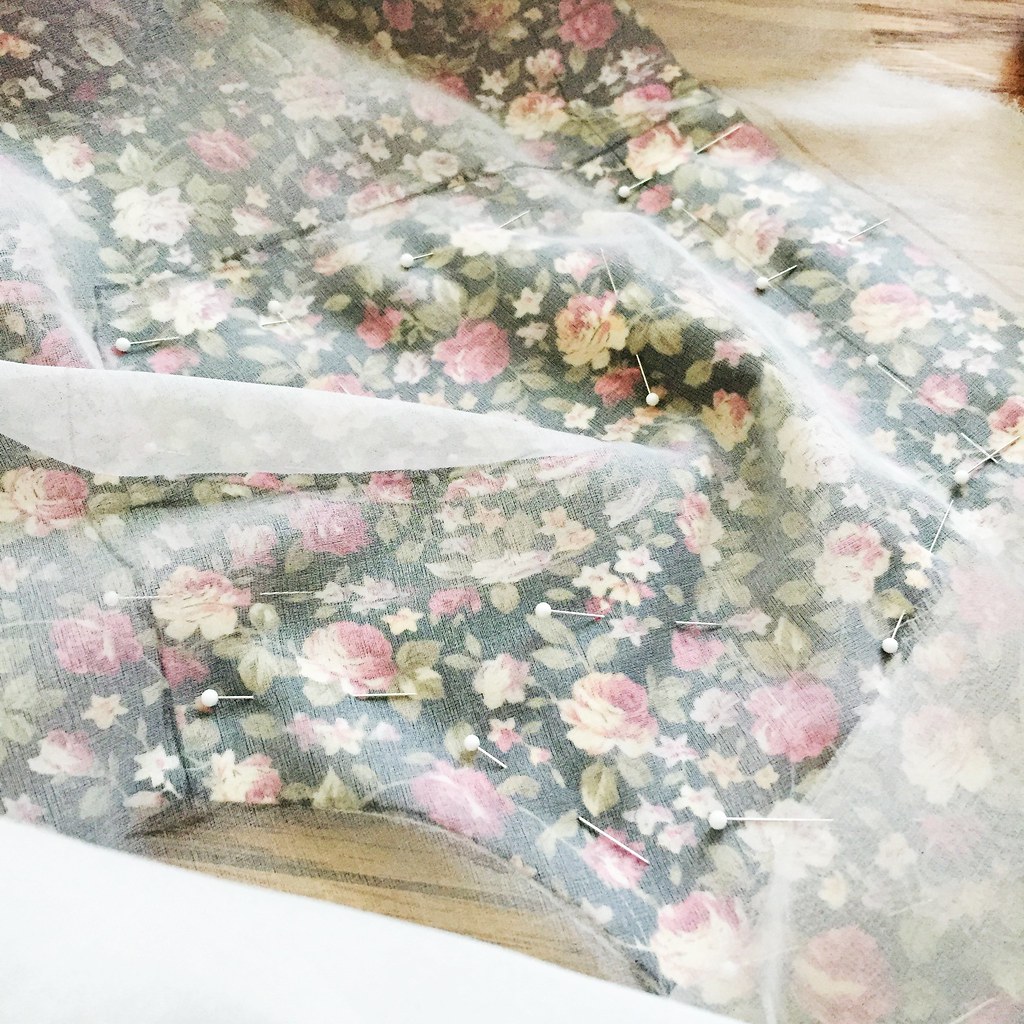
The nice thing about this technique for copying RTW garments is that you don’t actually have to take the garment apart. It can be rather time-consuming though, so you do want to make sure you’re putting all the work in for a garment you’d actually want to wear in the end. The super simplified gist of it is you mark grain lines on the RTW garment with thread, then use marked silk organza and about a million pins to trace seam lines and darts. Then you transfer those to tissue, true up your lines, and you’ve got a pattern of your RTW garment.

copying RTW F21 dress

If you’re interested in the more in-depth version of this, the book we used in class was “Making Garments from Existing Garments” by Kenneth King. It’s fairly in depth with lots of photos which makes the process pretty easy to follow. I believe his Jean-ius class on Craftsy uses the same technique if you’re a more visual learner. And of course, if you’re in the San Francisco Bay Area, you should just hop over to Canada College and take the class with Lynda Maynard because she’s fantastic. (Although I’m not sure if it’s offered every summer. Might be every other summer.)

In other news, these are my new favorite pockets and I want to add them to cardigans and other full-skirted dresses. You basically just cut them wider at the top edge than the bottom edge (like a trapezoid), but then stitch the side seams parallel so the excess from the top edge falls away from the garment.

Now excuse me while I go find some berries to pick. I have a sudden blackberry craving.

copycat // lykke wullf overall shorts

Lykke Wullf overall shorts

Lykke Wullf overall shorts

Lykke Wullf overall shorts

Lykke Wullf overall shorts

Lykke Wullf overall shorts

Lykke Wullf overall shorts

Lykke Wullf overall shorts

Lykke Wullf overall shorts
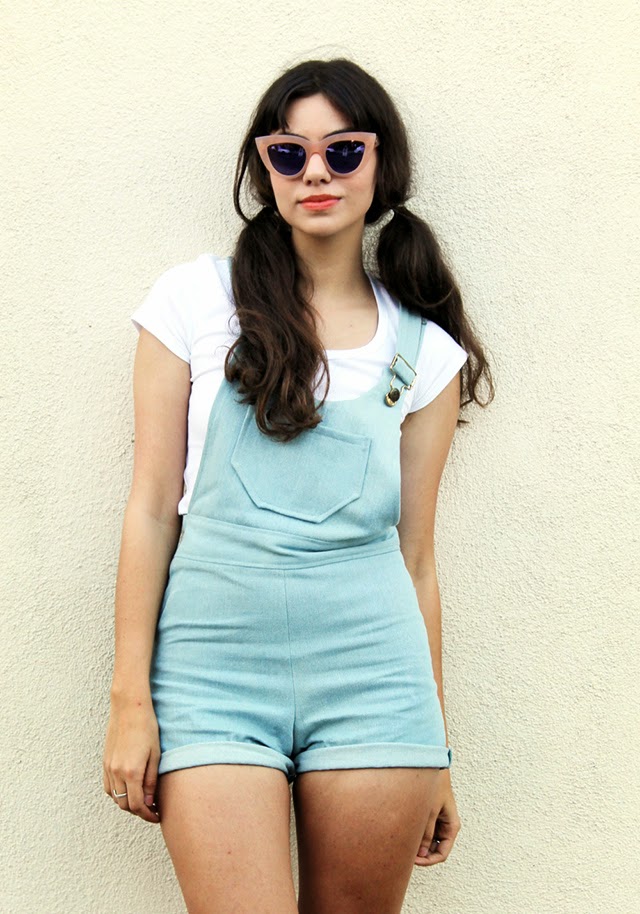
overall shorts: K&L Tap Shorts pattern + self-drafted top and straps // top: cropped Nettie 

It’s such a satisfying feeling when you have an image or goal in mind and everything works out EXACTLY how you wanted it to. That was the case with these overall shorts. I was inspired by these overall shorts by Lykke Wullf:

I loved basically everything about them: the high waistedness, how short they are, the straps, the color, how easy they are to style, etc.

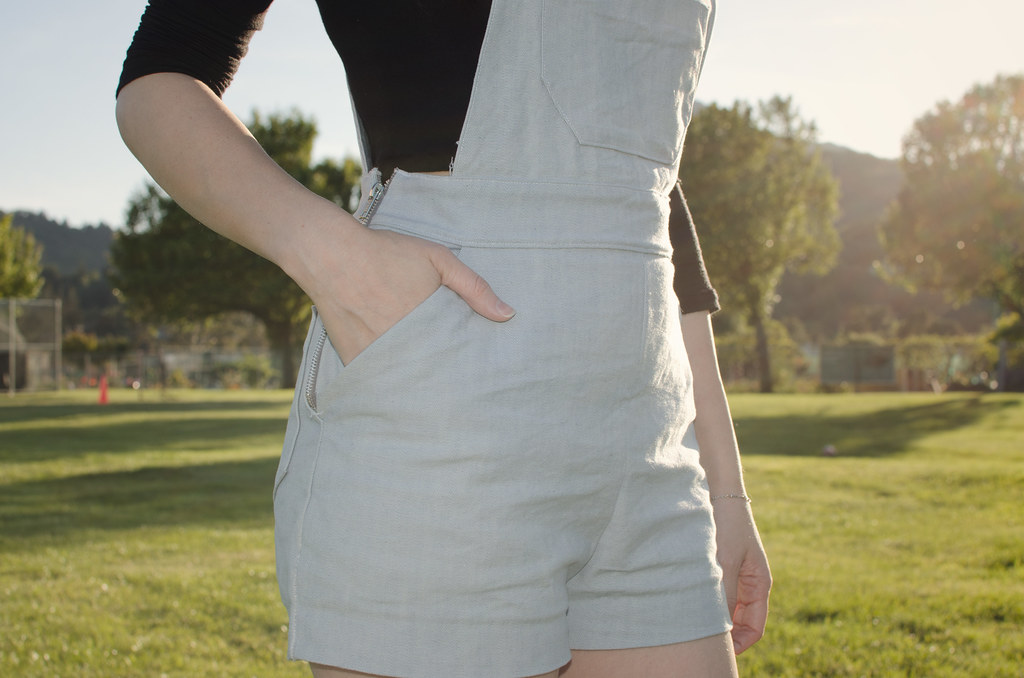
I knew immediately that I wanted to use my favorite high-waisted shorts pattern, and I barely even had to tweak these. I sewed the crotch and did a side-zip, drafted some pockets for the bum, and then just drew out some shapes for the upper front and back bits and tweaked them until they looked right.  I made the straps waay too long and then trimmed them down to the right length, but left a bit extra to make them adjustable. The strap hardware is just from Joann’s.

I actually made these last summer before I had any pattern drafting  training so there was a lot of trial and error in the process. If I were to do it again I would definitely curve the bottom edges of the top bits a little more, because they currently sag a bit weirdly.

I definitely need to make another pair of overall shorts. It’s kind of ridiculous how much I wore these around last summer.

#cheex

Katniss revisited

Katniss reaping dress

Katniss reaping dress

Katniss reaping dress

Katniss reaping dressdress: self-made, pattern here // boots: Clarks

One WIP down! Three to go.

You guys, you have no idea how amazing it feels to finally have fixed this effing hem. You can see my original post with construction details here. (Basically just a modified Darling Ranges bodice with a self-drafted quarter circle-ish skirt. Is that even a thing?) It’s kind of hard to believe that was two whole years ago and this poor dress has been sitting abandoned in the closet ever since. All because of the stupid hem being completely off. By like 4″ on one side. If you go to the original post you can see what I’m talking about in the first photo. But I’ll get back to that tomorrow.

I wanted to style it Katniss-y for photos but I love when costumes are really secret costumes and I can still wear them in public without looking silly. I’m totally going to be wearing this with my Swedish Hasbeens and an over-sized cream cardigan. Or just on its own with some cute sandals.

Tutorial: Lady Peggy

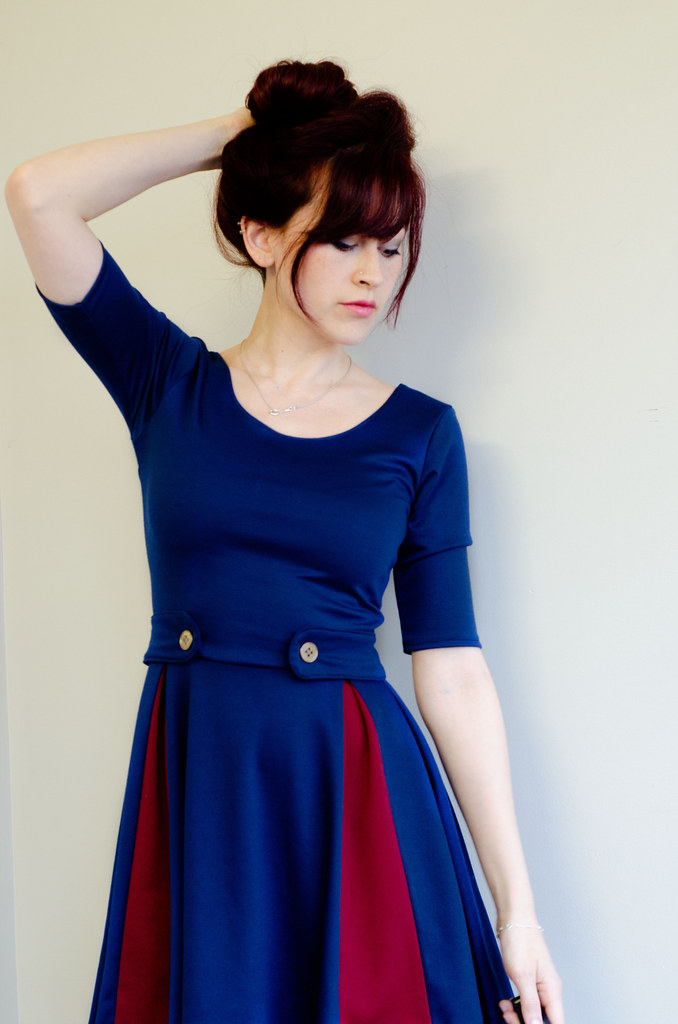
Peggy dress

As promised, here’s a tutorial of how I made my navy and red Peggy dress from the Lady Skater pattern. I used thick knits for this but if you decide to use a woven fabric you can still apply the same general technique for the paneled skirt as long as you start off with a similarly shaped pattern meant for wovens.

What you’ll need:
-the Lady Skater pattern
-fabric as indicated by the pattern
-about an extra half yard of contrasting fabric
-two 1″ buttons (Peggy’s dress has gold ones)
-thread to match both fabrics

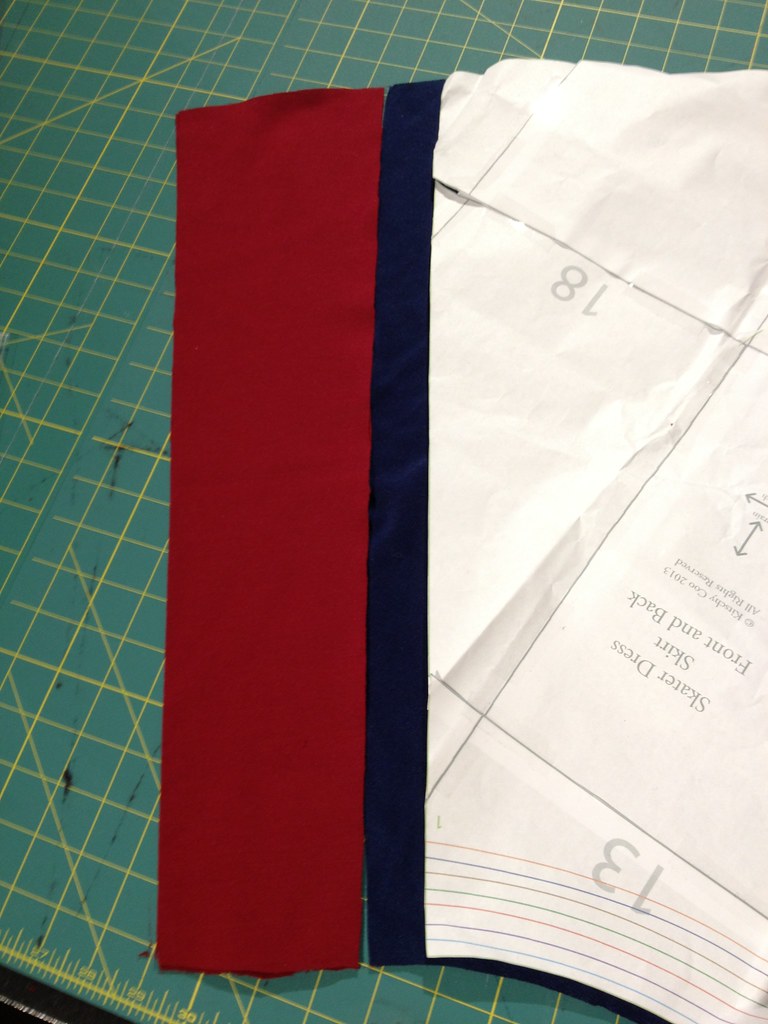
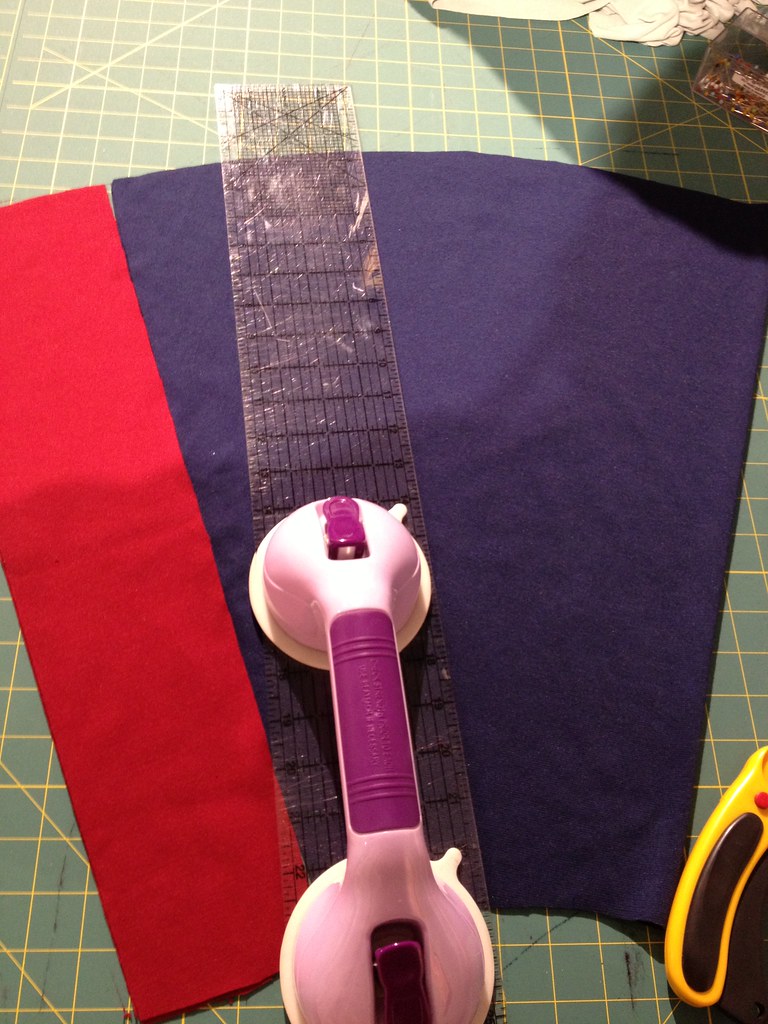
I started off with the skirt piece. Since I was using a thicker knit with less stretch than the Lady Skater pattern calls for, I cut about an extra inch past the skirt piece. I then cut a rectangle in red the same height as the skirt piece and about 5-6″ wide, depending how subtle you want the red panels to be.

The photo on the right shows the ruler marker where I cut the navy fabric. I sort of eyeballed it. The navy fabric is one half of the skirt, cut on the fold.

Peggy dress how toPeggy dress how to

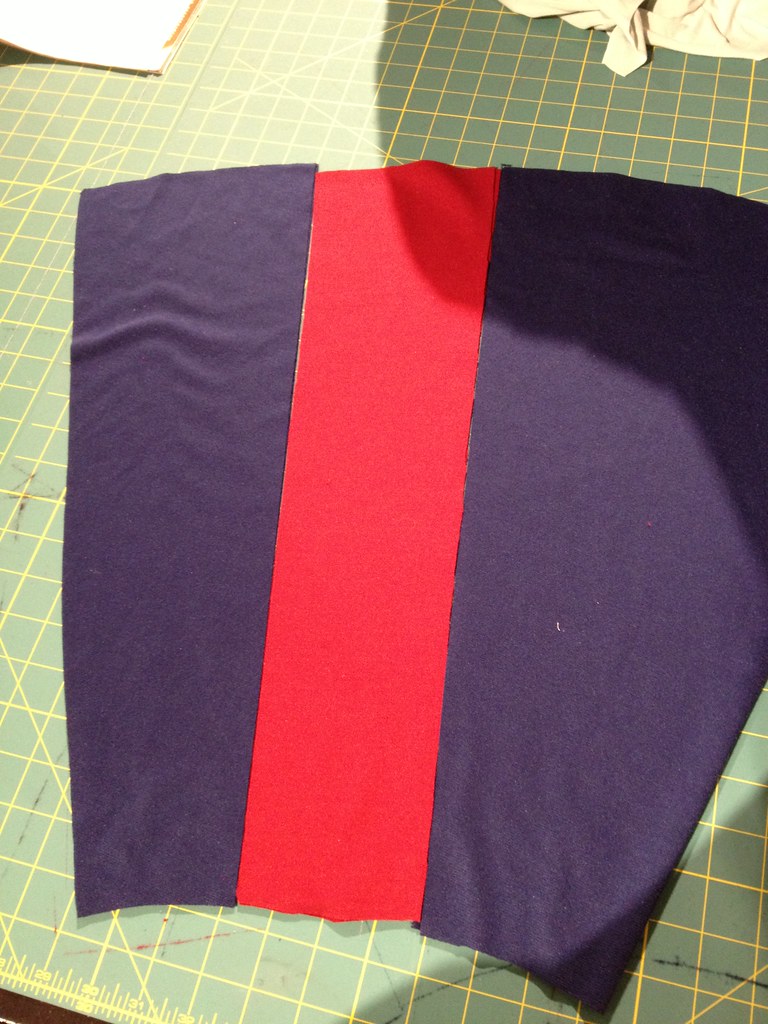
Once you’ve cut slices off the navy fabric, rearrange the panels so the red rectangle is inserted between the blue slices. Peggy dress how to

When you’ve sewn all the panels together, they should look like this. Remember, this is still just one half of the skirt. Now go back and do the same thing for the back of the skirt.

Peggy dress how to

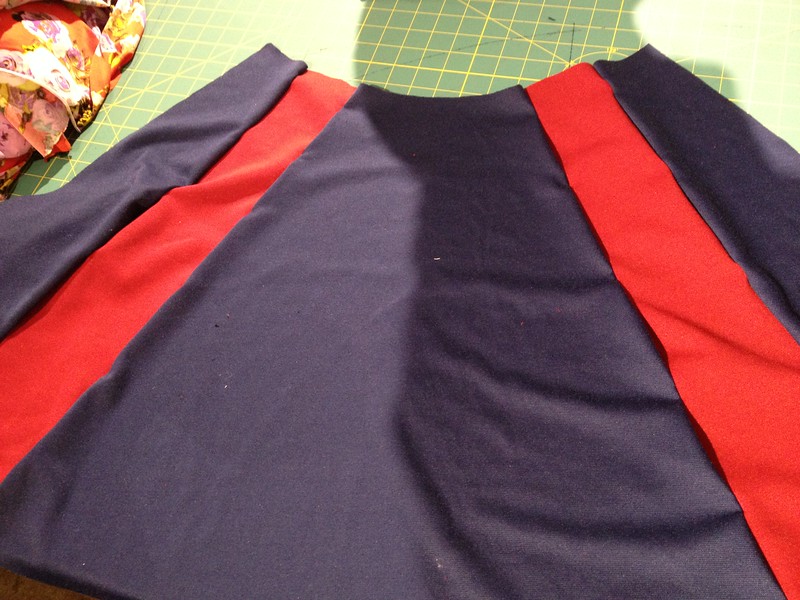
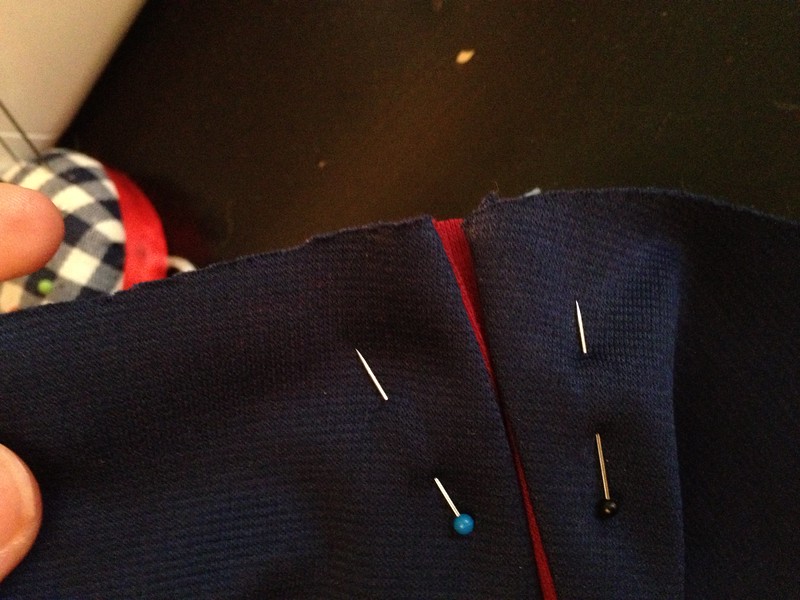
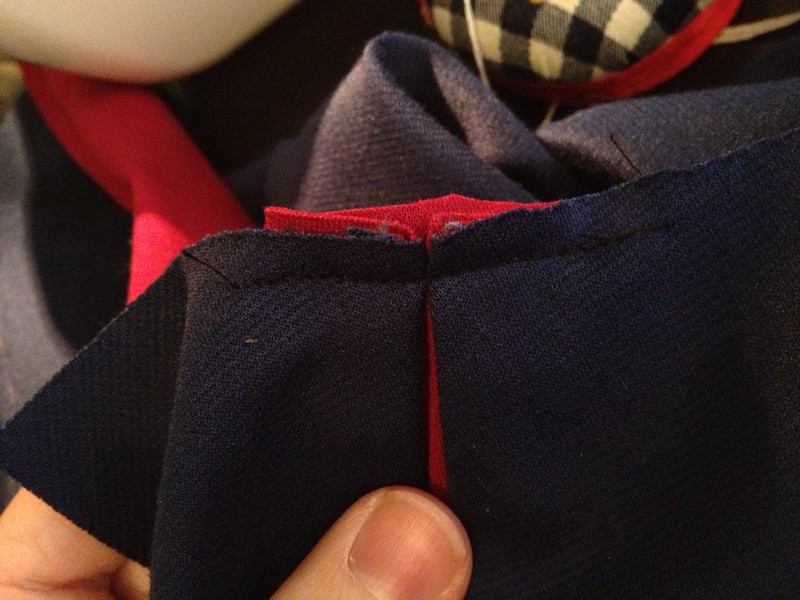
This is the fun part! You’re going to make a single box pleat at each red rectangle as shown. Baste it in place and treat it as normal.

Peggy dress how toPeggy dress how to

The rest of the dress is made mostly according to the pattern. The only changes I made were to omit the neckband and just folded it over instead. Ditto the sleeves.

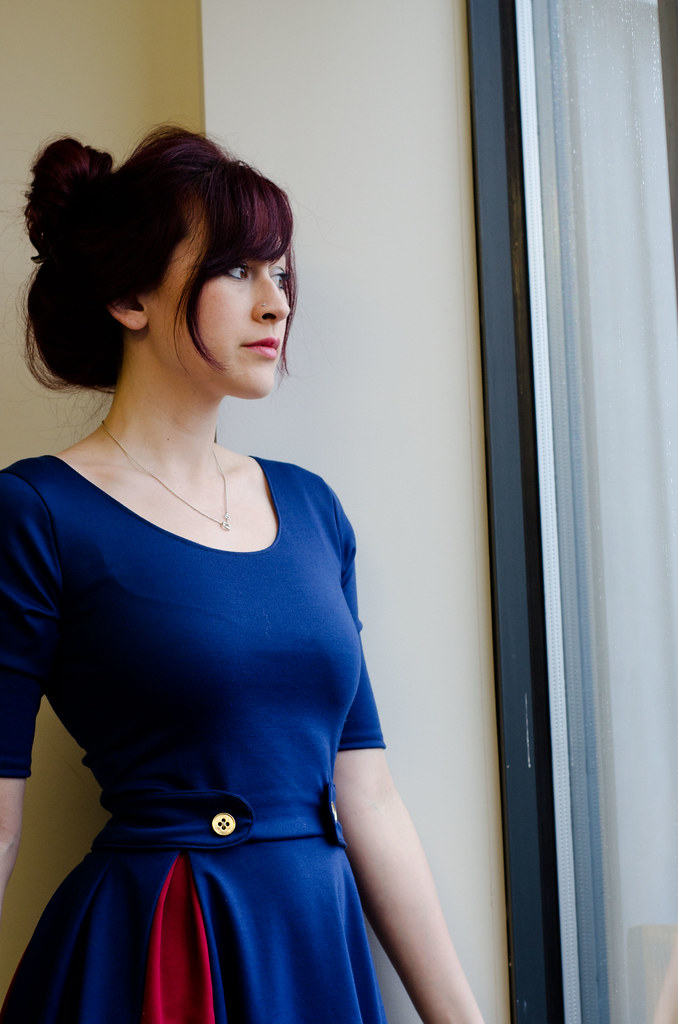
I also made the waist button tab thing that I forgot to photograph but it was pretty simple to make. I measured the distance between the two front pleats, added about 2″ for seams and so it would lie past the pleats, and then cut two long ovals that length and 2.5″ tall. I sewed them together, leaving 3″ open on one of the side seams, and then turned the whole thing inside out and top-stitched around it, closing the open 3″ in the process. It’s attached to the dress by the two decorative buttons in the front.

Peggy dress
And there you have it! A Lady Peggy.