Tag Archives: dress

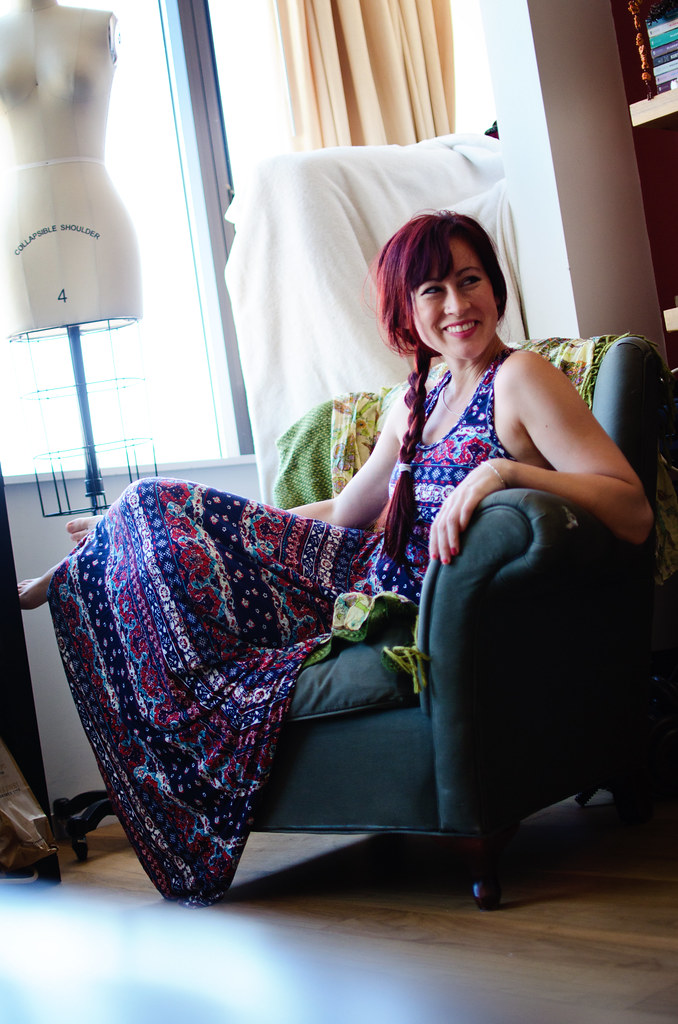
Moar maxi

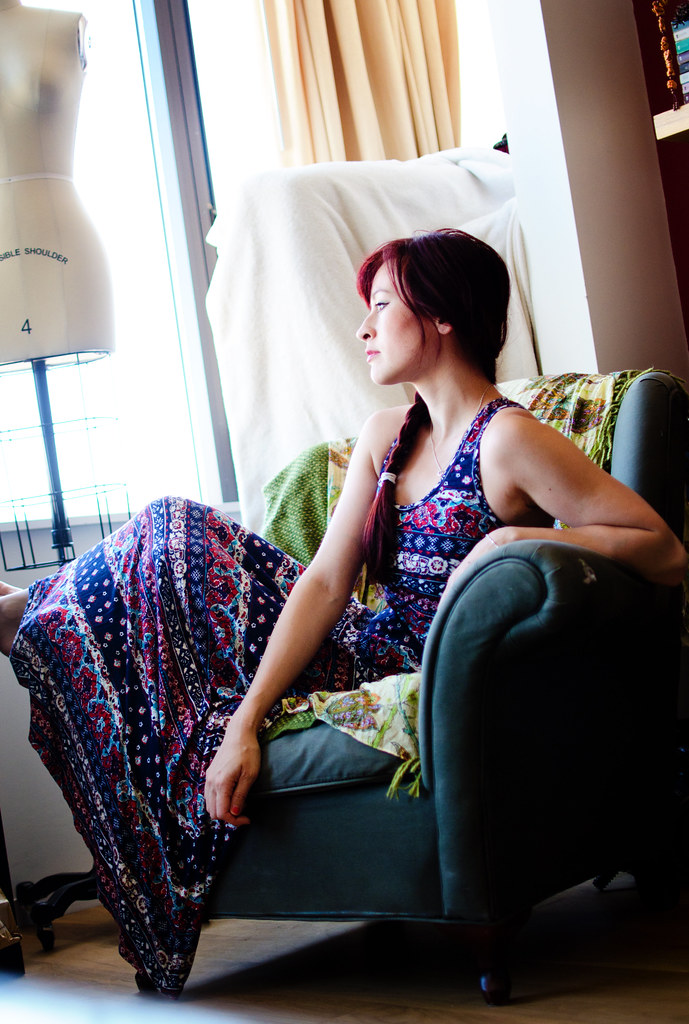
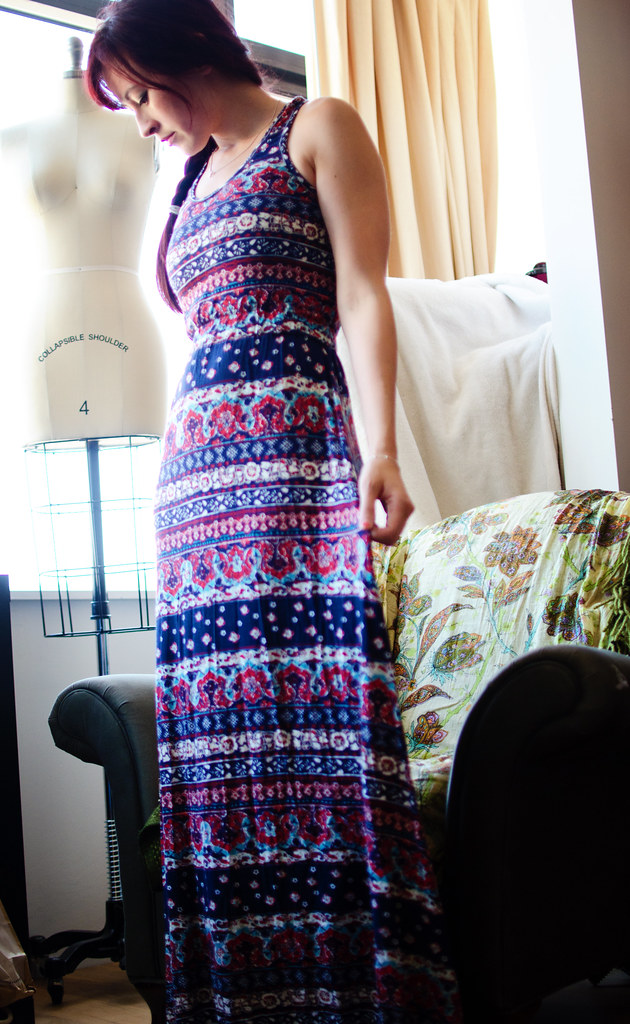
Floral stripe maxi

Floral stripe maxi

Floral stripe maxi

Floral stripe maxi
dress: self-made, self-drafted, fabric here

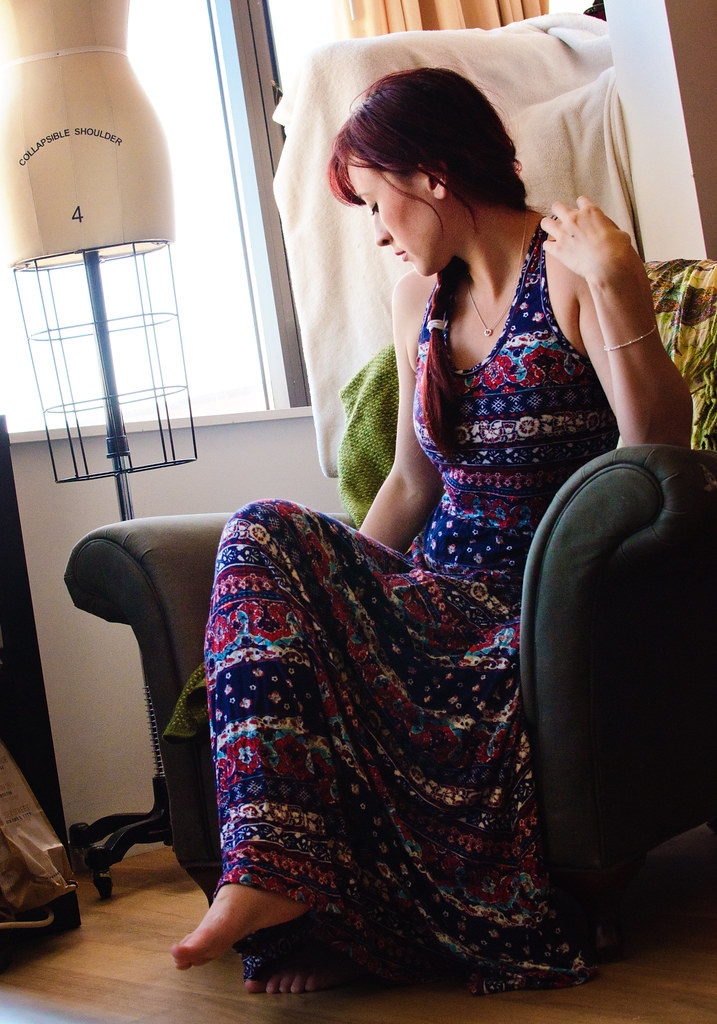
I lost the stupid screw-on plate thing that attaches to my camera that then slides onto my tripod. It’s meant getting a little creative with outfit photos, which is why I’ve been sitting in all of the maxi dress photos. Boyfriend was making fun of my contortioning in the last photo and I realized I rarely smile in blog photos so I threw that one in.

I’ve spent the past week falling further and further down the rabbit hole of researching sewing machines. Last week I was dead set on getting a Bernina. Then yesterday I was positive that one of the Pfaff Ambitions was what I needed. Today I still want a Pfaff but I’ve decided I also need a vintage Bernina. Probably a 730/830 Record.

I’m currently sewing on a borrowed really basic Brother that only sometimes likes to play nice, and my machine back home is a pretty basic Janome. After over a decade of sewing I think I want something a little fancier. Especially since playing around on the machines at Grey’s made me realize that no, you’re not supposed to have to fight that hard to make a straight line.

Sidenote: IDT sounds amazing. Not having to shell out an extra $100 for a walking foot also sounds amazing.

So yeah, any sewing machine advice would be greatly appreciated.
Horses prance through a silver storm

Horses maxi dress

Horses maxi dress

Horses maxi dress

Horses maxi dress

Horses maxi dressdress: self-made, fabric here // belt: thrifted 

To be totally honest, I kind of hated maxi-dresses until kind of recently. I usually prefer short floofy skirts. I think it was having to bypass more than half my wardrobe when getting ready for work that made me reconsider going maxi. Now I’m kind of addicted.

A few months ago I bought an olive green maxi-dress with two super high slits up the leg in the front. It was super hot in a slightly Khaleesi kind of way, but also semi-skanky. I thought about returning it until I decided that would be dumb because I can sew things and it was a really gorgeous dress. I’m really glad I decided to listen to myself on that one because once I sewed up the slits 3″ on either side it’s become one of my favorite dresses. So much so that I ended up tracing it and making a pattern from it, from which I’m basically creating a small maxi army.

The first one was that black maxi skirt from a few weeks ago, and this is the second one. I’m normally horrible at waiting for things so the word “preorder” makes me run the other way, but I saw this horse knit at girlcharlee.com and was so smitten I didn’t even mind waiting the extra two weeks for my entire order to get to me, just to have these horsies.

Now, I’d heard some mixed reviews about Girl Charlee and I’m still a little on the fence about them, but it’s the kind of fence where I just spent $60 there and already have another cart full of fabric I’m coveting. Most of what I’ve bought from them has been awesome but about half of it has ended up being lighter weight than I had expected based on the product descriptions and some fabrics (like the horsies) have been pillier than I’d hoped. On the plus side I was worried this one would be see-through but it’s totally not! Anyway, I’ll keep buying from them since they stock such cute prints but probably not for things like leggings because my tush does not need to see the world.

Sidenote: I did not realize I had a tan line.

The dress pattern is pretty simple. I think this one took me an hour to put together. It’s just a front and back bodice with two identical skirt pieces. I cut a strip of fabric the length of the waist (all the way around, front and back) and stitched in the ditch to attach it to the bodice/skirt seam, then sewed the other side down about 1.5″ above, making a nice cozy tube for some elastic to live inside. My pattern drafting skills are still nonexistent but I can do a tutorial if anyone’s interested.

In other news, I recently re-watched the entire X-Men series (holy inconsistencies though) and just started reading some of the comics. Sooo if I start sewing exclusively in spandex, please stage an intervention.


Old favorites

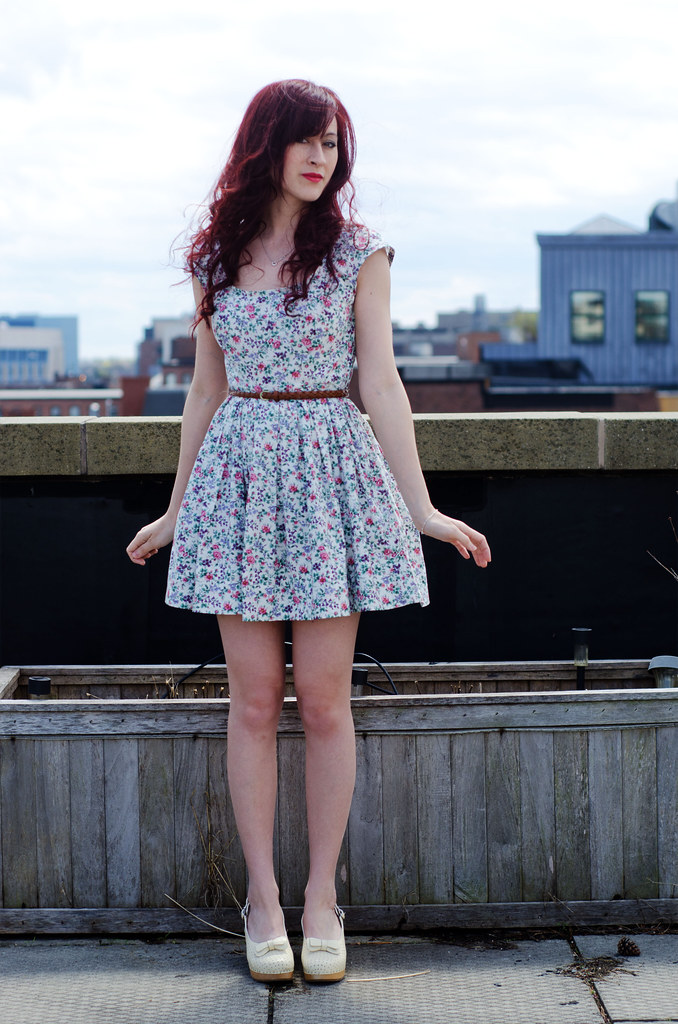
Floral cap-sleeve dress

Floral cap-sleeve dress

Floral cap-sleeve dress

Floral cap-sleeve dress
dress: self-made, pattern here // earrings: c/o Michal Golan // shoes: Swedish Hasbeens

Heh. I made a big deal of limiting my Me Made May photos to Instagram this year and here’s day 2 making an appearance on the blog. Whoops.

In my defense, this dress is special. This was one of the first everyday dresses I ever made and I actually still love it. It’s not the most well-made garment ever but it’s wearable. The bias stitching is totally off, the side zipper is atrocious, and it’s made of quilting cotton, but somehow it’s still one of my favorites.

Anyway, a few weeks ago I got an email from Michal Golan Studios that made me squee inside and then laugh out loud. Not only had they noticed my inclination for lady-like glitzy jewelry and offered to send me a few pieces, they also started up a (still ongoing) email conversation about classic computer/video games. I chose these gorgeous heart-shaped earrings and proceeded to completely fail at focusing my camera. Seriously though, new favorite earrings. They’re beautifully hand-made and I’ve been wearing them pretty much everyday because they go with everything. Also they have an entire line of heart-shaped jewelry. You can check out their store here and a post featuring me and the fabulous Miss OonaBalloona here.

And now I should probably go find some pants. So far Me Made May ’14 has taught me that Elisalex either needs yet more tweaking or just doesn’t fit my bust-shape at all and that I need to make more pajamas in order to participate. And that my next goal in life is to make sixteen Netties in favorites colors and lengths and just have that be my wardrobe.


soclose

Kaylee progress

Kaylee progress

Kaylee progress

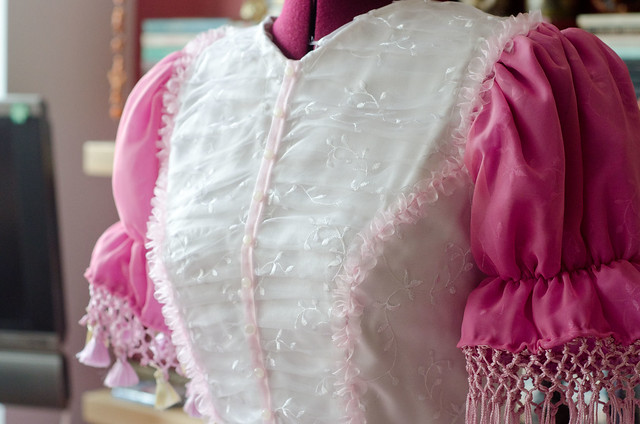
Not gonna lie guys, I’m freaking out a tiny bit. PAX is in two days and while I’m very close to finally being done with this dress, I’m not quite close enough to total done-ness that panic isn’t starting to crawl up my butt a little bit.

Things I still need to do:
-Back zips on both the top and bottom
-Peplum, plus peplum ribbon trim
-Ribbon waistbandy thing
-Neckline lace
-Finish the sleeve trims and iron the sleeve hems without burning said sleeve trims
-Figure out how to seam the back of the skirt
-Figure out how see-through the skirt is and whether I need another petticoat

Yep.

The good news though, as some of you may have seen on my Instagram, is that I managed to cobble together a decent looking hoopskirt! I was thinking of posting a tutorial but mine came out kind of derpy so it’s going to hide under that giant gorgeous fluffy mess in shame. I’m happy to post links to the many many existing (and much better made) tutorials I referenced though, if anyone’s interested. If anyone’s interested in learning how to make a derptastic hoopskirt I’m happy to post about that too.

Speaking of hoopskirts, now that the cape is back, can be make hoopskirts be next. They score basically a zero in terms of practicality but omgsomuchfun.

Anyway, I promise I’ll post a more detailed post with more explanation and detail shots (and maybe even some of me in it!) when it’s done.

In the meantime, check out the awesome giveaway one post back.


Tutorial: Lady Peggy

Peggy dress

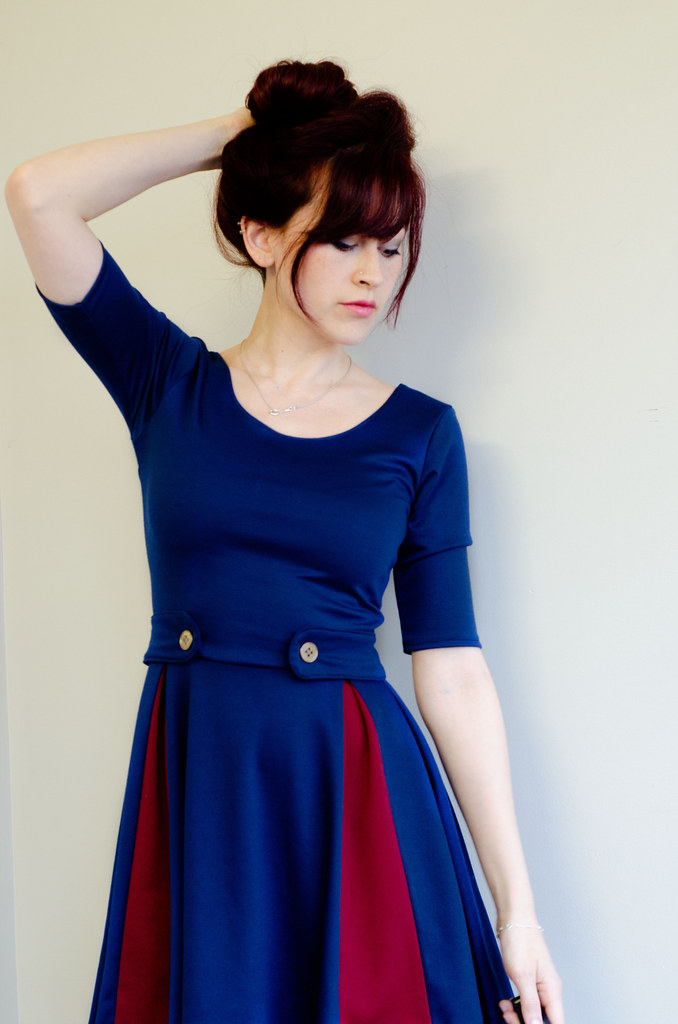
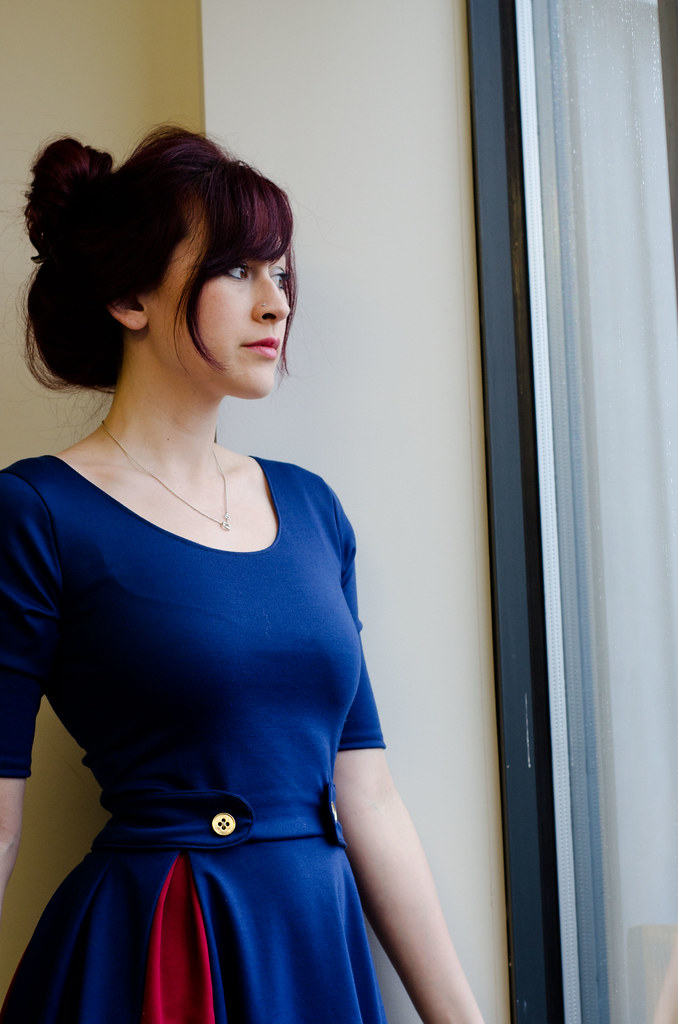
As promised, here’s a tutorial of how I made my navy and red Peggy dress from the Lady Skater pattern. I used thick knits for this but if you decide to use a woven fabric you can still apply the same general technique for the paneled skirt as long as you start off with a similarly shaped pattern meant for wovens.

What you’ll need:
-the Lady Skater pattern
-fabric as indicated by the pattern
-about an extra half yard of contrasting fabric
-two 1″ buttons (Peggy’s dress has gold ones)
-thread to match both fabrics

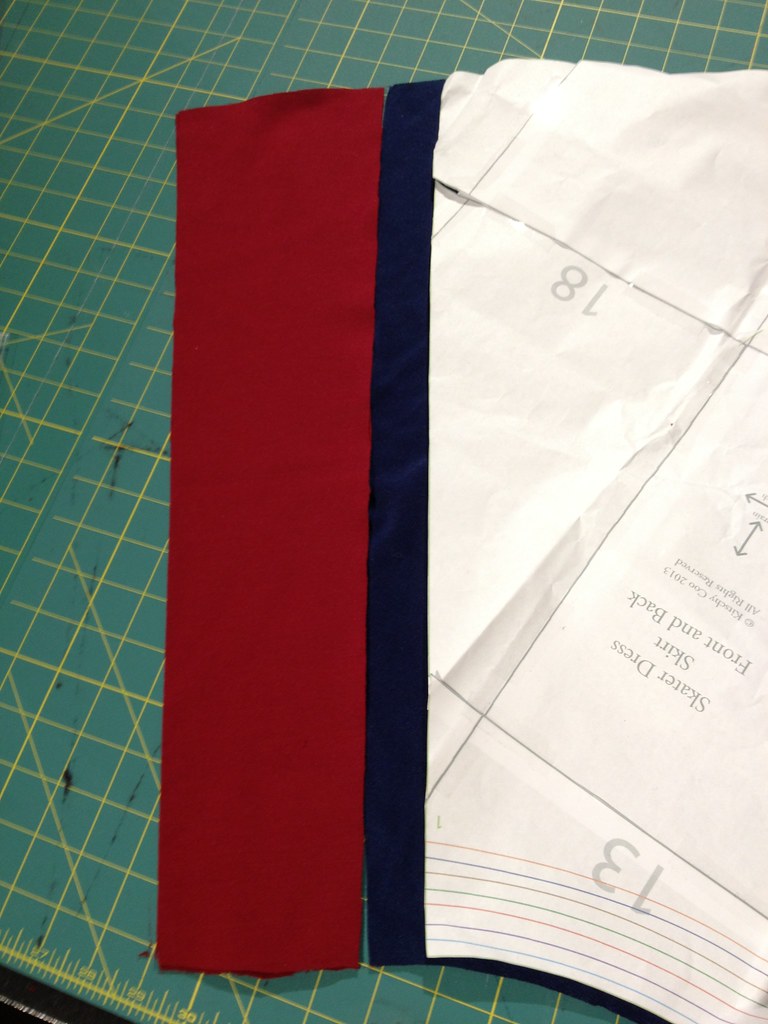
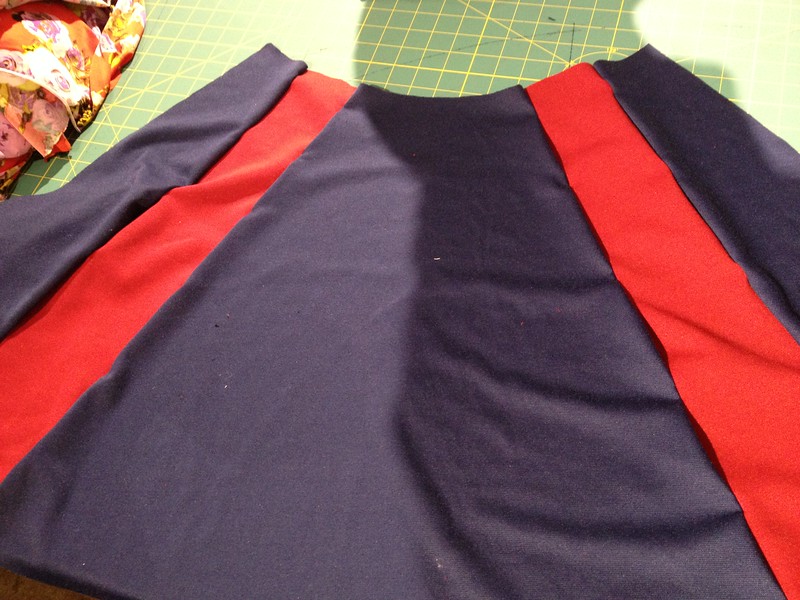
I started off with the skirt piece. Since I was using a thicker knit with less stretch than the Lady Skater pattern calls for, I cut about an extra inch past the skirt piece. I then cut a rectangle in red the same height as the skirt piece and about 5-6″ wide, depending how subtle you want the red panels to be.

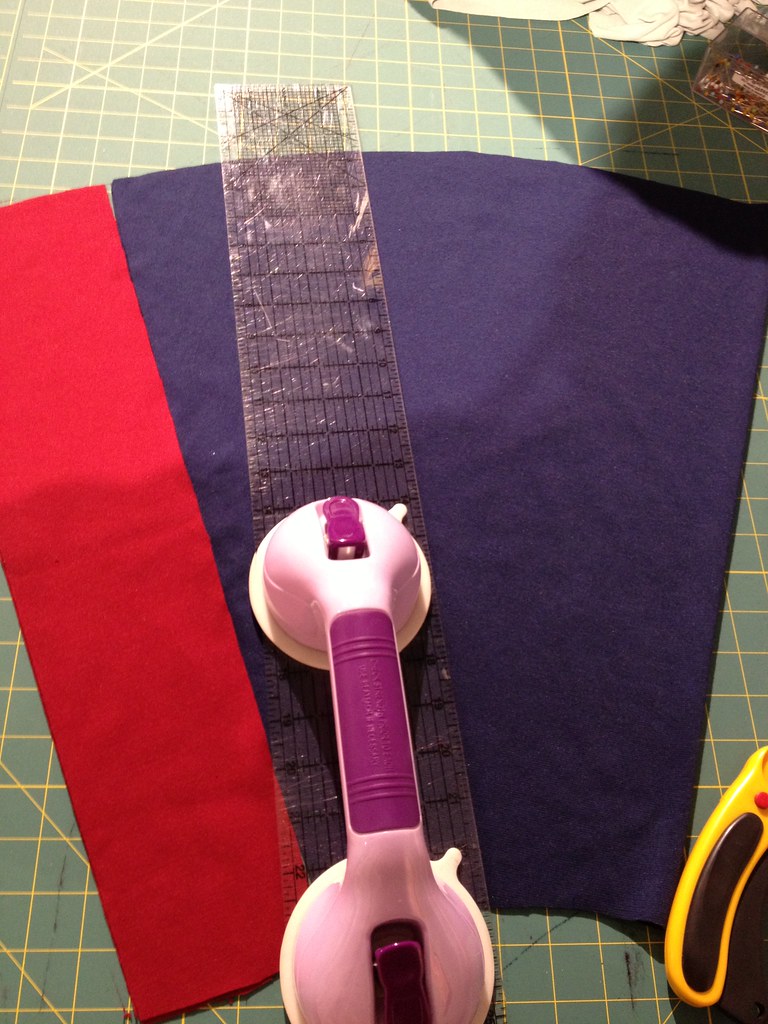
The photo on the right shows the ruler marker where I cut the navy fabric. I sort of eyeballed it. The navy fabric is one half of the skirt, cut on the fold.

Peggy dress how toPeggy dress how to

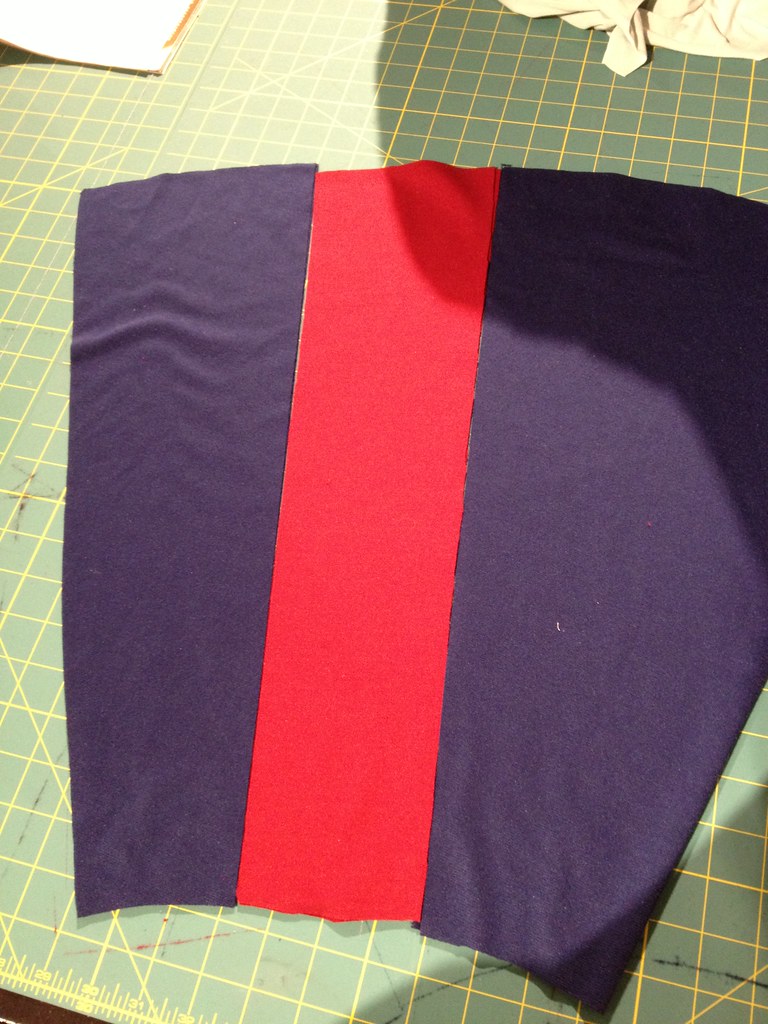
Once you’ve cut slices off the navy fabric, rearrange the panels so the red rectangle is inserted between the blue slices. Peggy dress how to

When you’ve sewn all the panels together, they should look like this. Remember, this is still just one half of the skirt. Now go back and do the same thing for the back of the skirt.

Peggy dress how to

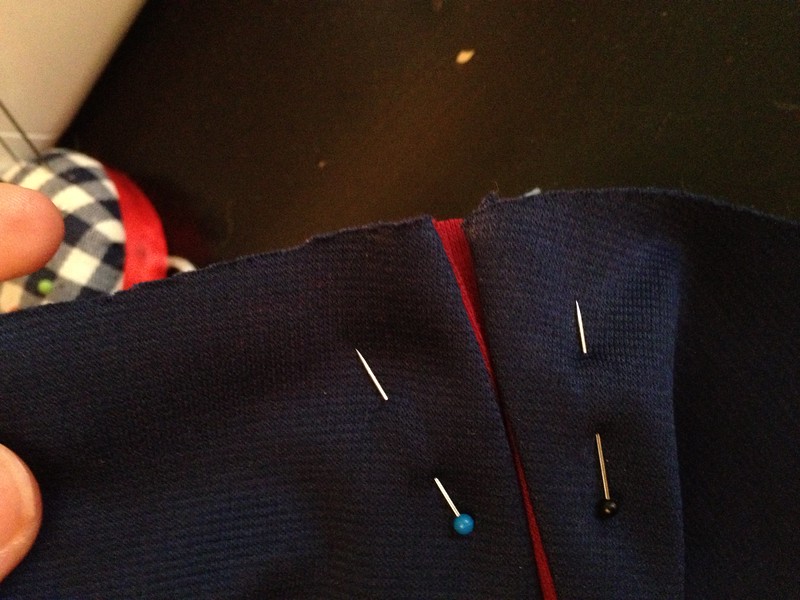
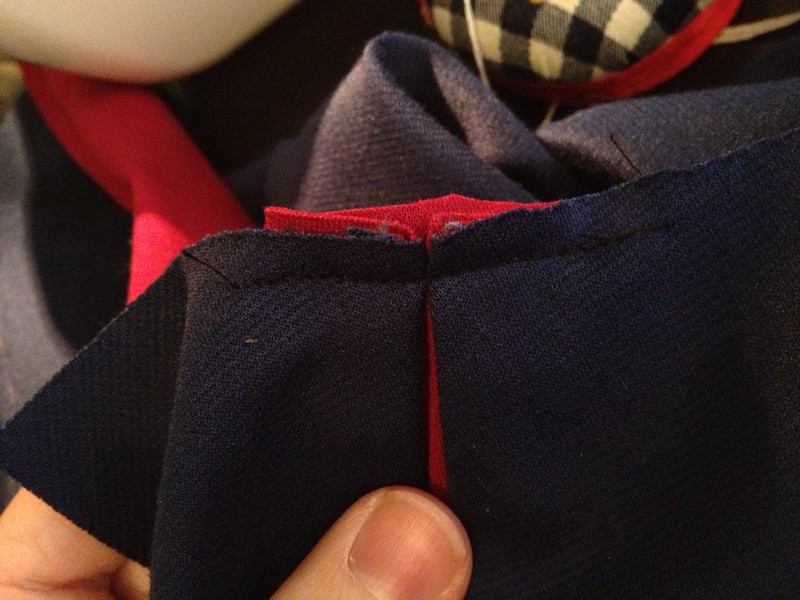
This is the fun part! You’re going to make a single box pleat at each red rectangle as shown. Baste it in place and treat it as normal.

Peggy dress how toPeggy dress how to

The rest of the dress is made mostly according to the pattern. The only changes I made were to omit the neckband and just folded it over instead. Ditto the sleeves.

I also made the waist button tab thing that I forgot to photograph but it was pretty simple to make. I measured the distance between the two front pleats, added about 2″ for seams and so it would lie past the pleats, and then cut two long ovals that length and 2.5″ tall. I sewed them together, leaving 3″ open on one of the side seams, and then turned the whole thing inside out and top-stitched around it, closing the open 3″ in the process. It’s attached to the dress by the two decorative buttons in the front.

Peggy dress
And there you have it! A Lady Peggy.