Tag Archives: cotton and steel

Mary poppins

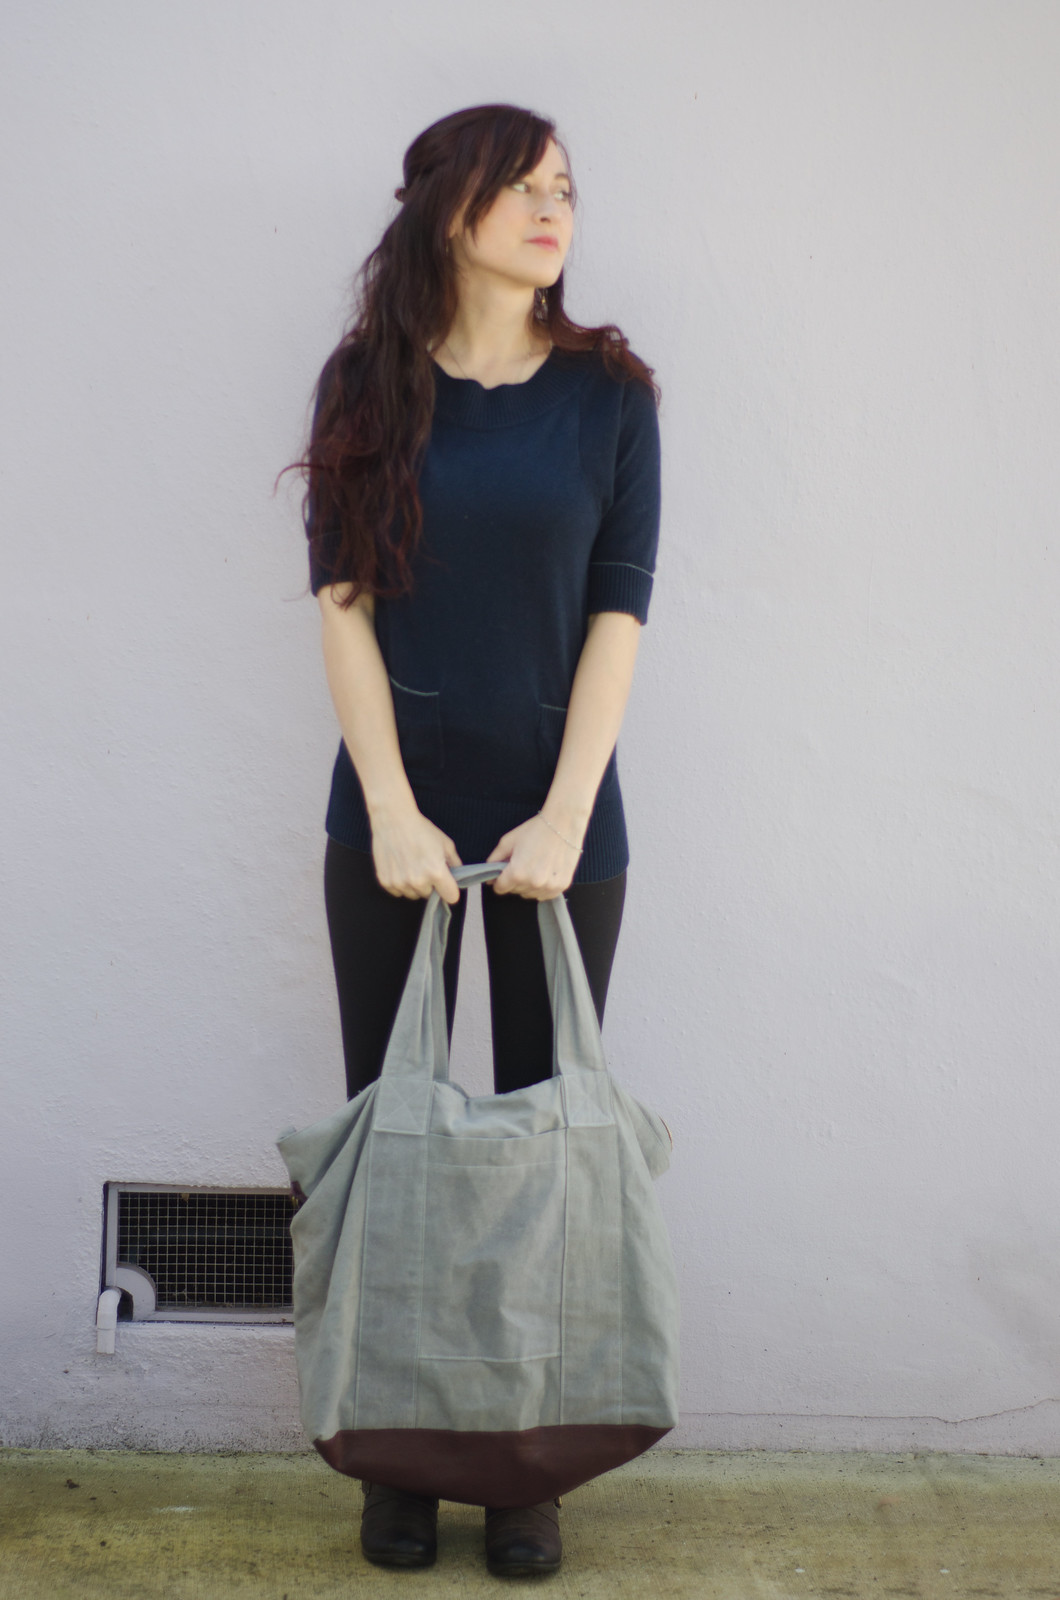
Wax canvas tote bag

Wax canvas tote bag

Wax canvas tote bag

Wax canvas tote bag

Ever since I started to discover that things I had once thought were impossible (jeans, bras, jackets, etc.) were actually totally within the realm of possibility, I’ve wanted to make a bag. I did make one bag a while ago that was cute but not exactly practical for my lifestyle (i.e. too small). Most of the bag patterns I’ve come across online have either not been the style or type of bag I was looking for, or are entirely too Amy Butler-y, which doesn’t go with my wardrobe at all.

I randomly came across this pattern/tutorial/guide thing a few years ago and pinned it and promptly forgot about it. I ran into again the other day and remembered that I had a bunch of canvas, wax, faux leather and pretty Cotton and Steel horses that were just waiting to be made into a bag. (It was originally supposed to be a Walden Cooper bag but I decided I’m really not a backpack person.) The canvas was from fabric.com and the faux leather was from that giant warehouse of fabric shops in Taiwan, and the wax I randomly found at Goodwill one day. I’ve heard great things about Otter wax too.

Now, I’ve never worked with waxed canvas before and I still don’t really feel like I know what I’m doing, especially since I was waxing my own canvas. I did the rubbing in paraffin wax thing and then melted it with a hair dryer, but then the iron would basically make it evaporate or otherwise disappear. I ended up deciding to wax most of the fabric (once cut), ironing it carefully with a press cloth and on a low setting, and then just reapplying wax at the end as needed. It seemed to work well. I also did a light layer on the inside to protect the pretty horses.

The inspiration bag.

Onto the pattern/tutorial/guide thing. Fun fact: it’s written by Don Morin, who has a Craftsy class on leather bags that looks pretty interesting. Anyway, the instructions are a bit confusing and there aren’t any step by step photos but if you read through carefully and just look at some bags you own/photos of the finished bag it’s pretty straightforward. I also found this blog post of someone who made it and shows some of the steps, which was helpful. The main confusion is the fact that his finished photo is of the RTW bag that was his inspiration, and not an actual bag made with the pattern, so there are some differences.

Wax canvas tote bag

I also changed a few things due to preference.

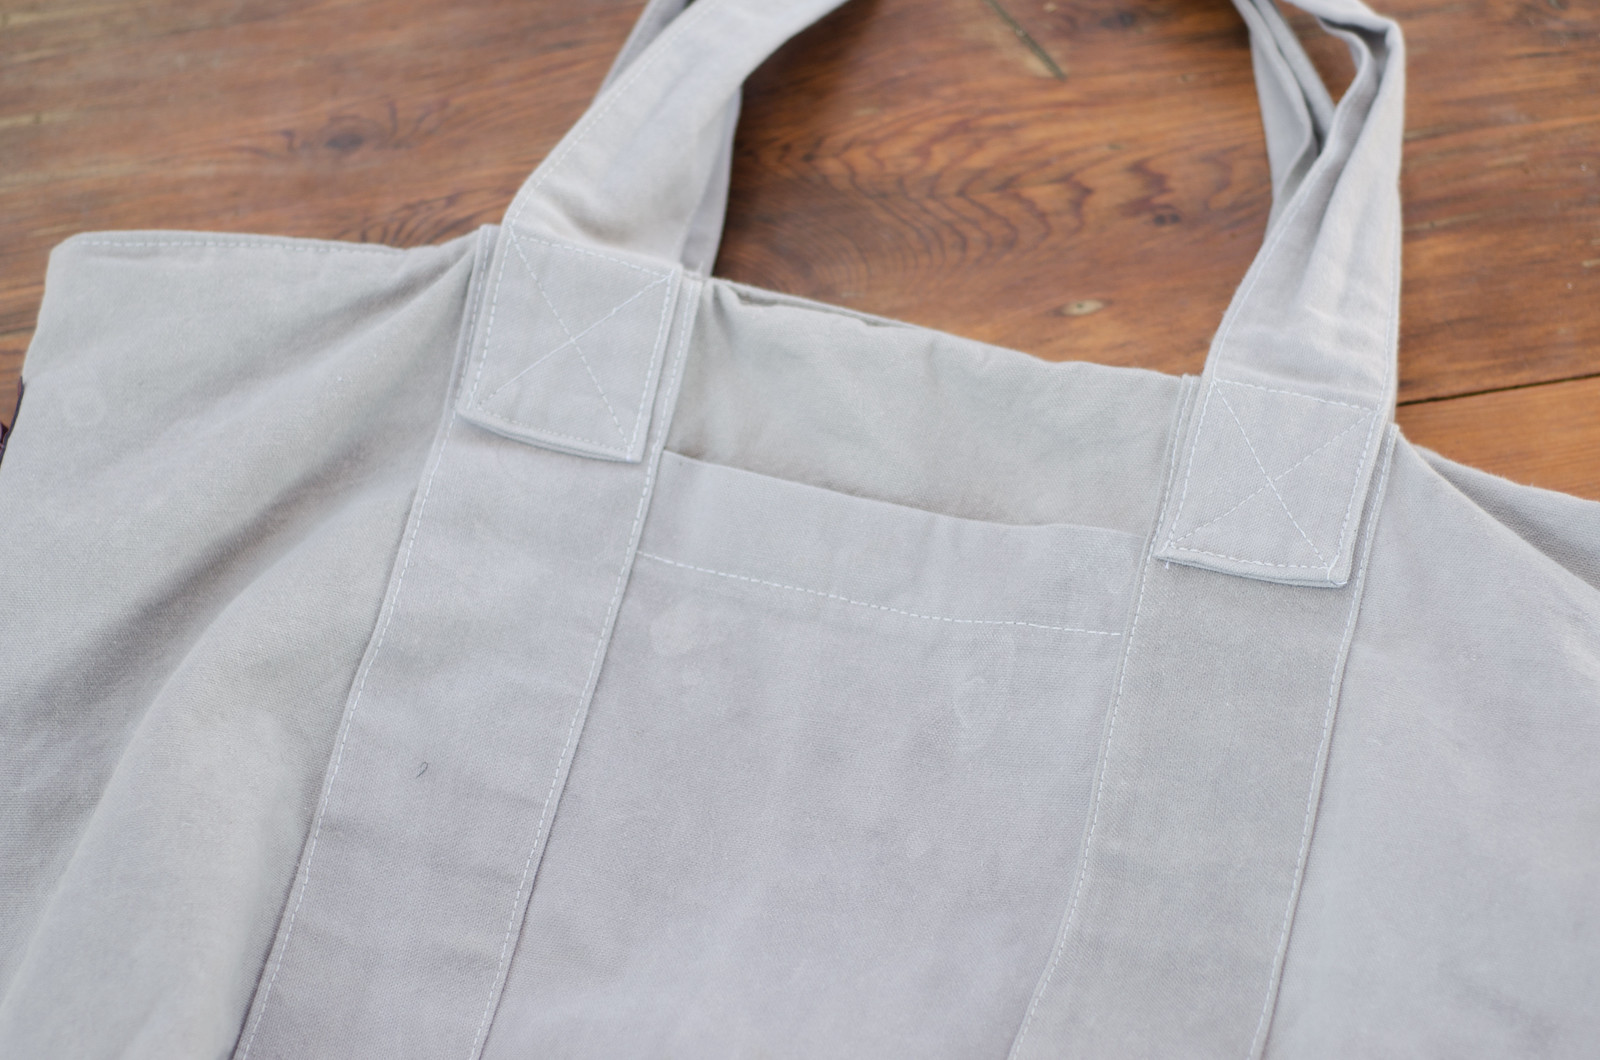
1) He has you cut two struts for each side (the vertical things that extend down from the strap). Based on advice in the blog post I linked above, I cut two extra long ones so they wrap around the bottom of the bag for support.

Wax canvas tote bag

2) I thought his straps were too thin so I doubled the width, as well as the length so they can be worn over the shoulder. I also didn’t bother sewing the leatherette trim on because holy crap that looked fiddly.

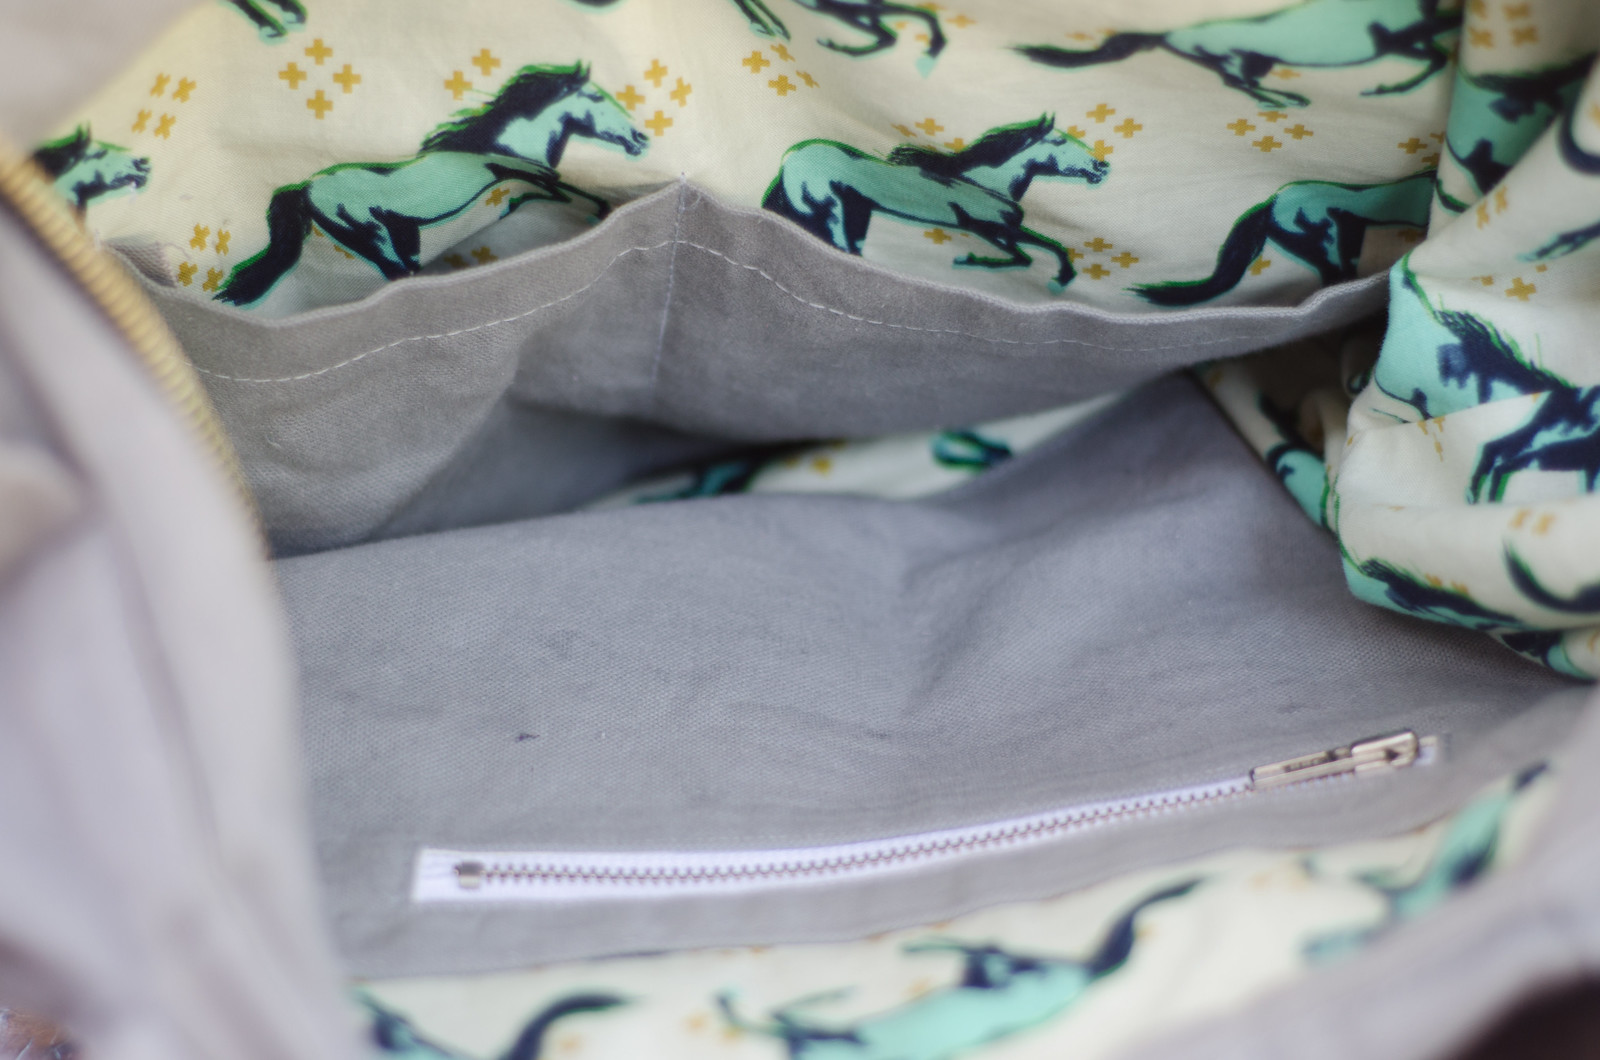
3) I added a lining, which basically just entailed cutting a second main bag piece. I also had to cut additional zipper placket pieces and then had to fiddle with the zipper insertion so I think mine ended up being a little different than what his instructions said to do.

Wax canvas tote bag

3) I added a zippered patch pocket (basically just make a window in a rectangle of fabric like you’re going to do a welt pocket but then sew a zipper there and then sew it on like a patch pocket) and some open pockets on the other side. I interfaced the crap out of the lining and then just sewed it on easy peasy.

Tote bag details

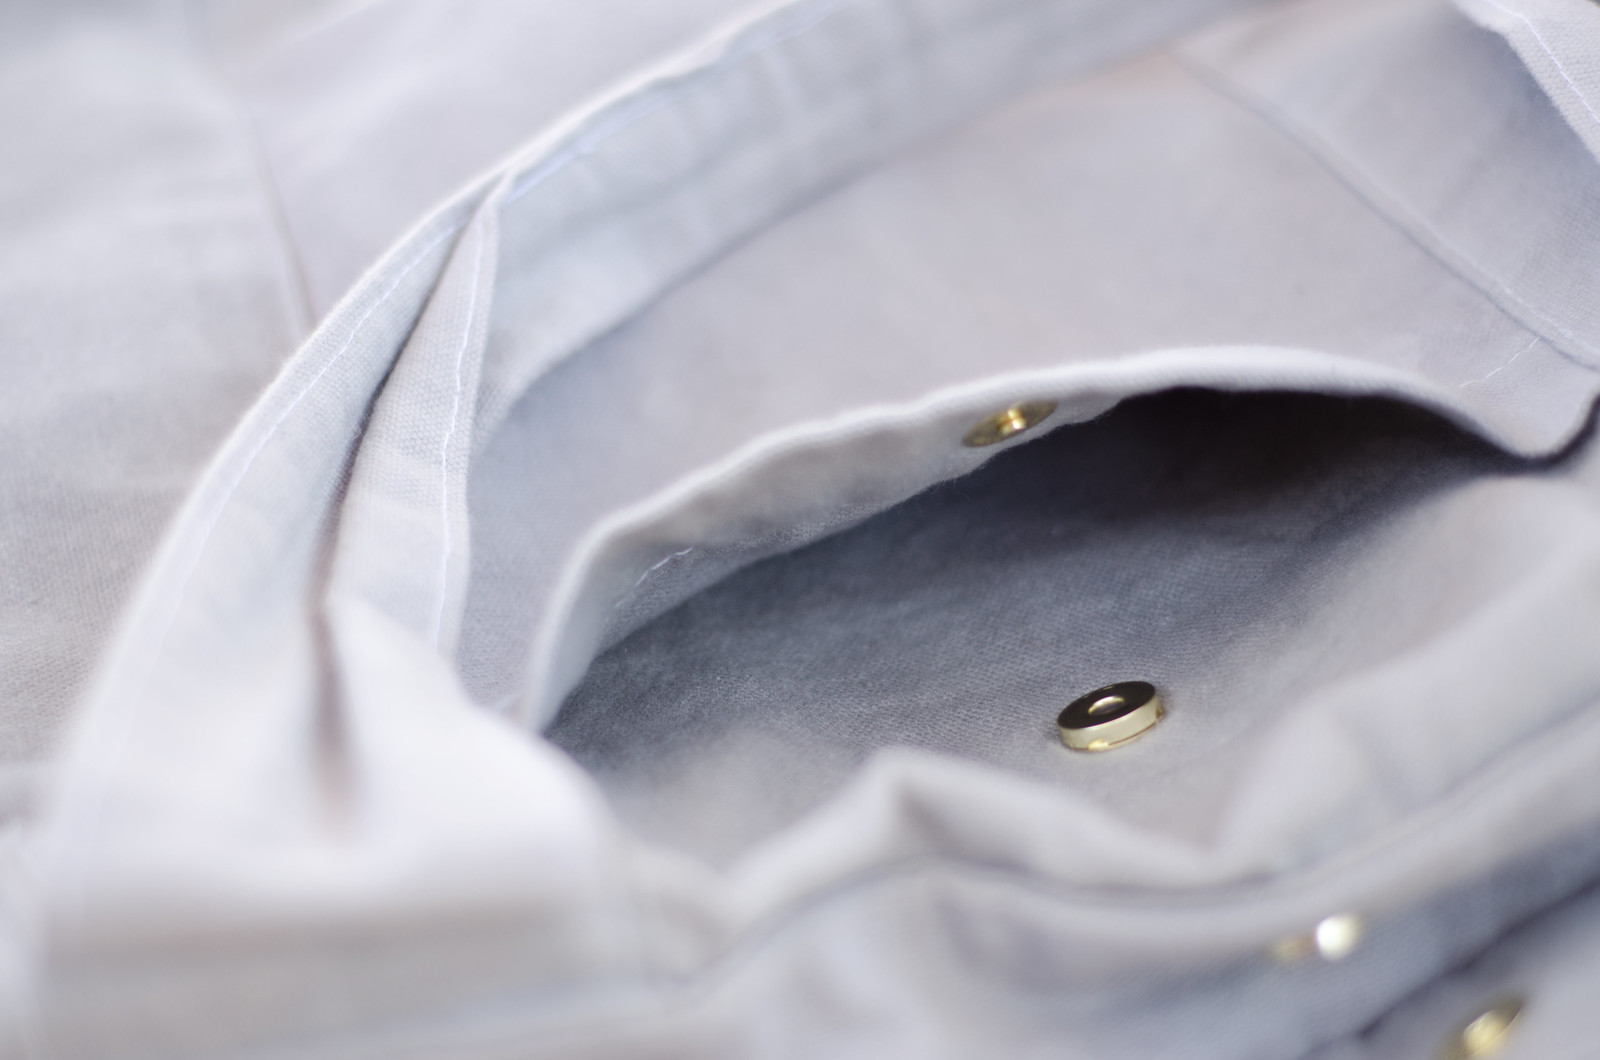
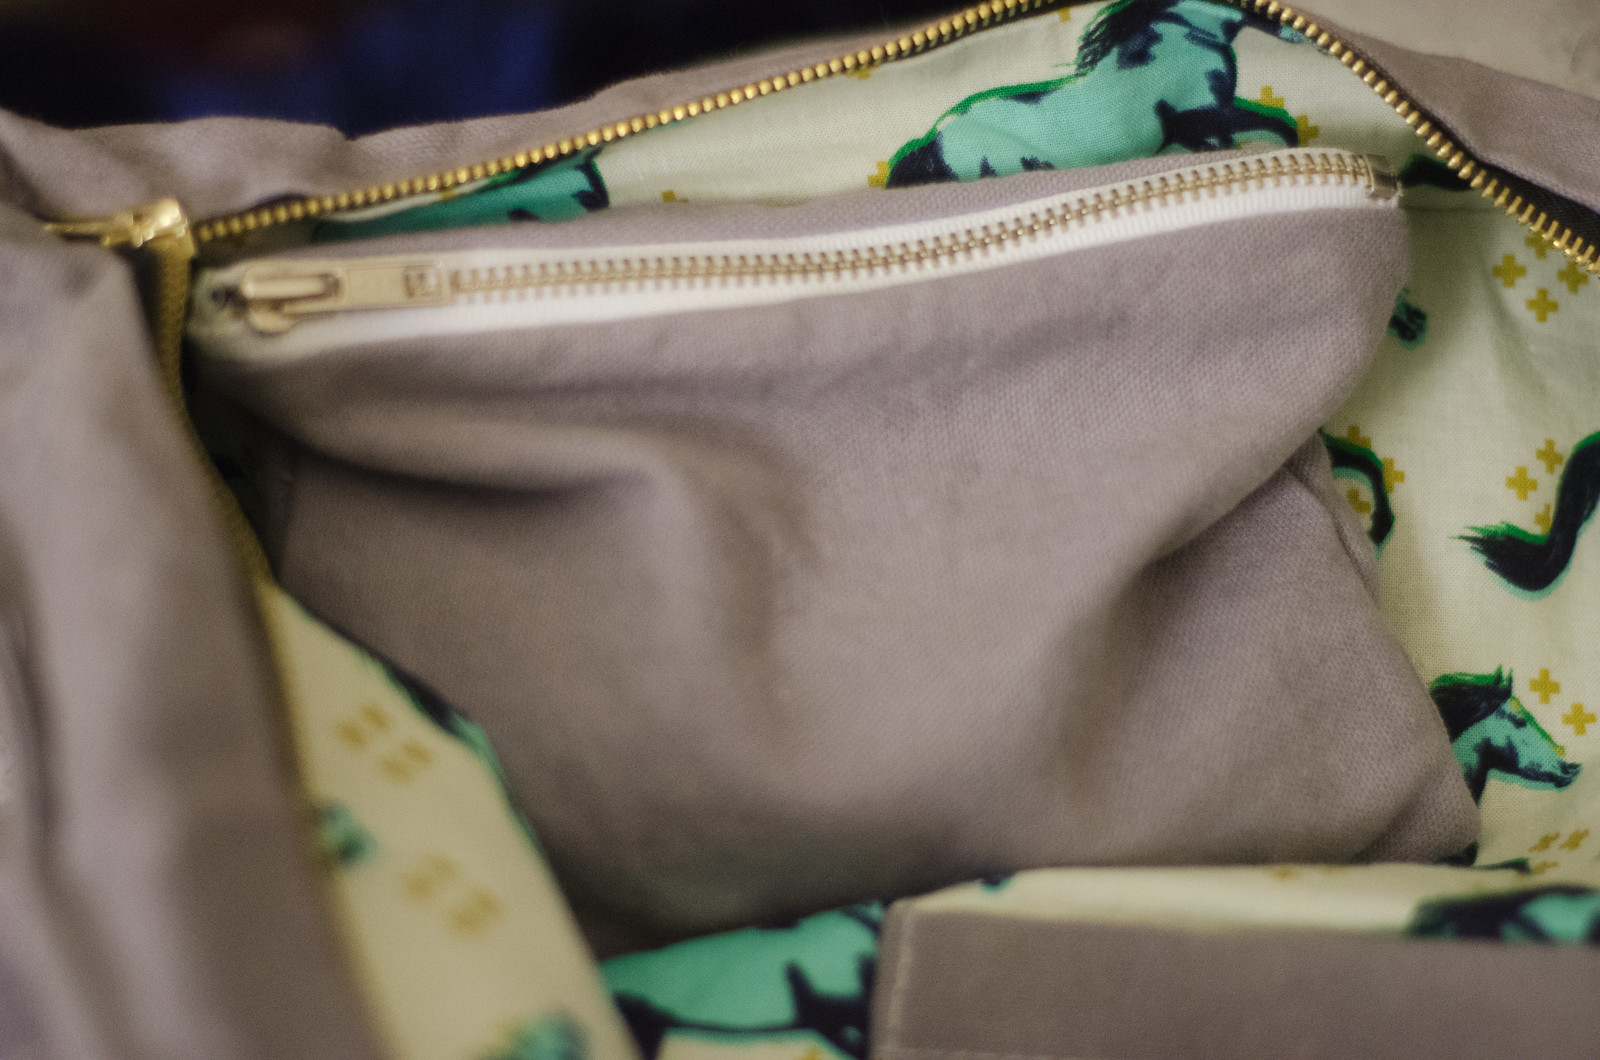
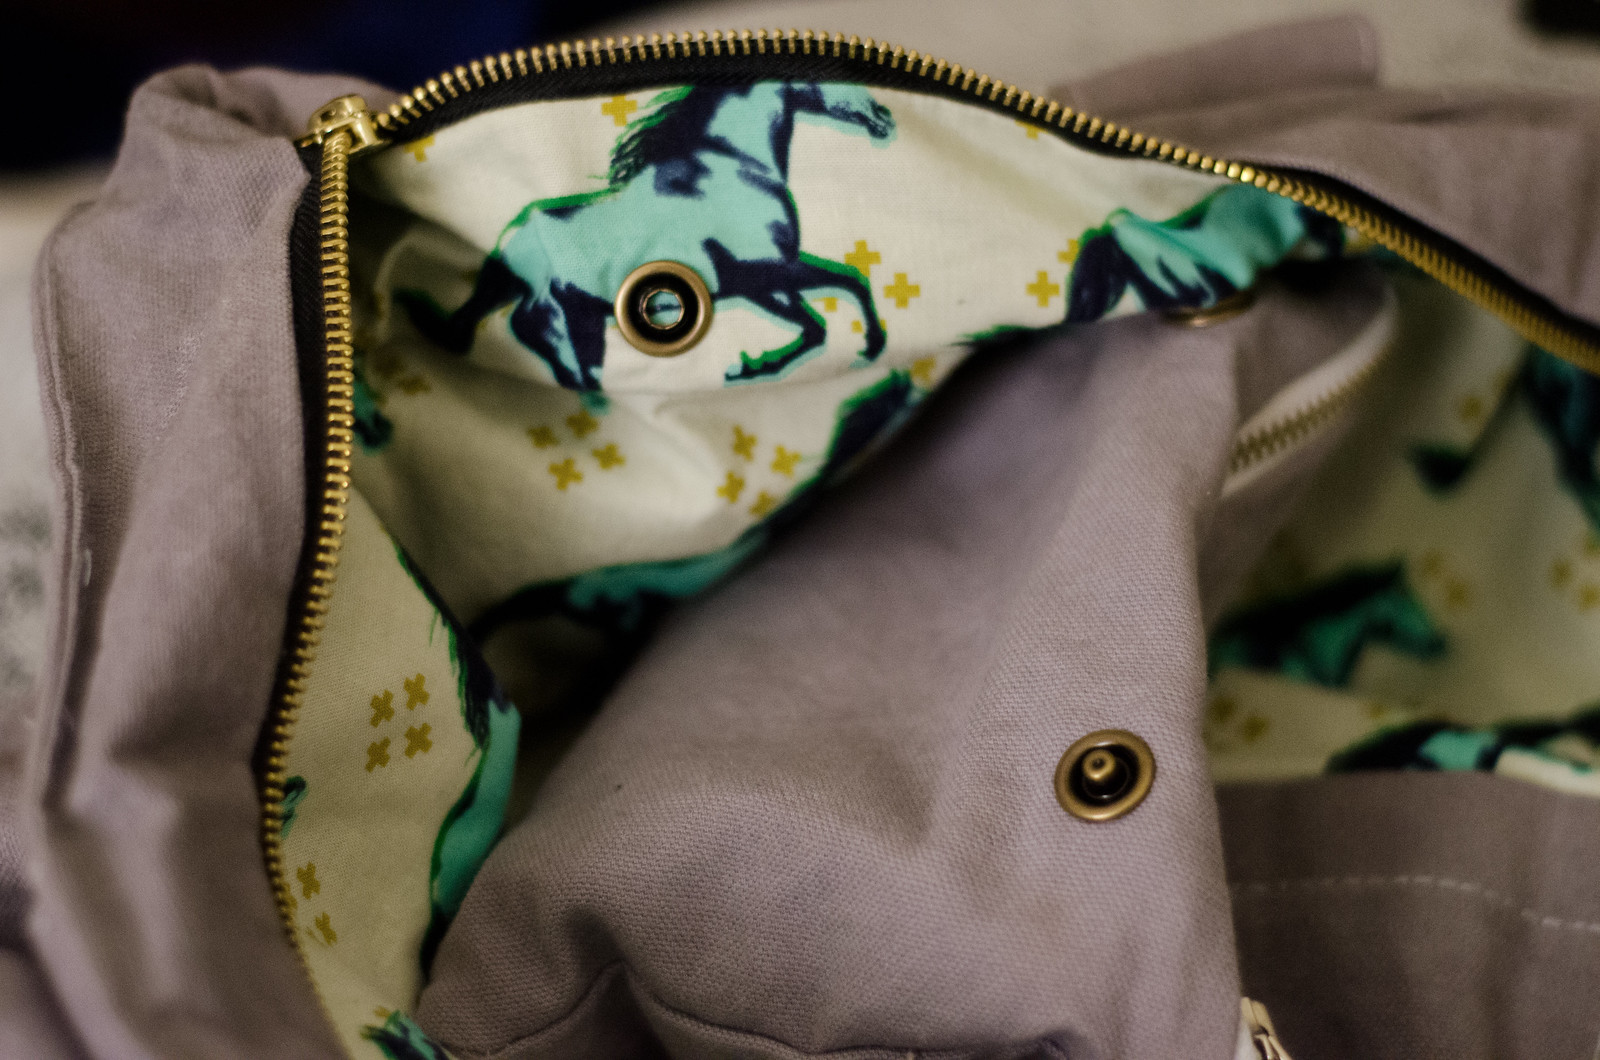
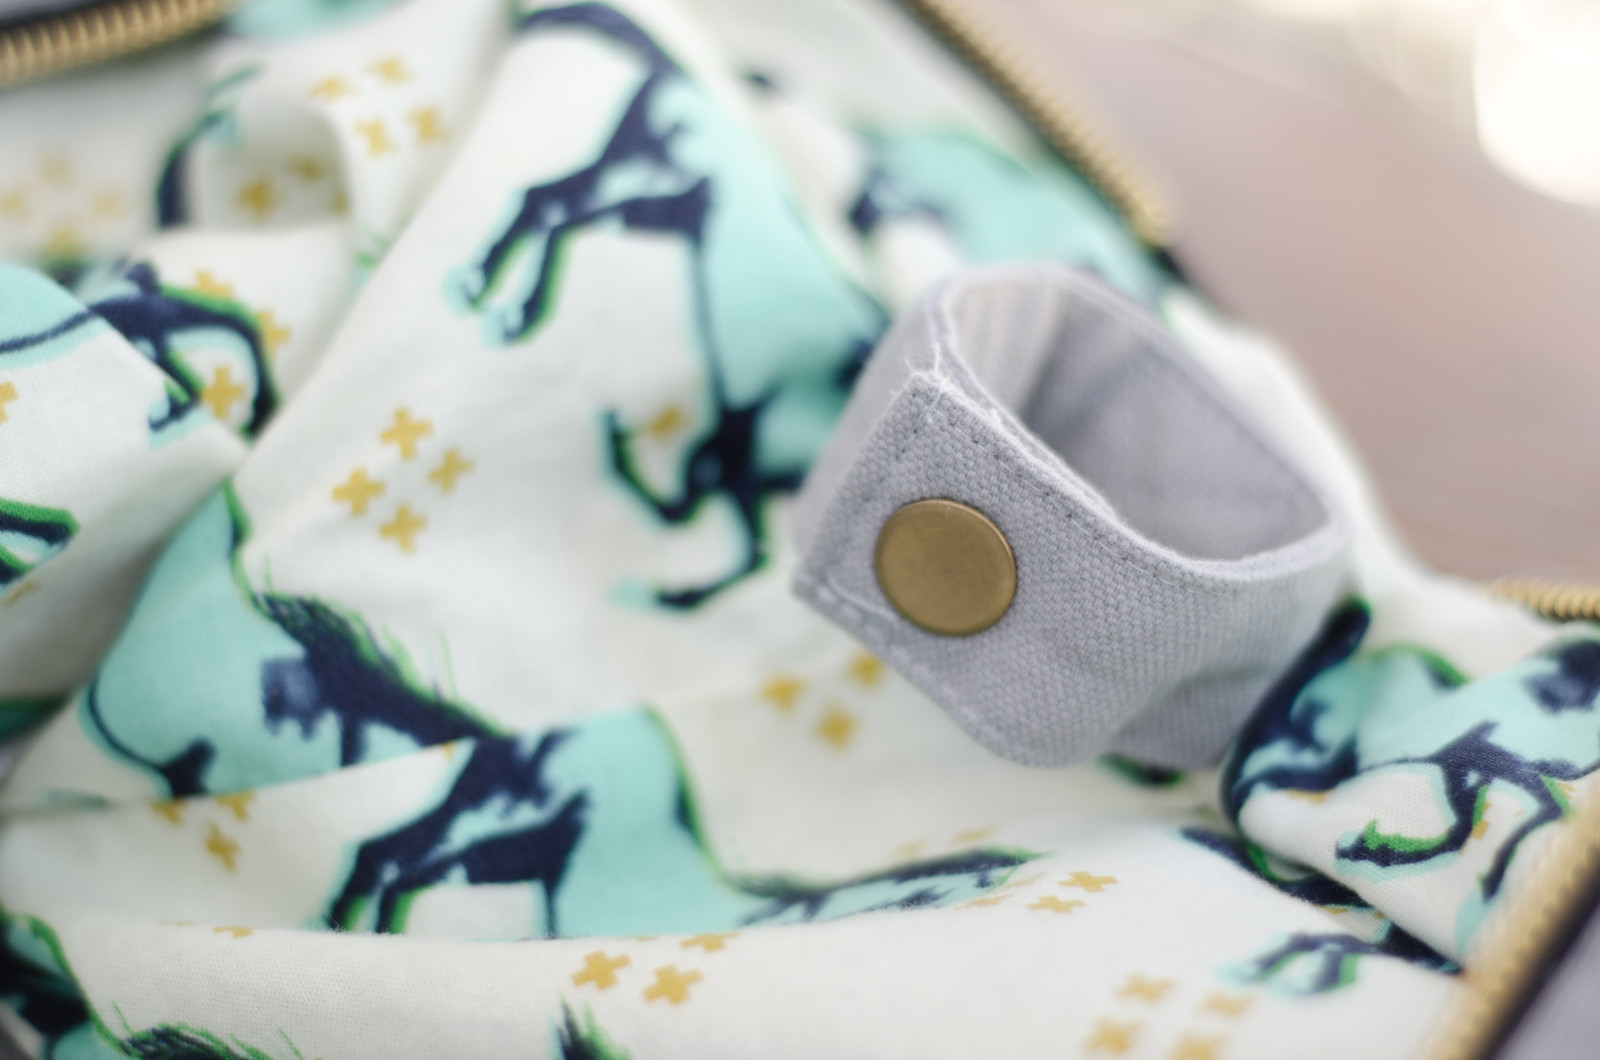
4) I stole this idea from my Jordana Paige knitting bag because I love it so much, but I made a zippered pouch but attached snap buttons on the side, and then the other side of the snaps are on the inside edge of the bag so the pouch doesn’t get lost in the bottom of the bag but is also removable. (I use this pocket in my knitting bag for makers and needles and needle tips. This one holds Ibuprofen, tampons, chapstick, and ladybug bandaids.)

Tote bag details

5) Also stolen from my Jordana Paige bag: I added a snap loop thing either for hanging my keys or for feeding yarn through if I want to knit out of the bag. I realized afterward that I should’ve made a elastic top pocket thing to actually hold the yarn but I think I can still go back and handstitch one in.

Wax canvas tote bag

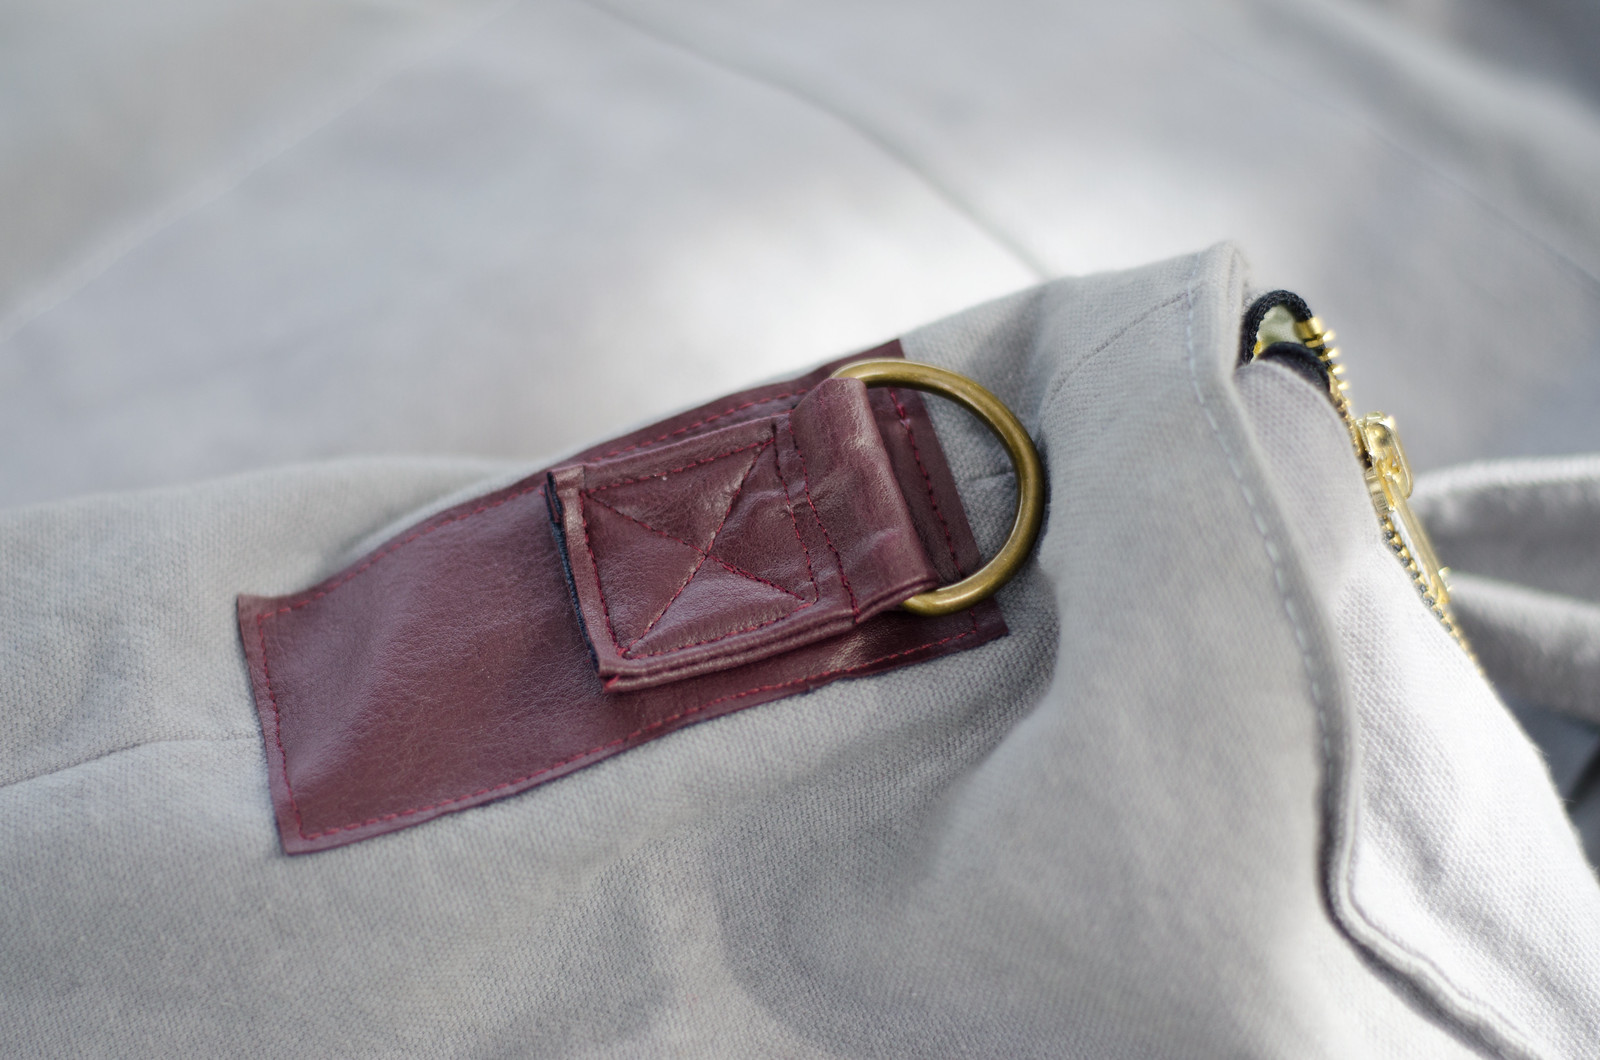
6) I also haven’t done the strap because I can’t decide if I would ever wear it that way. I did sew on D-rings just in case I change my mind though. Instead, I elongated the straps so it can comfortably fit on my shoulder.

Tote bag details

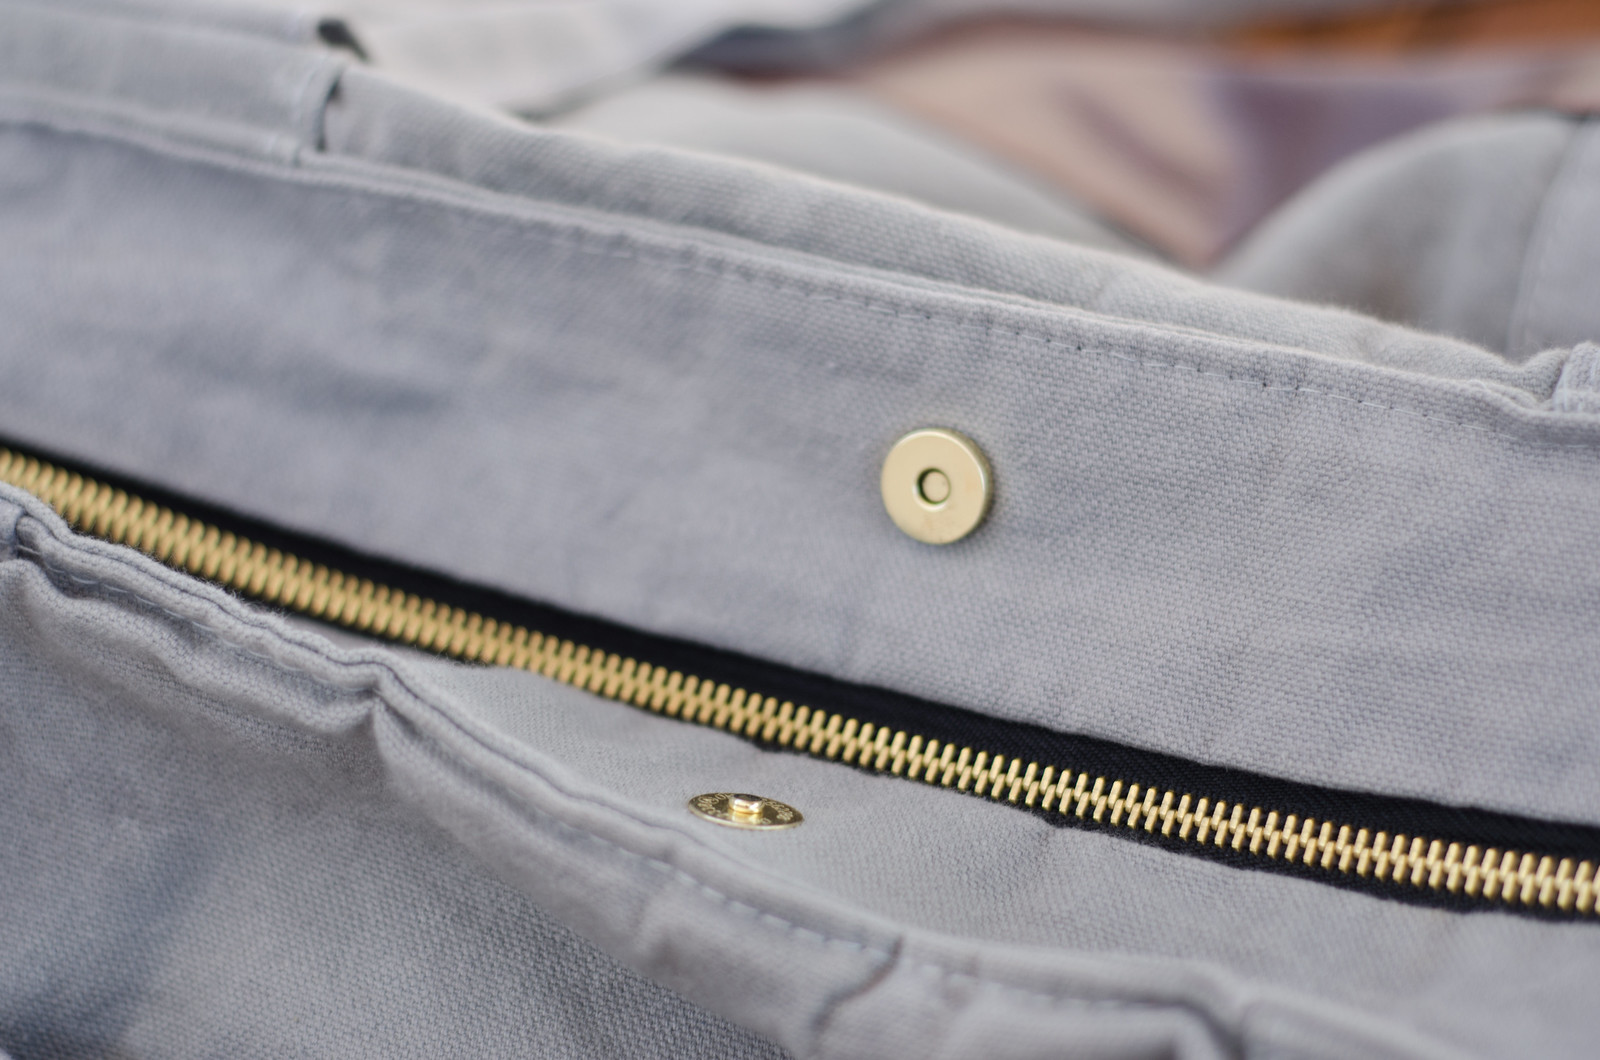
7) I don’t always zip my bags but don’t want the giant opening flapping around either so I added a small snap button in the middle.

Wax canvas tote bag

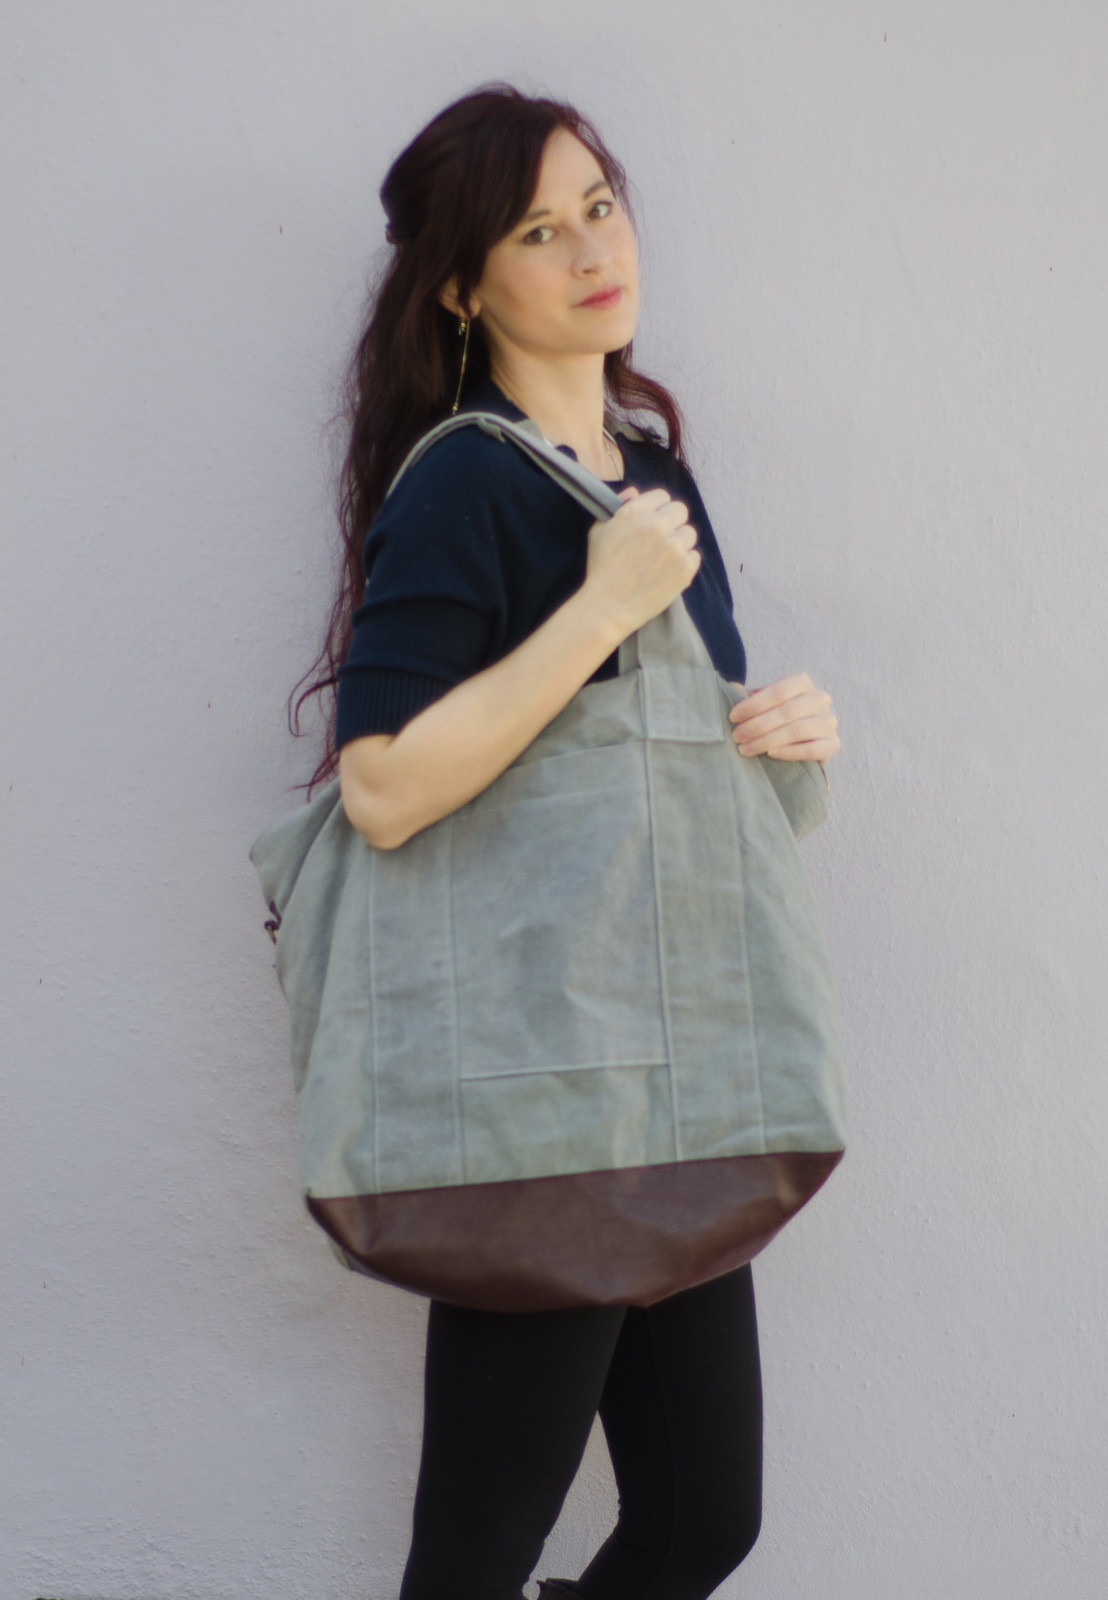
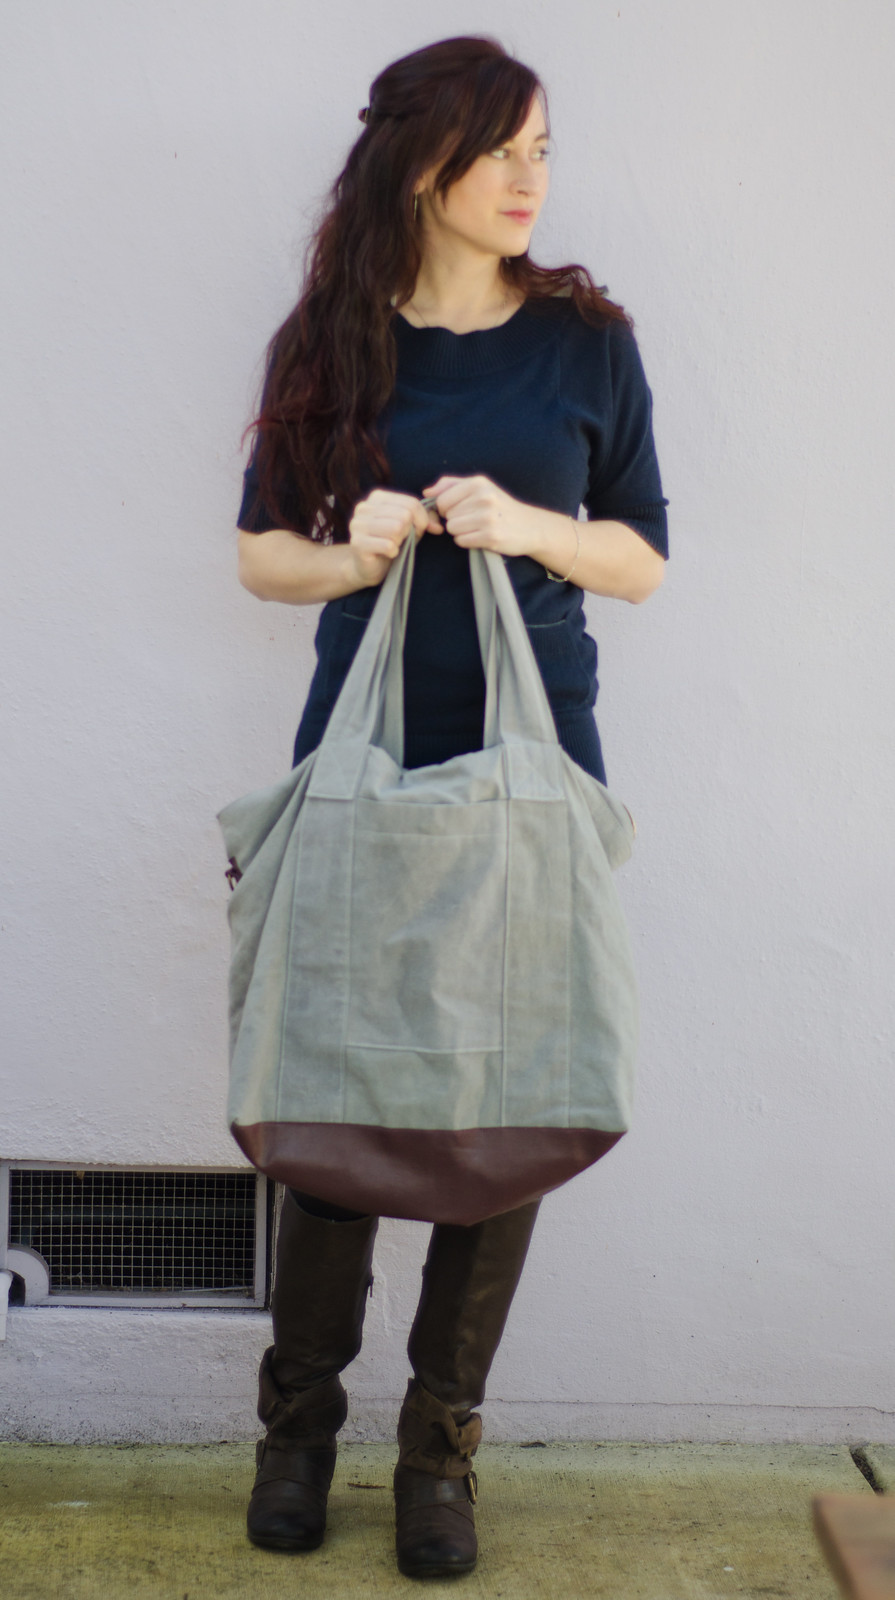
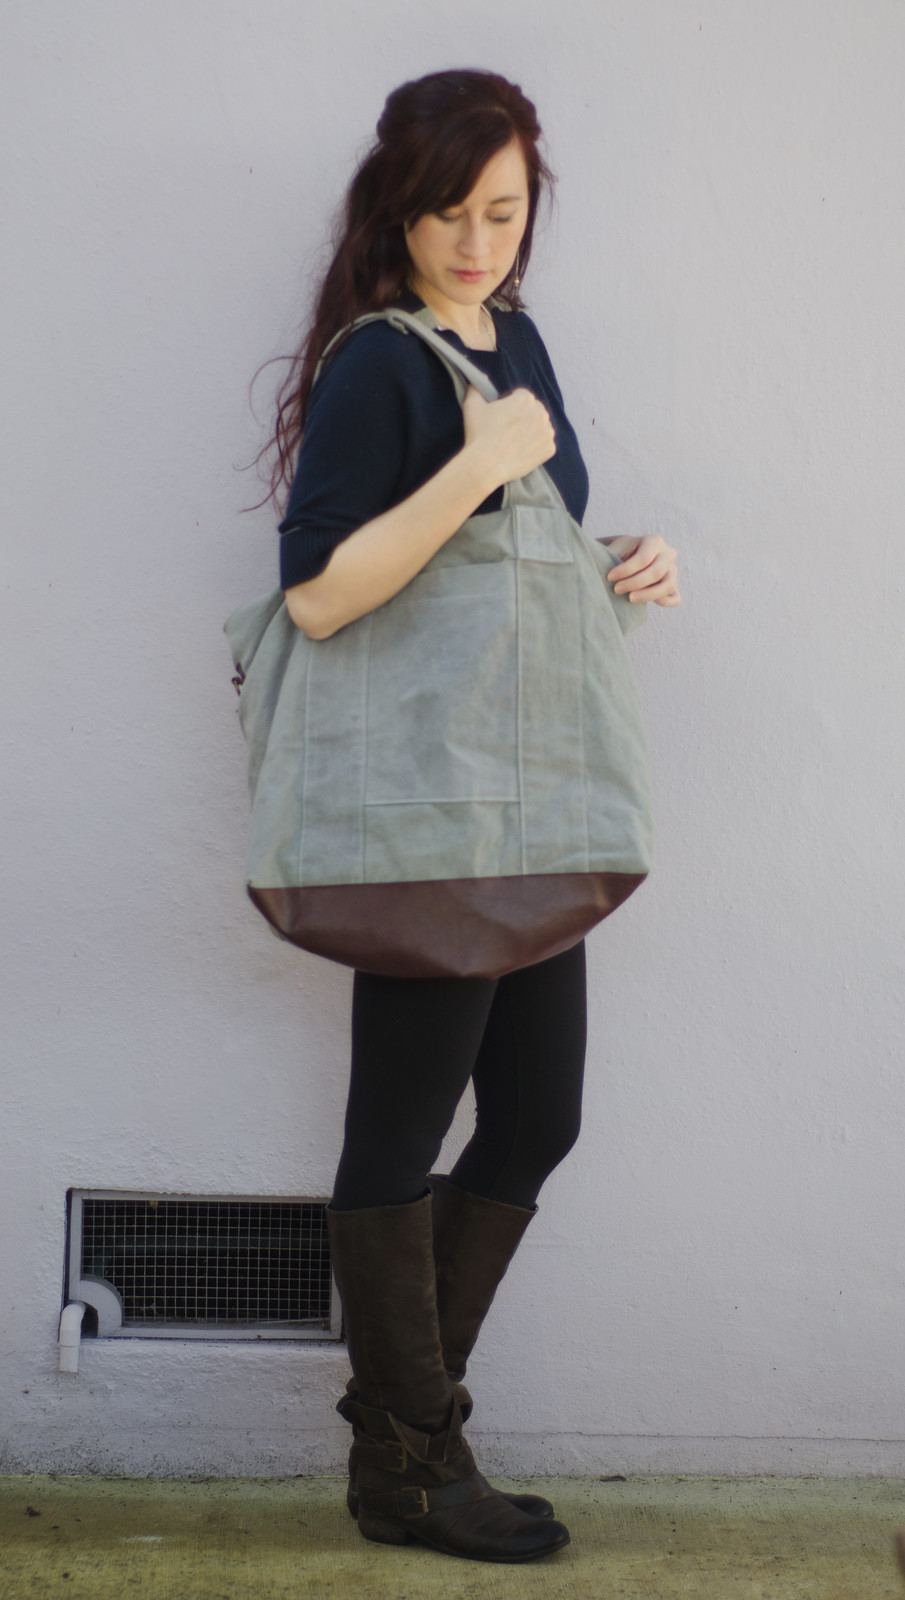
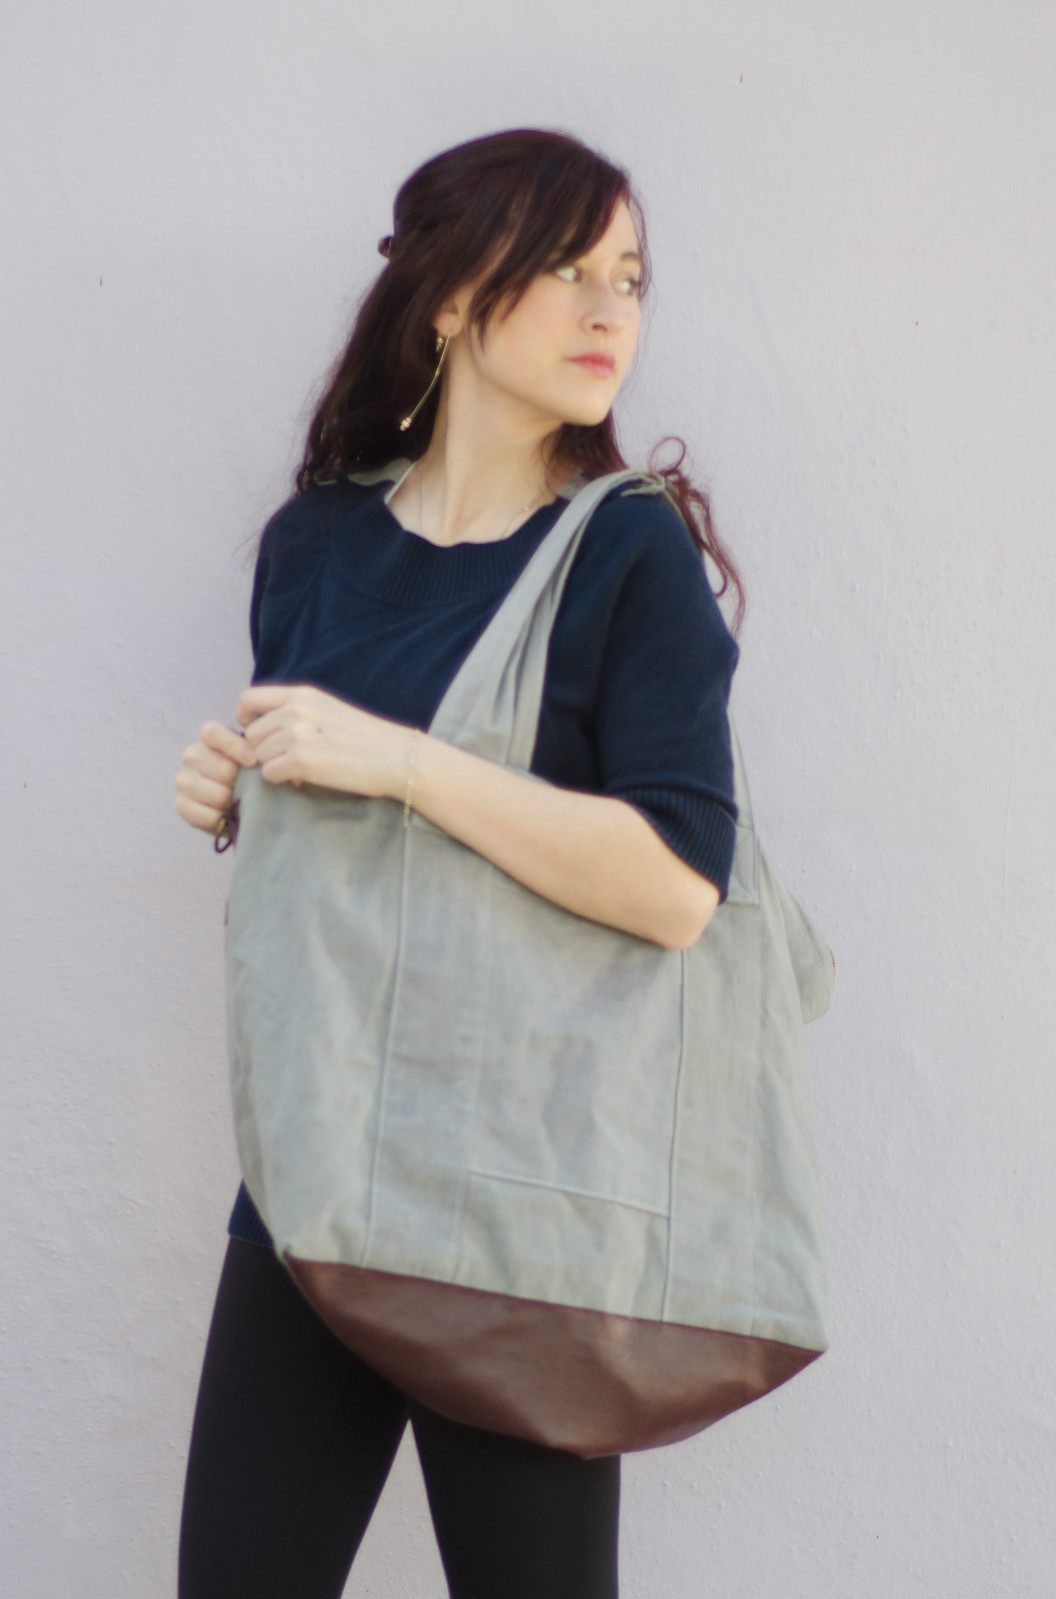
Anyway, I looove how it turned out. It’s so heavy and sturdy and lovely and then you look inside and it’s horses. Major heart eyes. I didn’t expect it to be quite so ginormous (I guess the fact that he calls it a “Weekender bag” didn’t tip me off..) but that means it’ll be nice for either weekend trips or just stuffing multiple knitting projects into.

Wax canvas tote bag

(Now I really want to sew another camera insert..)
Flower-picking

Copying RTW - blue dress

Copying RTW - blue dress

Copying RTW - blue dress

Copying RTW - blue dress

Copying RTW - blue dress

Copying RTW - blue dress

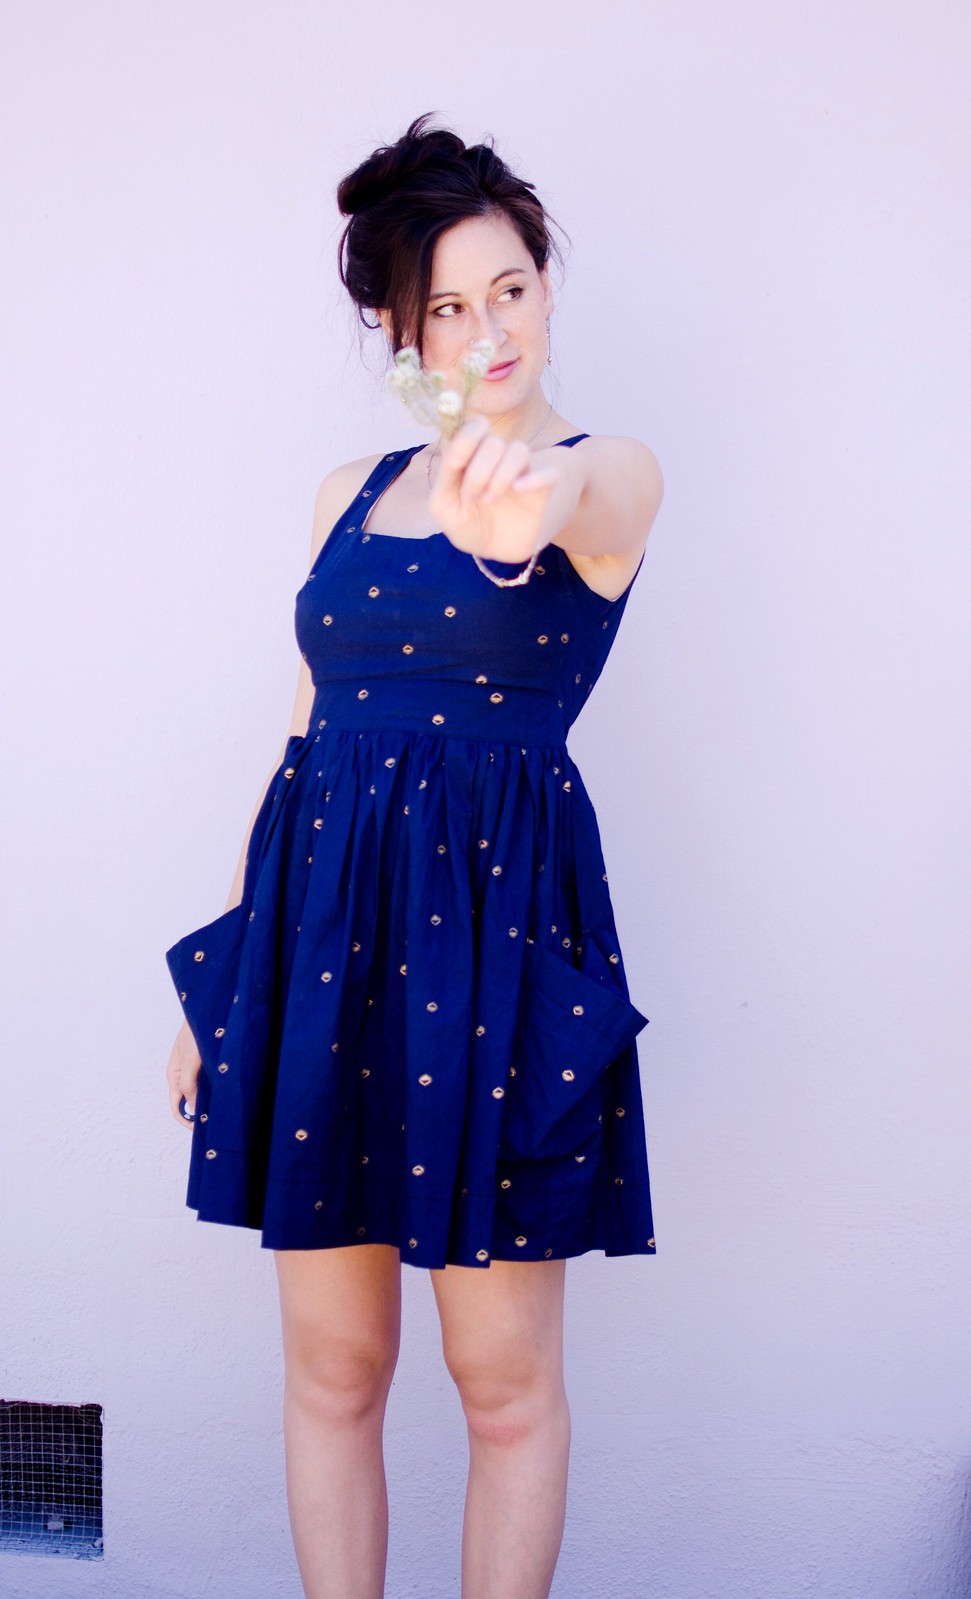
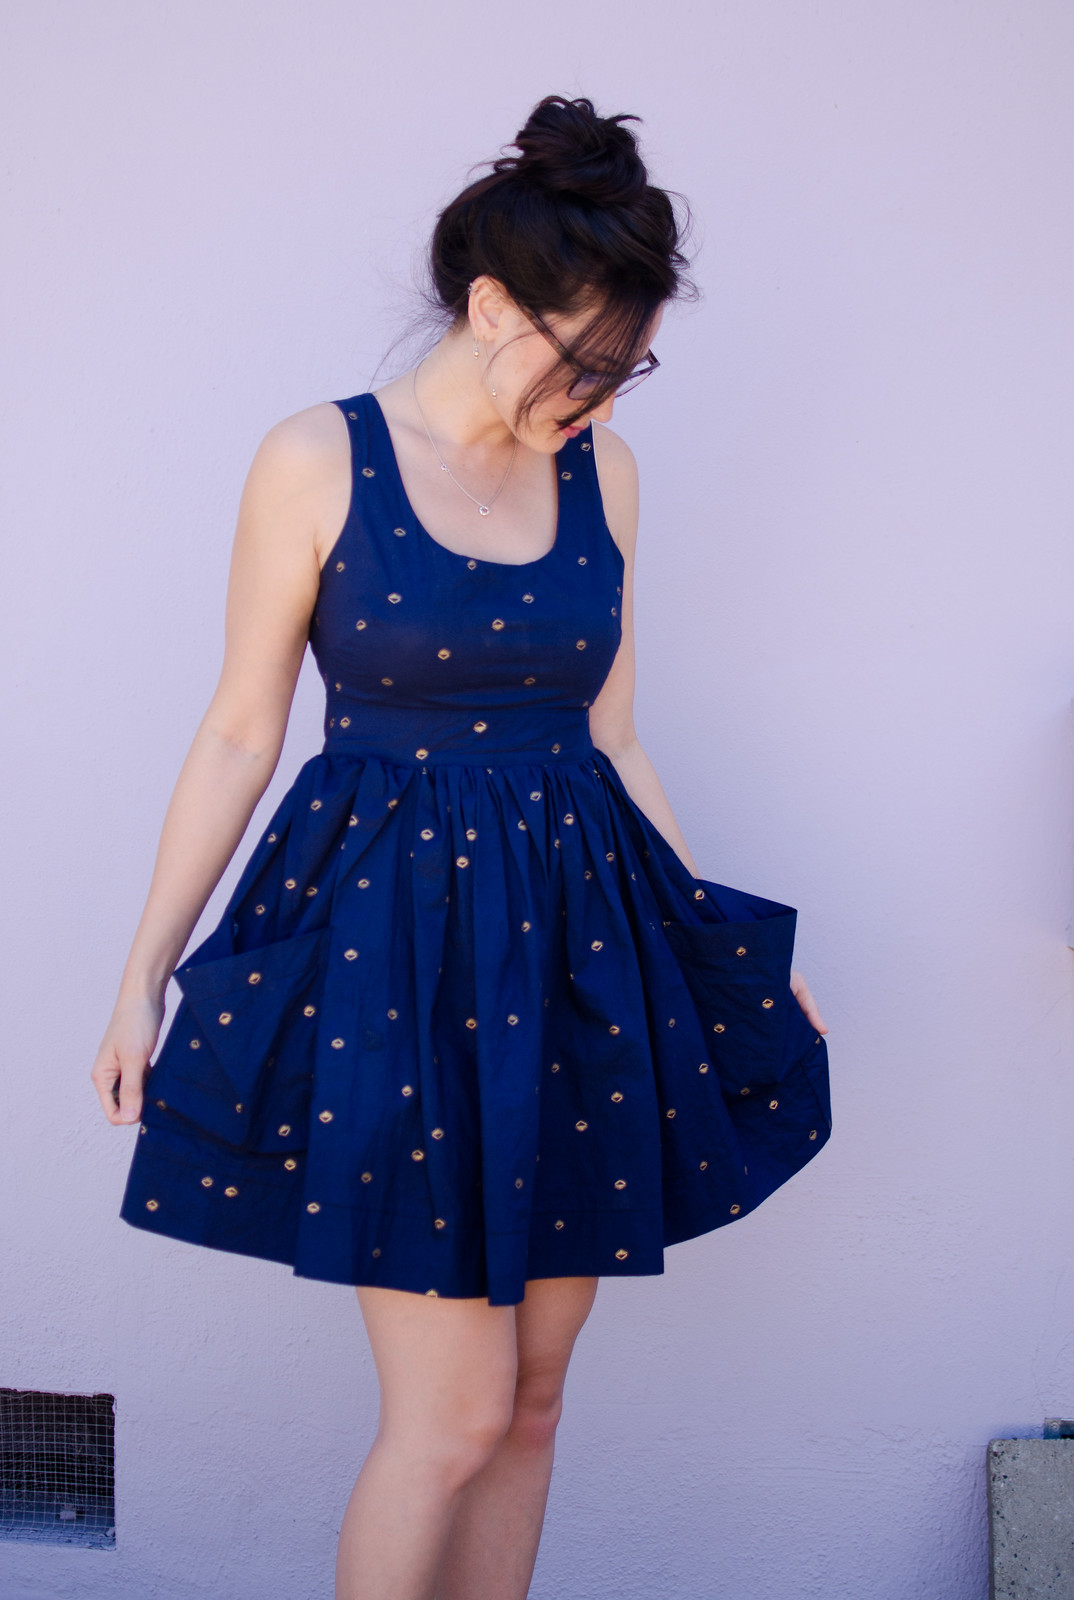
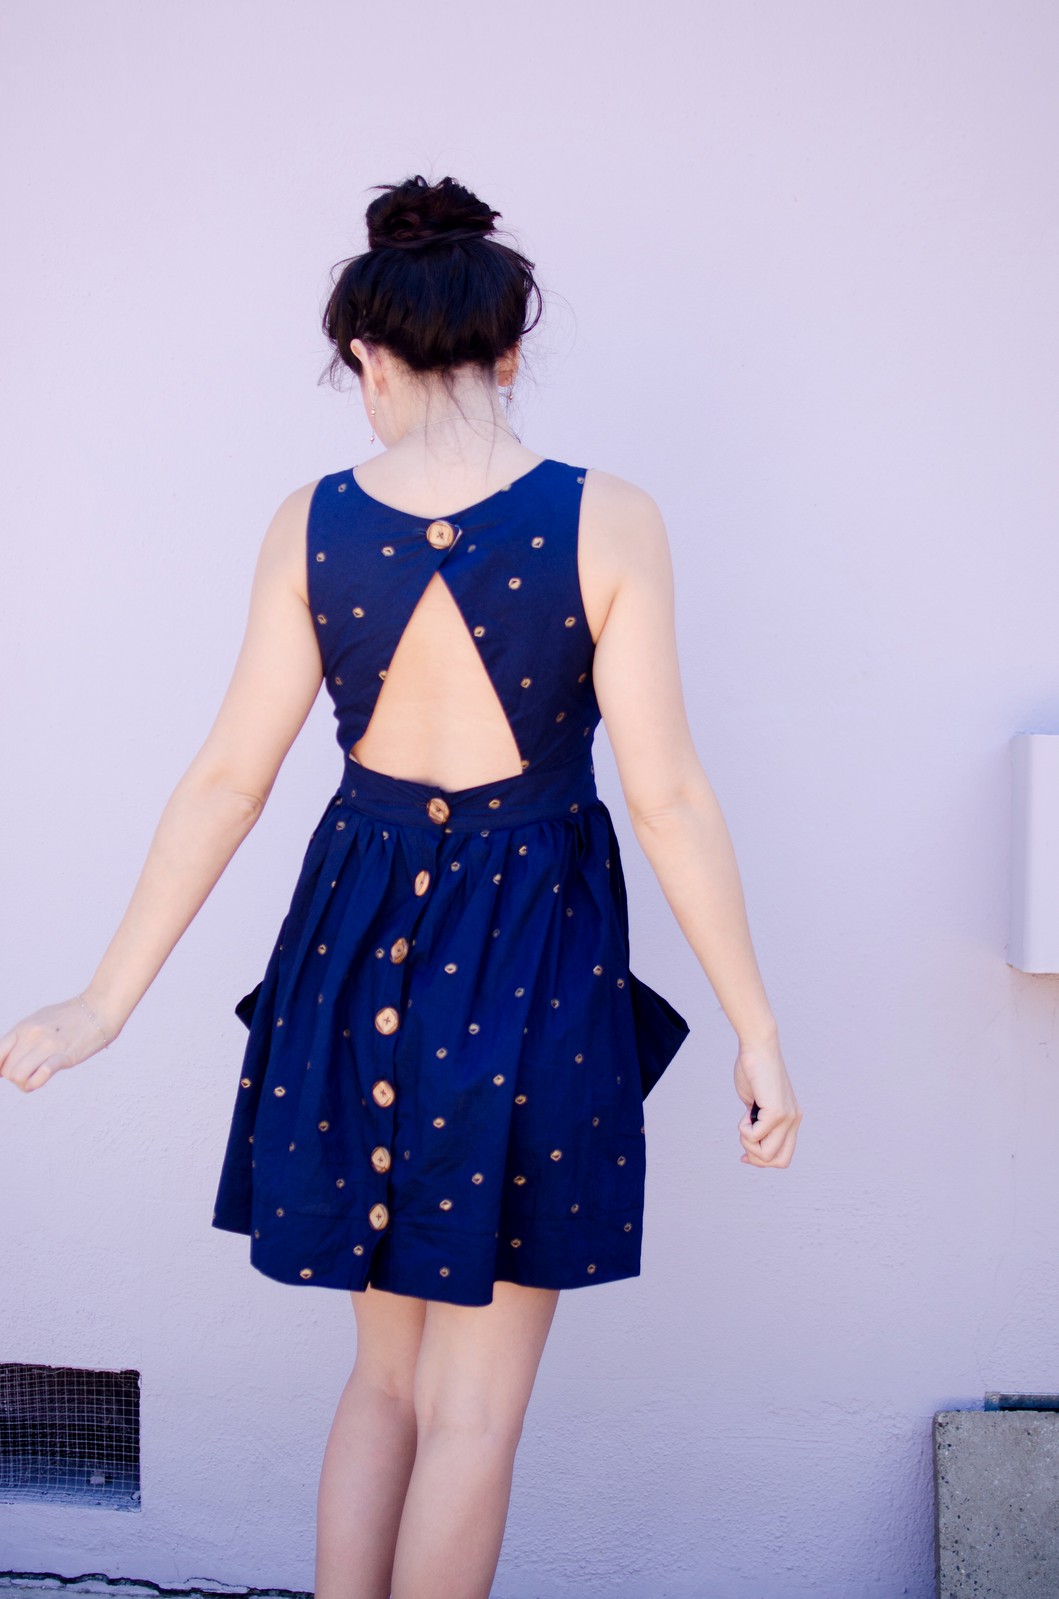
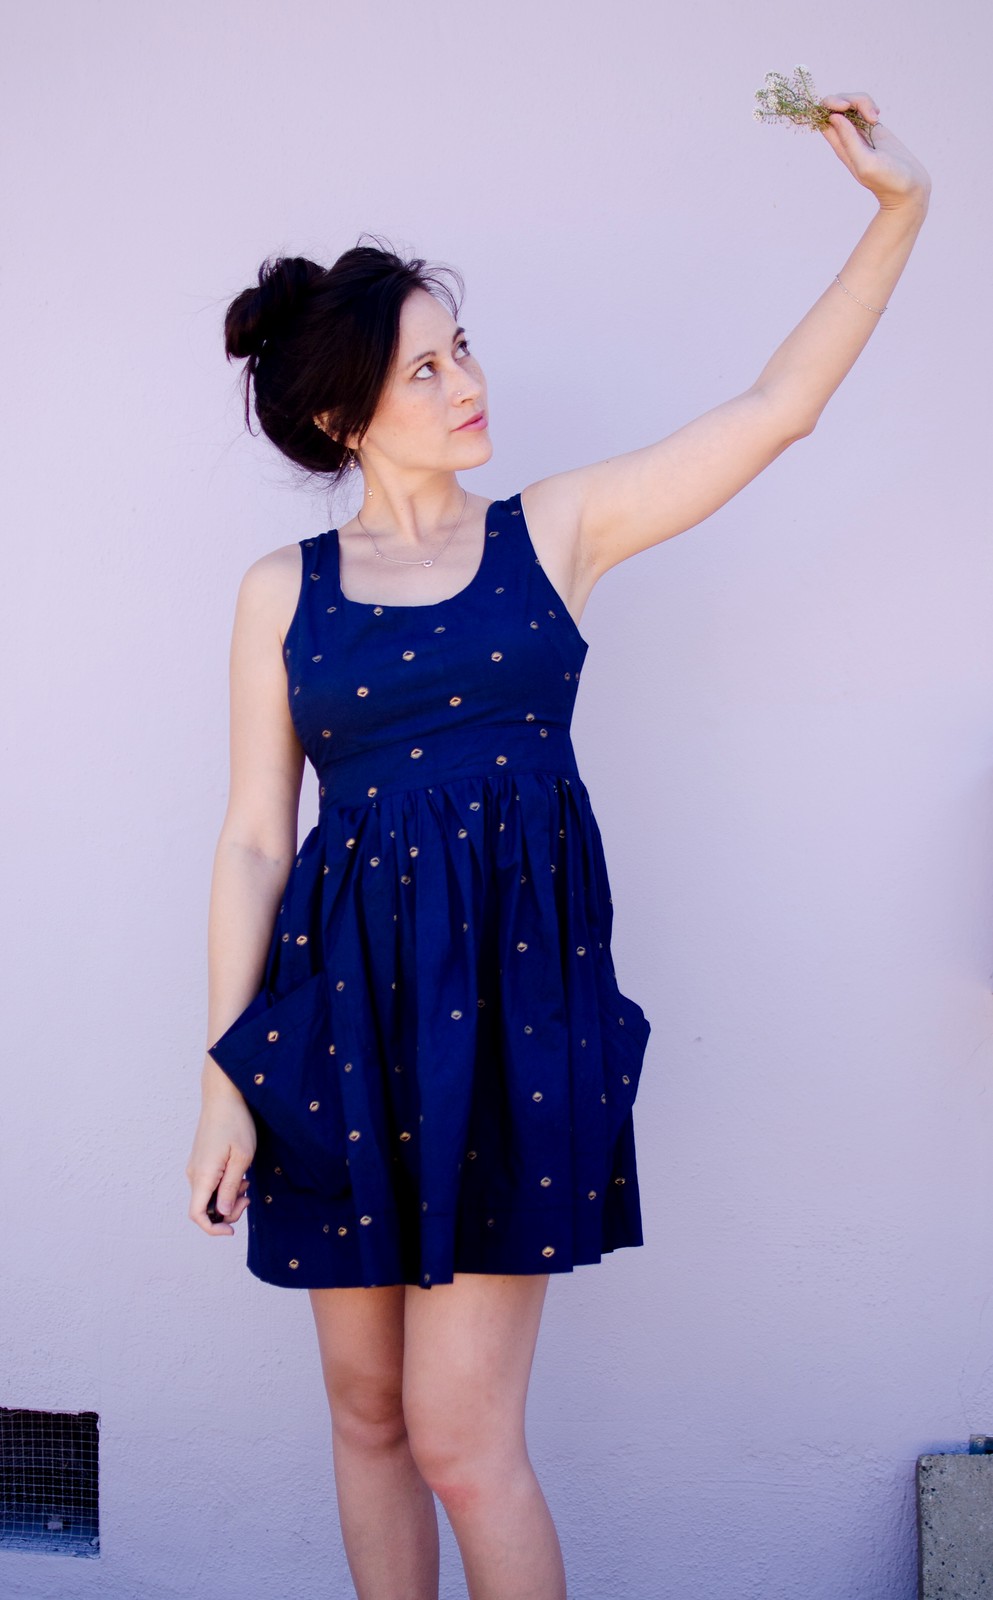
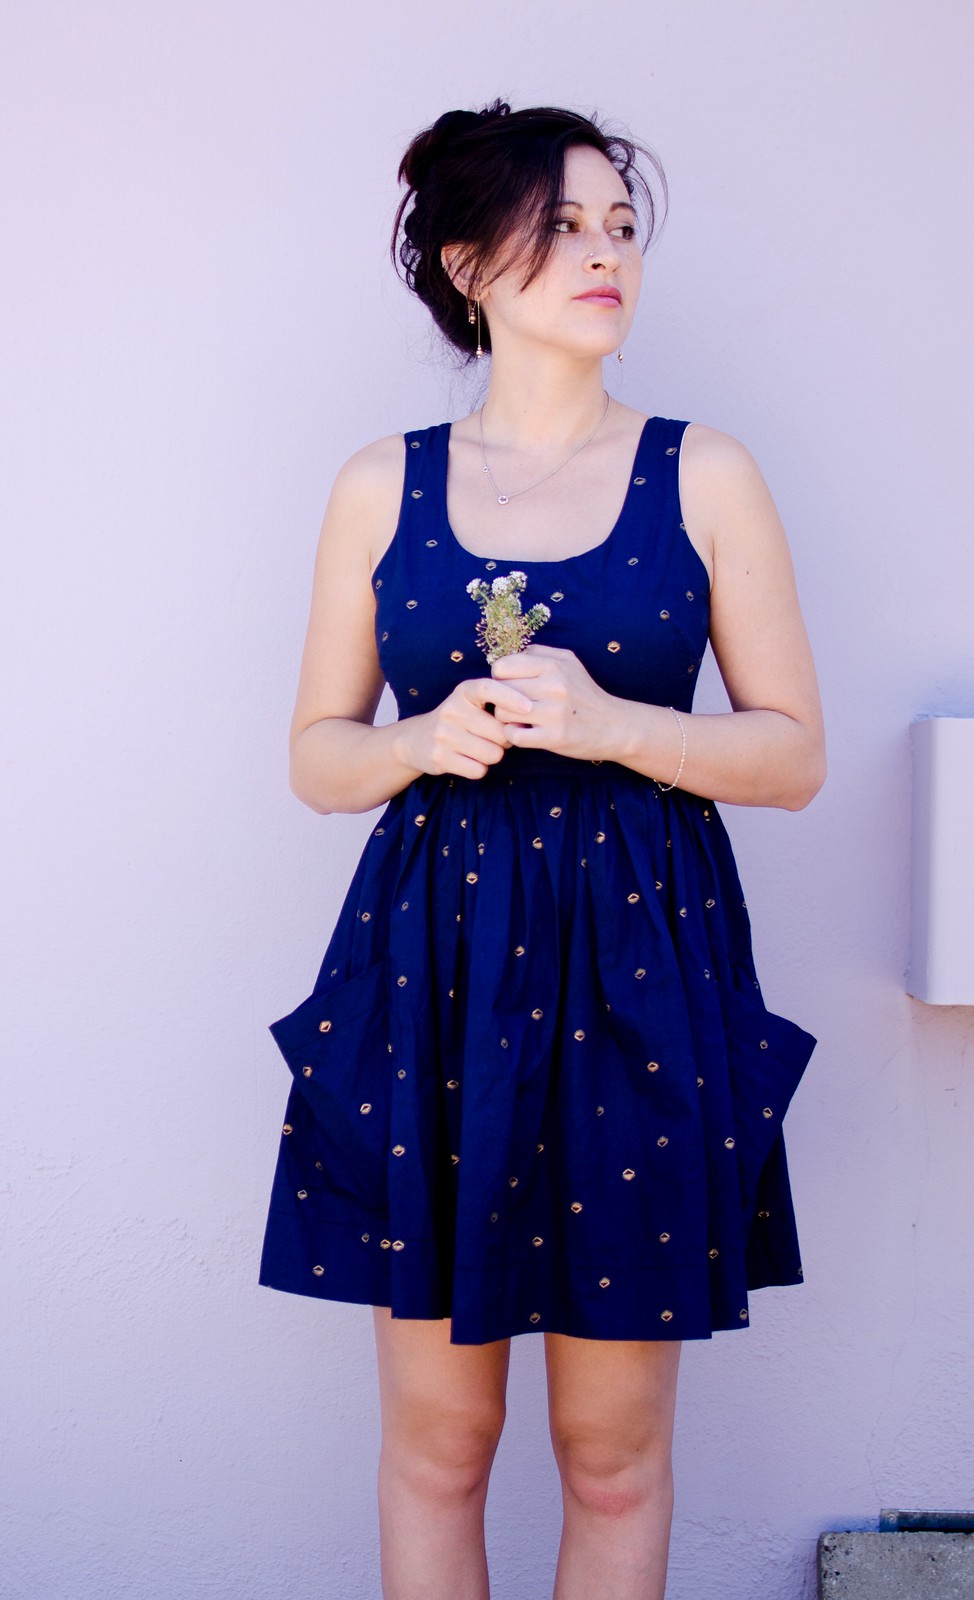
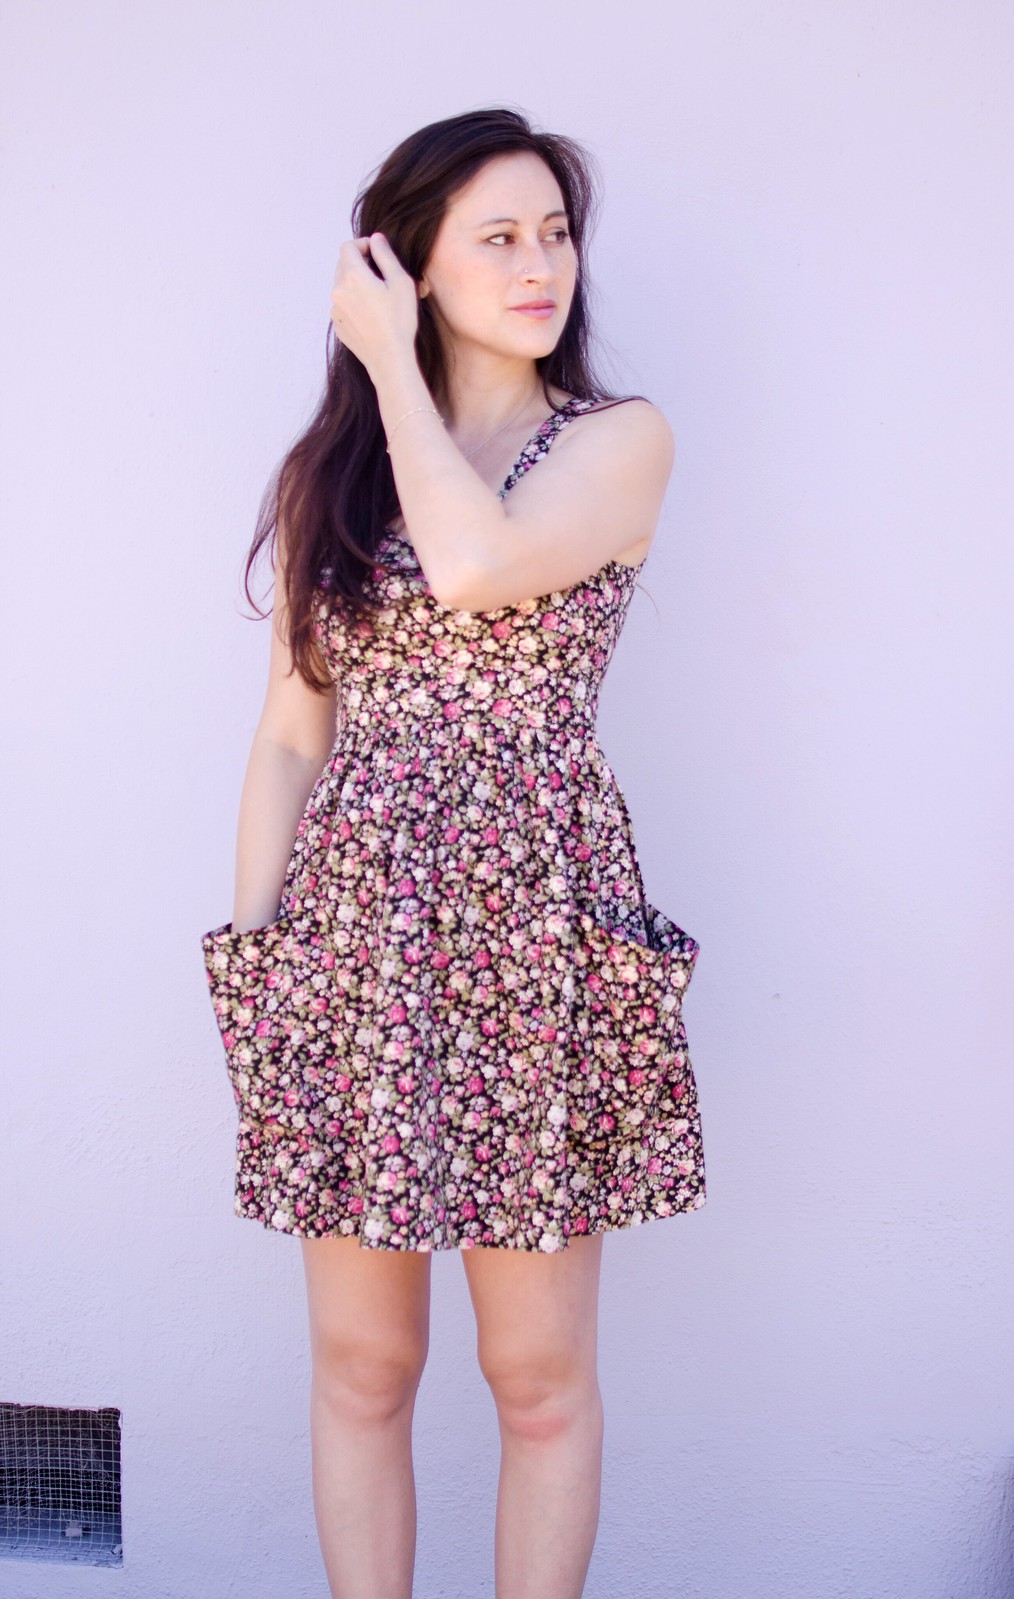
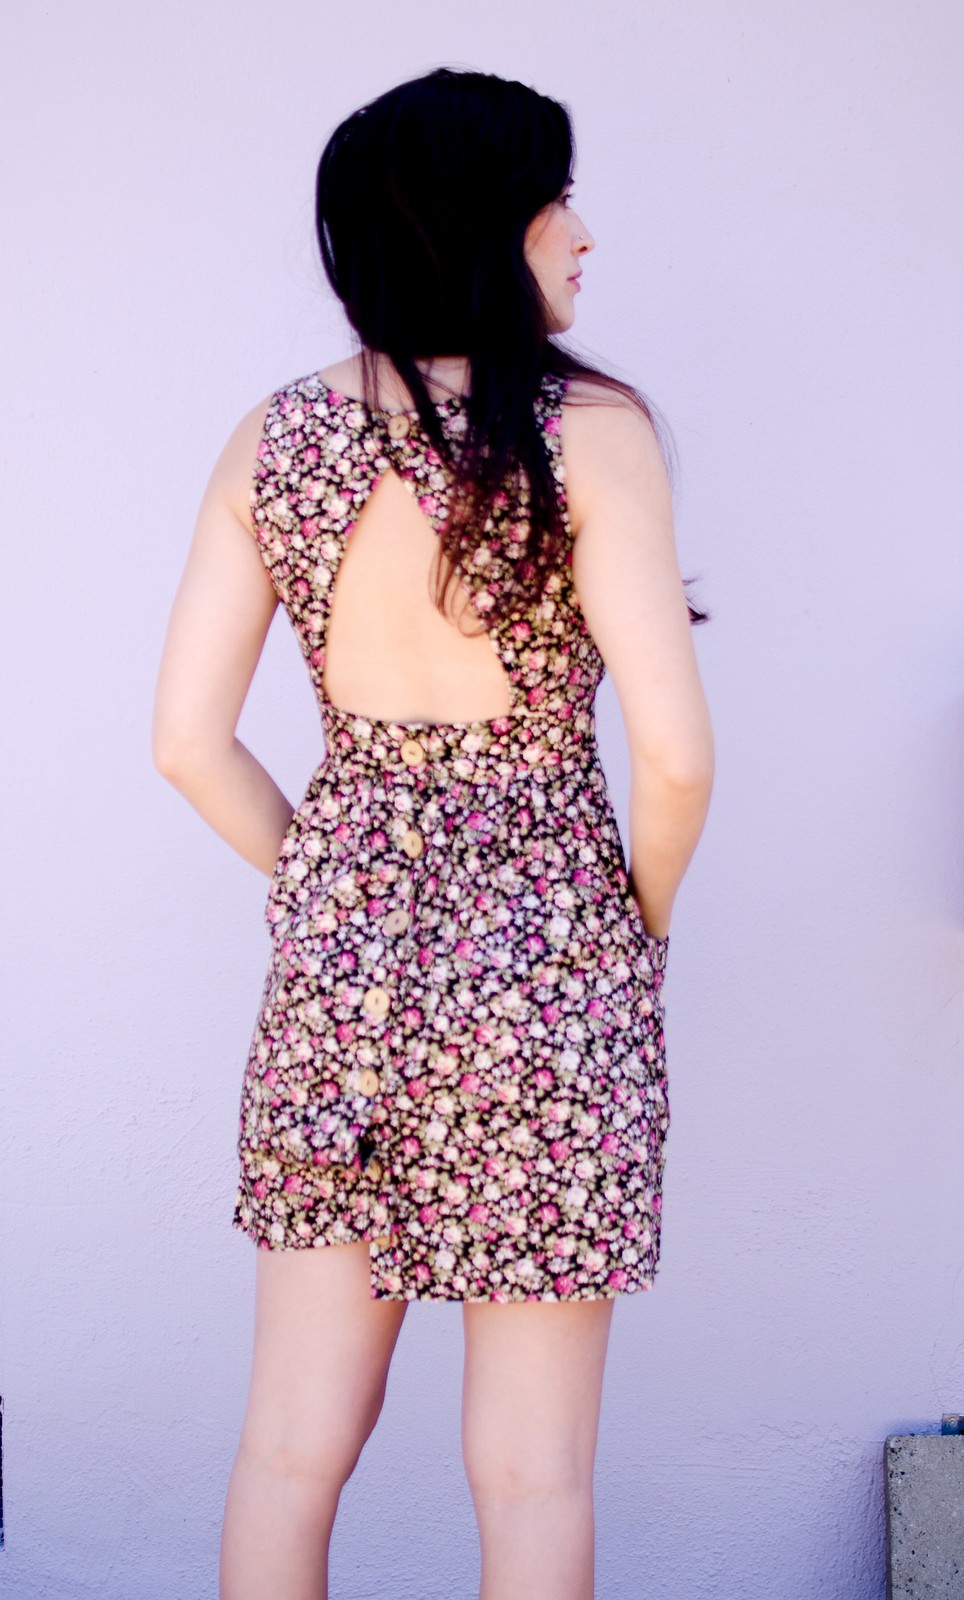
About a million years ago I bought this dress at Forever21. It was a cute little cotton floral dress with a lined bodice, back cut-out, gigantic pockets, and pretty wooden buttons along the back. It fit me perfectly and was the perfect comfy summer dress. Or the perfect dress for picking flowers and/or berries. I had to really resist making a flower crown for this post.

Anyway, over the years I’ve gotten rid of every other Forever21 purchase but I could never seem to let go of this one. I had this idea that I was going to try to make more of them but it never really seemed to happen. Then this summer I took a Copying Ready to Wear class at school. I decided to use a coat as my class project so I could learn all the more difficult stuff, but as soon as class was over I used the same techniques to whip up this dress. (And then immediately made a second one, and started a third. More on those later.)

Copying RTW - F21 dress

Copying RTW - F21 dress

I used this Cotton + Steel fabric (I actually ordered it from Craftsy but they don’t seem to have it anymore) and it’s so so so perfect. It’s got the great crispness of cotton which is perfect for all those gathers and the pockets, but it’s a lawn so lightweight and doesn’t look like it’s made of quilting cotton. Insert heart eyes here. And then there’s the buttons!! I knew I wanted wooden ones but I was in one of those situations where I wanted the dress to be done RIGHTTHISMINUTE so I could wear it, so I only had time to go to Joann’s. The only ones they had that were wood and big enough were these stupid square ones. Except then I realized if I turned them a bit they became diamonds and suddenly they fit perfectly with the print. *squee*

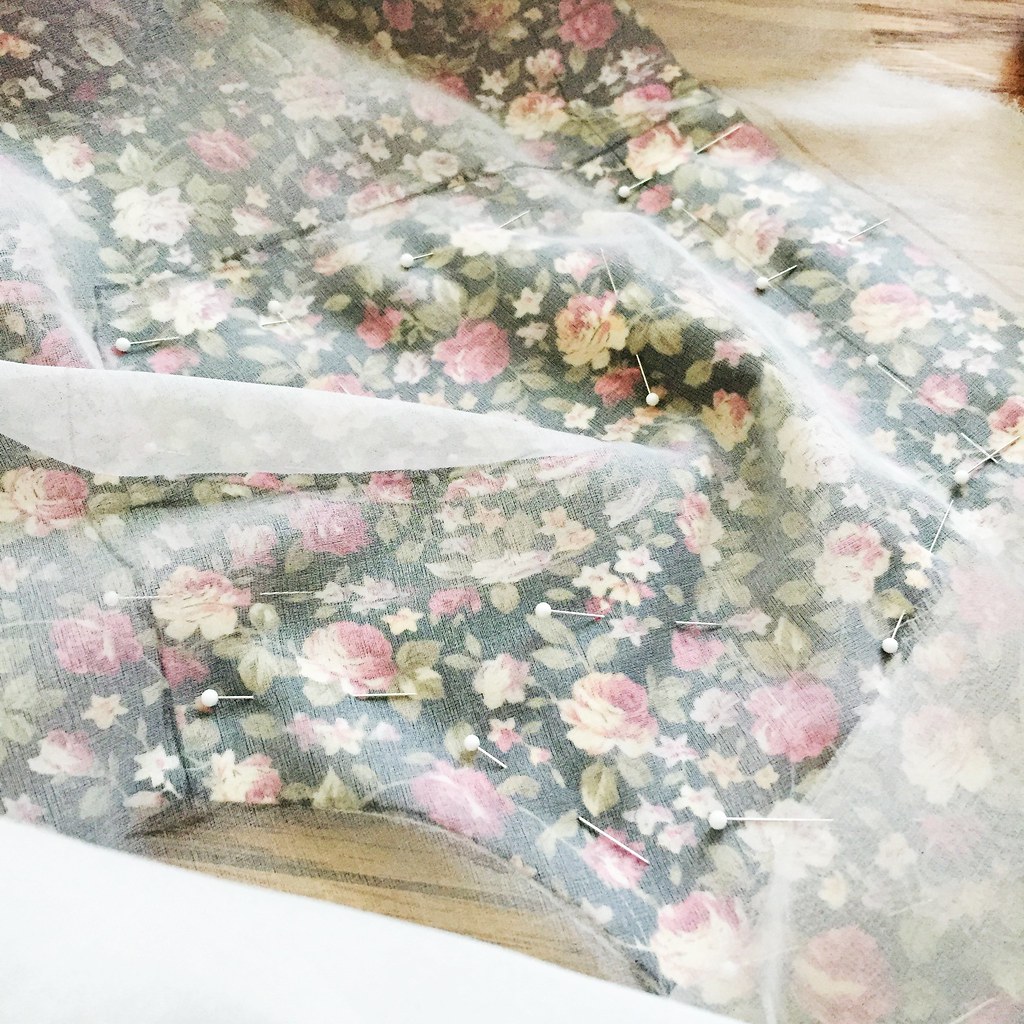
The nice thing about this technique for copying RTW garments is that you don’t actually have to take the garment apart. It can be rather time-consuming though, so you do want to make sure you’re putting all the work in for a garment you’d actually want to wear in the end. The super simplified gist of it is you mark grain lines on the RTW garment with thread, then use marked silk organza and about a million pins to trace seam lines and darts. Then you transfer those to tissue, true up your lines, and you’ve got a pattern of your RTW garment.

copying RTW F21 dress

If you’re interested in the more in-depth version of this, the book we used in class was “Making Garments from Existing Garments” by Kenneth King. It’s fairly in depth with lots of photos which makes the process pretty easy to follow. I believe his Jean-ius class on Craftsy uses the same technique if you’re a more visual learner. And of course, if you’re in the San Francisco Bay Area, you should just hop over to Canada College and take the class with Lynda Maynard because she’s fantastic. (Although I’m not sure if it’s offered every summer. Might be every other summer.)

In other news, these are my new favorite pockets and I want to add them to cardigans and other full-skirted dresses. You basically just cut them wider at the top edge than the bottom edge (like a trapezoid), but then stitch the side seams parallel so the excess from the top edge falls away from the garment.

Now excuse me while I go find some berries to pick. I have a sudden blackberry craving.

Tyger tyger

Tiger Archer

Tiger Archer

Tiger Archer
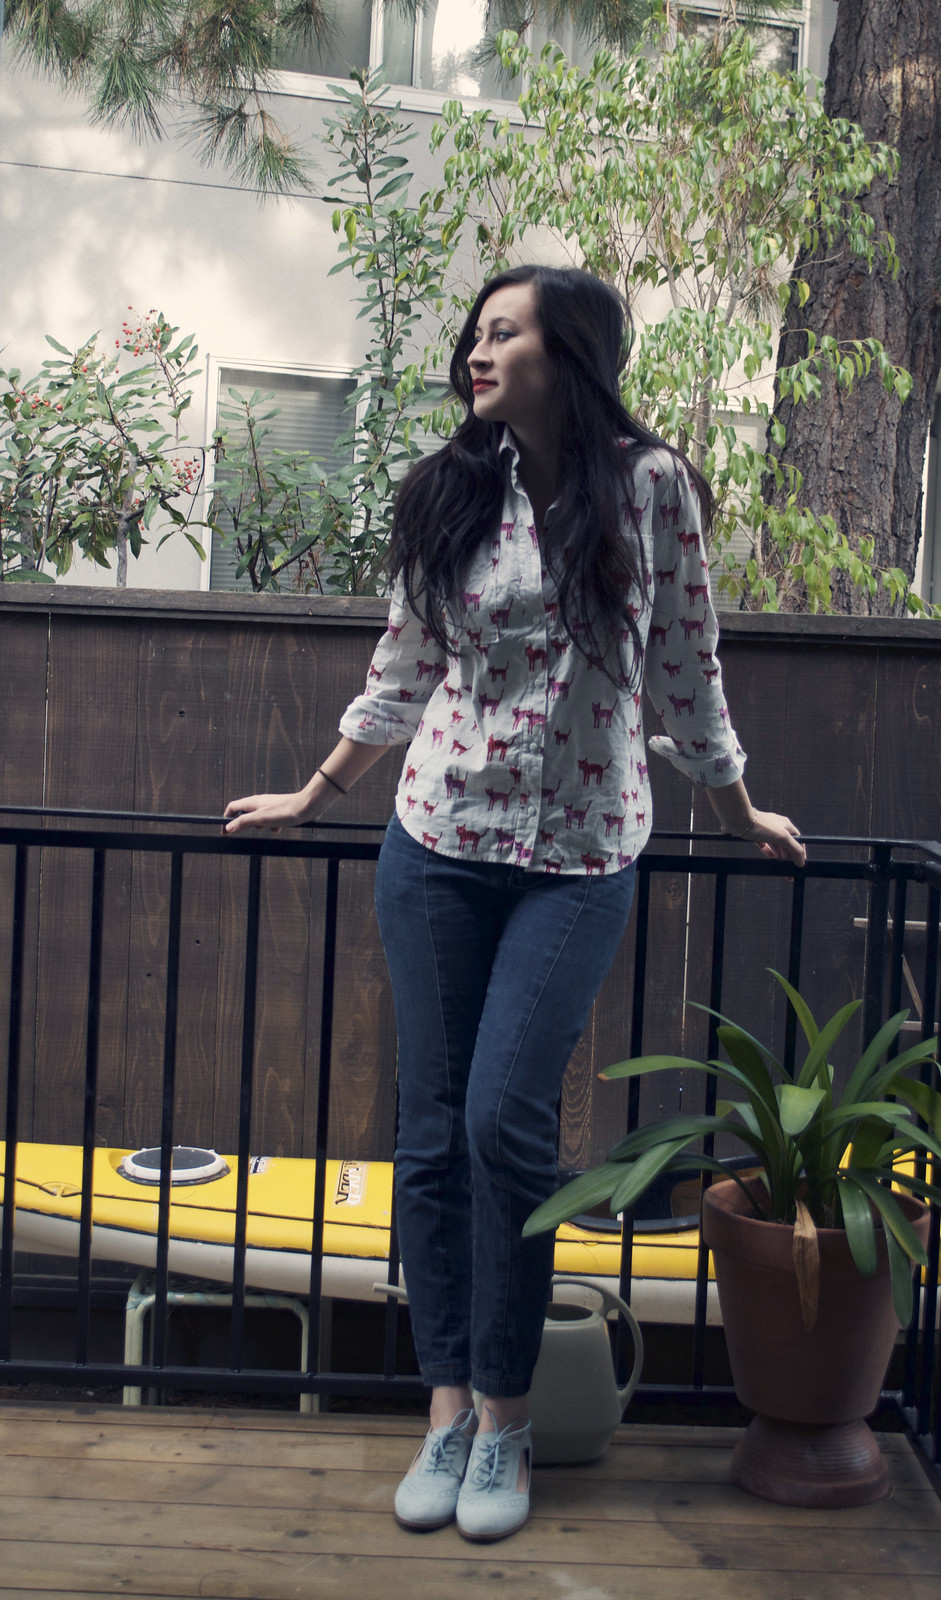
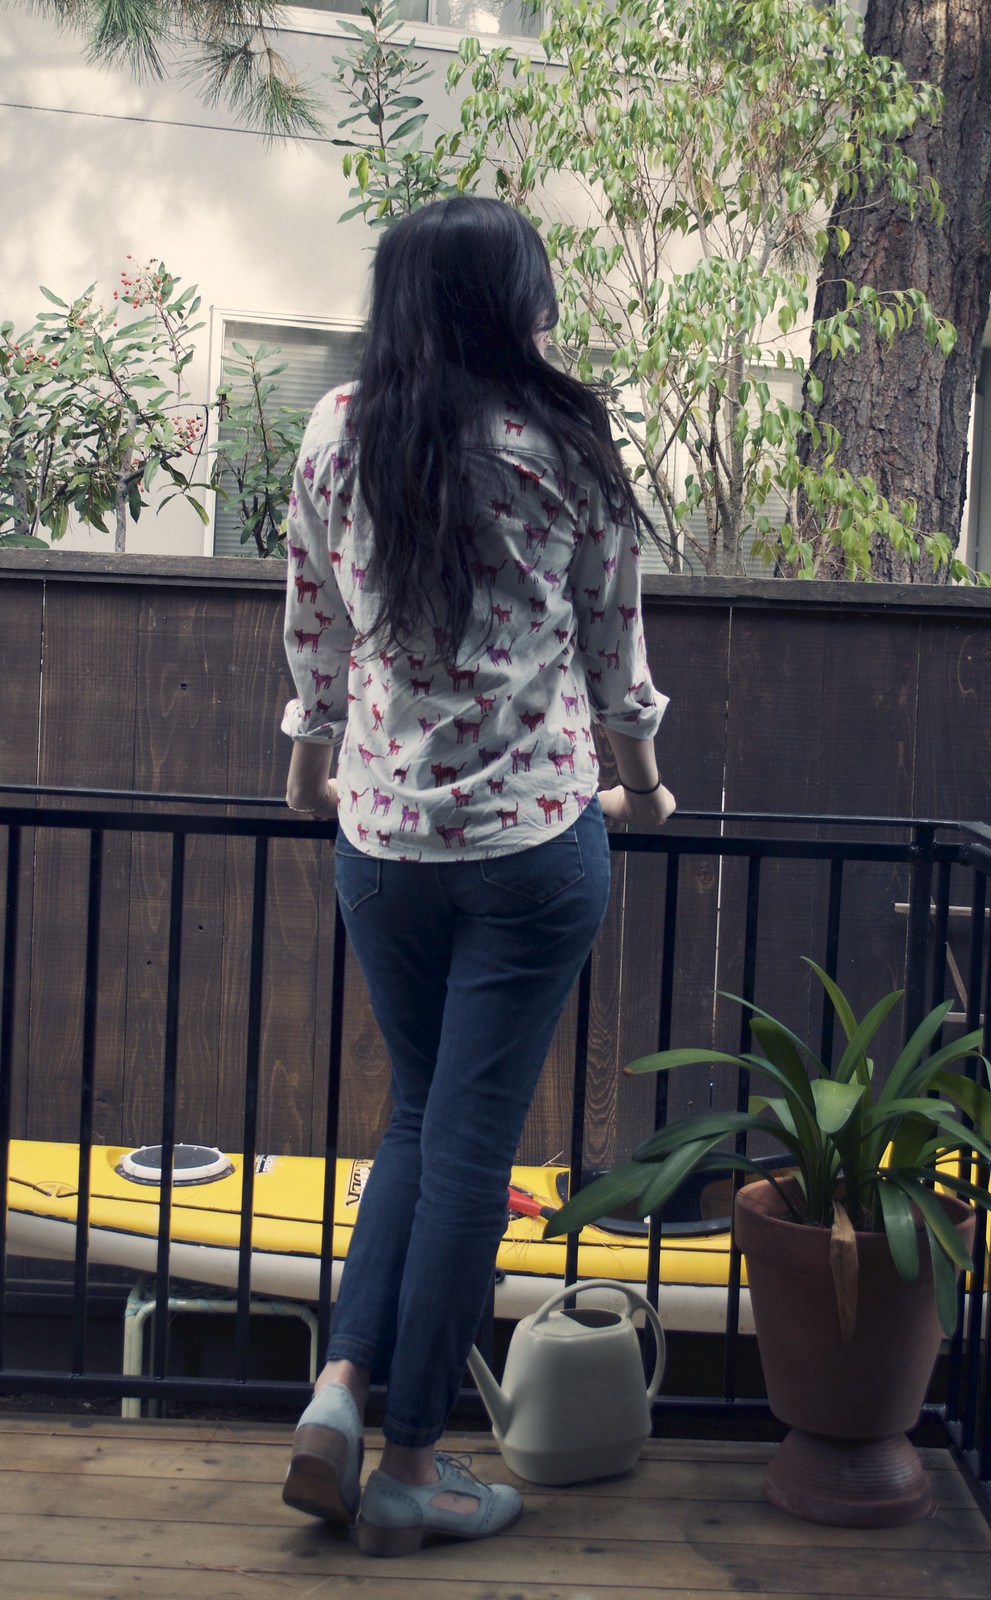
top: Archer shirt // pants: Jamie Jeans // shoes: Shellys London

I’ve made a lot of Archers. I think the official count is at eight at the moment. I feel like I say this every time I make a new one, but I always mean it: this is my new favorite one! Or at least it’s a three-way tie for first place (the red/blue plaid one and the dotted one get worn a ton).

One of my goals this year has been to be more careful and precise with my sewing. For this project I slowed myself down and was extra careful and ironed after every seam. Usually I get far too impatient and rush through things and then it shows (to me, at least), so this time I wanted to do everything right. (Especially since I finally gave into my Cotton and Steel obsession during a particularly awesome Craftsy sale.) In the end it took me about as long to do this one as the others because I didn’t have any seams to rip out. And it’s SO NEAT. I may have danced a little when I finished. And then wore it for three straight days. I also made a pretty little tag for the inside. I just used some twill tape and the only font function on my ancient Bernina to spell out Peneloping. Easy peasy.

The buttons were a complete fluke. I’d picked them up at a discount fabric store ages ago with no plan in mind because they were pale mint and adorable. It wasn’t until I was nearly done with this shirt and realized the background color was just minty enough that white buttons wouldn’t work that I found these buttons again. They’re a tad smaller than I normally use but I still haven’t gotten over how perfect the color is so I’m happy.

Fit-wise, I changed things up a bit. Before this one I’ve always sewn a size 2 for extra swingy-ness and added an extra 2″ to the length for butt coverage so I could wear them with leggings. I decided I wanted this one a little more fitted so I traced a size 0 and didn’t add the extra length. LOVE. I also sliced off about 3/8″ of the shoulder because I noticed previous ones hang off my shoulders a bit. I don’t mind so much if it’s a giant flannel shirt but this helped with the more fitted look.

I have five more fabrics waiting to be made into Archers (I know.. I told you I was obsessed.) and I’m having trouble deciding which fit I like better. Since they’re all flannels I might do a few of each so I can have my buffet-dinner Archers and my fancy-fall-outfit Archers. I’ve even infected my sister, who has requested two plaid flannel Archers for Christmas. Let’s hope non-sewing sisters can appreciate plaid matching skills.

-pointed stare-