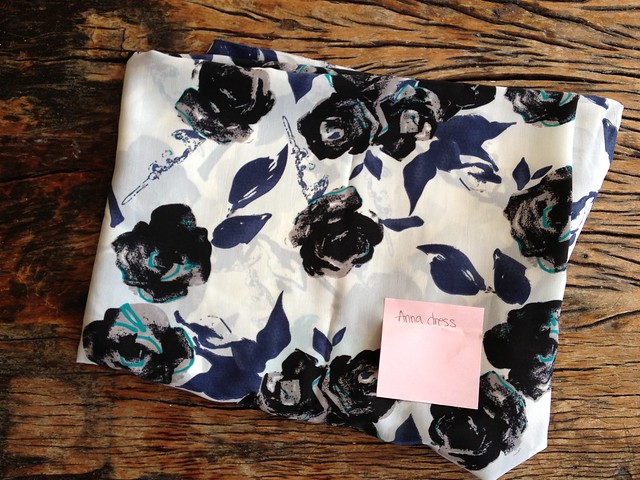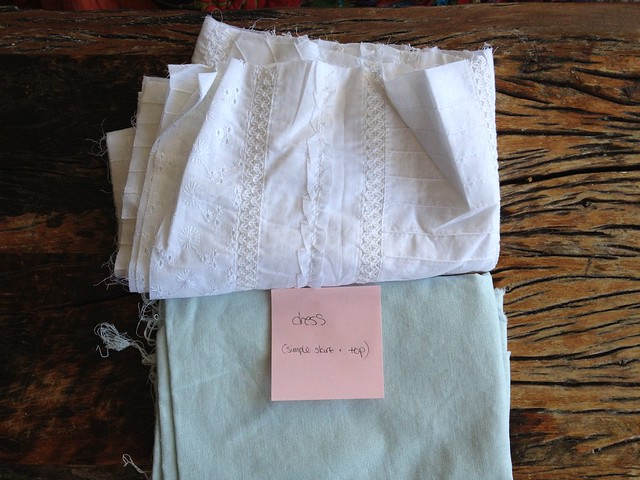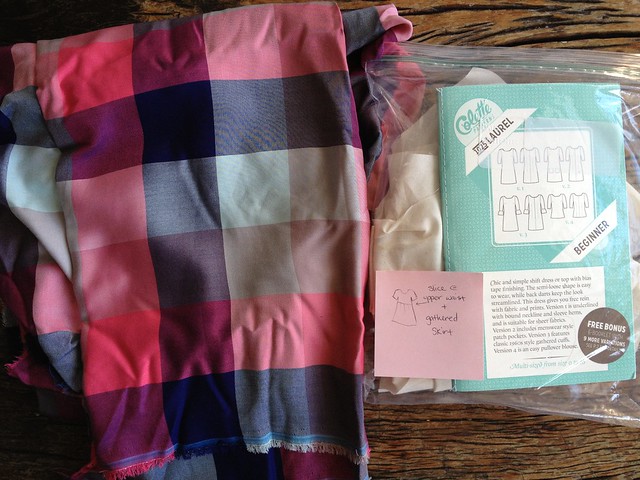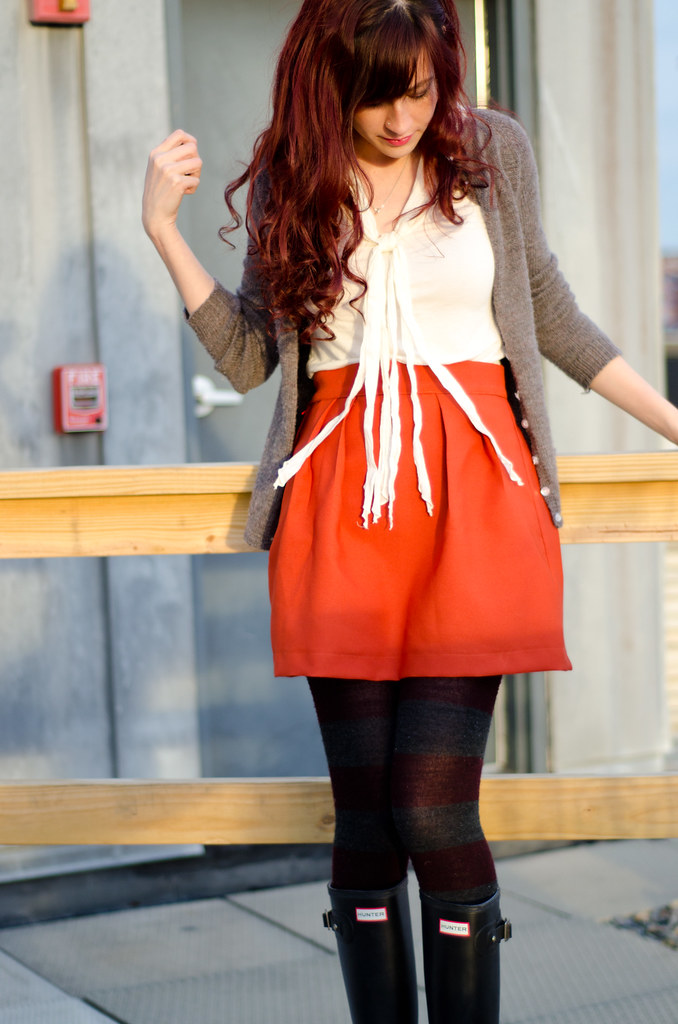
Want to make a cute super-easy-to-style skirt out of three rectangles (technically four if you count the interfacing, I guess)? I made two versions of this Very Simple Skirt™(blogged here and here) and several people had asked for a tutorial (which I promised ages ago and I apologize for the wait!) so here it is!
This skirt method is pretty simple; it only requires three pieces of fabric, all of which are rectangles. There’s a bit of math involved though (and some eyeballing), which I know is definitely not my best friend so if you’re confused about anything please ask!
I also wanted to introduce my newest sponsor: Moxtra. For someone who learns visually, this app is a godsend. You create “binders” of photos that you can then doodle, write on, and add voice notes to, and then send to friends or share with an audience. You can see my Moxtra binder for this skirt tutorial (with extra notes and doodles!) here.
Let’s do this!
Supplies:
-Fabric (see step 1)
-Tiny bit of interfacing (for waistband)
-Zipper (mine was 7″ but you can use whatever length you like)
-Snap closures
-Some minor math skills
-1/2″ seams, which I realize isn’t a supply but I thought I should mention that’s what my math and I are using
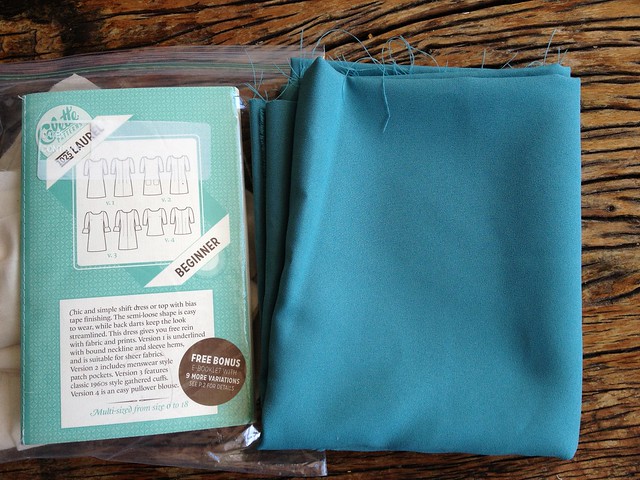
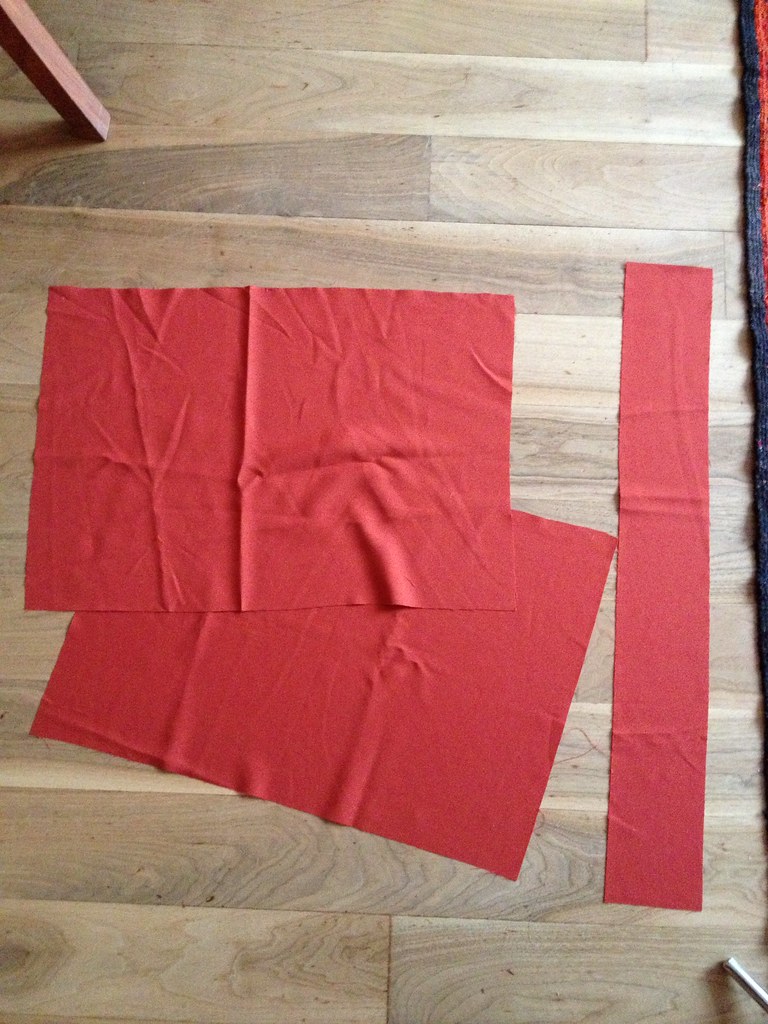
1. Fabric – The amount of fabric depends on two things: how long you want your skirt and your waist measurement. My skirt used about a yard of 60″ wide fabric and I had some leftover. I recommend using something more substantial that can hold the shape of the pleats, although if anyone tries this with something lightweight I’d love to hear how that came out!
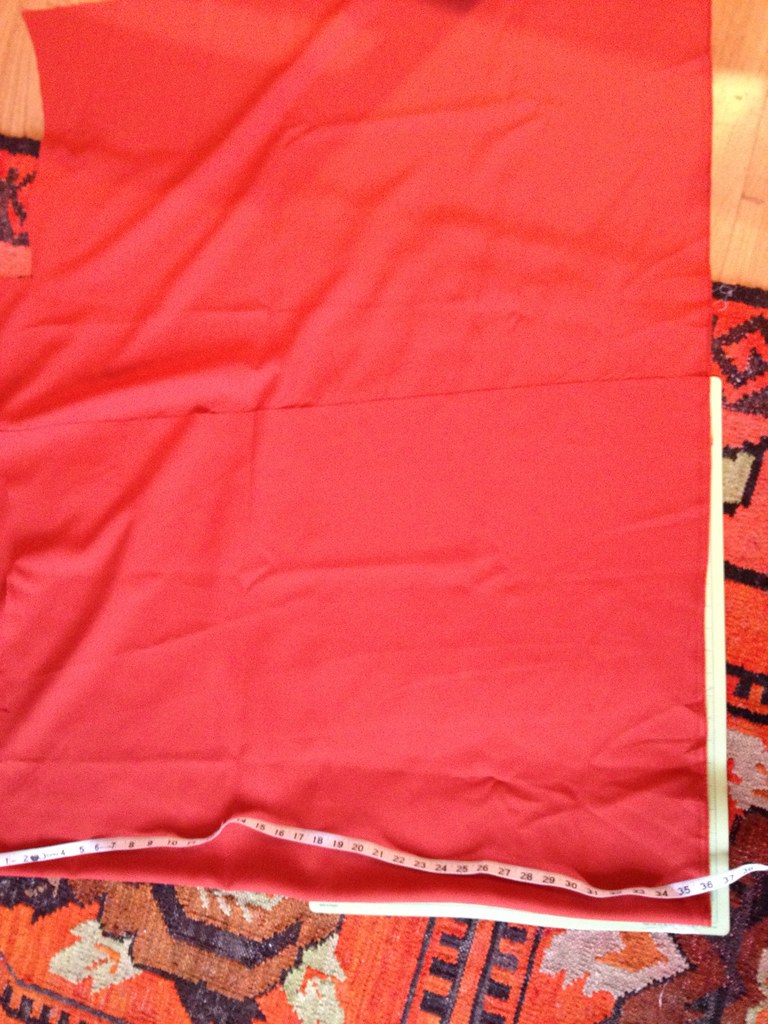
2. Measure your waist – Measure your waist where you want the top of the skirt to sit. Add 1″ for seams and 1/2″ for the extended tab. (I usually like to make it several inches longer and then trim down, but if you’re confident about your waist measuring skills then 1.5″ extra is all you should need.) Where I wanted it to sit was 27″, so my waistband piece would be 28.5″ long.
3. Prep the waistband – I like to keep waistbands at around 1.5-2″ tall. If you want to go any taller, you should probably make it curved to accommodate your actual body curves, otherwise it’ll sit funny and wrinkle (unless you’re making something high-waisted or if you’re less curvy). That means my waistband piece is (1.5″ x 2 because of folding it over) + 1″ for seams, which equals 4″ tall, which means the rectangle measures 28.5″ x 4″.
Once you have your waistband cut out, cut out a rectangle of interfacing that is the same length but only half the width of your waistband (so mine was 28.5″ x 2″) Iron that on to one half of the waistband.
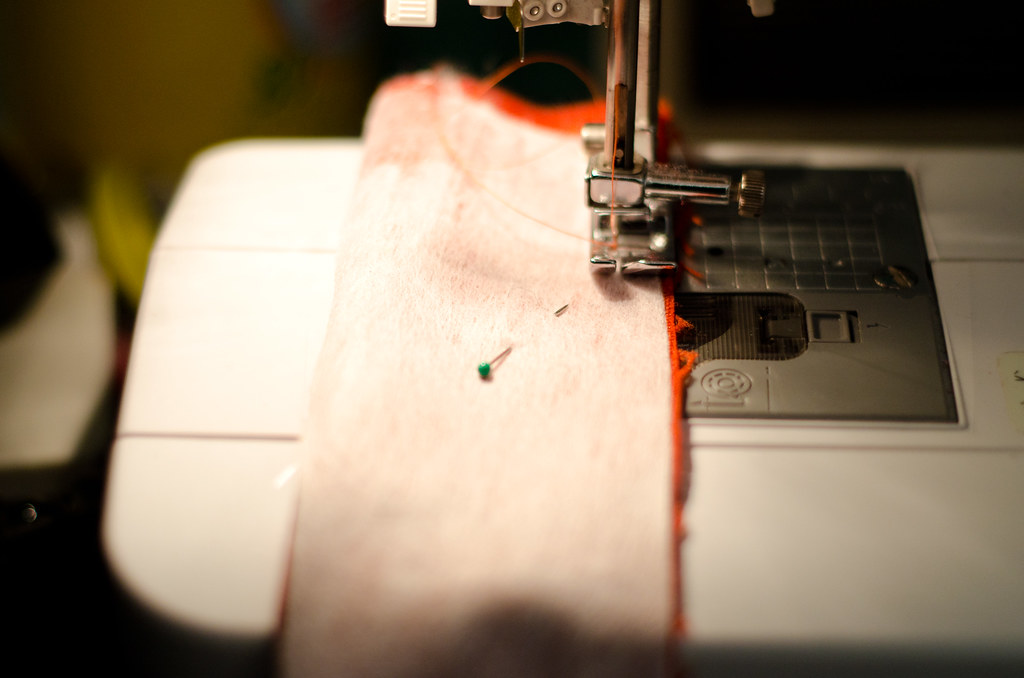

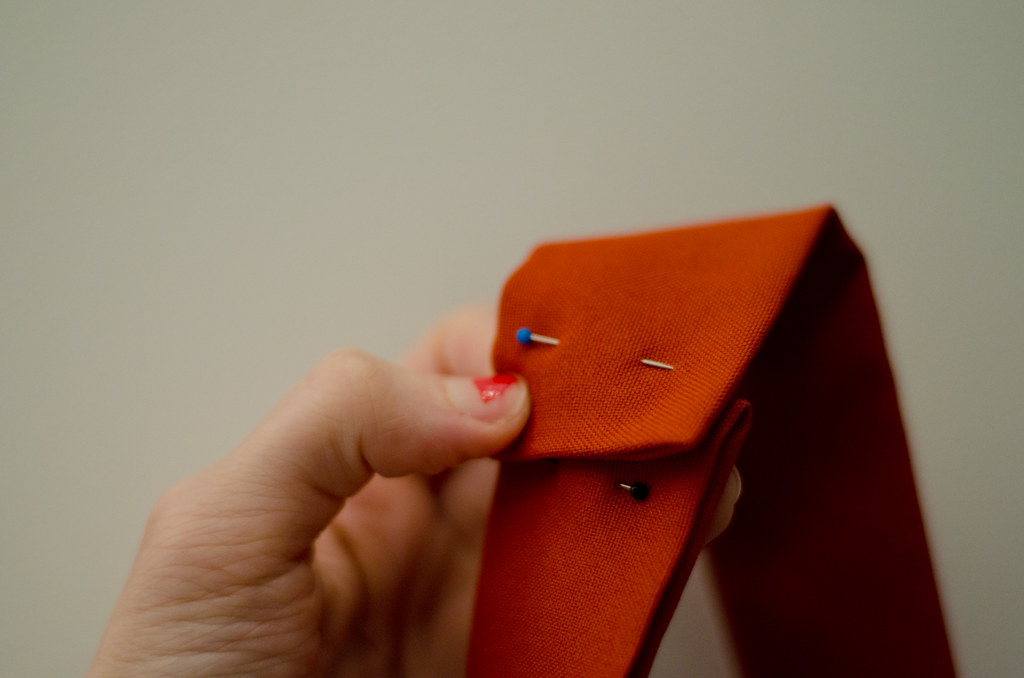
Once you have that ironed on, fold it lengthwise with right sides facing and sew it along the long edge and one of the short edges. Make sure you leave one short edge open! Once those are sewn, trim the edges of the sewn short edge as shown, and turn the whole thing right side out. Iron it and set it aside.
4. Cut the skirt pieces – I love the more polished effect of the pleats, so I did two on either side in the front, and two on either side in the back. To figure out how wide the skirt rectangle will be, we’re going to add the width of the waistband plus the extra width required for the pleats. Since there’s a front and back, we’re going to do the math and then chop it in half to have two rectangles for the skirt (front and back, with side seams).
I did 1.25″ pleats, and since each pleat requires 2.5″ of fabric, 2.5″ x 8 total pleats equals 20″. Since there are two skirt pieces, each is half the waistband (half of 28″ is 14″) + half the extra for the pleats (half of 20″ is 10″), which is 24″. The length of the skirt is whatever you want it to be. I like mine a little shorter so I went with 17″. So my skirt pieces are each 24″ by 17″.
I’m going to be honest though, if you’re off by a little bit it’s not going to make much of a difference. This is moreso to give you an idea of how big to cut your skirt pieces. Also the math part is over. Yayyy!
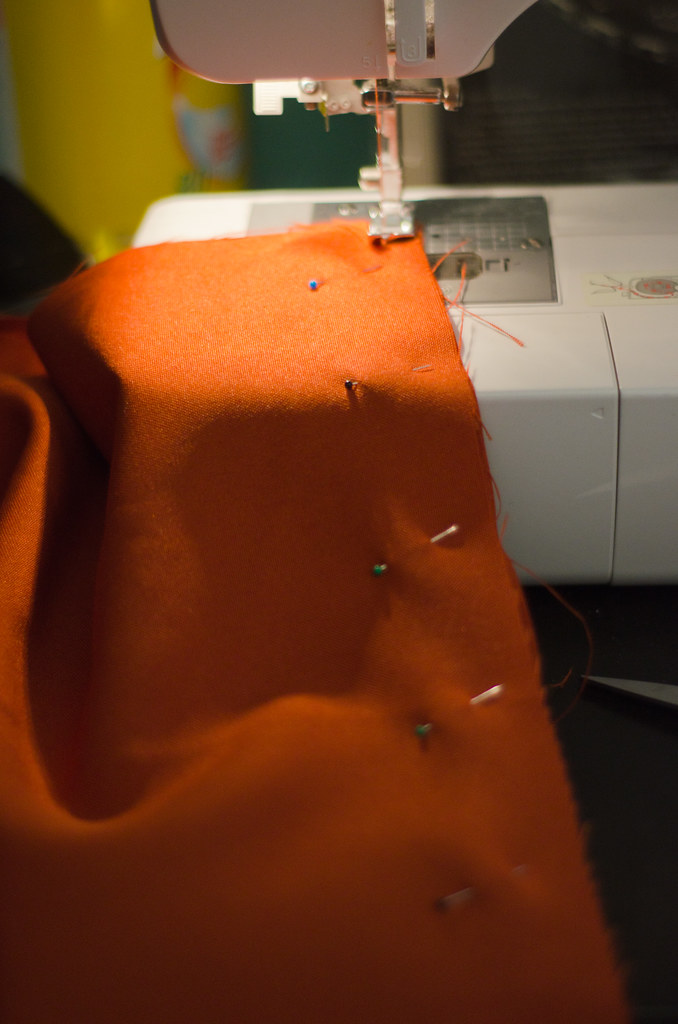
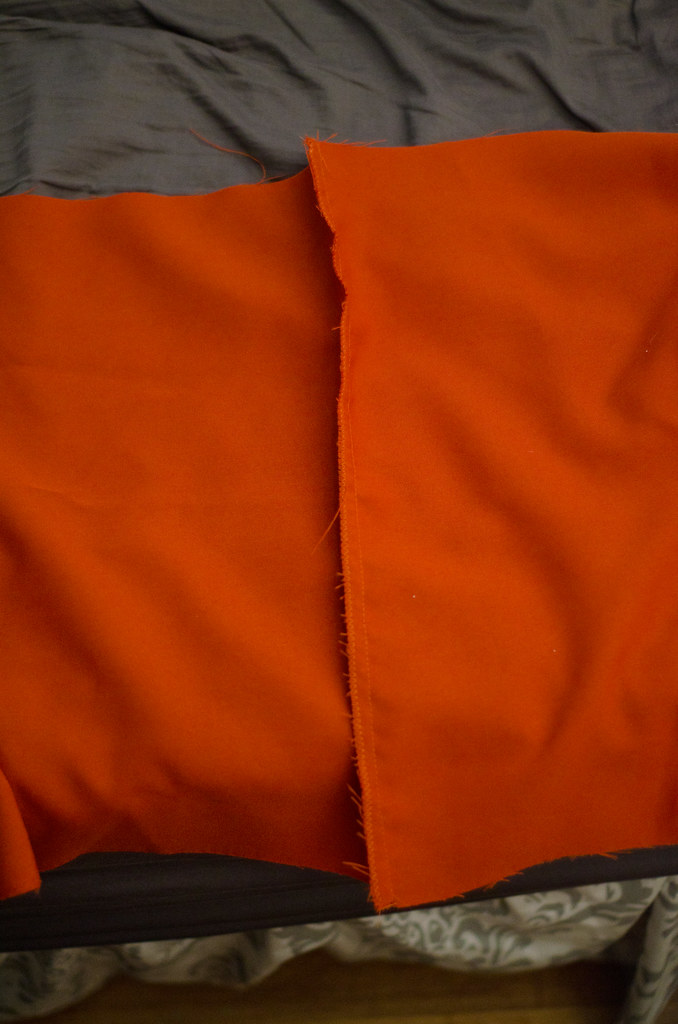
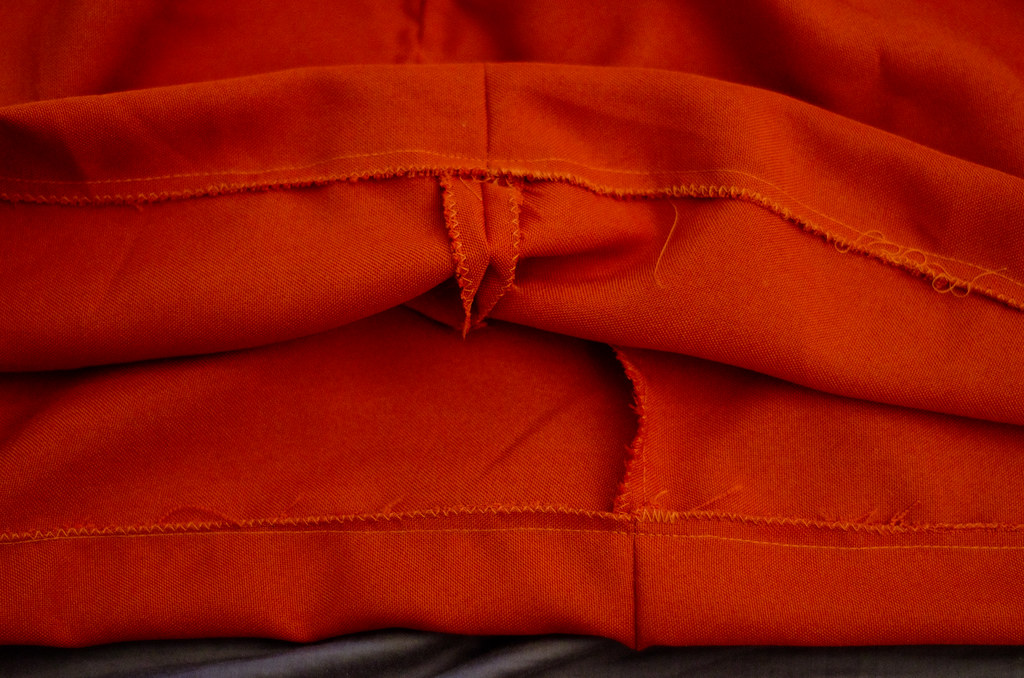
5. Sew the skirt pieces – Take the two skirt pieces and hold the right sides together. Sew one of the side seams (the shorter ones) together and then zigzag (or serge if you’re fancy!) to finish. Leave the other side open! Now would be a good time to finish the rest of the edges.

6. Prep the waistband – Grab the waistband piece. It should be right side out and ironed and one end should be open. Now we’re going to check the fit. Tuck the open end inside itself 1/2″ and pinch it shut. Stick a pin there. Wrap it around your waist, preferably over a top for more realistic fit. It should overlap only 1/2″ over itself but if it’s more, adjust to your liking by tucking more of it inside itself. Mark the other waistband end where it’s overlapping so you can tell where the skirt pieces should start (you don’t want the skirt extending all the way to the end or it’ll overlap too). I mark things with pins, apparently. In retrospect I should’ve used chalk so you could tell which end was the overlapping end (blue pin) and which was simply being held closed (black pin).

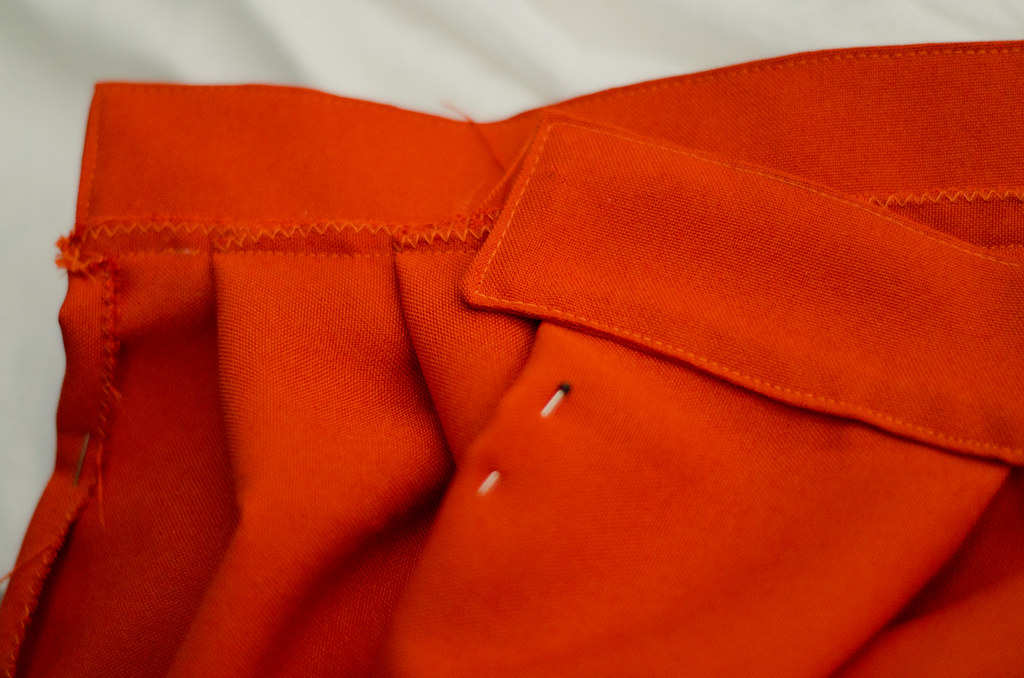
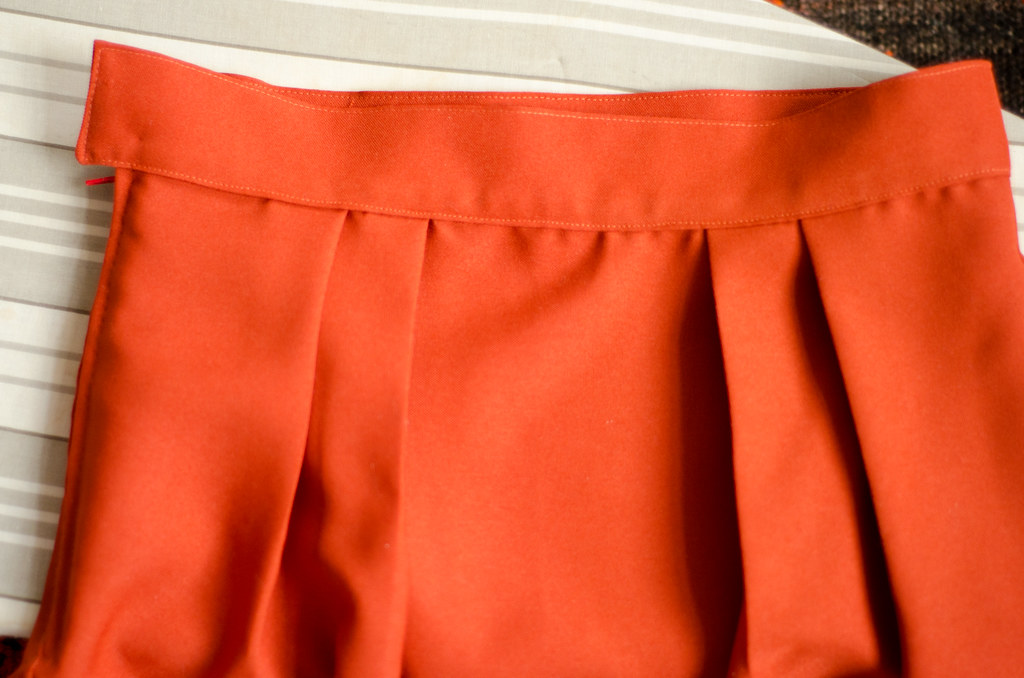
7. Pin the skirt to the donkey waistband – This is where it gets fun. Fold your waistband as shown (above) and measure/mark the center (make sure the extended tab is extended!). Then find the 1/4 way points and mark those.
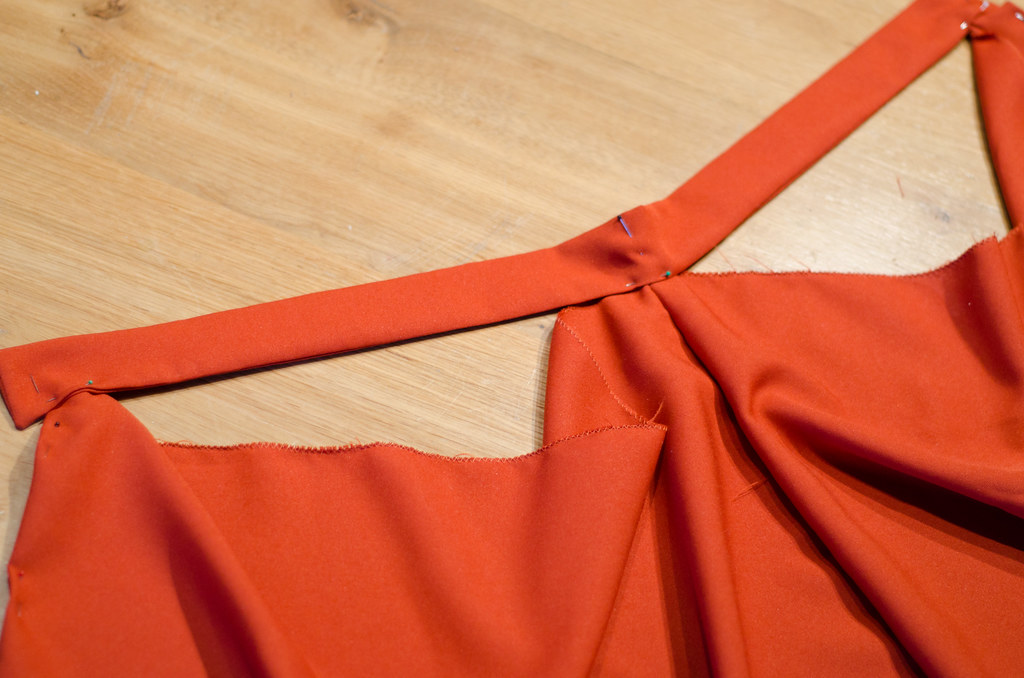
Now pin the skirt center (where the seam is) to the center of the waistband. Fold each skirt side edge over 1/2″ for the seam allowance and then pin one skirt edge flush with the edge of the waistband, and the other skirt edge to where the mark for the extended tab is. I pinned it so the skirt piece overlapped the waistband by 1/2″.
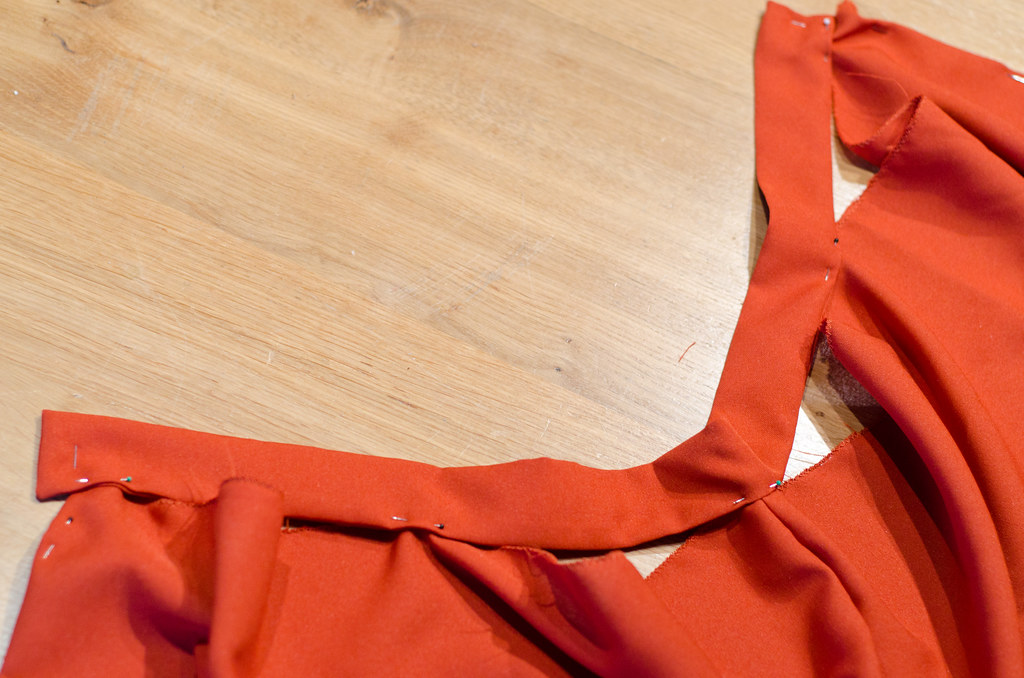
8. Pleats! – Once you have the skirt pinned to the waistband in sections, it should be pretty easy to make your pleats just by eyeballing it. They don’t necessarily need to be centered in their quadrants either. I like to have the pleats farther apart on the front of the skirt and closer together in the back. You can also play around with which direction the pleats face. On one of my skirts, I did sets of three smaller pleats in the front and sets of two in the back. Play around with placement and direction until you find something you’re happy with. Make sure it’s symmetrical and pin it down across the entire waistband.
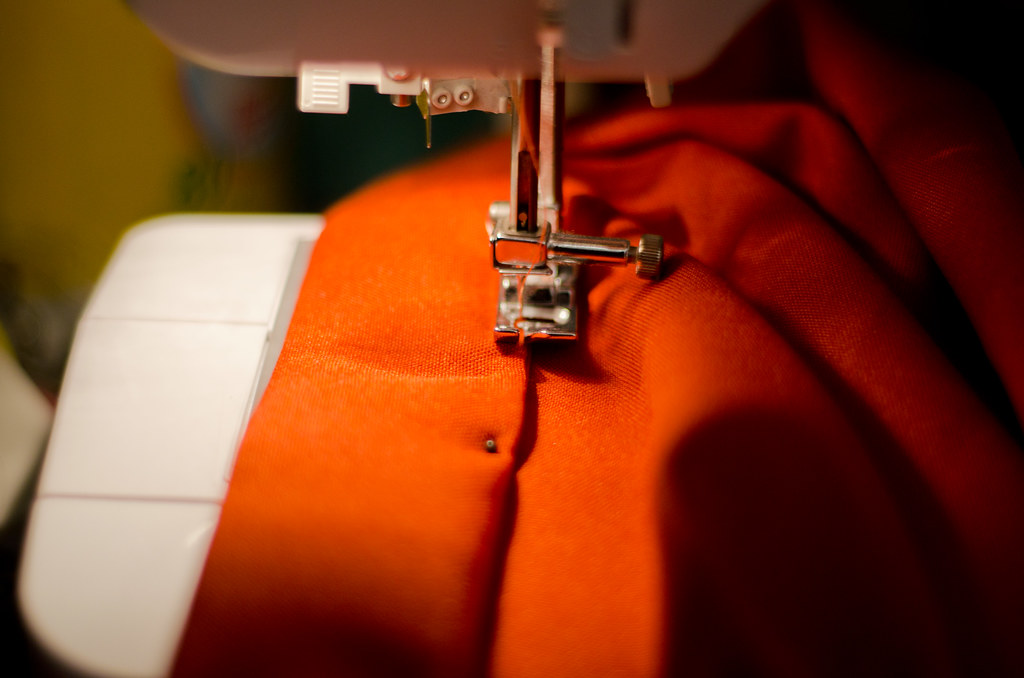
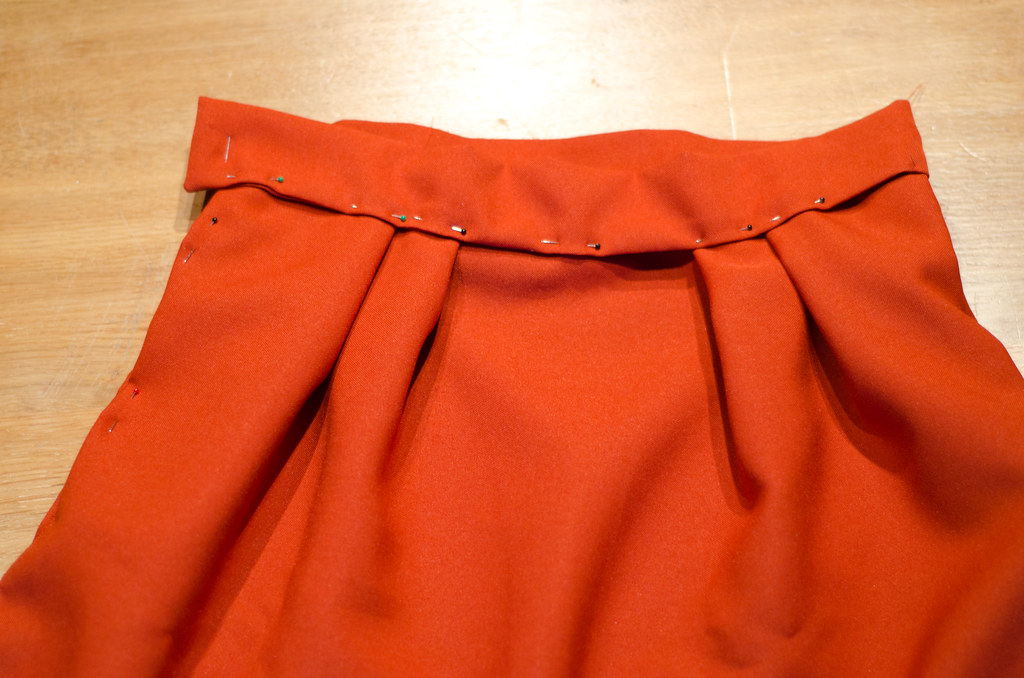
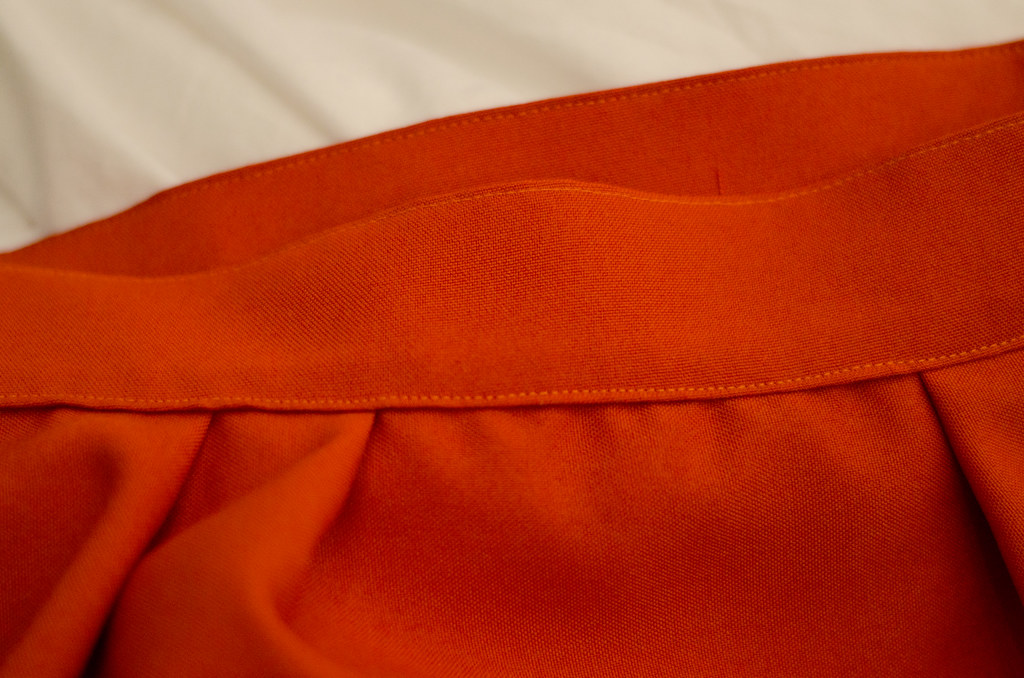
9. Ignore my questionable topstitching – Once everything’s all set and pinned, topstitch the bottom edge of the waistband to the skirt at about 1/16″ from the edge or whatever you prefer.
Once that’s done across the whole edge, I like to swoop around and just topstitch the whole edge of the waistband, but that’s optional.
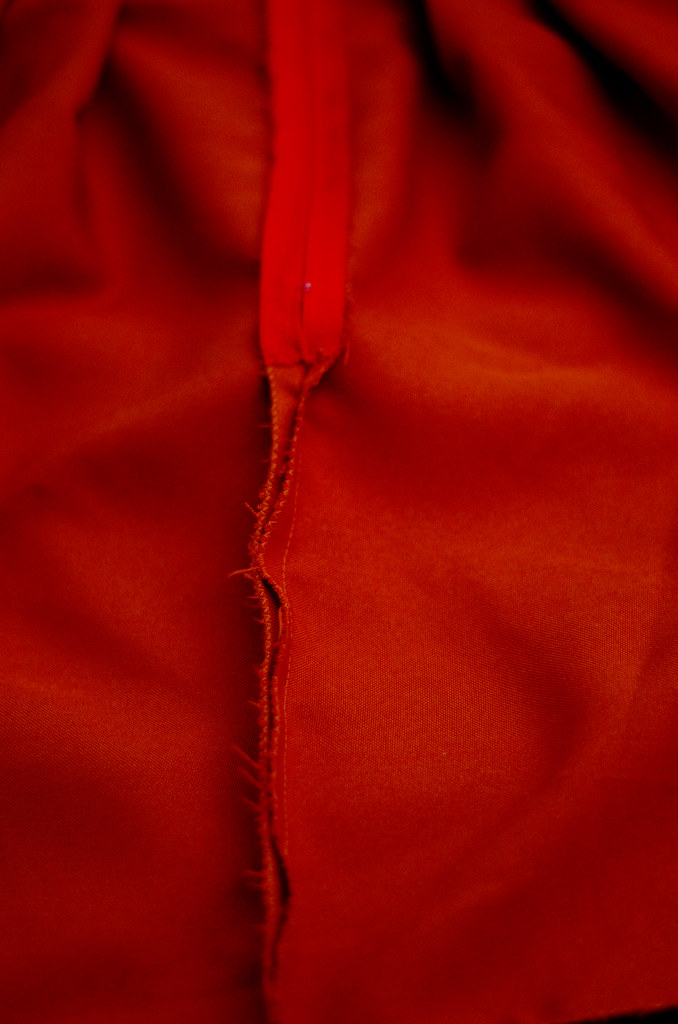
10. Attach the zipper – I’m weird. I like to attach zippers by hand. Attach yours however you prefer, just make sure it starts at the skirt part, not the waistband part. The waistband part will be held together by snap closures.

Once the zipper is attached, go ahead and pin the rest of the skirt side under the zipper together and sew it down to the hem.

11. Hem – As I mentioned earlier, I usually cut skirts a little longer and then hem them to the length I want as the last step, so for this one I hemmed it 1.25″. It tends to prevent scary accidents that leave you wondering why your perfectly measured skirt is showing off your lady bits. Plus this way if you find yourself wanting to become more conservative later on, you can always lengthen your skirts. (I’ve never actually done this, I’m just speculating).

Now just iron everything! (Or curse profusely at your poly gab for refusing to obey the iron.)
12. Skirt changes color Attach snap closures – Funny story, I realized as I was nearly done with the skirt that I had either lost or completely run out of all of my snap closures. I wanted to be sure to show the placement so I just grabbed my previous version of this skirt and photographed that. Kind of looks like Halloween when you put them next to each other.
Andddd we’re done!

Please do comment or email with any questions, especially if something doesn’t make sense. And definitely link me if you decide to make one, I’d love to see!
Happy sewing!