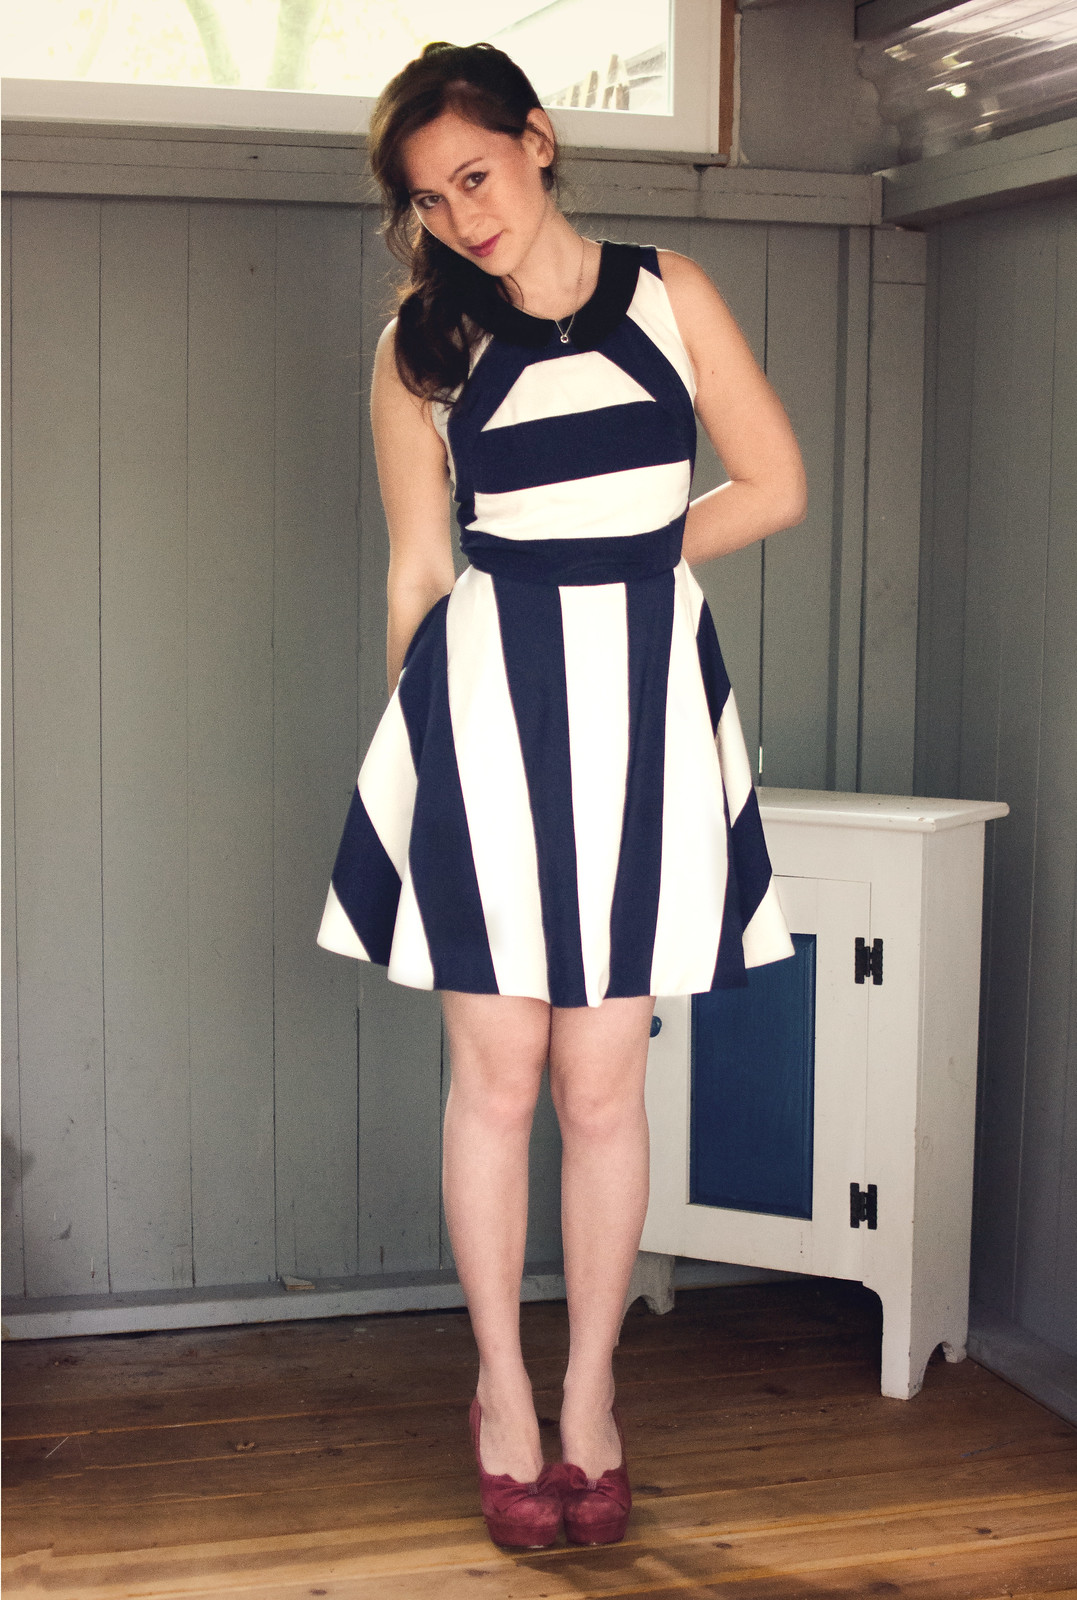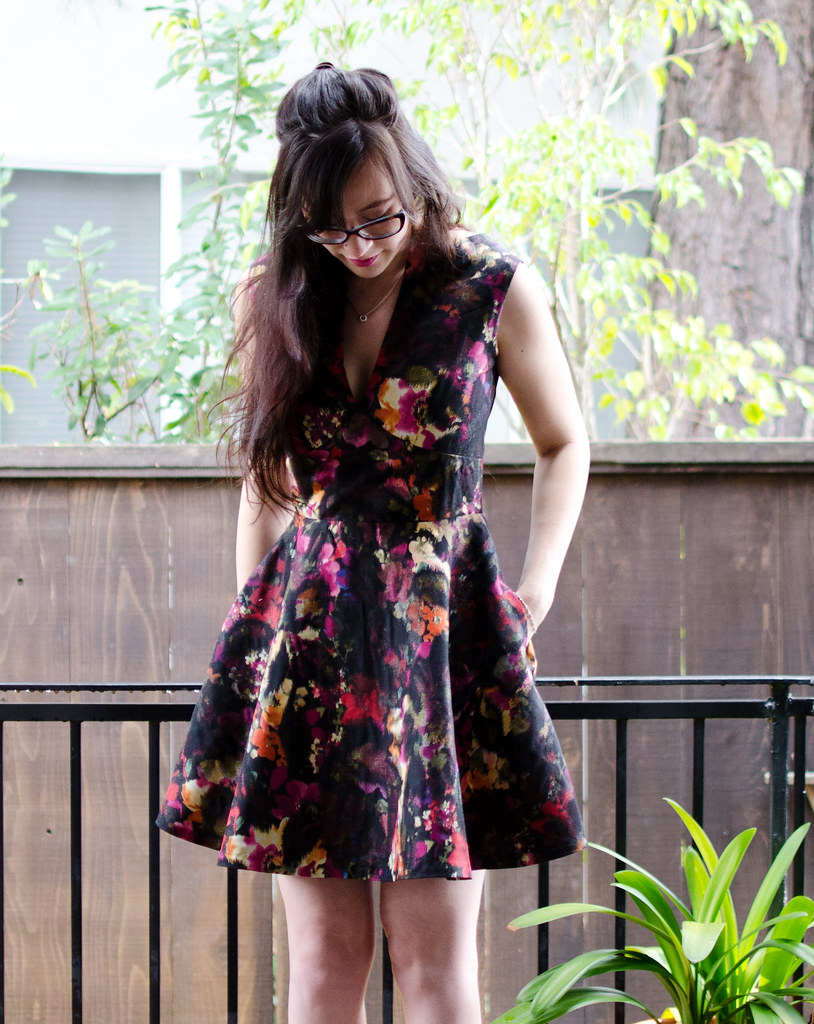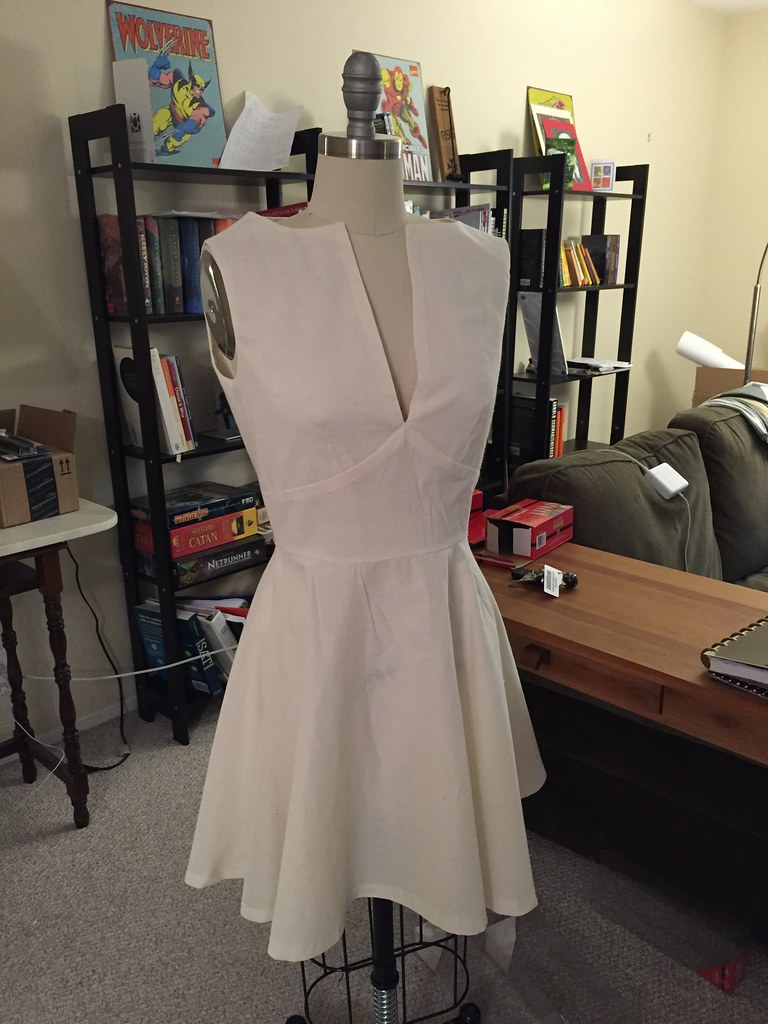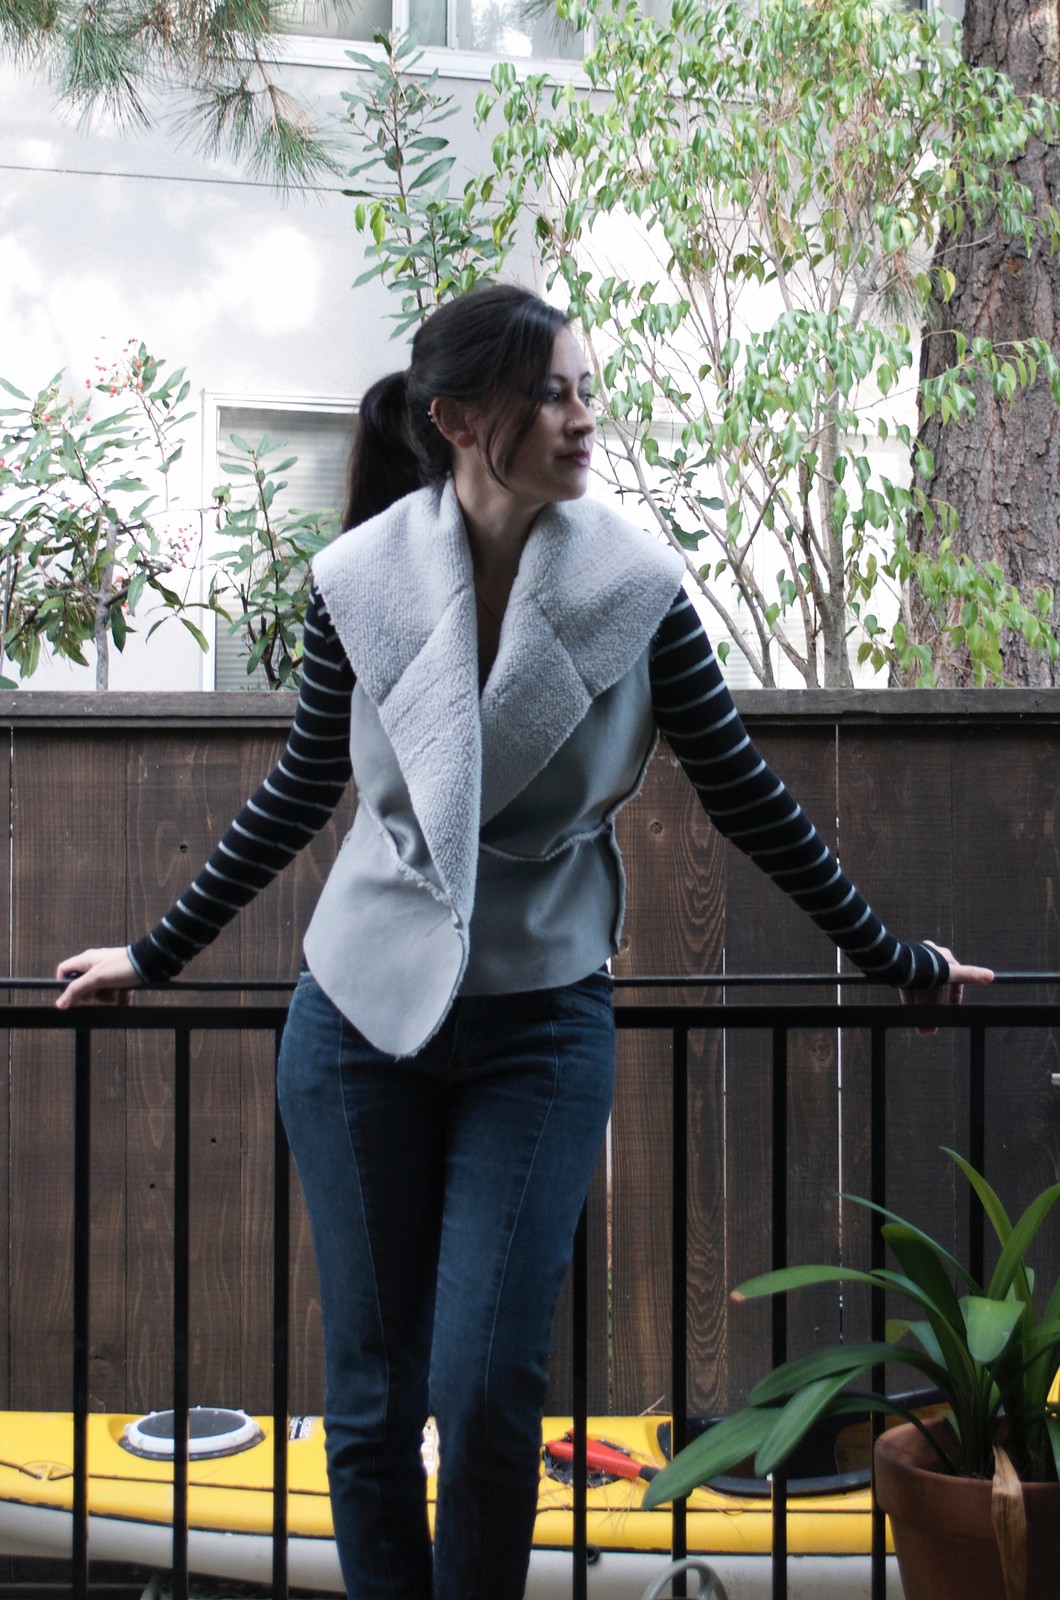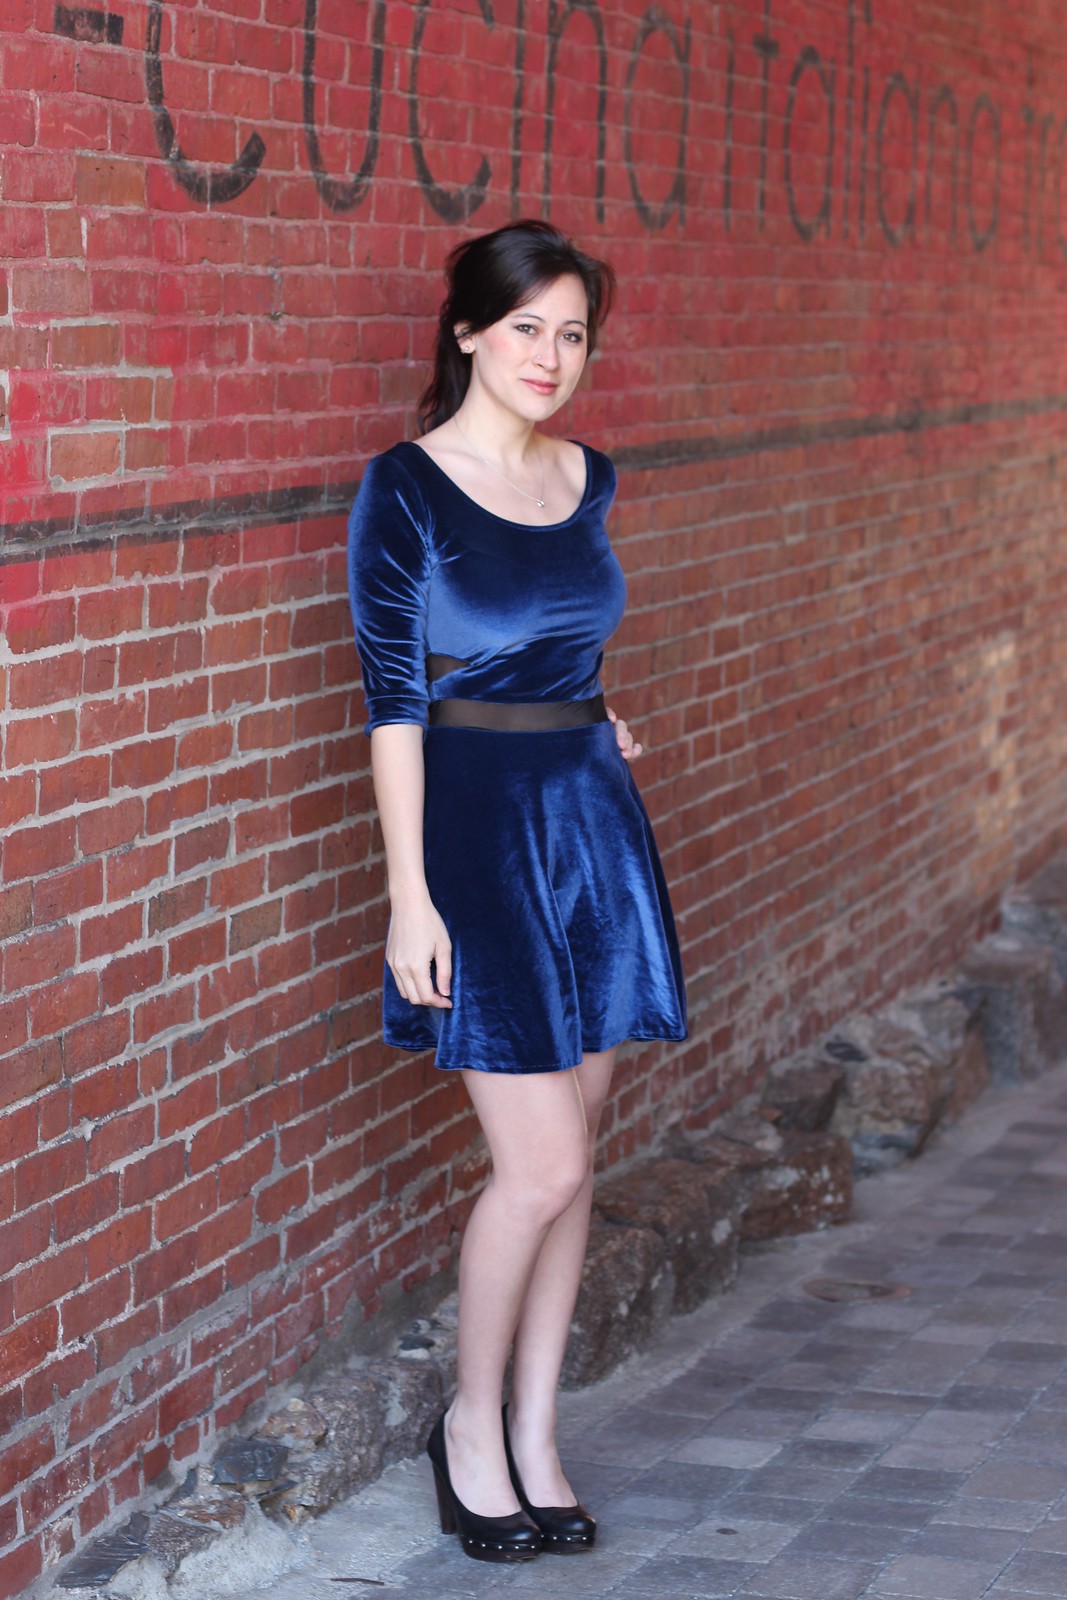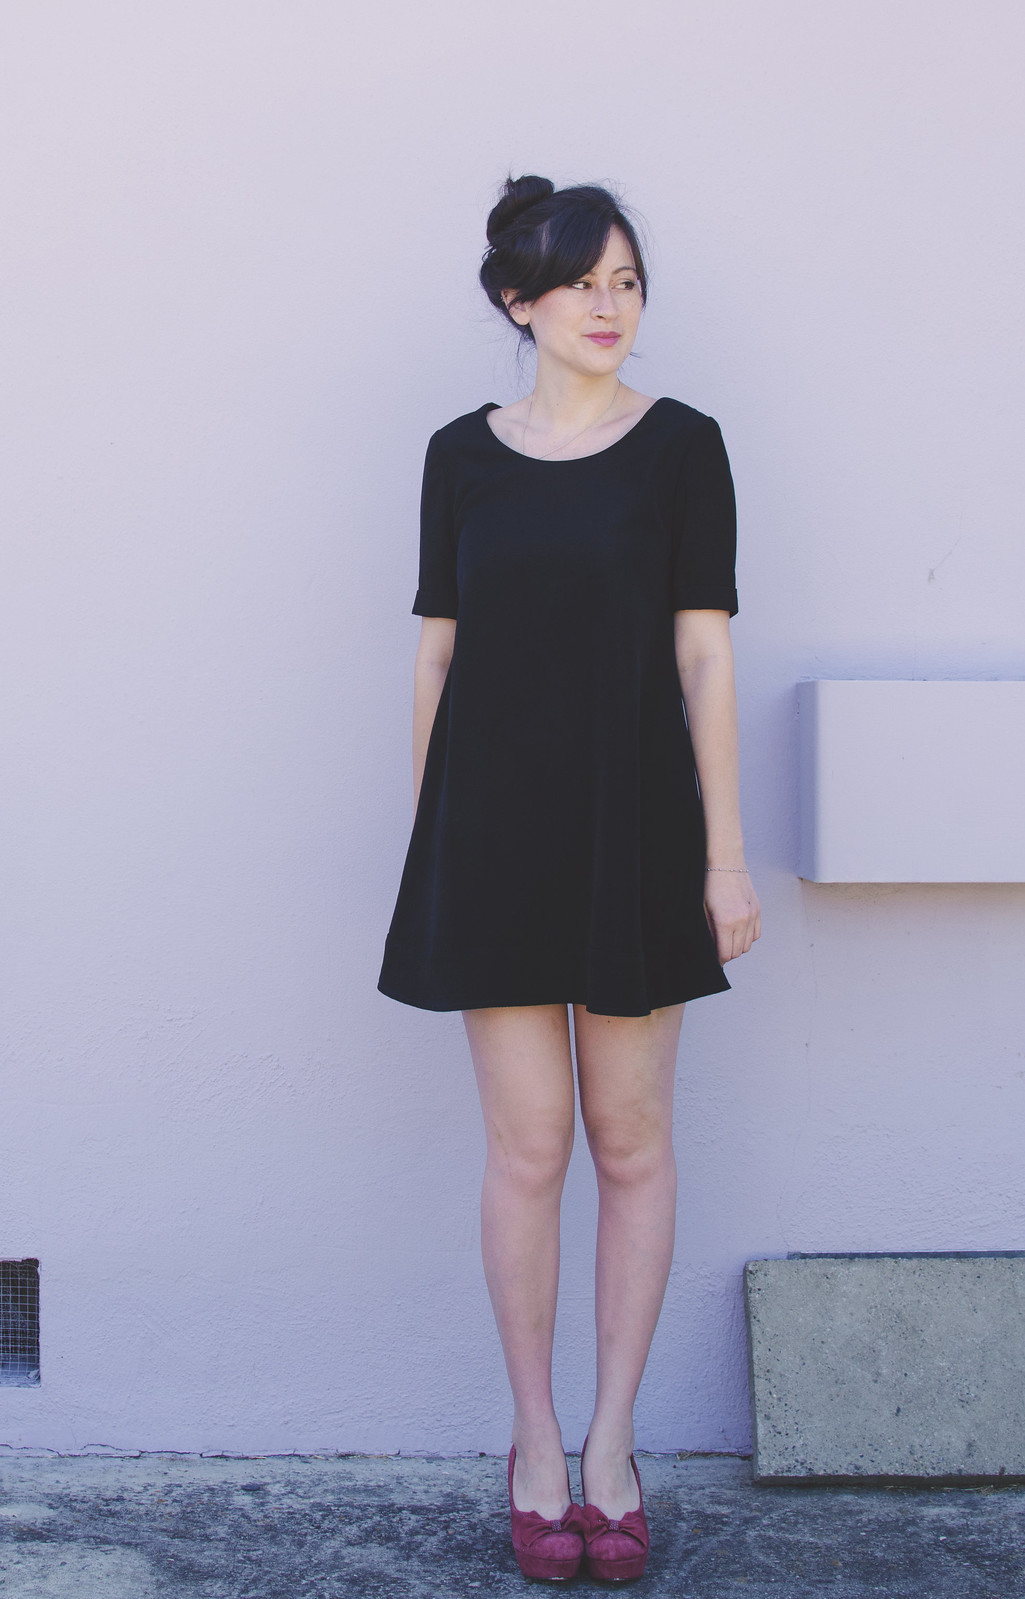
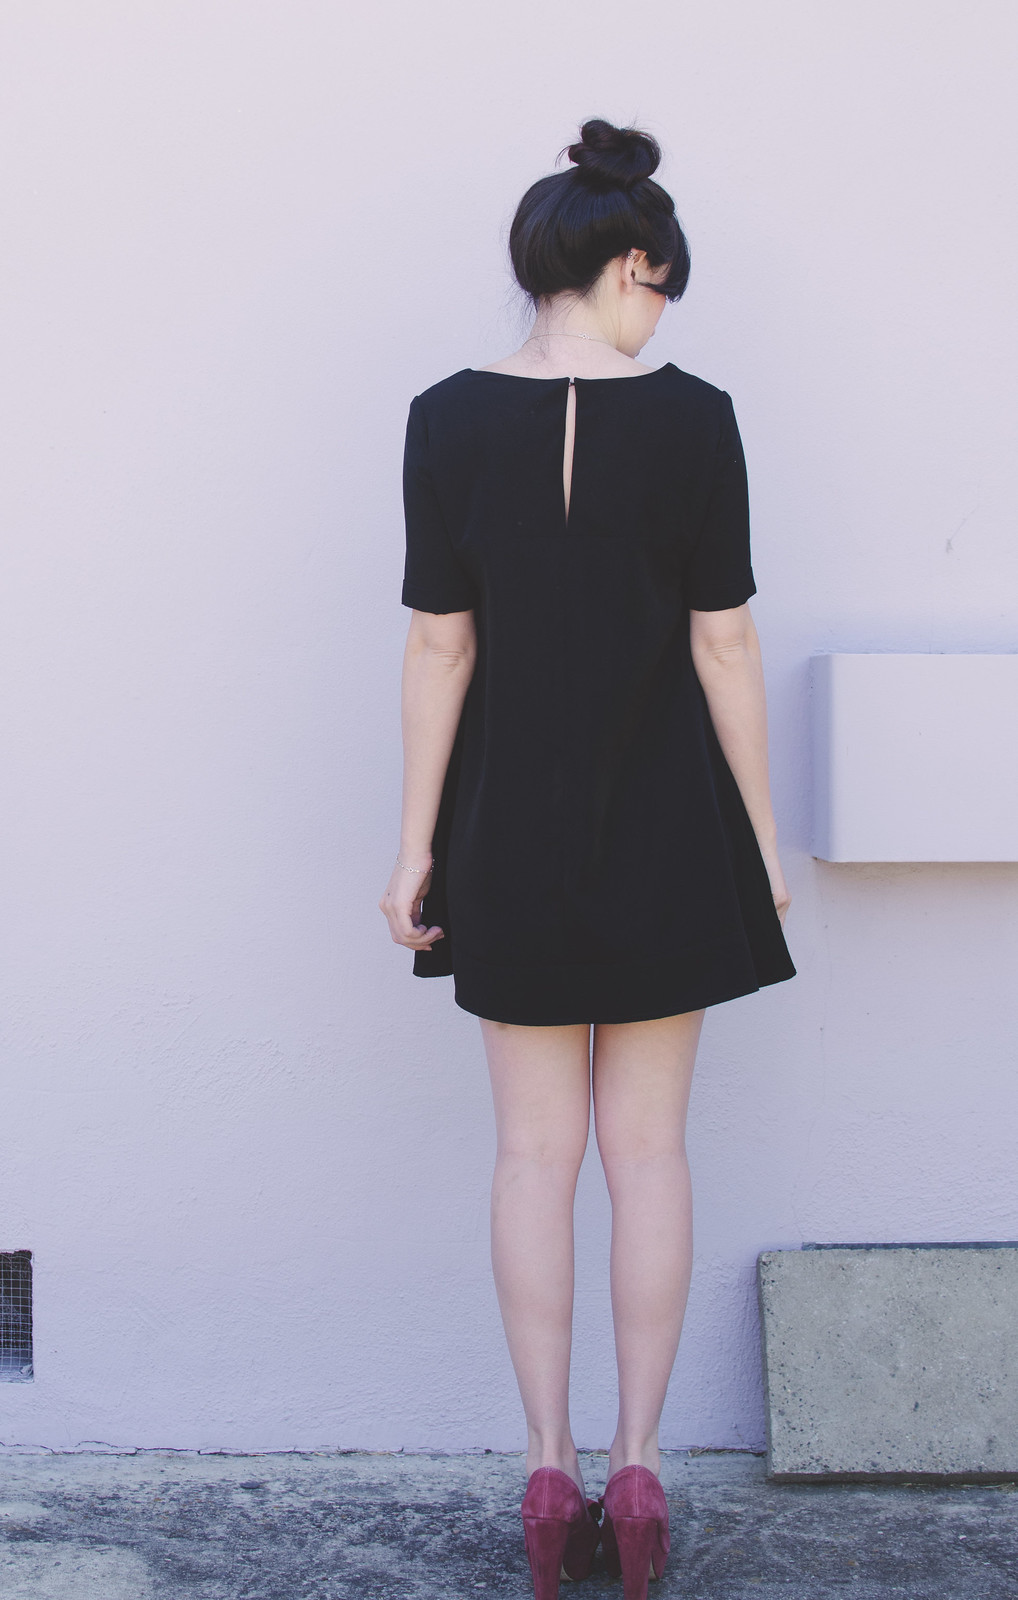

dress: self-drafted // shoes: Seychelles
Dutch Label Shop sent me custom labels to try out free of charge, and all opinions, drafting errors, and leg injuries are my own.
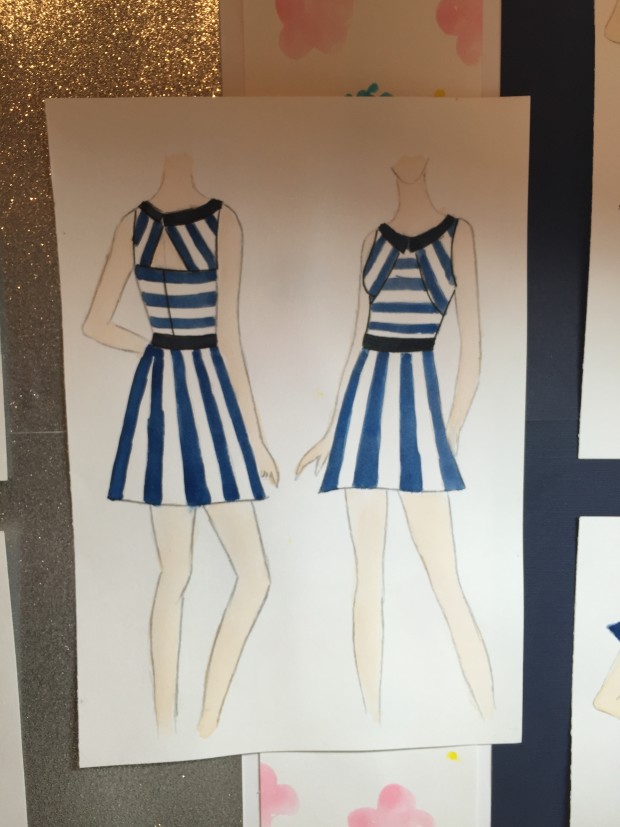
I have a bit of a ridiculous obsession with tent dresses. I blame Lauren and 90% of Keiko Lynn‘s wardrobe. Anyway, when we reached the “dresses without waistline seam” part of my flat pattern class, I pounced on the tent dress draft for my homework garment.
My first idea was to go absolutely nuts and make something super flowy out of chiffon. But I decided to dial it back so I could see what the basic tent draft looks like, and so I could be responsible and use up some peachskin I had in my stash.
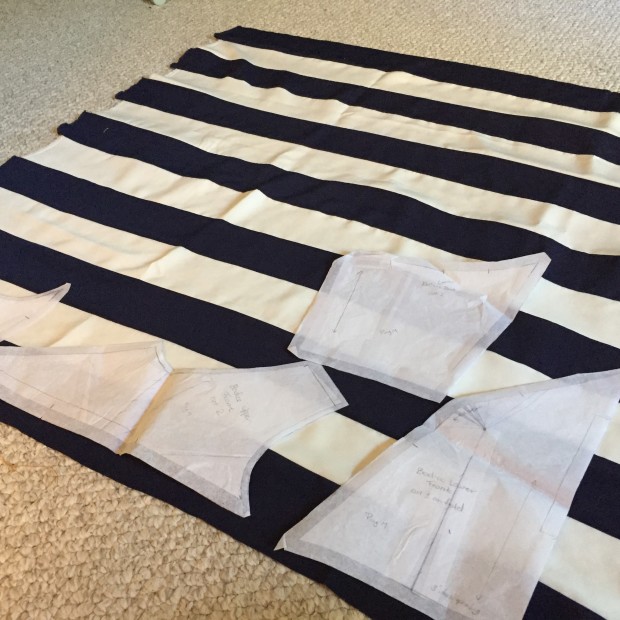
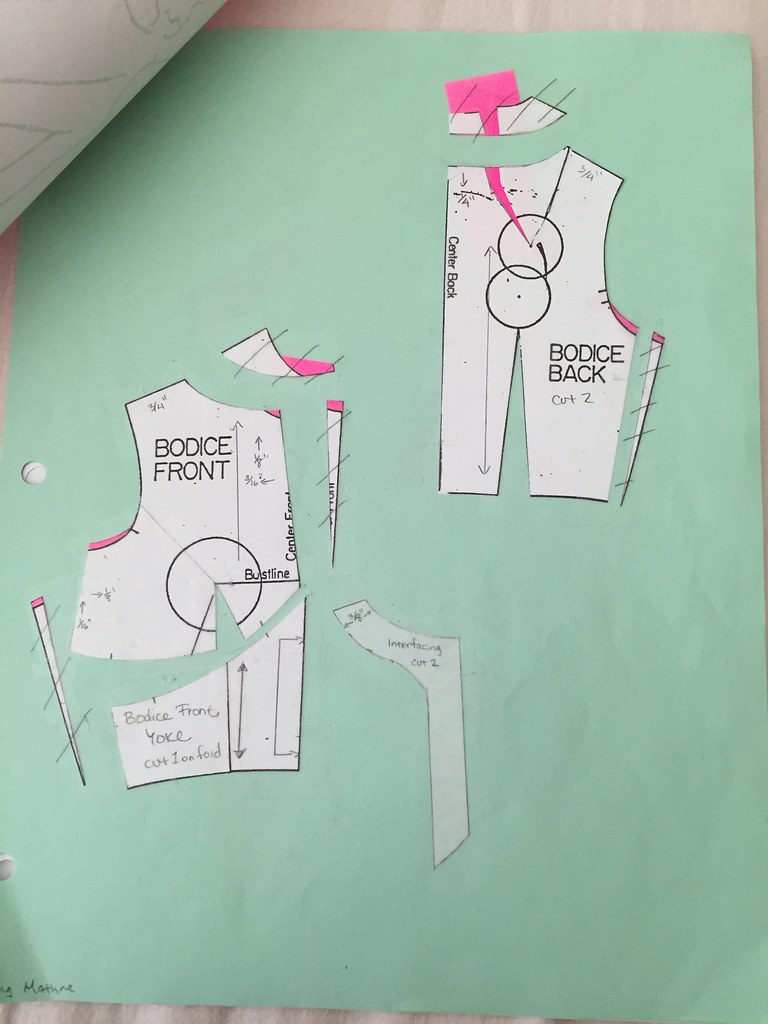
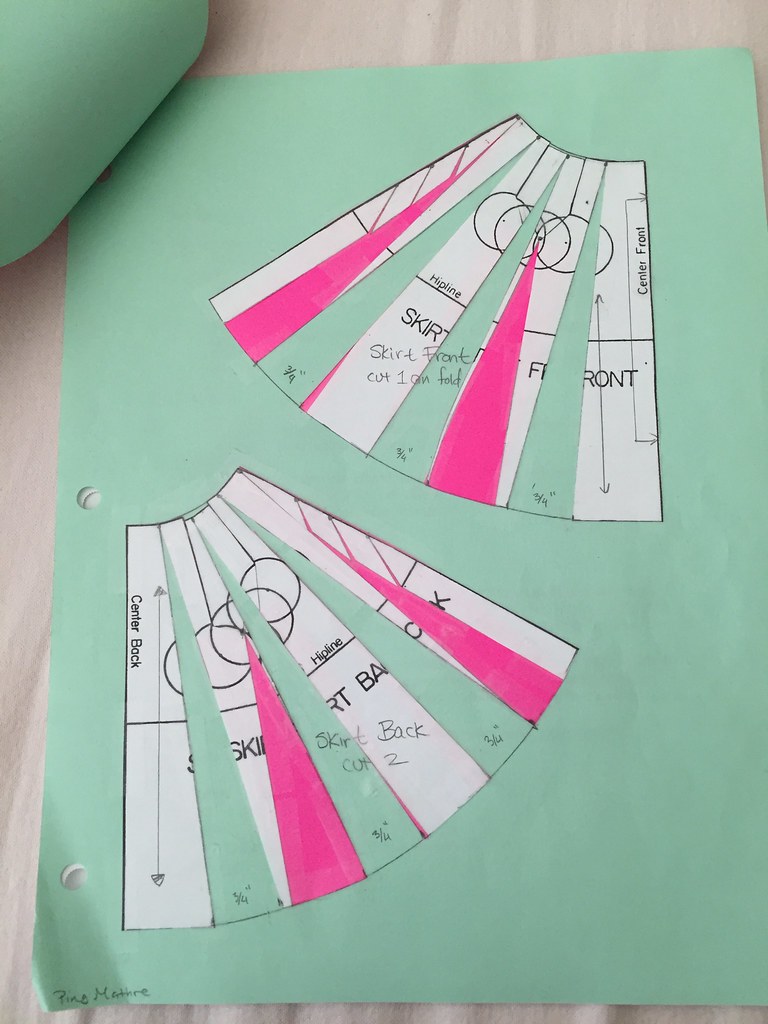
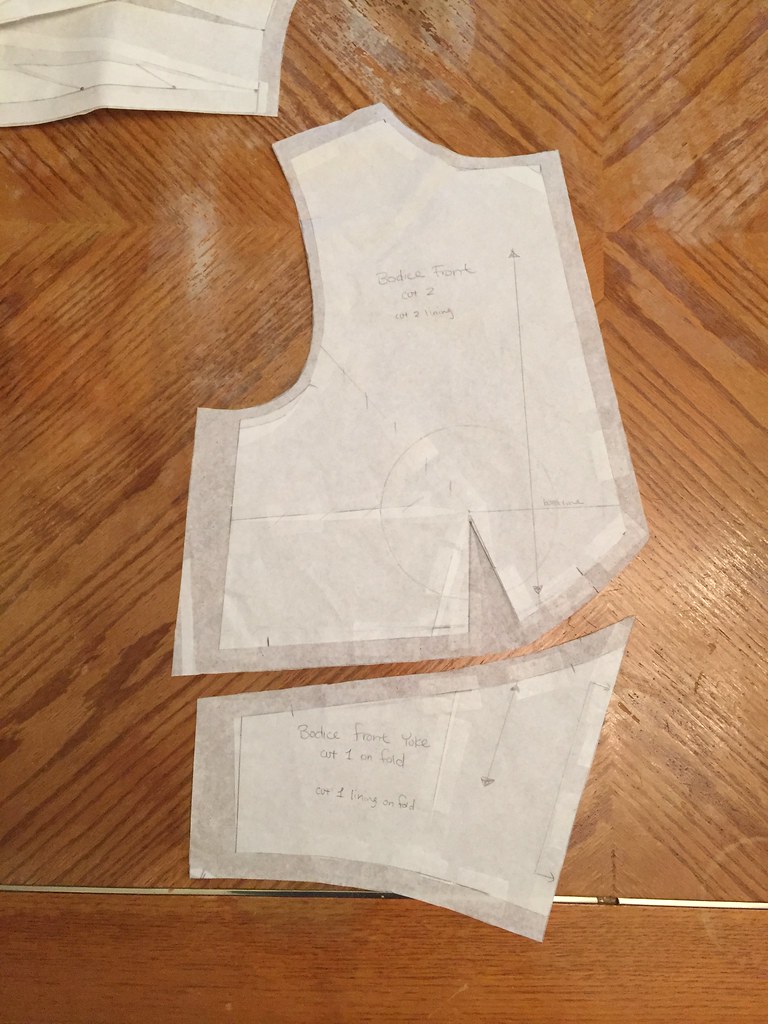
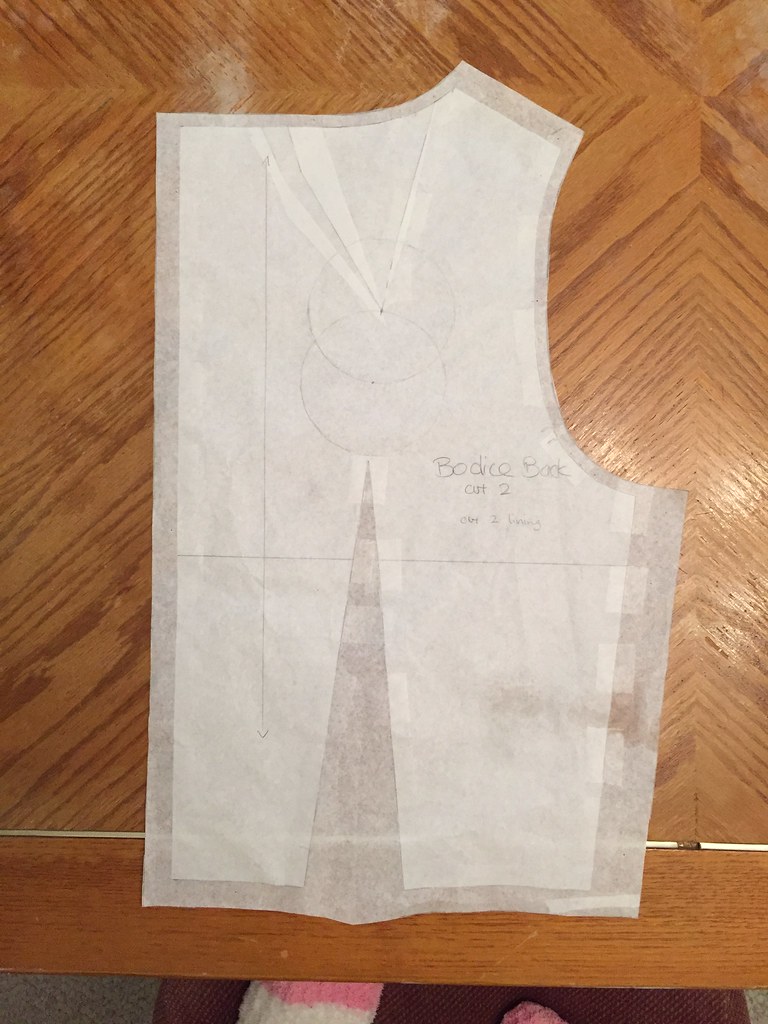
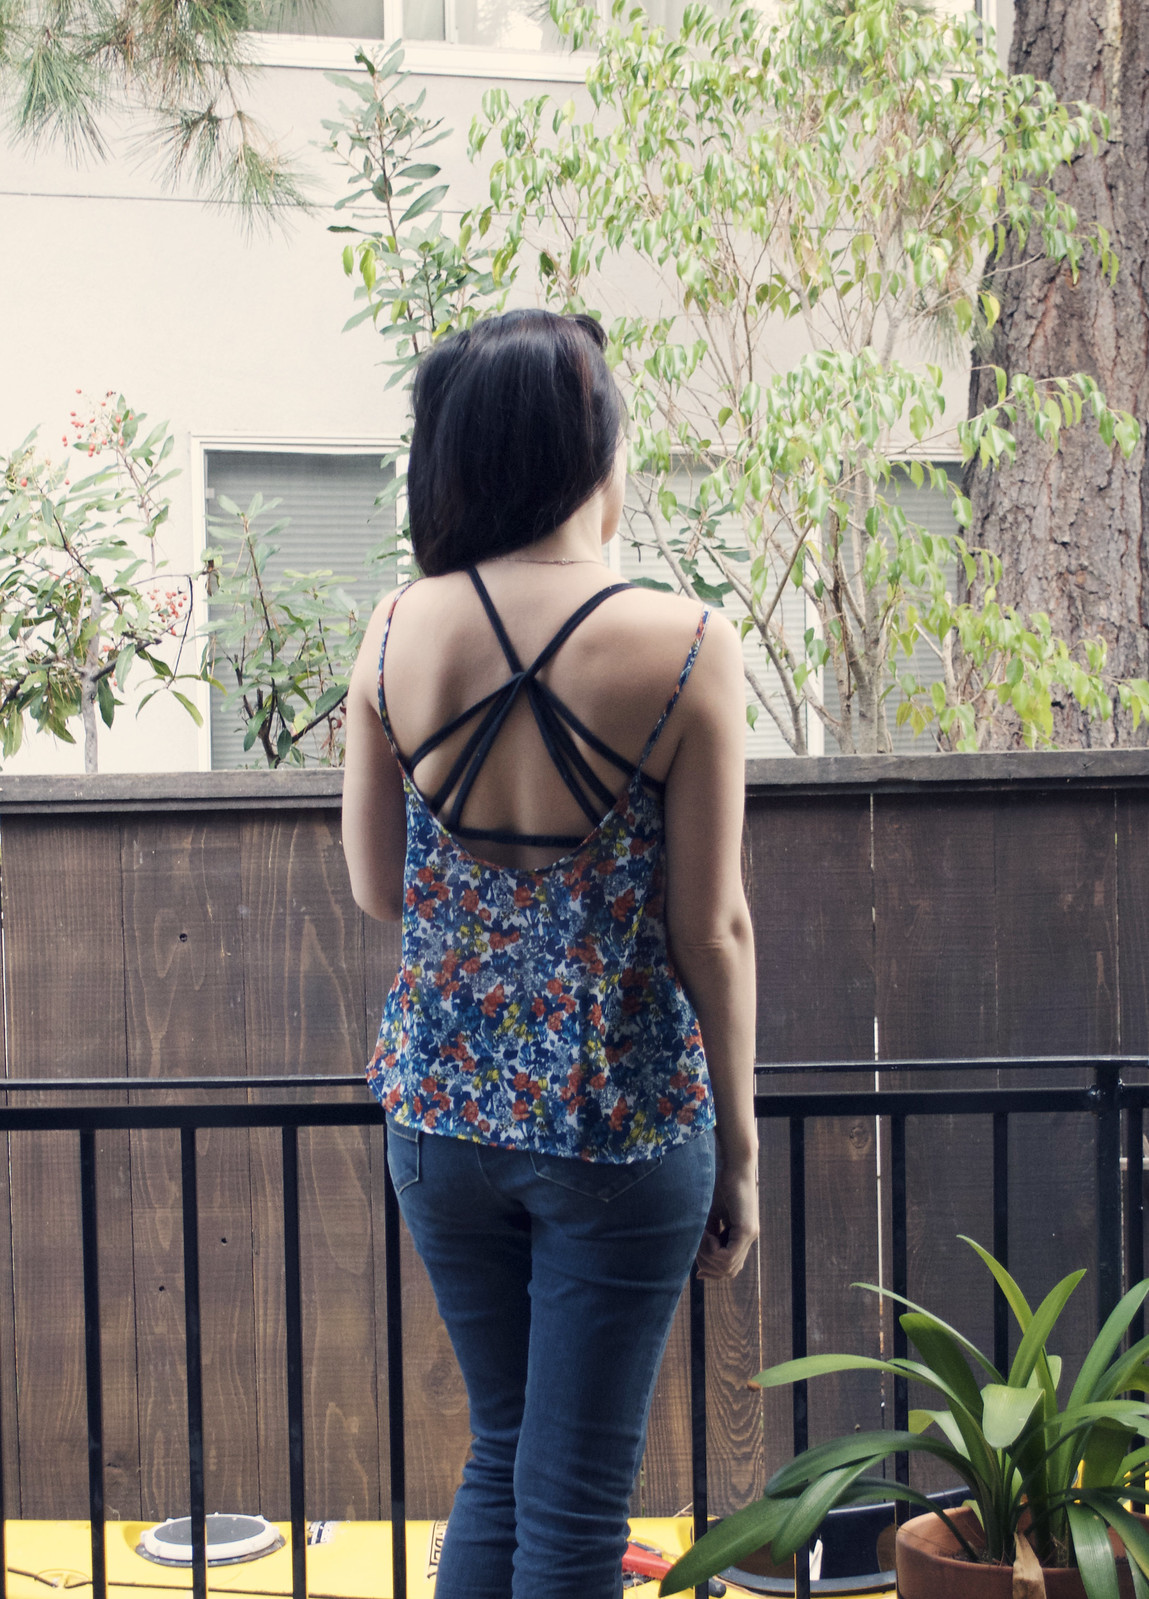
It’s a pretty basic draft. I started with a torso sloper (drafted using the method in Nora MacDonald’s Principles of Flat Pattern Design book). For the front, I left the waist darts alone but transferred the side bust dart to the waist as flare. Then I added a bit more flare by going out at the side seam. I did the same thing on the back except by transferring the shoulder dart to flare. Then you mark the point halfway between the armhole and waist line and blend a line about 1/2″ inward there. Lastly, I put the front and back pieces on top of each other to make sure the side curves matched up.
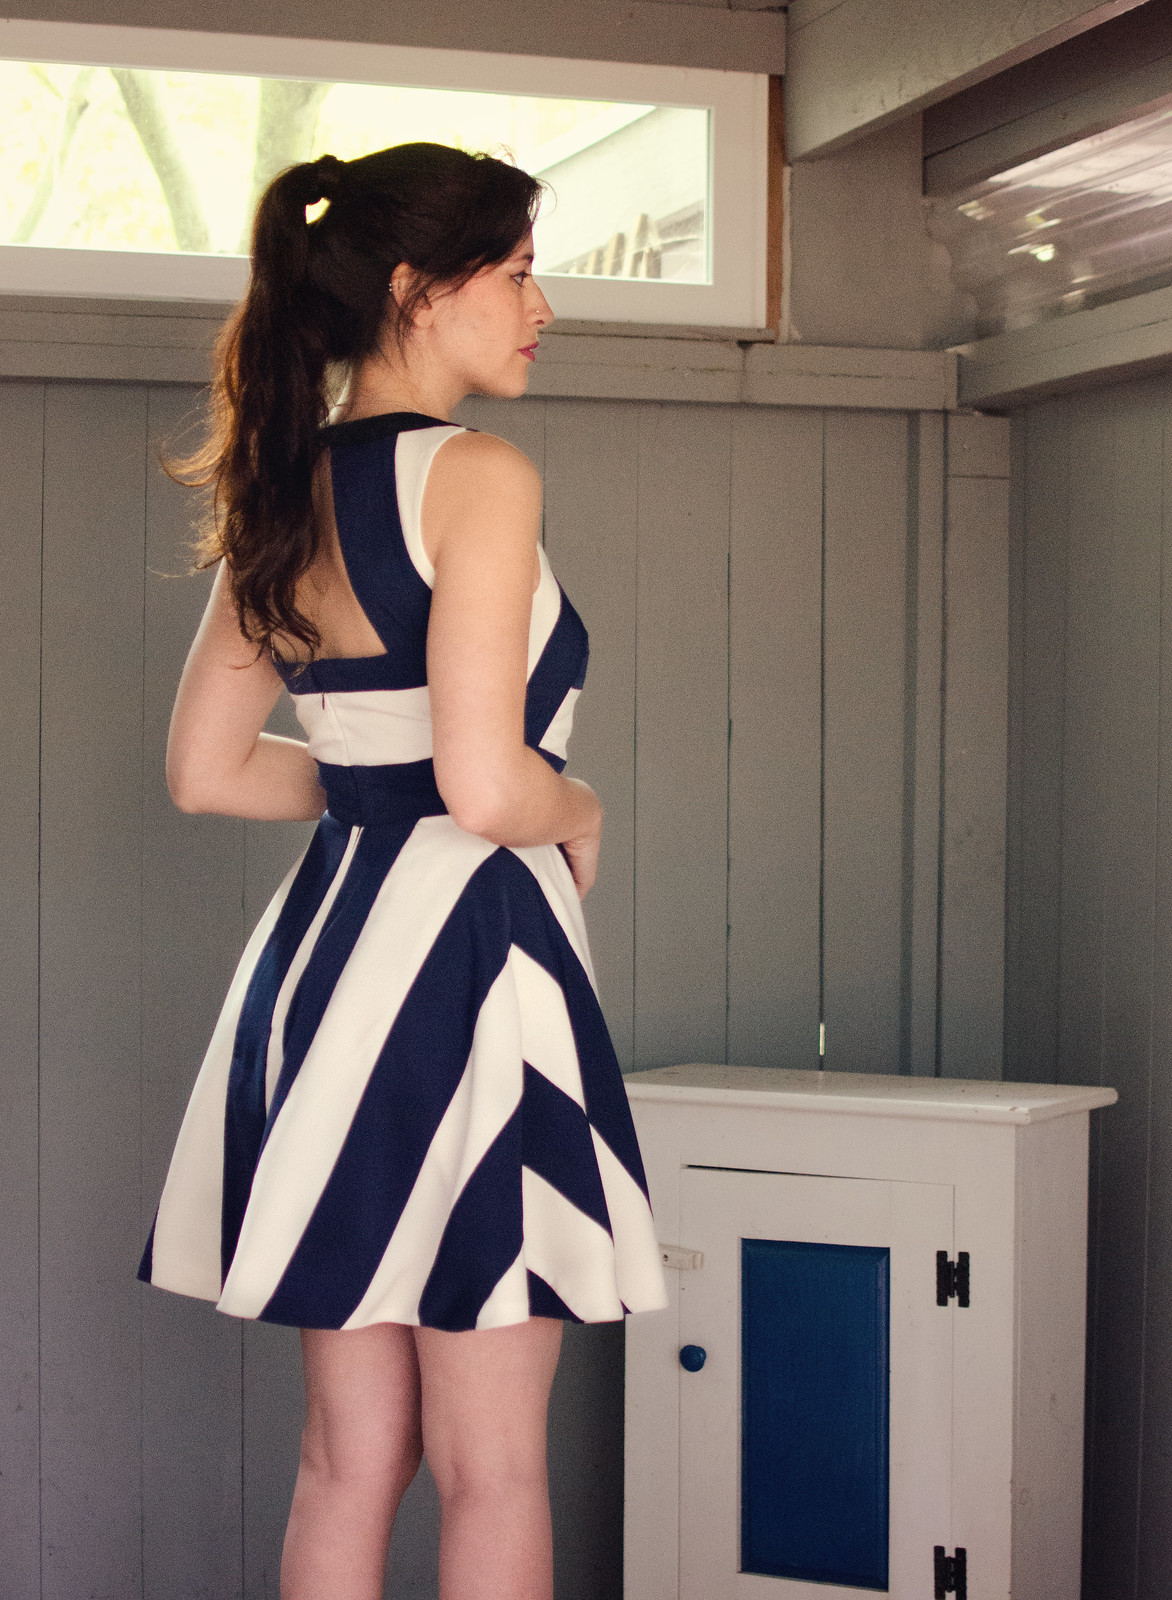
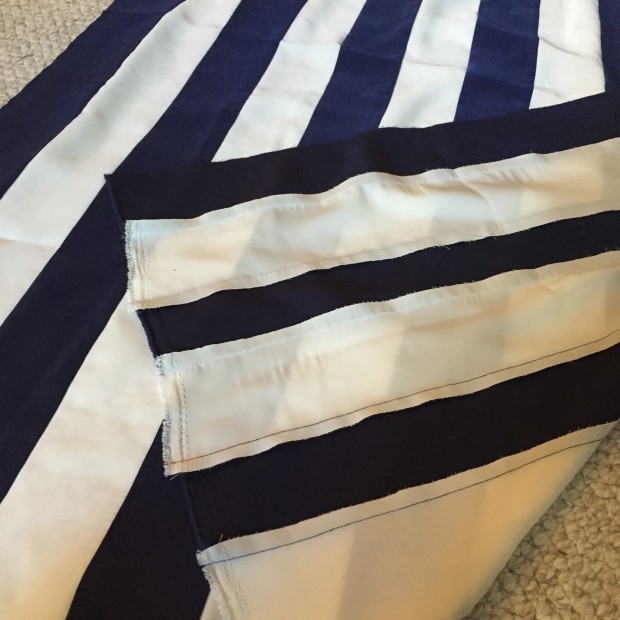
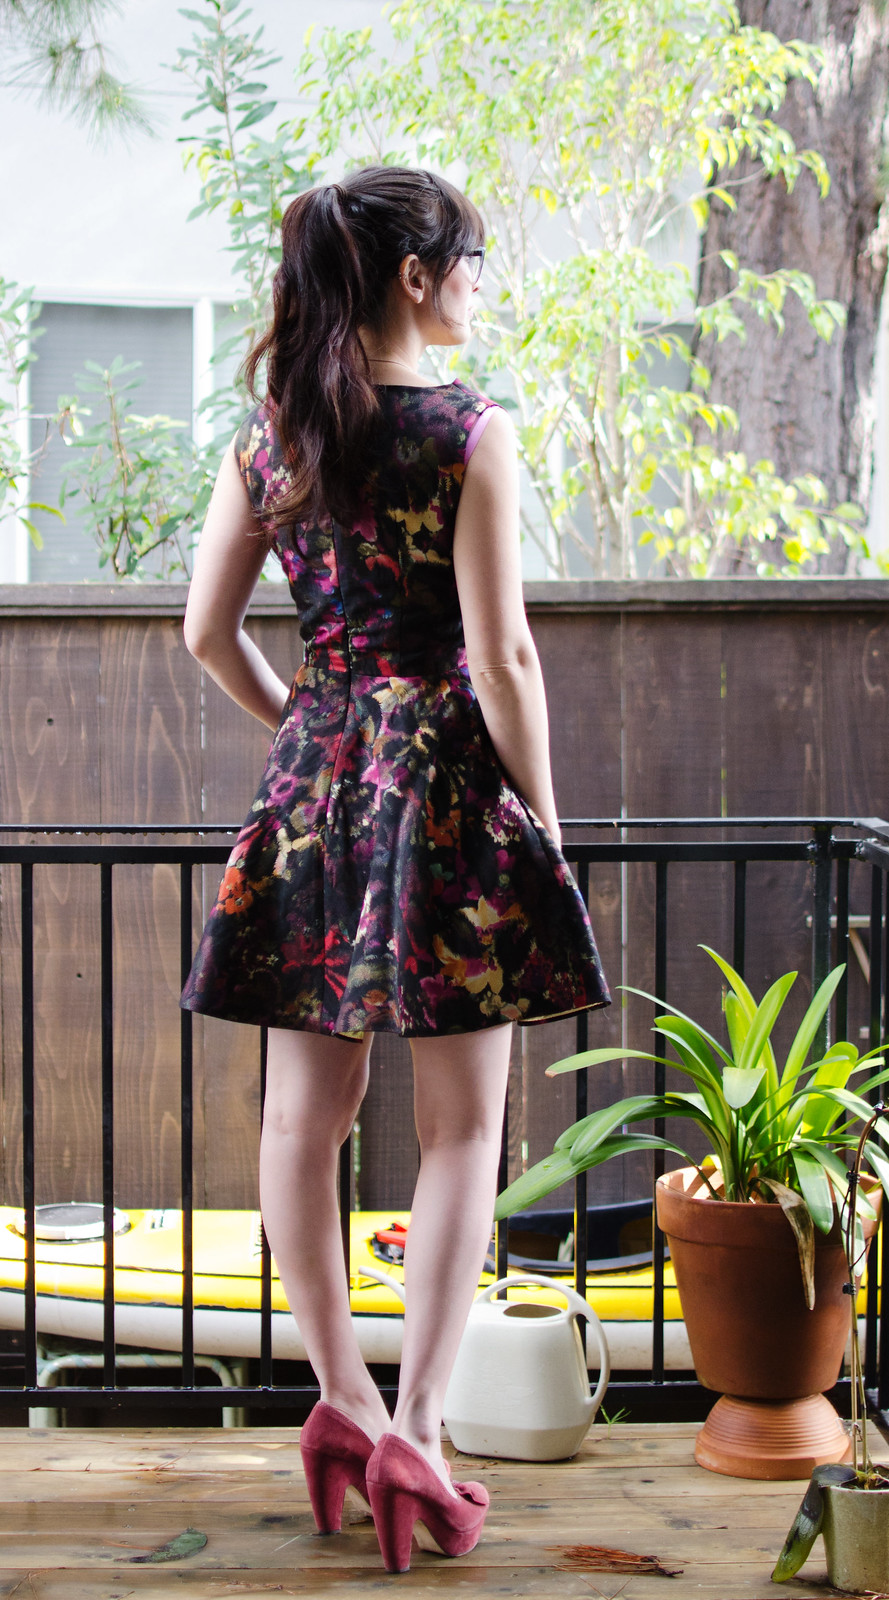
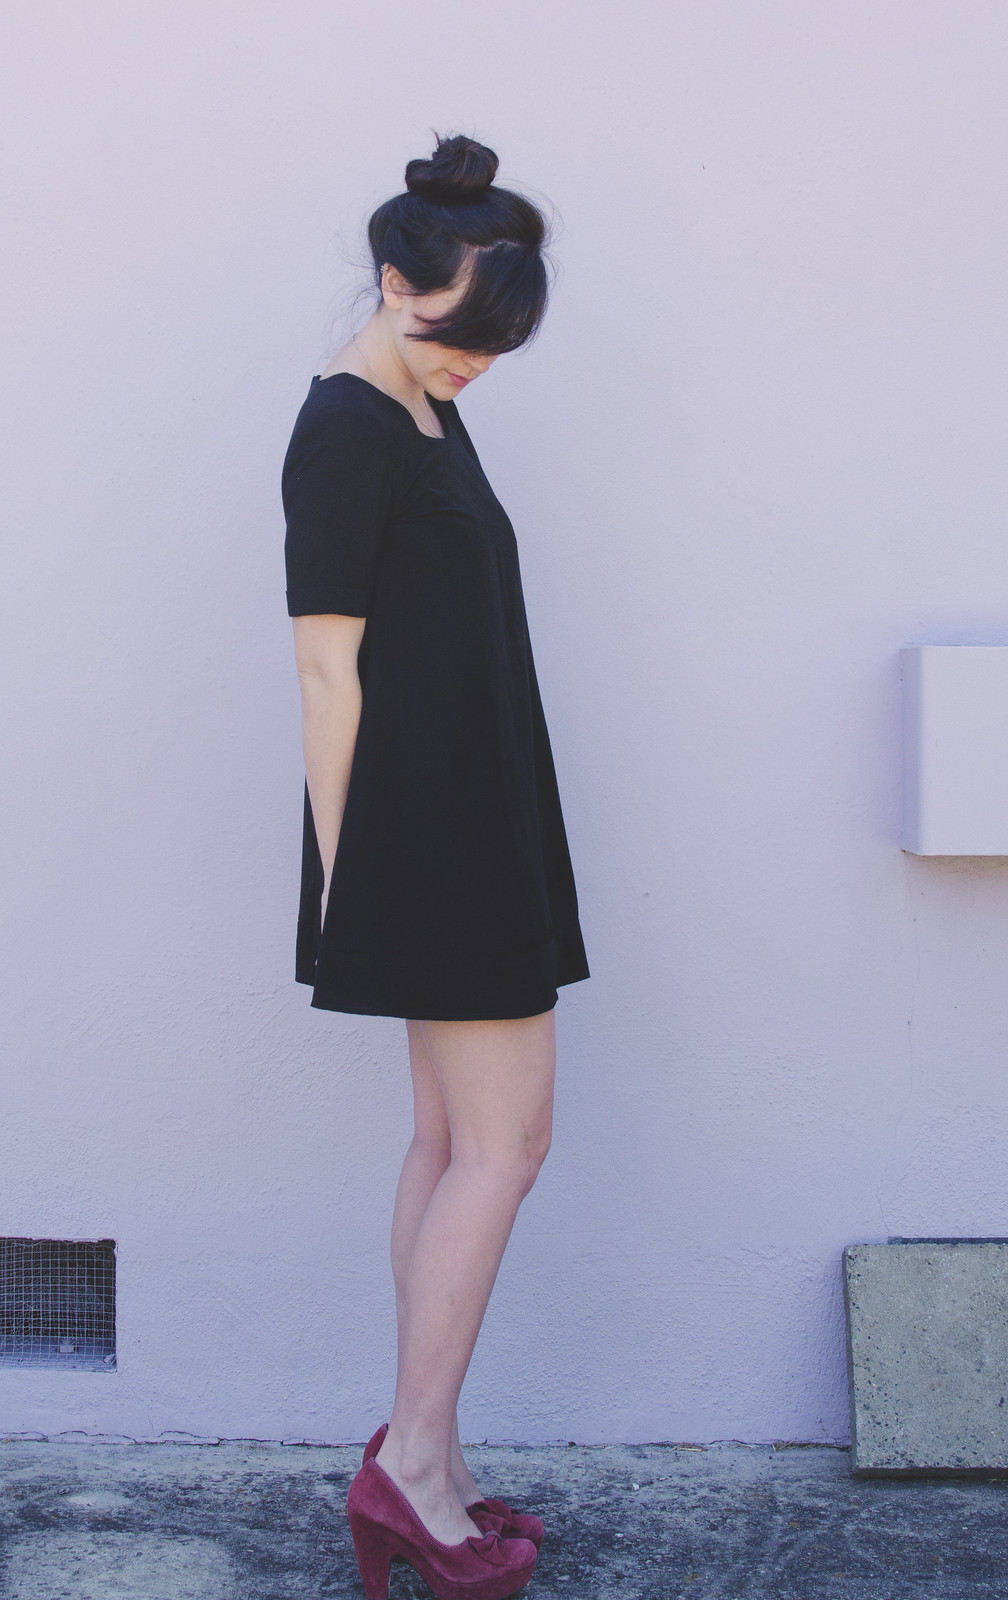
What you don’t want to do at this point is mistake your new indent that’s halfway up from the waist as the actual waist, and measure your skirt length from there. I didn’t realize I’d done this until I’d already cut the fabric and therefore ended up with a dress that ended mid-vagina. Not attractive. I thought about making it into a tunic but it just didn’t quite look right in this fabric. I ended up drafting a 3″ panel at the bottom which I think looks kind of cool. Another thing you probably don’t want to do is forget that you meant to have an upper back yoke and therefore don’t need a center back seam on the bottom piece. For the next one I will definitely cut that lower back piece on the fold.
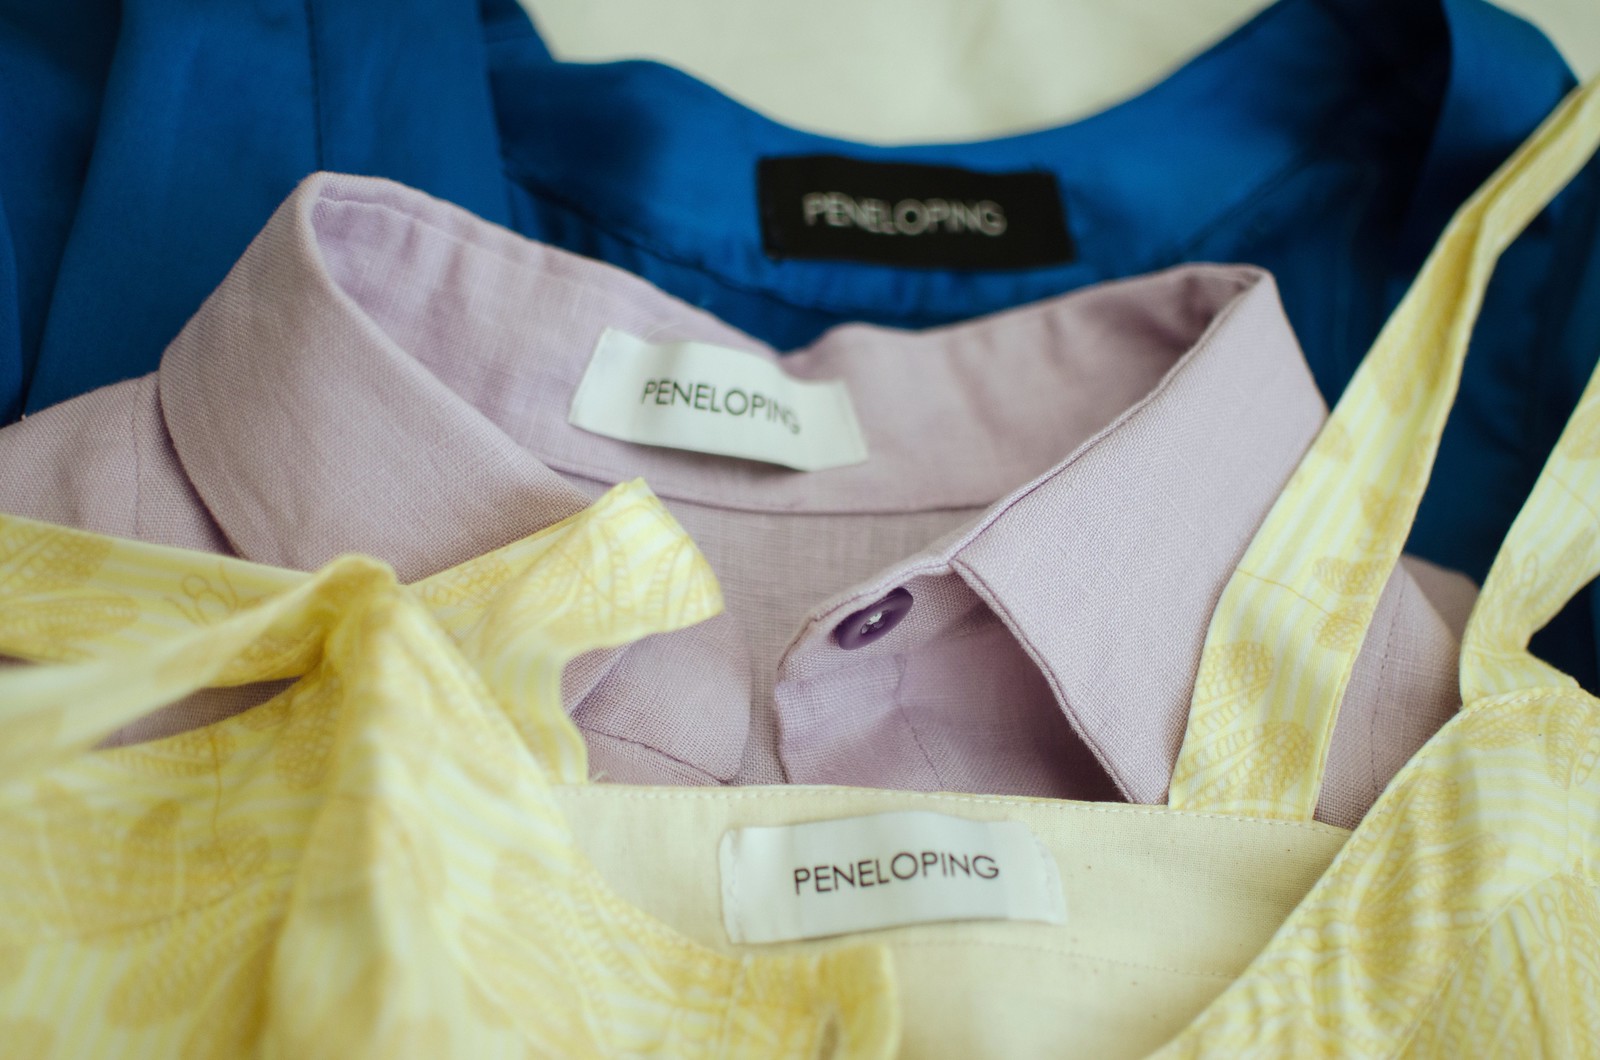
Andd the best part is that inside the neckline is a lovely professional looking garment label! My Bernina does letters so I’d tried my hand at making my own labels on twill tape before. They turned out pretty cute actually, but a bit too rustic for fancier clothes. These labels from the Dutch Label Shop are much more polished and will go on absolutely everything, especially since I ordered them in both black and white. These ones are the basic woven labels. You pick from a few fonts and colors, and they even have some themed clip art you can add. They also offer a “double white” option for white labels with dark lettering, to prevent the black from being too visible. It doesn’t make it completely opaque though, so you can still kind of see the shadow/outline of the black threads behind it.
They also have another option where you can send them an image of your logo/graphic and they’ll do custom woven labels in all kinds of shapes/sizes with it. It’s a bit more pricey but their example labels look really cool! I don’t actually have a logo for my blog so I just went with the simpler option.
Shipping was a bit tricky; my first order was actually misplaced in the mail. But once they discovered it had gone missing they immediately sent out a replacement and I received it within a few days. And now I can’t wait to put these guys on everything! If you want to order your own custom labels, Dutch Label Shop is offering Peneloping readers a 15% discount on your order from now until July 21st with the code PENELOPING. — CODE IS WORKING AGAIN – yay!
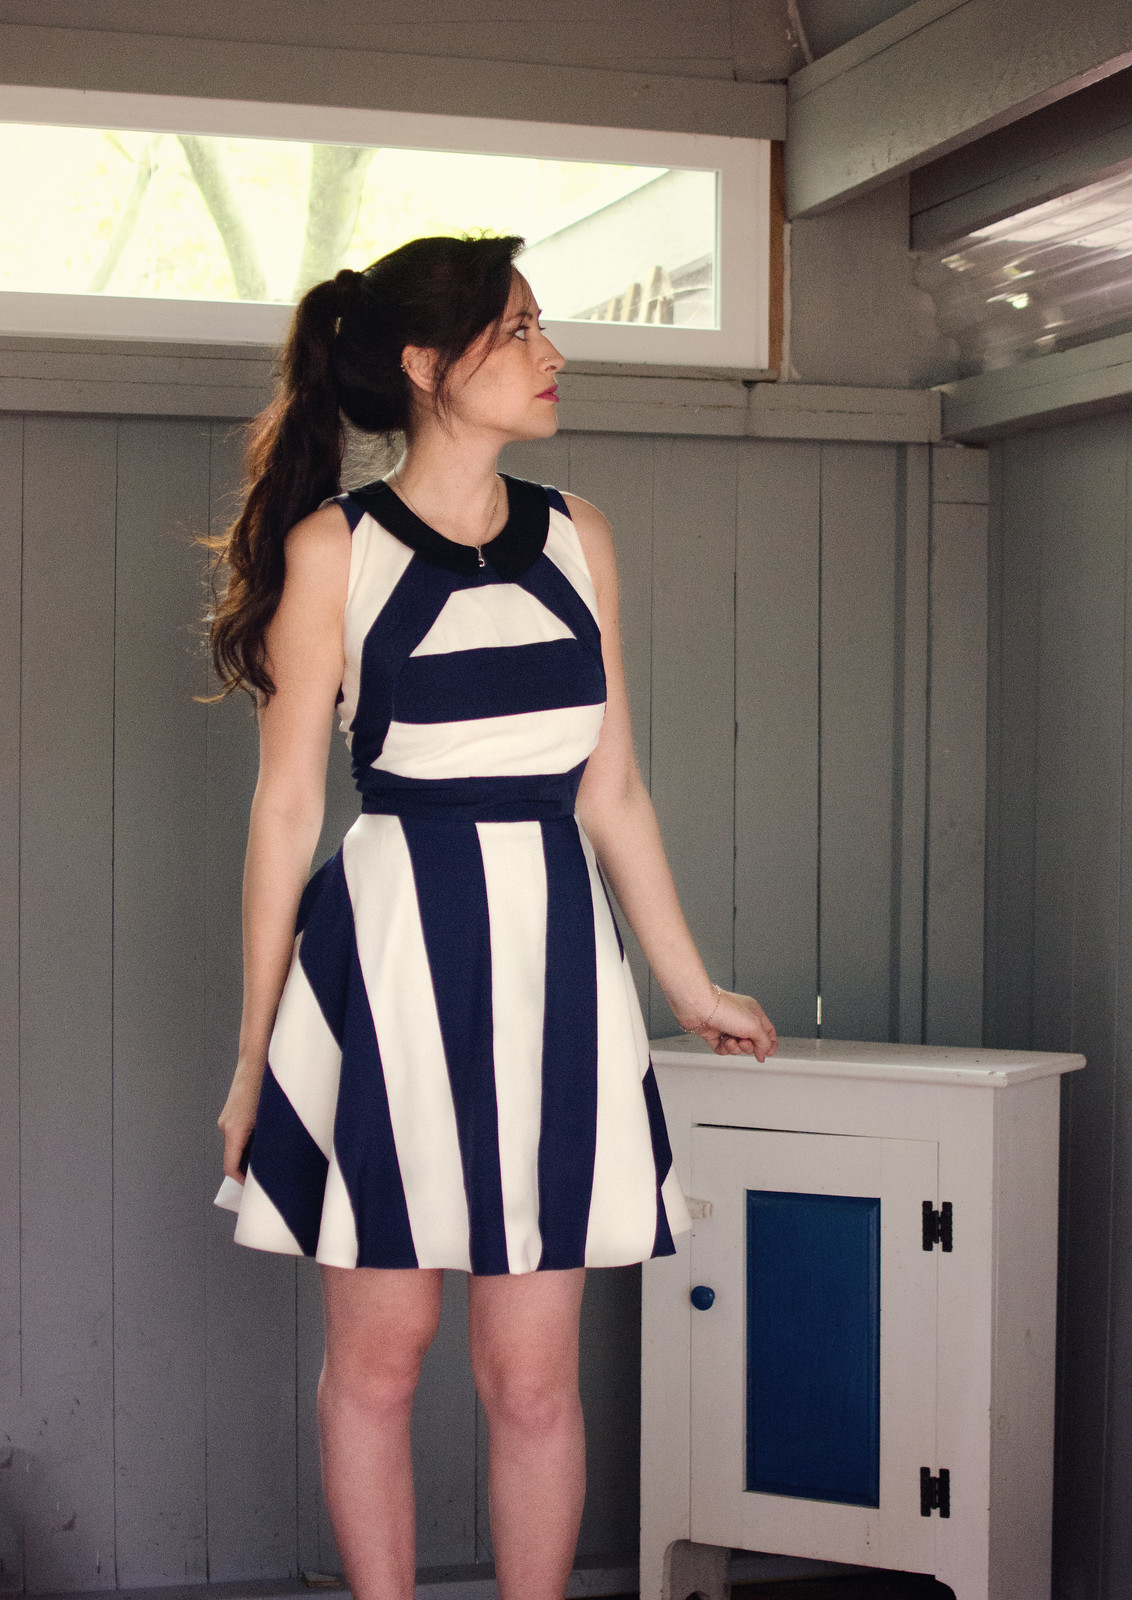
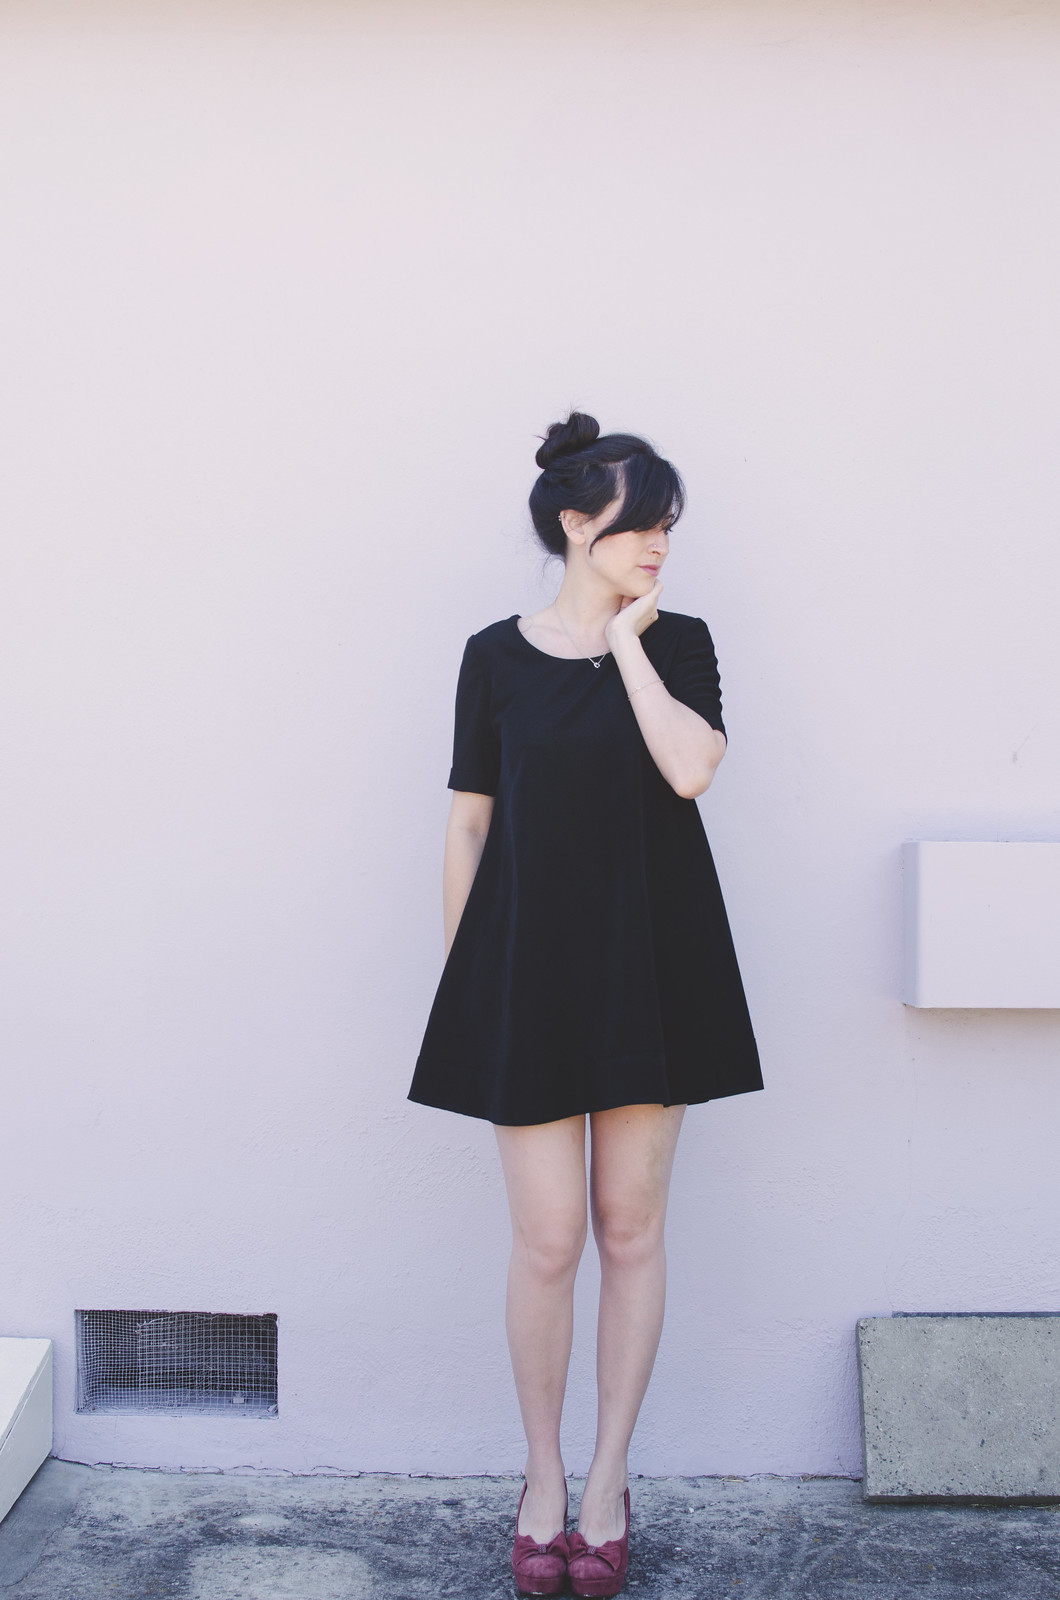
Anyway, no joke guys, this is officially my Indian lunch buffet/all-you-can-eat-sushi/Thanksgiving dress. Next I want to make one out of something a little drapier with no sleeves and cutaway armholes. And one out of linen. And one with double the amount of flare and made in chiffon, possibly with three layers. (Imightbecrazy.)
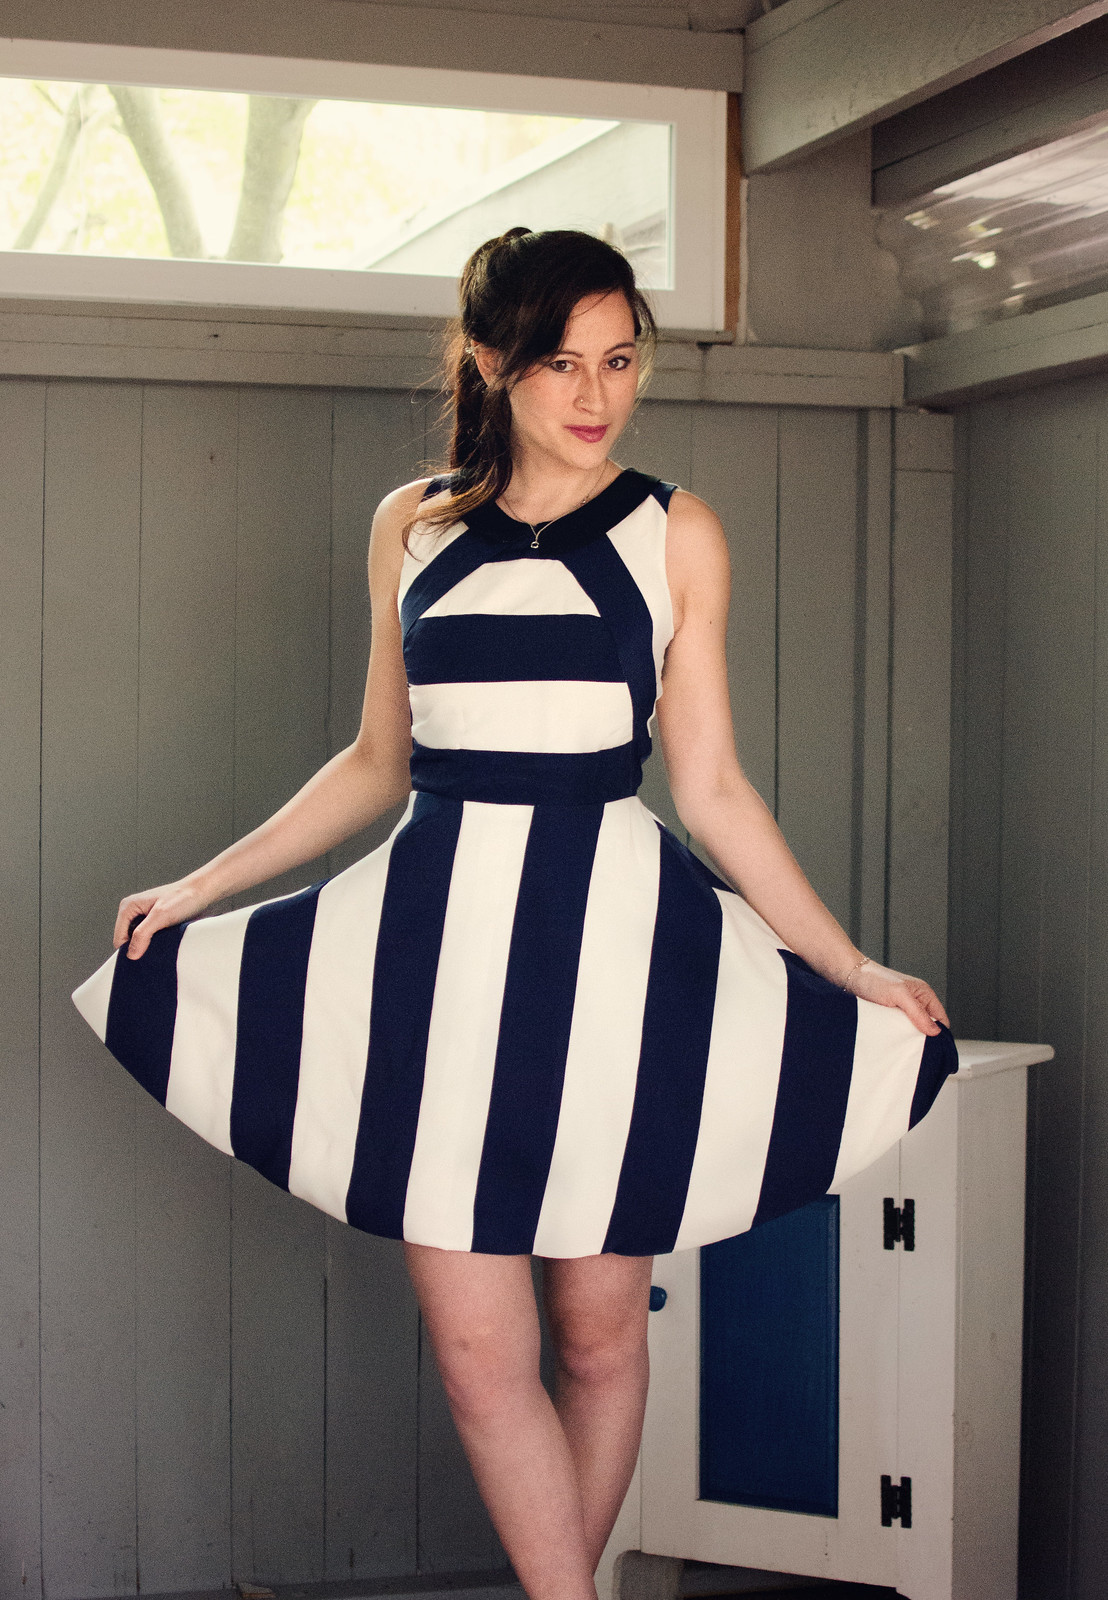
*Ignore the weird attempt at photoshopping out the giant bruise on my leg. I was mauled by two adorable puppies who were very excited to see me.
**I still haven’t heard from Leigh-Anne about receiving the Mood giveaway prize! If you could shoot me an email by Sunday, that’d be great! After that I’ll be randomly selecting an alternate winner. Thanks! :]