Category Archives: sewing

adventures in patterndrafting // mystery fabric contest 2017

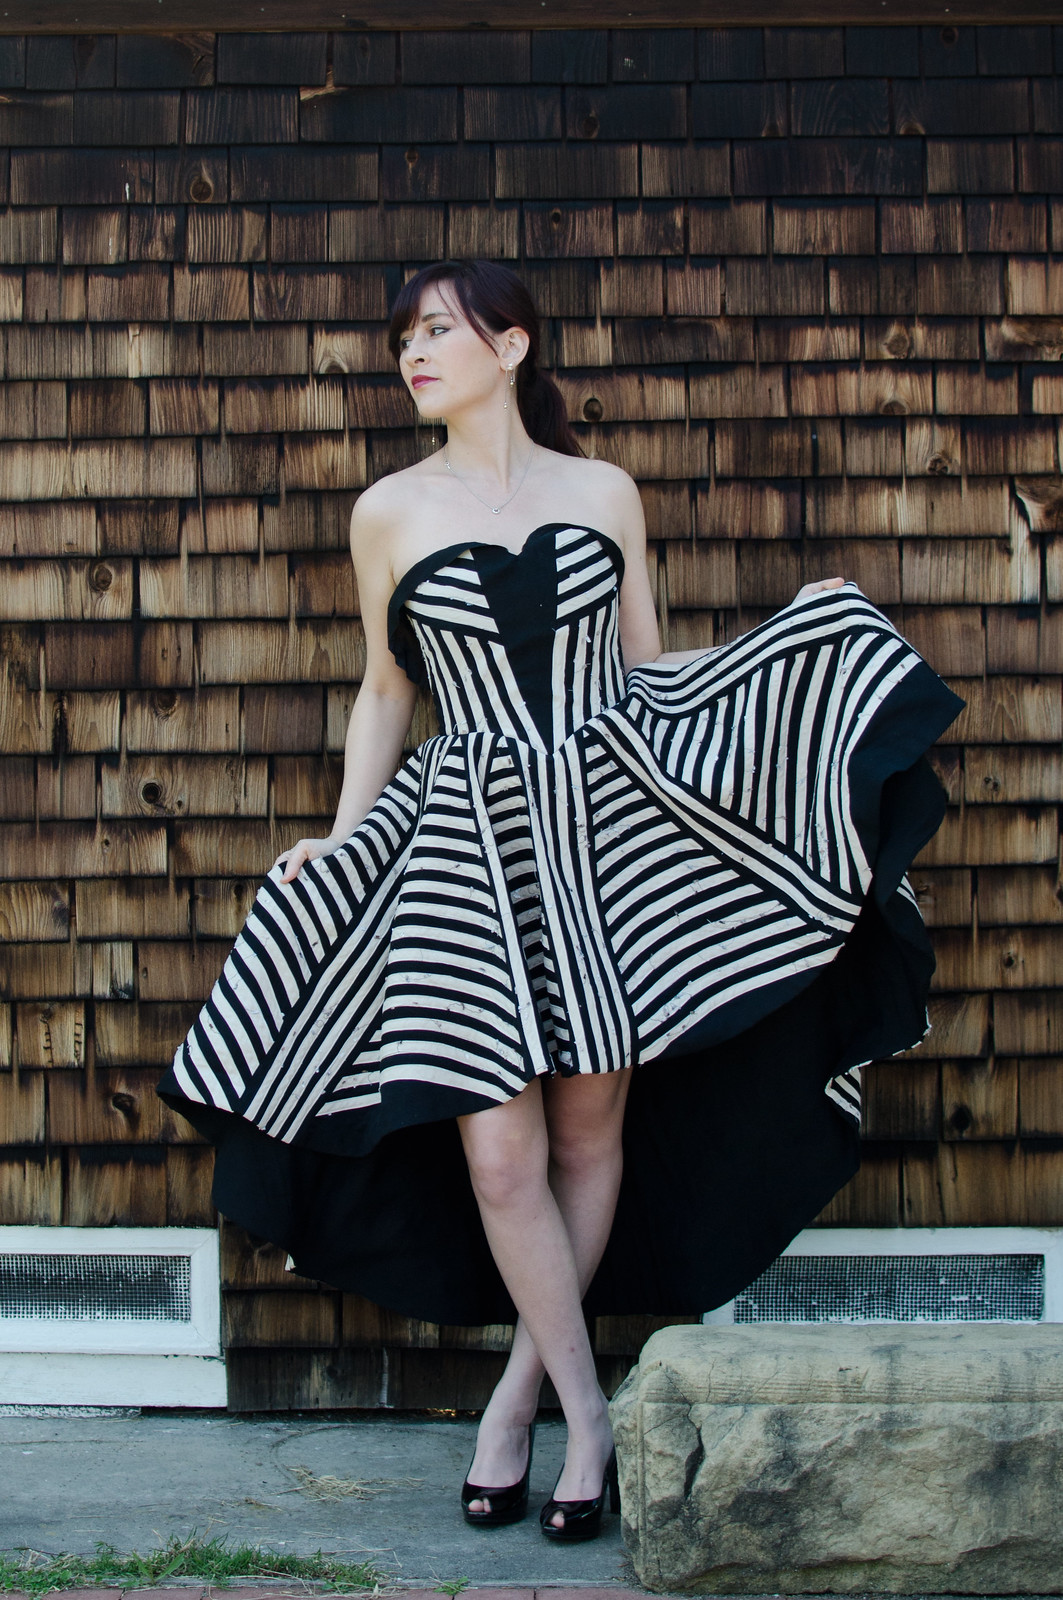
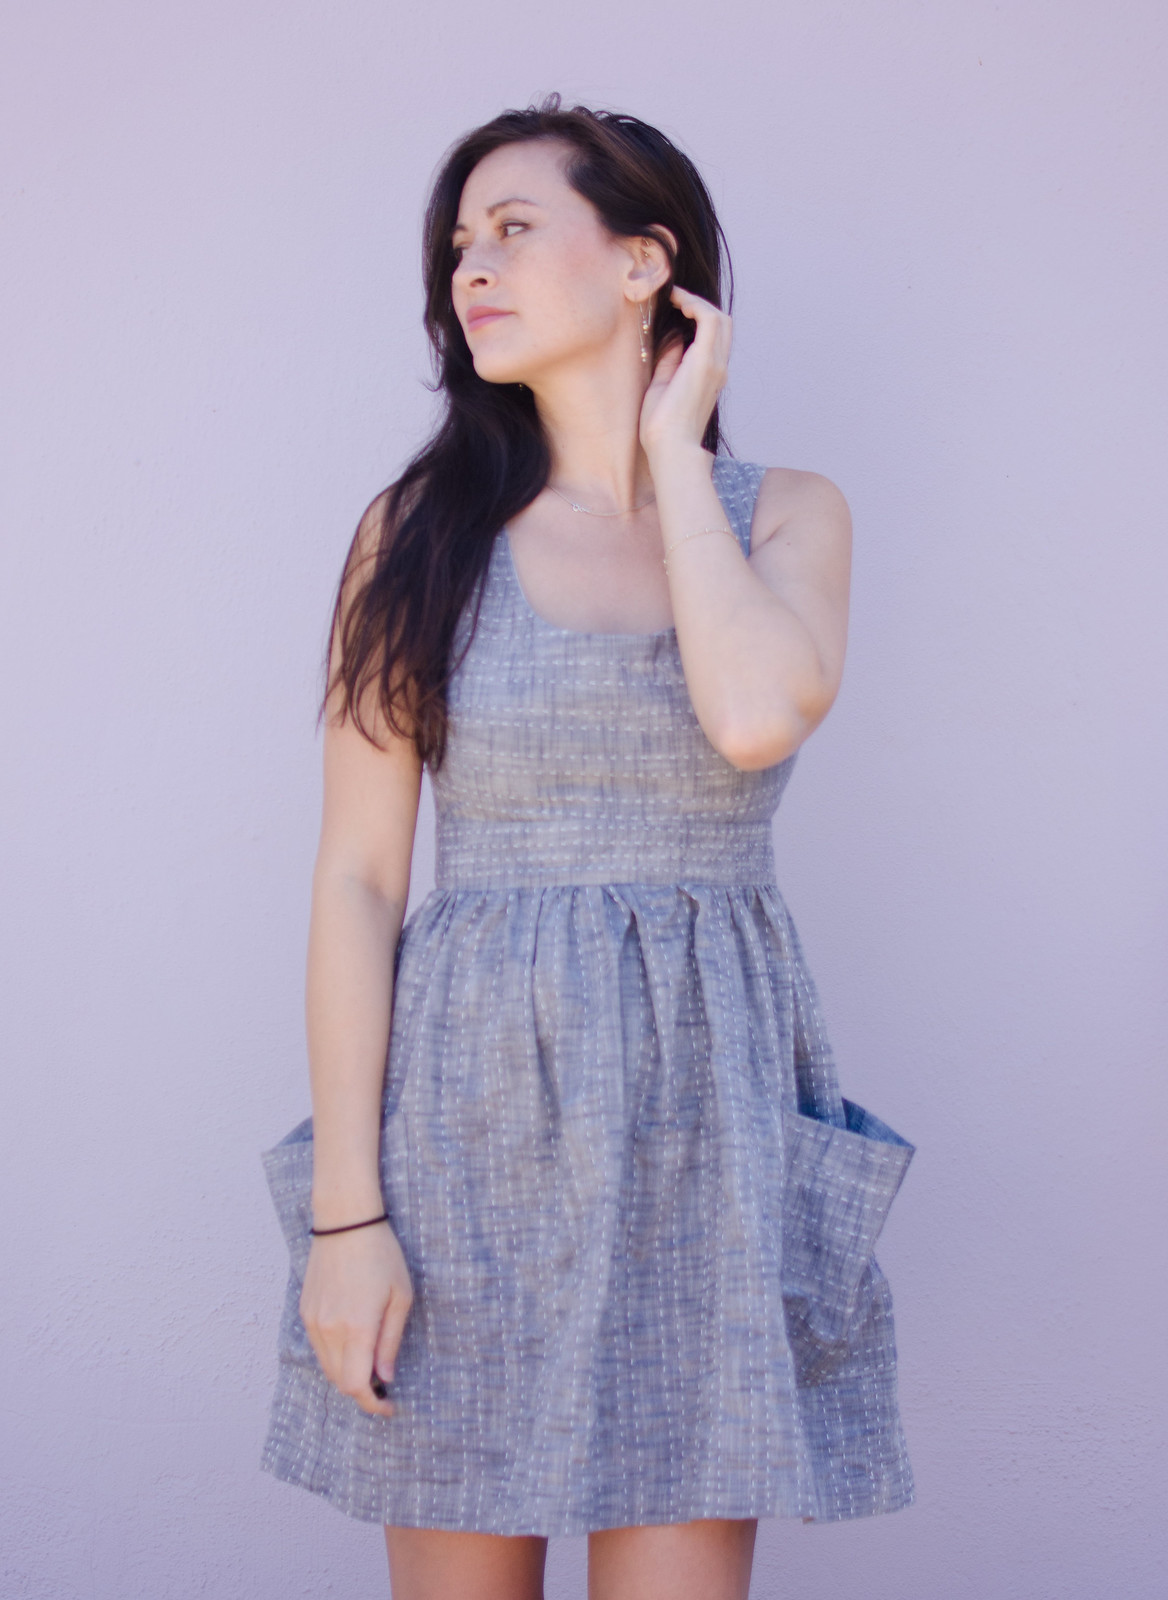
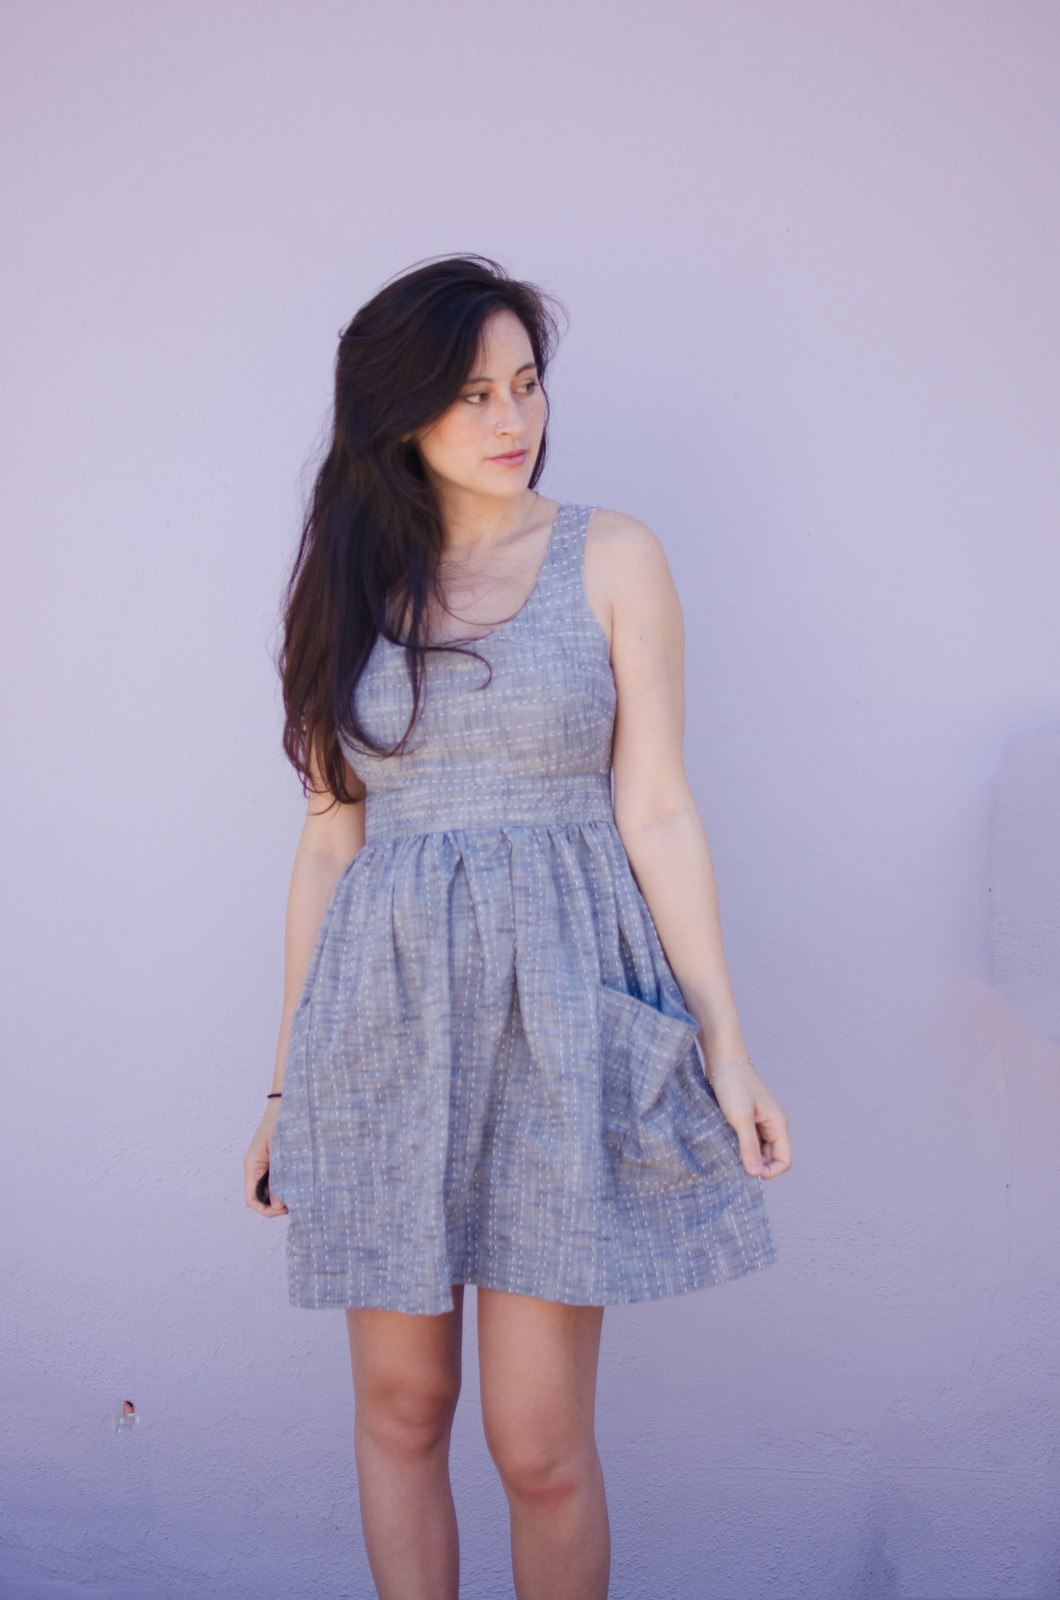
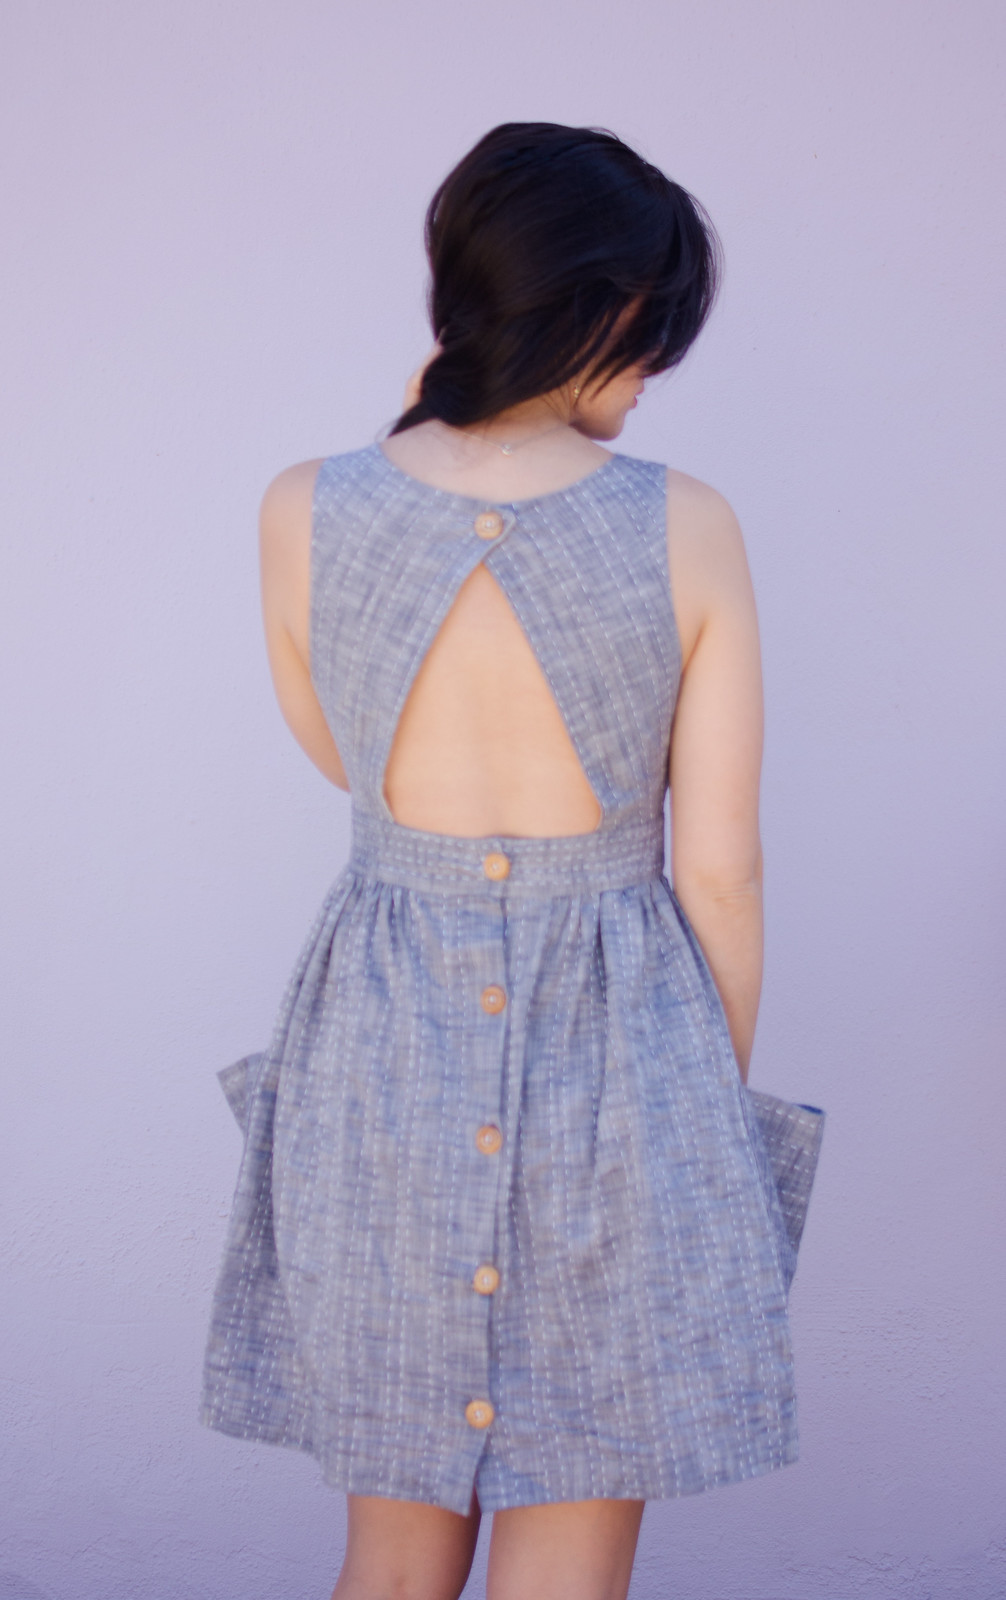
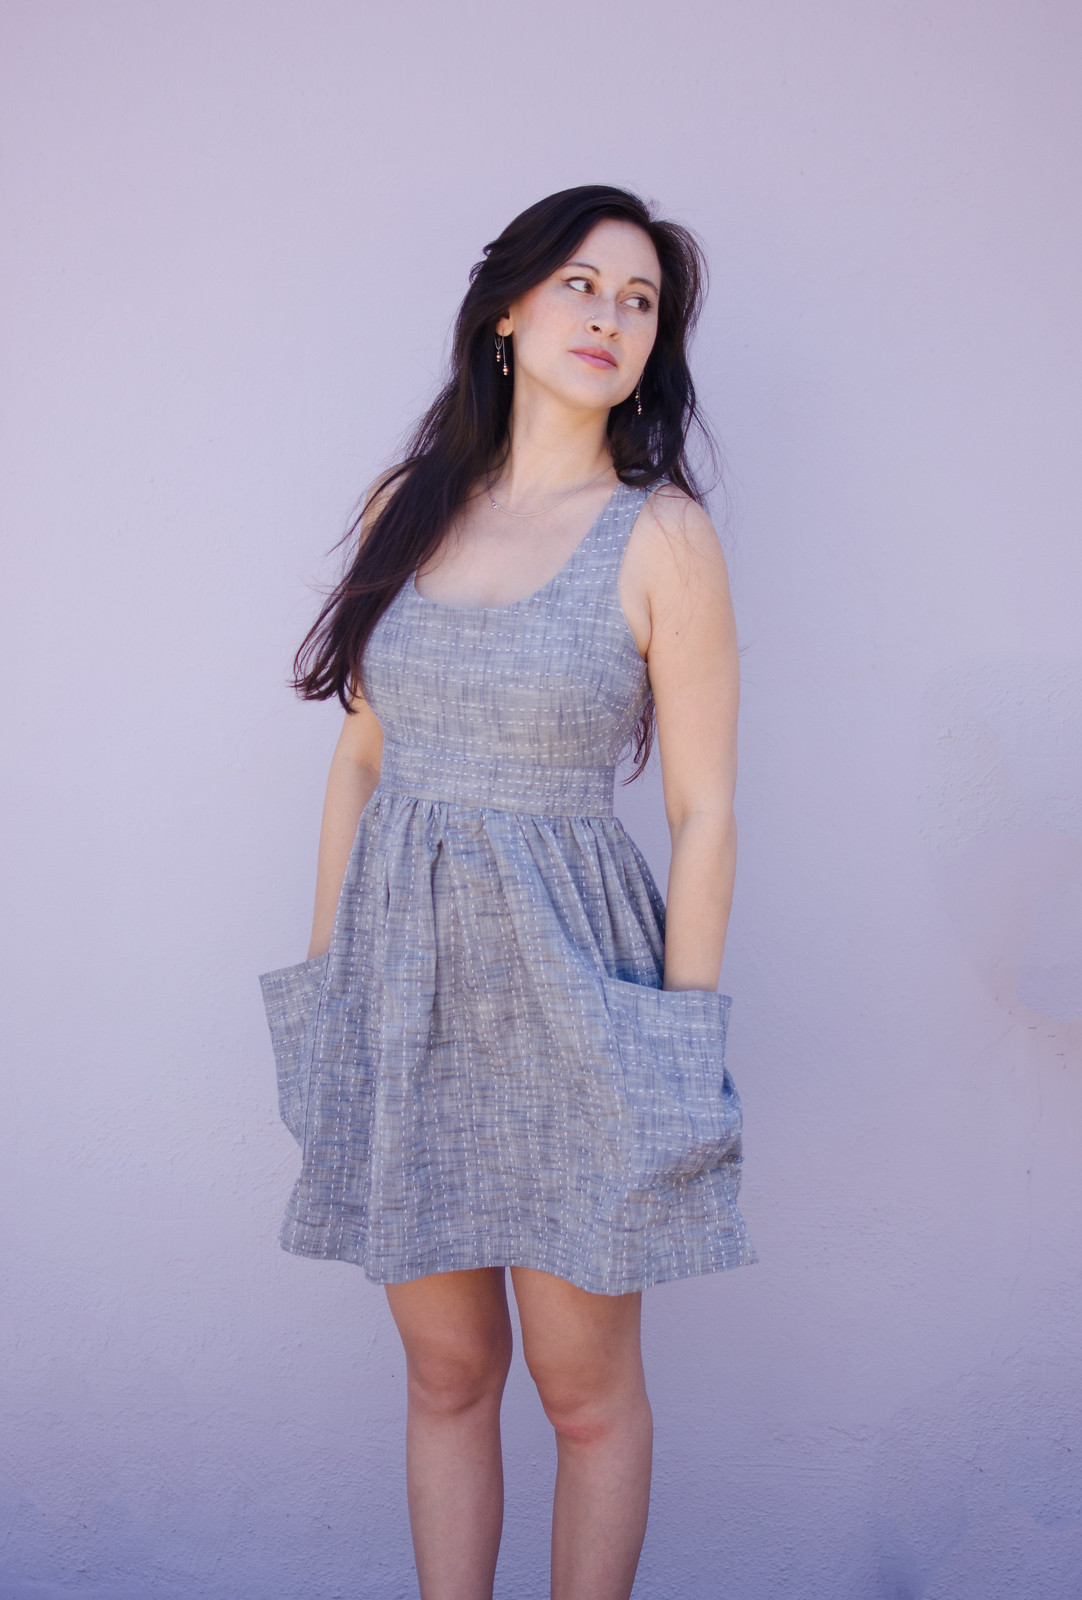
Mystery Fabric Contest dress 2017

This dress was kind of a beast. It was unwieldy and not very nice at times. It also kind of had a mind of its own but I mostly managed to wrangle it into submission with a lot of hand-stitching.

But let’s start at the beginning.

MFC dress 2017 progress

I had two main sources of inspiration for this one: Claire Danes’ Met Gala dress from 2016 and the Iron Work dress by House of Worth. (Or technically the Redthreaded version because that’s what popped up on my instagram feed and cued heart eyes because holy crap.)

I knew I wanted to do something completely different from last year, so my sister expressly forbade me from doing 3D flowers to use up the uglier fabrics. And then lots of people last year kept saying they took their ugliest fabrics and made them into bias tape for binding seams on the inside. For some reason my brain took that and ran with it and I decided that no matter what fabric I got, I would turn it into bias tape and cover the dress with it.
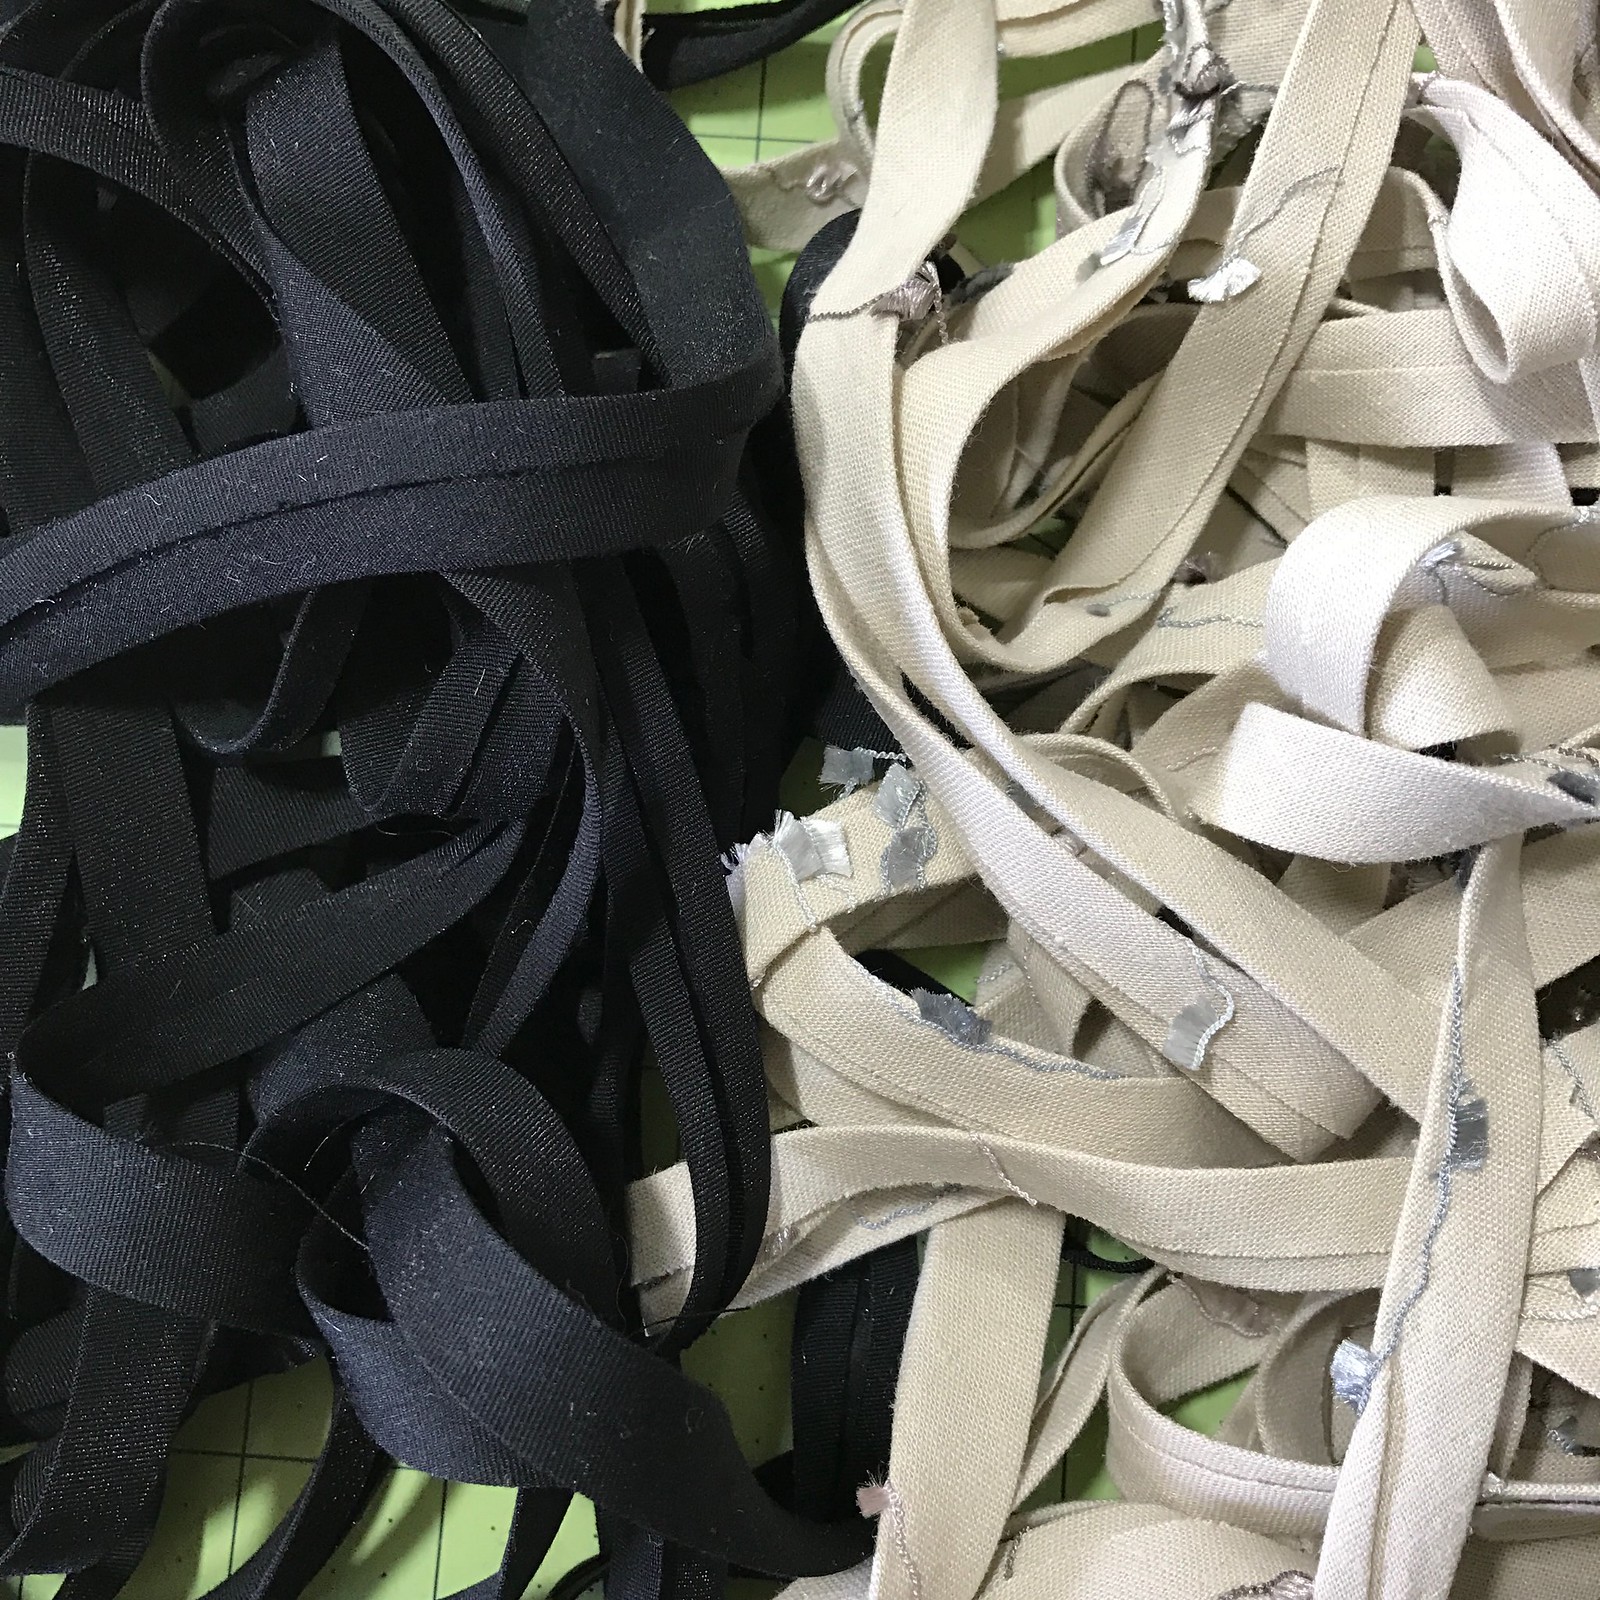
MFC dress 2017 progressI never want to look at bias tape again.

I chose a blue bundle because I thought it would be fun to do something a little more colorful. Except “blue” really meant “beige with blue accents” and the one fabric I got a large-ish (2.5 yards) piece of looked almost exactly like my dress from last year (the one on the far left).

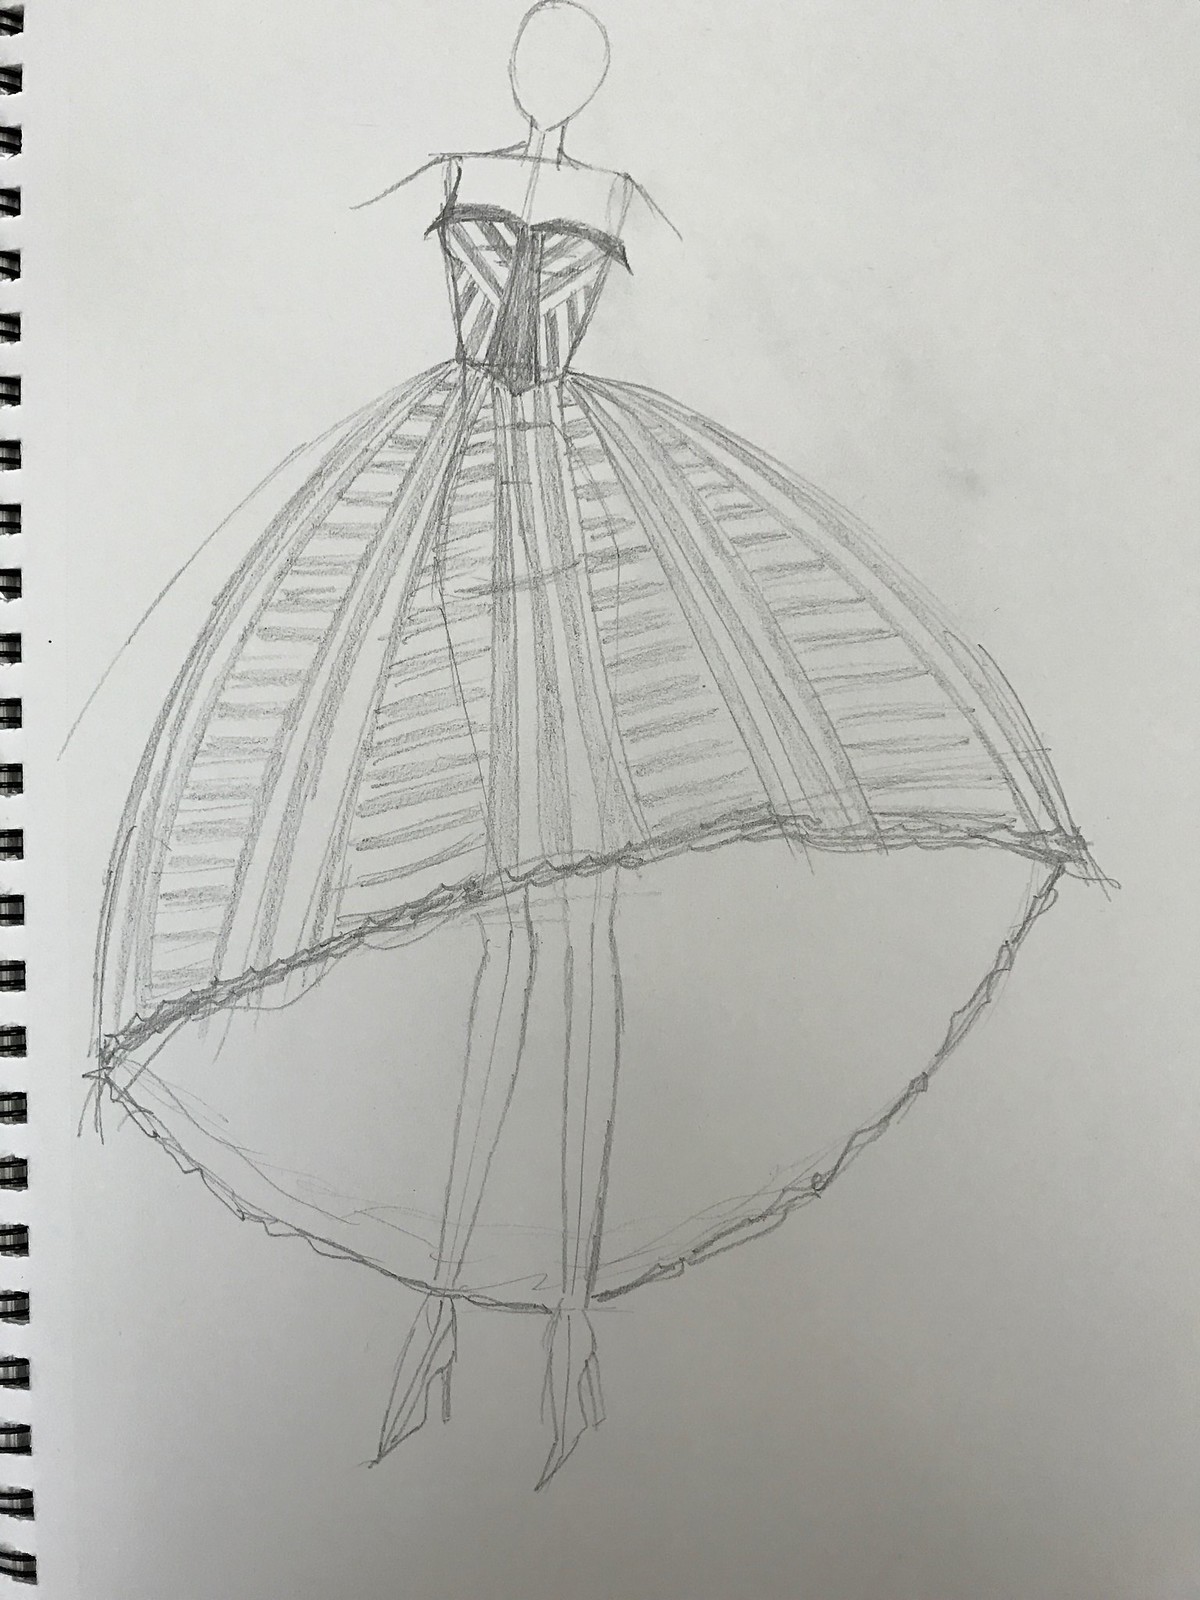
I started doing some sketching about stripe directions and what not, and somewhere along the line my brain also decided this dress needed to also be reversible. I kept looking at Oscars dresses and all of my favorites were solid colors, so I decided that I’d make a plain black side as the actual Oscars dress, and the striped side would be like the after-party dress. Repurposing ftw.

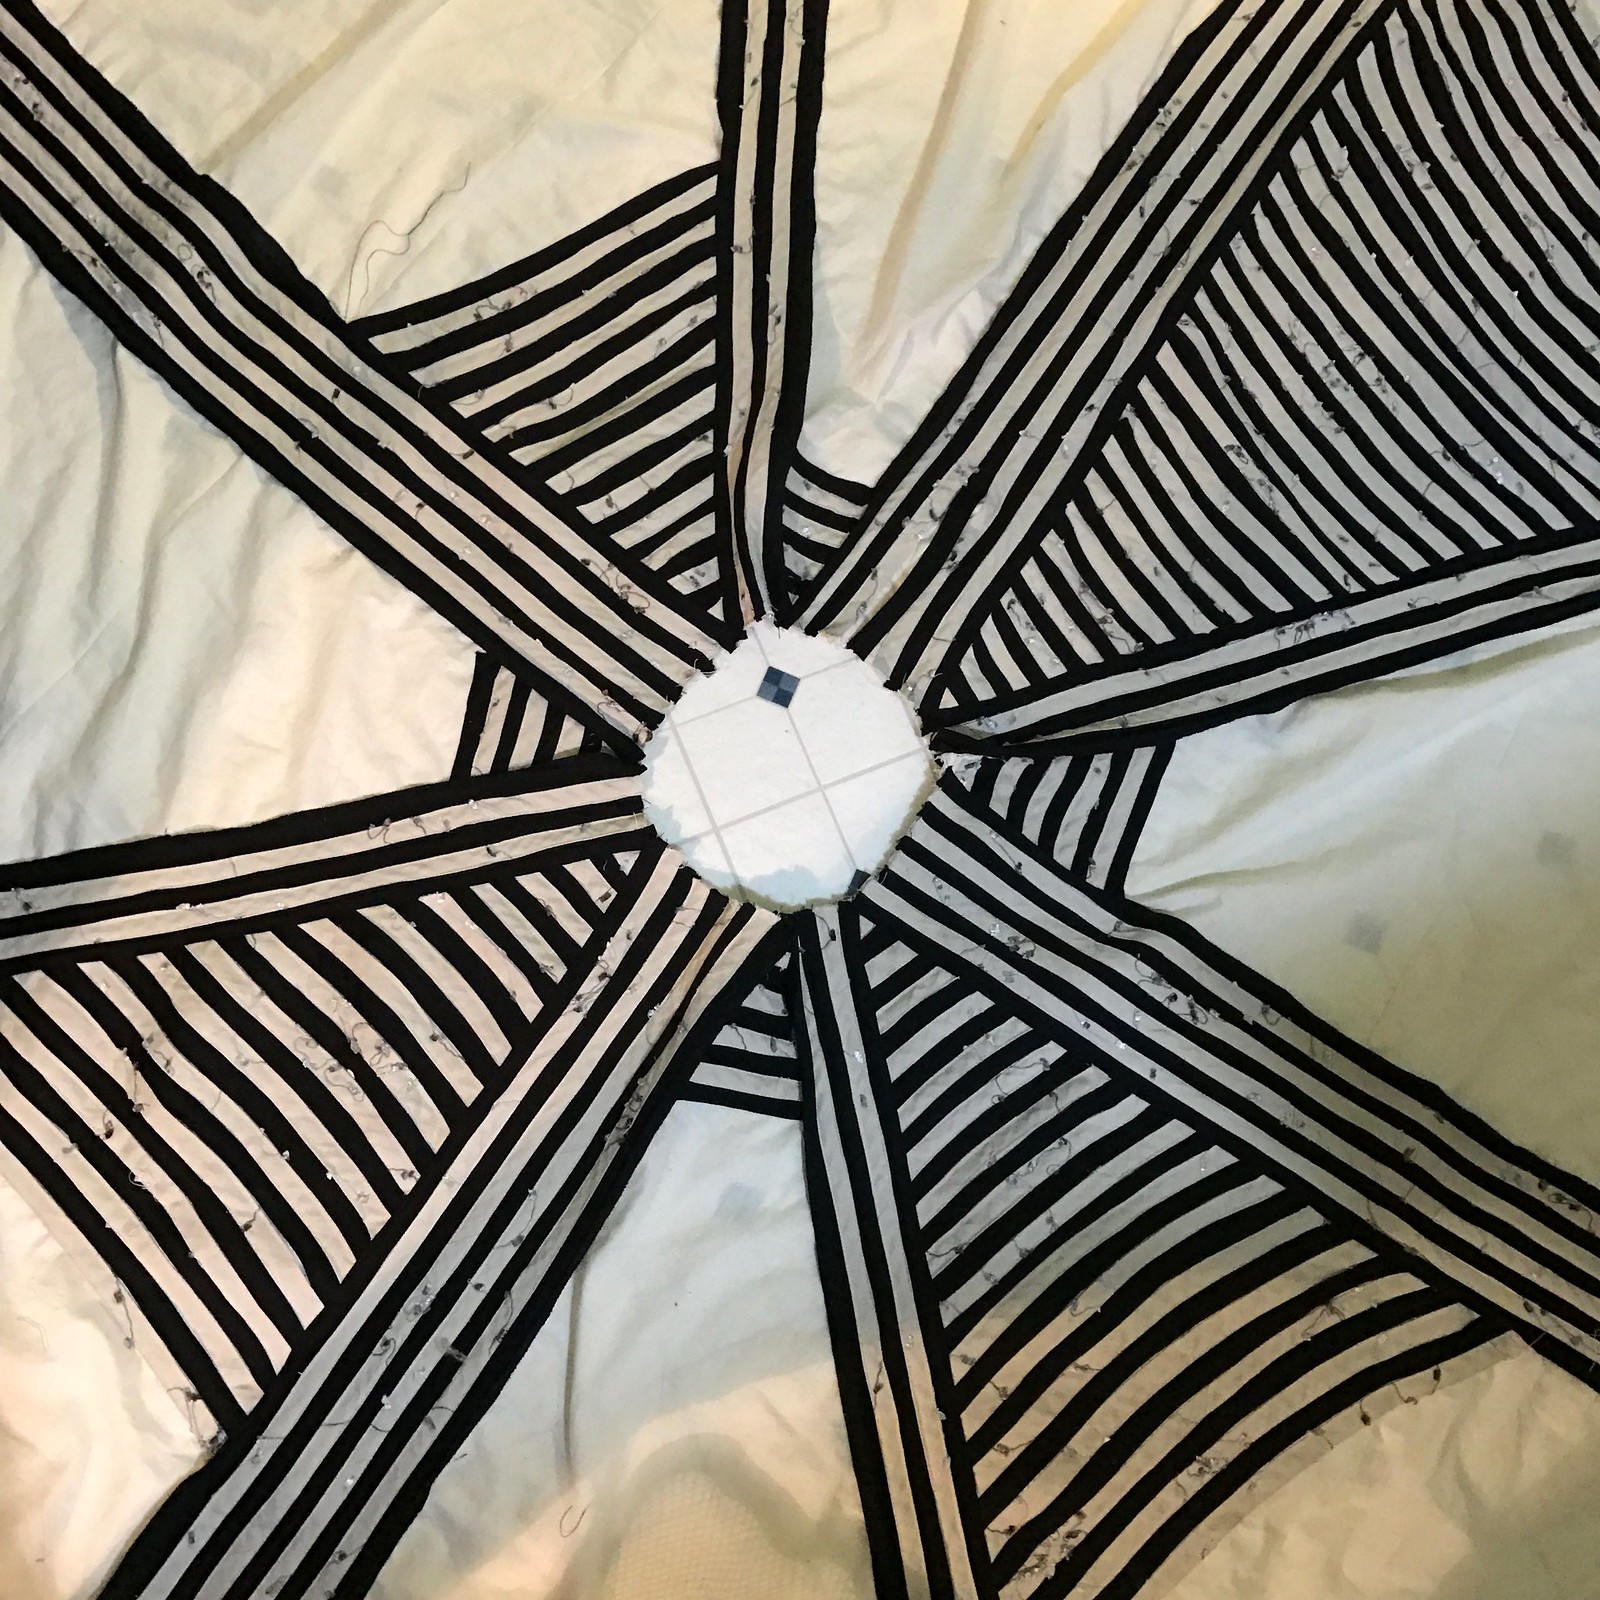
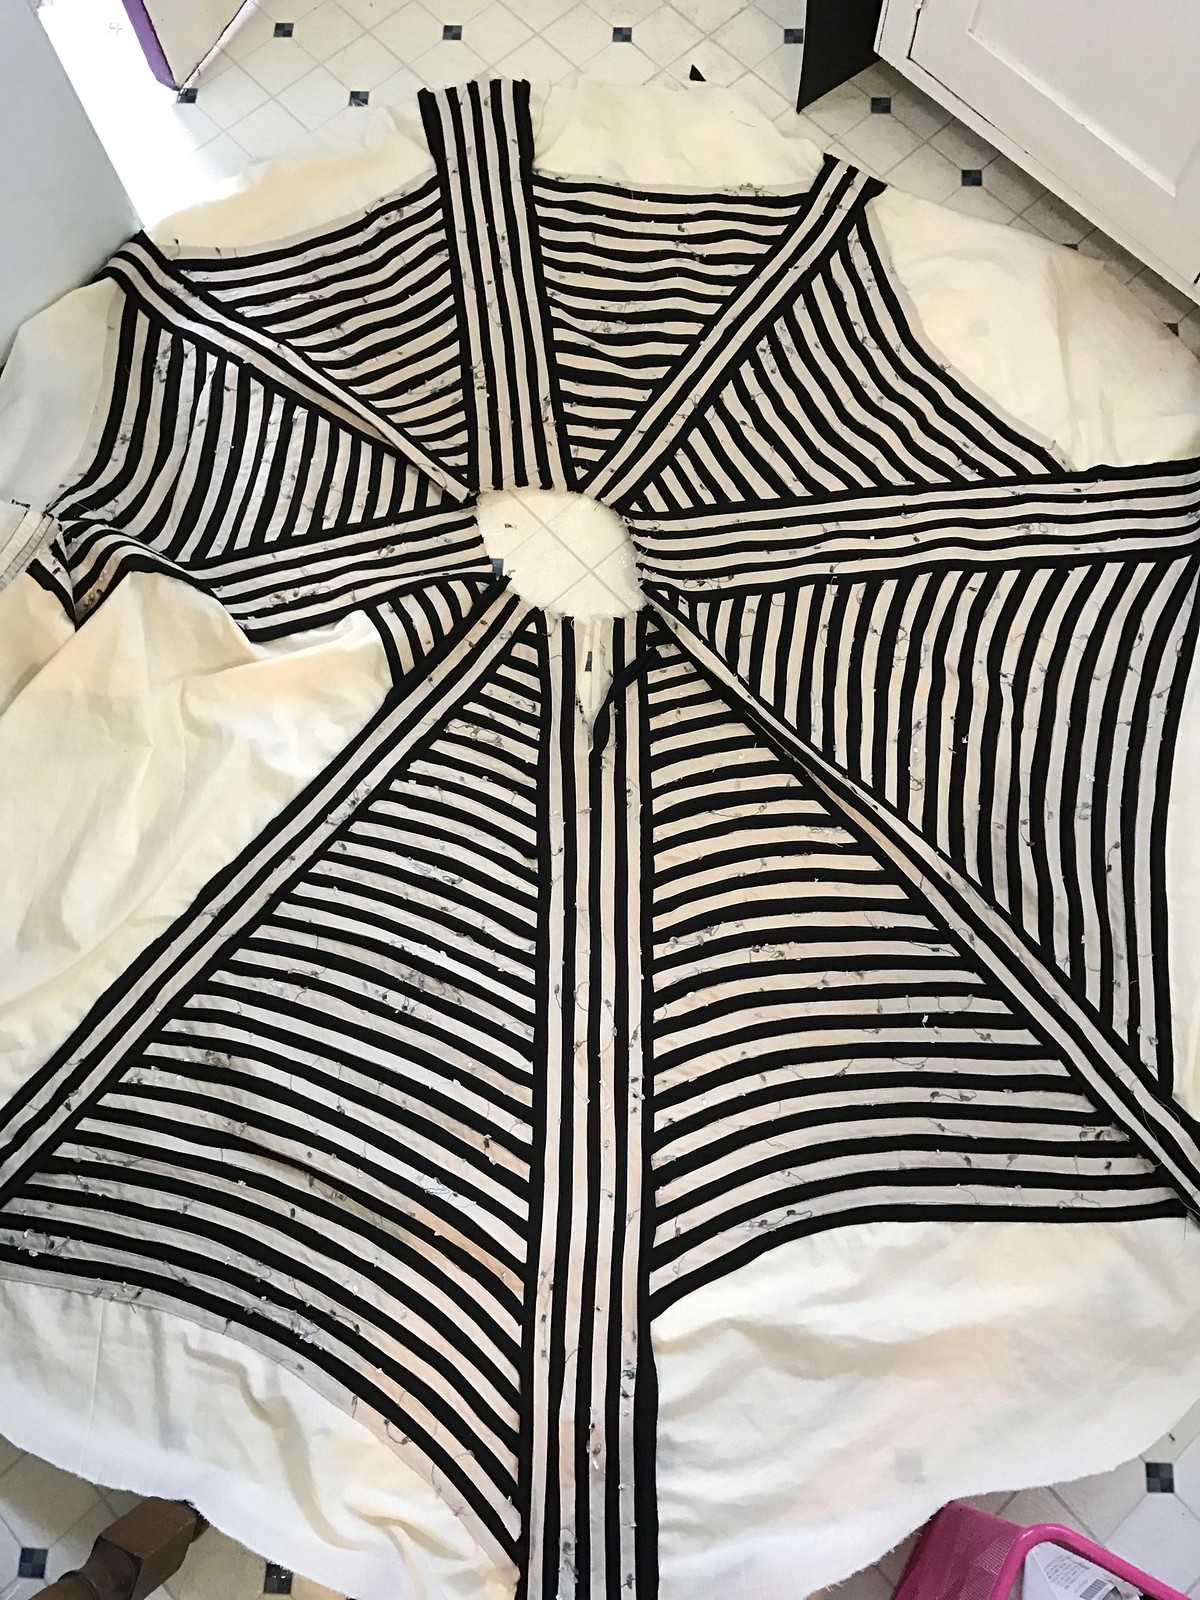
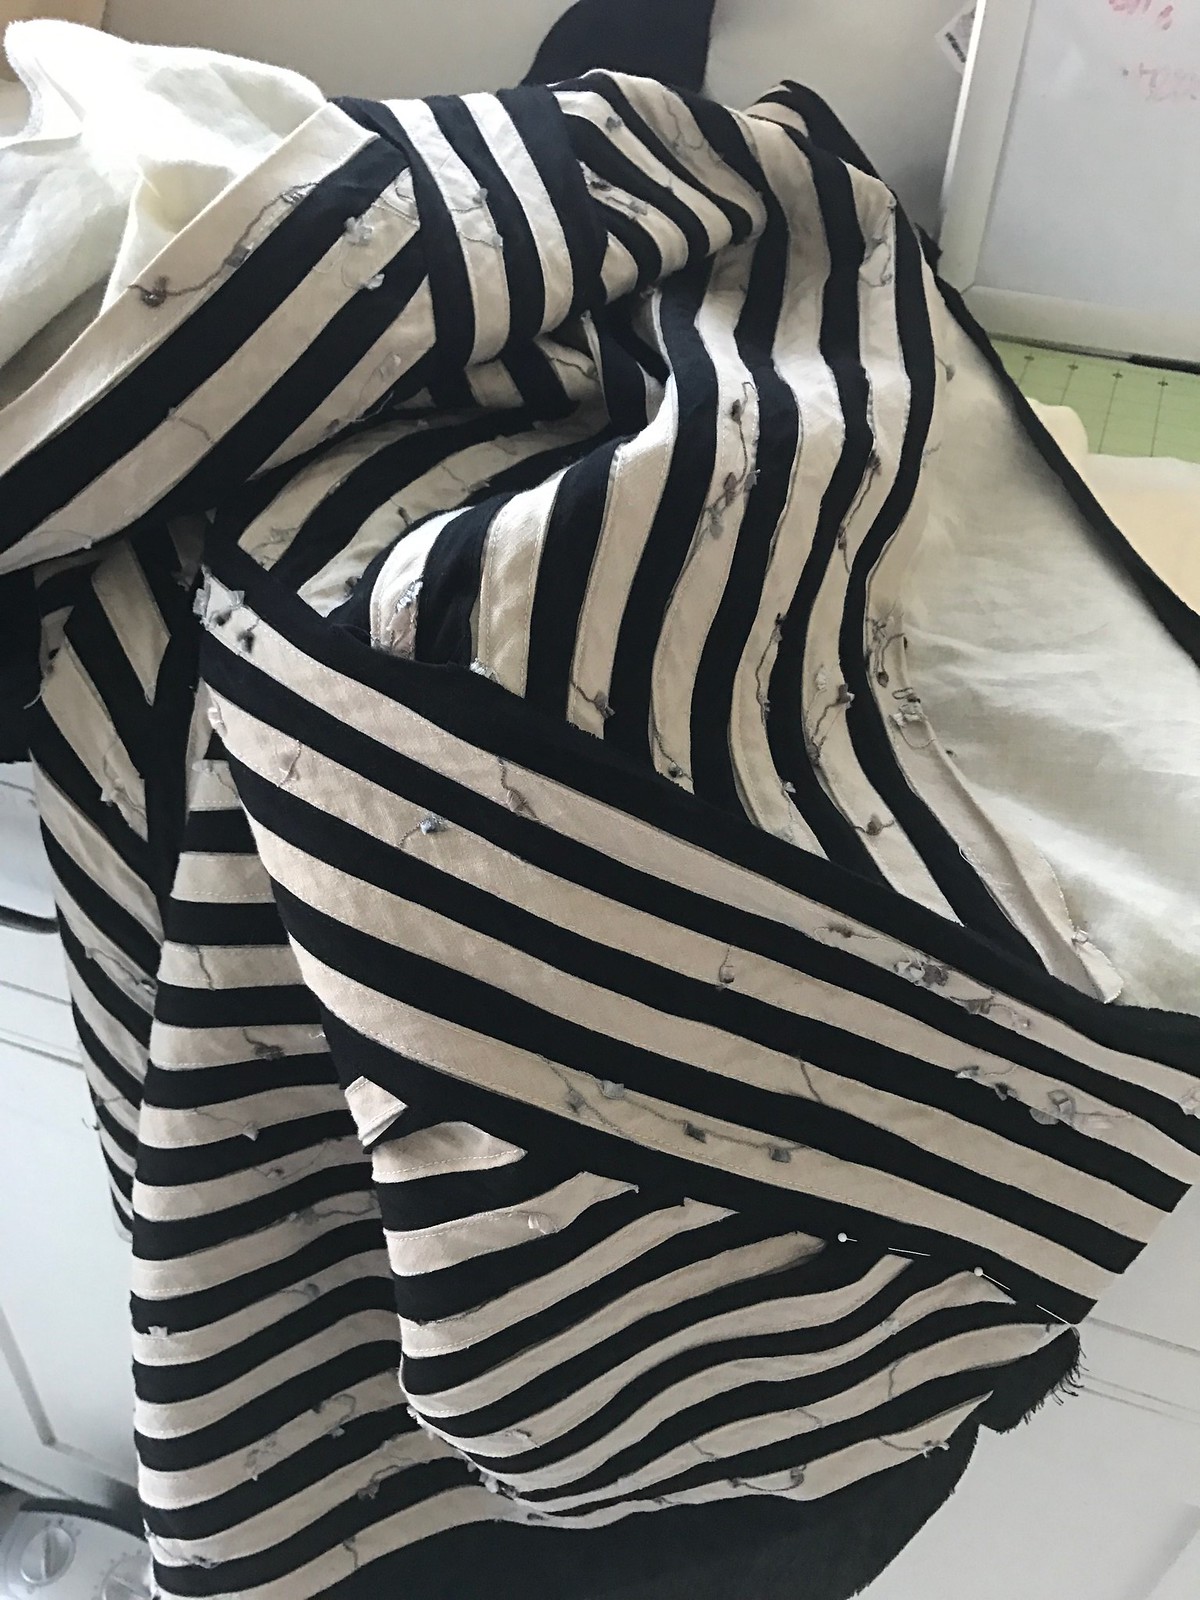
I started with a muslin high-low circle skirt, which I divided into quadrants. I sewed a cluster of 9 stripes straight down the front, sides, and back. Then I drew diagonal lines and sewed a 5 stripe cluster down the four diagonals. Then it was just filling in the horizontal stripes.

Two issues came up here:

Issue #1) I could NOT get the bias tape to stay straight. It kept wanting to curve. I decided to just go with it and in the end you can’t really tell, and it actually looks kind of cool in a Mat Hatter-y sort of way.

MFC dress 2017 progress

At this point I was sewing on a few stripes of the same color, switching thread colors, and then sewing a few of the other color before switching back. Killmenow.

MFC dress 2017 progressSpiderweb?

Then I decided to just suck it up and use my sick Bernina even though the timing is off and she skips stitches sometimes. I should really take that in to get fixed.

Issue #2) I ran out of beige fabric. There was a moment of panic but it ended up being fine; I used some of the uglier canvas fabrics covered with the black I’d purchased to make solid pieces at the bottoms. It gives the eye a place to rest and also matches the solid pieces in the bodice.
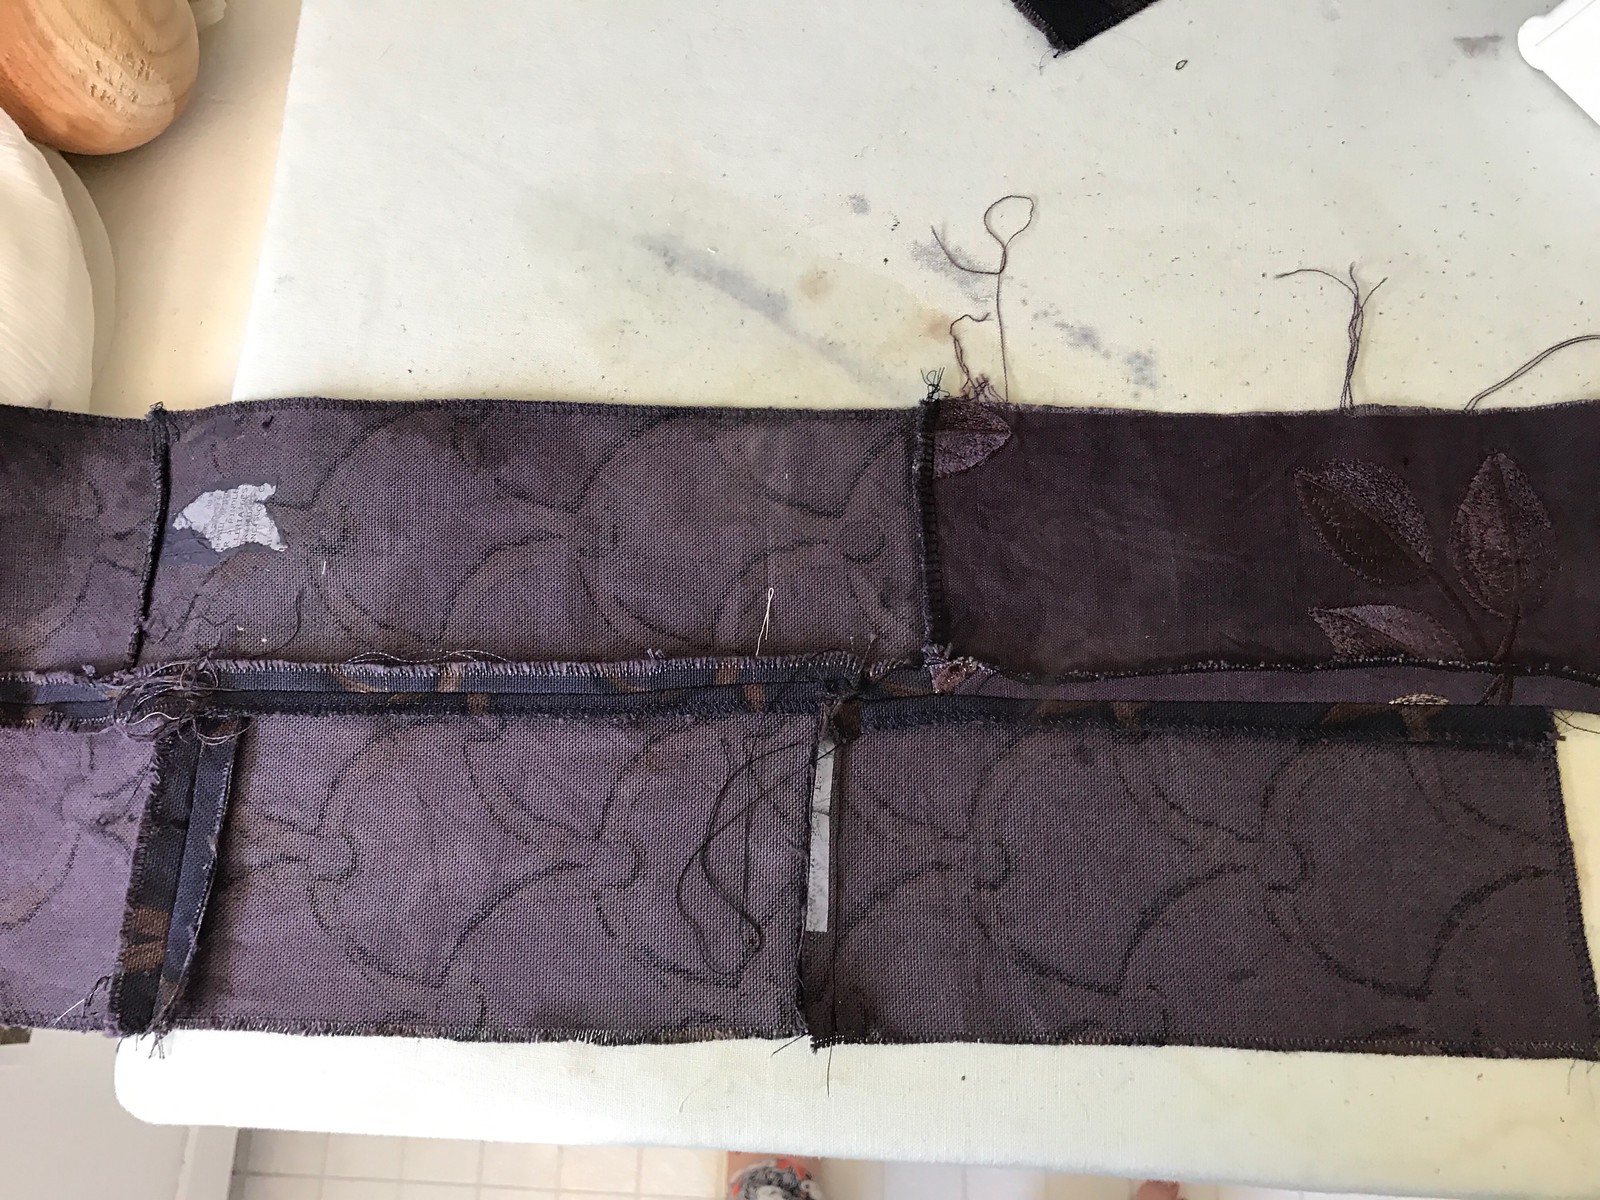
MFC dress 2017 progressUgly canvas pieces sewn together to form a piece a little larger than the “naked” area at the hem of the skirt.
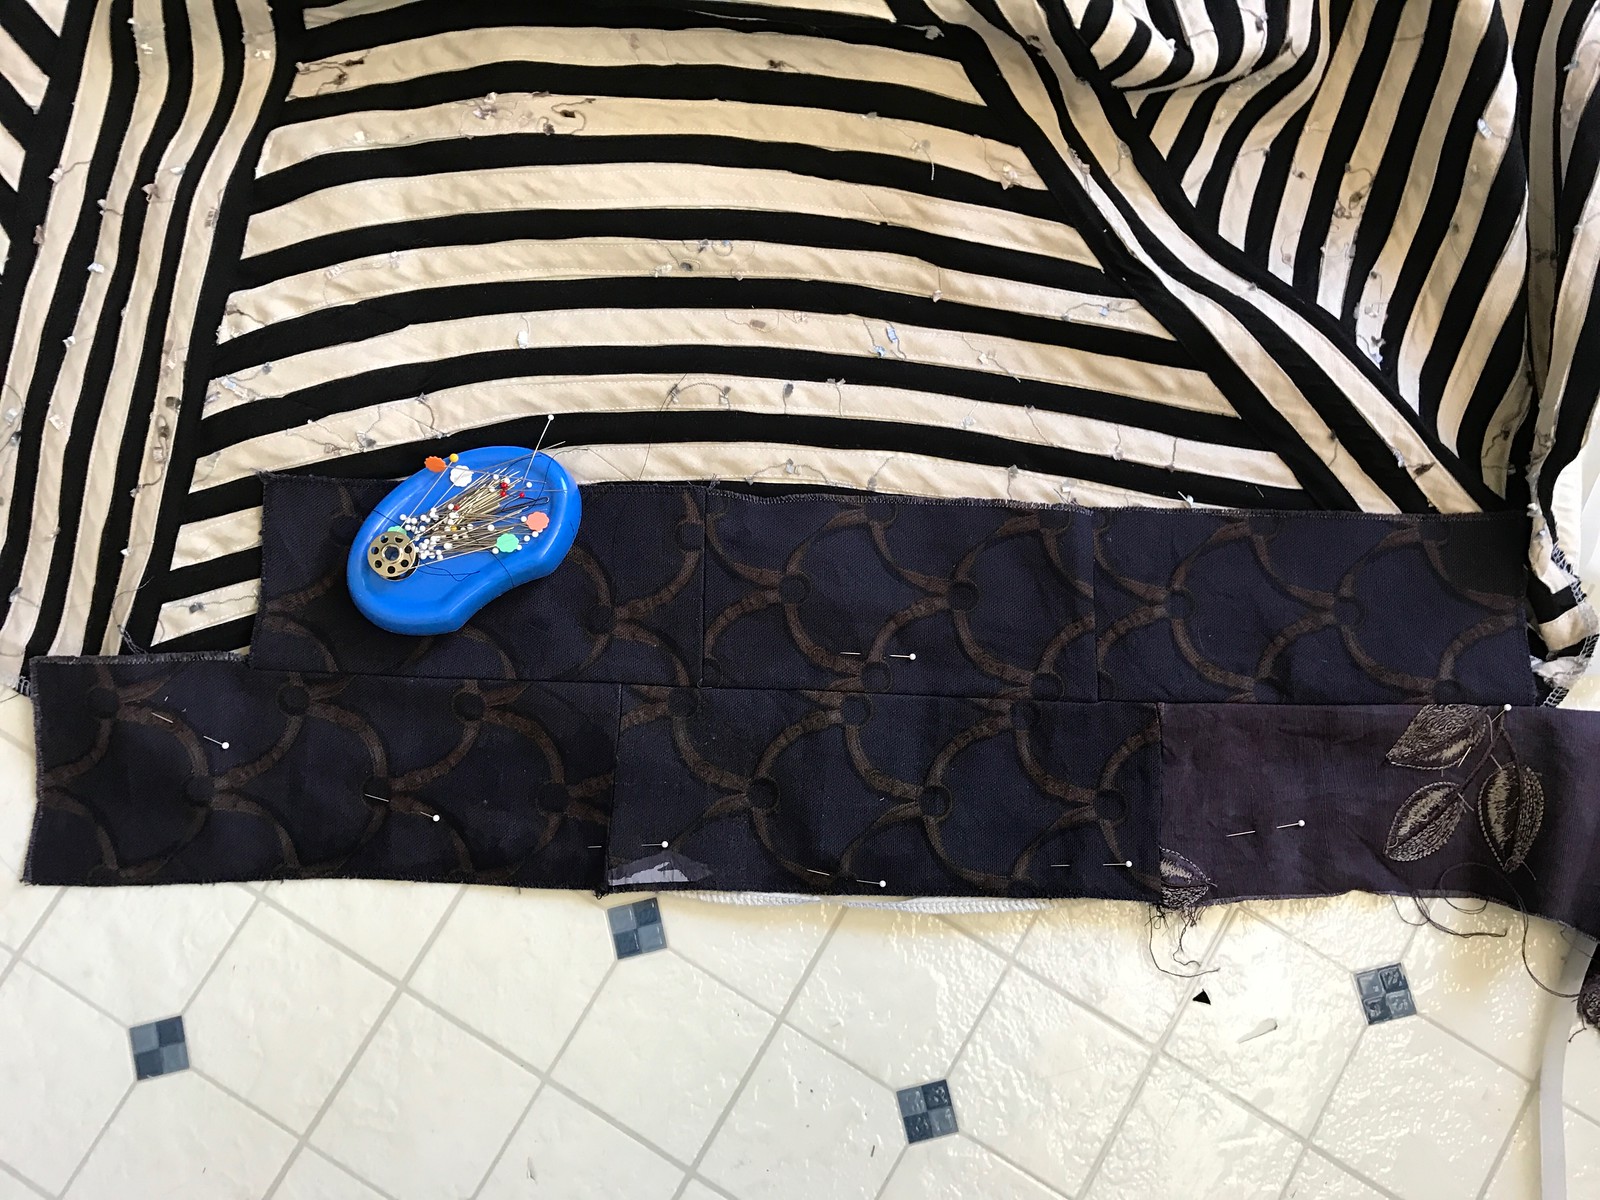
MFC dress 2017 progressPinned down so I can cut the exact shape needed.
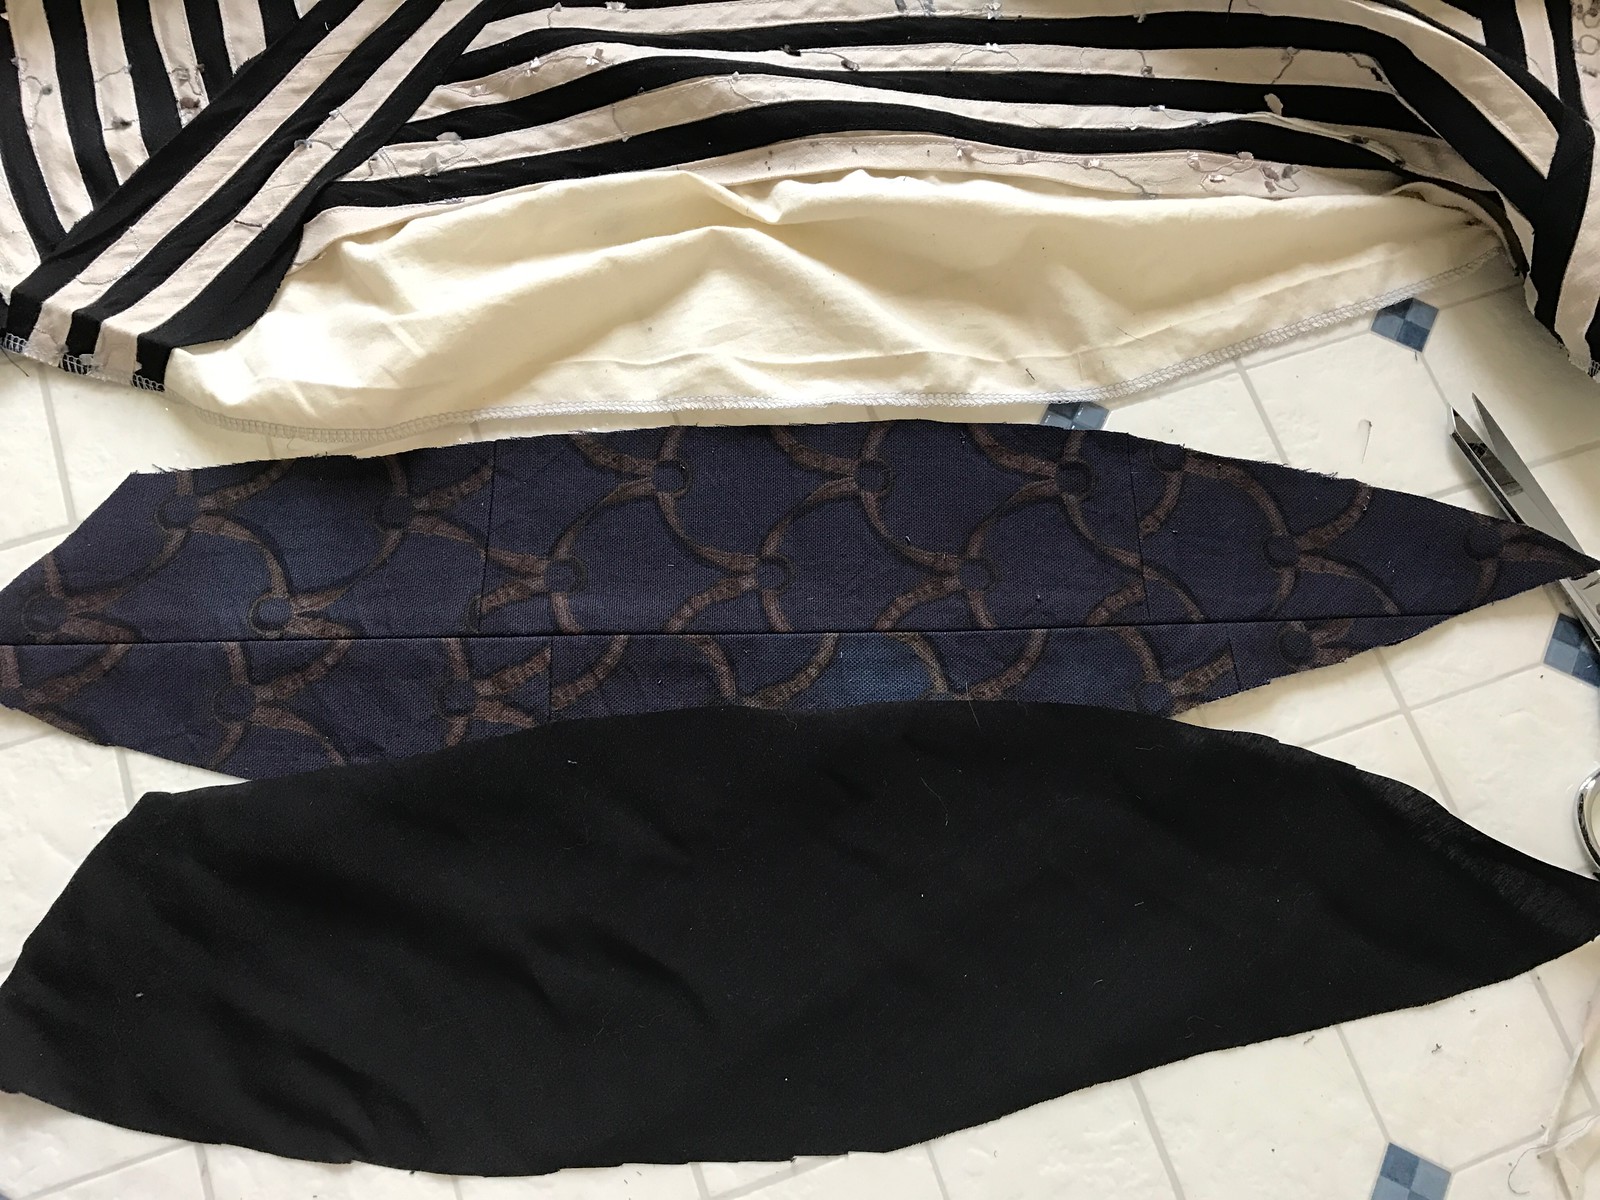
MFC dress 2017 progressA solid black piece cut out in the same shape to go on top.

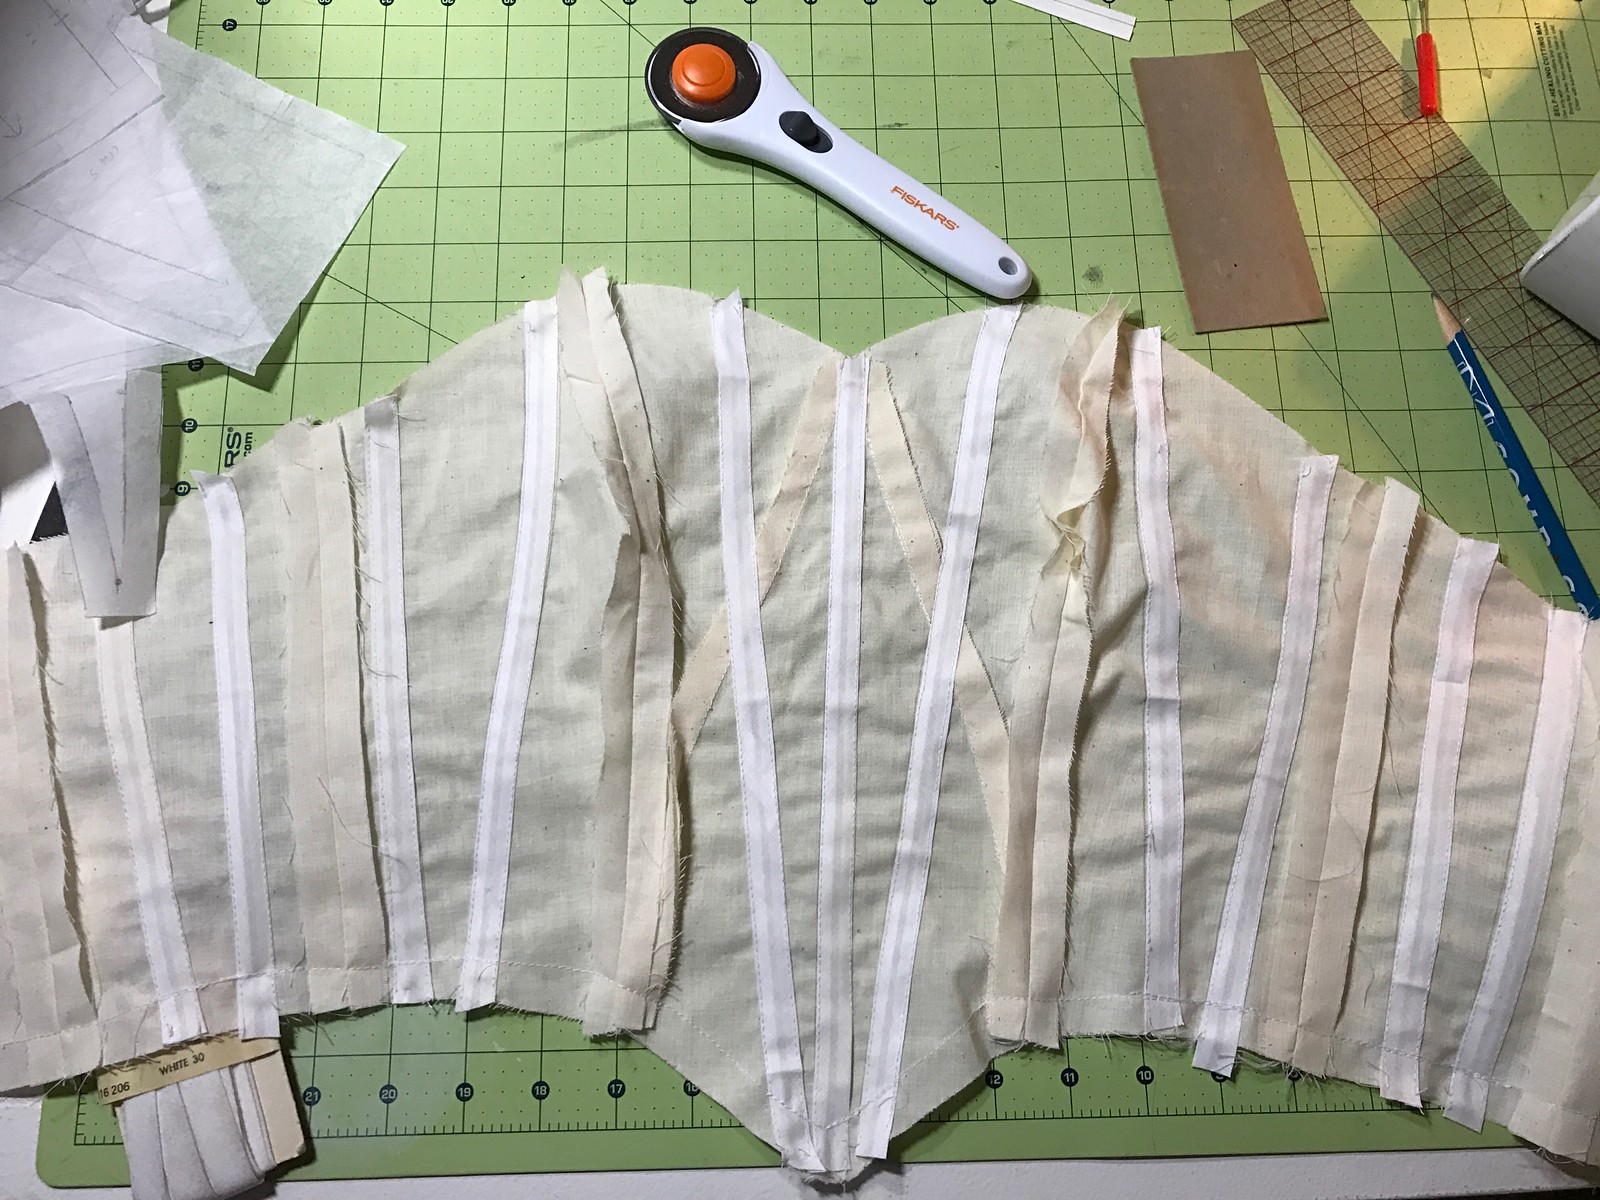
I took many breaks during this process to work on the bodice, which proved to be a different sort of challenge. I started off drafting a corsety shaped thing and played with the style lines a bit. The black side still has the Claire Danes dress lines, but it didn’t really work on the striped side.
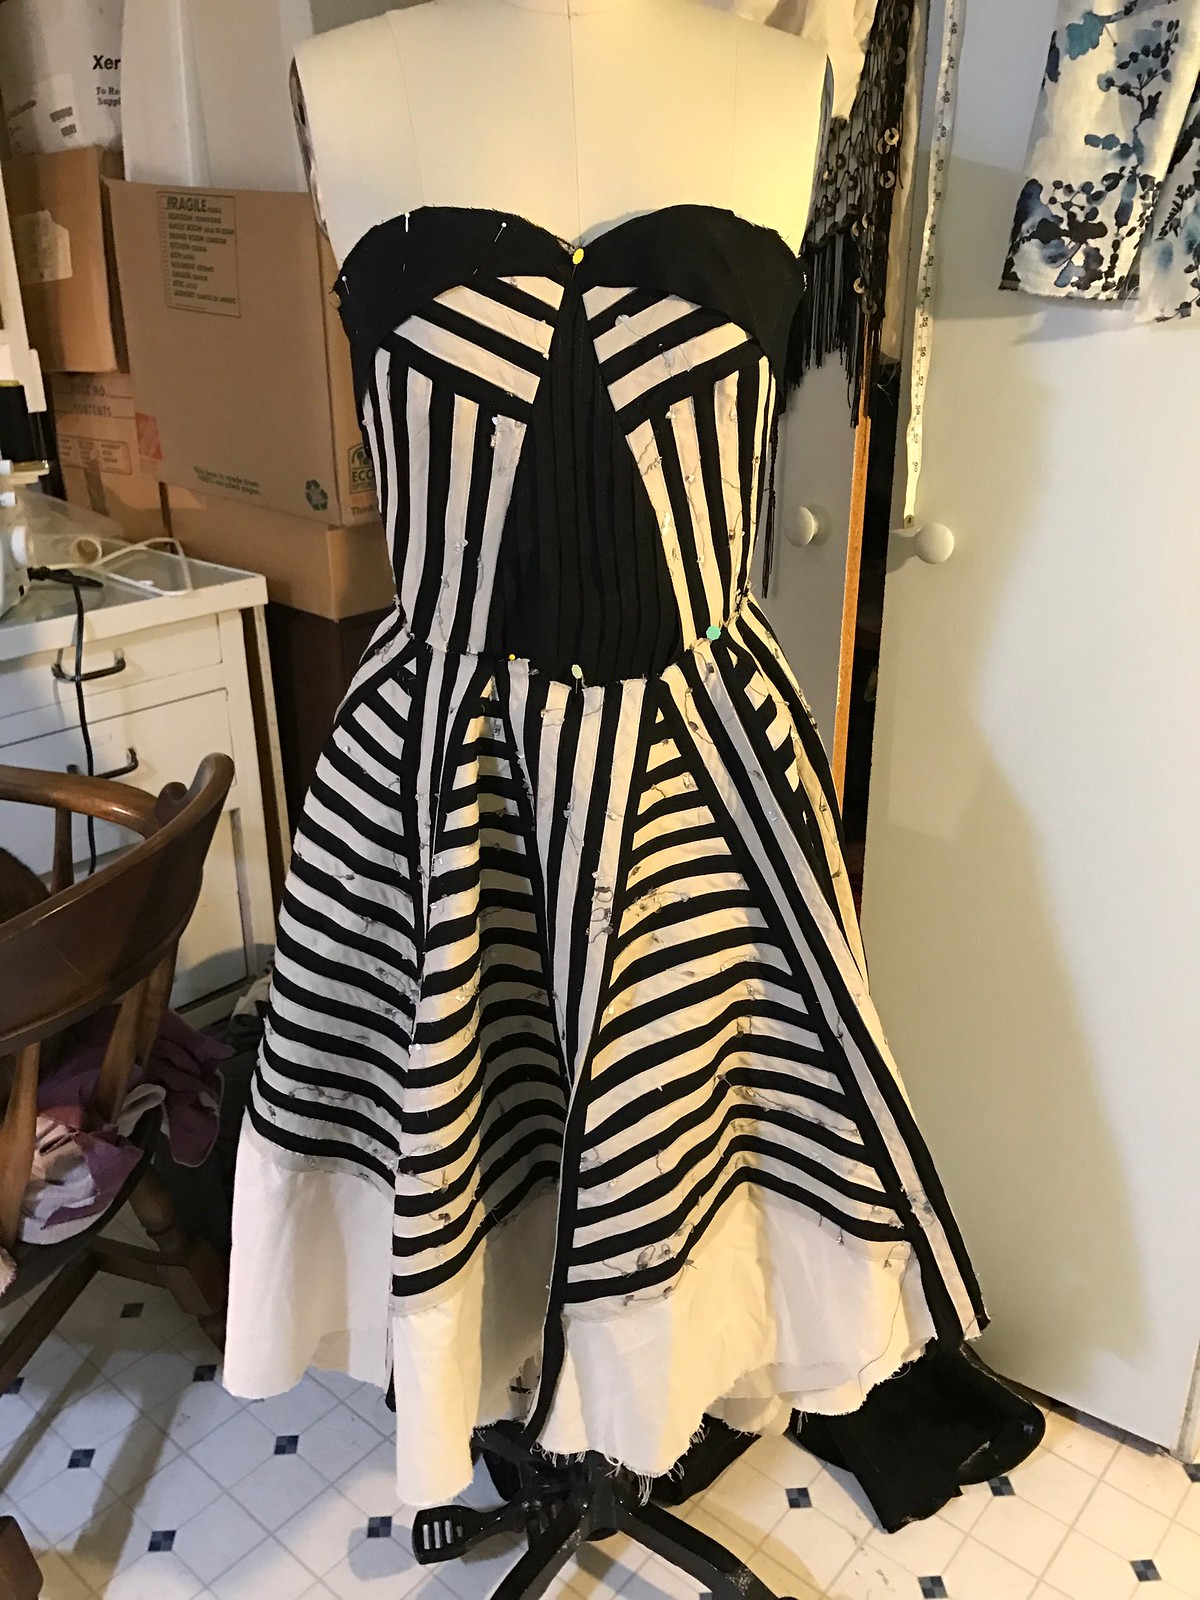
MFC dress 2017 progressBoning channeling.

MFC dress 2017 progressThe original bodice before I re-did it twice.

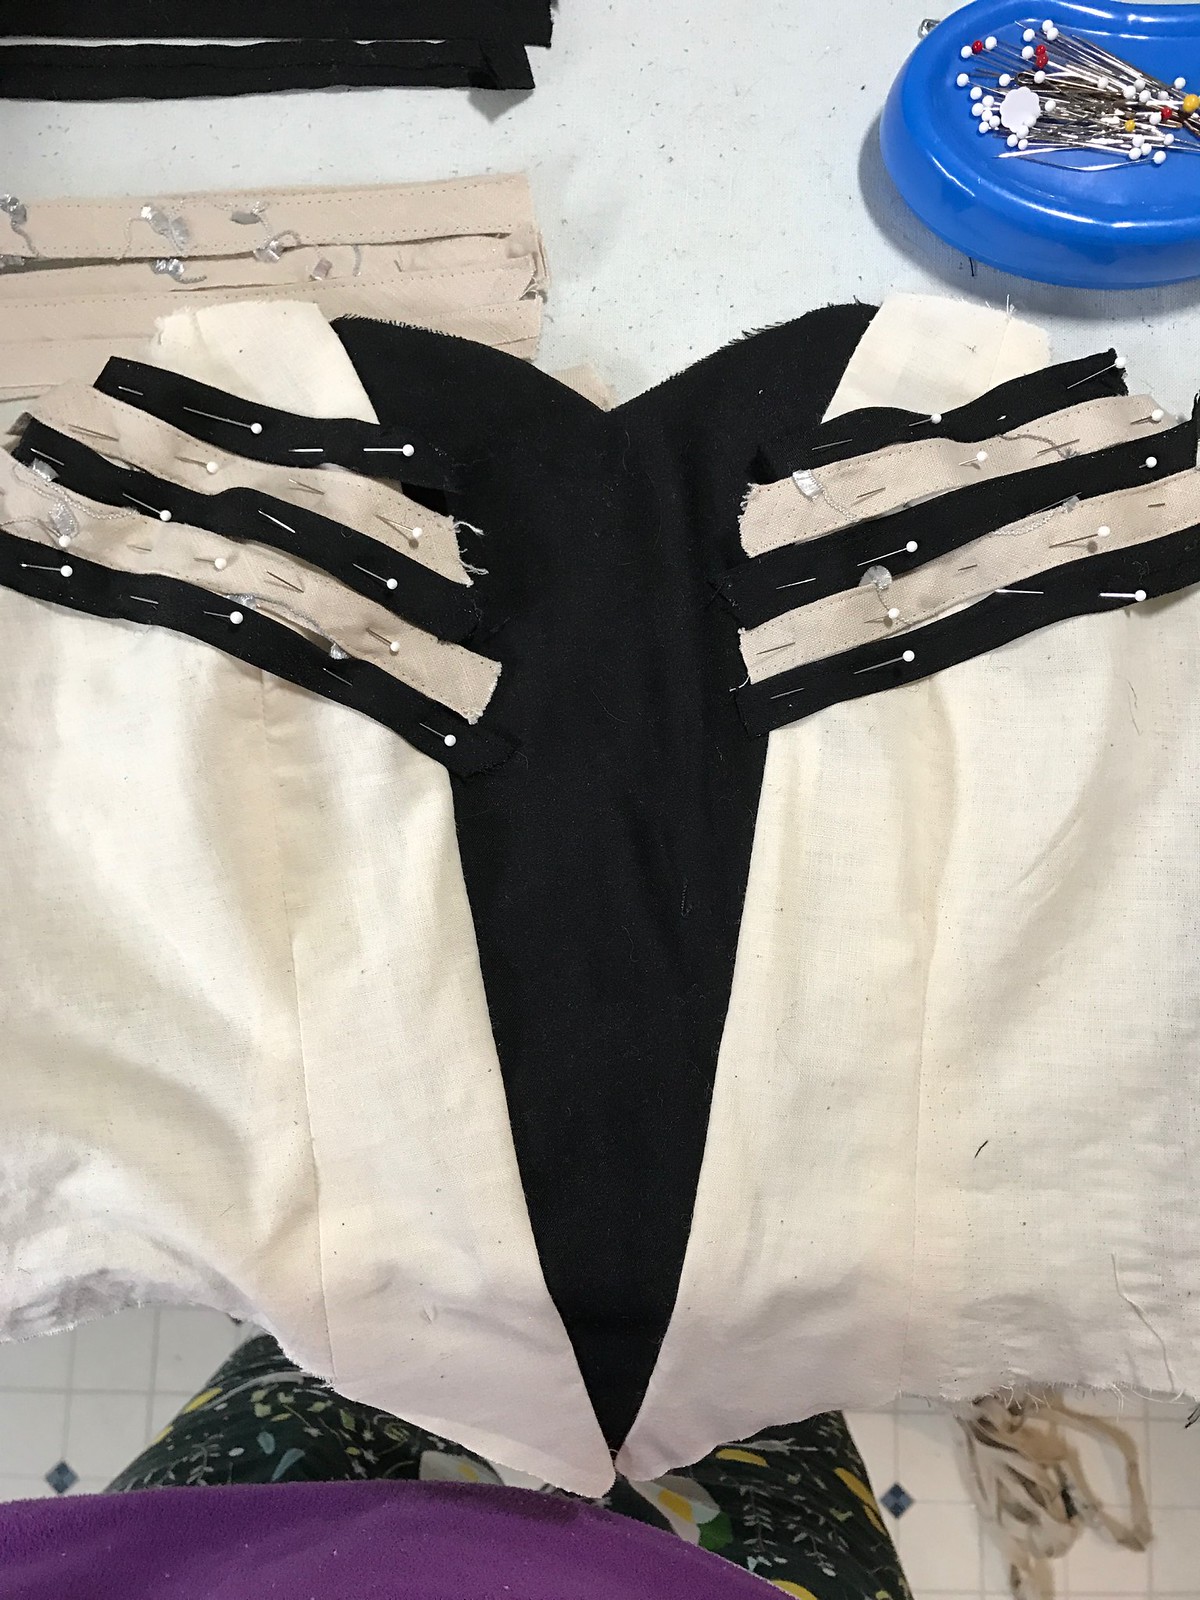
I decided that while the upside center piece works well in solids, it really doesn’t translate to a giant solid piece amongst stripes, so I redrafted those (thank god they were only style lines and not shaping ones!) and turned that piece upside down.
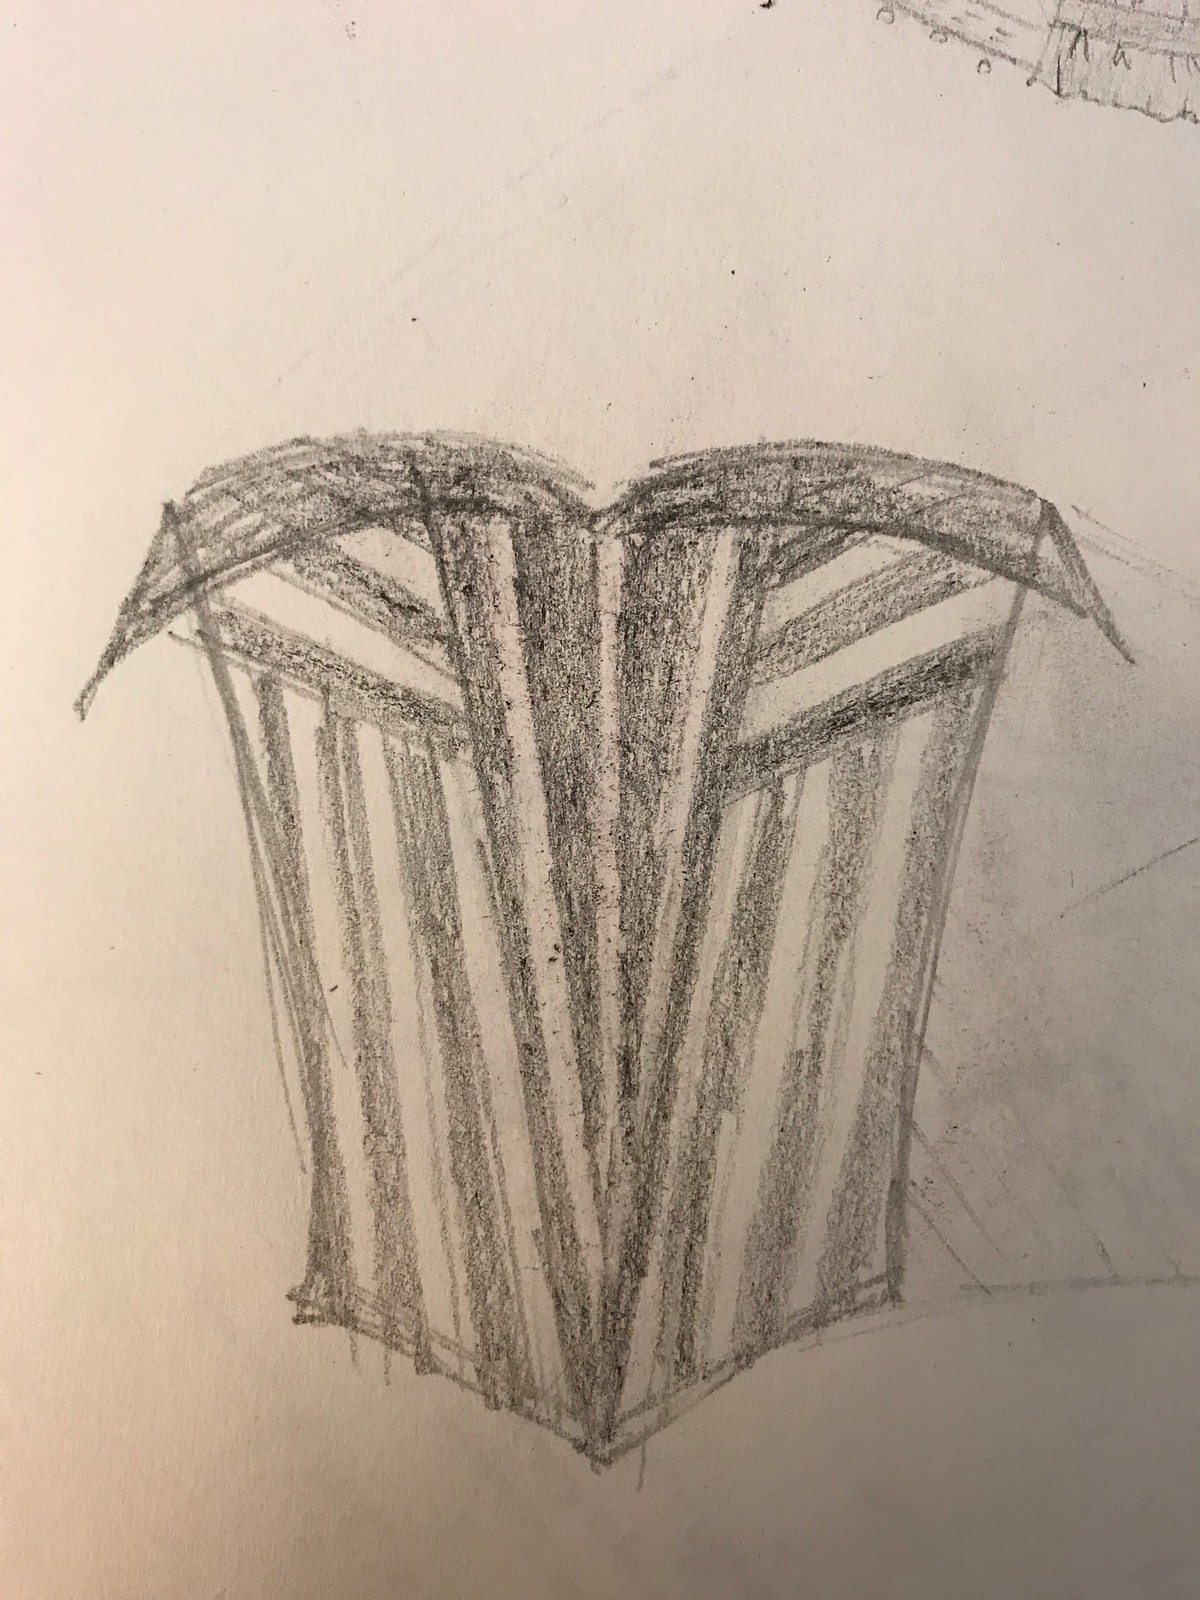
MFC dress 2017 progressSketch concept of the new bodice. 

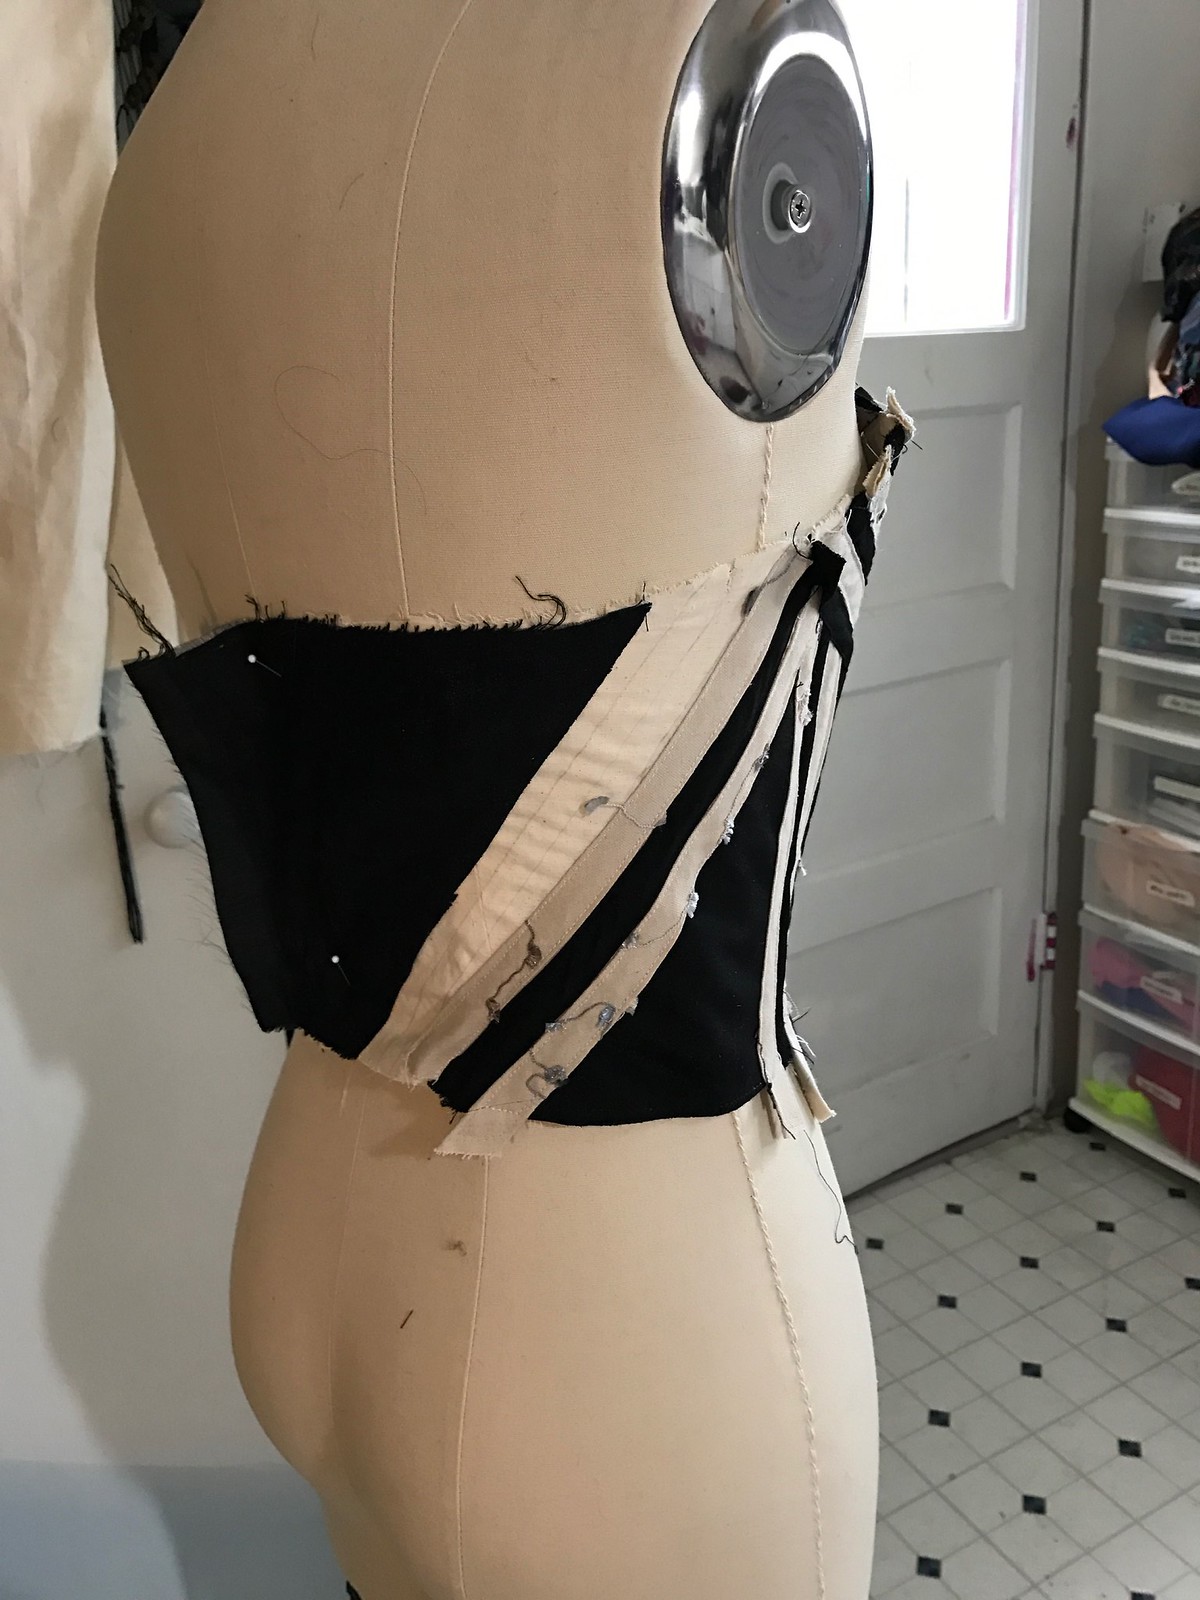
MFC dress 2017 progressPinning to see how it looks.

MFC dress 2017 progress

I was running super low on the beige stripes at this point so I was trying to save as much of it for the skirt as possible. I decided to try adding triangular wedges of solid black. I realized that this inadvertently solved my issue of “Does the random center black panel look out of place?” (The answer was yes.) And then they also went with the solid black pieces at the hem! Total accident, guys.
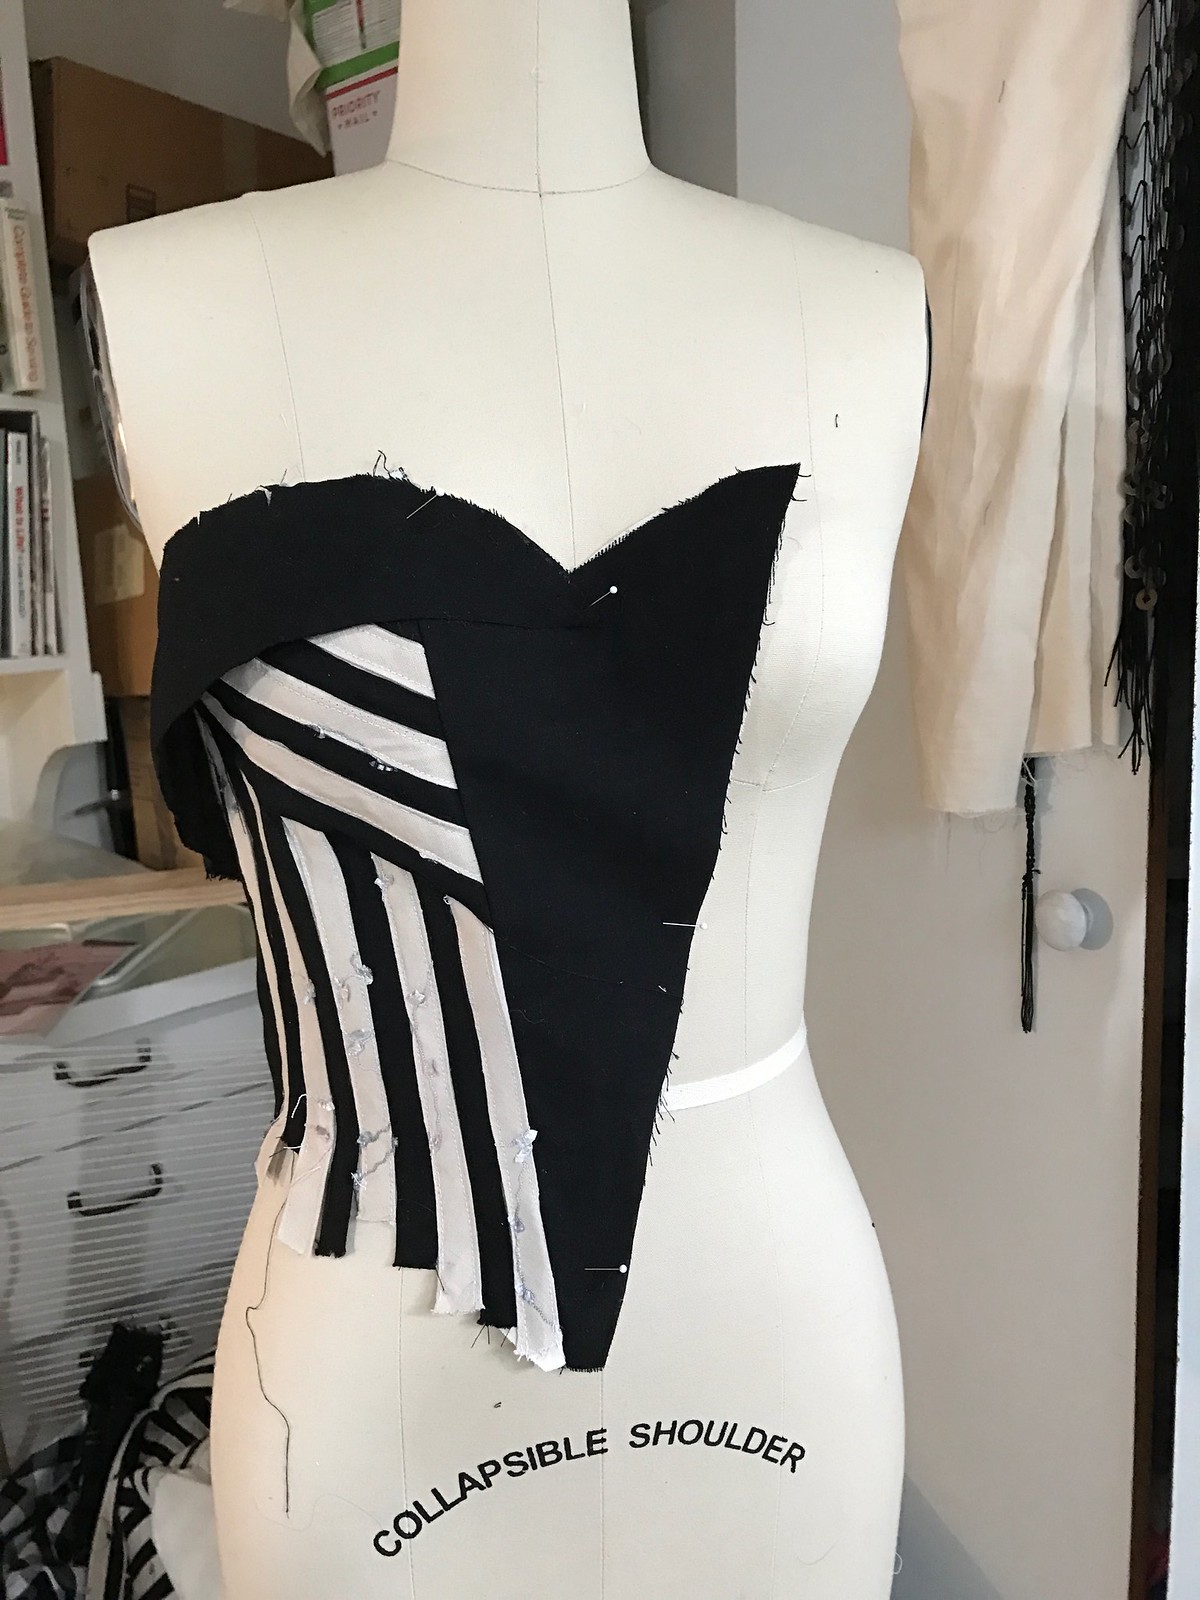
MFC dress 2017 progressAnddd new bodice in progress. Much better!

MFC dress 2017 progress

I kind of went into panic mode at this point and stopped taking progress photos, but nothing super interesting happened after this, just a lot of hand-sewing. I had to trim an angle into the circle skirt waist to accommodate the pointy bodice.

And then I had to be strategic in how I put the whole thing together in order for it to be reversible.

1) I started at the neckline, sandwiching the fluttery pieces between the two bodices and stitching the necklines together.

2) I sewed each skirt to its corresponding bodice.

3) I hand-stitched the two waistline hems together to keep things from shifting around.

4) Attached ban-rol to the hem. I was going to use horsehair braid but I was concerned about how heavy the skirt was going to be. I’d never heard of ban-rol and was in an experimental mood. It worked ok, I think. I’ll have to try horsehair braid to compare.

5) Hand-stitched the entire hem closed.

6) I had three fabrics left so I made a little quilted clutch (also reversible with one side to go with each side of the dress) but I forgot to take photos. Oops.

Phew! I turned in my dress on Tuesday and now I’m kind of having separation anxiety. I’ve been working on it on and off for months, and basically on nothing else for the past few weeks. Now excuse me while I go sew a bunch of t-shirts and zippy bags and pillow cases for the next month.

And see my previous post for more photos of the finished dress!
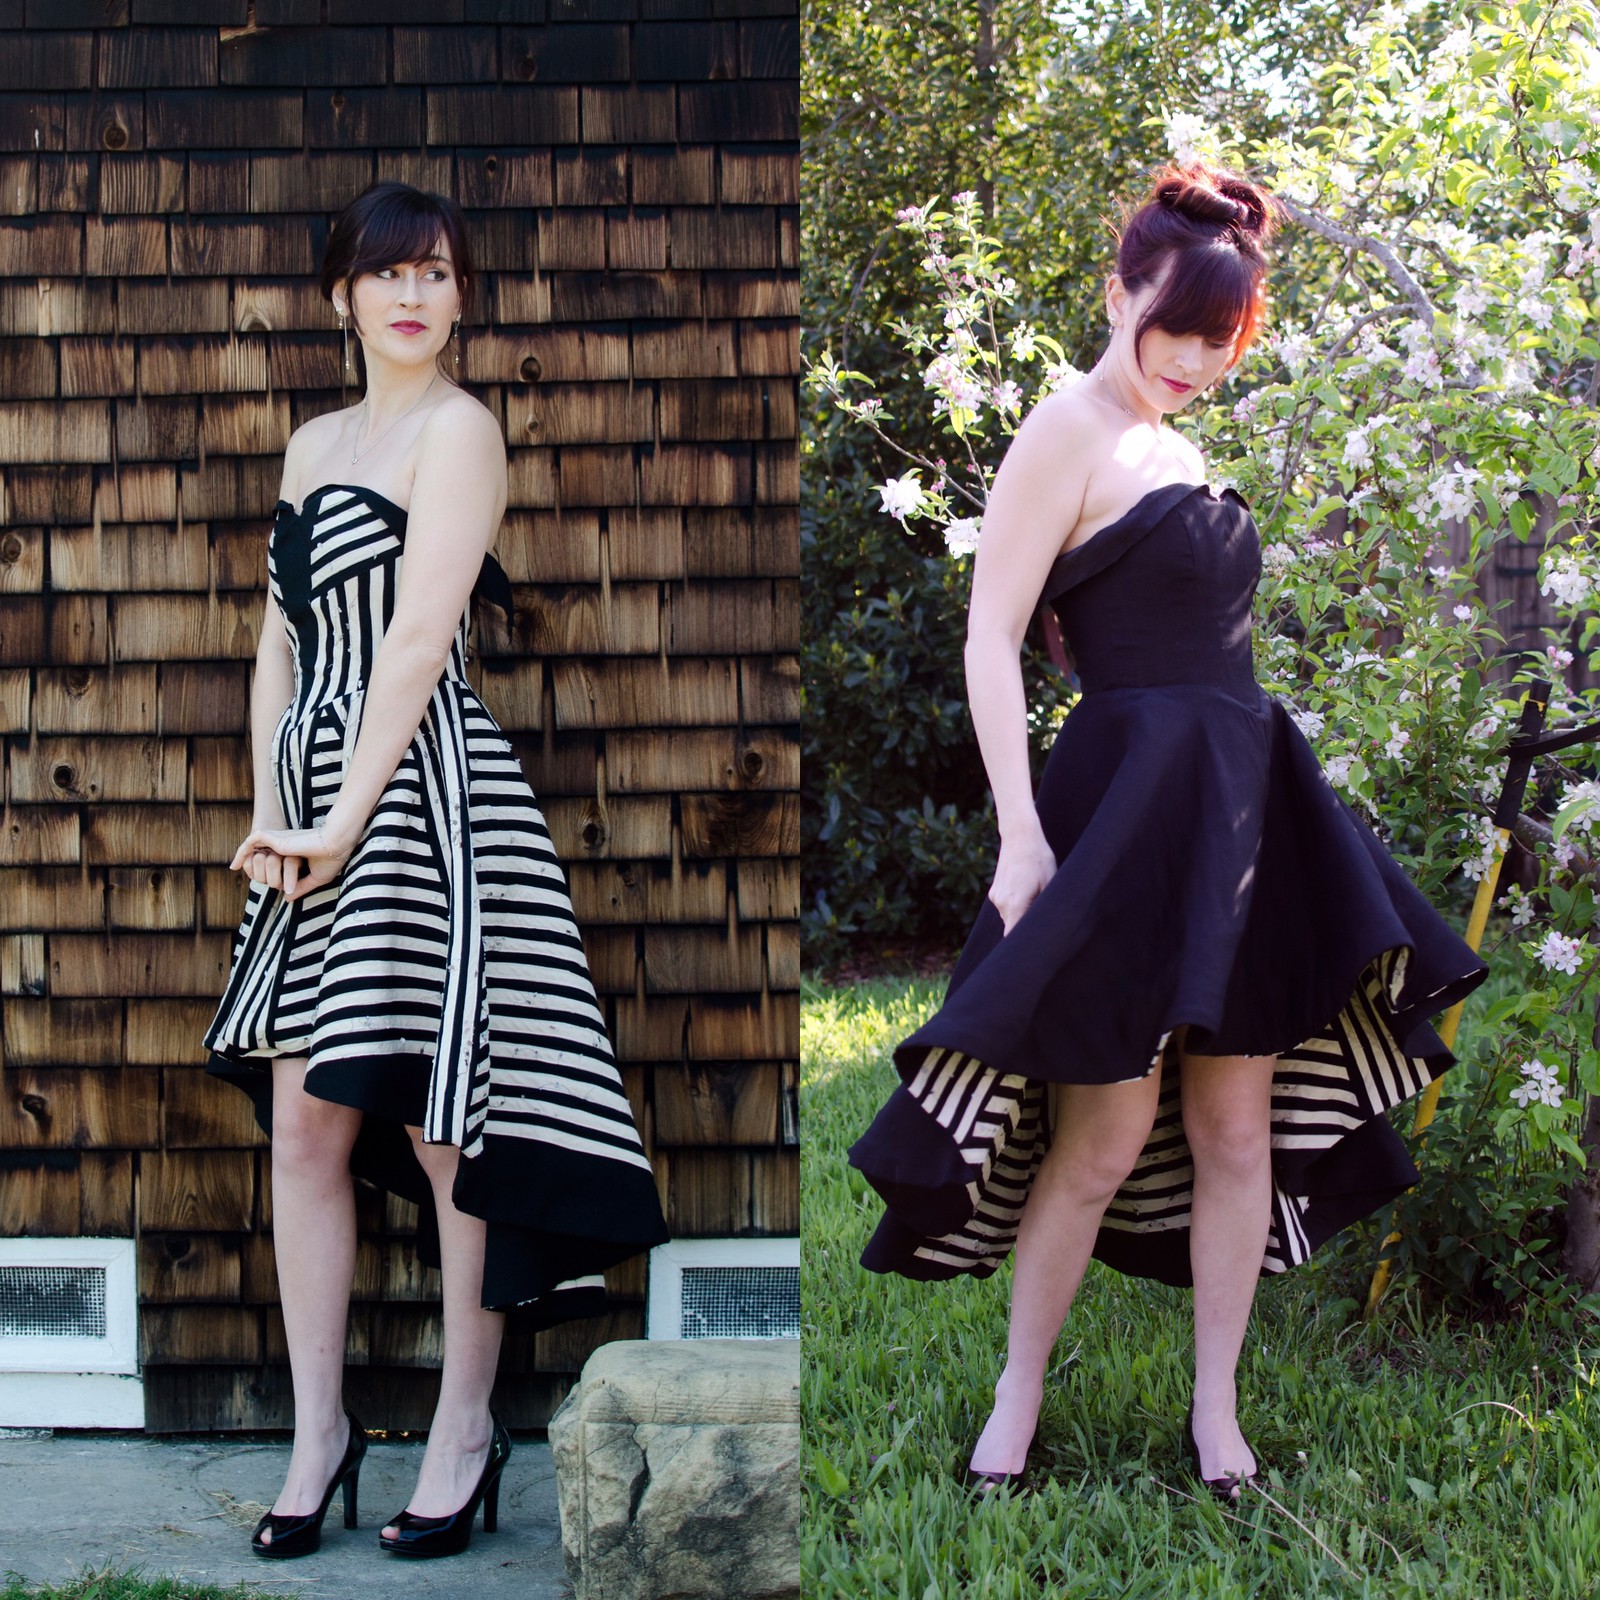
Mystery Fabric Contest dress 2017

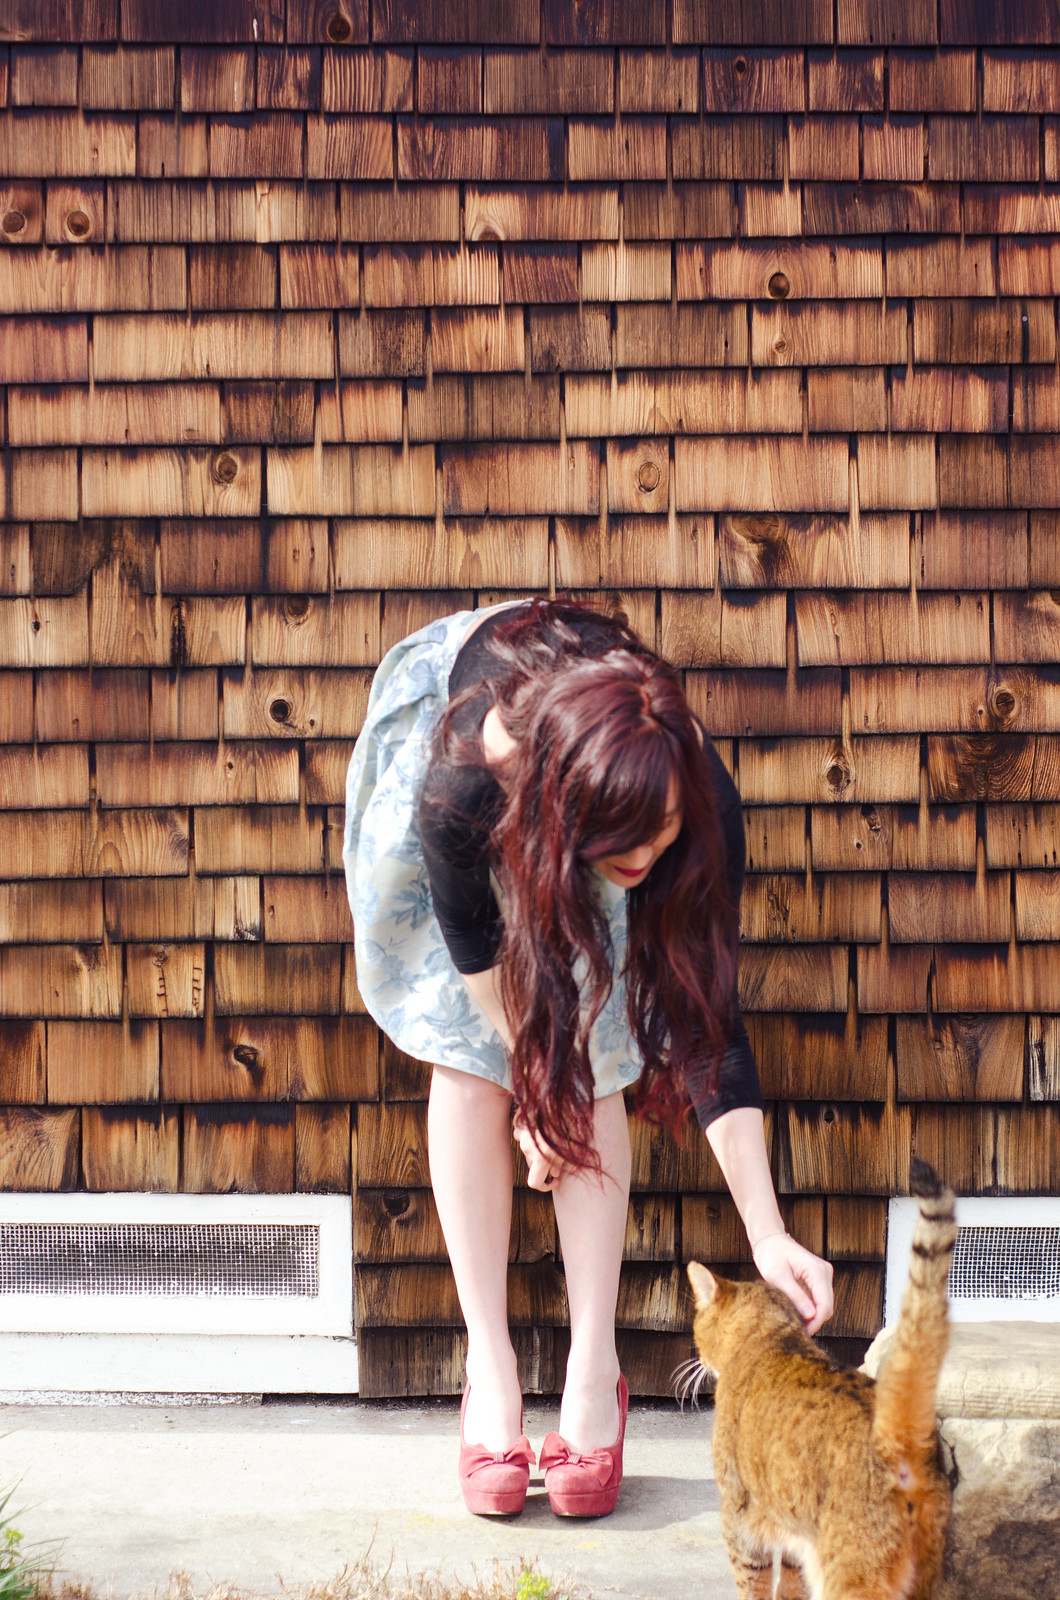
brocade + bonus meowser

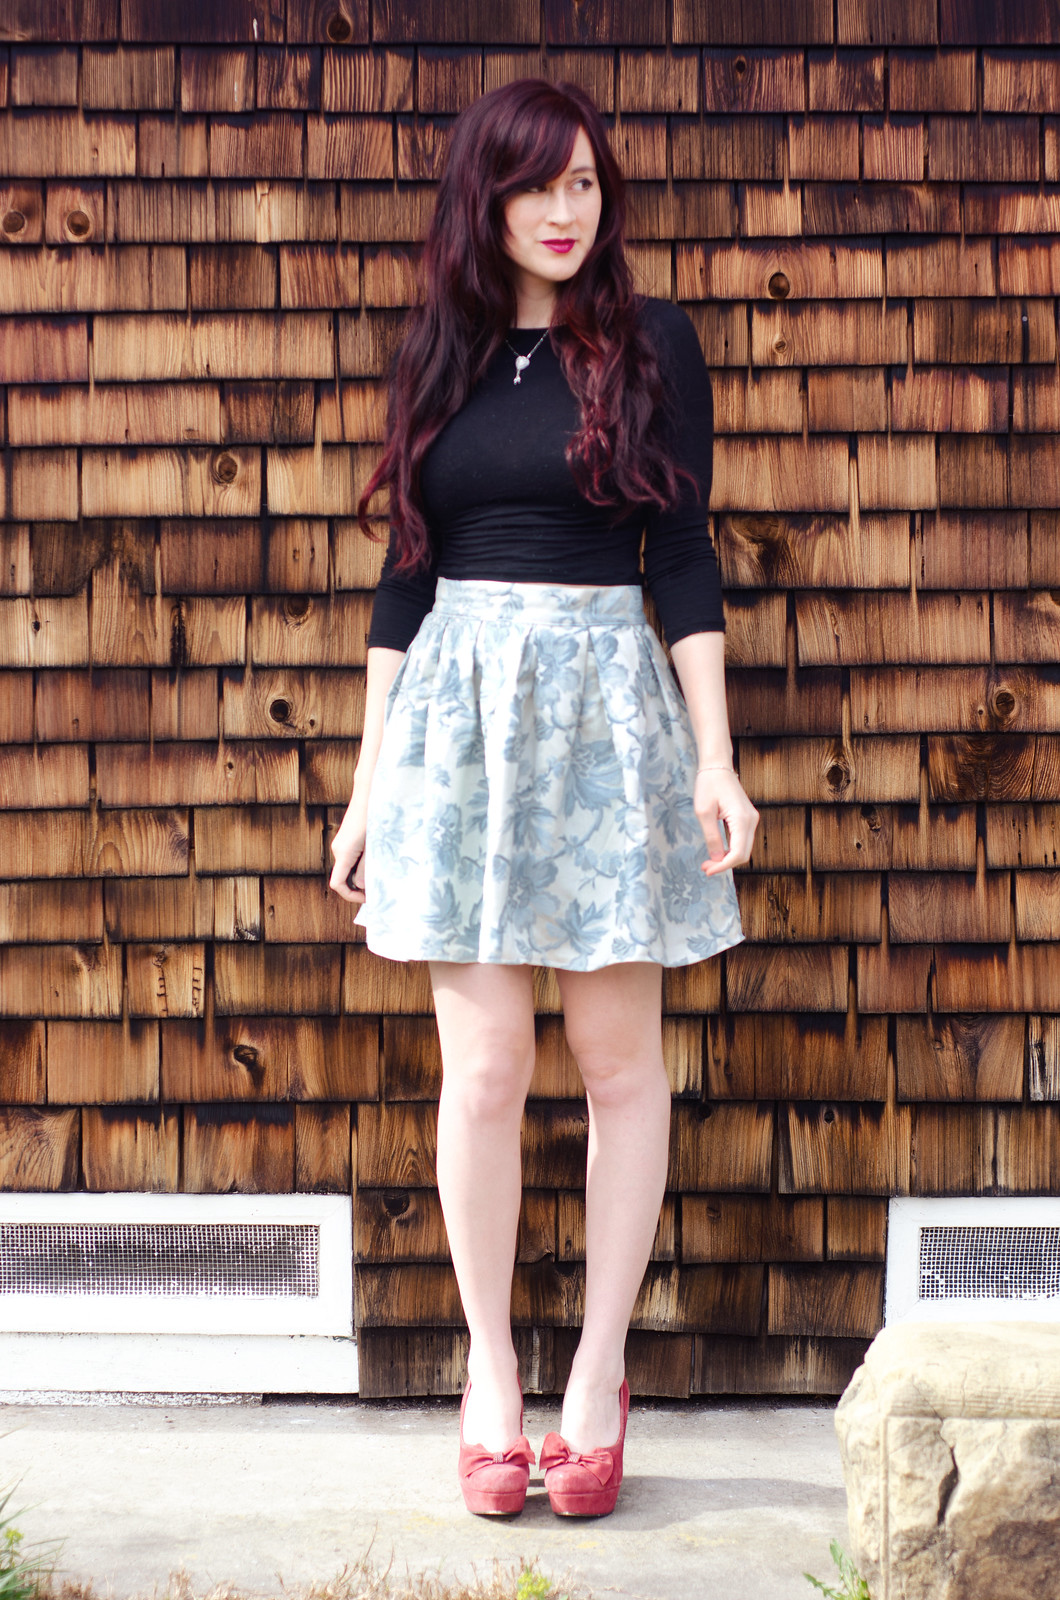
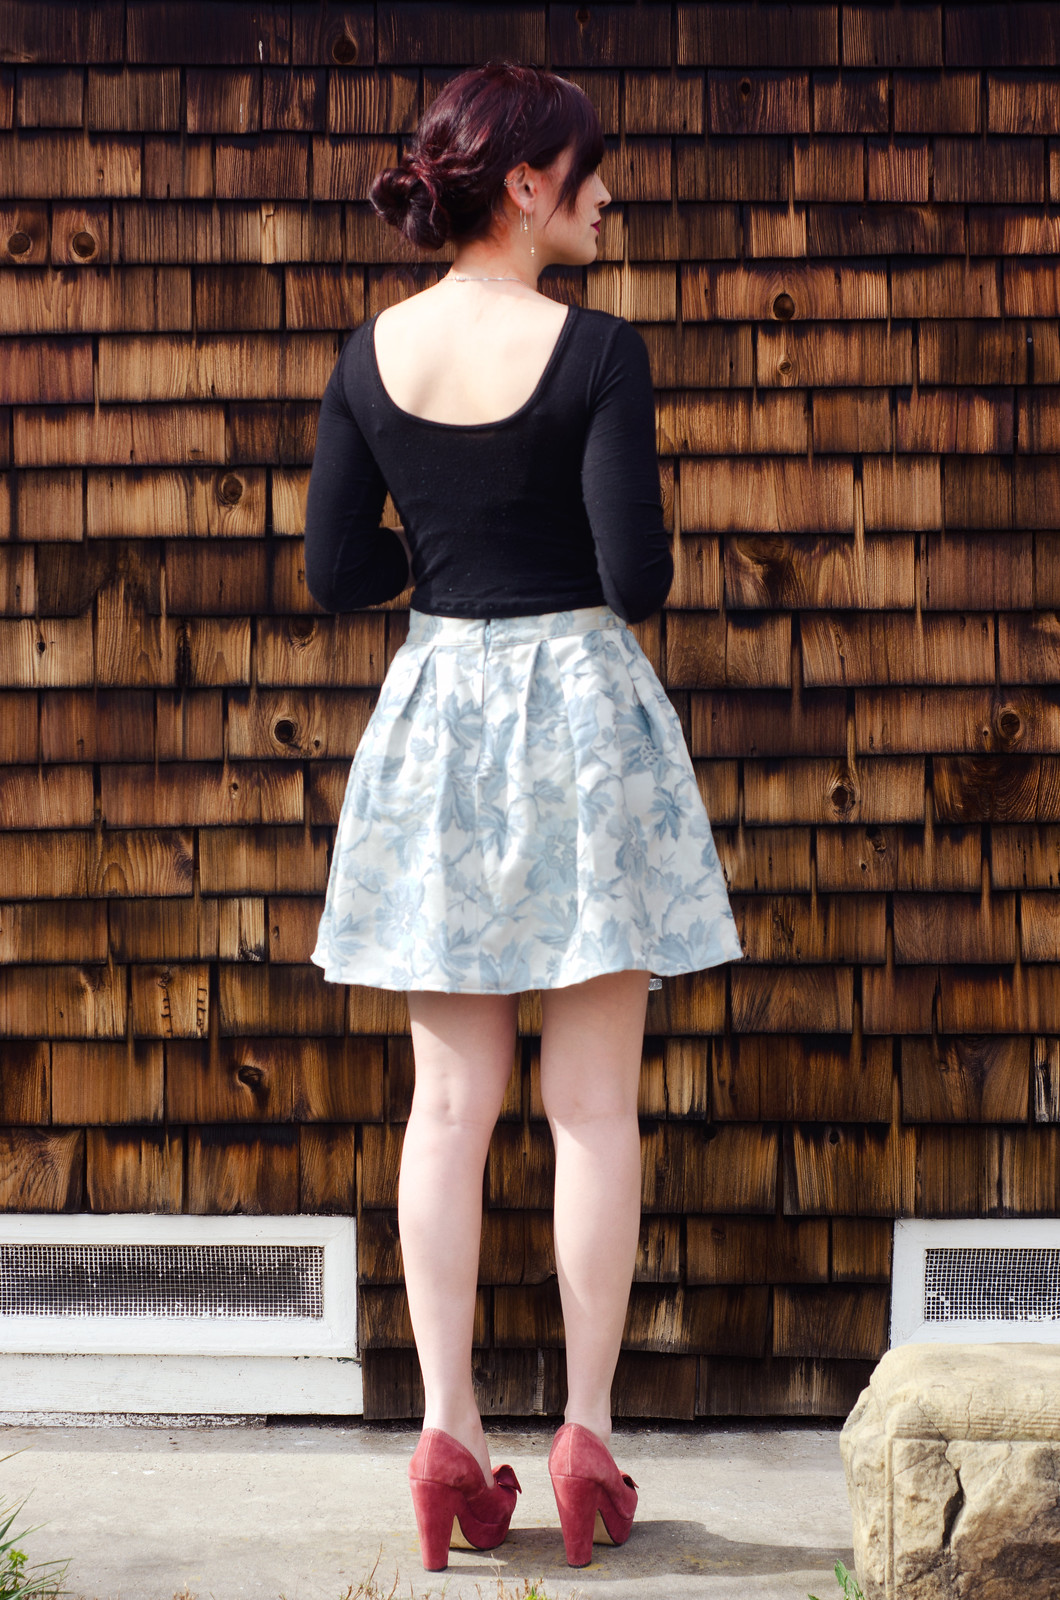
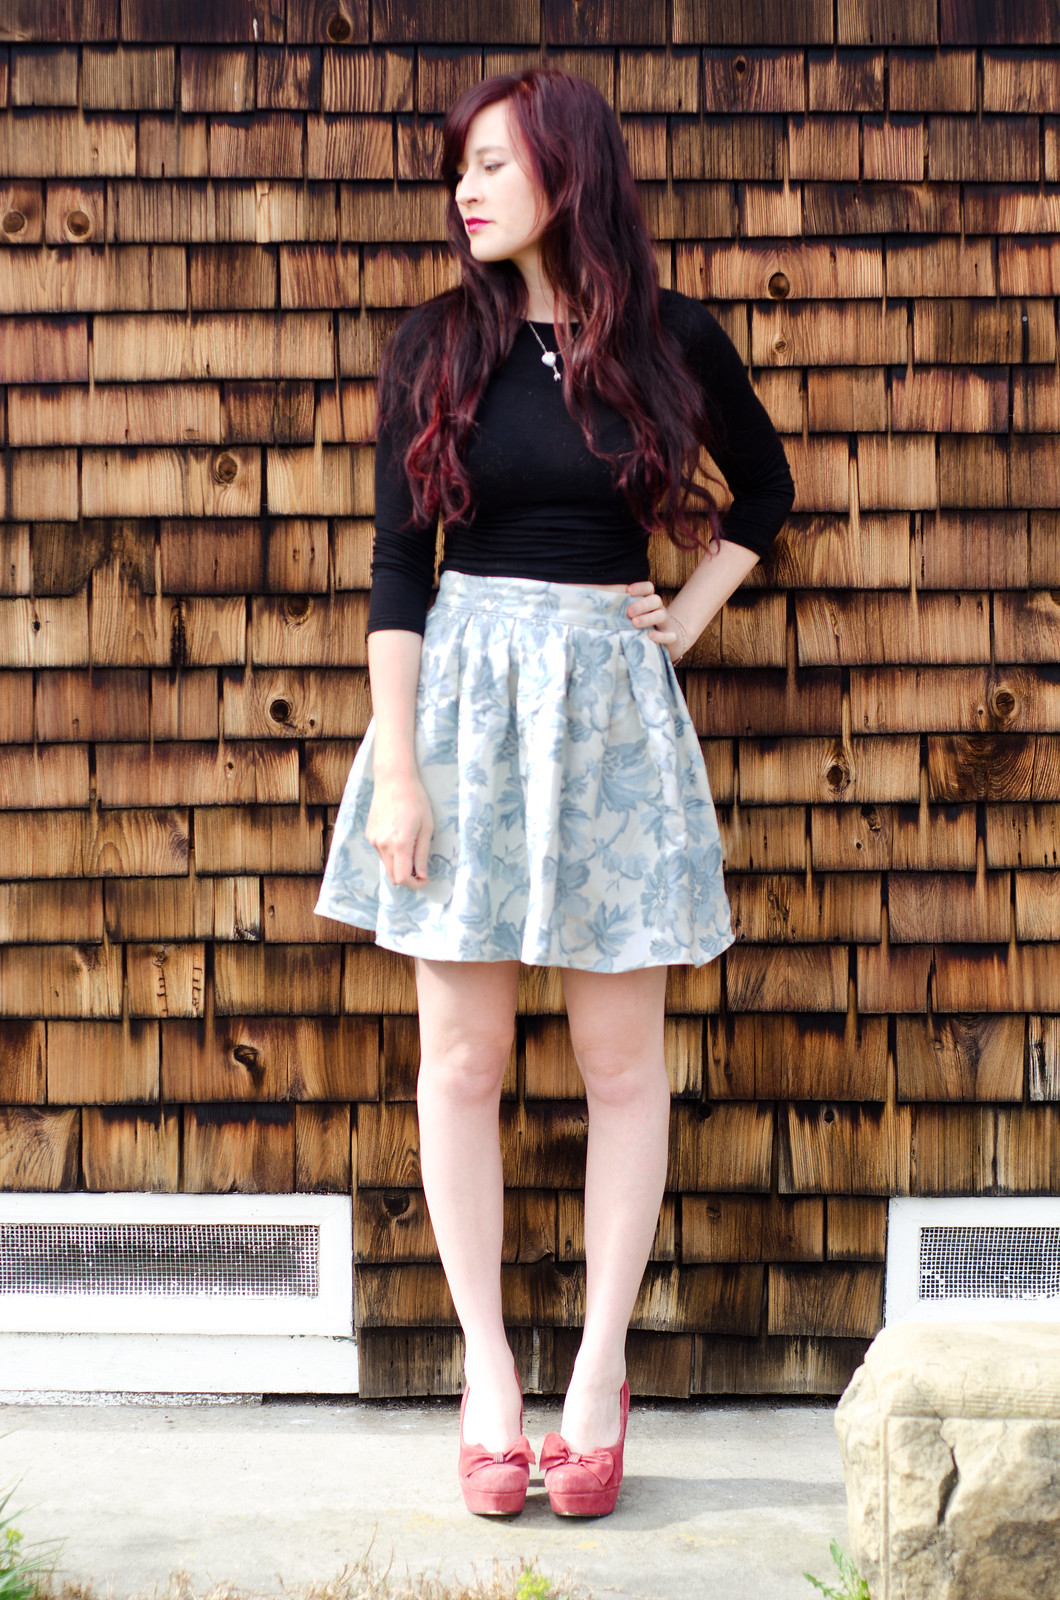
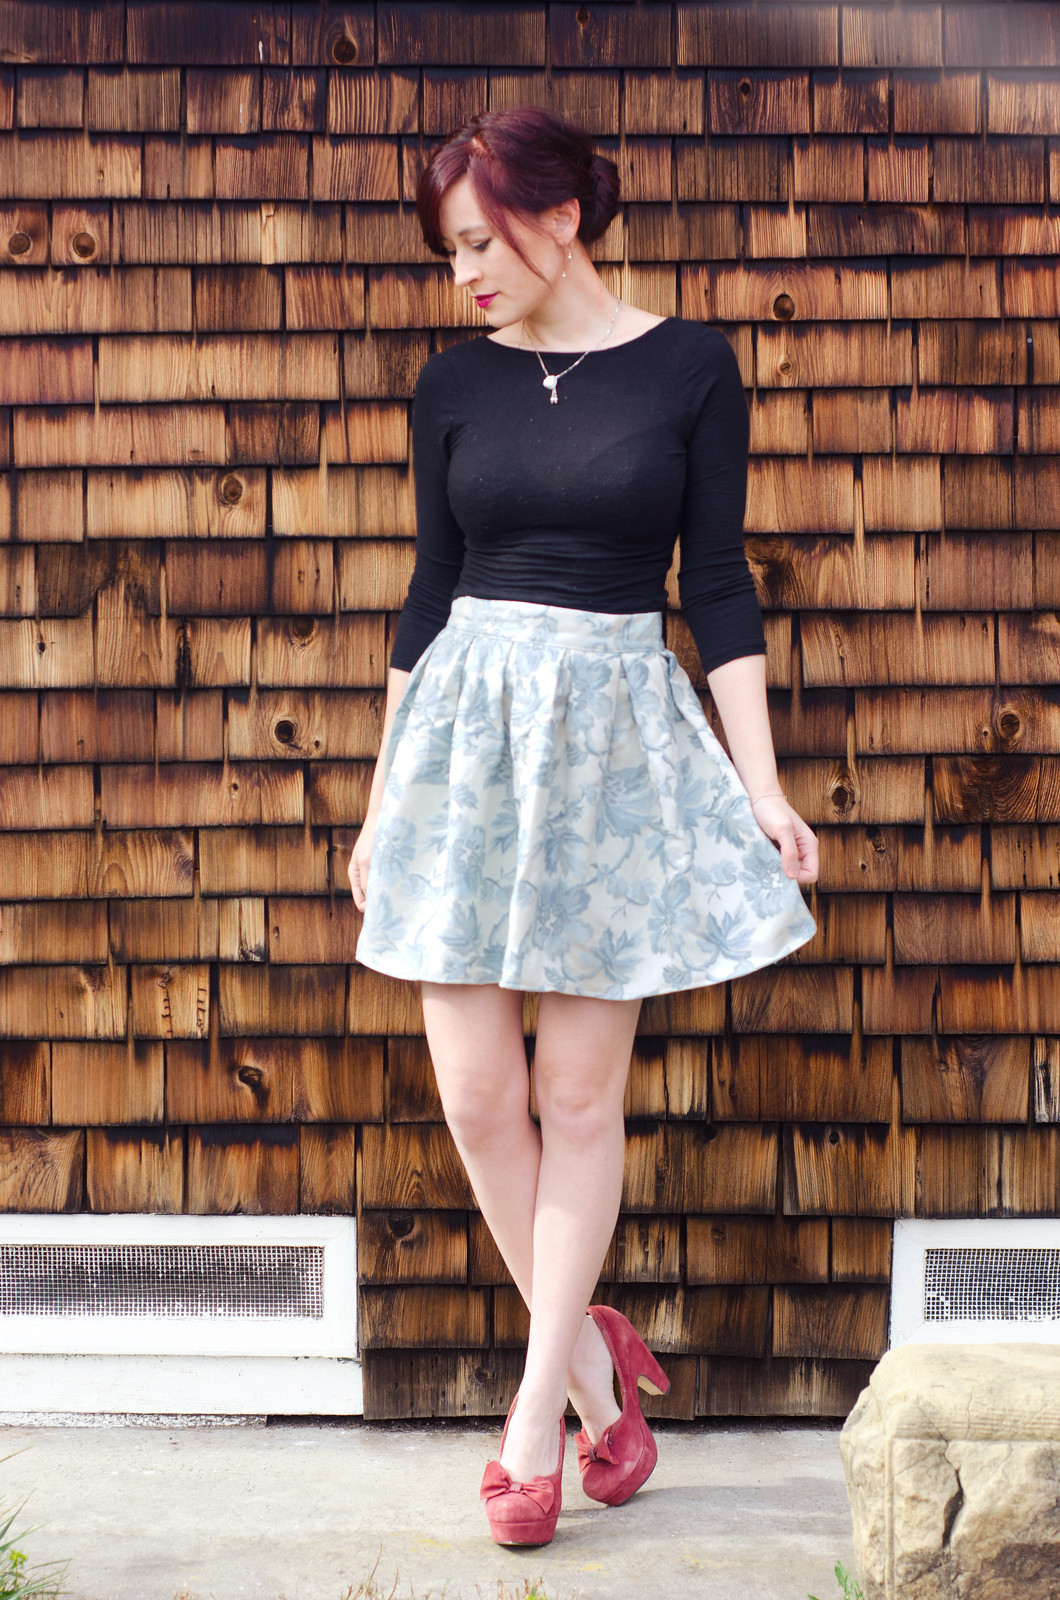
Pleated brocade skirt

Pleated brocade skirt

Pleated brocade skirt

Pleated brocade skirt

Pleated brocade skirtMy feline friend came to visit while I was taking photos hehe. 

I actually made this skirt ages ago but it’s taken me forever to photograph it. I picked this fabric up at a rummage sale for something like $3. At first it was going to be some kind of zippy crop top, possibly with a peplum. Then I decided I would probably never wear that and fell down the rabbit hole of brocade skirts on Pinterest. Then it was an issue of whether it should be a Moss skirt, a pleated skirt, or something in between. I decided to go with the pleats.

It’s pretty basic, really. The Armstrong book talks about all kinds of technical shenanigans for making pleats but to be honest, I just measure out a waistband in the right size and then fuss with the pleats until they fit the waistband. The result is probably not quite as neat as it could be, but meh.

Helpful pleating tip: regardless of whether you measure out your pleats ahead of time, try to angle them so the inside fold of the pleat sticks out past the edge of the fabric. This keeps them from splaying open and keeps them nice and neat.

The top is actually a cropped Nettie top that I’m wearing backwards. It’s not technically meant to be reversible but I was getting dressed one day and the low scoop neck didn’t quite work with the outfit so I decided to try turning it around. The shoulders end up being slightly off but not really noticeably.

Now excuse me while I go pet the kitty who is currently indignantly meowing because I ignored him while I finished taking photos. (For the record, after that photo, he settled about halfway between me and the camera and licked his bits — out of view, thankfully.)

Adventures in drafting – overalls

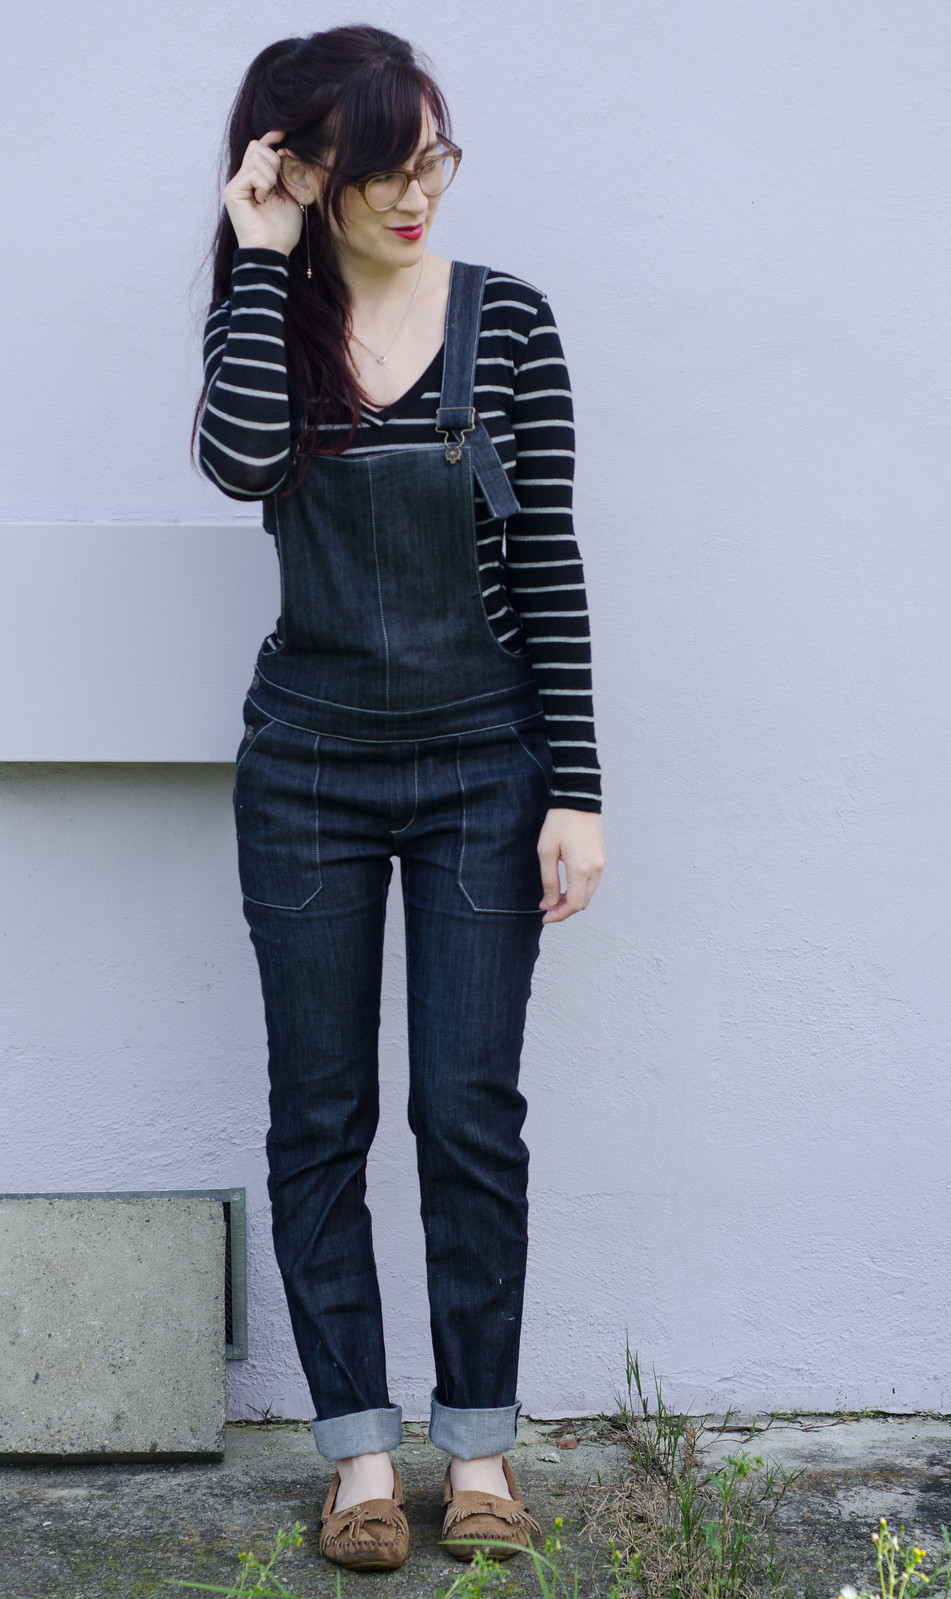
Overalls

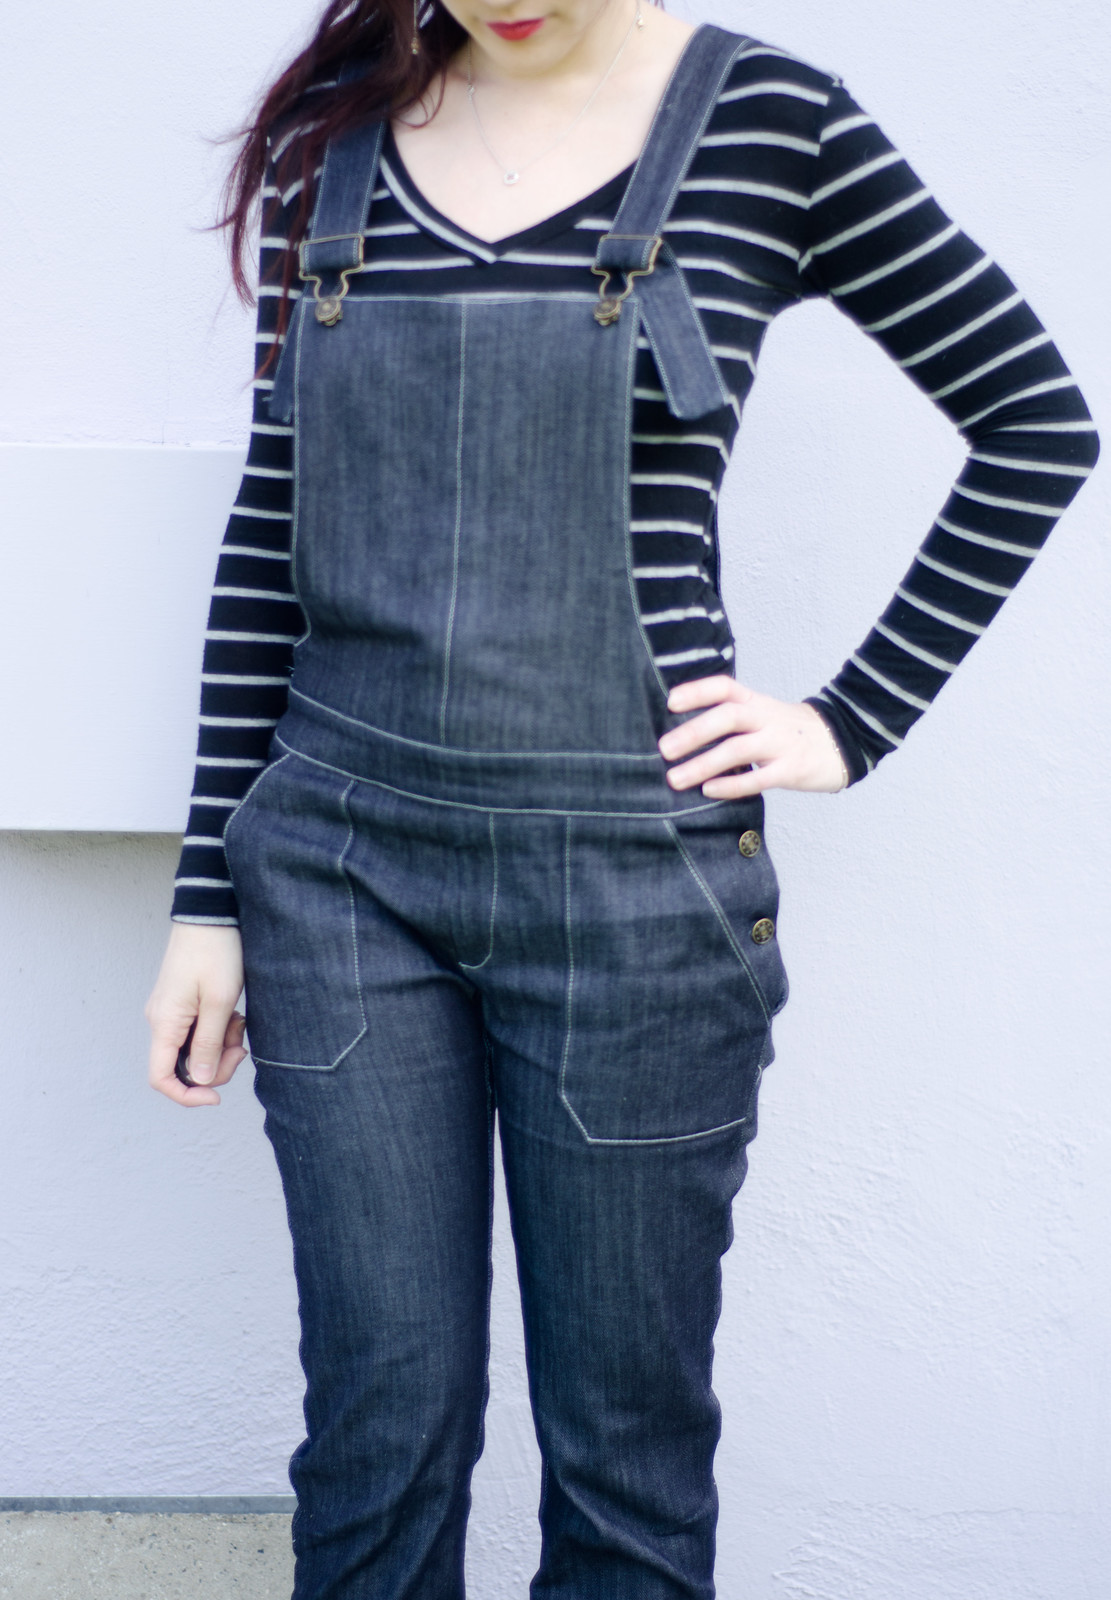
Overalls

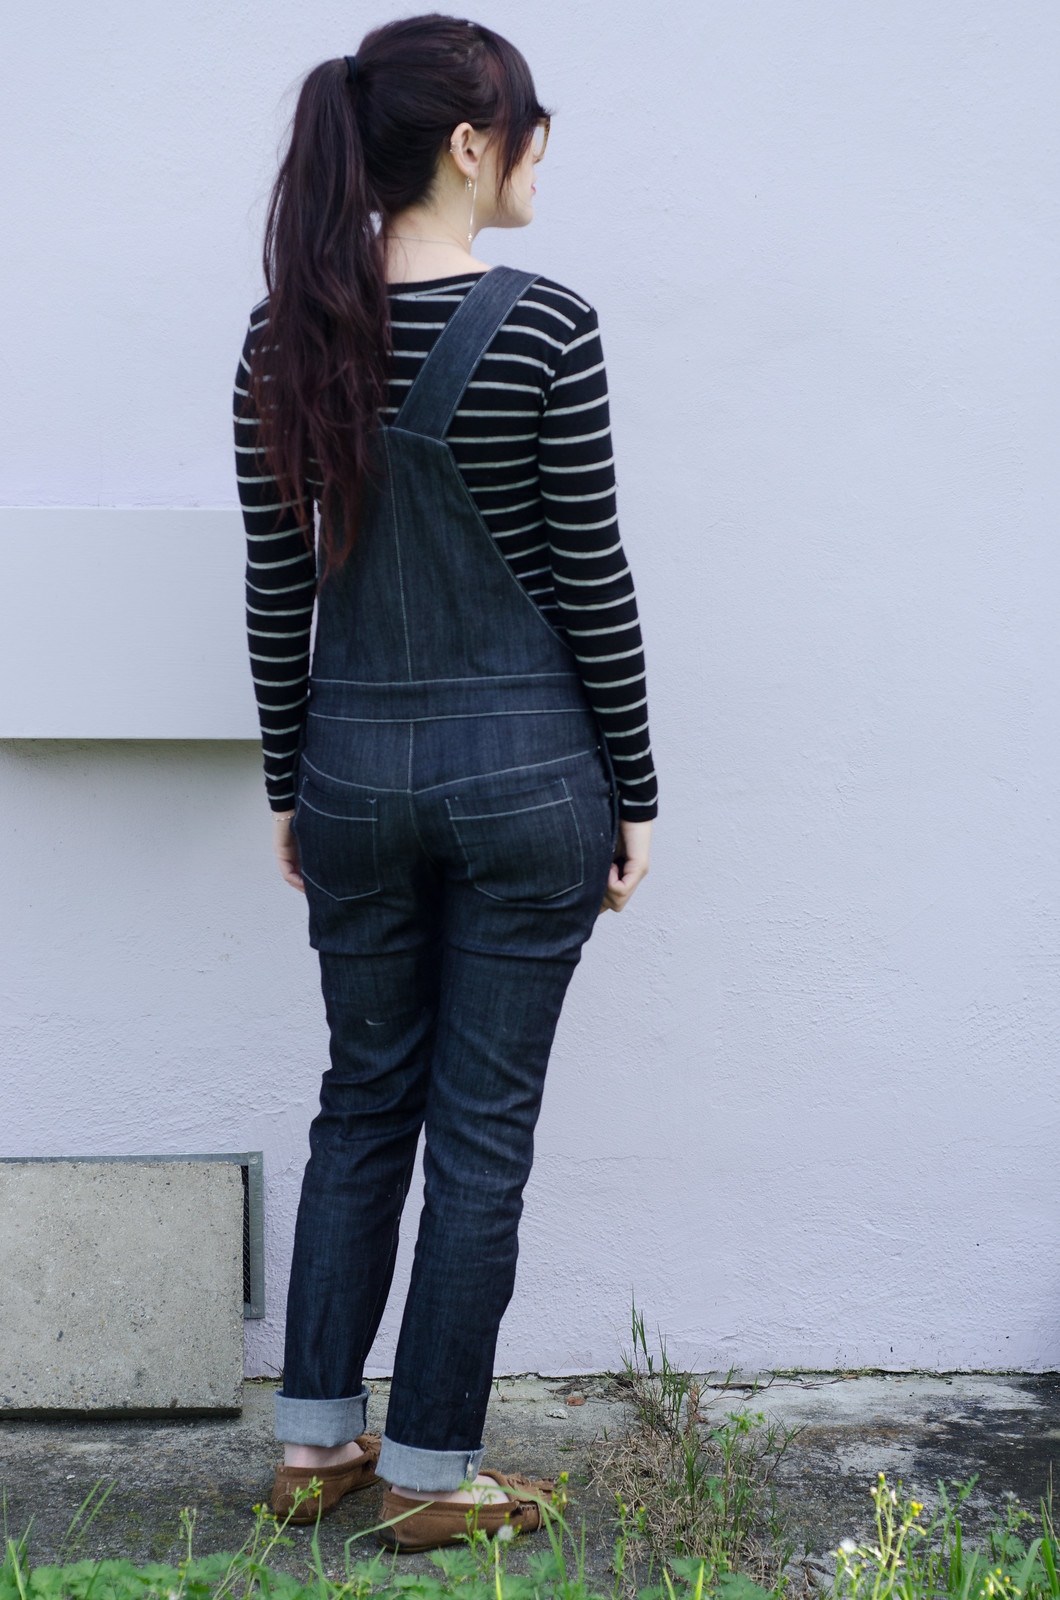
Overalls

Overalls

Overalls

Overalls

Overalls

I was sooo sad when my pants drafting class ended. Huge sad face.

The class was taught by Lynda Maynard (who also taught the Copying RTW class I took over the summer) and it was so much fun and I feel like a master of crotch fit now. That sounds dirty. But then again, so did most of the class. We used Suzy Furrer’s book* and drafted from our own measurements, and then it was just making muslins to tweak the fit. The rest of the class consisted of taking turns putting on our muslins and standing on a table while the entire class investigated our lower halves and volunteers pinned out corrections. Super hilarious and super fun. I used my draft to make a pair of skinny jeans (more on these later) and then just because I thought it was hilarious that she included it in the book, I also drafted the overalls as my final project for the class.

*It’s weirdly super expensive on Amazon so I would check elsewhere first. I snagged my copy from my school bookstore for like $60. (EDIT — A reader helpfully suggested this link, where you can get it for $65 plus shipping. Thanks Anastacia!)

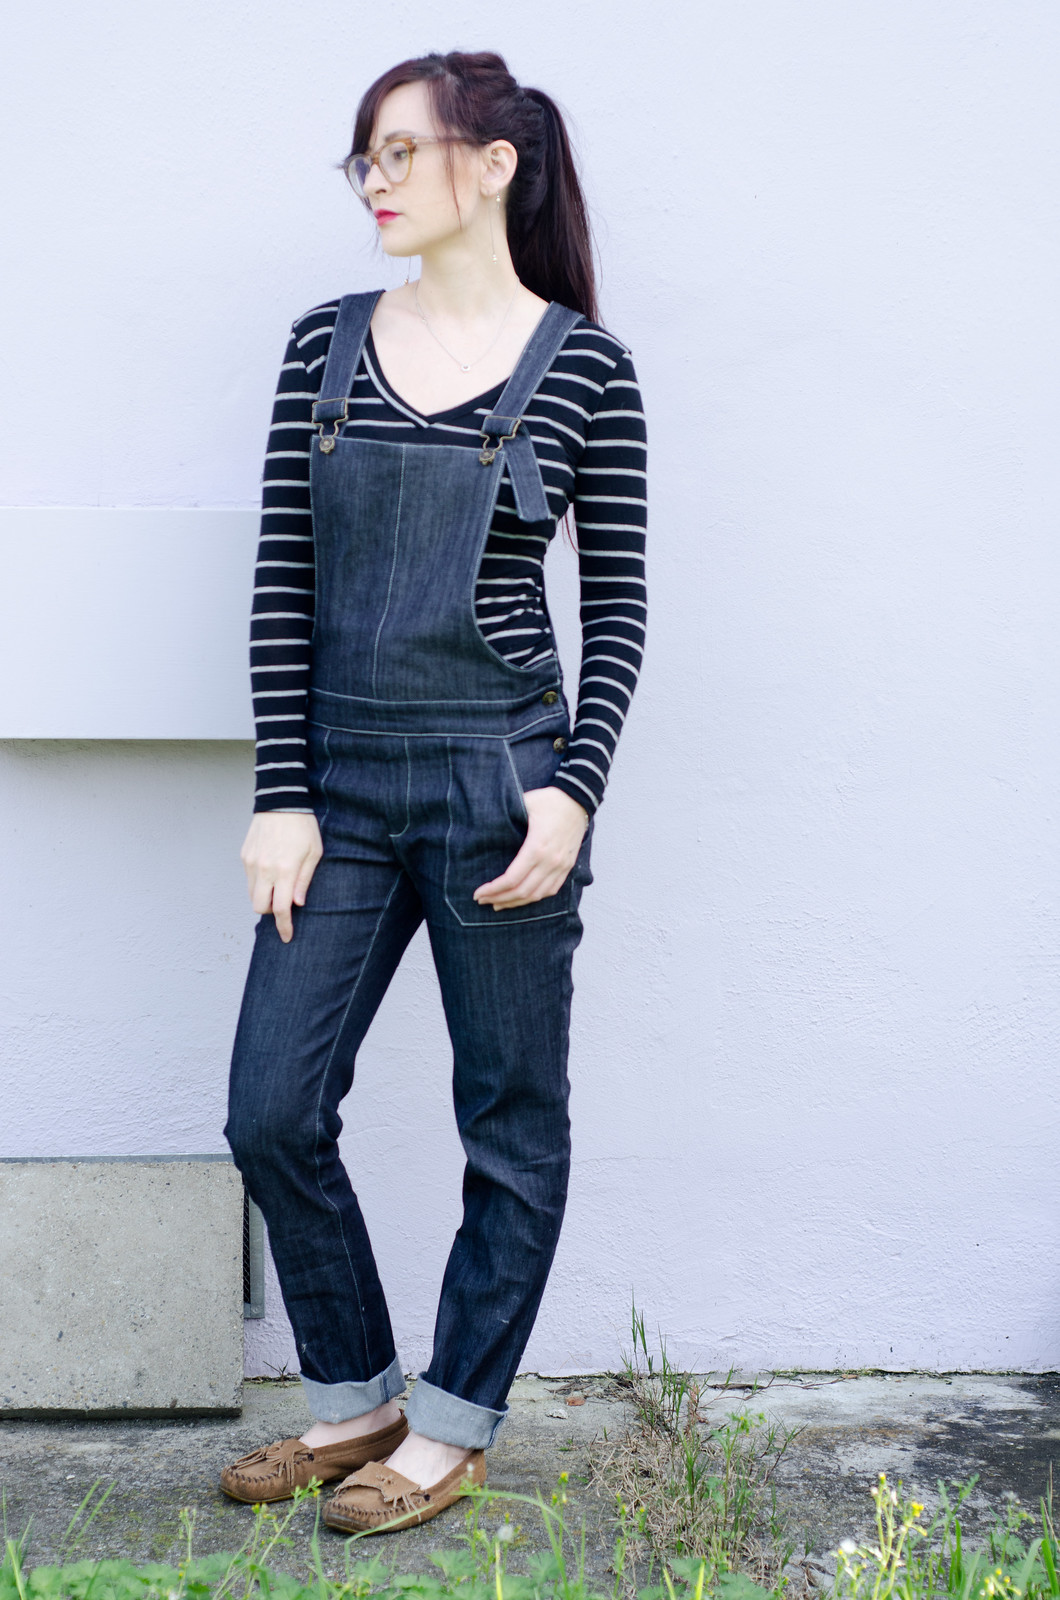
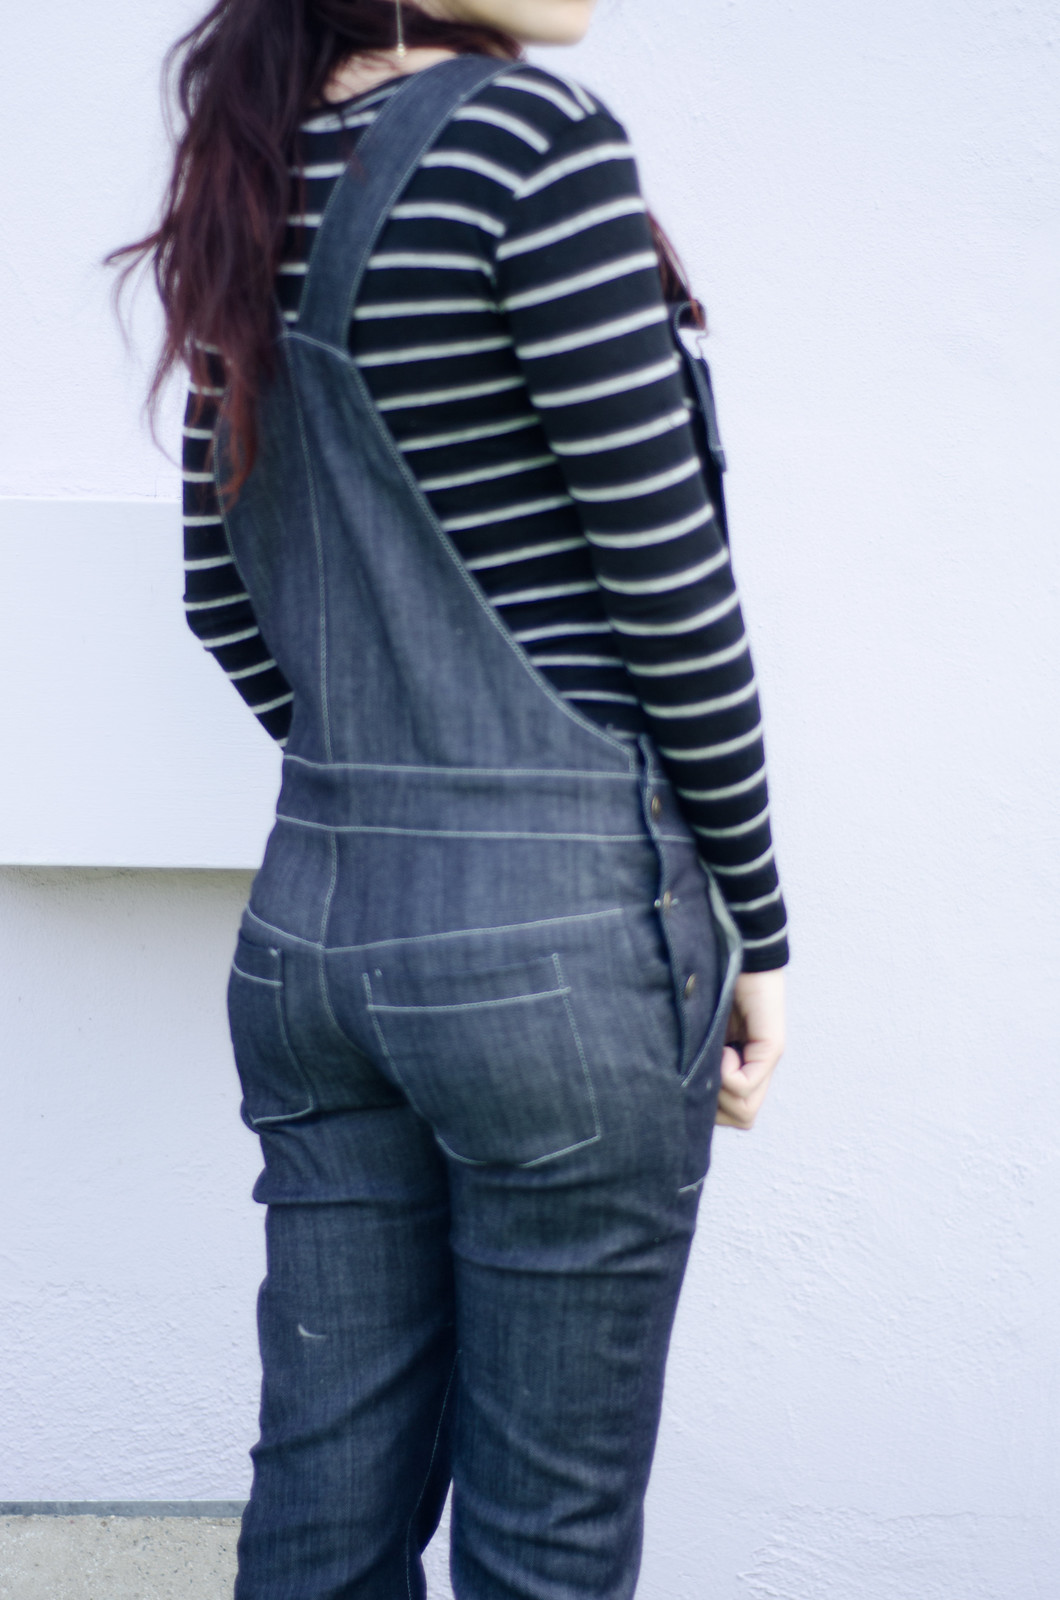
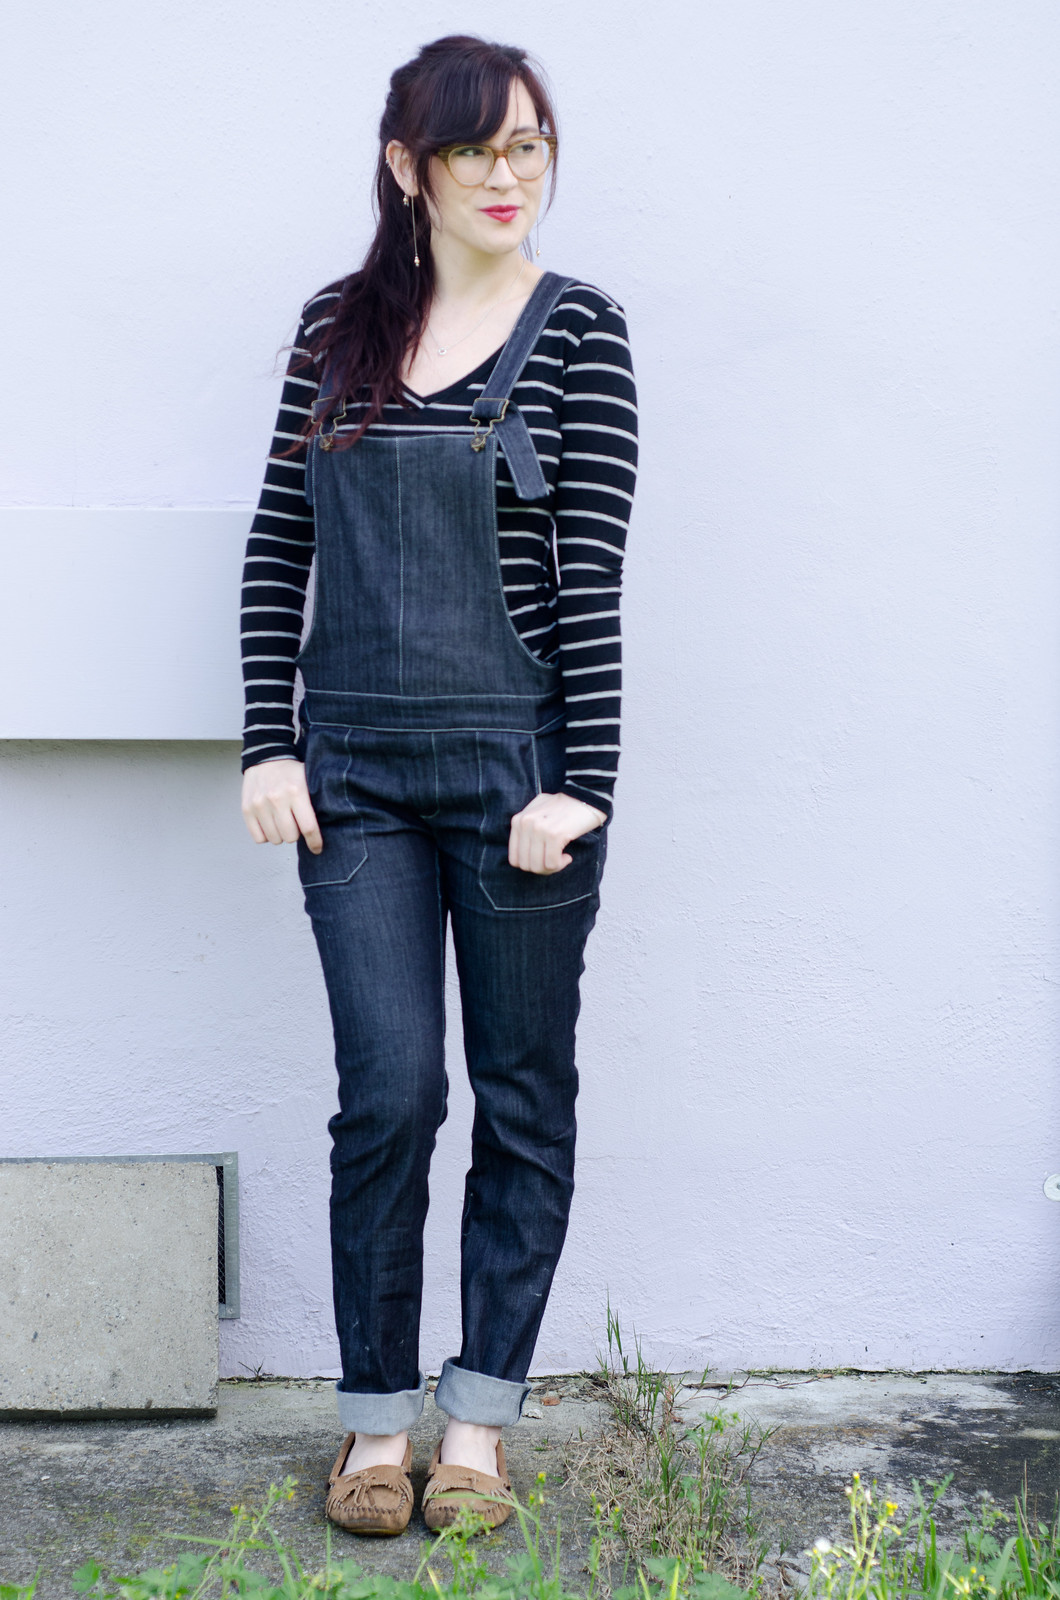
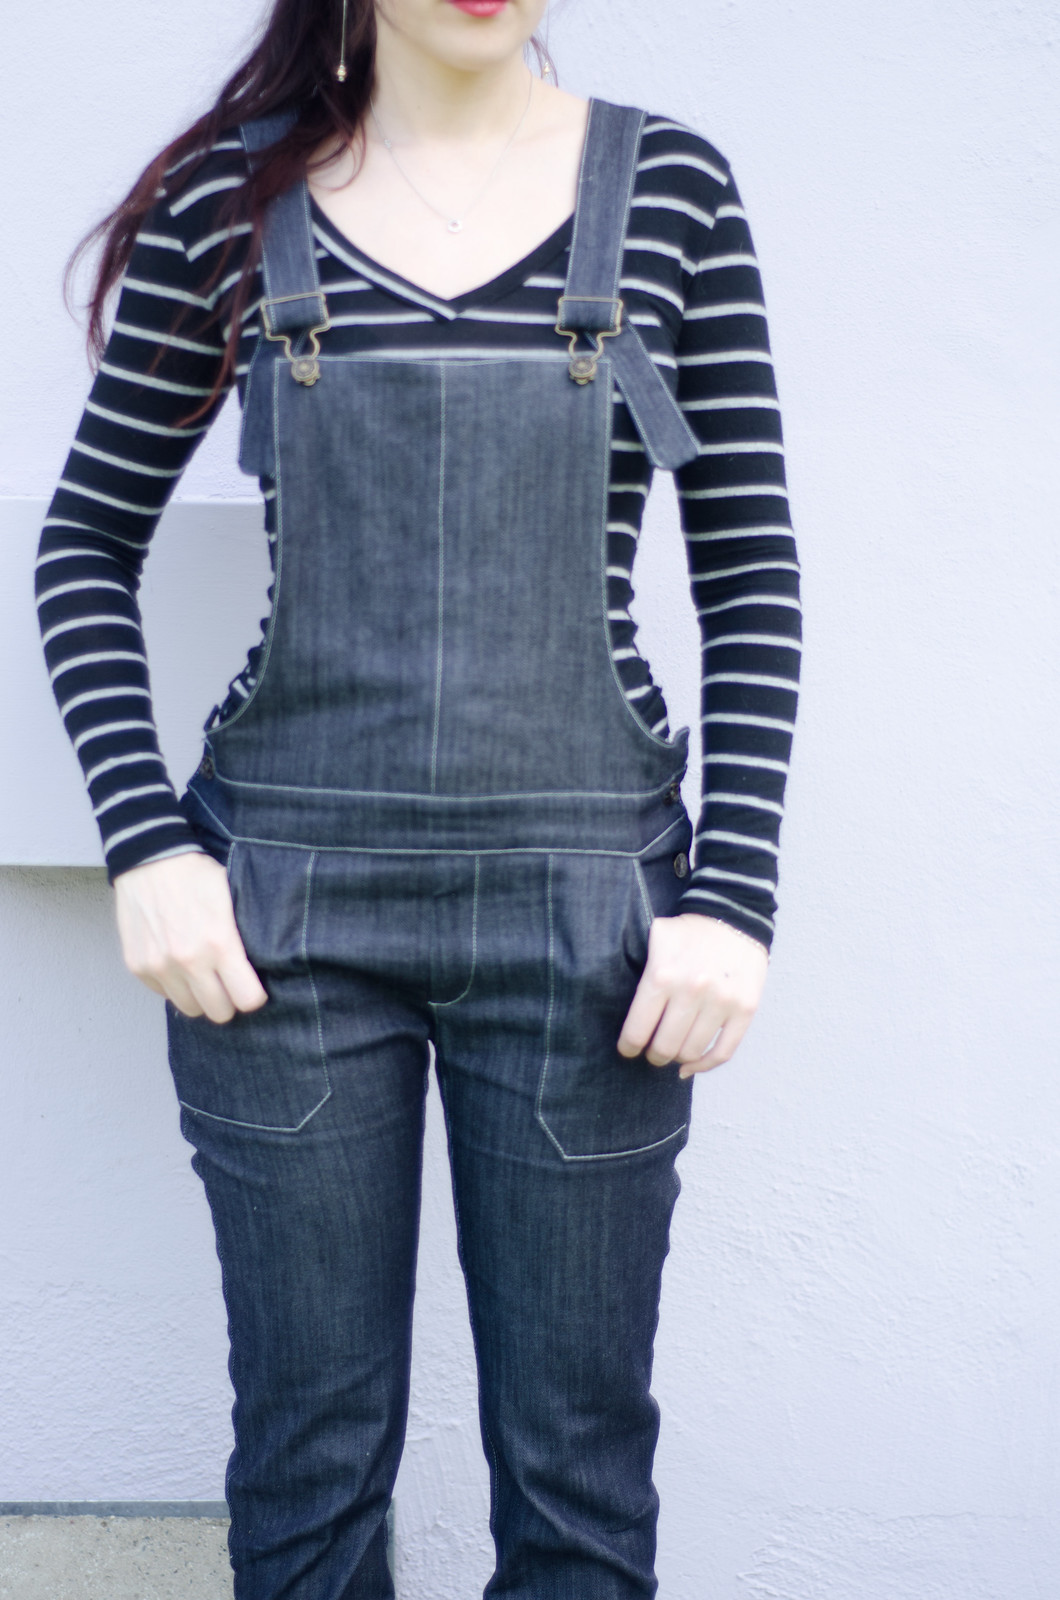
These overalls are SOCOMFY. I started off following Suzy Furrer’s drafting instructions but like most drafting books I’ve worked with, there are no construction details so I got really confused about the button facings and why there needed to be front and back ones of the same shape. I ended up kind of deviating completely from the book and basically just drafted a copy of these Madewell overalls.  I tried something new with the pockets and basically added a muslin lining and then attached them as patch pockets. I also used two strands of gray thread instead of topstitching thread (someone in my class did that and it looked really cool).

I actually really love them in a lighter wash so I’m thinking I might need to make them someday when these wear out because I’m not sure I needed a pair of overalls, much less two pairs. The fit is mostly spot on, I think they’re just a bit baggier than the leggings/tights/skinny jeans I’m used to wearing. I do think the bib is a bit long and I had wanted to add a front pocket but didn’t get around to it before class started. Whoops.

**If you live in the San Francisco Bay Area and want to learn the ins and outs of fitting your crotchal region, Lynda teaches this class every fall at Cañada. (She also used to teach a pants construction class here that I’ve been unsuccessfully campaigning for them to bring back.)


Accidental Sashiko

Sashiko dress

Sashiko dress

Sashiko dress

Sashiko dress

Sashiko dress

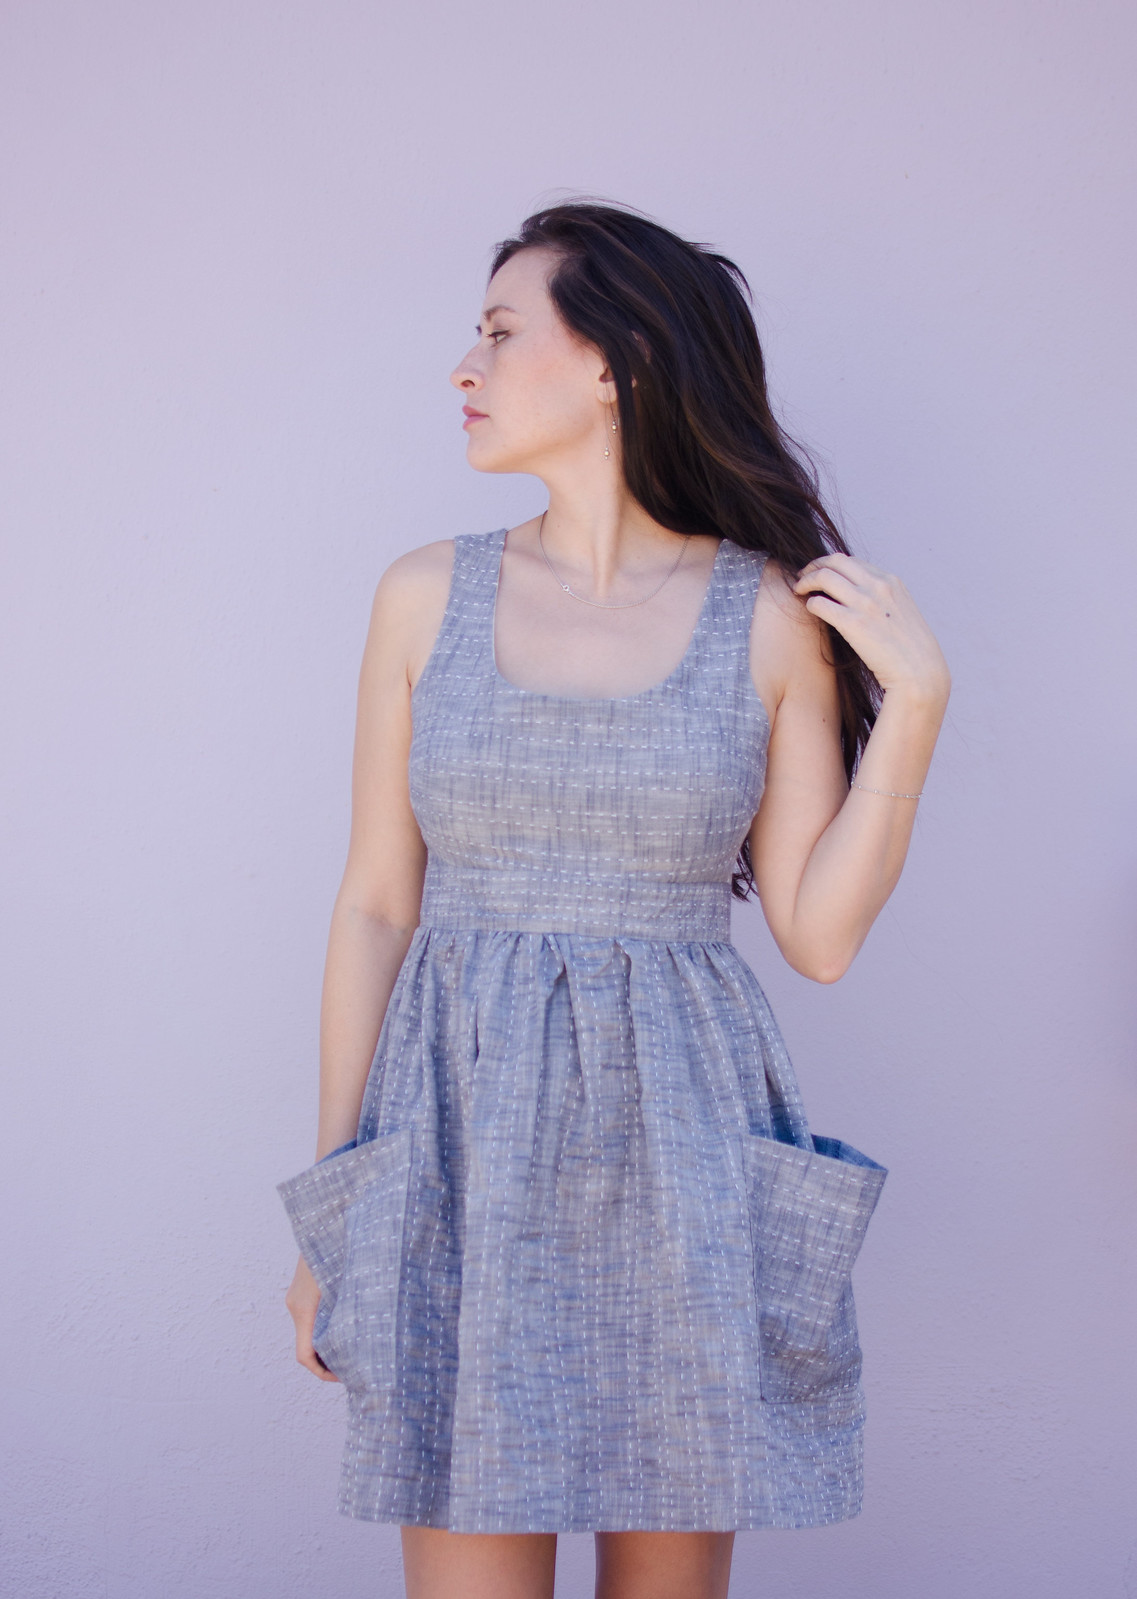
There’s a funny story behind this dress. Several months ago I got one of those “Here are all the things your stash needs!” emails from Fabric.com and one of the fabrics pictured caught my eye. I forget the designer (I want to say Robert Kaufman but I might be lying) but it was this beautiful chambray with lines of thread running through it. I immediately thought of fun, simple, rustic-looking summer dresses. Except they were sold out of it in like five minutes because holy crap it was beautiful. The idea of those summer dresses stuck in my head though, so after I took Copying RTW and made the flower-picking dress pattern, I decided maybe I should make my own stitched fabric. By hand.

Meanwhile, I had also come across Japanese-style mending on Pinterest, which if you aren’t familiar with, you should check out immediately because it makes me want to “mend” all of my clothes, regardless of state of wear and tear.

Anyway, those two ideas squashed together and I grabbed some cotton crochet thread and the needle with the fattest eye I could find and started stitching away at the two yards of gorgeous cotton chambray I picked up at Stone Mountain and Daughter.

It took.. forever. At least two seasons of Arrow. (salmon ladder ftw)

When I was about 86% done, I showed it to a friend, who said “Oh! Are you doing sashiko?” My response was “No, I’m just stitching.” When I was about 92% done, I showed a photo of it to another friend, who said “I can’t believe you’re sashiko-ing your own fabric!” It was around then that I figured I should probably look up what sashiko was. Whoops. And then around 95% completion, a third friend recommended a sashiko needle, which I didn’t even know existed. And lastly, when I showed up in my pants drafting class (taught by Lynda Maynard, who had also taught the Copying RTW class), Lynda started telling me all about her sashiko machine.

Anyway, the moral of the story is that this took forever and I need to look into different needle types because I also didn’t know that beading needles exists. But that’s a whole other embarrassing story.


Toasty


DSC_0447

DSC_0437

DSC_0468

DSC_0470

DSC_0483jacket: pattern here 

Was everyone keeping Waffle Patterns a secret from me??

I discovered them a while ago actually, and I remember my impression being that all of her samples looked impeccably, perfectly put together and that I loved the shapes of her garments but wasn’t sure I could pull them off. For some reason I was also worried her patterns might be a bit more hands off and geared toward more advanced sewers who don’t need much in the way of instruction.

Now, I would definitely say that Tosti is an advanced pattern, but she does hold your hand every step of the way. She has graphics illustrating literally every step and everything is marked clearly. Some of the trickier steps are even explained in further depth with photo tutorials on her blog!

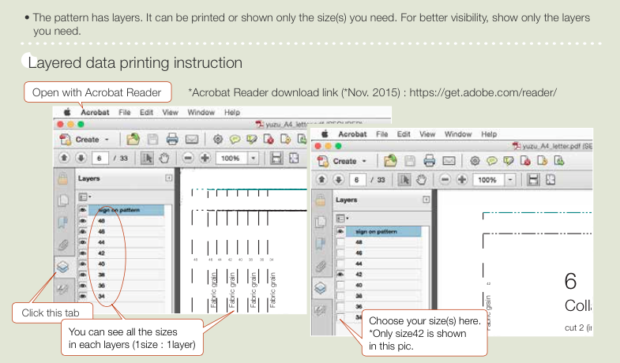
The other thing I loved was that the way the pattern is drafted meant that I didn’t have to do much to the pattern before I started sewing. First off, the seam allowances are 1/2″, which I’ve gotten used to using when I draft. The sleeves were the perfect length on me (I have monkey arms and my wrists gets cold so I like my sleeves a little past the wrist bone), and the jacket itself is the perfect length on me! The shoulder seam is shifted to the front a bit so it sits on your actual shoulder. The only thing I had to change was to rotate the sleeve in the armhole a little because my shoulders point forward, which changes where I need extra fabric in the cap. I didn’t actually change the draft or anything, I just rotated everything about 3/4″ forwards and ignored the fact that notches/seams no longer match up. No one’s looking at my armpits anyway (hopefully). AND she’s included layers in the PDF so you can select which size(s) you want to print and only print those! I sewed a straight 38 so I just unclicked all the other sizes and only the lines (stitching lines and cutting lines) for the 38 showed up. She also gives you simple instructions for how to do this if you (like me) had no idea this was even a thing. (Why doesn’t everyone do this??)

screen-shot-2016-10-08-at-12-50-43-pm

I started with a straight muslin where no changes were made. I did sew the first sleeve as indicated and noticed some poufing in the back so I sewed the second one rotated to compare. I was really thrilled with the way everything fit as drafted!

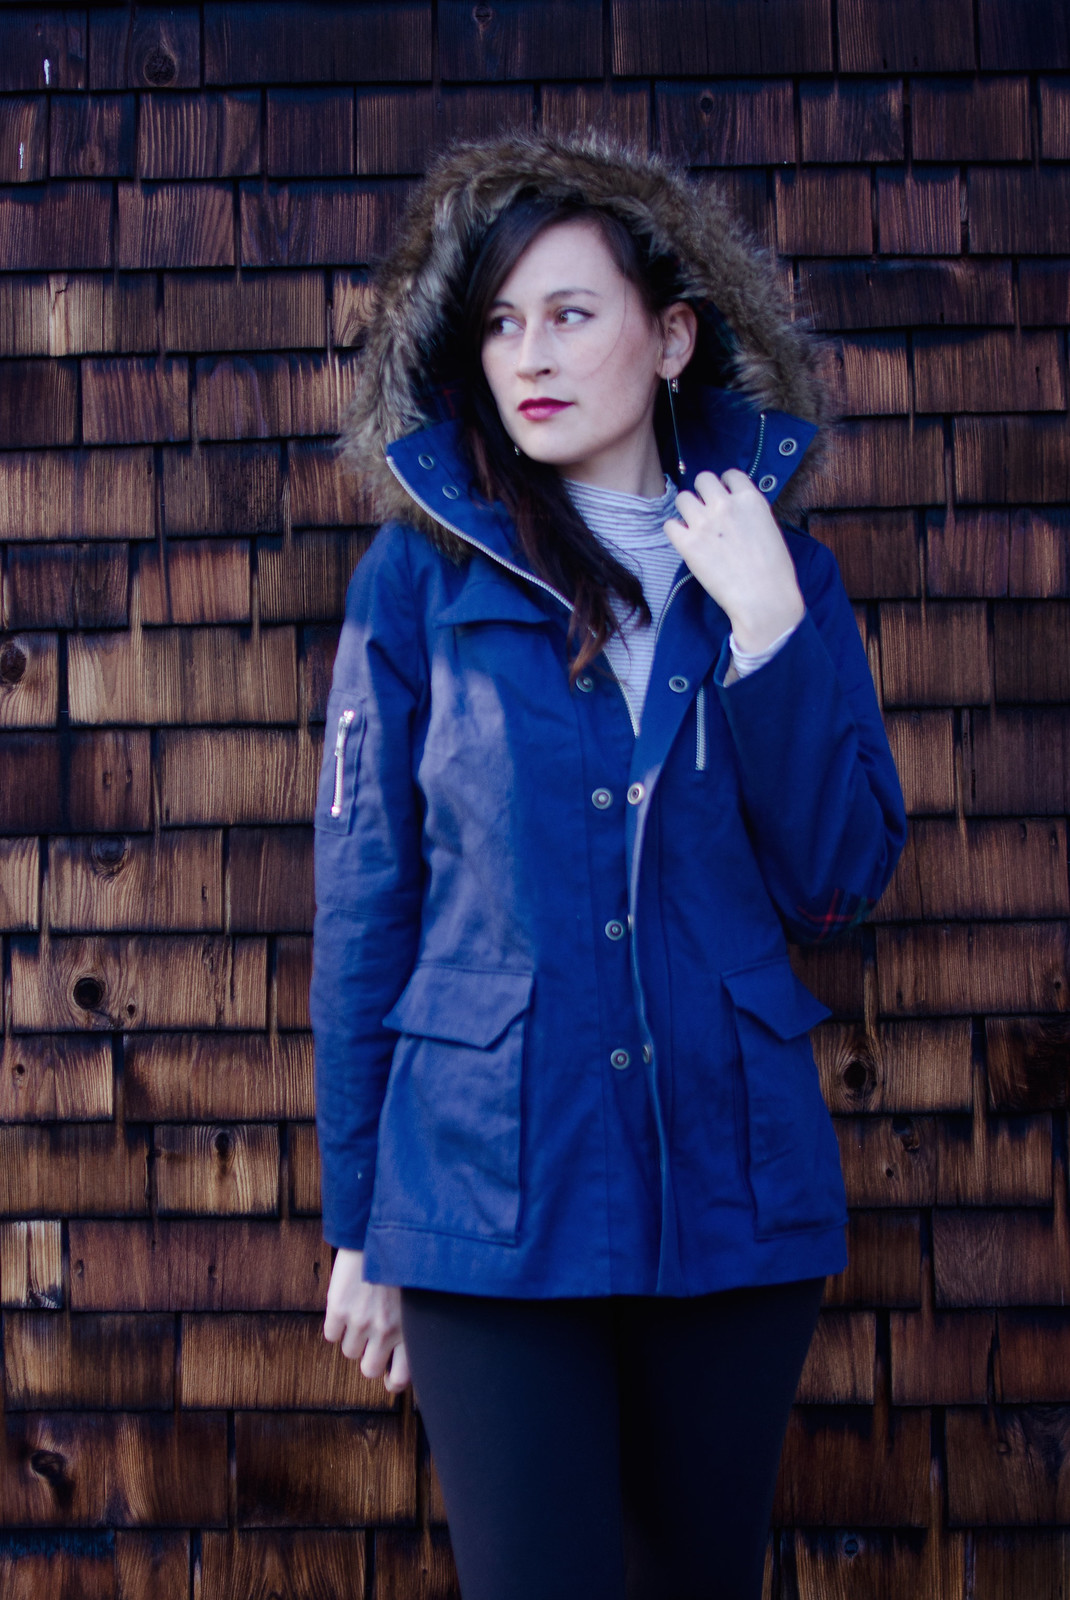
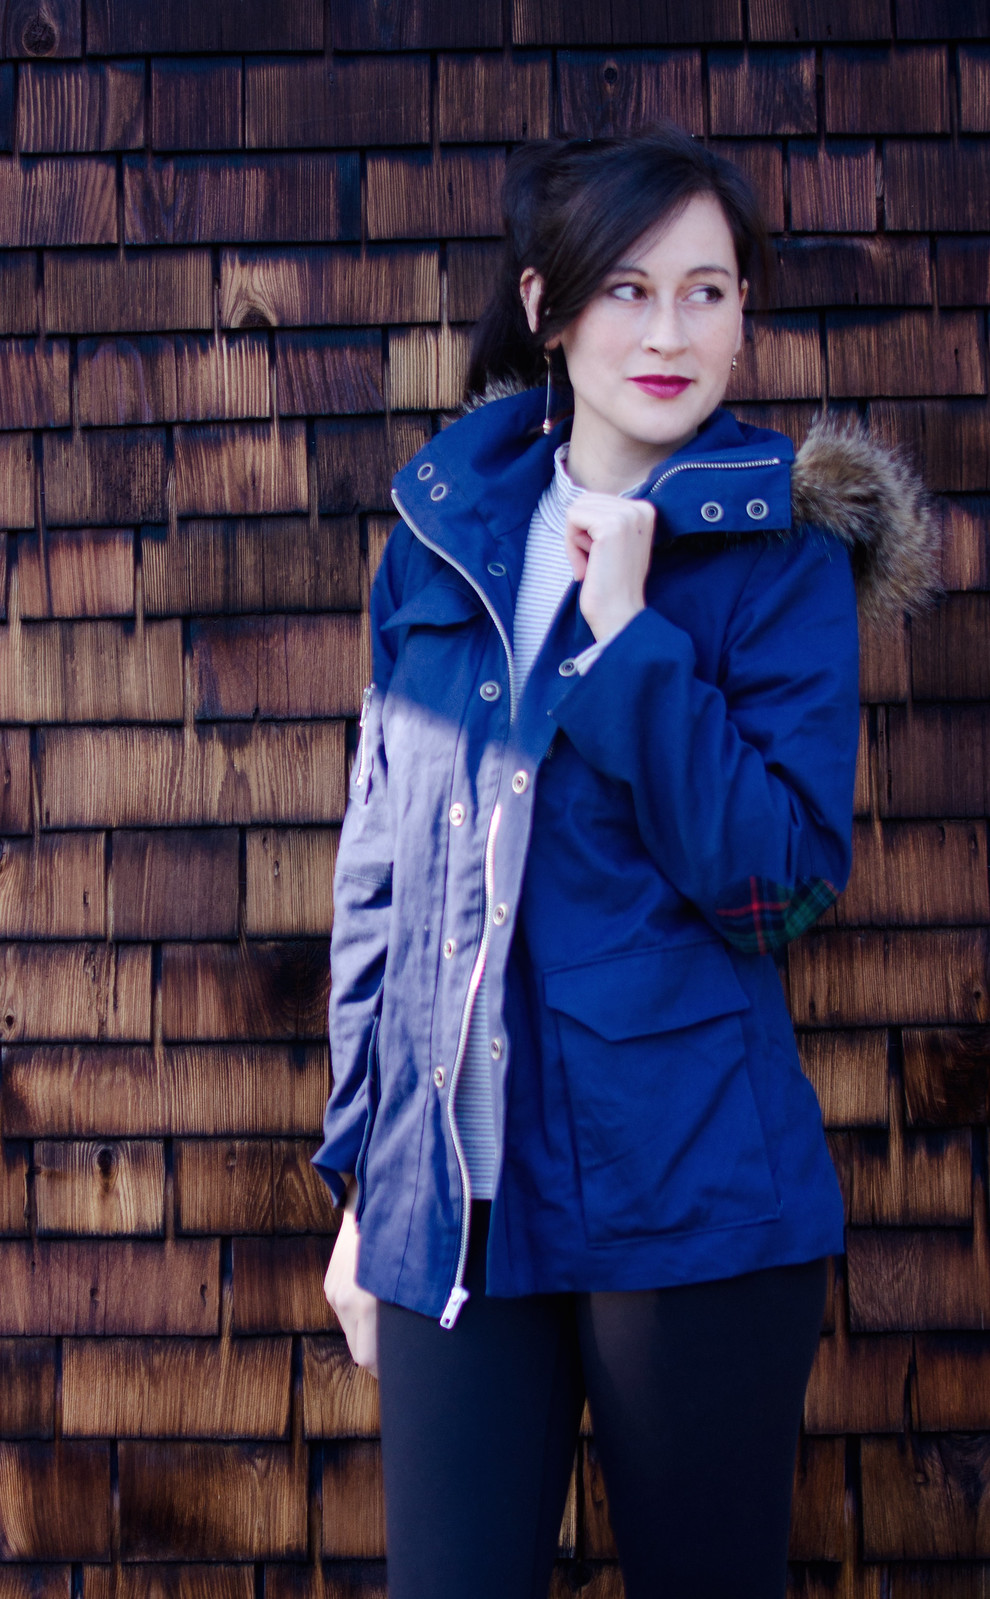
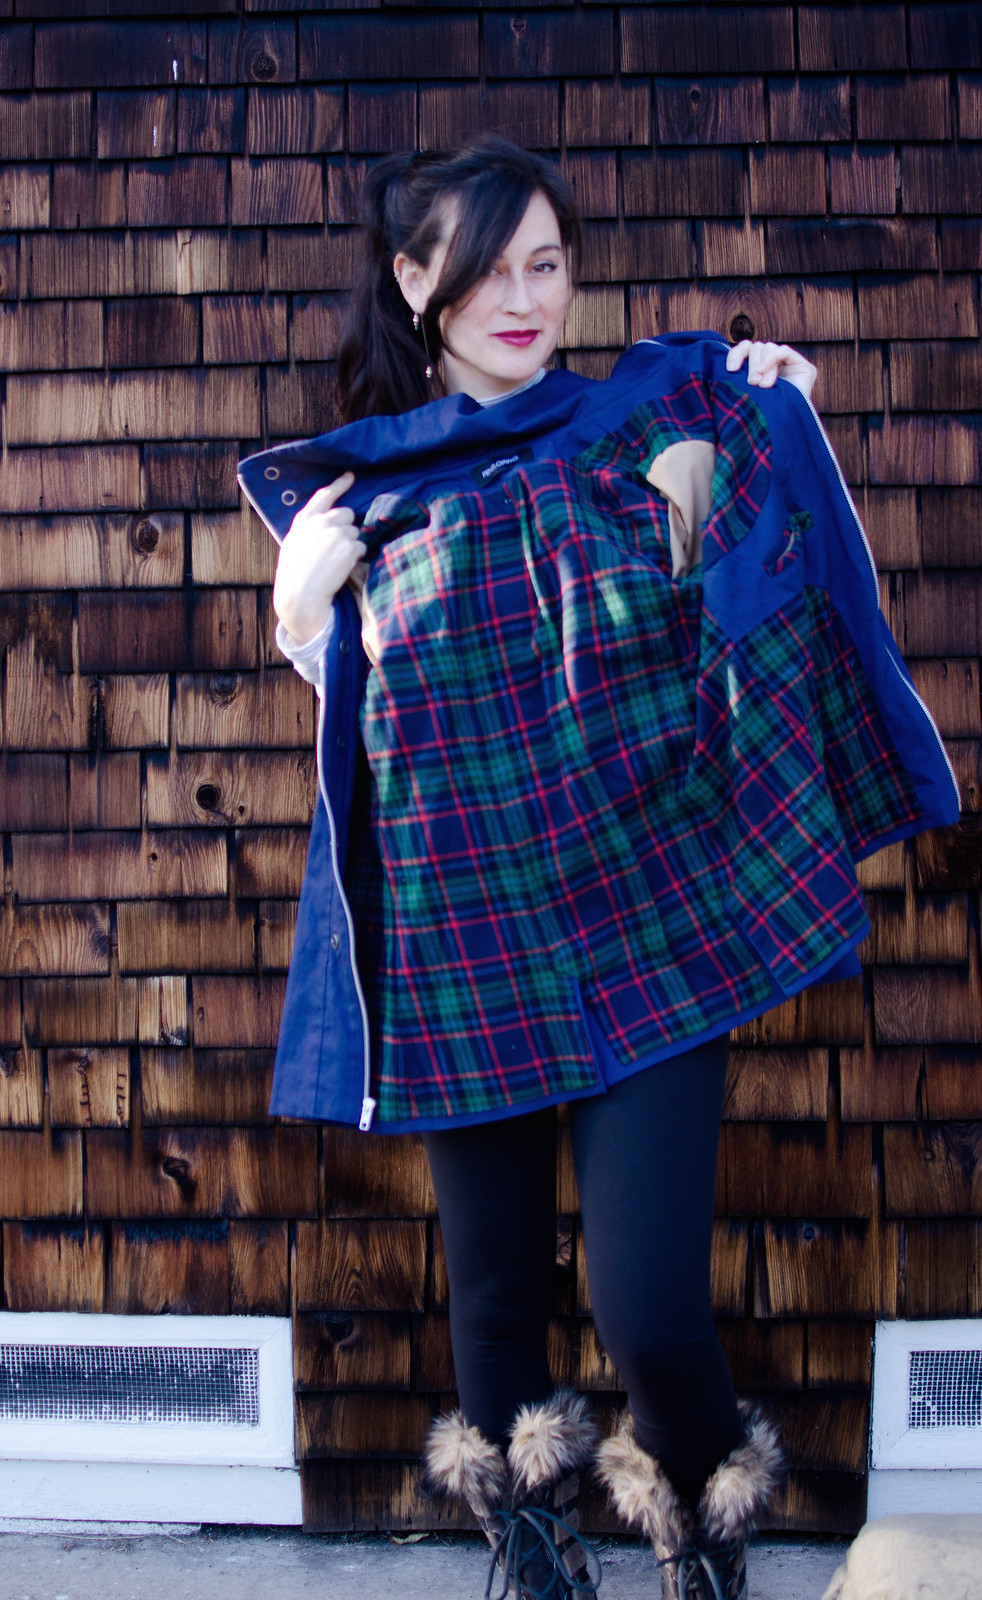
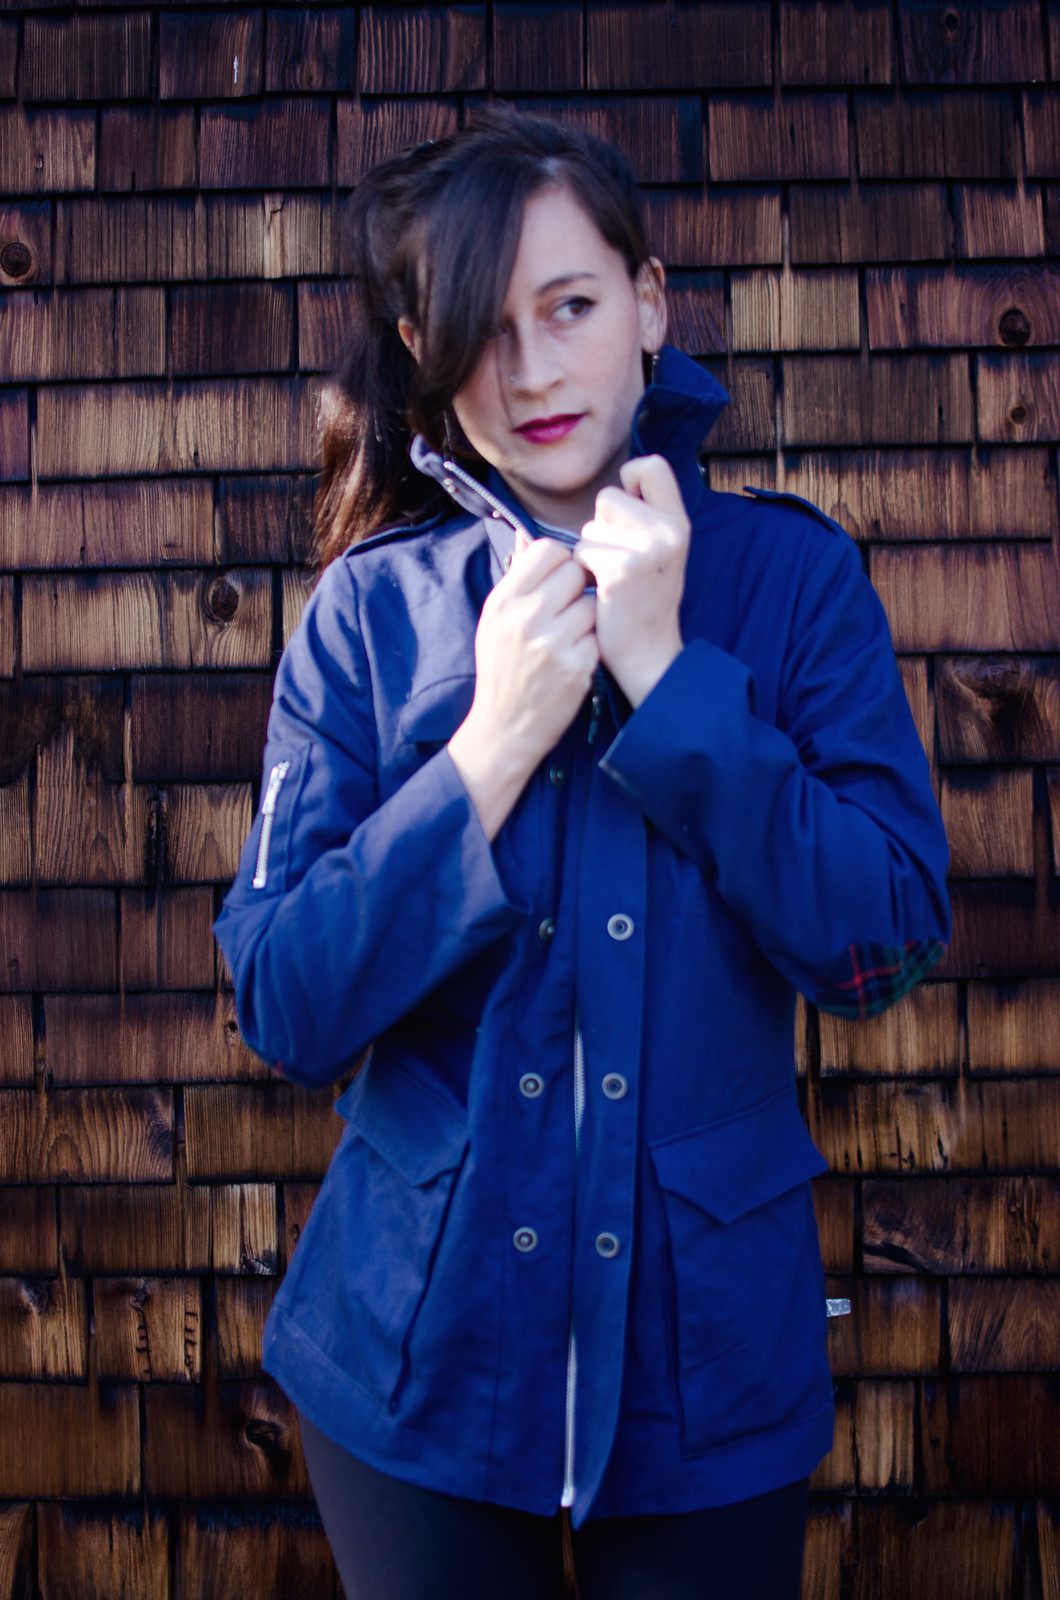
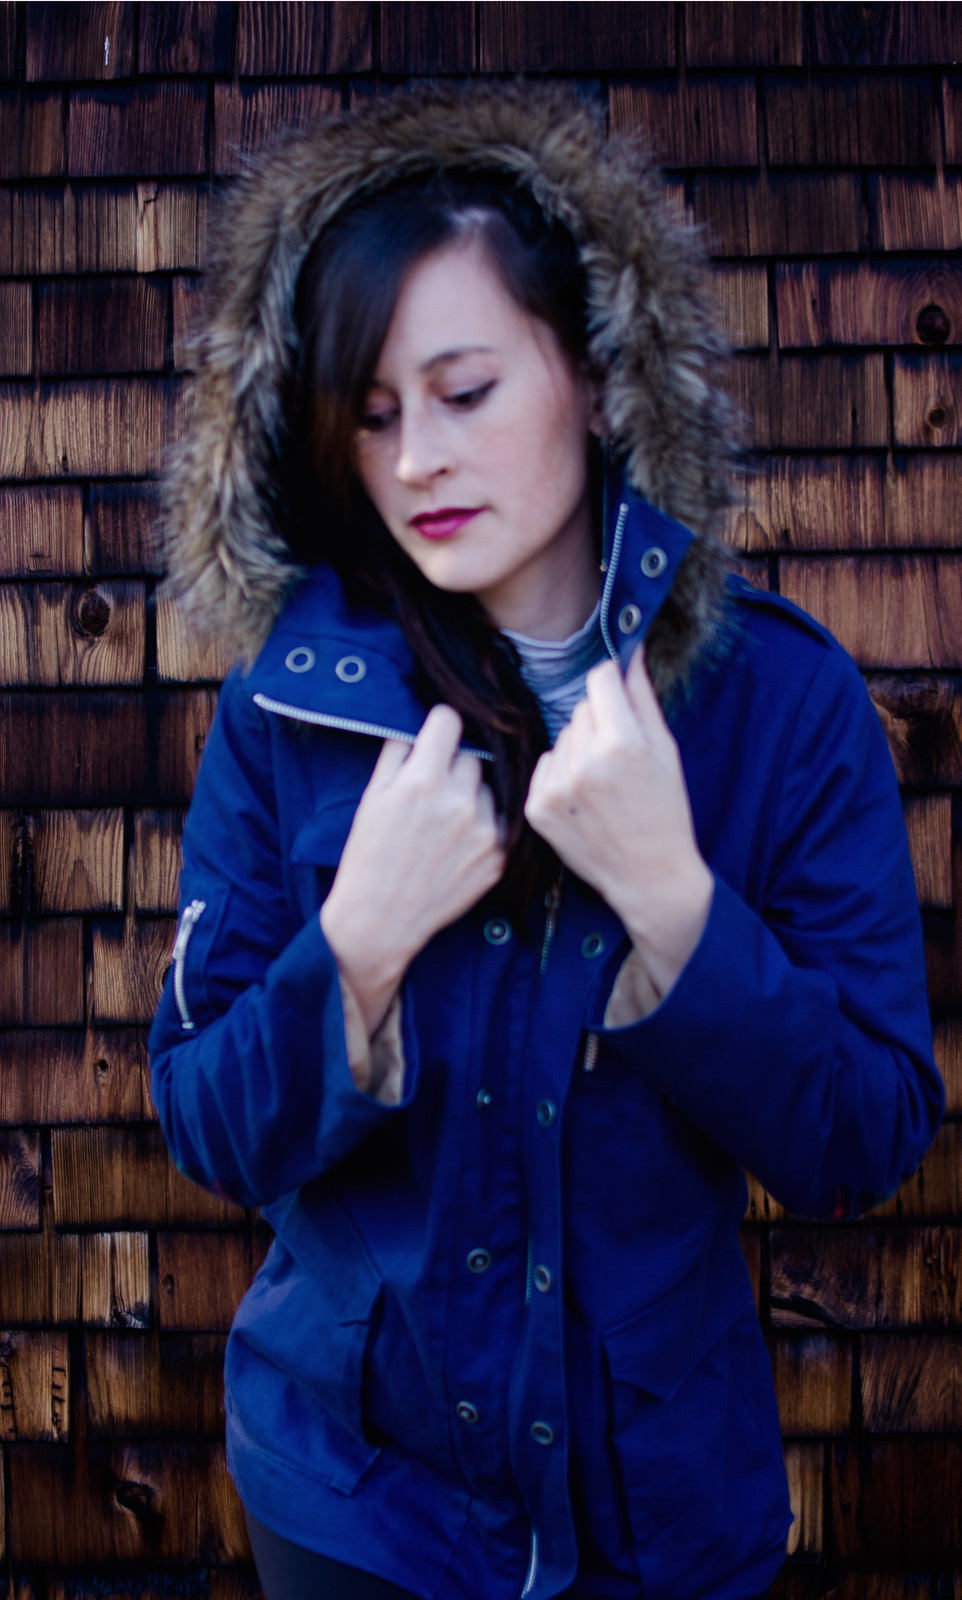
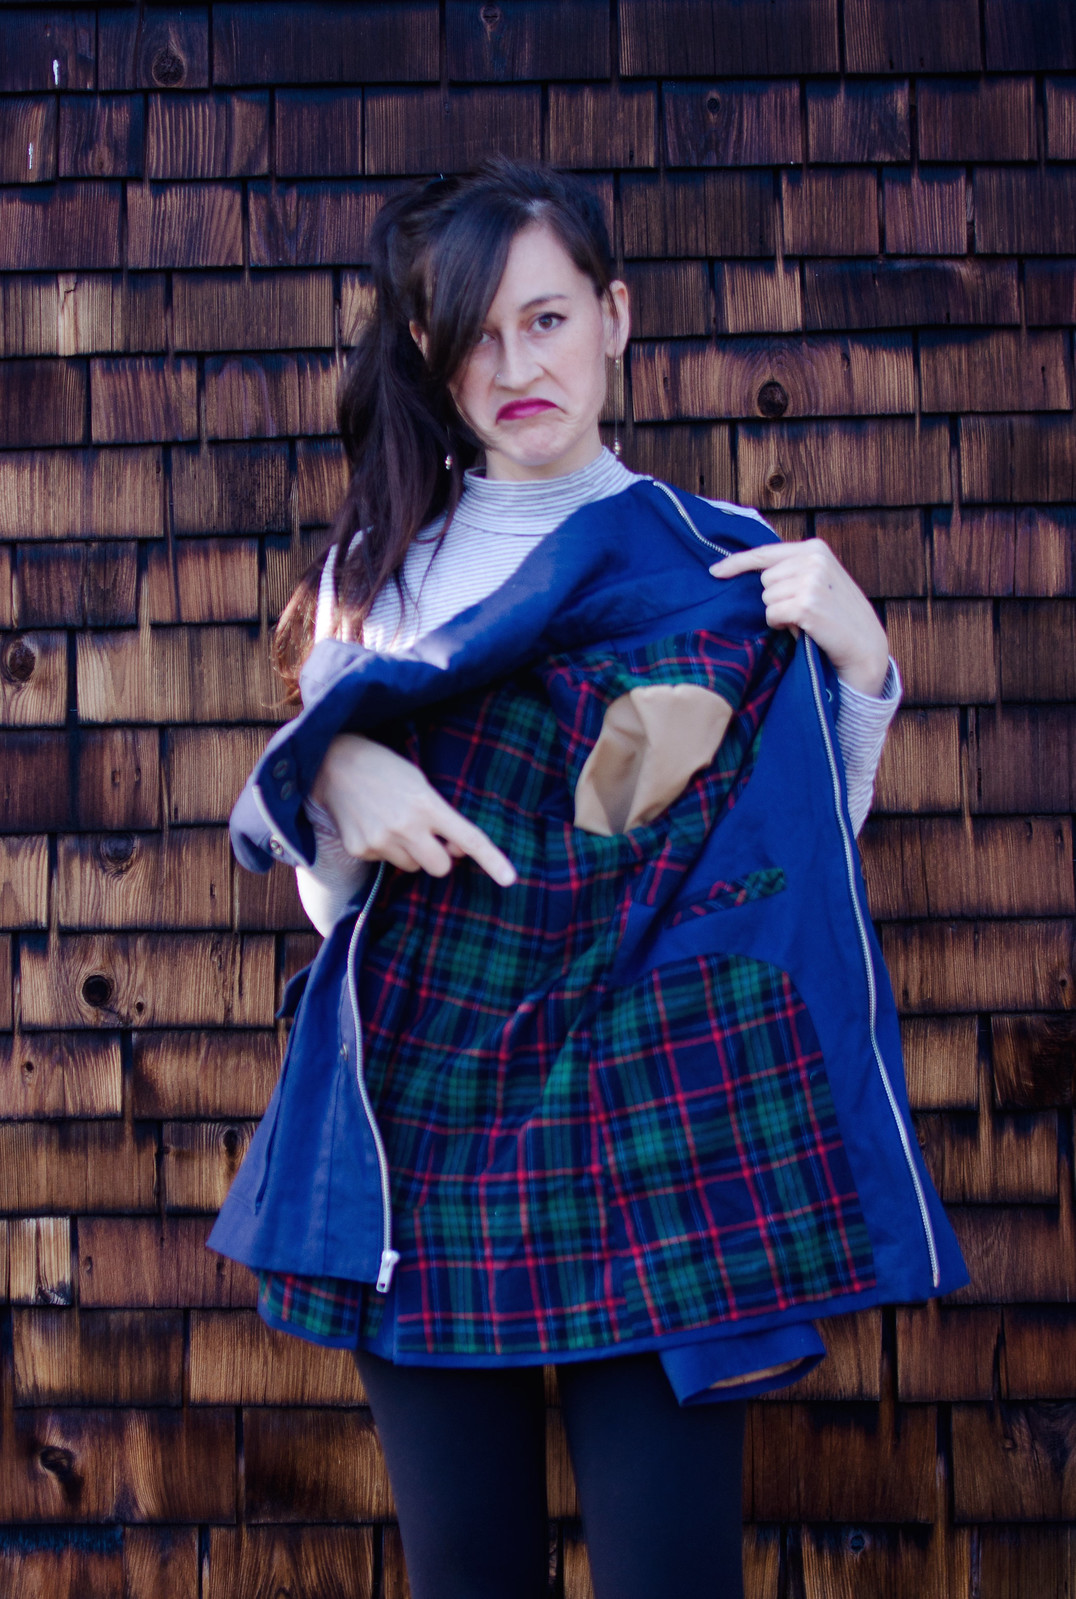
For my jacket, I knew pretty much immediately that I wanted one in a dusty navy color, with a plaid flannel lining and fur-trimmed collar. I got 100% navy cotton twill at Joann’s and I used a plaid flannel from my stash for the lining of the main coat. I was SO CAREFUL with my plaid matching except I completely forgot about it when cutting out my upper/lower pieces on the left side. Somehow I managed to get half the lines matched but it still bugs me.

DSC_0466

I lined the sleeves with a tan lining fabric from my stash (destashing ftw!) and while they feel great and my arms slide in super easily, I kind of wish I’d used a darker shade so there wasn’t such a stark contrast. Oh well. I also added plaid elbow patches to the sleeves because why not.

Concerning pockets: I think everyone knows I love pockets. Obviously you look at any of her samples and immediately notice “Wow, lots of pockets!” When I realized she’d included instructions for SIX different customizable pocket options I nearly died of happiness and wanted to try one of each. I decided to go with Pockets A (flap pocket on chest), B (zip pocket on opposite side of chest), C (bellows pockets with flaps), E (arm zip pocket), and F (double welt pocket on inside). And believe me, I only left out Pocket D because it would’ve been weird if the large front ones didn’t match.

Also, this isn’t included in the pattern PDF but she did post this tutorial on how to add a fur trim to the hood. I saw her jacket and immediately drooled all over the navy twill I bought. It was a bit of an adventure finding the right faux fur. At first I went to Britex but the only one they had that was remotely the right color family was slightly too greenish and was $75/yard fur with a cutting minimum of 1/2 yard. Fabric.com had the same cutting minimum and I really only wanted like 6″. Etsy was also a fail, since people were mostly selling giant pieces for baby photo shoot backdrops (weirdly specific). Eventually Joanns of all places came through and I picked up this gorgeous foxy faux fur that is super soft and goes so well with the blue. Fun tip: look for a faux fur that has modacrylic in it (mine is 10%). It mimics animal hair growth patterns, is super soft and realistic looking, and self-extingushing. (Thanks Textiles class!)

The snap buttons are from Joanns and were super easy to install. You do need to buy the little attacher thing but it was like $3, and then all you need is a hammer. The zippers were from an Etsy store and I had SUCH a hard time finding a long separating zipper that matched the tiny pocket zippers that I ended up just ordering tiny separating zippers for the pockets. It wasn’t ideal but you can’t tell. Next time I think I’ll just have to be ok with slightly mismatched pocket zippers.

When I bought the pattern I kind of assumed I wouldn’t need two utility jackets like this and would only make another if this one needed to be replaced, but with how well it fits and how often I’ve been wearing this one, I think I’ve changed my mind. I’m thinking of doing an unlined version in the traditional army green. And maybe a quilted ventless vest version in some kind of wool with the shorter collar and fur-less hood.