Category Archives: finished sewing project

Adventures in drafting // red wedding

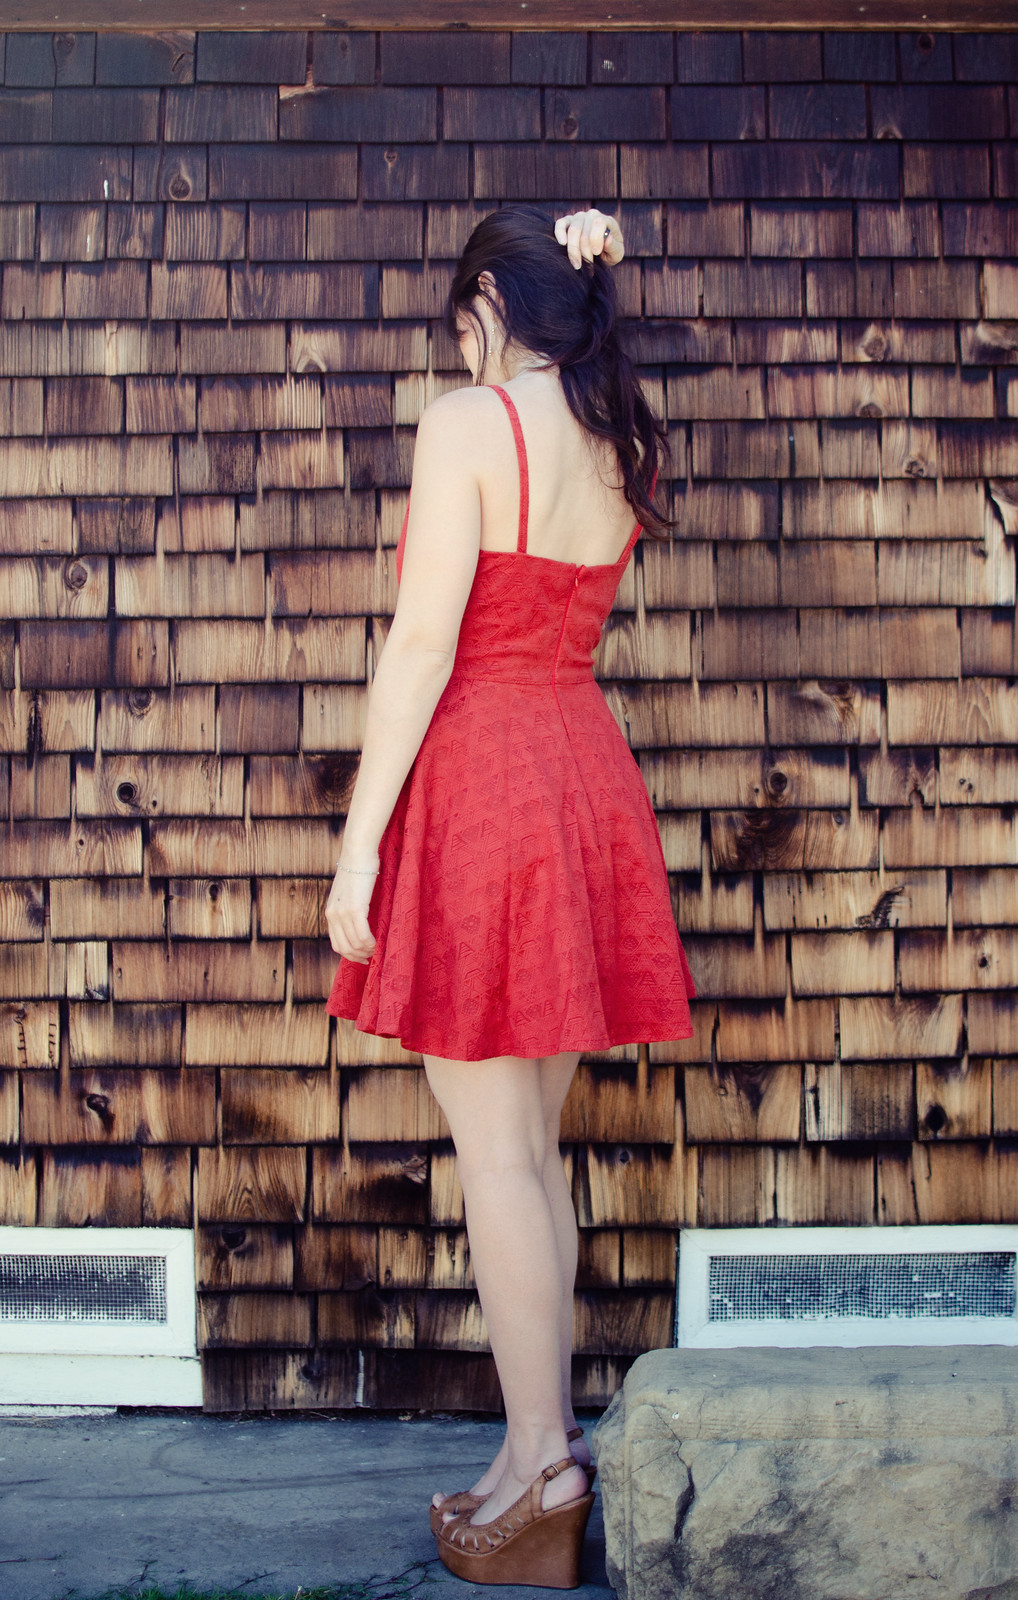
Red dress

Red dress

Red dress

Red dress

Red dress

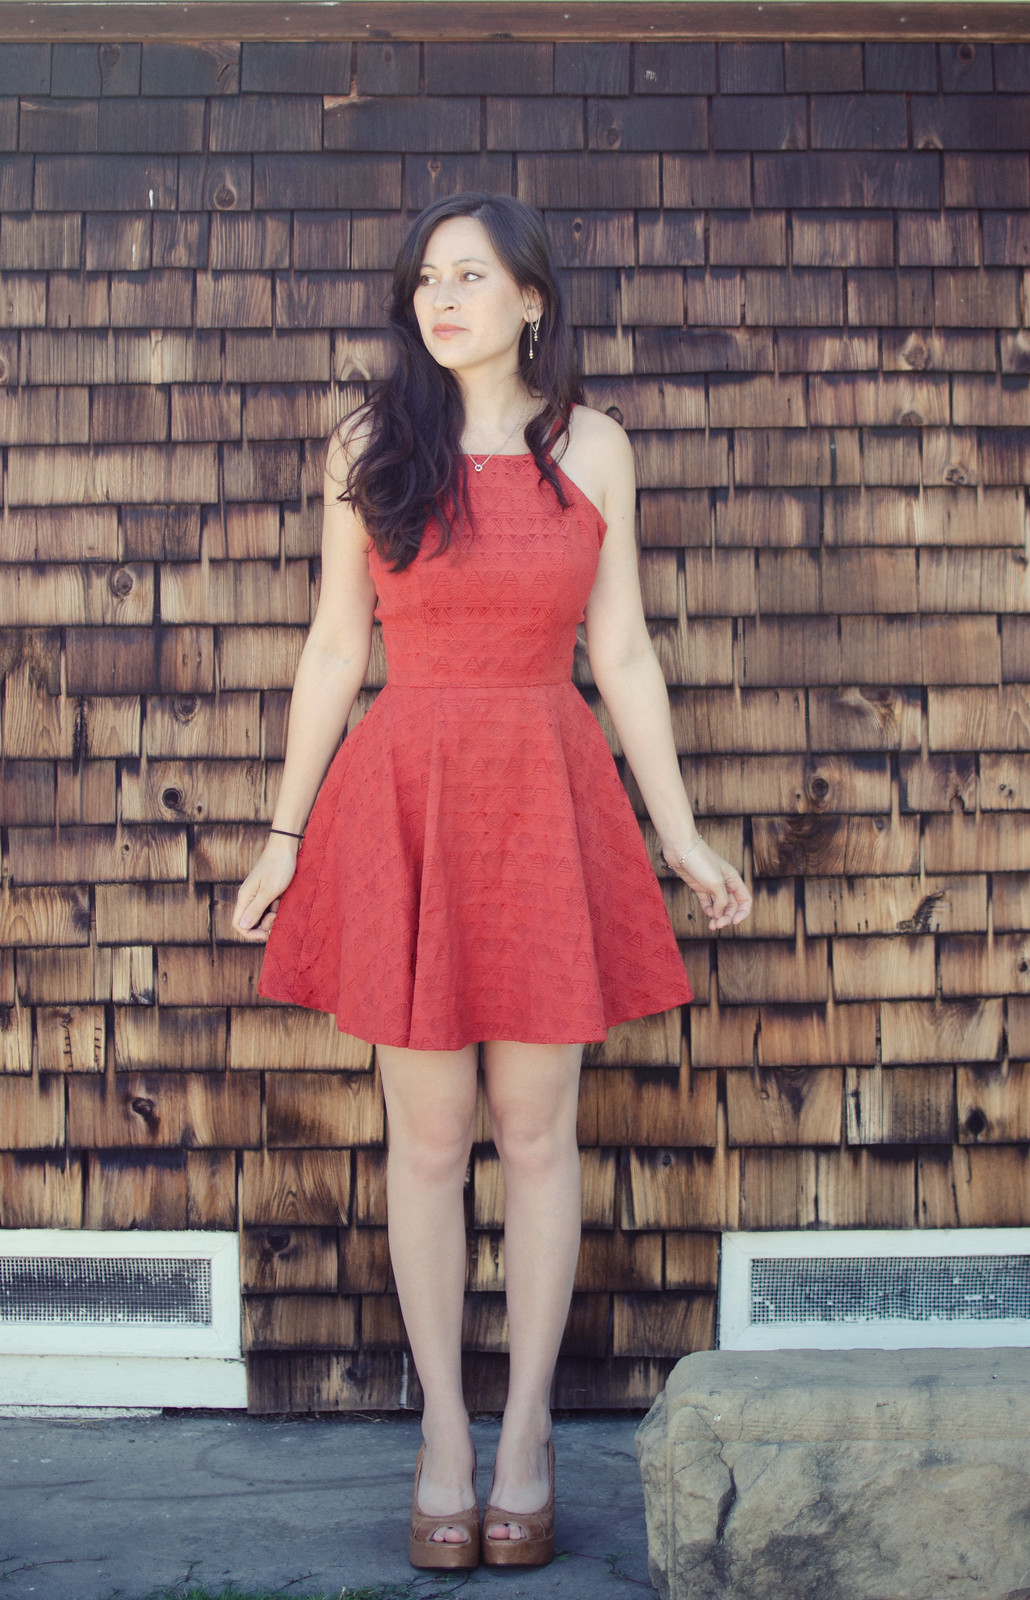
Red dresspattern: self-drafted // shoes: Cathy Jean

Haha just kidding. My friends’ wedding was lovely! No murderous musicians.

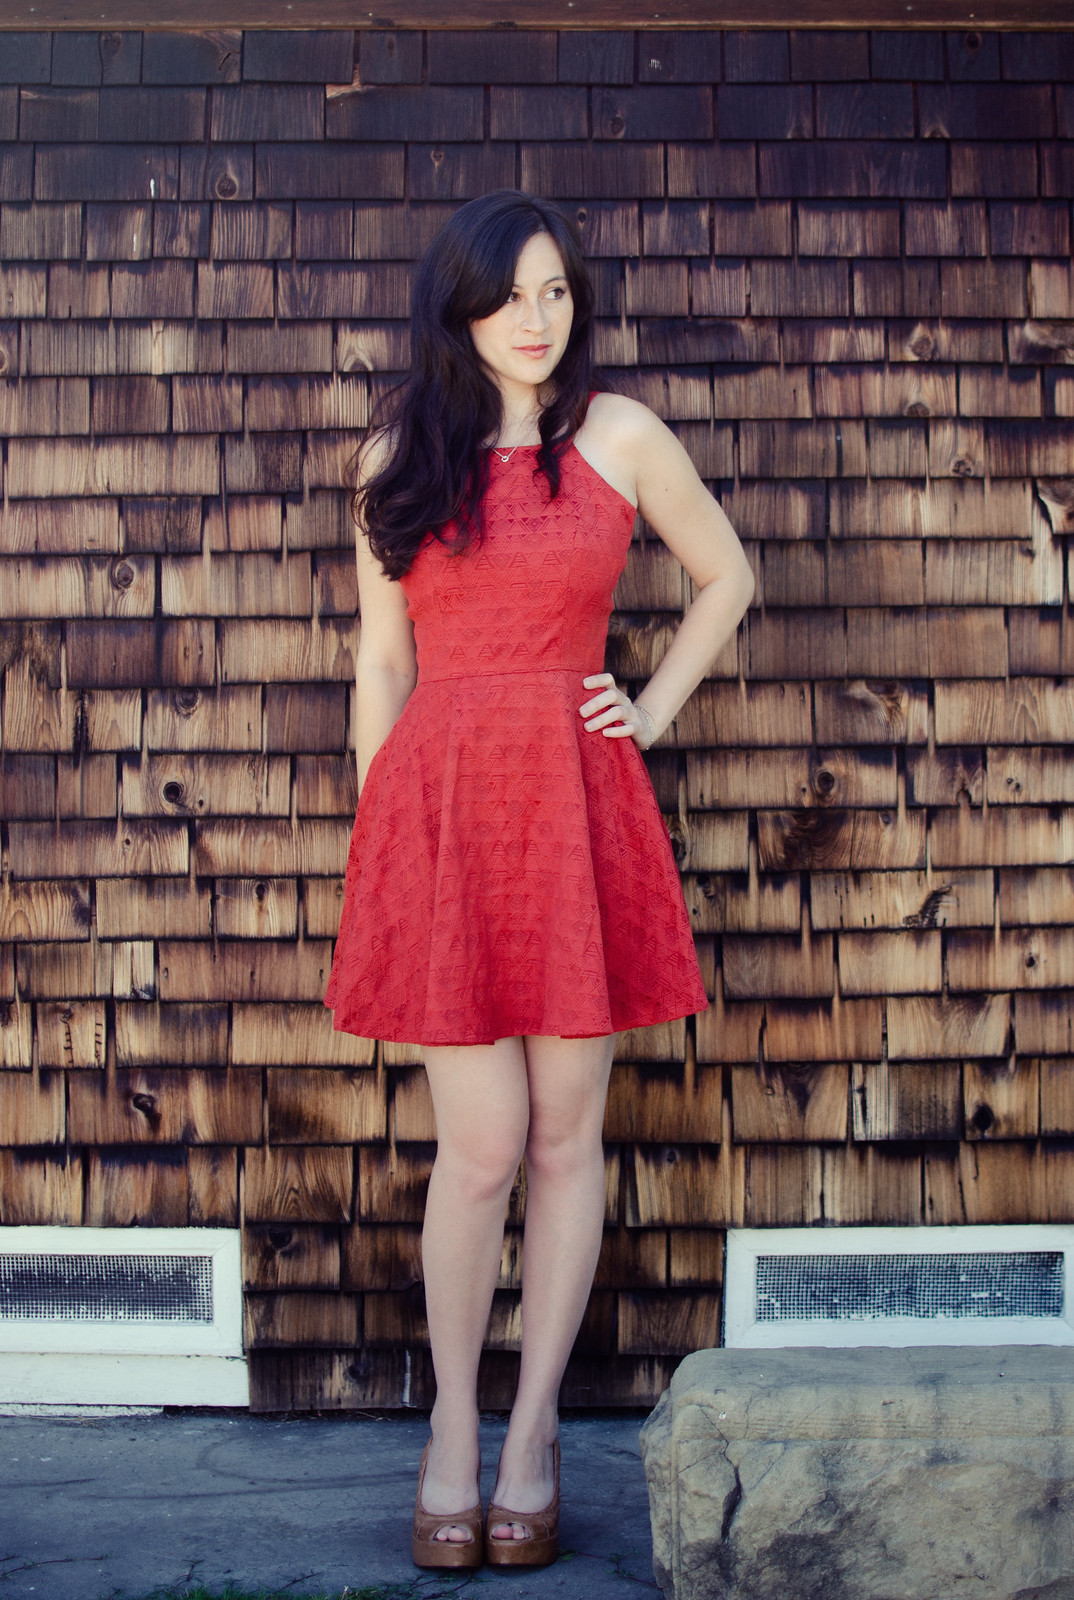
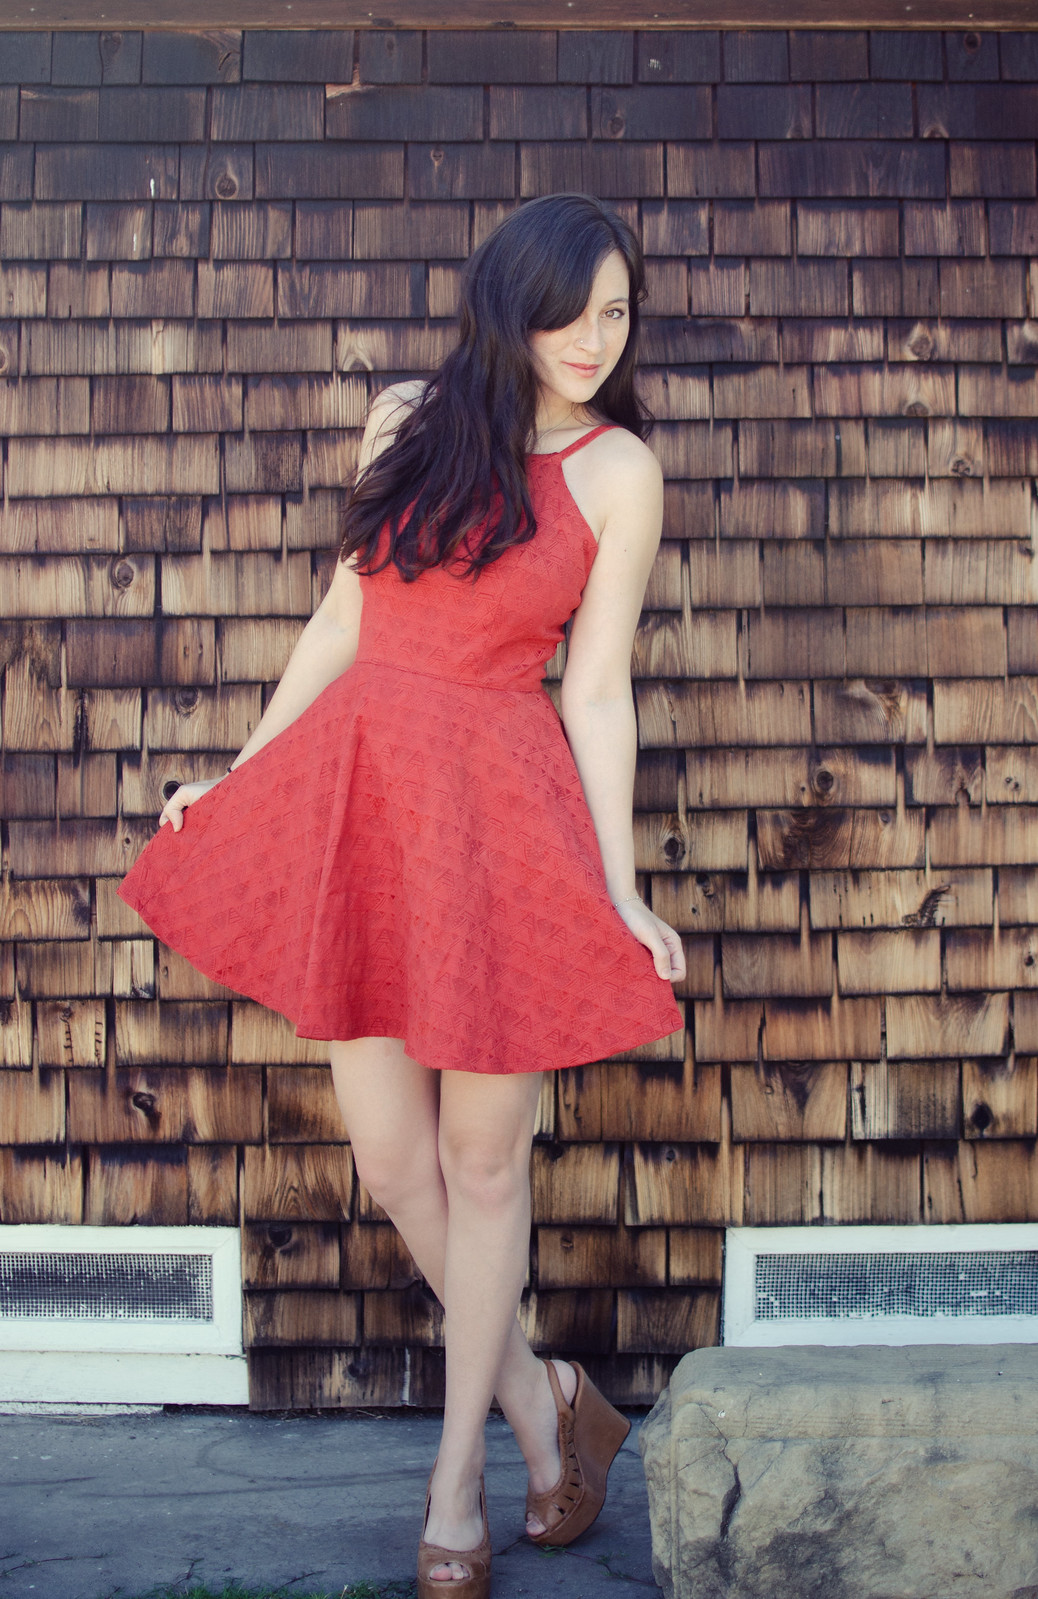
Anyway, I made this dress because a day before hopping on a plane to DC, I realized that every dress I owned was either black, white, one of the wedding colors, or more appropriate for winter.  So, I took a break from the Epic Peacoat Copycat of July to draft a quick pattern and then made an extremely panicked trip to Joann’s.

IMG_9062

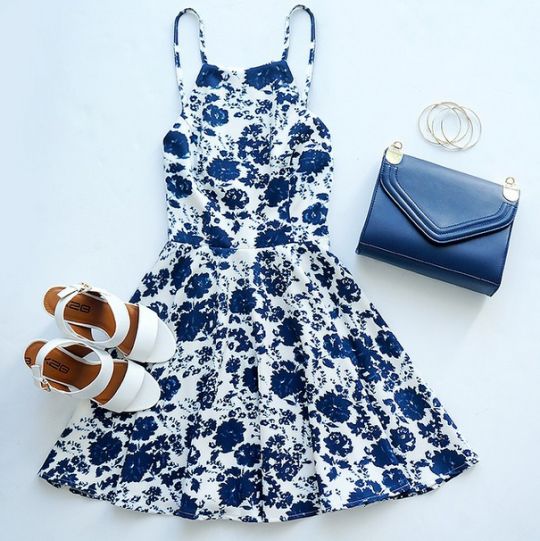
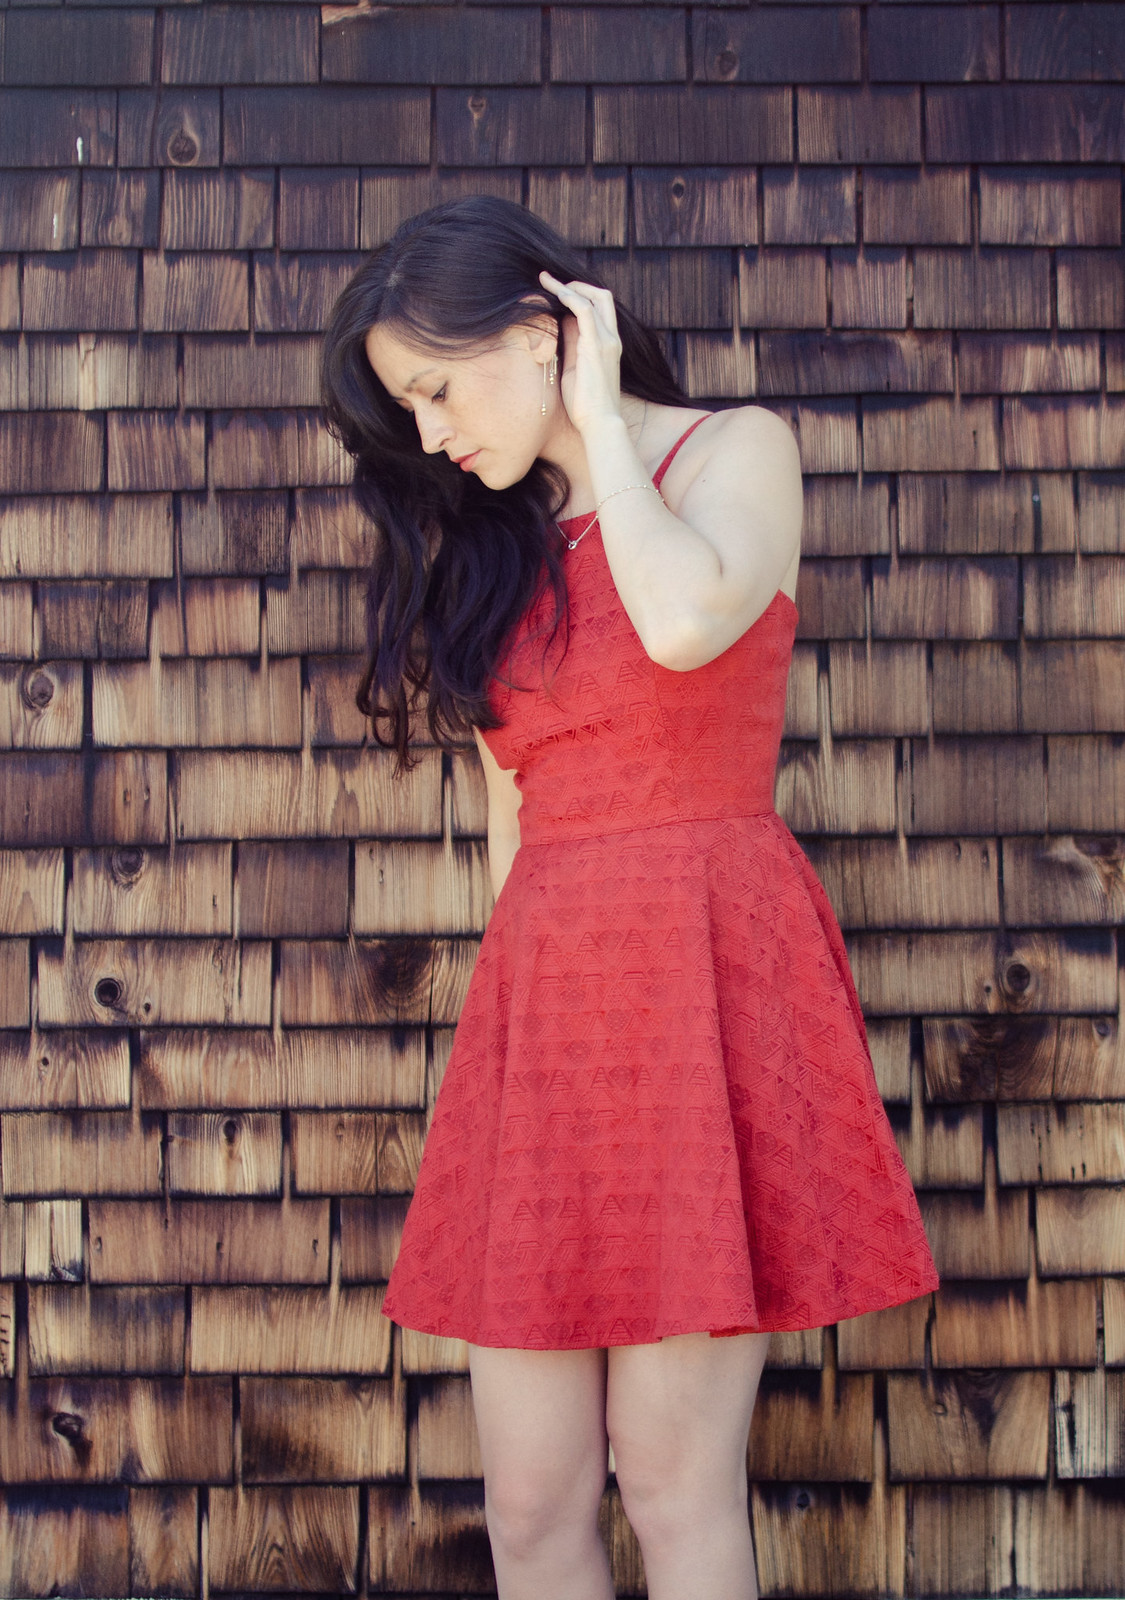
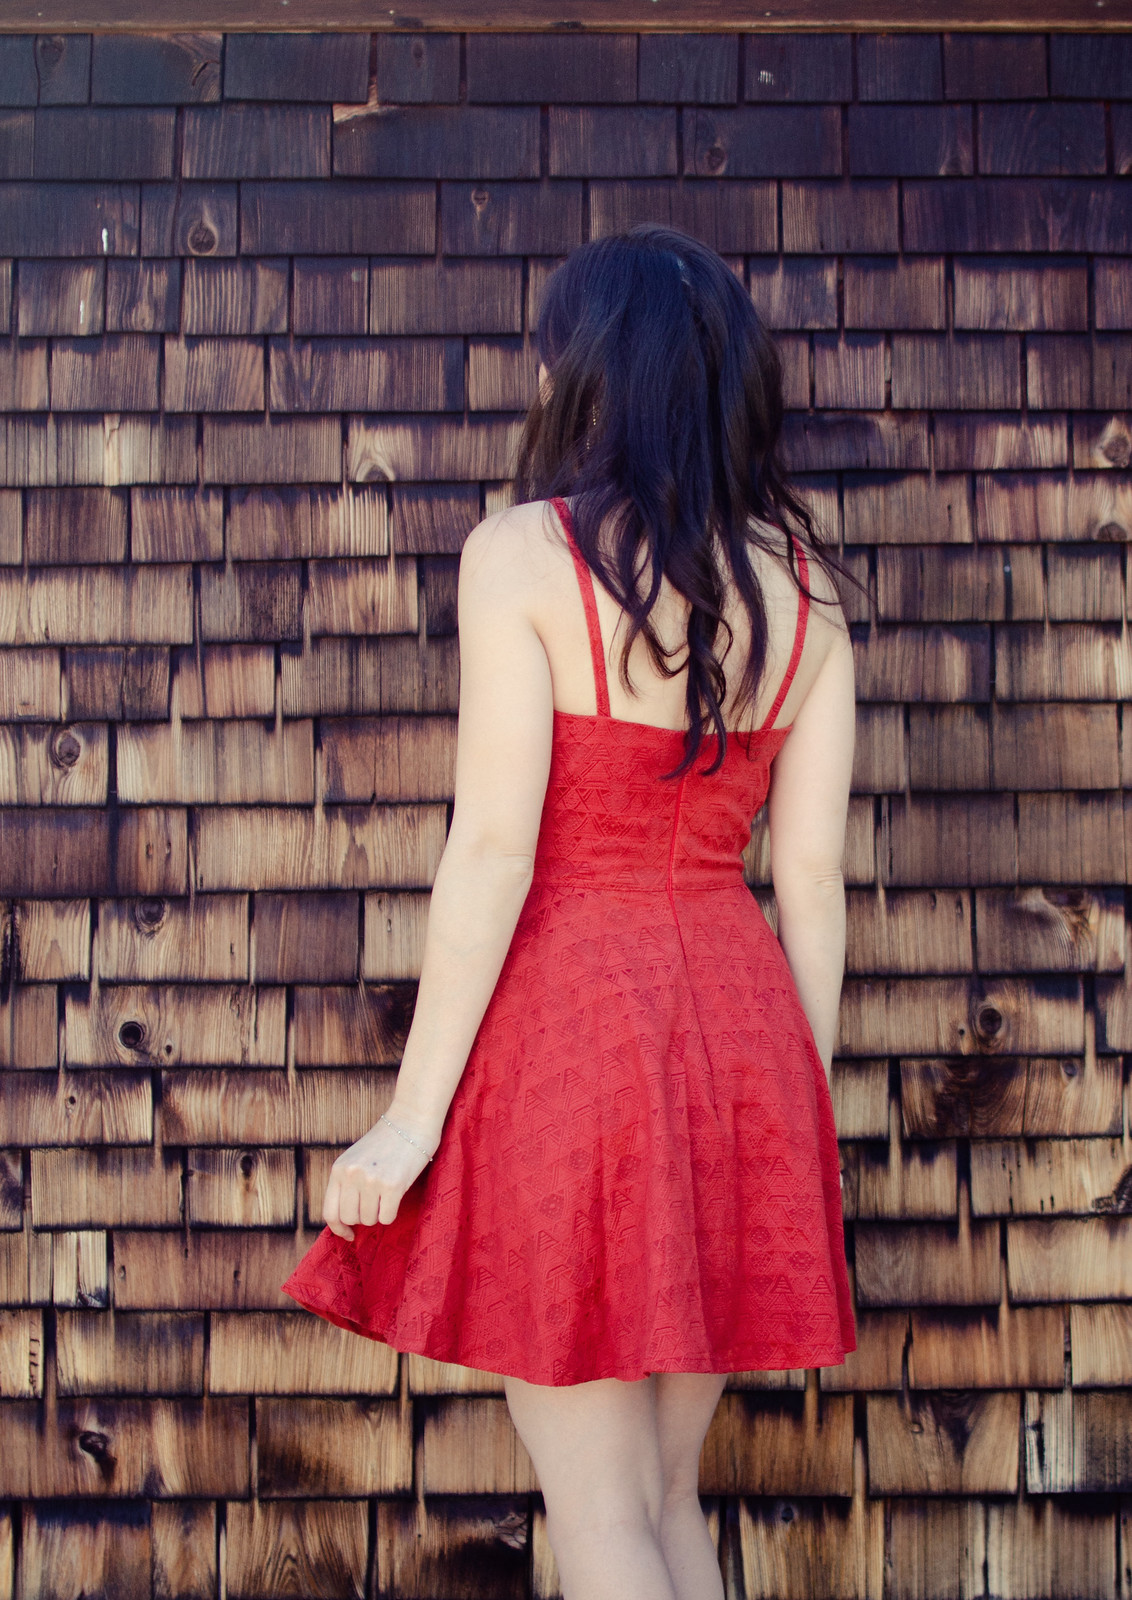
I had found this photo somewhere on Pinterest (not sure where the original is from!) and wanted to do kind of a high-ish front, low-ish back sort of thing. I basically just lowered the neckline ~2″ and drew a new flatter neckline, did a sleeveless adjustment (bring armholes up 1/2″ and in 1/2″), then drew connecting curves from the new armhole up to the corner of the new neckline. Then I contoured the crap out of all it and moved the bust darts up and turned them into princess lines. The back was easy, I just repeated the sleeveless adjustment, closed the waist dart, and drew a line from from the armhole dipping lower at center back.

I didn’t have much time for tweaking but I’m pretty pleased with how it turned out! We were going through a bit of a heat wave last week so I was way too hot and miserable (and lacking in time) to deal with figuring out a bra for this one so I decided to just go bra-les. Eh, it worked out I think.

IMG_0225

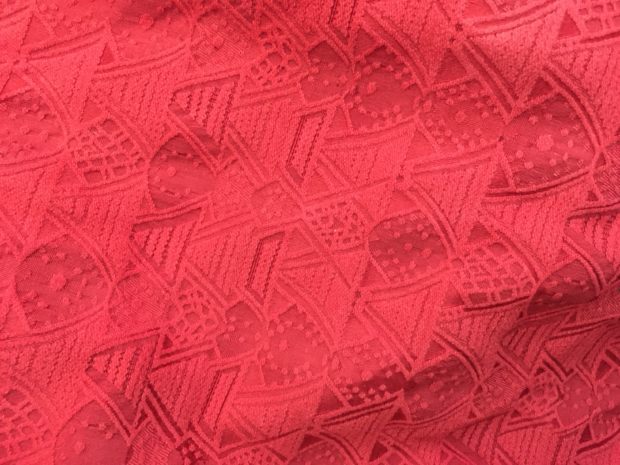
How cool is this fabric though?? I briefly considered adding trim or some other detailing to the dress but a) no time, and b) it really didn’t need it because of the cool texturing. Also, thank you Great British Sewing Bee for teaching me that even more subtle patterns should really be centered.

(Yes, it’s still bothering me that I was totally off on this dress but I feel slightly redeemed after getting it right this time.)

In other news, all this red is making me miss my red hair.

Refashion // beads & silk

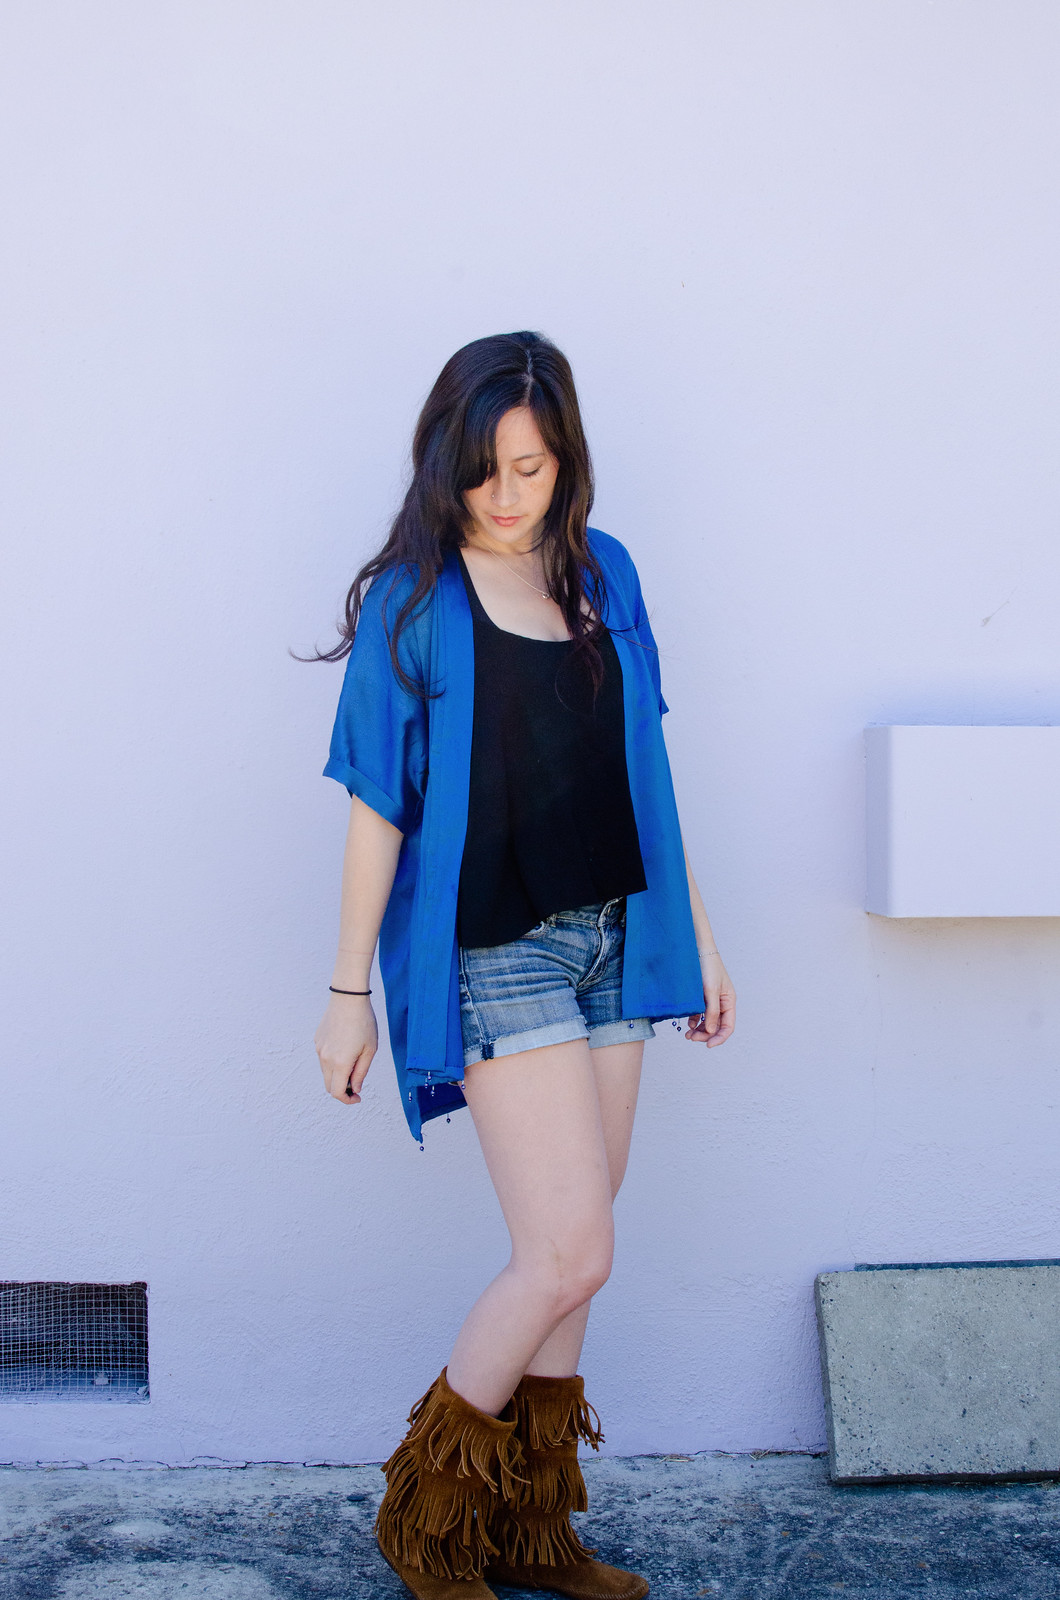
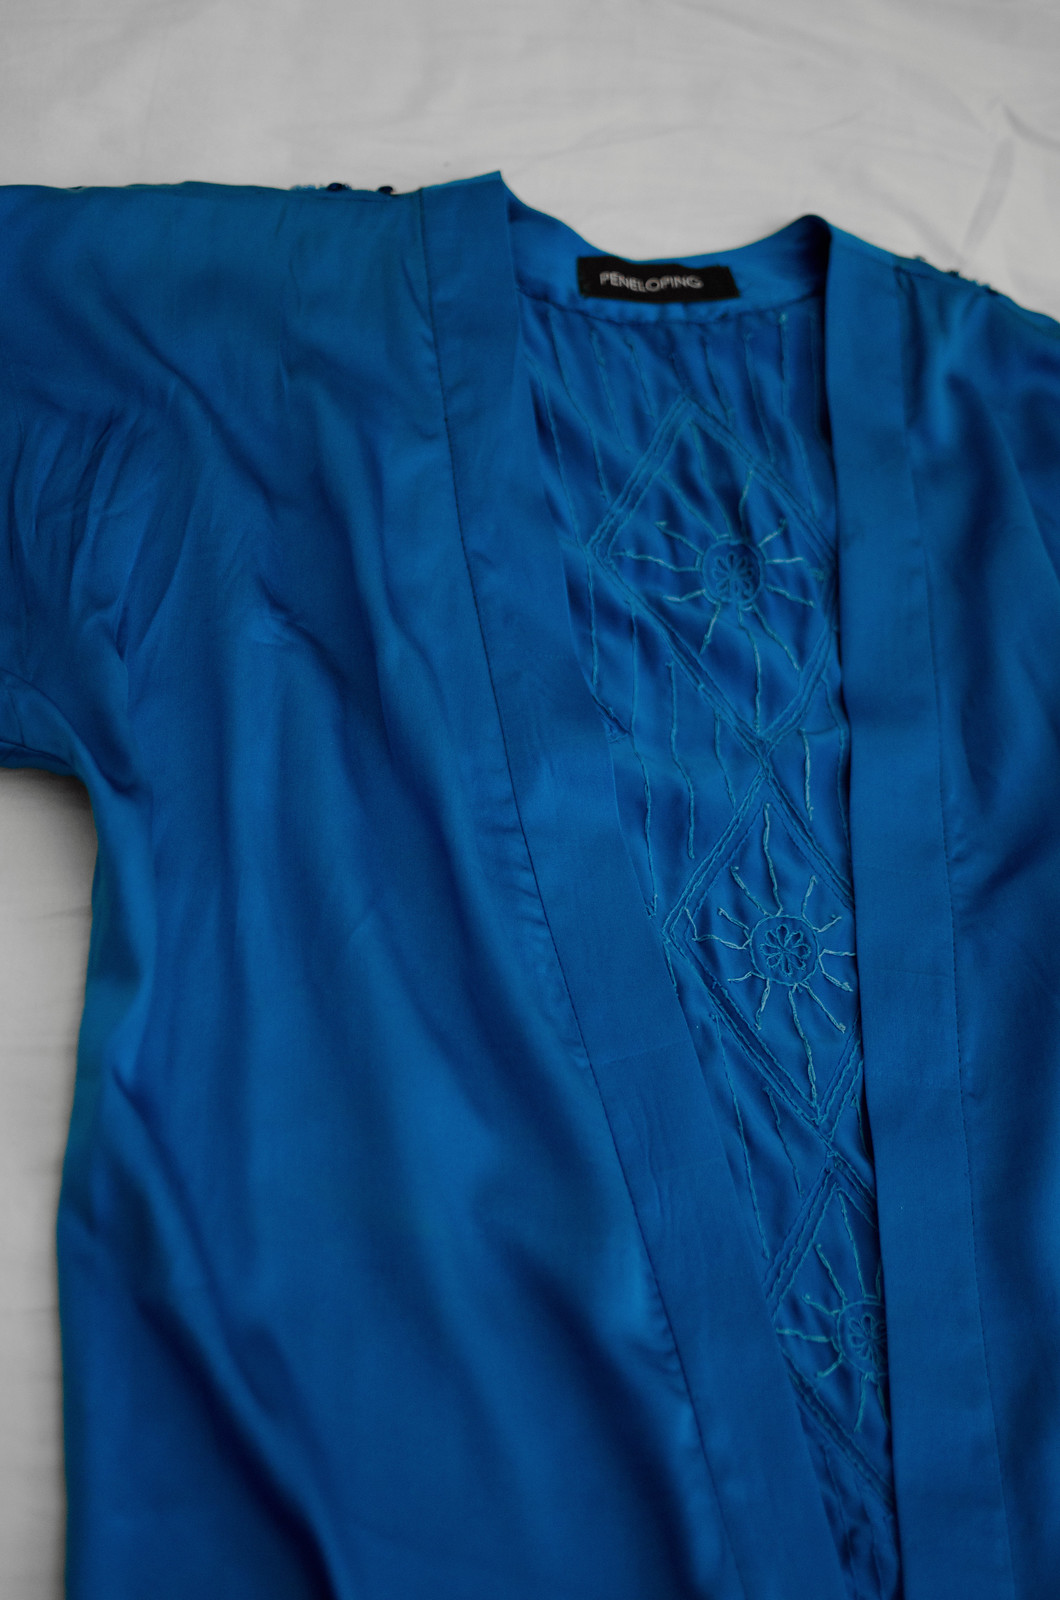
Kimono refashion

Kimono refashion

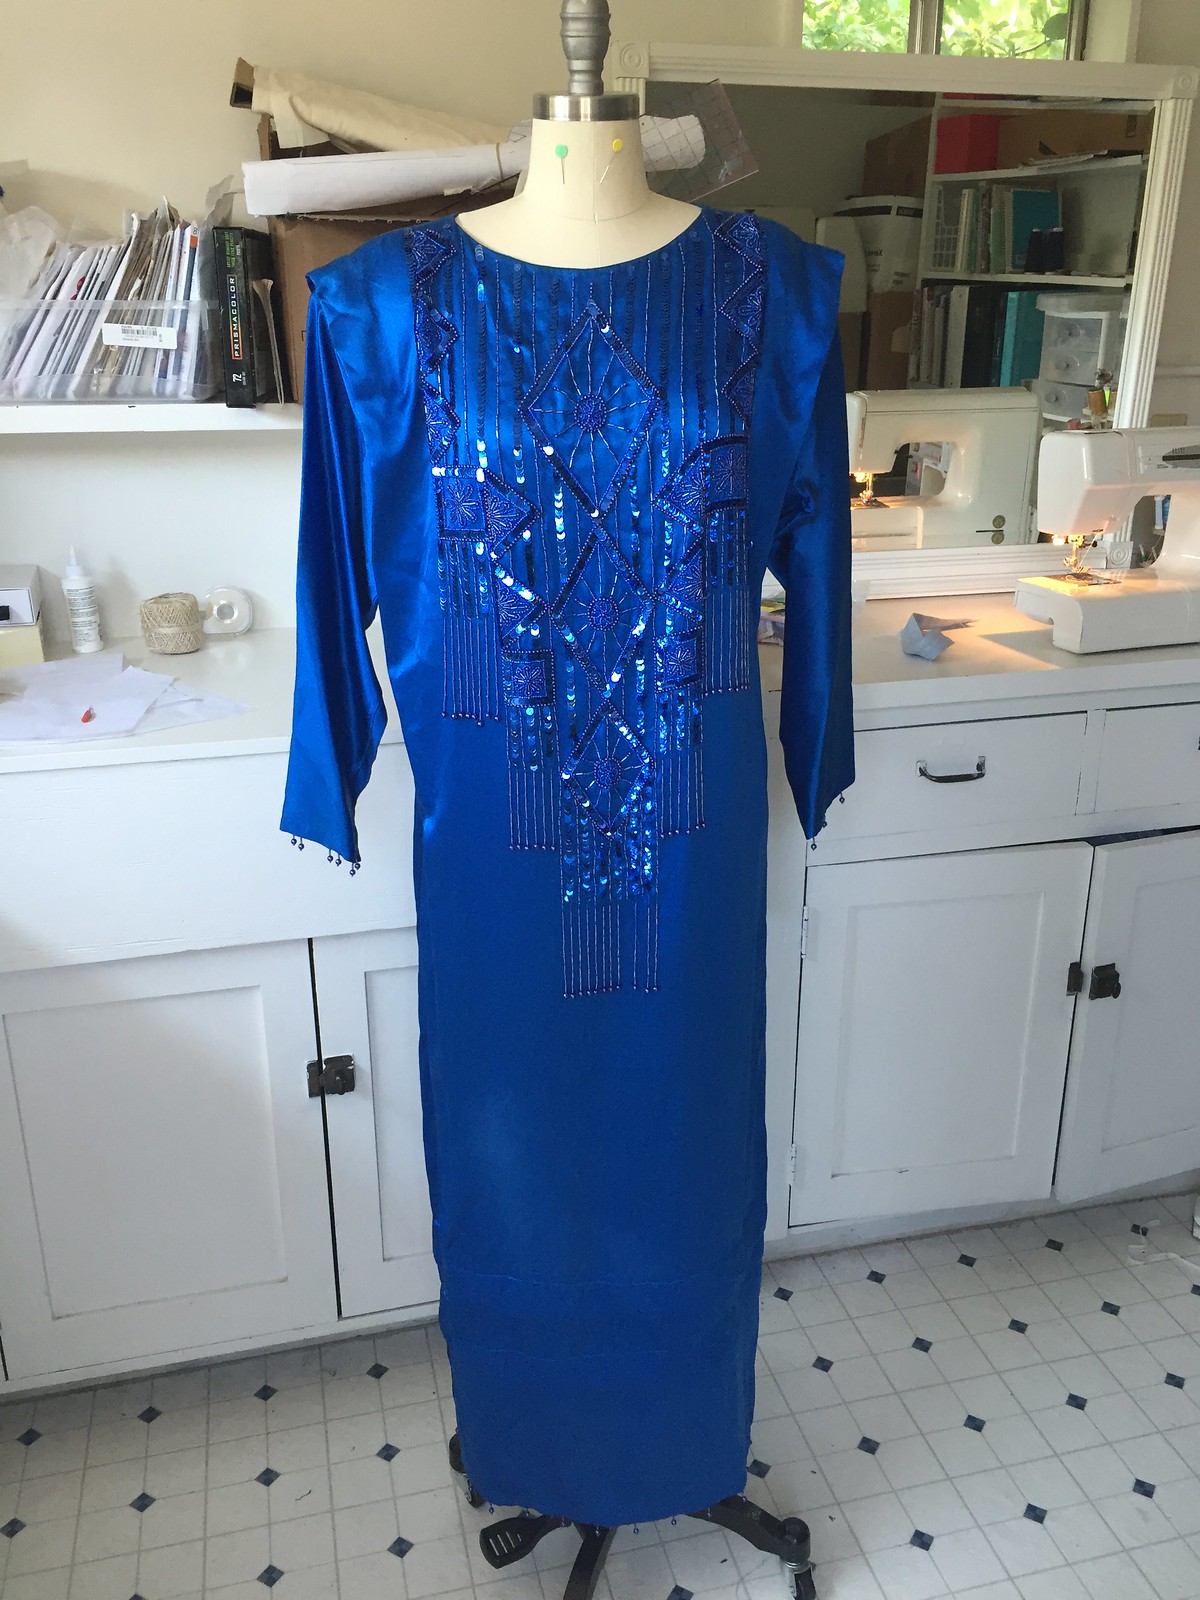
Vintage silk beaded dress refashion

Vintage silk beaded dress refashion

Kimono refashion

Vintage silk beaded dress refashion

Kimono refashion

Vintage silk beaded dress refashion

Kimono refashion

Vintage silk beaded dress refashion

I got a bunch of really gorgeous vintage dresses from one of Boyfriend’s relatives a few weeks ago and I was so excited about this one I dove right in and finished it in two days.

Kimono refashion

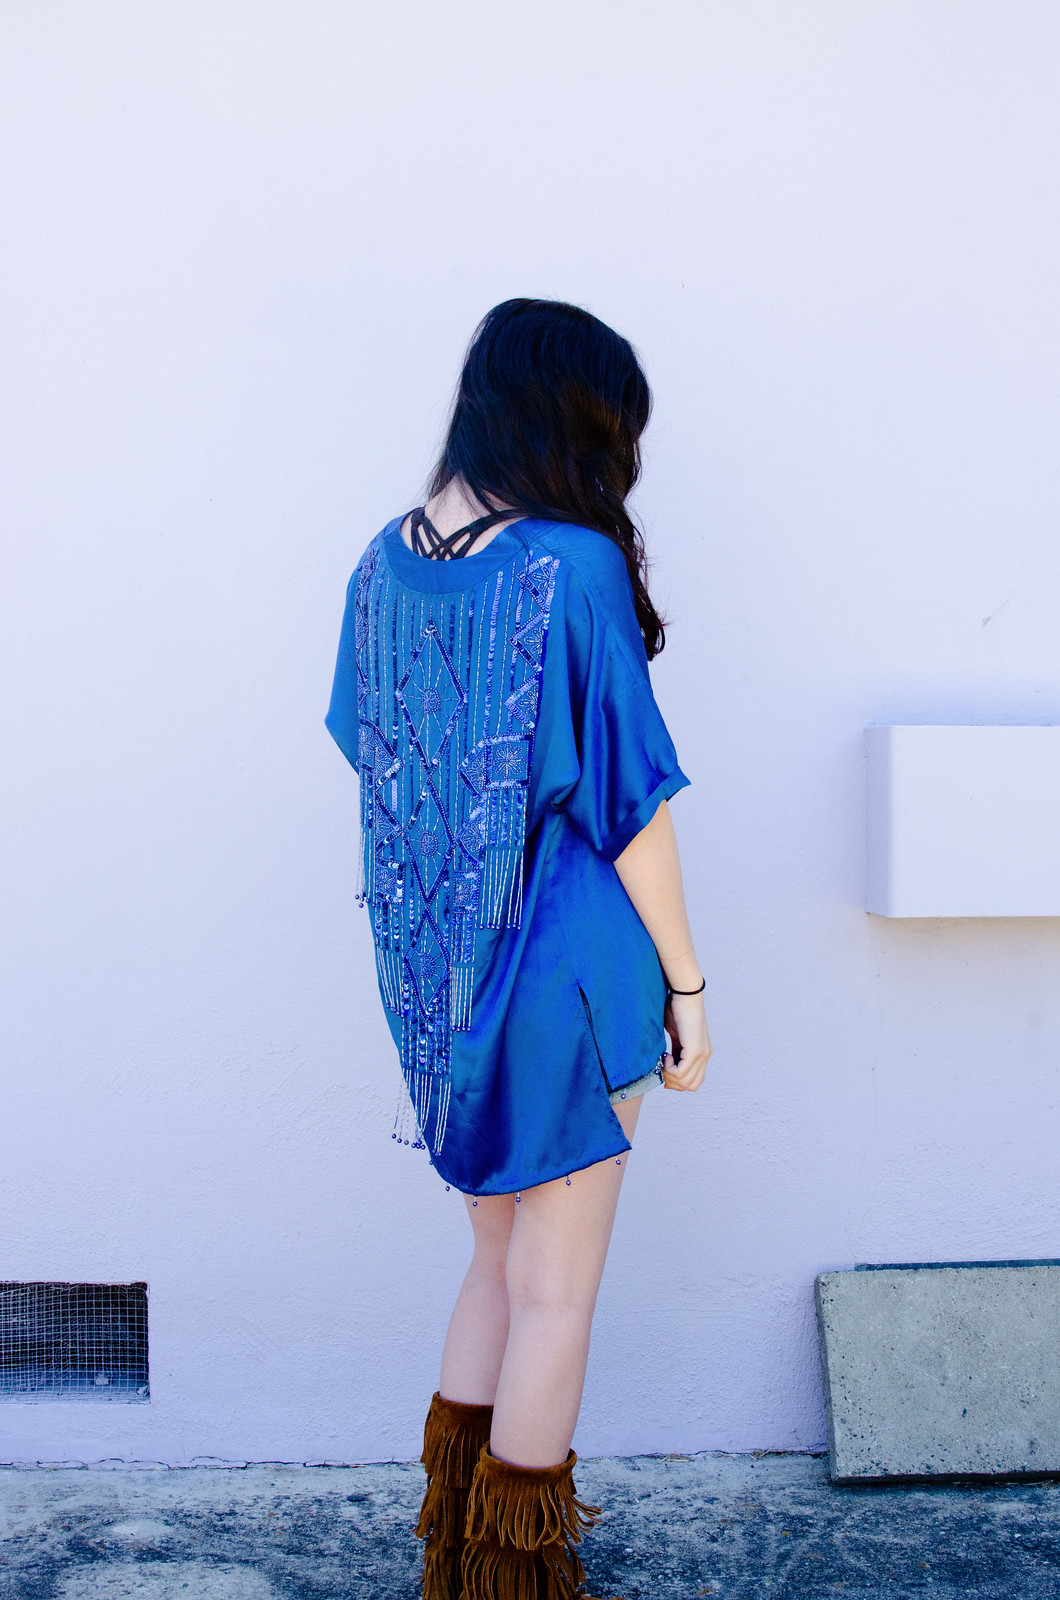
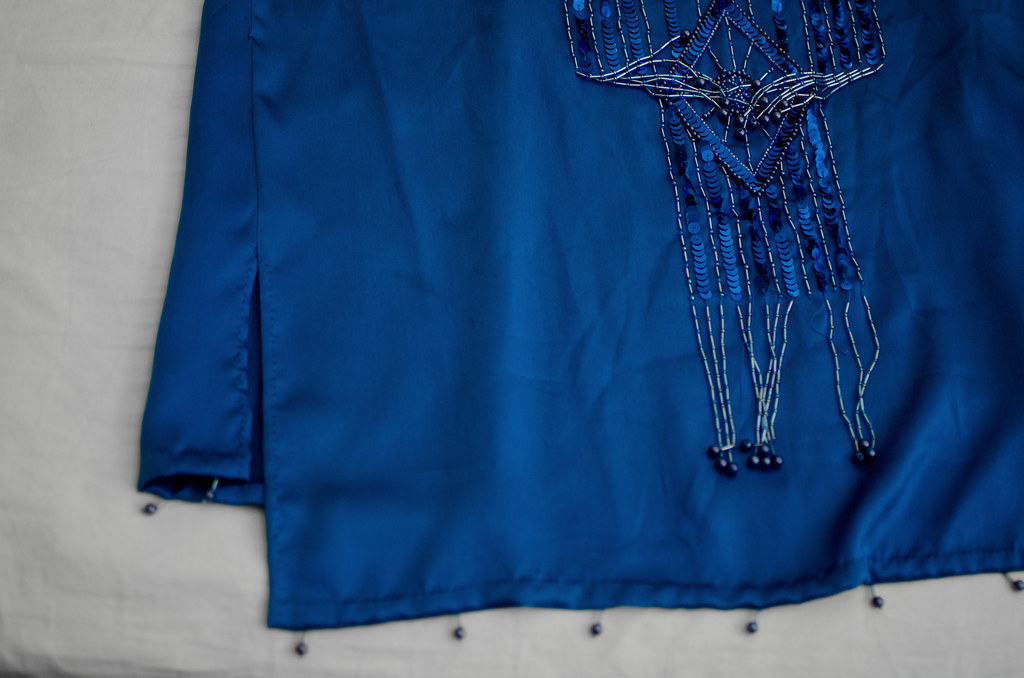
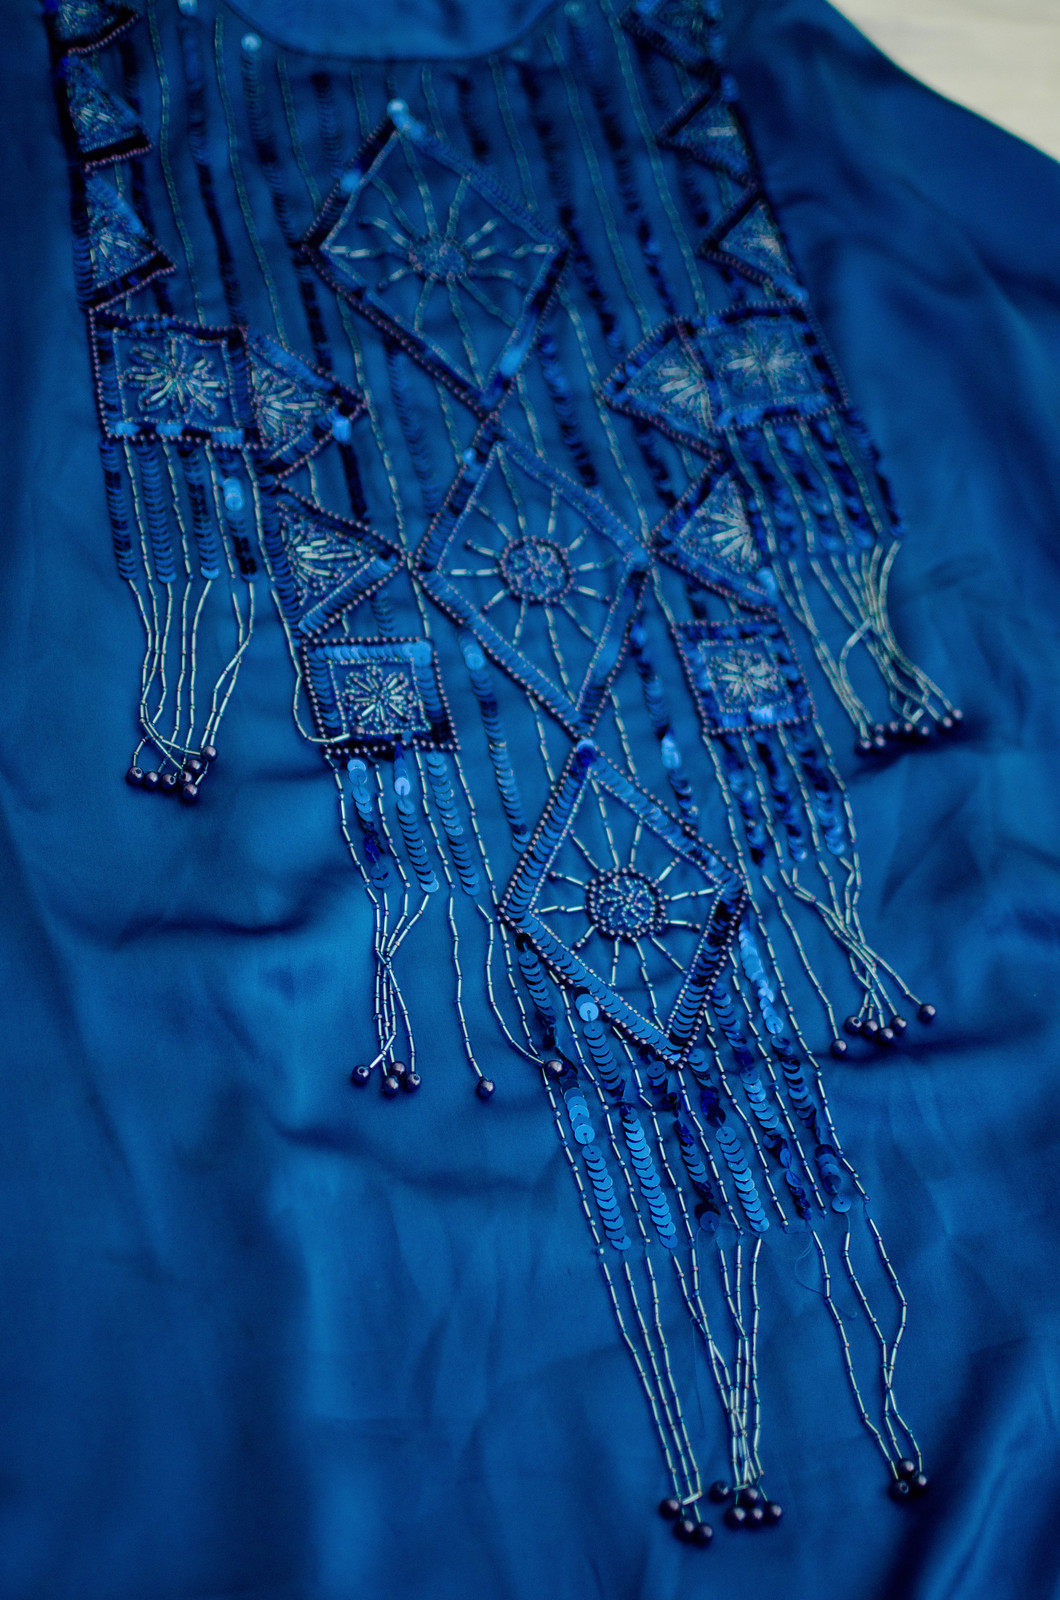
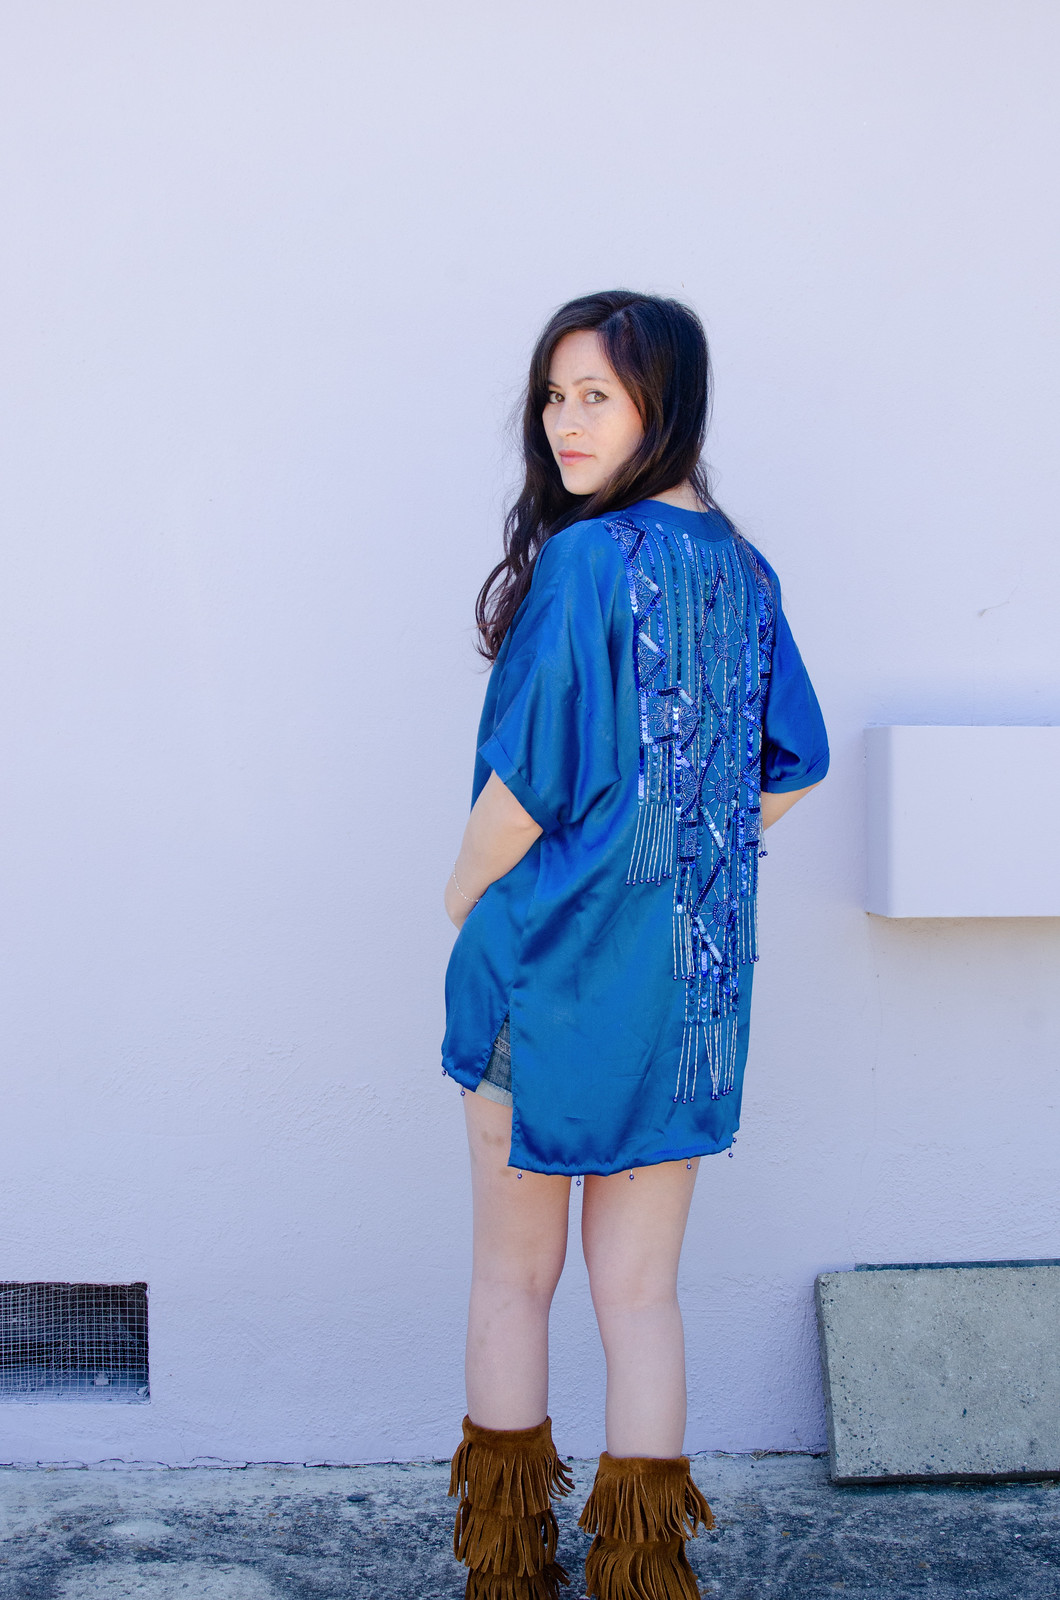
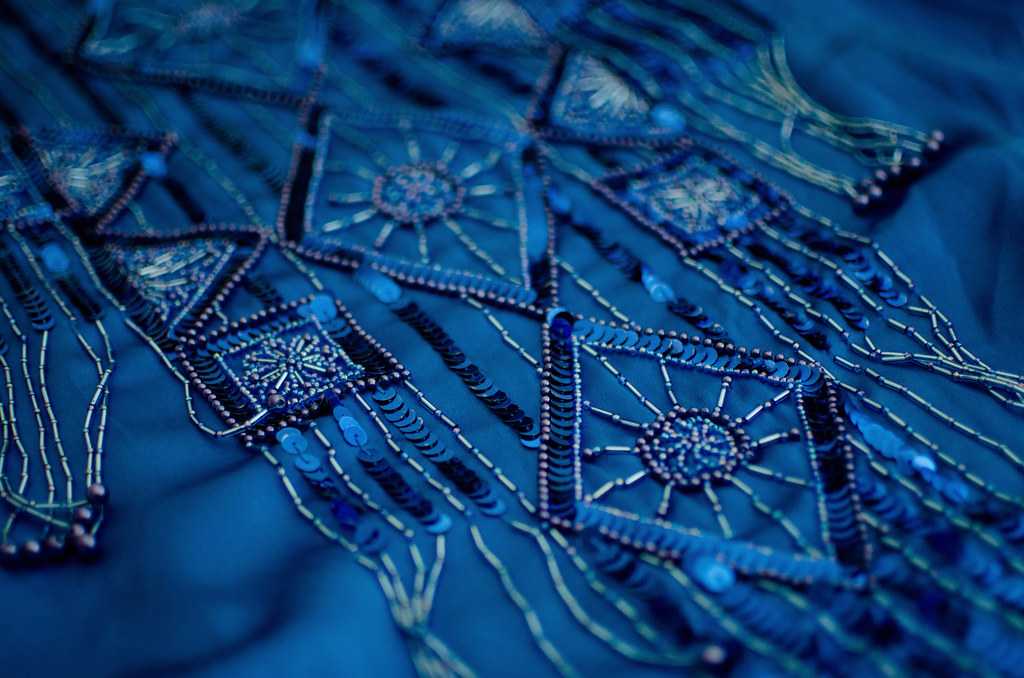
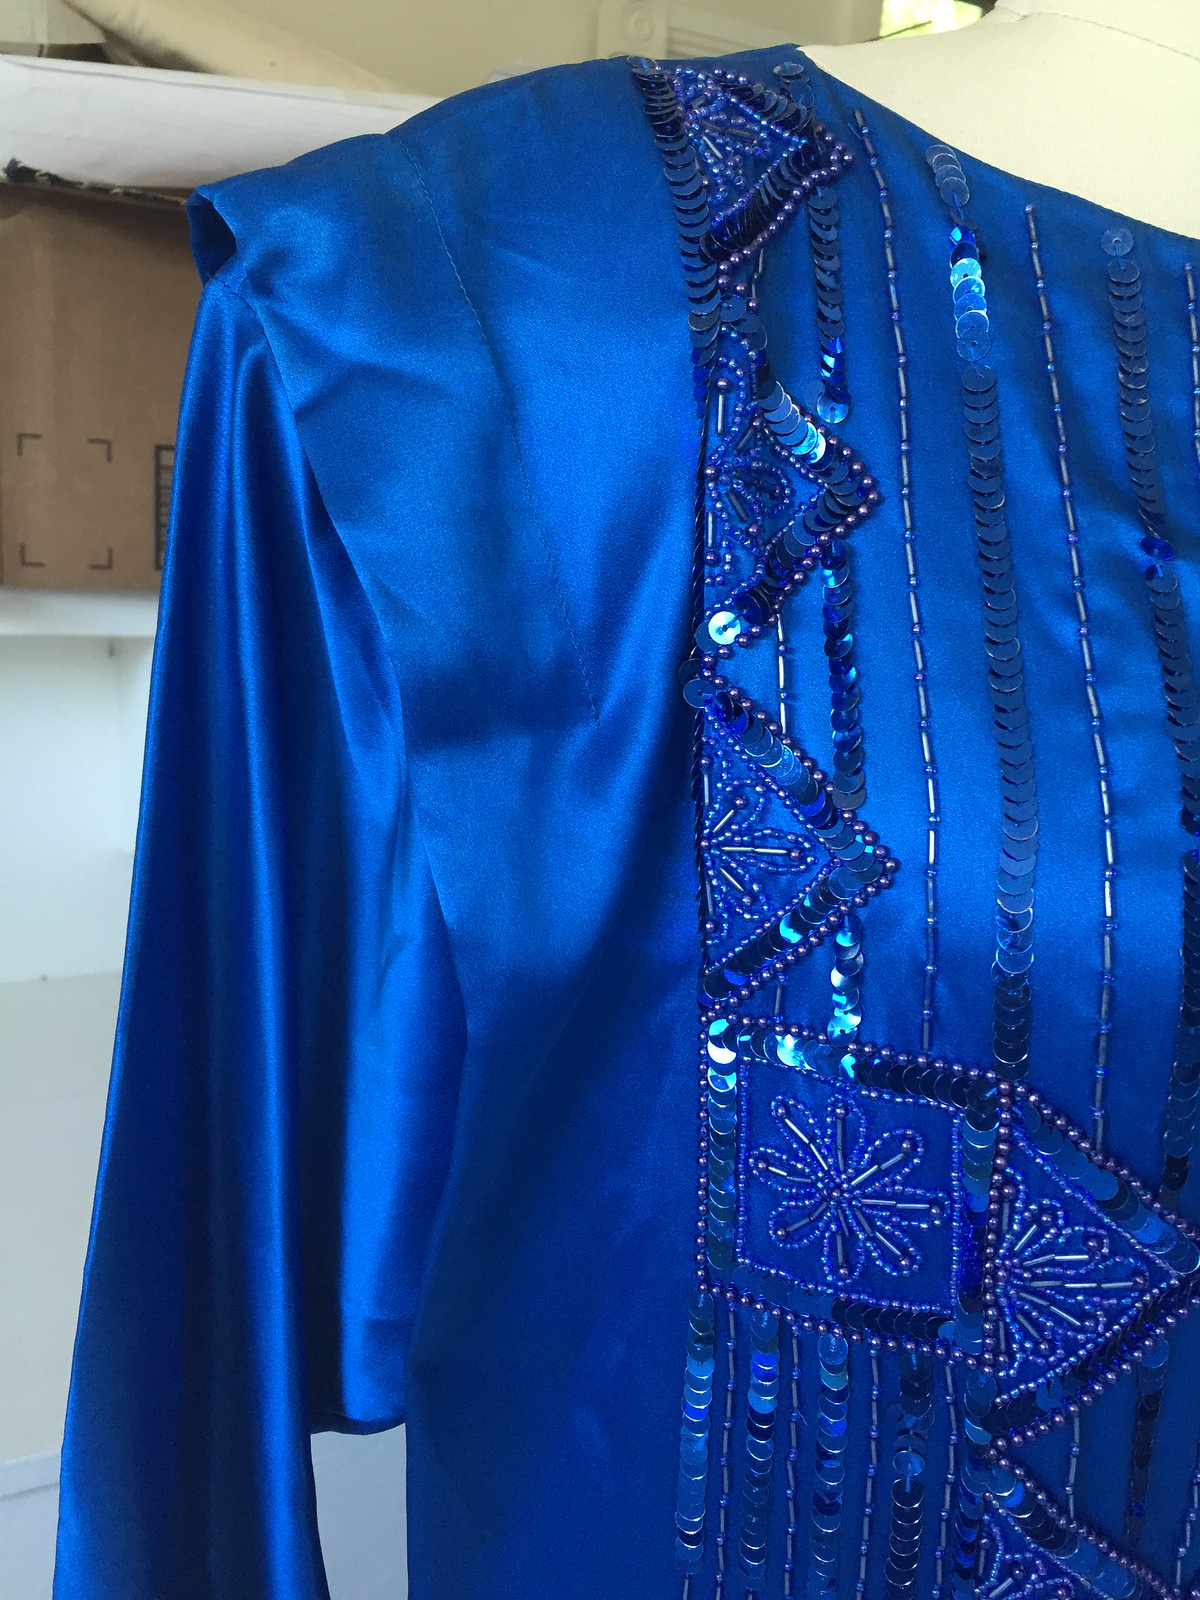
But let’s back up. This started out as a bit of a monstrosity. There were shoulder pads, shoulder flanges, no shaping darts anywhere, and awkwardly long sleeves. There was, however, the most gorgeous beading all over the back, as well as on the edges of the bottom and sleeves. Plus, it’s 100% silk and has the most luscious drape.

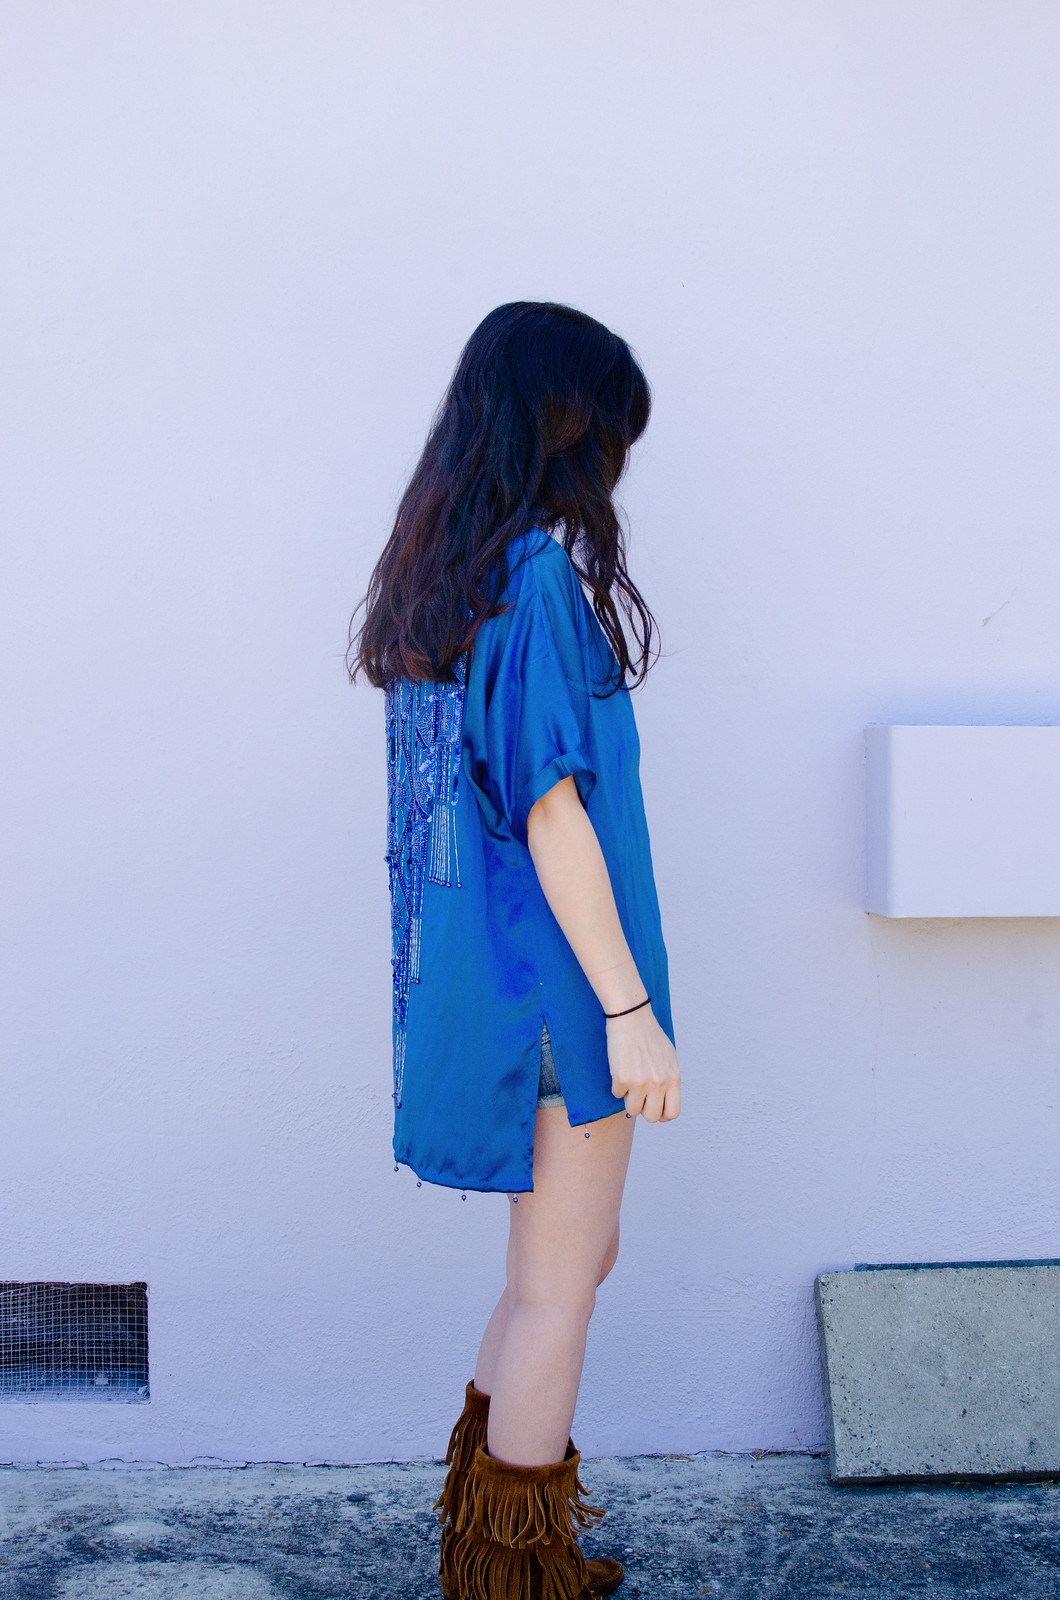
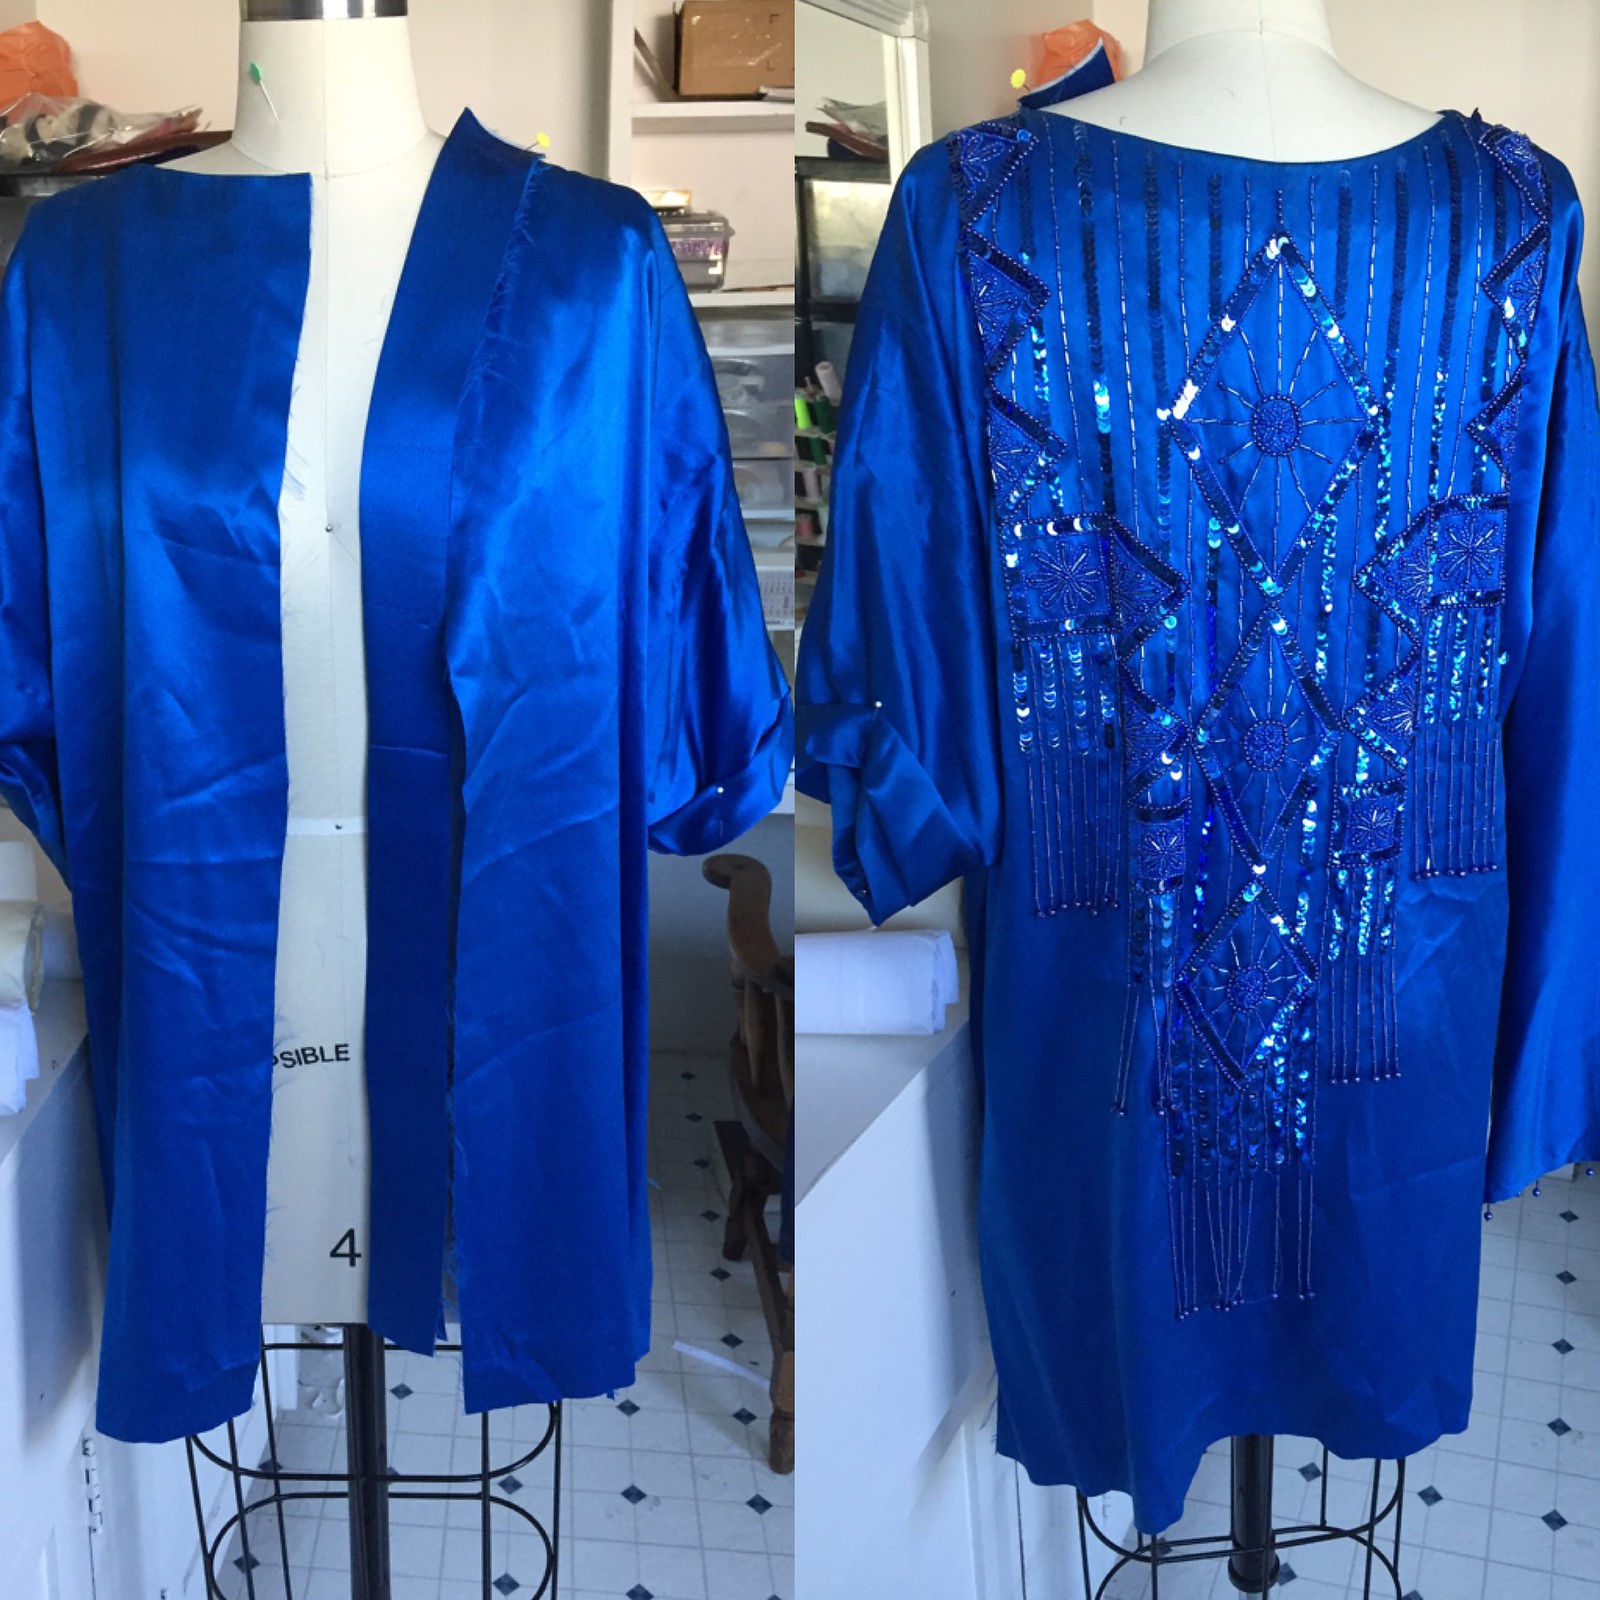
I knew immediately that I had to keep the beading all in on piece and not mess with it at all. I toyed with the idea of doing some kind of short shift dress, but all of the beading just seemed too heavy for that kind of design. Then I had one of those light bulb moments and realized that it would be much better balanced if I just turned it around and put the beading on the back.

Kimono refashion

Once I had a design idea, the first thing I had to do was a lot of careful seam-ripping. I unpicked the shoulder flanges and then undid the side seams up to about where I wanted to hack off the skirt. Then I did a lot of procrastinating before actually slicing off the skirt.

Kimono refashion

You guys, cutting into this thing was SO nerve-wracking. I chewed on my nails for a while and then just went for it. I decided I wanted a high-low thing going on at the hem so I measured and cut accordingly. The front is 3″ shorter than the back. Then I cut straight down the center back which would become the center front opening. I took the excess skirt fabric and cut long strips that would become the center front panels, and reshaped the front neckline to get a more kimono-esque shape. I also had to draft a back neck piece, which I sewed to the front panel strips, and unpick the facings, which I felt inordinately guilty doing since they were so beautifully sewn in.

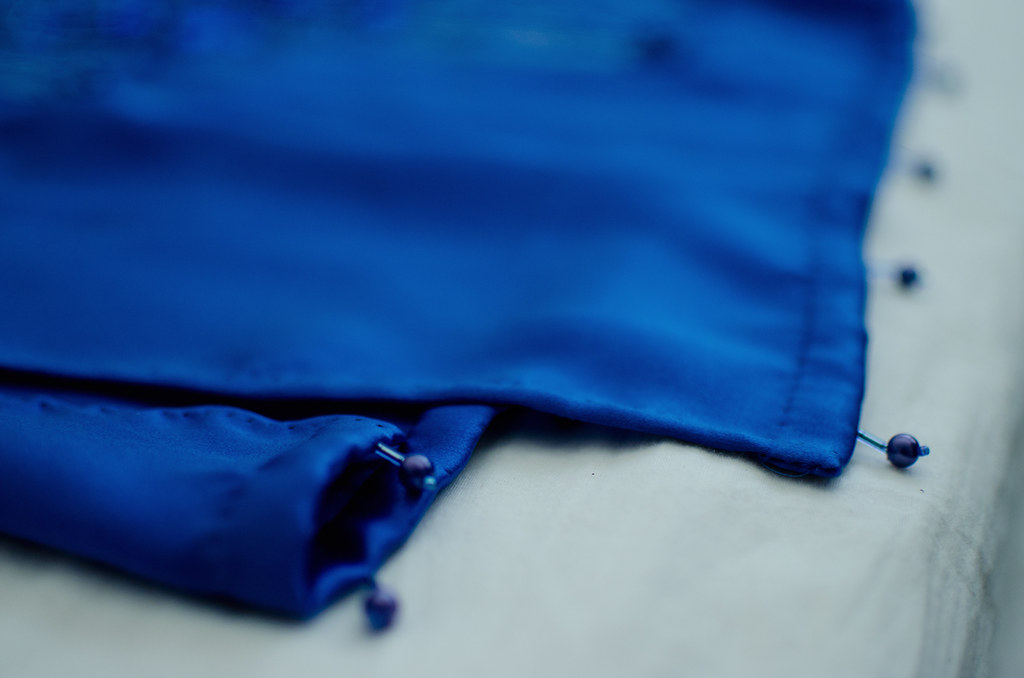
After that was a ton of hand-stitching. I sewed one side of the front panels on by machine but pretty much everything else was done by hand, including re-attaching all the beading to the bottom hem. I’m debating also adding beading to the end of the sleeves but haven’t decided if that would be a nice balance or just be too much.

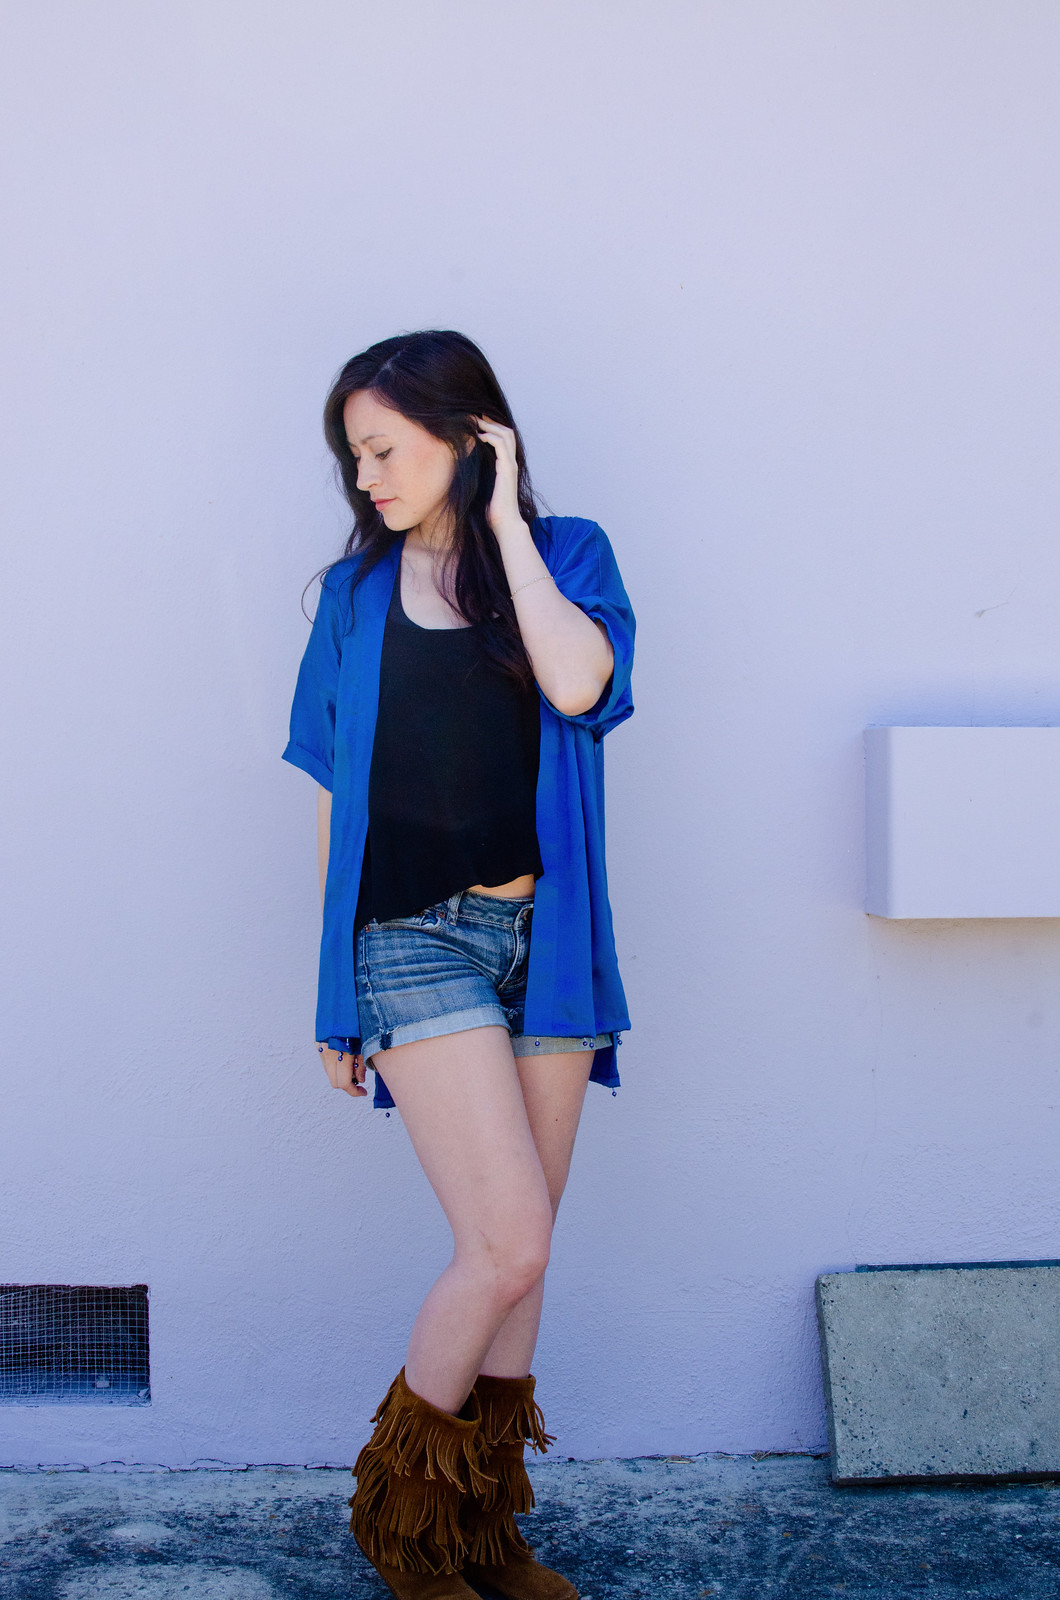
Either way I absolutely love how it turned out. It’s super swishy and fun to wear. Actually I didn’t realize until just now that I subconsciously picked my swishy Minnetonka boots to wear with it. Multi-swish! I’m literally slightly bummed that it stands out so much because I keep wanting to wear it every day. (I finished it a week ago and have worn it like three times already.)

(And yes, I should steam that back hem again. Wherps.)

Anddd I’ll leave you with a photo of me looking utterly ravishing in a backwards shoulder-padsy dress.

Kimono refashion

Adventures in patterndrafting // tent labeling

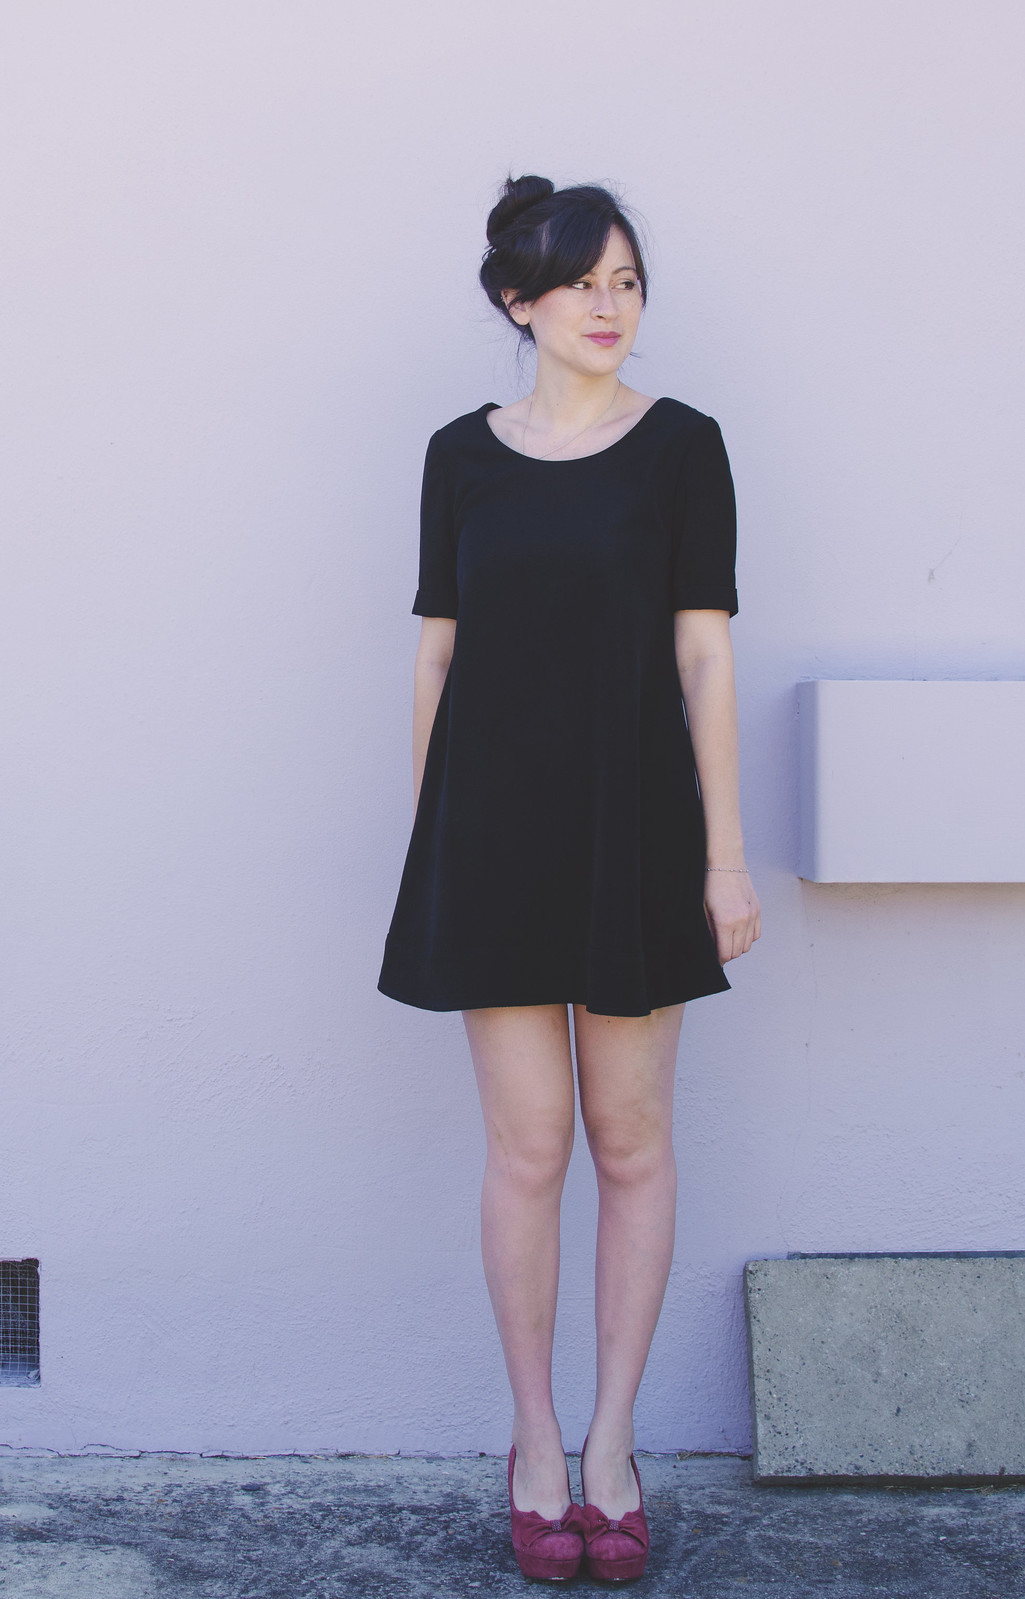
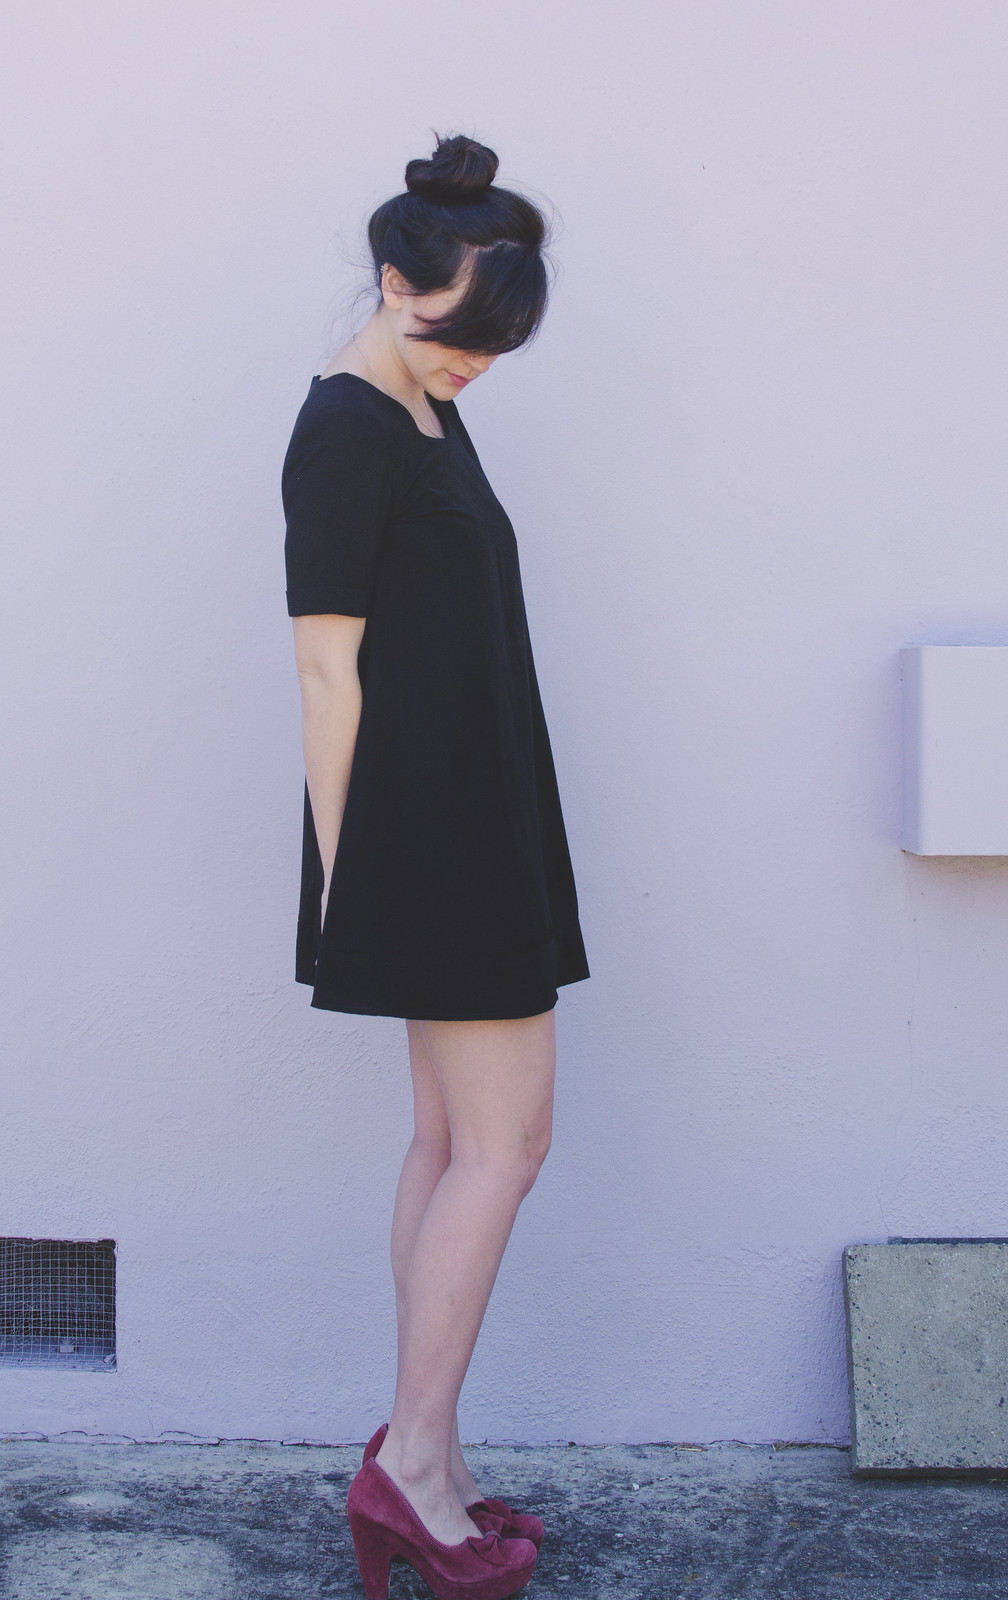
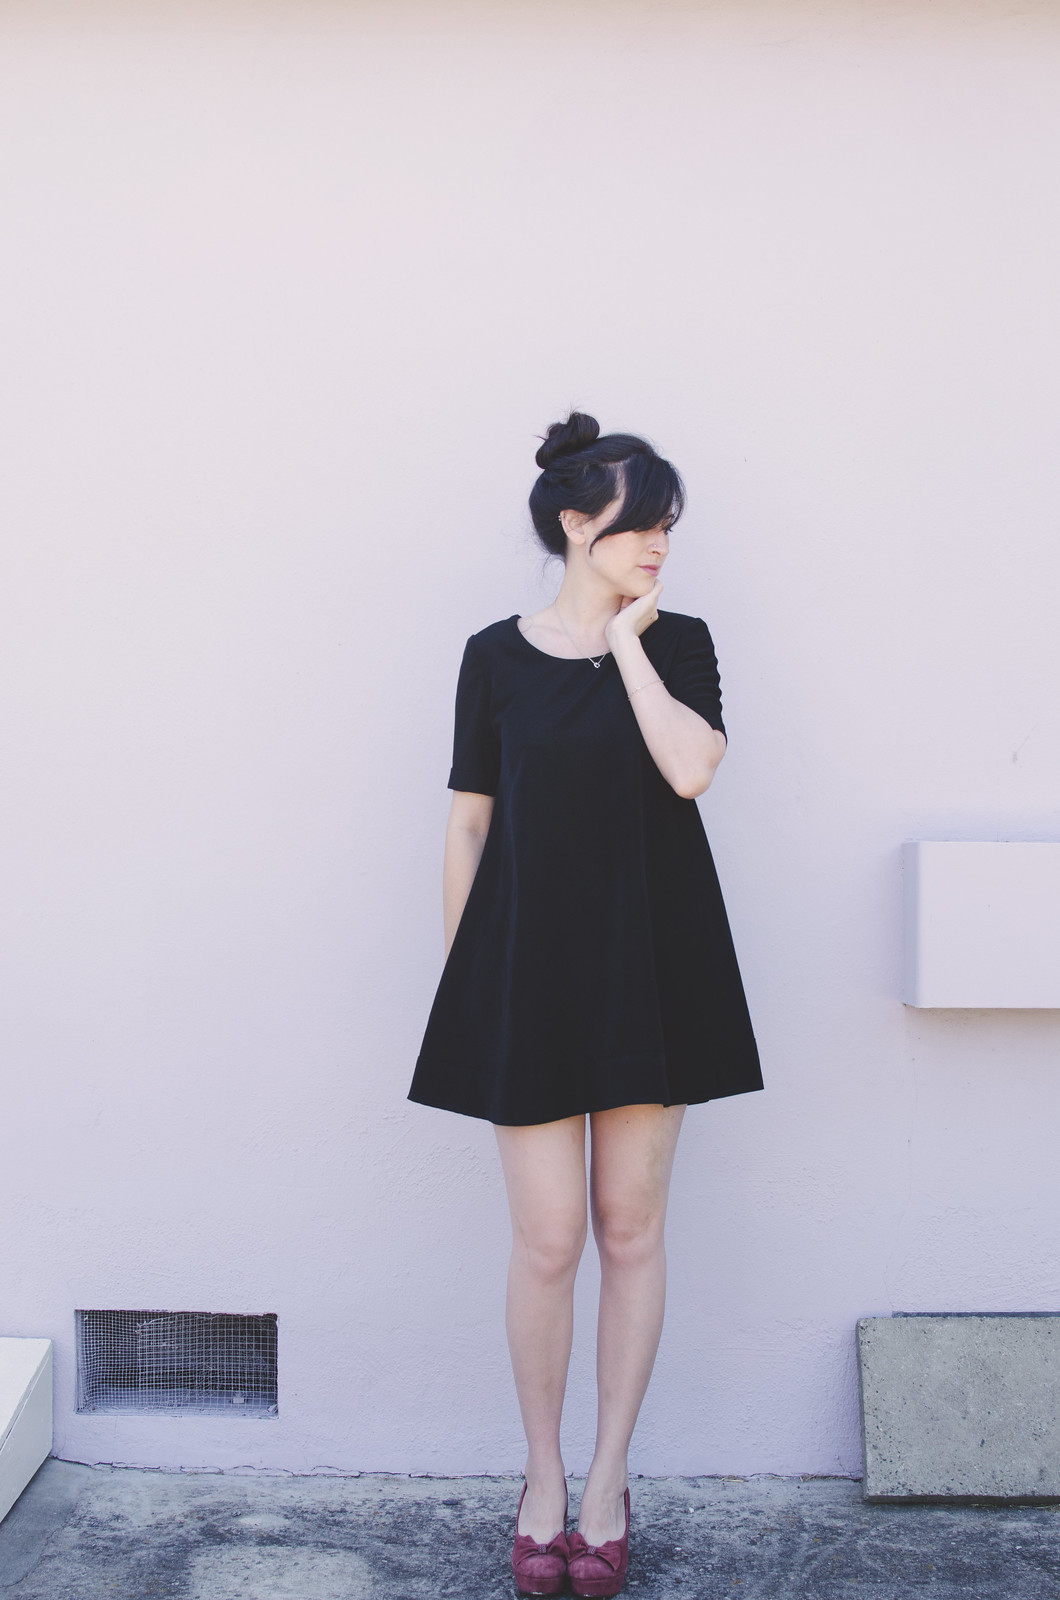
Tent dress

Tent dress

Tent dress

Tent dress

Tent dress
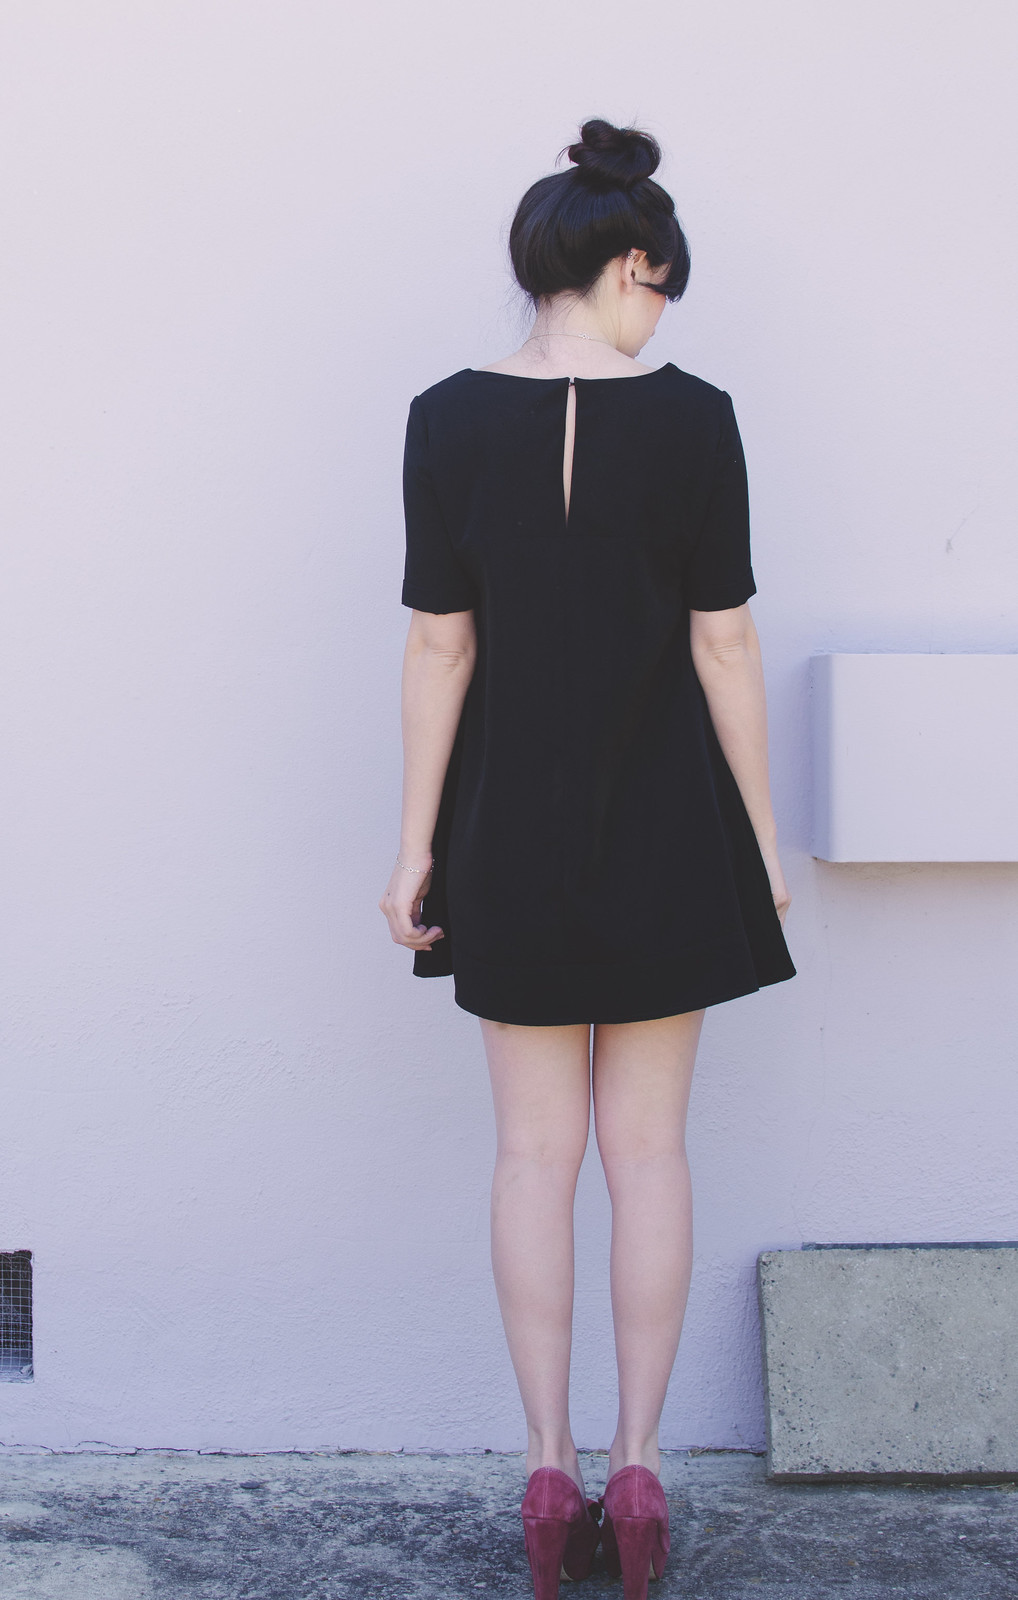
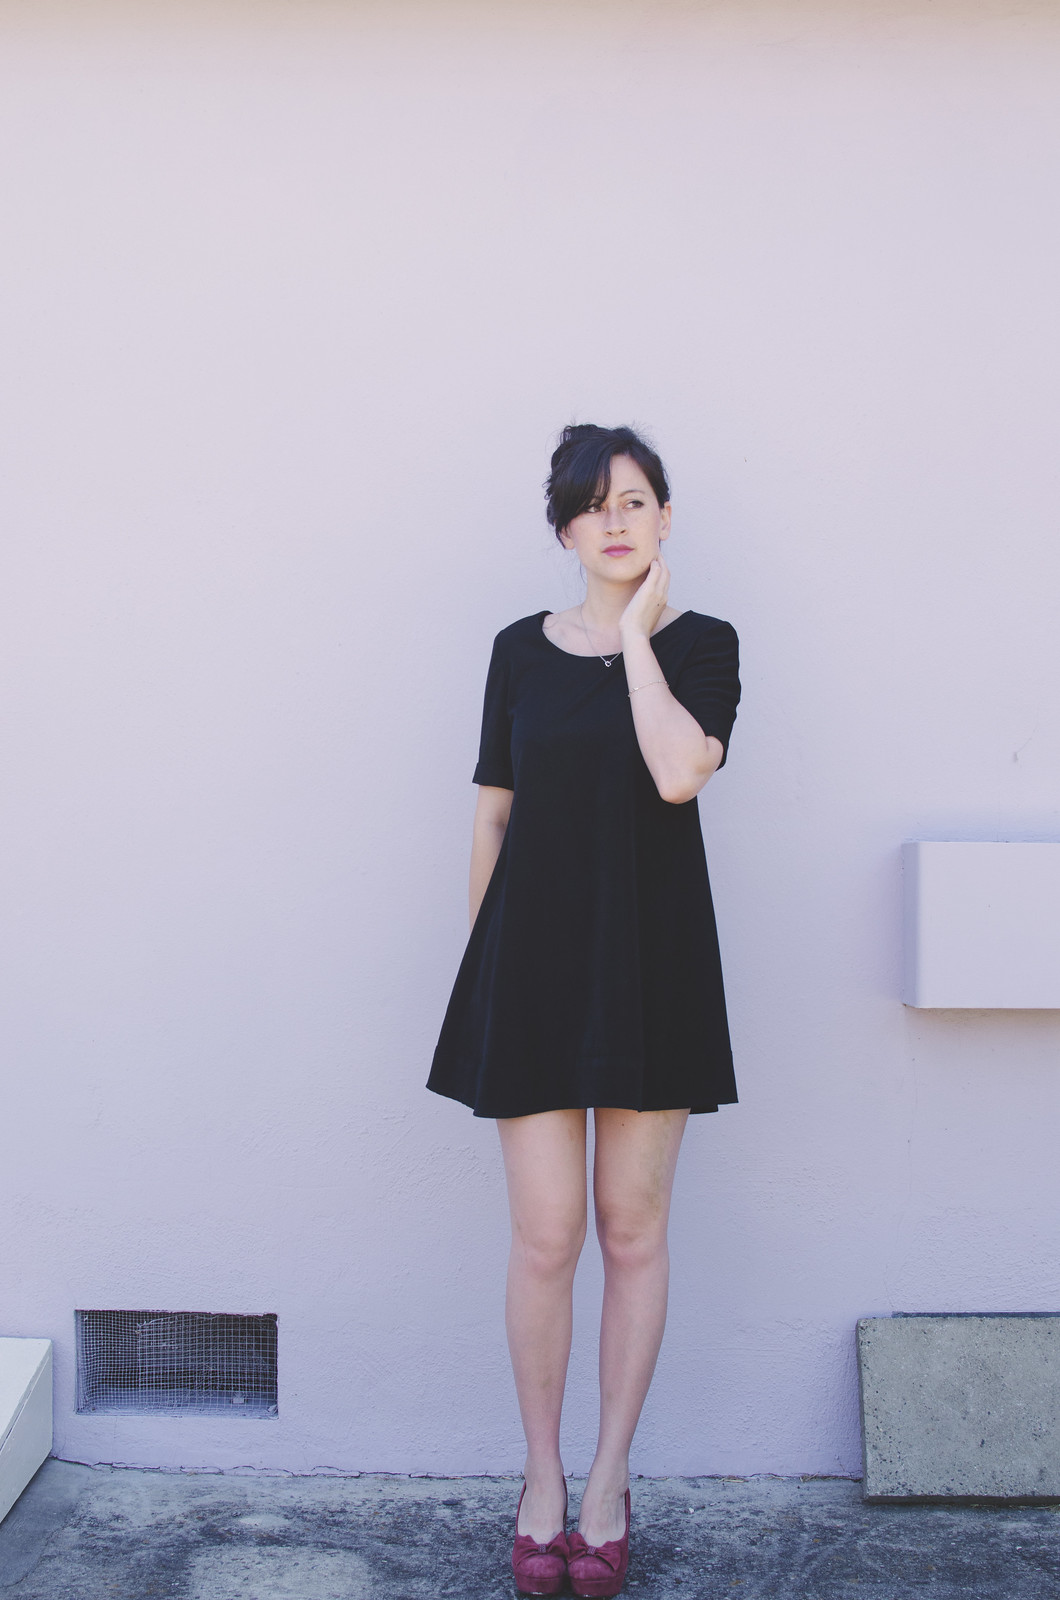
dress: self-drafted // shoes: Seychelles

Dutch Label Shop sent me custom labels to try out free of charge, and all opinions, drafting errors, and leg injuries are my own.

I have a bit of a ridiculous obsession with tent dresses. I blame Lauren and 90% of Keiko Lynn‘s wardrobe. Anyway, when we reached the “dresses without waistline seam” part of my flat pattern class, I pounced on the tent dress draft for my homework garment.

My first idea was to go absolutely nuts and make something super flowy out of chiffon. But I decided to dial it back so I could see what the basic tent draft looks like, and so I could be responsible and use up some peachskin I had in my stash.

It’s a pretty basic draft. I started with a torso sloper (drafted using the method in Nora MacDonald’s Principles of Flat Pattern Design book). For the front, I left the waist darts alone but transferred the side bust dart to the waist as flare. Then I added a bit more flare by going out at the side seam. I did the same thing on the back except by transferring the shoulder dart to flare. Then you mark the point halfway between the armhole and waist line and blend a line about 1/2″ inward there. Lastly, I put the front and back pieces on top of each other to make sure the side curves matched up.

What you don’t want to do at this point is mistake your new indent that’s halfway up from the waist as the actual waist, and measure your skirt length from there. I didn’t realize I’d done this until I’d already cut the fabric and therefore ended up with a dress that ended mid-vagina. Not attractive. I thought about making it into a tunic but it just didn’t quite look right in this fabric. I ended up drafting a 3″ panel at the bottom which I think looks kind of cool. Another thing you probably don’t want to do is forget that you meant to have an upper back yoke and therefore don’t need a center back seam on the bottom piece. For the next one I will definitely cut that lower back piece on the fold.
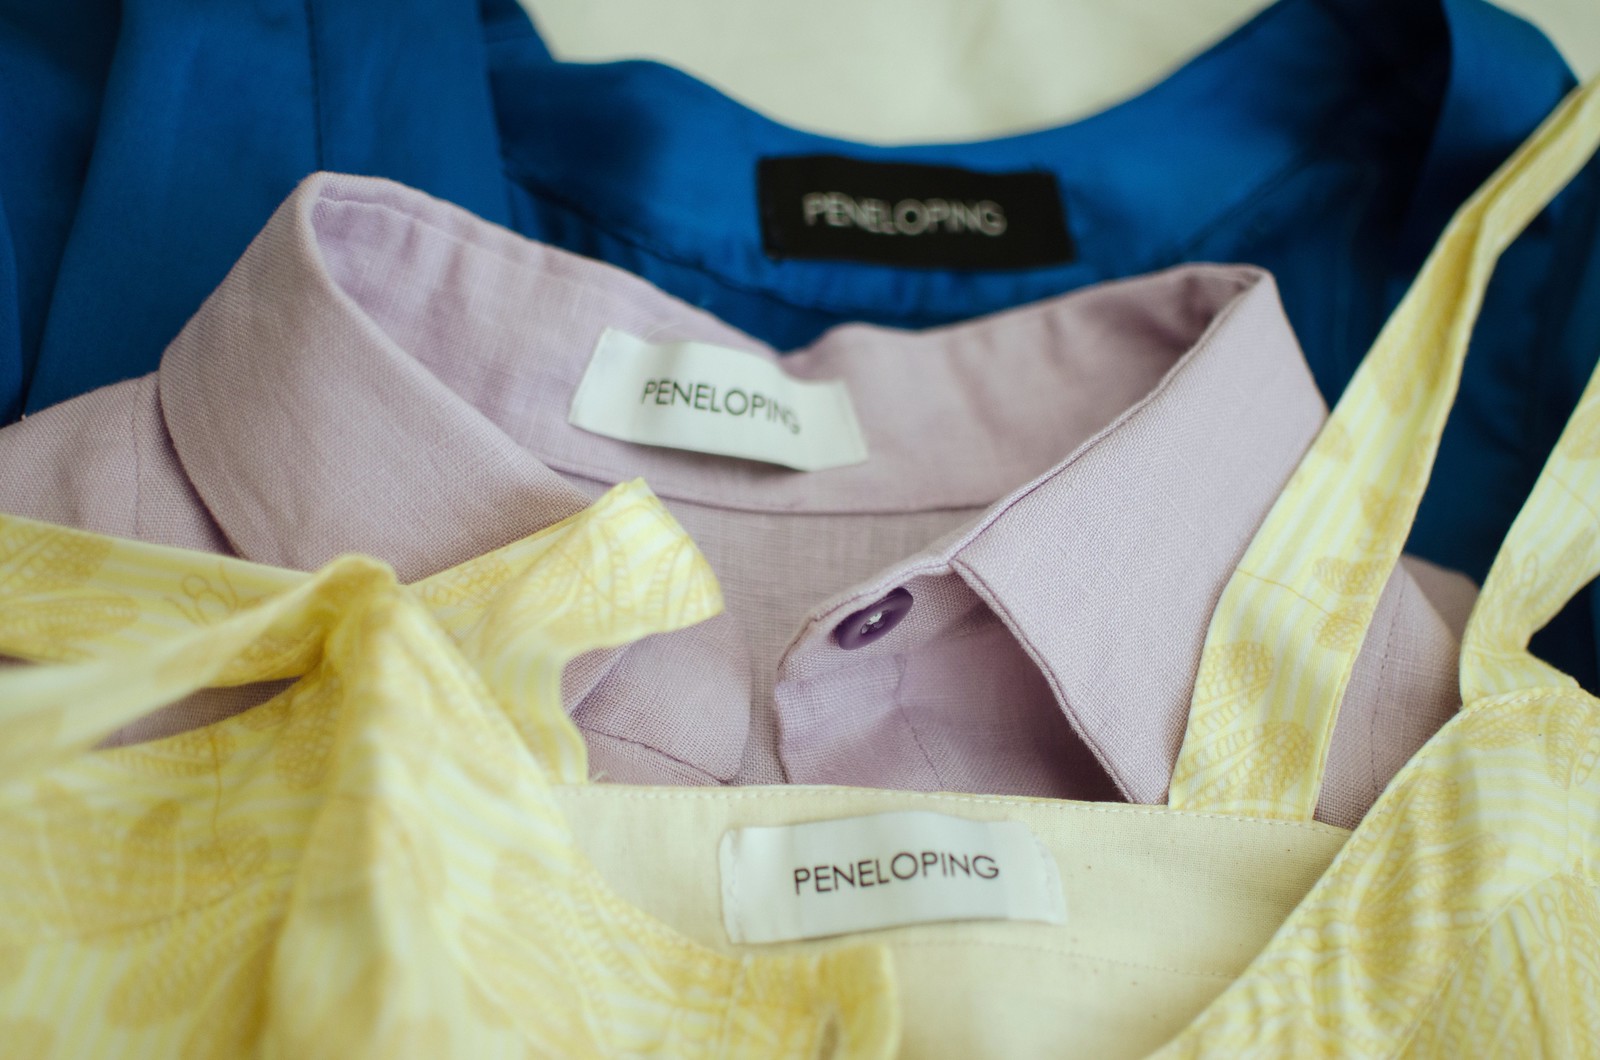
Dutch Label Shop

Andd the best part is that inside the neckline is a lovely professional looking garment label! My Bernina does letters so I’d tried my hand at making my own labels on twill tape before. They turned out pretty cute actually, but a bit too rustic for fancier clothes. These labels from the Dutch Label Shop are much more polished and will go on absolutely everything, especially since I ordered them in both black and white. These ones are the basic woven labels. You pick from a few fonts and colors, and they even have some themed clip art you can add. They also offer a “double white” option for white labels with dark lettering, to prevent the black from being too visible. It doesn’t make it completely opaque though, so you can still kind of see the shadow/outline of the black threads behind it.

They also have another option where you can send them an image of your logo/graphic and they’ll do custom woven labels in all kinds of shapes/sizes with it. It’s a bit more pricey but their example labels look really cool! I don’t actually have a logo for my blog so I just went with the simpler option.

Shipping was a bit tricky; my first order was actually misplaced in the mail. But once they discovered it had gone missing they immediately sent out a replacement and I received it within a few days. And now I can’t wait to put these guys on everything! If you want to order your own custom labels, Dutch Label Shop is offering Peneloping readers a 15% discount on your order from now until July 21st with the code PENELOPING. — CODE IS WORKING AGAIN – yay!

Anyway, no joke guys, this is officially my Indian lunch buffet/all-you-can-eat-sushi/Thanksgiving dress. Next I want to make one out of something a little drapier with no sleeves and cutaway armholes. And one out of linen. And one with double the amount of flare and made in chiffon, possibly with three layers. (Imightbecrazy.)

*Ignore the weird attempt at photoshopping out the giant bruise on my leg. I was mauled by two adorable puppies who were very excited to see me.

**I still haven’t heard from Leigh-Anne about receiving the Mood giveaway prize! If you could shoot me an email by Sunday, that’d be great! After that I’ll be randomly selecting an alternate winner.  Thanks! :]
 

copycat // lykke wullf overall shorts

Lykke Wullf overall shorts

Lykke Wullf overall shorts

Lykke Wullf overall shorts

Lykke Wullf overall shorts

Lykke Wullf overall shorts

Lykke Wullf overall shorts

Lykke Wullf overall shorts

Lykke Wullf overall shorts
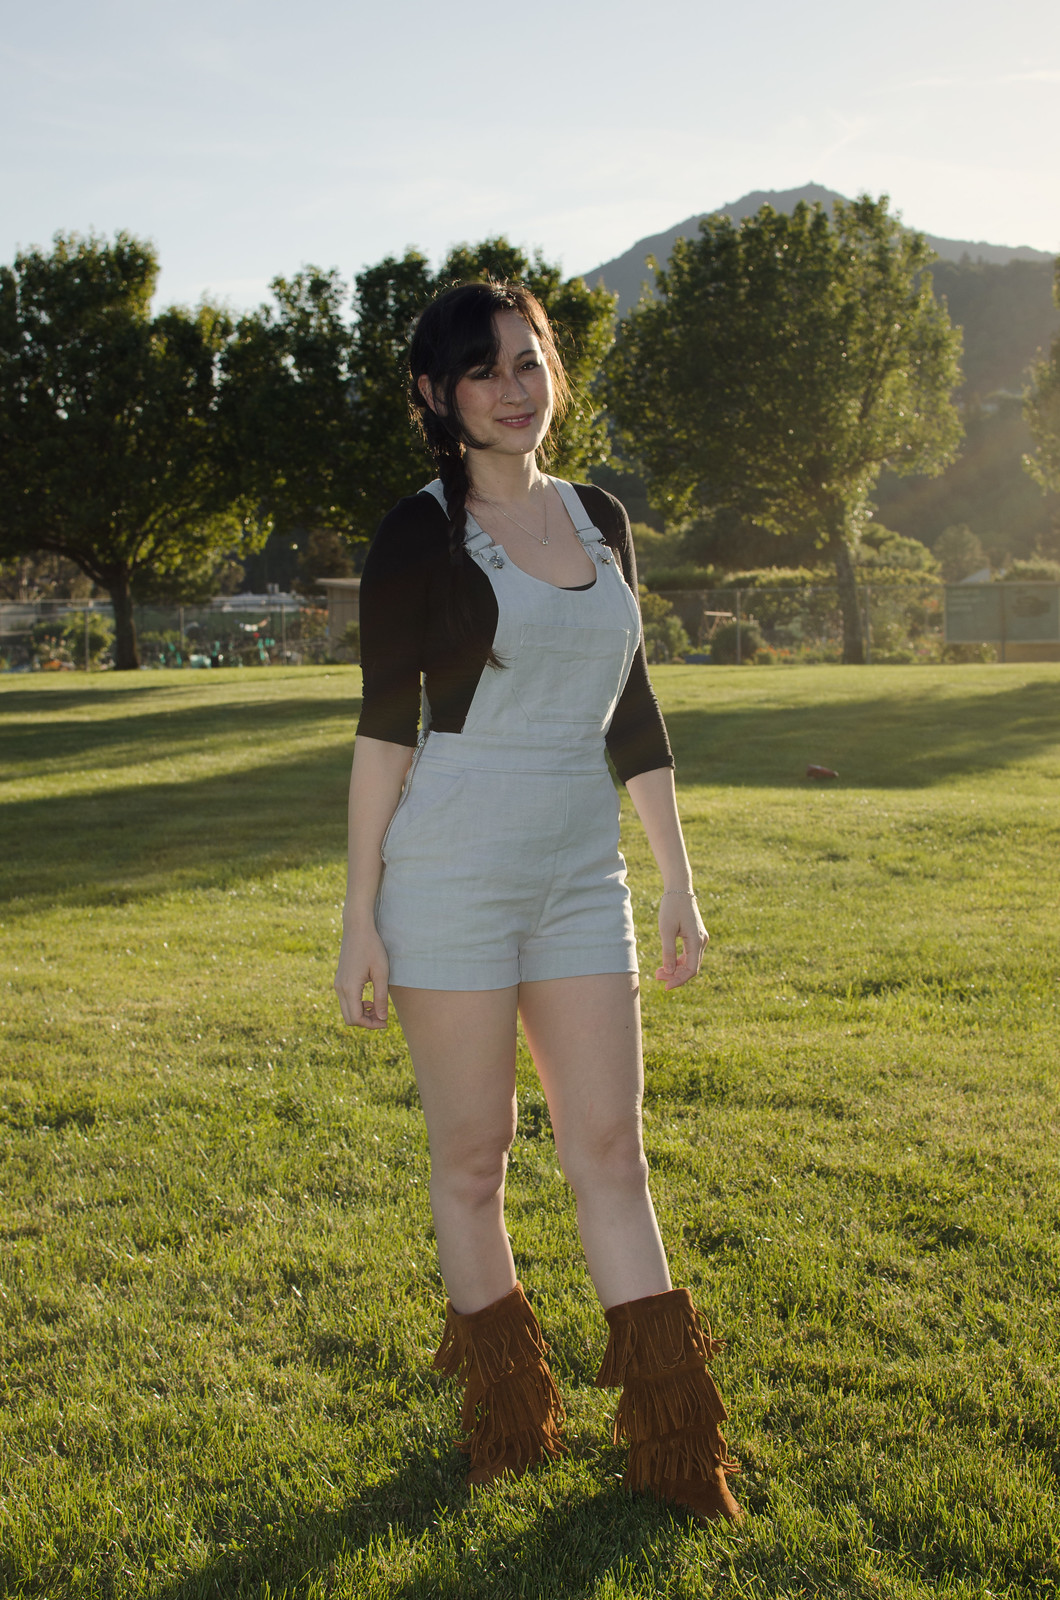
overall shorts: K&L Tap Shorts pattern + self-drafted top and straps // top: cropped Nettie 

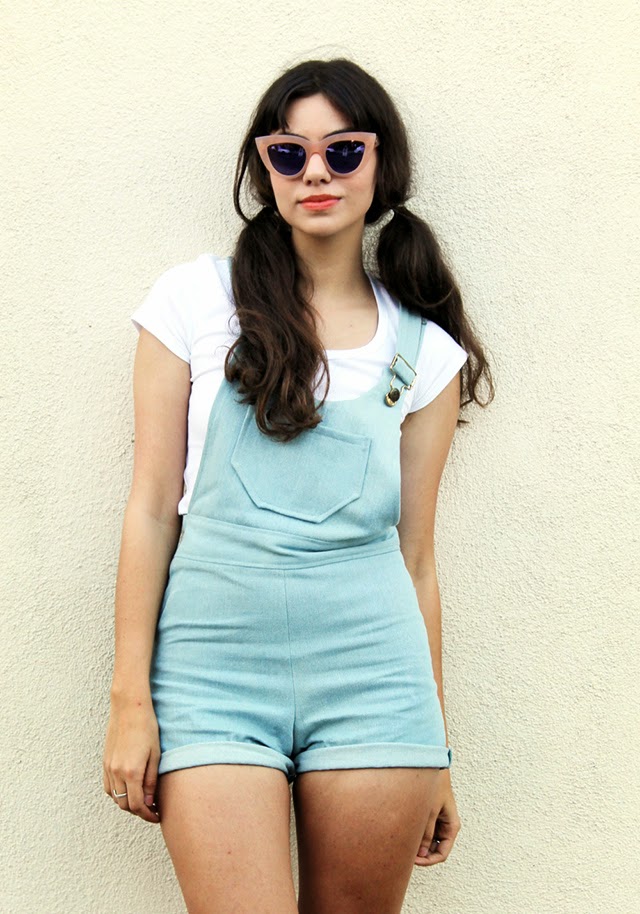
It’s such a satisfying feeling when you have an image or goal in mind and everything works out EXACTLY how you wanted it to. That was the case with these overall shorts. I was inspired by these overall shorts by Lykke Wullf:
I loved basically everything about them: the high waistedness, how short they are, the straps, the color, how easy they are to style, etc.

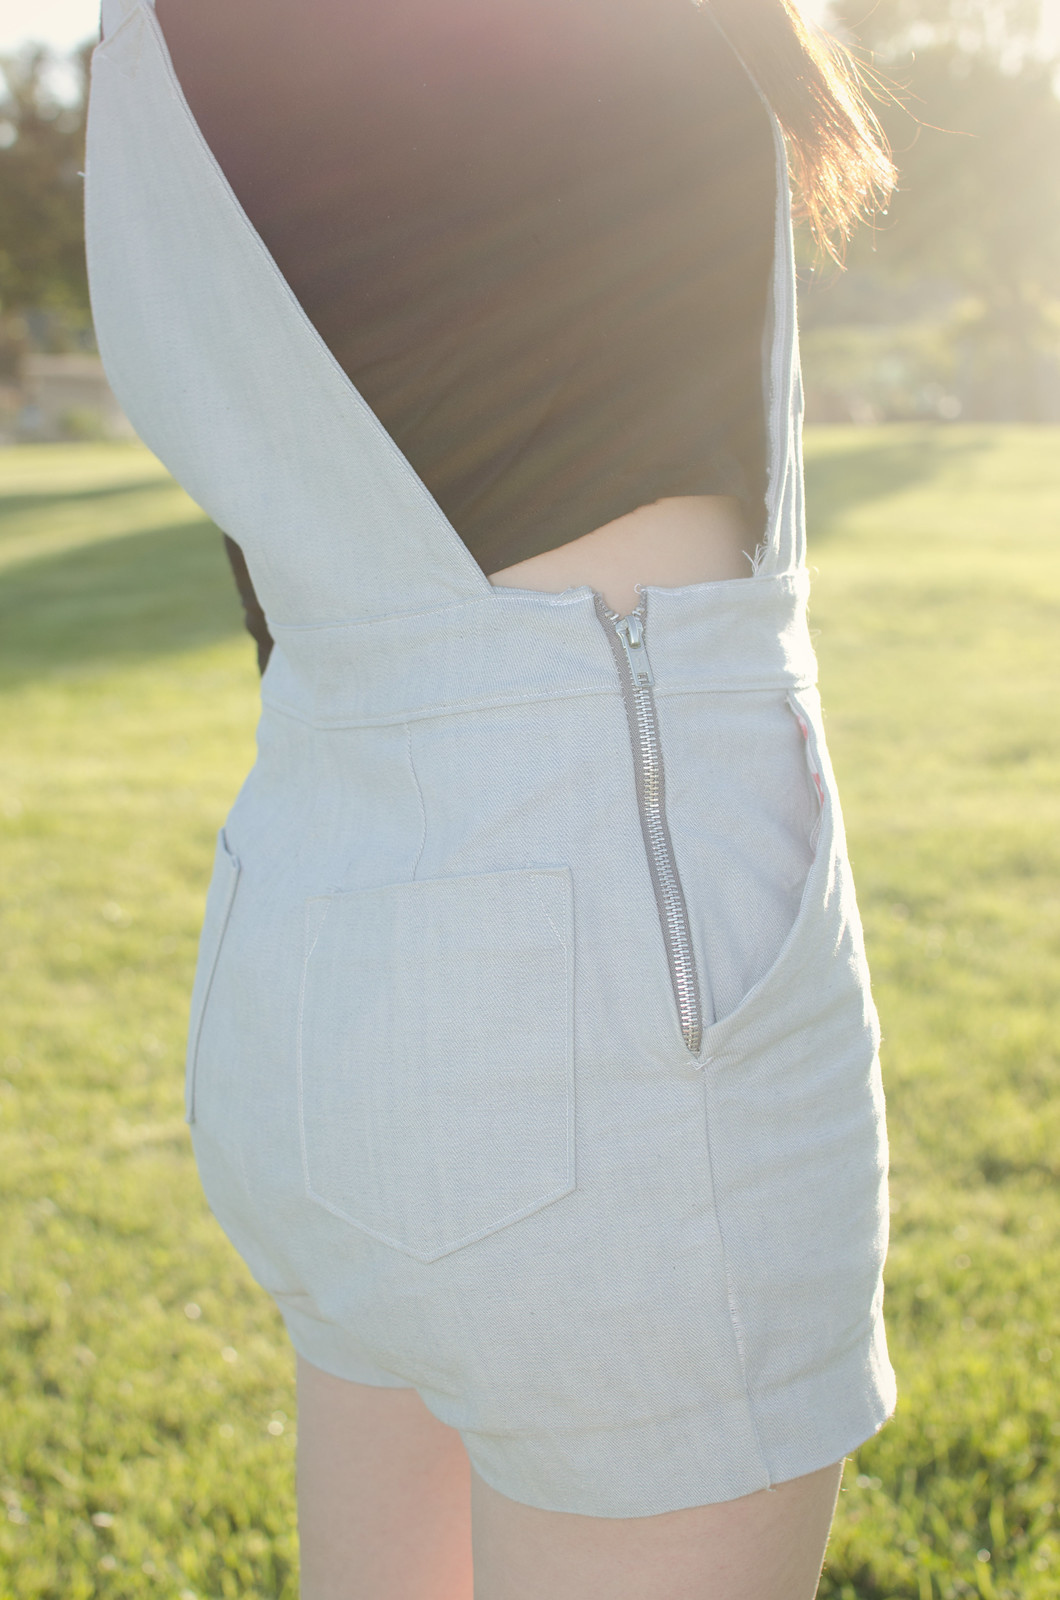
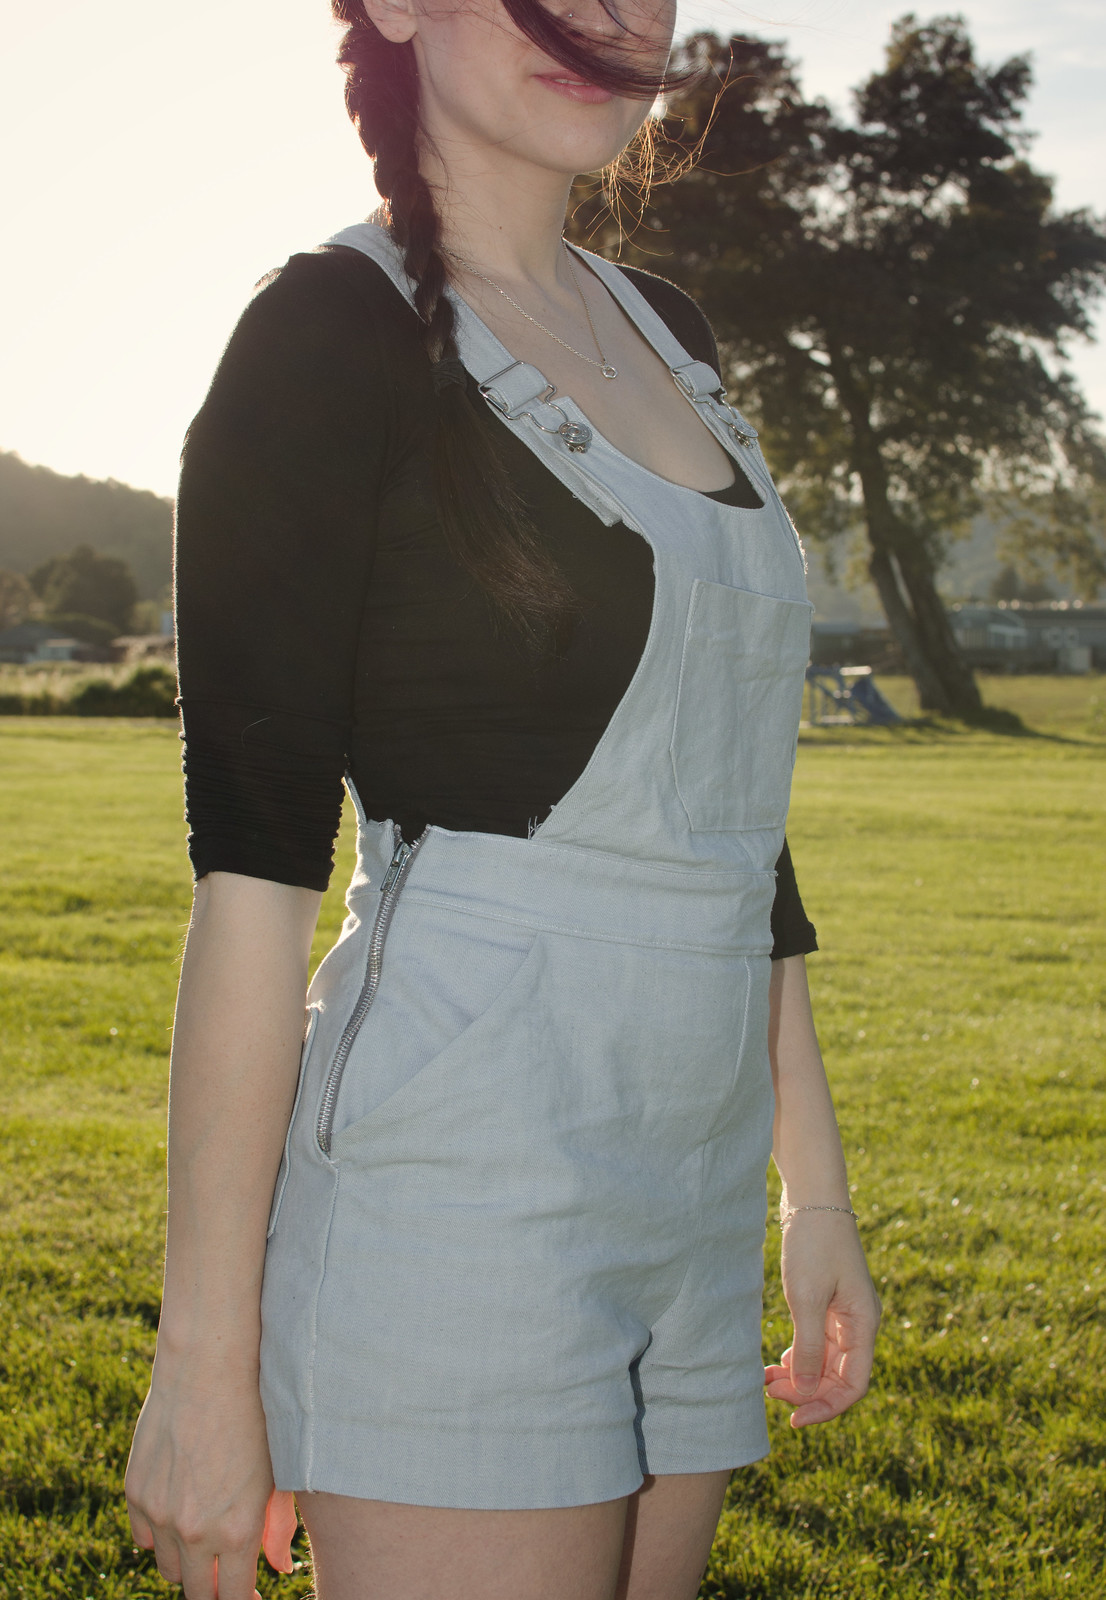
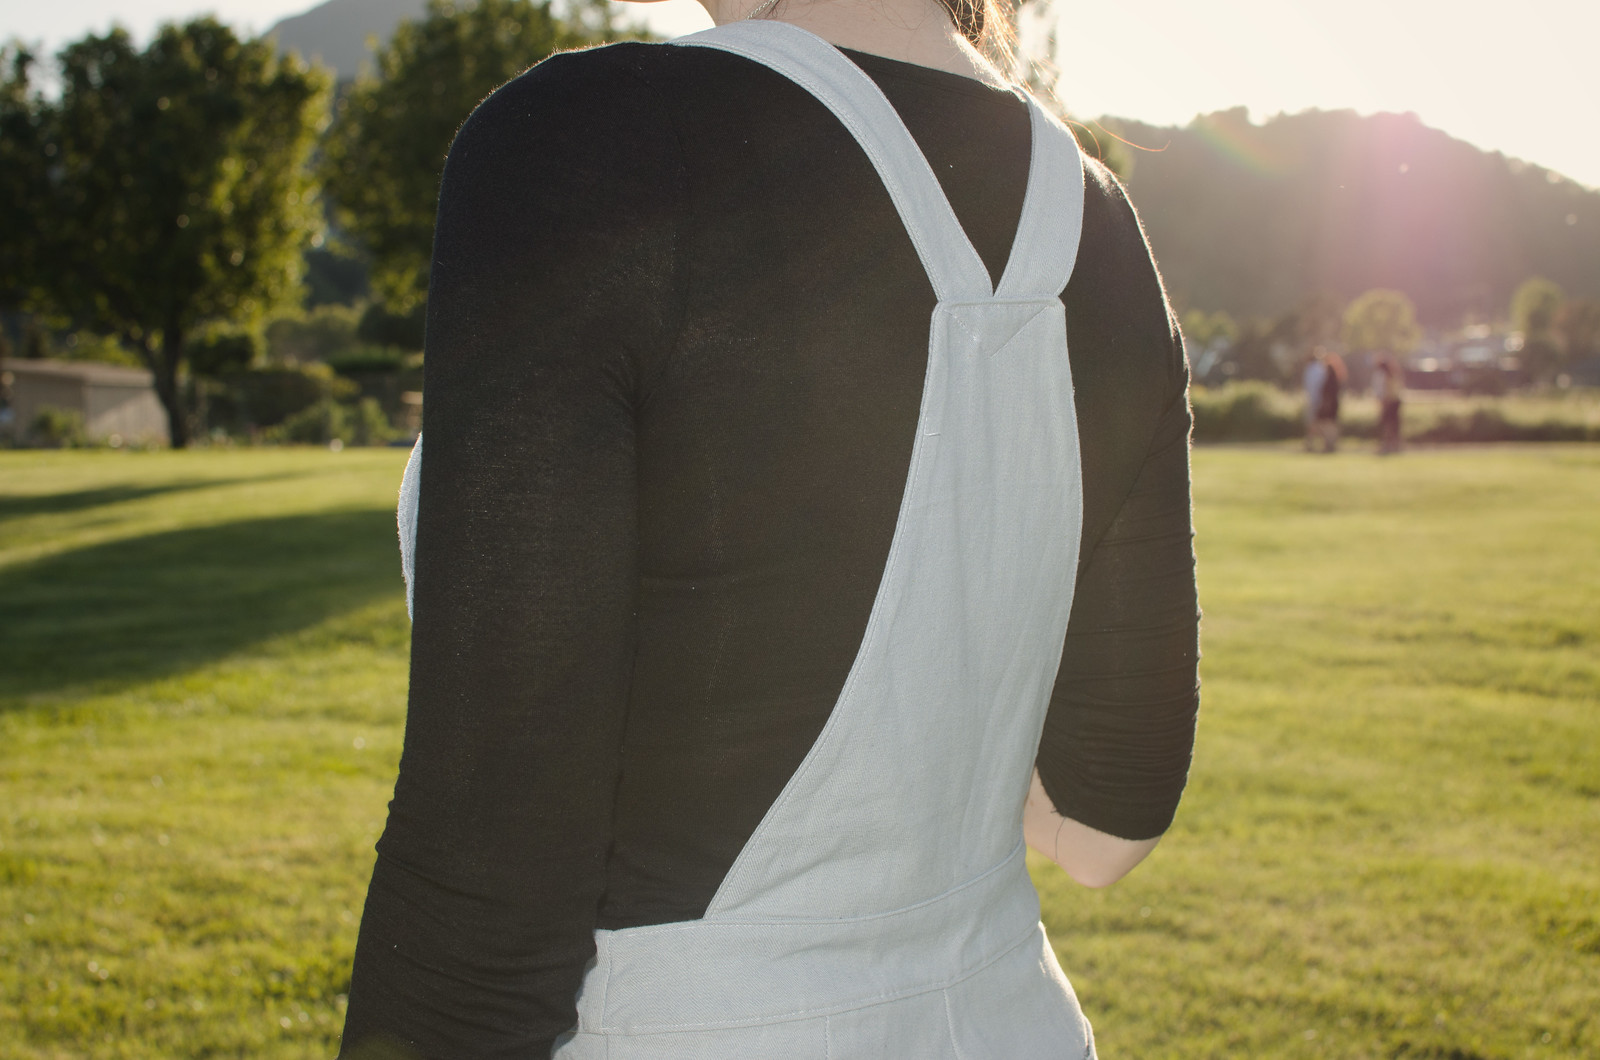
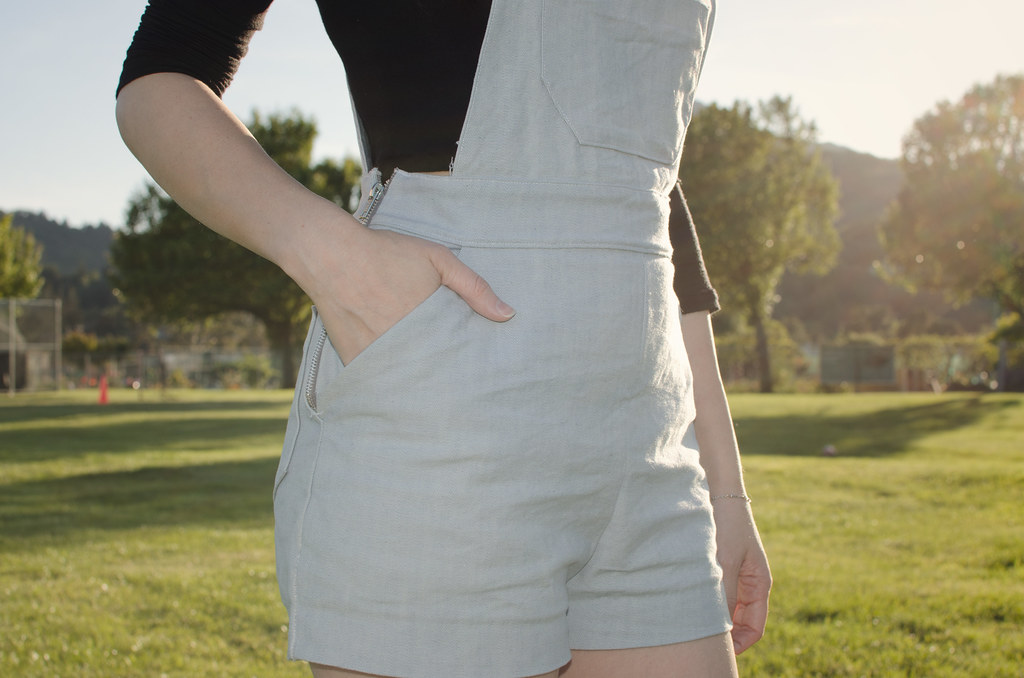
I knew immediately that I wanted to use my favorite high-waisted shorts pattern, and I barely even had to tweak these. I sewed the crotch and did a side-zip, drafted some pockets for the bum, and then just drew out some shapes for the upper front and back bits and tweaked them until they looked right.  I made the straps waay too long and then trimmed them down to the right length, but left a bit extra to make them adjustable. The strap hardware is just from Joann’s.

I actually made these last summer before I had any pattern drafting  training so there was a lot of trial and error in the process. If I were to do it again I would definitely curve the bottom edges of the top bits a little more, because they currently sag a bit weirdly.

I definitely need to make another pair of overall shorts. It’s kind of ridiculous how much I wore these around last summer.

#cheex

Bioluminescent bewbs + bra supply list

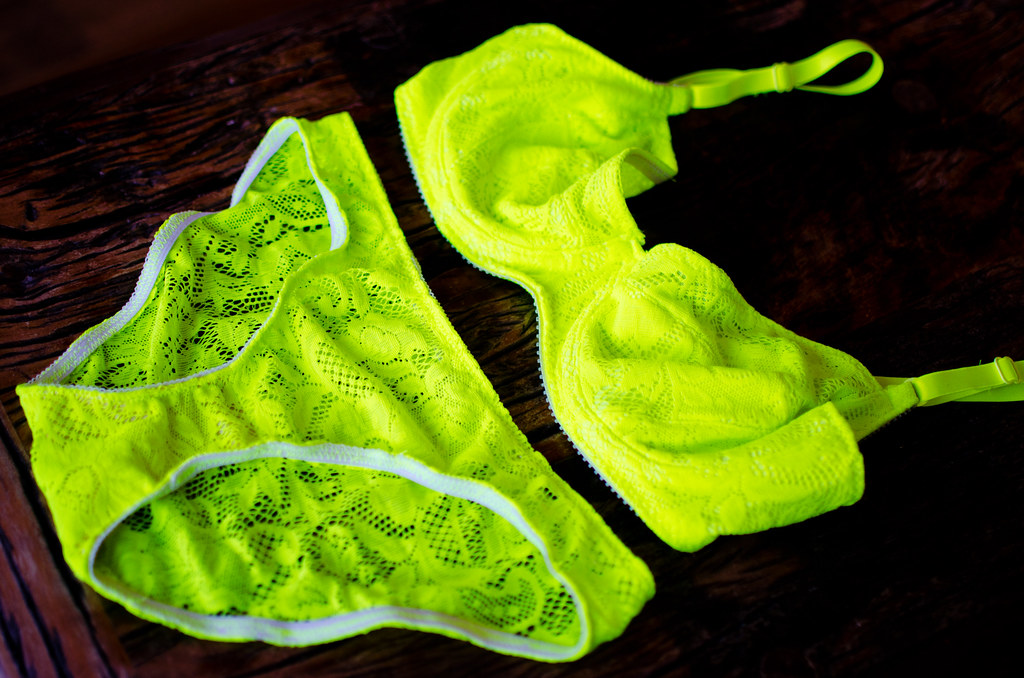
Neon Marlborough

Neon Marlborough

Neon Marlborough

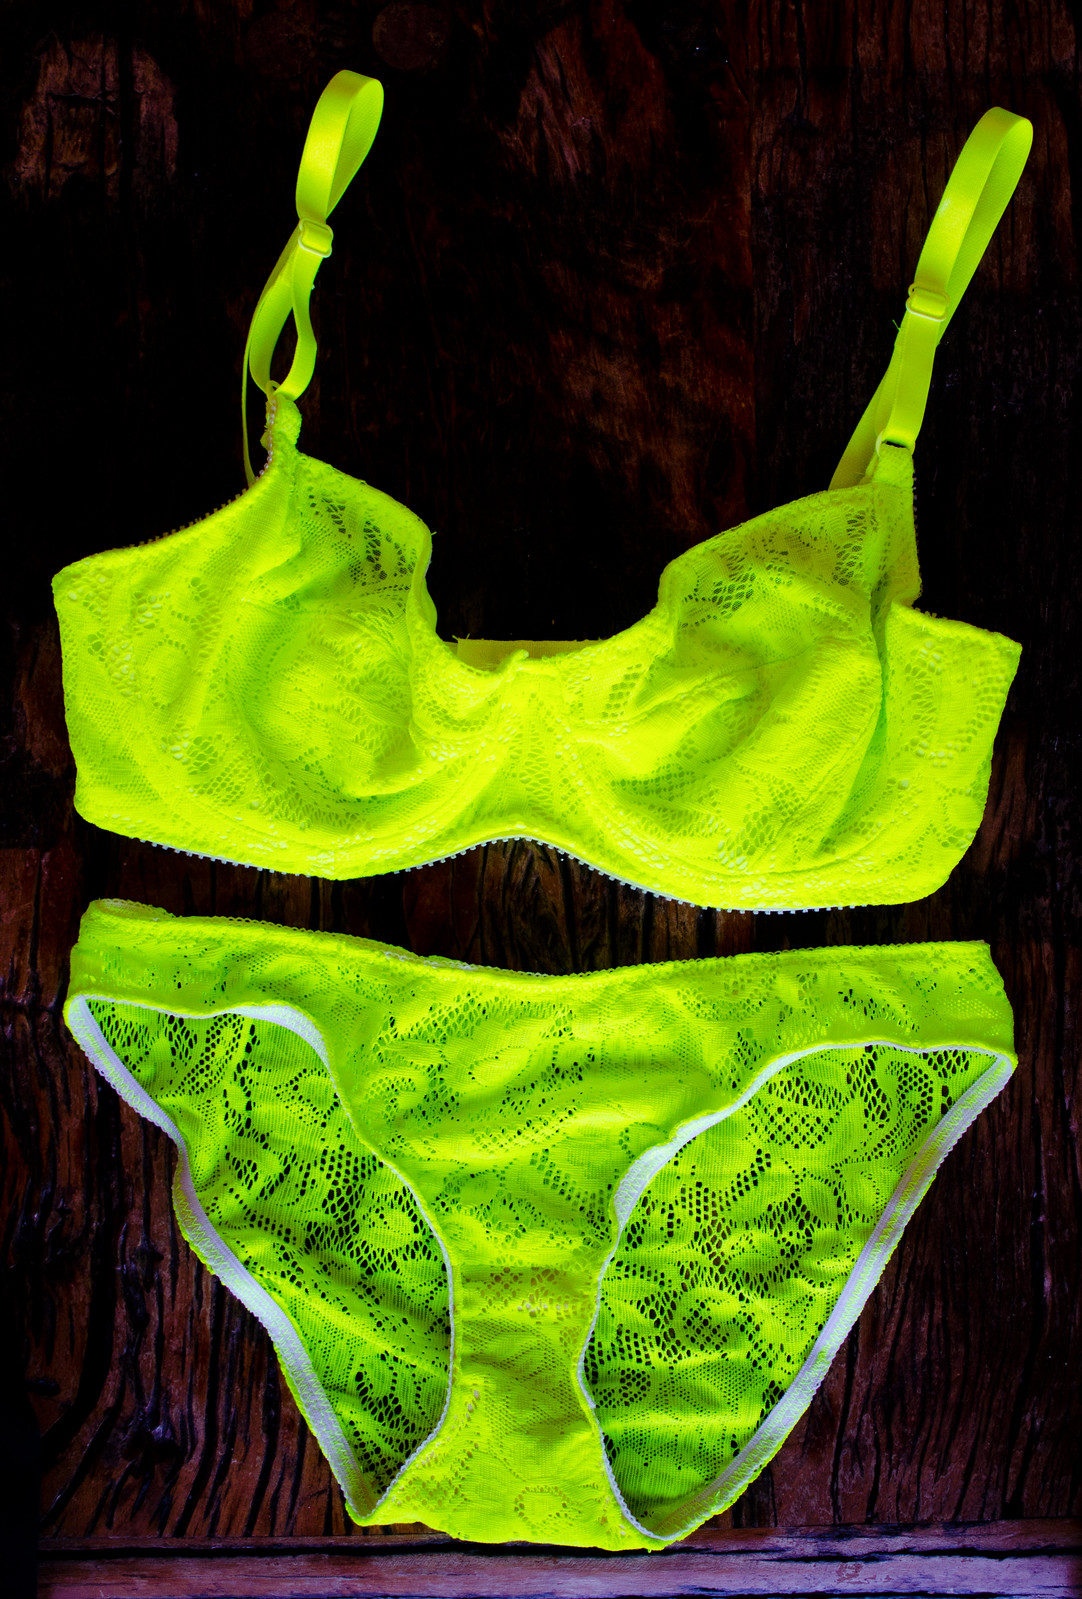
Neon MarlboroughBra: pattern here, fabrics and supplies listed below // Undies: pattern here

*Fabric for this project was provided by Funki Fabrics. All opinions, day-glo predilections, and dyeing skillz are my own.

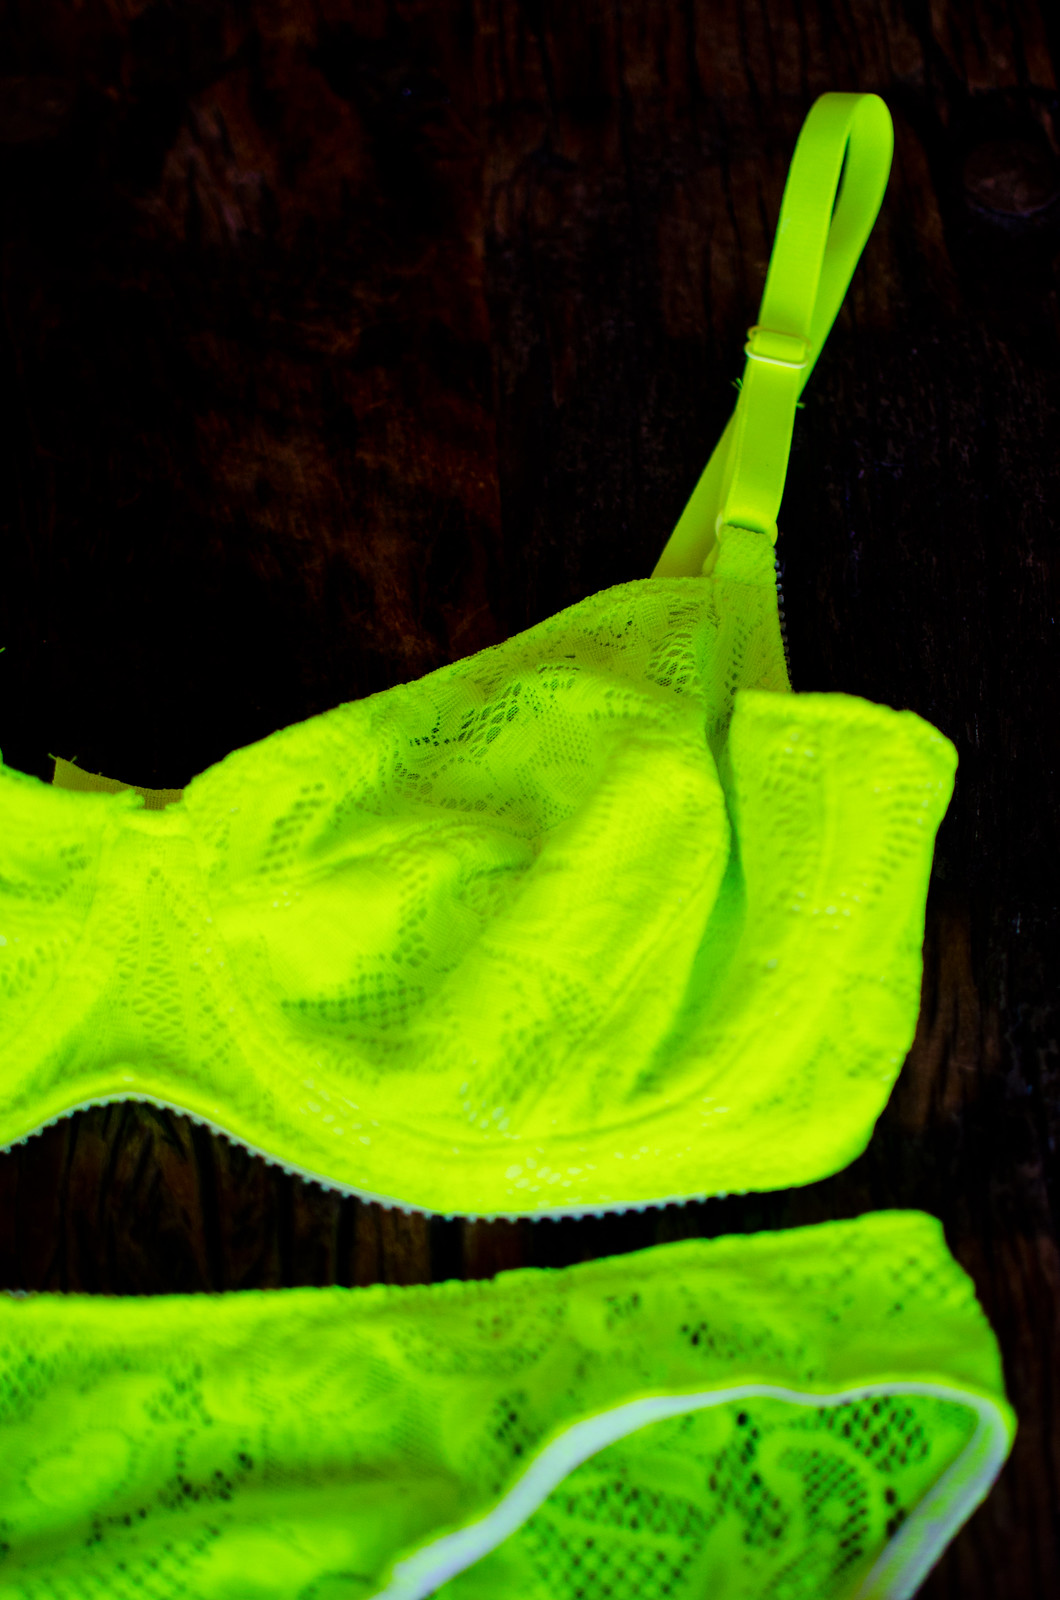
When Funki Fabrics contacted me a few months ago about sending me some fabric, my first thought was “I NEED GALAXY LEGGINGS.” Then they sent a follow-up email suggesting I try out their stretch lace since I’d been making so many Marlborough bras and my mind immediately went to “I NEED A NEON BRA.” I’m not totally sure where this sudden attraction to day-glow colors came from but I’m going with it.

For this project, I picked out a neon lace for the main outer fabric, a coordinating mesh fabric for lining the upper cup, and a neon matte lycra to line the rest of the bra. The rest of the materials were from a large order of lingerie supplies from Sew Sassy a while ago. Since I’ve had some people ask about where I got this “kit”, here’s a list of everything I used to make this (based on the Marlborough pattern since that’s what I made):

  • Neon lace – I wanted this bra to be lace all over so I cut out all of the Marlborough pieces in lace except for the Band. This lace is so awesome to sew. It looks delicate and almost like crochet lace but is substantial enough to go through the sewing machine without snagging or being obnoxious.
  • Neon matte lycra – I used this as my lining. I cut this out in all pieces except the Upper Cup and Band. It’s so soft and bright without being gross and shiny.
  • Neon stretch net – I used this to line the Upper Cup and to as the outer layer of the Band because the Techsheen wasn’t the right shade of neon. This stuff was just thin enough to be a second layer without being too delicate to work with. 
  • 1/2″ White Nylon Coated Bra Strap Slides (B967NC) – The nylon coated hardware is great because it takes acid dye really well! 
  • 1/2″ White Nylon Coated Bra Strap Rings (B970NC)
  • White Tubular Channeling (CH922WH) – This stuff is satiny and adds a lot of support. I still want to try making a bra that uses this channeling and no actual underwires.
  • White 3 eye Hook & Eye Tape (HE952wh) – I bought 1/4 yard each of this in black and white and just cut off however many hook/eyes I need for a particular bra (32D takes 3 while 34C takes 2). It dyes really well too.
  • White Techsheen Fabric (TechS312) – I used this for the Band. It’s low stretch and very supportive and dyes really well.
  • Underwires I’ve tried both the UW920 and the flex lite UW927 underwires and honestly haven’t noticed a difference in comfort. I’m also not an underwire expert so probably can’t be too helpful in this area.
  • 1/2″ White Satin Strapping Plush Elastic (PE540wh) – I love these straps! Super comfortable and easy to dye.
  • 5/8″ Finishing Plush Elastic (PE440) – This stuff is interesting because the 5/8″ elastic takes acid dye really well on the plush side and not at all on the elastic side, but the 3/8″ elastic barely takes any dye at all anywhere. Luckily it’s all on the inside and not noticeable at all.
  • 3/8″ Finishing Plush Elastic (PE400)
  • 1/4-3/8″ regular picot-edge elastic For the top edge of the upper cups. Mine didn’t take dye at all.
  • Dharma acid dye in Fluorescent Lemon This stuff is incredible but make sure you start off with a tiny amount because it’s so vivid. My first batch turned out banana yellow because I used way too much.

I absolutely loved working with these fabrics from Funki Fabrics! I was a bit worried about the fabrics being too stretchy but the combination I used seems to work great. Plus the colors coordinated perfectly so the whole bra is just a lovely glowing set.

Apparently my neon kick is sticking around because (as you may have seen on Instagram) I’ve recently dyed another bra set hot pink and then purchased some neon coral lace for a Watson set.

Prepare to have your retinas burned out.