All posts by Peneloping

Sew Fun: book review + giveaway!

Sew Fun - jacket artSew Fun by Deborah Fisher
Interweave/F+W Media; $26.99

When I was little I was always doing various craft projects. One year my family spent a summer in Beijing living in a hotel and boredom led to my creating an entire wardrobe out of tissues for my various Barbie dolls. Spoiler alert: there were a lot of capes and togas. Then there was my teddy bear that I hand-stitched from curtain scraps and embroidery thread when I was six. At some point I will find and photograph my first crochet project, which is an amorphous, mostly orange with blue and turquoise accents vaguely-oval shaped ripply blob. Seven year old me had high hopes of it turning into a skirt somehow. And then at fourteen I started my LotR-inspired collection of elf couture. When I think back to my childhood it feels like I’ve always been working on something.

Sew Fun

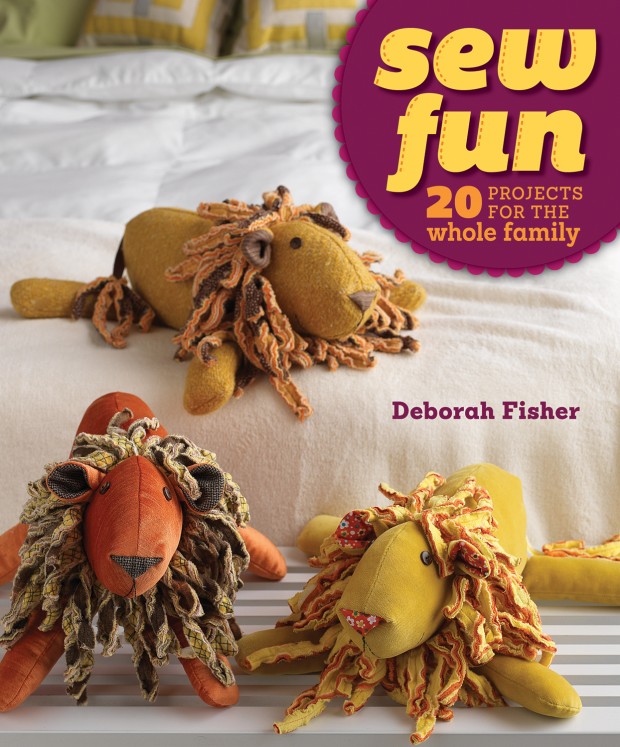
When Interweave Publishing contacted me recently about reviewing a new book on crafting with kids I pretty much died of cuteness overload as soon as I saw the cover. Yes please! (Note: Interweave provided me with a copy of Sew Fun; all opinions and rambling anecdotes are my own.)

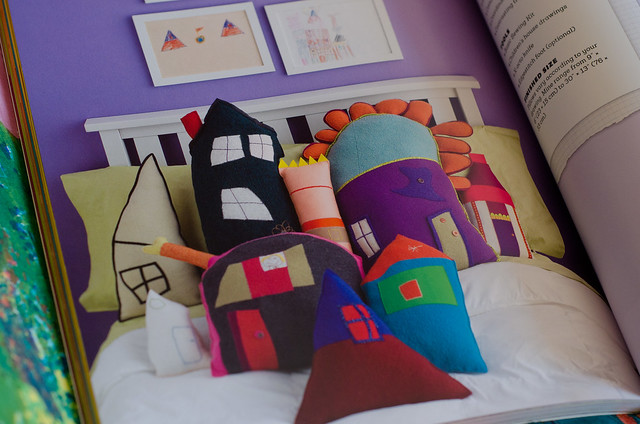
Sew Fun is Deborah Fisher’s creation as a way to engage kids in crafting. The book is divided into sections based on type of crafts: dress-up projects, stuffed animals, playtime accessories, and home and party decorations. Each project is designed with tiny humans in mind and includes a section of suggested tasks for kids.

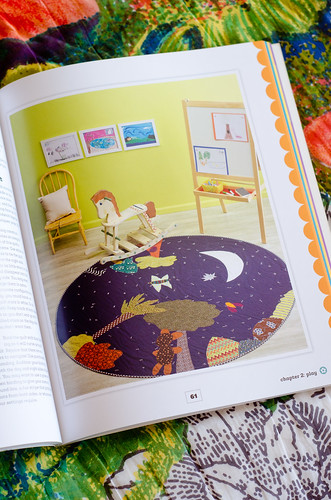
My first impression after flipping through the book is that it looks like Anthropologie for kids. Like check out this amazing storybook play blanket. It’s two-sided, for daytime and nighttime. Is it ok that I want to make this to put on my wall??

Sew FunSew Fun

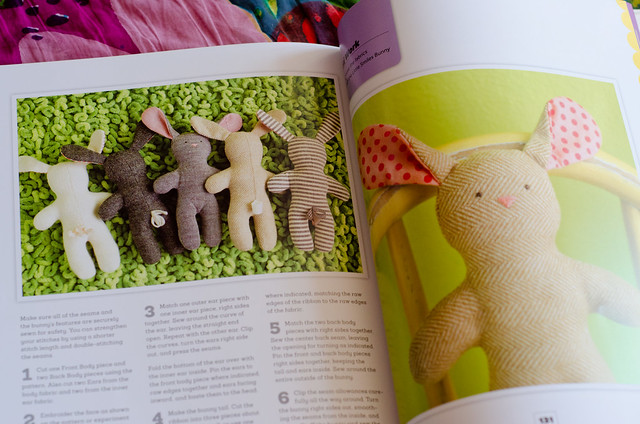
Also this bunny is happening. I don’t even care that I’m 27. I need an army of these little guys.

Sew Fun

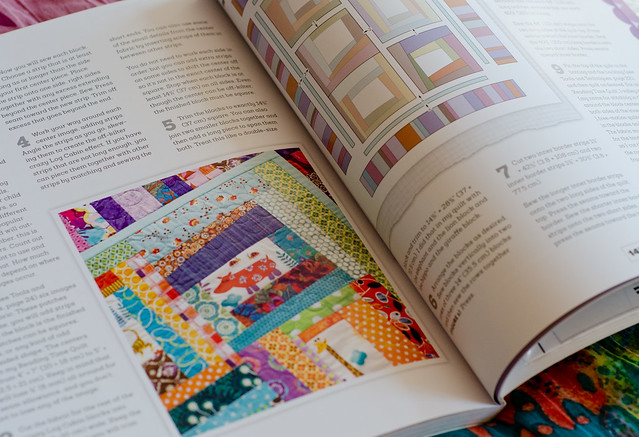
This quilt would be a great way to show-case those cute prints that we dress-making addicts sometimes buy because it’s a cute print and then don’t know what to do with it because it’s not really wearable. We all have a bunch of those in our stashes, don’t lie.

Sew Fun

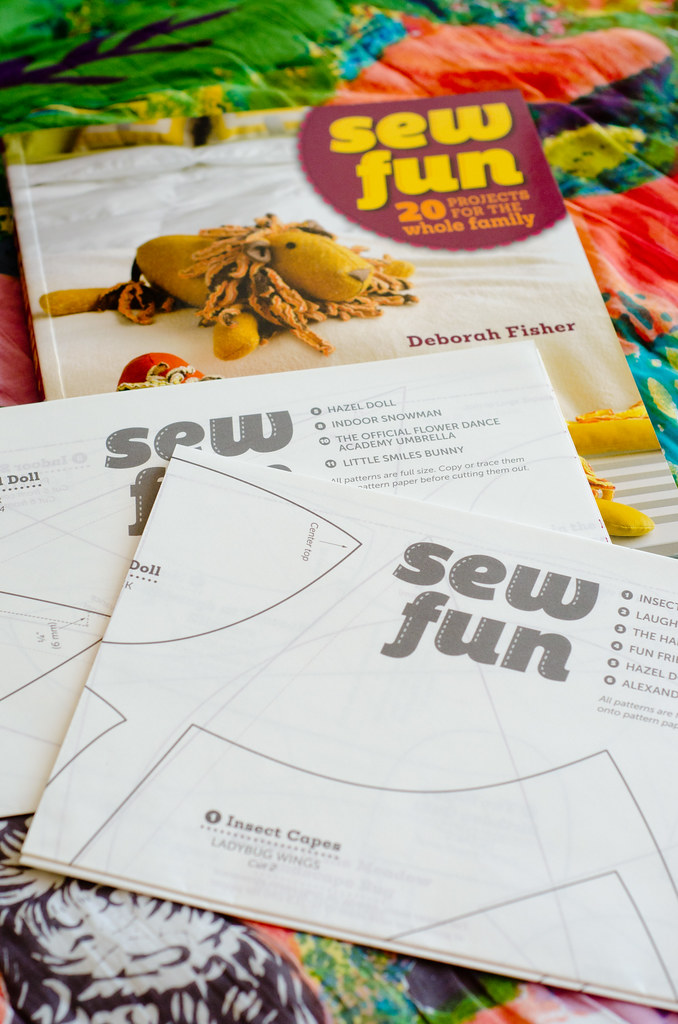
There’s also a plastic insert in the back with pattern pieces printed on lovely paper (not as thick as Megan Nielsen patterns but not the gross super-thin tissue stuff).

Sew Fun

Deborah talks about safety tips, craft ideas, and sewing techniques, and and gives lots of suggestions about how to make crafting fun and engaging for both kids and adults. She says specifically that this isn’t a book for kids, but a book meant to bring out the inner child in grown-ups and to involve kids in the process.

The best part is that Interweave is generously offering a copy of Sew Fun to one of my readers! Just leave a comment below telling me your favorite memory of crafting as a child.

A winner will be randomly selected Sunday, March 23rd and announced shortly after.

[CLOSED]
Peplos

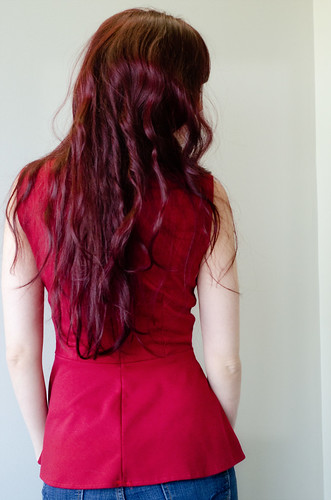
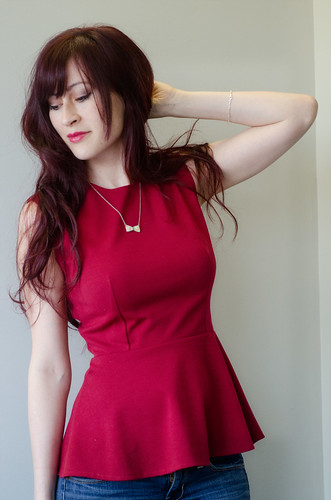
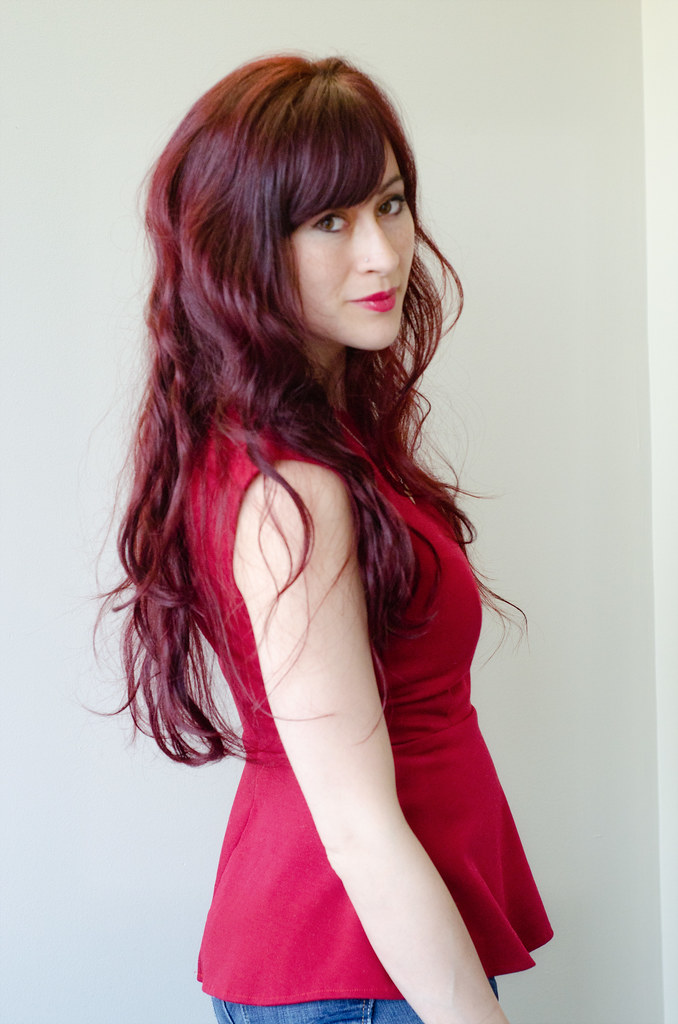
Red peplum top

Red peplum topRed peplum top

Red peplum top

My sister and I often joke about how living together would save us a ton of money because we own so much of the same stuff. Despite having entirely different styles at least a third of our wardrobes are identical and, off the top of my head, we also have the same slow cooker, curling wand, gym bag, yogurt maker, etc. We think it’s ok because we live literally across the country from each other. She’s in San Francisco while I’m out here in Boston.

So when it came time to talk Christmas presents and she made a few sewn garment requests (she got an Archer and one of these peplum tops), I couldn’t resist making one for me too.

The pattern is Vogue 8815 (recommended by the Crafty Foxes), which I absolutely love. It’s meant for wovens but I just took it in a little at the seams and it worked out perfectly. I used a heavy knit with only a tiny bit of stretch so no zipper needed. Can’t argue with a top that takes twenty minutes to put together.

I have all sorts of plans for other versions of this pattern: one with a collar, one with some kind of a lace overlay, one with beading on the peplum and cap-sleeves, one with an exposed zipper, maybe one with a deep V slashed in the front, one with long sleeves.

My only issue with peplum tops is that I always find myself defaulting to pairing them with jeans. I’ve tried the skirt thing and it just felt like I was trying too hard and not quite pulling it off. Plus apparently you’re only supposed to wear them with more fitted skirts, which I feel weird wearing.

Anyone else have this issue?


greenberries

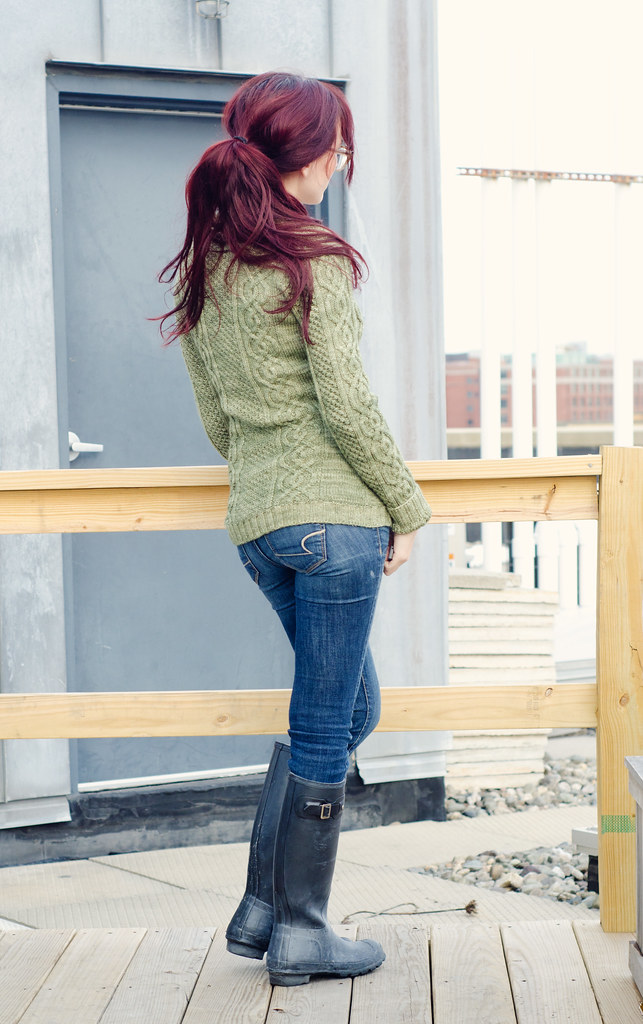
Blackberry cable cardigan

Blackberry cable cardigan

Blackberry cable cardigan

Blackberry cable cardigan
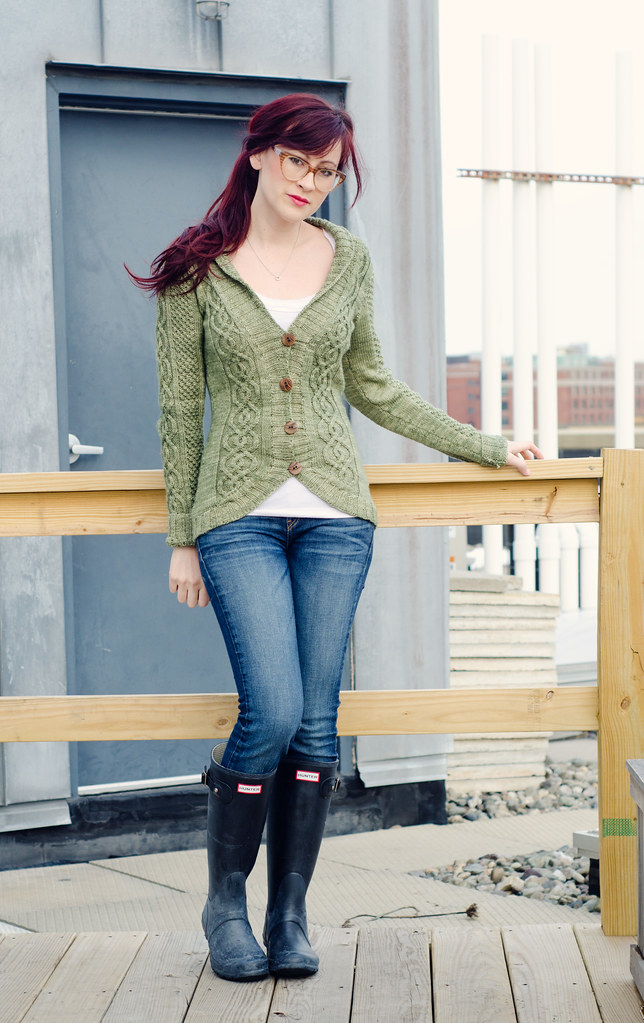
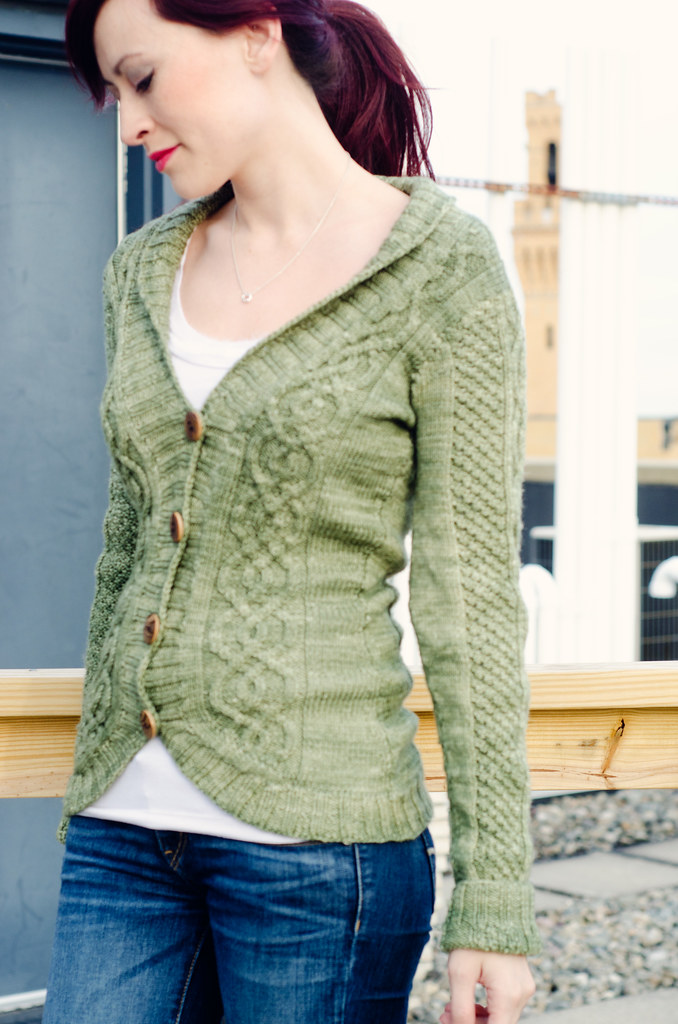
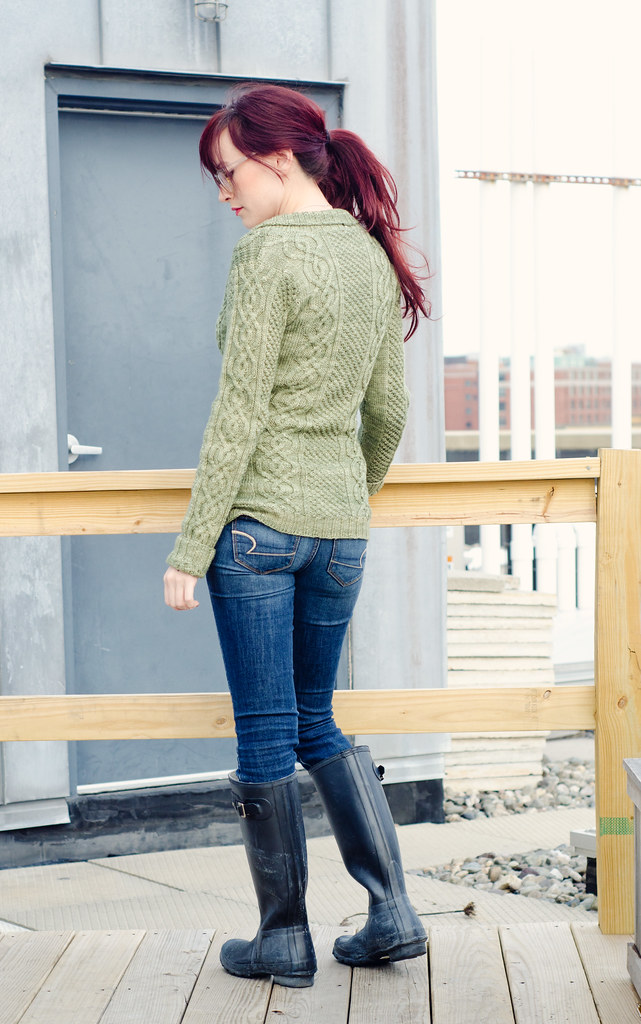
sweater: self-made, pattern here // glasses: BonLook.com (affilliate link) // pants: AE // boots: Hunter

Sometimes I finish a project and immediately get dressed up and run upstairs to photograph it. Other times, I wait three years.

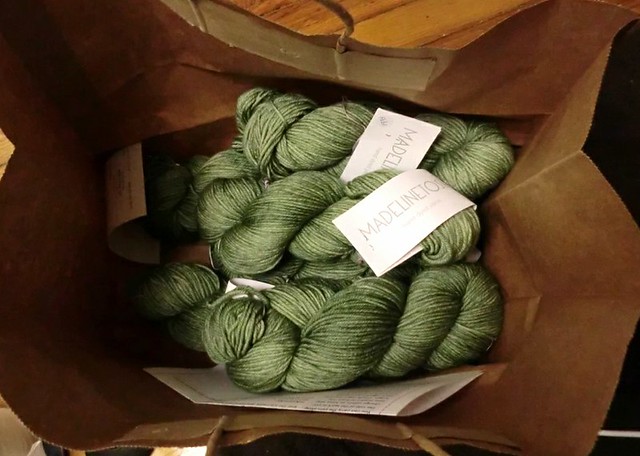
This sweater was my birthday present to myself in 2011. I had been eyeing fancy yarns and decided to treat myself to a sweater’s worth of Madelinetosh (colorway: thyme). I almost chose Composition Book Grey but I think I just liked the name.

CIMG2114Hello babbies!

Anyway, the pattern is the Blackberry Cable Cardigan and it was so much fun to knit! It was three years ago but I’m pretty sure the blackberry stitch was a bitch and a half but the rest of it knitted up easily. Cables are the best. They’re not actually that hard but they make sweaters look so fancy and complicated. Hee. I also love how hourglassy it turned out with the very deliberate waist definition.

My only issue is I overestimated the sleeve length and ended up with sleeves that are about 3″ too long and didn’t have enough yarn left to make the shawl collar as wide as I’d wanted.

Someday I might fix it. Someday.

I made a coat!!

Stripes ahoy

Stripes ahoy

Stripes ahoyStripes ahoy

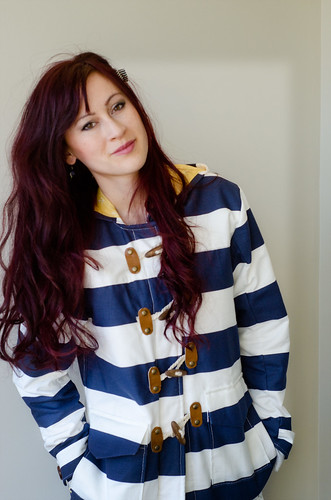
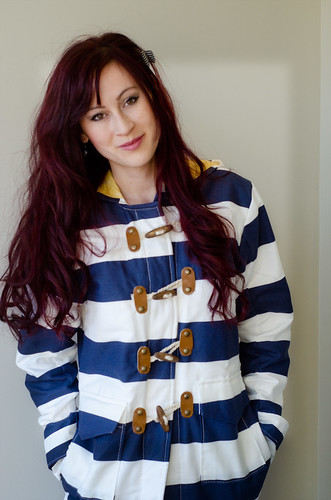
Stripes ahoycoat: self-made, pattern here // dress: self-made, pattern here // leggings: ??? // boots: Hunters

Phew, I finally finished my Albion coat!

I had pinned this coat (yes, that would be a child’s coat) ages ago and then when the Albion pattern and sewalong were announced, it seemed like the perfect opportunity to try to recreate it.

I will say though, for what was ultimately not that difficult of a coat pattern, I sure managed to make things incredibly unnecessarily difficult for myself.

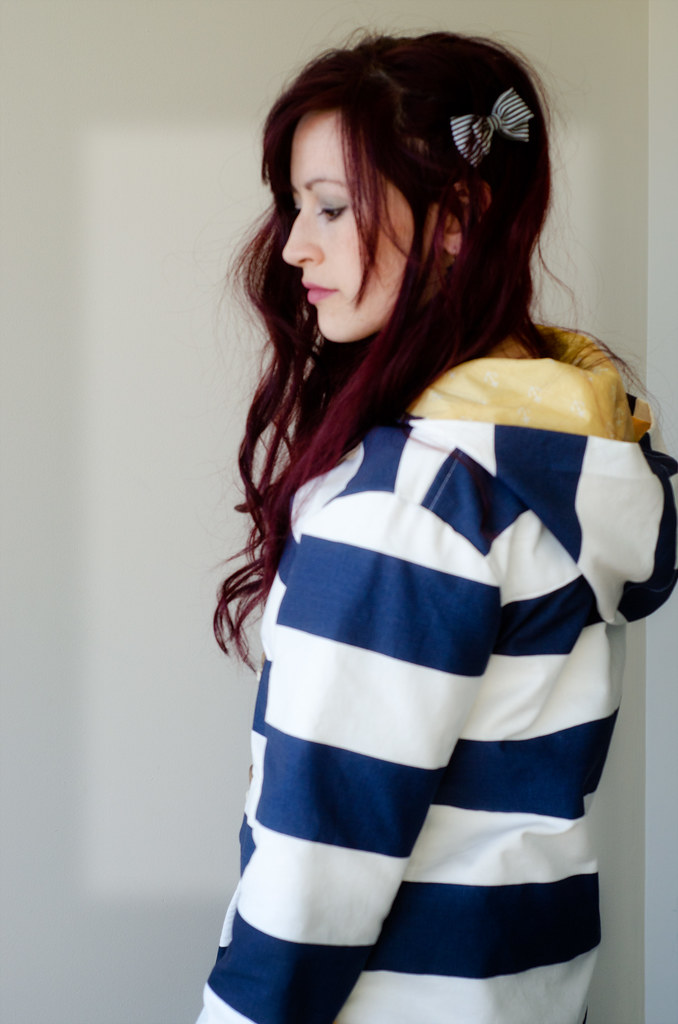
First, I searched high and low for a navy and white striped canvas but only managed to find this one, which wasn’t quite thick enough. So instead of giving up and going with my second choice of a charcoal gray herringbone wool, I decided that I would just flatline it to give it more body. I went with this gorgeous anchor print (I was 50/50 on gray vs. yellow and I’m slightly kicking myself that I didn’t go with the gray..) and decided to add in some plain cotton flannel for warmth. Except that adding all these layers made it thicker than the original plain canvas would’ve been, so I had to kind of figure out which parts I would put together as though I was working version 1 (the lined coat) and which ones would make more sense using version 2’s techniques (the unlined jacket).

Plus, trying to match stripes when you haven’t used a pattern before is kind of difficult. I had to do a lot of guessing and luckily it worked out! I’m not sure why the front stripes aren’t matching up in the photos where it’s buttoned because they totally do. I think it’s because I’m standing slightly tilted and pulling it down on one side. Whoops.

I also decided to make things even more fun for myself and switched up the pocket flaps to match the inspiration coat more. I pretty much just added a point in the center and made the sides go up a little higher than the original rectangular ones would have.

I’d never made toggles before so I’m a little impressed that they actually worked out, although they turned out a little more wibbly than I would’ve liked. I bought some plain unfinished wooden toggle buttons and used some wood stain I had lying around to make them a darker chestnuty shade. I’d gotten some cord for the middle but it turned out to be too thin so I twisted it together in a rope braid and added that. Then I just cut out ovals from a sheet of leather and punched two studs in each and attached them to the coat. And lastly, for the sleeve tabs, I used some wooden buttons (which I forgot to photograph, whoops!) that were gifted to me a few years ago that I’d been saving for something special.

I also made a dress, because for whatever reason I decided that this coat would look really cute with a white lacy dress, except that I didn’t own a white lacy dress. So I made one. I did another Laurel hack (see my first one here) except instead of making it drop-waisted, I went a little high waisted instead. I’ll do another post on that one soon.

But yayy! I made a coat!

Birthday dress!

Birthday dress

Birthday dress

Birthday dress

Birthday dress

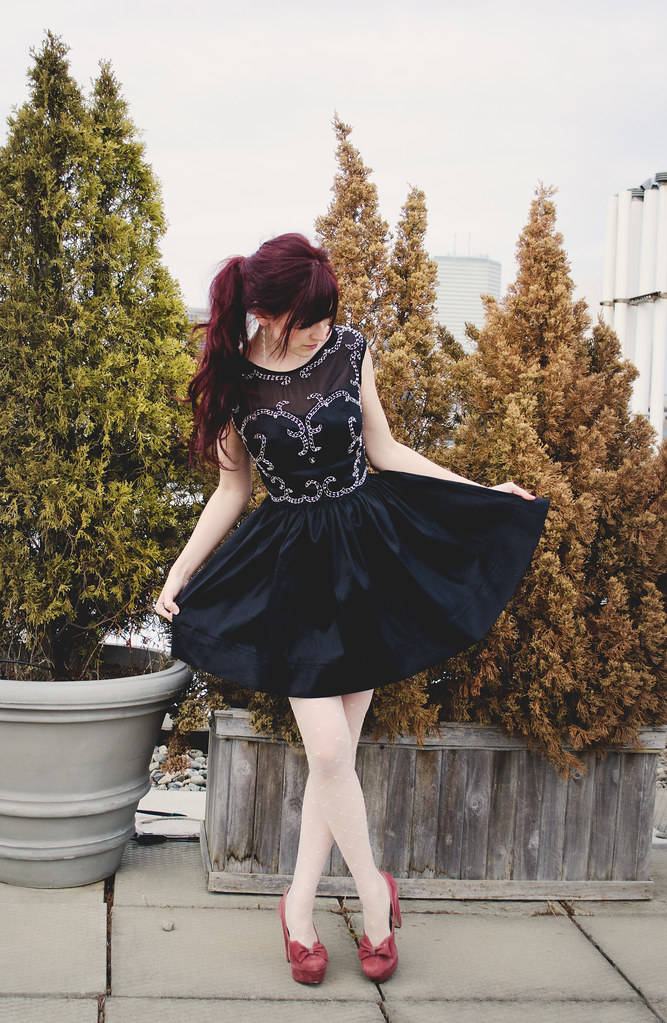
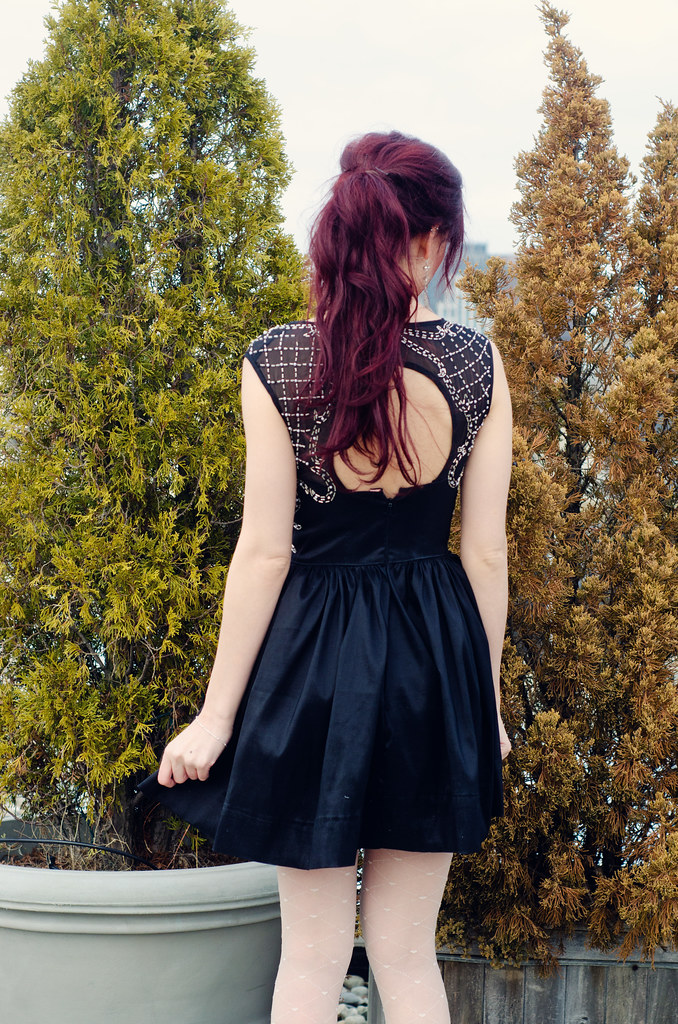
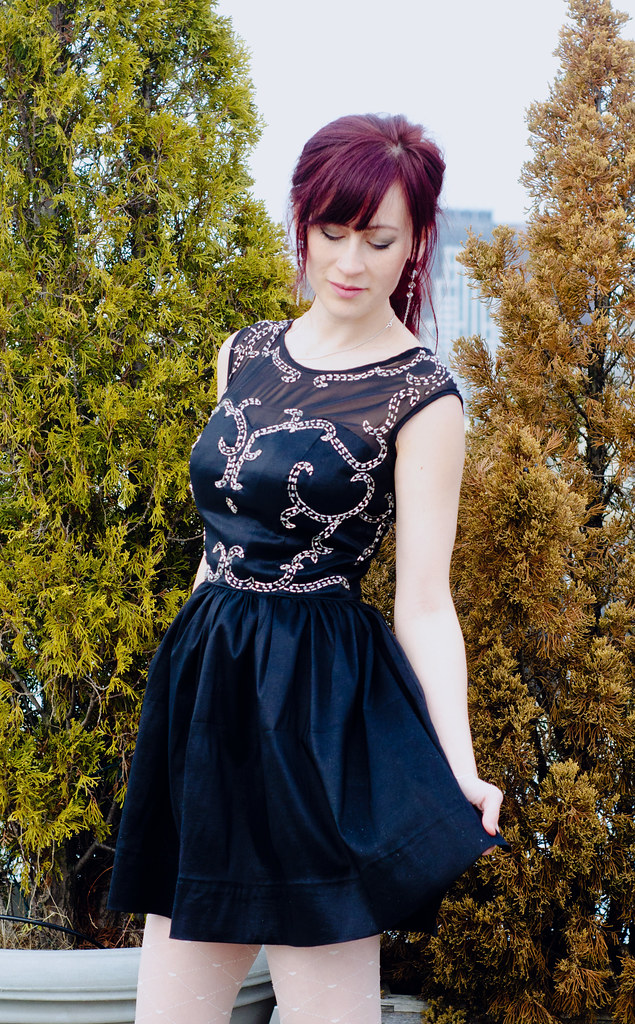
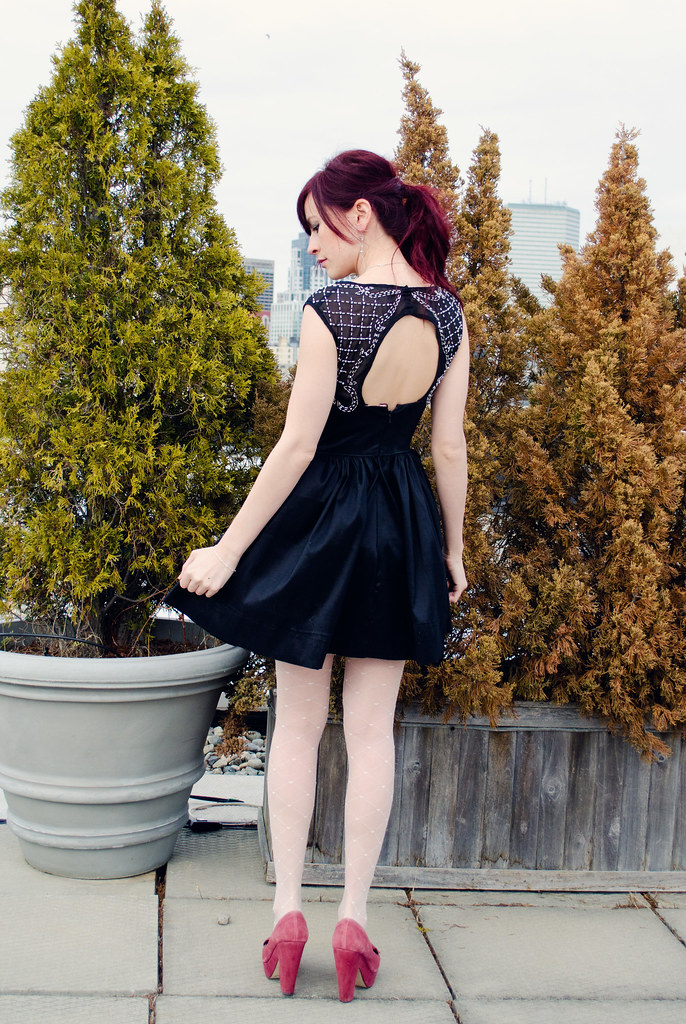
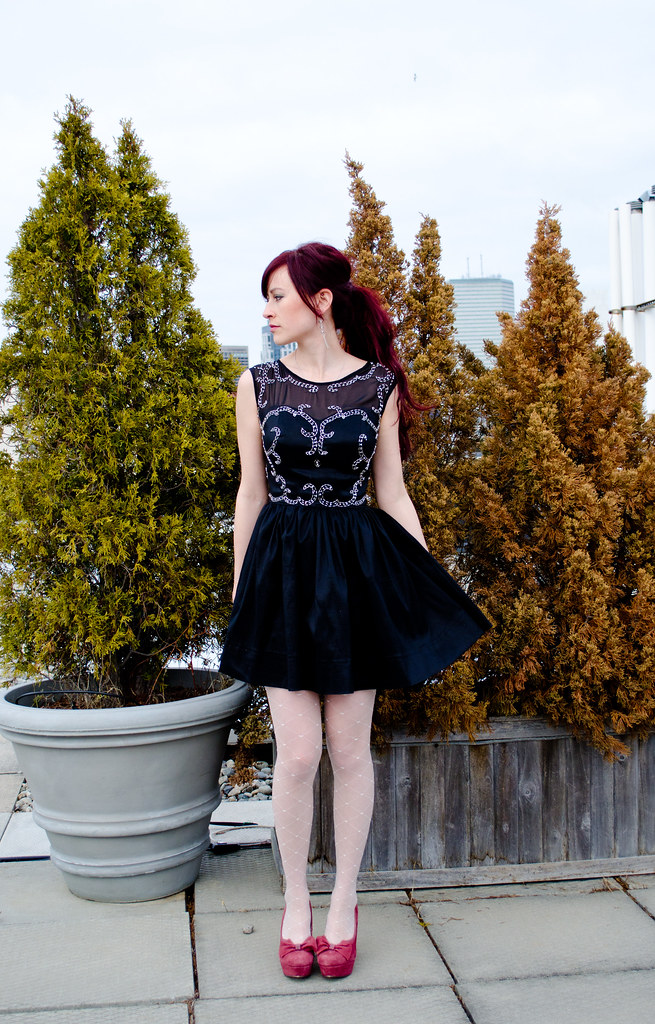
Birthday dressdress: self-made // shoes: Seychelles // tights: F21

Everyone, meet Birthday Dress!

I’ve been so excited to share this and I pretty much ran right upstairs to take photos within three minutes of the last stitch. Did I mention it’s about 30 degrees outside? I had a severely runny nose by the end. Yikes.

Anyway, I can’t remember where exactly at the moment, but I saw this dress a few weeks ago (probably on Pinterest, actually) and decided right then and there that it was going to be birthday dress. I already knew I would use McCall 6646 and figured the black fabric wouldn’t be too hard to find, so I went to work looking up what types of beads to use.

Screen Shot 2014-03-07 at 5.14.53 PMPhoto from Modcloth.com

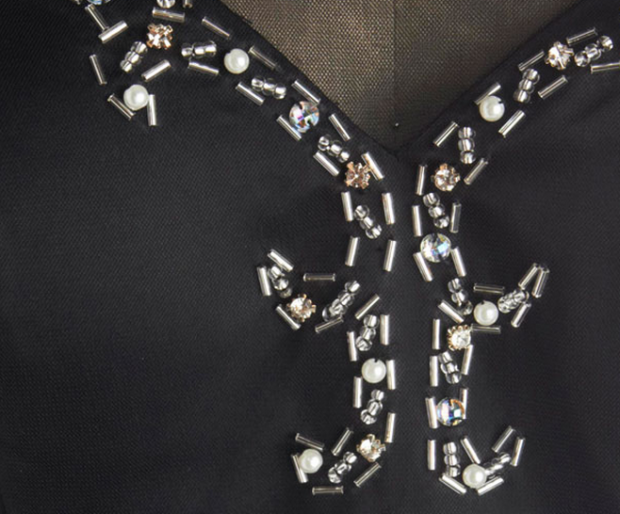
I looked at Etsy, Joann’s, Fire Mountain Gems, and Sewfisticated and ended up cobbling together a nice selection of the necessary beads. If you look at the closeups you’ll see that there’s bugle beads outlining the curlicues and then inside them, it alternates one larger bead and three small seed beads. There seem to be three types of larger beads that are randomly alternating: pearls, montee rhinestones, and some sort of faceted bead. I had some pearls left over from a previous project and for some reason Sewfisticated sells 20g bags of 1/4″ bugle beads for $0.49 so those were easy. I decided to use bicone Swarovski knockoffs from Joann’s and then found these guys on Etsy.

The dress itself was pretty easy to put together but I got a little too excited and sort of jumped the gun and put the bottom half of the dress together before I actually bought the chiffon for the top bit, which meant that that was much more difficult to attach. Whoops. It worked out though! I just ended up making some bias tape out of the chiffon (SO much fun, guys) and reinforcing the heart-shaped neckline with it to conceal where the chiffon top attached.

Anyways, I’m incredibly relieved that I managed to get it done in time! My actual birthday was on Wednesday (27 – yikes!) but a super busy week means we’re doing celebrations tonight instead.

Have a lovely weekend, everyone!