Category Archives: Uncategorized

Yuzu

Coat: Yuzu size 38 // pants: Jamie jeans

I’m quickly becoming a Waffle Patterns fangirl. First there was the Tosti jacket that fit me perfectly with zero alterations, now it’s this wonderful wonderful coat.

I had originally imagined it in an oatmeal color, but the only oatmeal wool I could find seemed like it might be too loose a weave. Then I magically happened upon some black boiled wool and black cotton flannel in the “free stuff” pile at school and it seemed like it was meant to be. All I had to buy was some Bemberg rayon for the lining and 6 gigantic buttons.

Maybe this is a remnant of living through four Boston winters, but I wanted this coat to be gigantic and heavy and warm. I cut some scraps of the wool, muslin, and black flannel, and overlapped them in different combinations to decide how to underline it. I ended up going with black flannel underlining on all the pieces except the collar and front overlapping pieces. Those were underlined with muslin because I wanted the collar to be a bit softer and I thought two layers of cotton flannel plus four layers of boiled wool over my boobs sounded excessive.

I also looved the flap pocket option Yuki added. They were pretty easy to put together too! I made thread chain “leashes” at the bottom edge of the pockets that attach them to the bottom of the coat so they don’t wander. I also decided to add inside lining pockets by basically cutting that lining piece in half and adding seam allowances and a pocket bag into the seam. I had meant to only do it on one side but was on autopilot and cut two layers of fabric so I figured, why not both sides?

Anyway, I’ve been living in this thing. It goes with dresses as well as jeans, and is so easy to just throw on. I think I do still need an oatmeal version.

How many coats is a normal and acceptable amount of coats? Asking for a friend..

K&L Tap Shorts + giveaway!

Denim Tap shorts Denim Tap shorts Denim Tap shorts Denim Tap shorts Denim Tap shorts Denim Tap shorts Denim Tap shorts

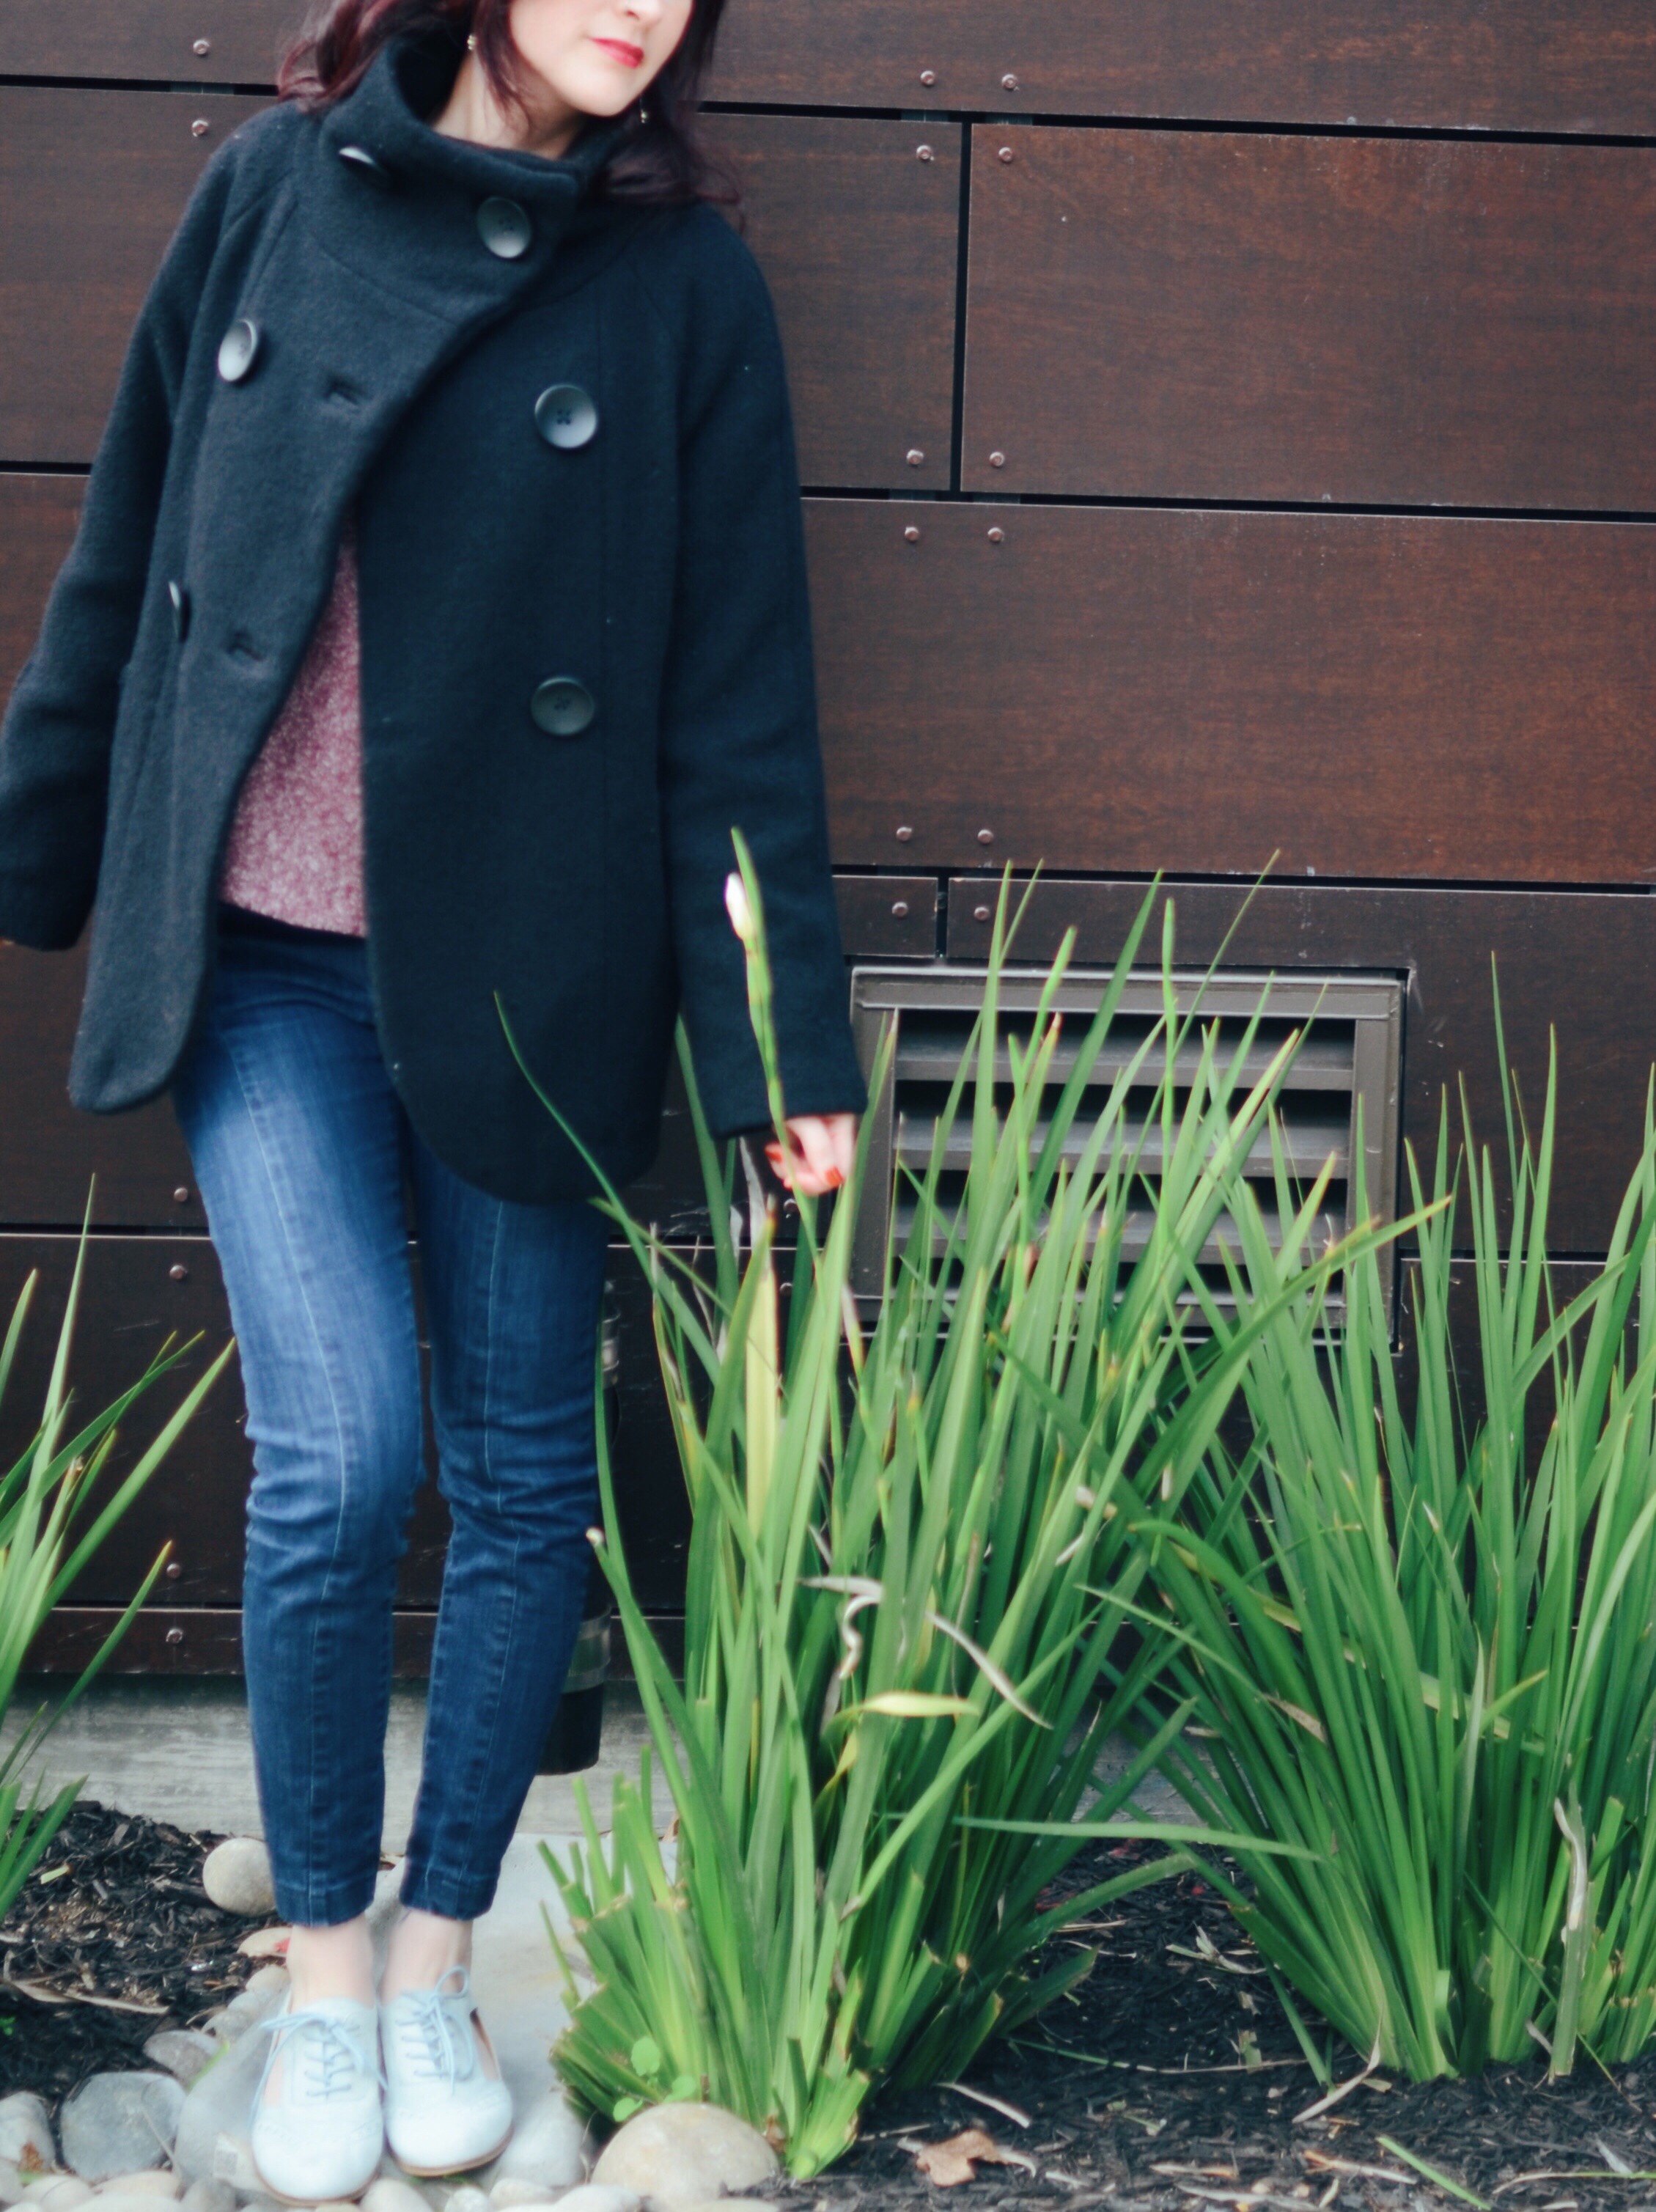
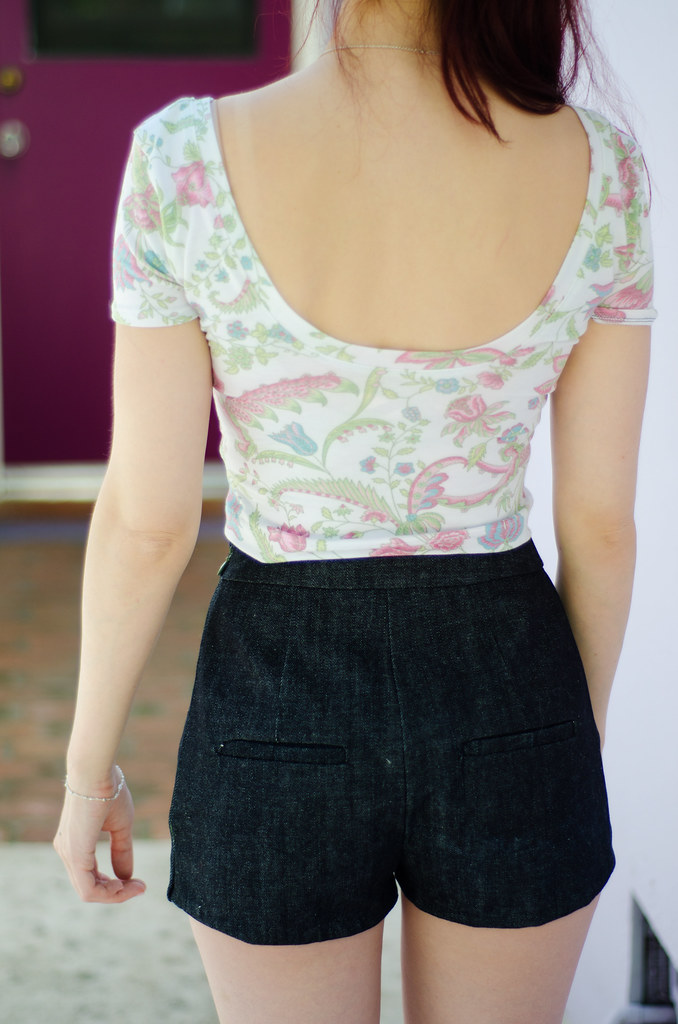
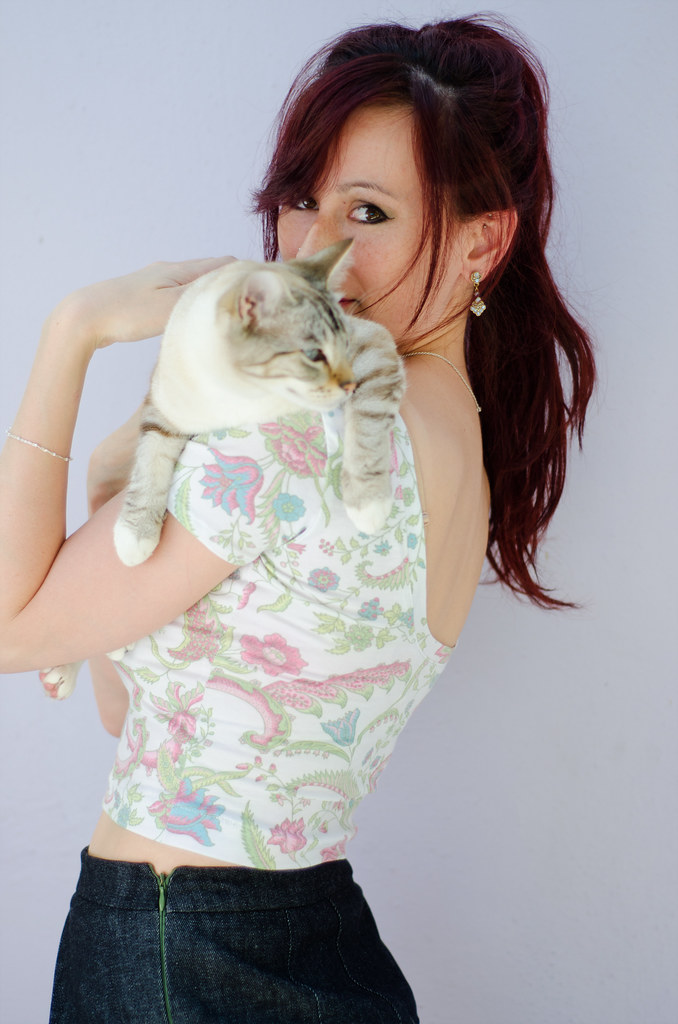
shorts: self-made, pattern here // top: self-made, pattern here // earrings: Michal Golan // kitten: named Kaylee, borrowed from Seester

Once upon a time (last summer) I came up with all these big ideas about making shorts. I was going to use this pattern, there were going to be two bows on the sides where the pockets are, and they were going to come out perfectly. Except everything became a huge mess, nothing came together correctly and I was slightly traumatized.

Fast forward to a few weeks ago, Katy and Laney announced they were making a pattern and did I want to test it? Um, yes! These guys always look amazing and I had no doubts their pattern would be super cute as well. Oh, but it’s shorts. Ruh roh.

But then I remembered all the times I’ve shown up sewing club dramatically proclaiming that I could never in a million years learn how to do a particular thing (e.g. button holes, invisible zippers, self-made bias tape, etc.) and each time one of them has been like “Nay, here is how,” (not an exact quote) and within ten minutes I’m pretty much able to do it myself. So I had faith in their instructable abilities.

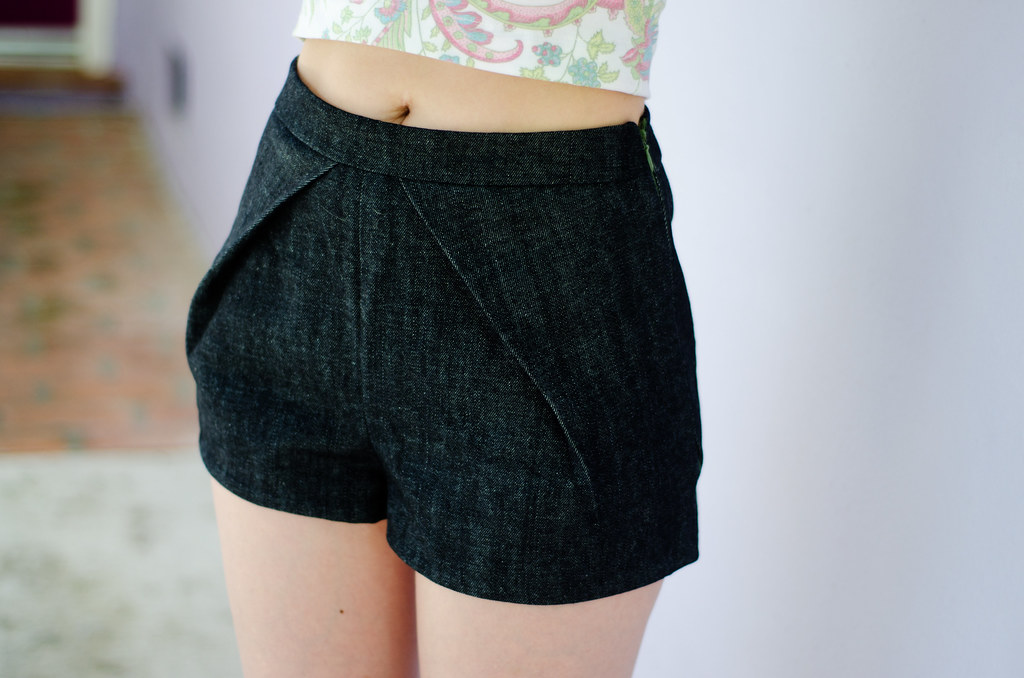
And I was not wrong! These shorts came together easy peasy. The pattern comes with two back views, one with welt pockets and one without. I’m just going to say that I 100% do not understand how welt pockets work so I went into it extremely tentatively. They just looked so cute I knew I would be sad if I didn’t at least try. Luckily Katy and Laney’s awesome instructable abilities didn’t let me down one bit and I managed to make two pretty decent looking welt pockets! There’s definitely room for growth there but practice makes perfect and all that.

I did make a few changes to the pattern. I was somewhere between a size 0 and 2 so I cut a 2 in the waist and graded down to a 0 around the crotch area. I wanted the leg openings to be a little less dramatically wide and going down a size in the bottom half achieved that for me. I also trimmed off a good 2-3″ off the bottom so these are quite cheeky. Hee.

When they sent me the pattern it only included the pleated view so that’s the only one I’ve tried so far and I absolutely love it. I made it in a thick denim (and a second soon-to-be blogged pair in a lighter weight linen) and I love the way the heavy weight fabric holds the pleat. They do puff out a bit when I sit down but I don’t really mind. I can’t really speak for how curvier ladies might find this effect. I do want to add though that I think it’s pretty awesome that the K&L ladies took the feedback they received about how the pleat might not be for everyone and created two whole new views. I, for one, am super excited to try out a pair of front-zip ones. (Maybe I’ll get my side pocket bow shorts after all.) Tap Shorts for everyone!

DSC_6965_edited-1

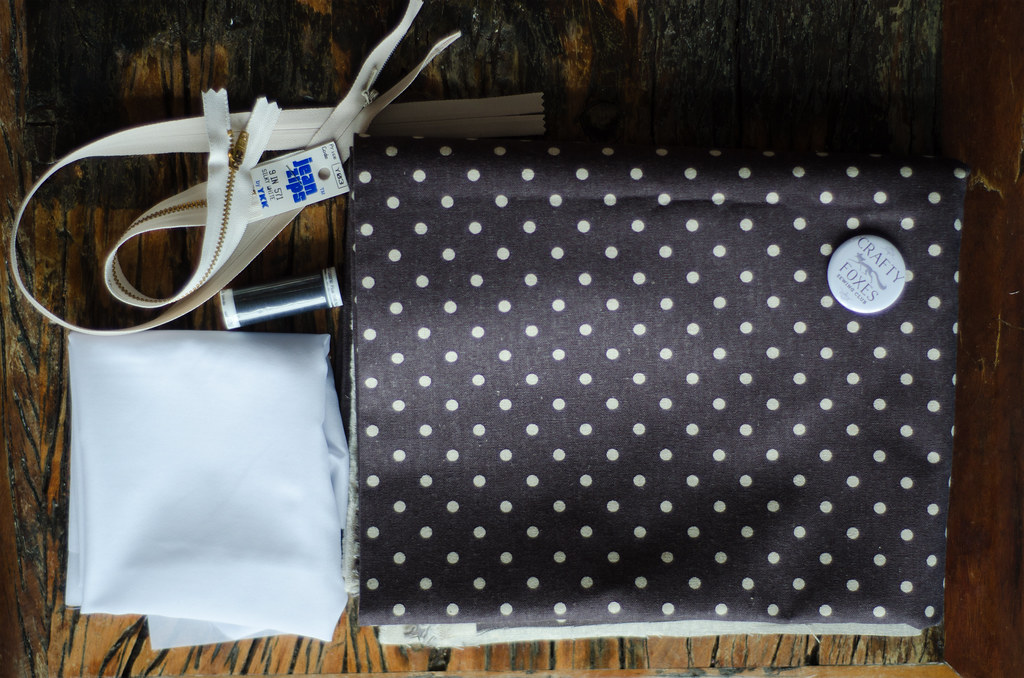
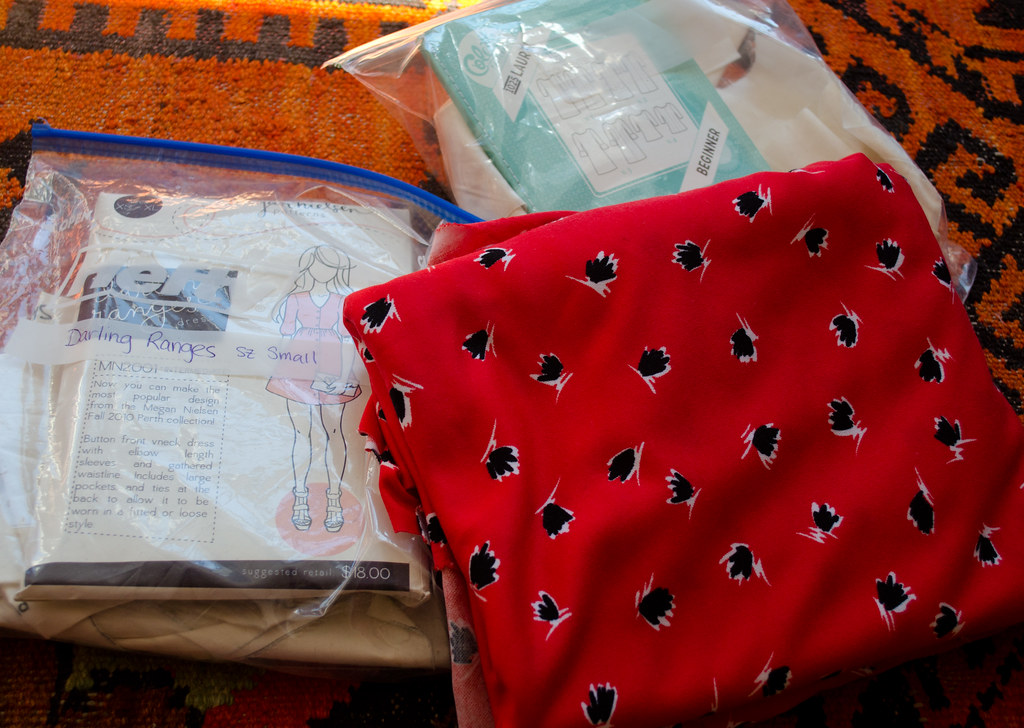
Andd to celebrate the release of their inaugural pattern, Katy and Laney are generously offering up a Tap Short kit to one lucky Peneloping reader! You’ll receive:

-a PDF copy of the pattern
-2 yards of fabric + required interfacing
-coordinating zippers, thread

Just comment below telling me one sewing technique you never thought you’d be able to master. Make sure you include your email so you can be contacted about receiving your prize!

[CLOSED]

This giveaway is open to readers worldwide and will be open until midnight Friday, June 20th. The winner will be announced shortly after. In the meantime, make sure you check out the rest of the Tap Shorts blog tour!

Katy-&-Laney-Tap-Short-Tour-8

Thursday, June 12th: Heather at Closet Case Files

Friday, June 13th: Ping at Peneloping

Saturday, June 14th: Jenny at Cashmerette

Monday, June 16th: Mary at Idle Fancy

Wednesday, June 18th: Sarah at Grey’s Fabric and Notions

Thursday, June 19th: Jennifer at Workroom Social

Friday, June 20th: Kelli at True Bias

Saturday, June 21st: Mary at Young, Broke, and Fabulous

Sunday, June 22nd: T at Uandmii

Tuesday, June 24th: MacKenzie at Some Real Things

I made a coat!!

Stripes ahoy

Stripes ahoy

Stripes ahoyStripes ahoy

Stripes ahoycoat: self-made, pattern here // dress: self-made, pattern here // leggings: ??? // boots: Hunters

Phew, I finally finished my Albion coat!

I had pinned this coat (yes, that would be a child’s coat) ages ago and then when the Albion pattern and sewalong were announced, it seemed like the perfect opportunity to try to recreate it.

I will say though, for what was ultimately not that difficult of a coat pattern, I sure managed to make things incredibly unnecessarily difficult for myself.

First, I searched high and low for a navy and white striped canvas but only managed to find this one, which wasn’t quite thick enough. So instead of giving up and going with my second choice of a charcoal gray herringbone wool, I decided that I would just flatline it to give it more body. I went with this gorgeous anchor print (I was 50/50 on gray vs. yellow and I’m slightly kicking myself that I didn’t go with the gray..) and decided to add in some plain cotton flannel for warmth. Except that adding all these layers made it thicker than the original plain canvas would’ve been, so I had to kind of figure out which parts I would put together as though I was working version 1 (the lined coat) and which ones would make more sense using version 2’s techniques (the unlined jacket).

Plus, trying to match stripes when you haven’t used a pattern before is kind of difficult. I had to do a lot of guessing and luckily it worked out! I’m not sure why the front stripes aren’t matching up in the photos where it’s buttoned because they totally do. I think it’s because I’m standing slightly tilted and pulling it down on one side. Whoops.

I also decided to make things even more fun for myself and switched up the pocket flaps to match the inspiration coat more. I pretty much just added a point in the center and made the sides go up a little higher than the original rectangular ones would have.

I’d never made toggles before so I’m a little impressed that they actually worked out, although they turned out a little more wibbly than I would’ve liked. I bought some plain unfinished wooden toggle buttons and used some wood stain I had lying around to make them a darker chestnuty shade. I’d gotten some cord for the middle but it turned out to be too thin so I twisted it together in a rope braid and added that. Then I just cut out ovals from a sheet of leather and punched two studs in each and attached them to the coat. And lastly, for the sleeve tabs, I used some wooden buttons (which I forgot to photograph, whoops!) that were gifted to me a few years ago that I’d been saving for something special.

I also made a dress, because for whatever reason I decided that this coat would look really cute with a white lacy dress, except that I didn’t own a white lacy dress. So I made one. I did another Laurel hack (see my first one here) except instead of making it drop-waisted, I went a little high waisted instead. I’ll do another post on that one soon.

But yayy! I made a coat!

Copycat Challenge ending soon!

Clara dress progress

Get on those sewing machines guys, tomorrow is the last day to submit projects for Erin’s and my Copycat Challenge! We’ve got several submissions to post so if you sent us an email in the past few days and don’t see your project up, don’t worry, we’re working on it!

I, for one have been majorly slacking and will be attempting to do my Clara dress in one day. We shall see how this goes.

Happy sewing!