Tag Archives: outfit

review // my fabric designs

DSC_0176

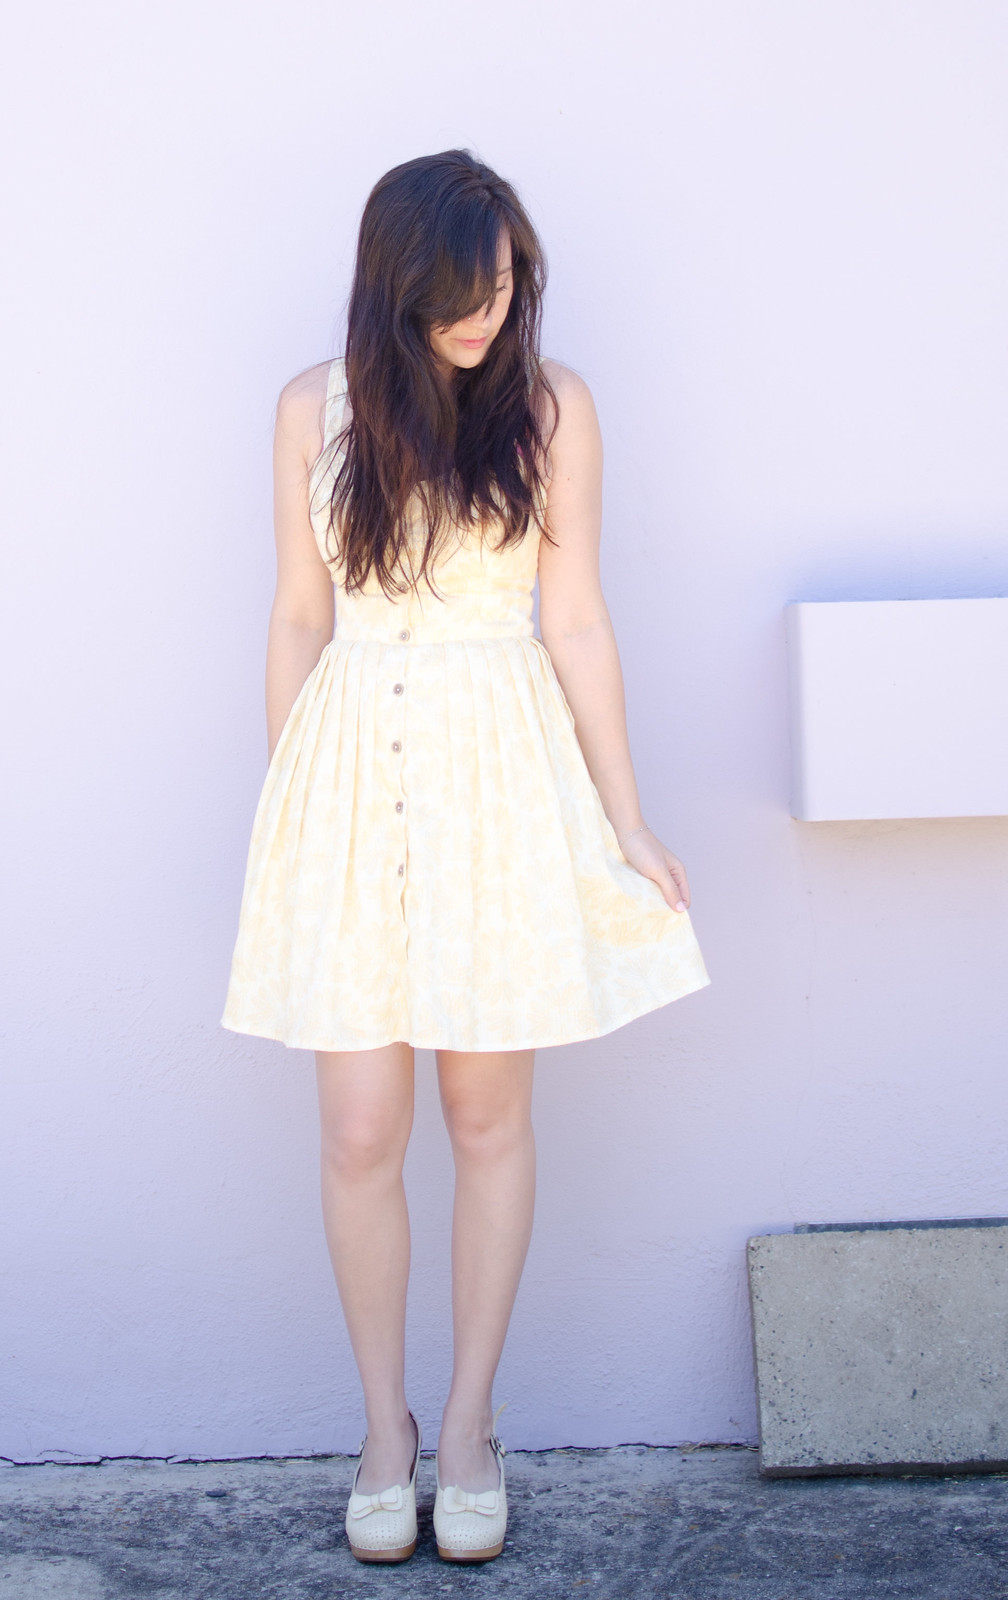
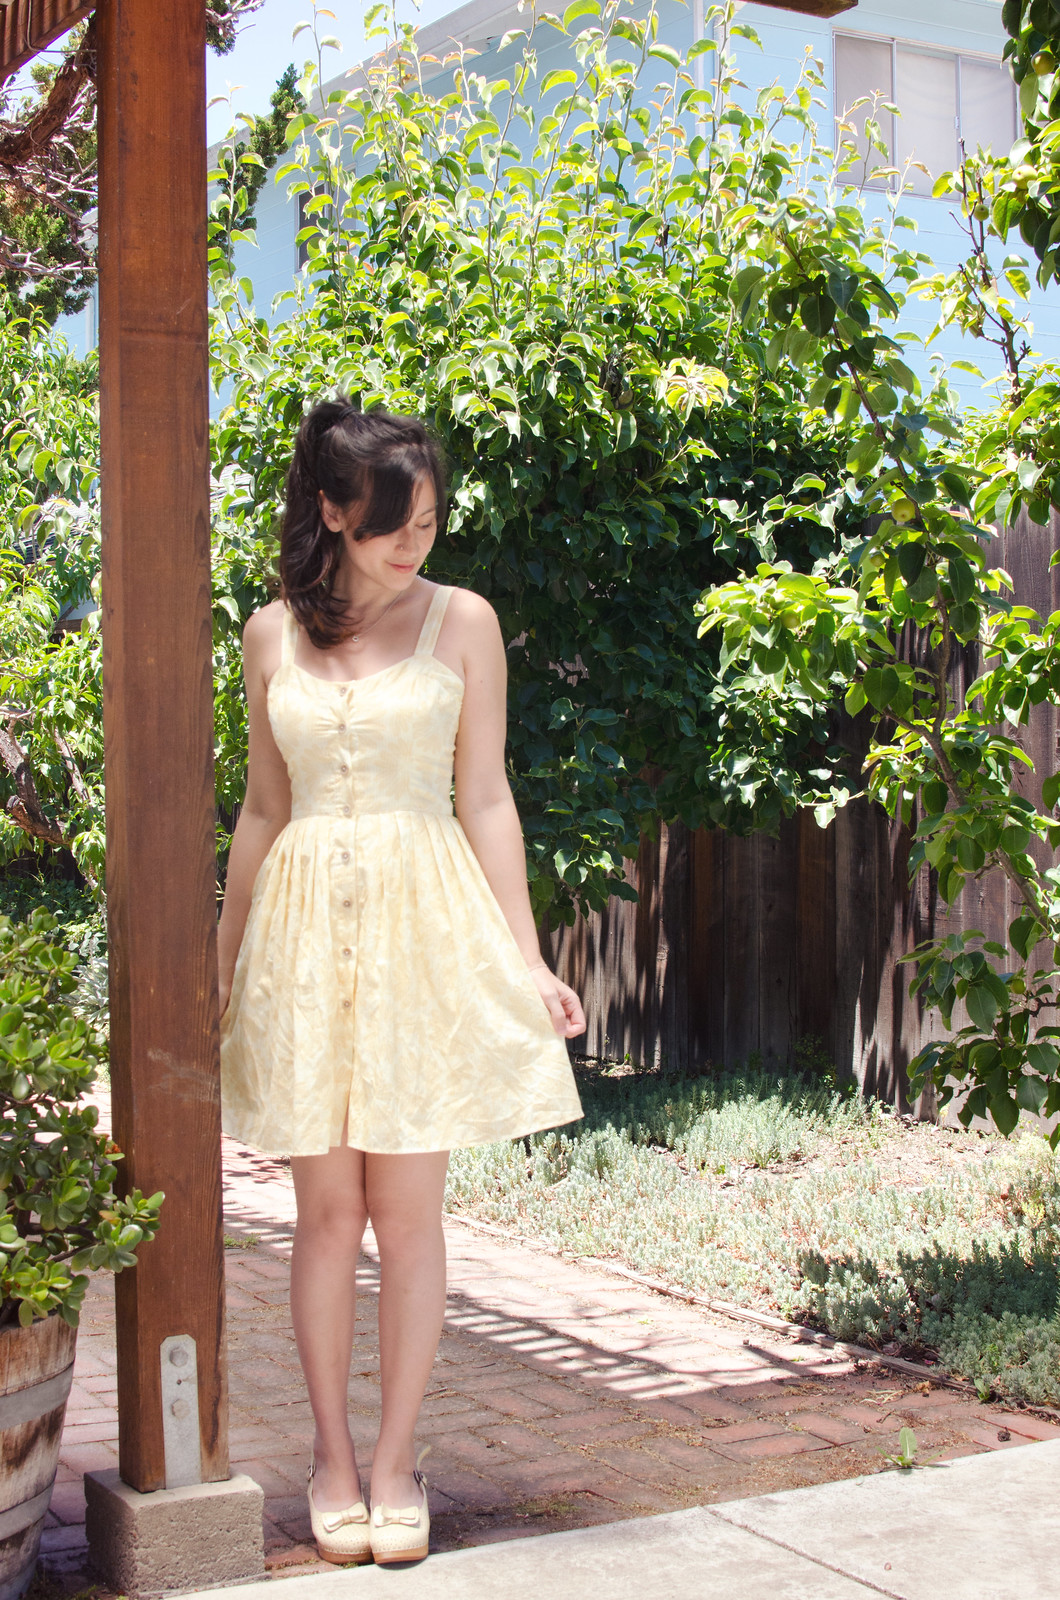
Insect dress

DSC_0177

Insect dress

DSC_0173

DSC_0189

Insect dress

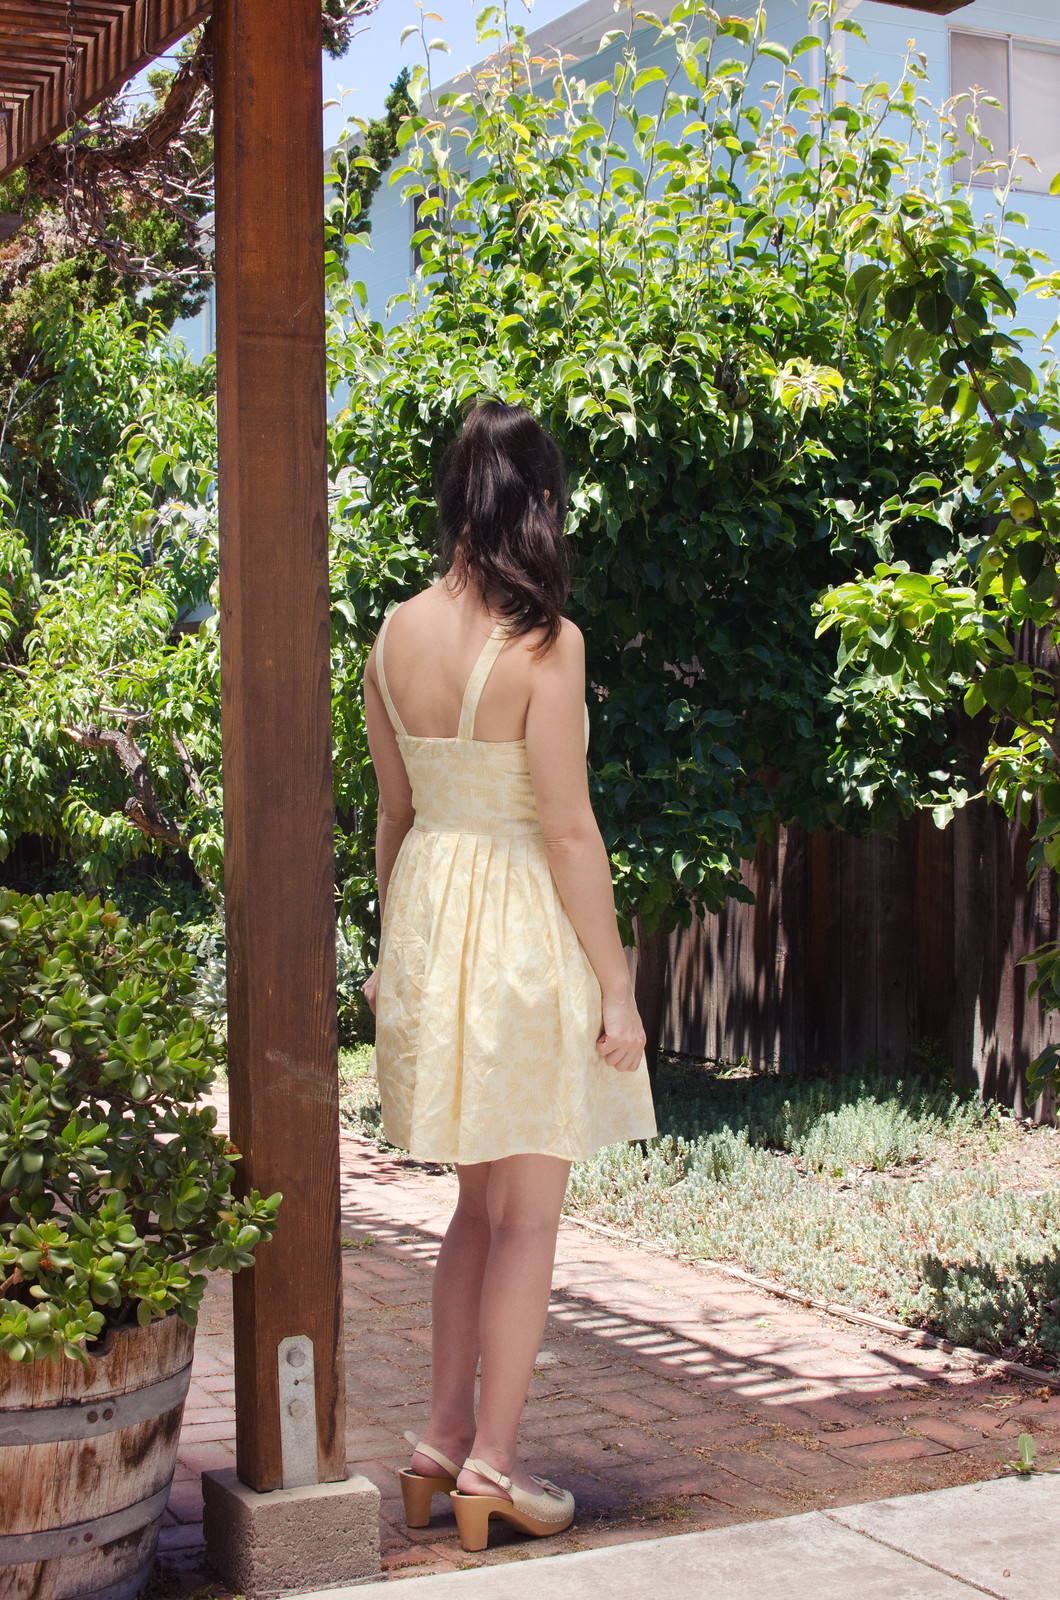
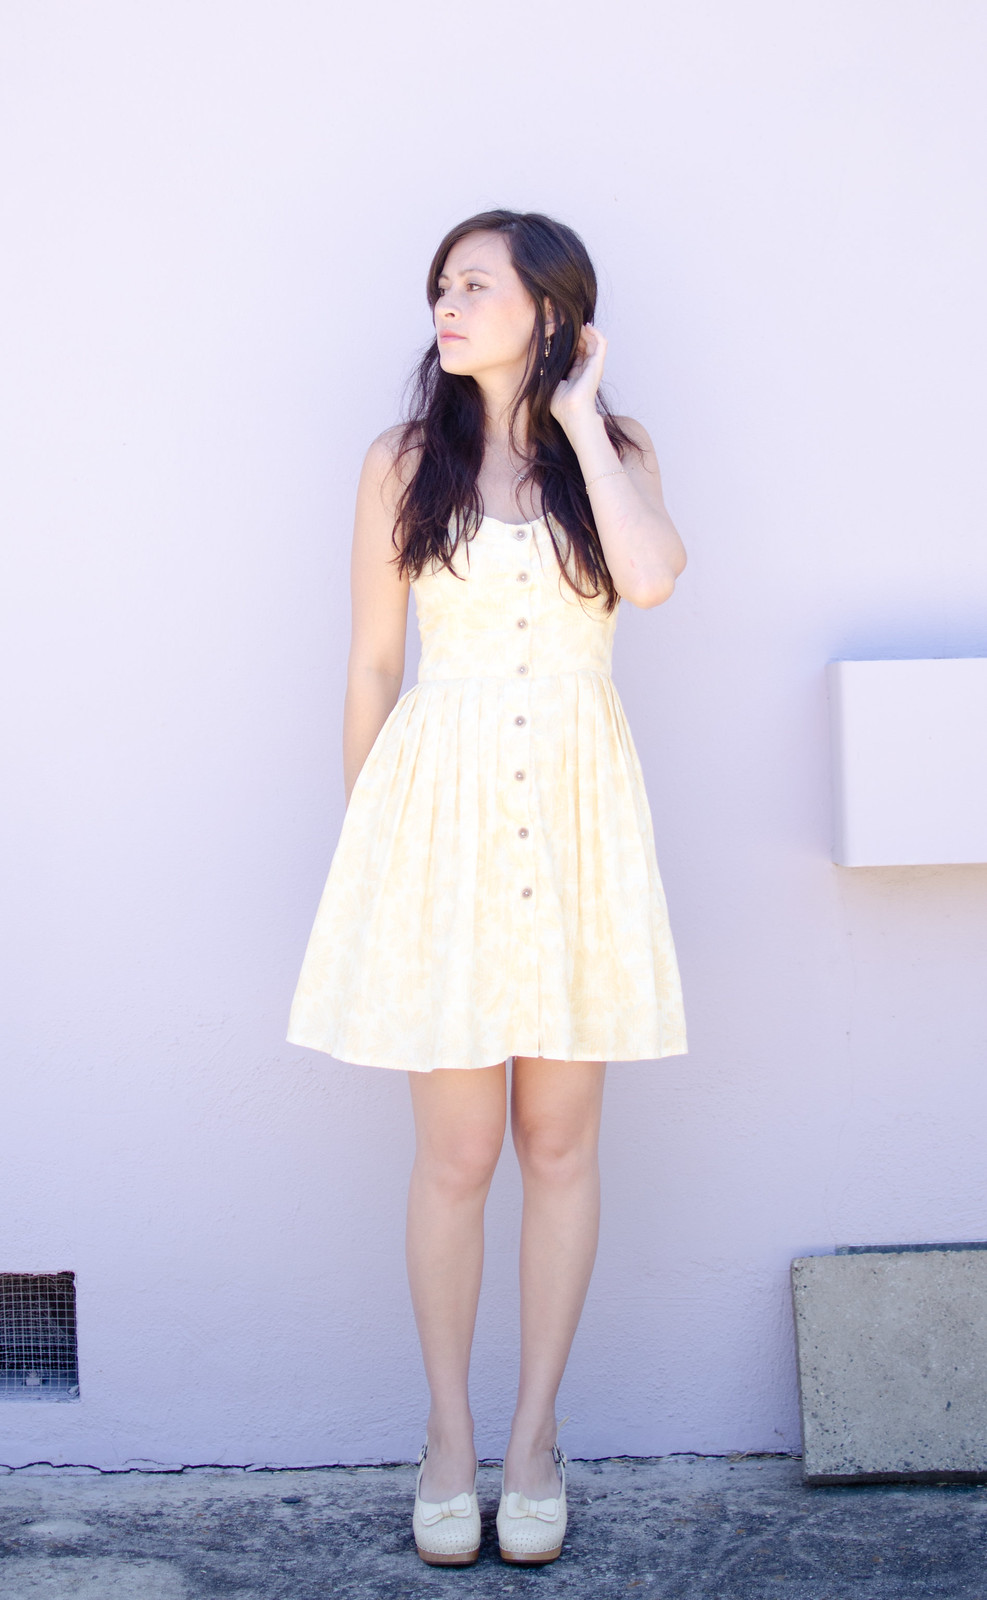
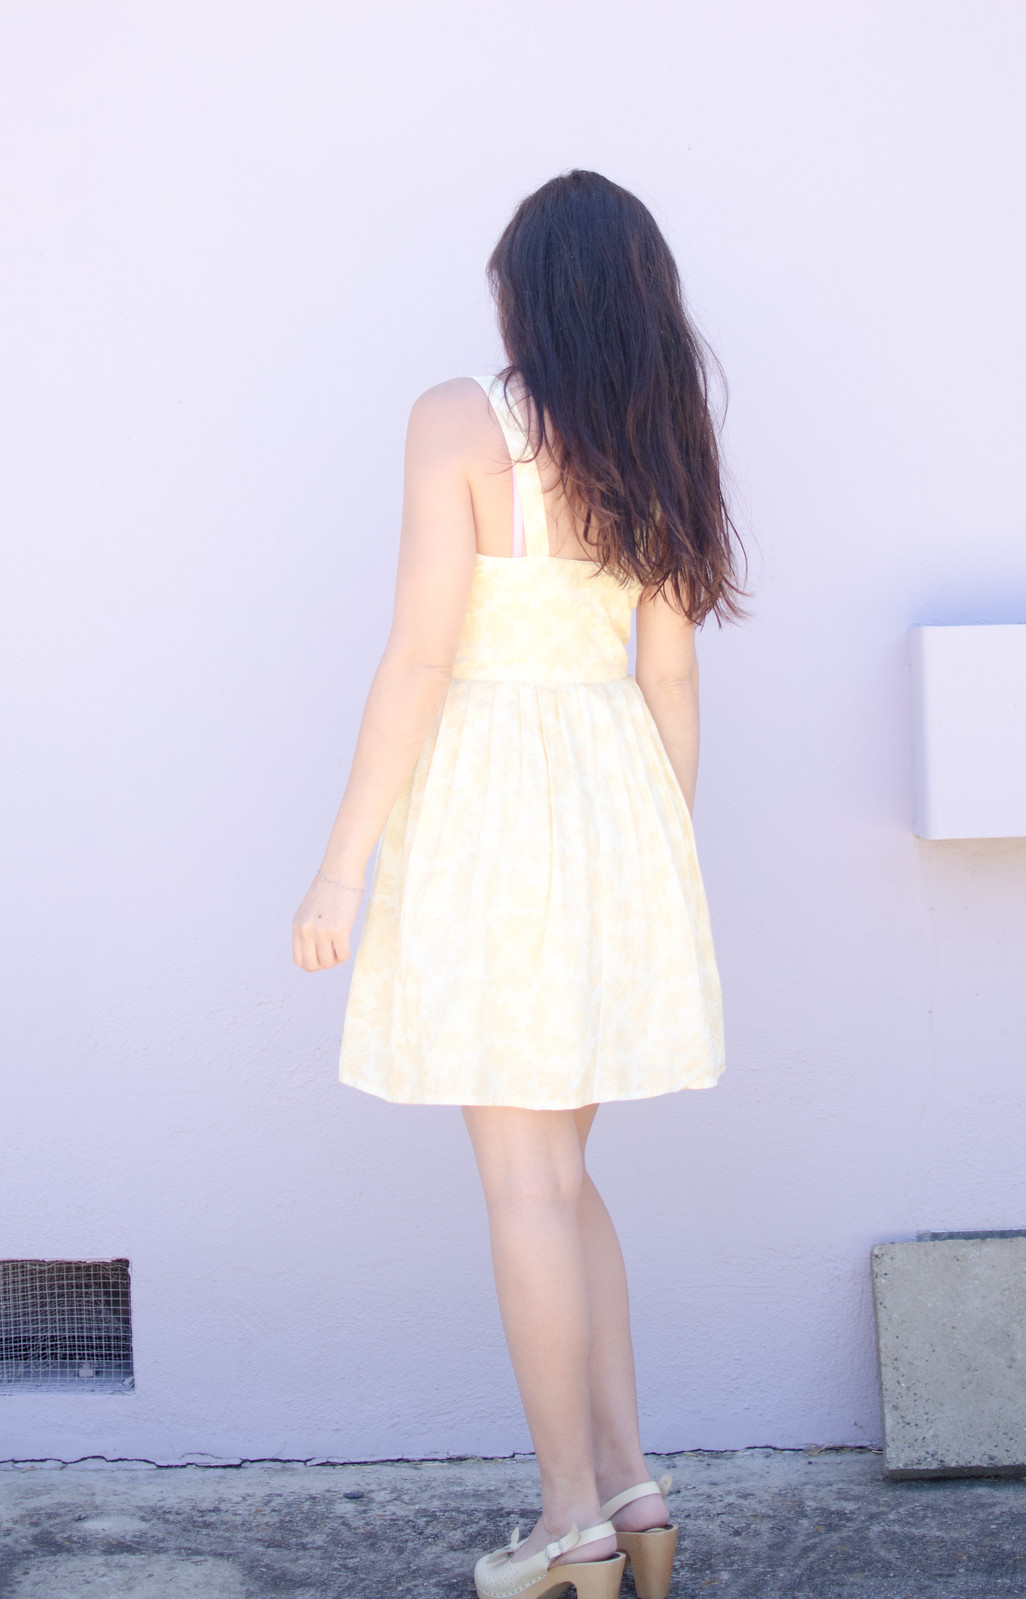
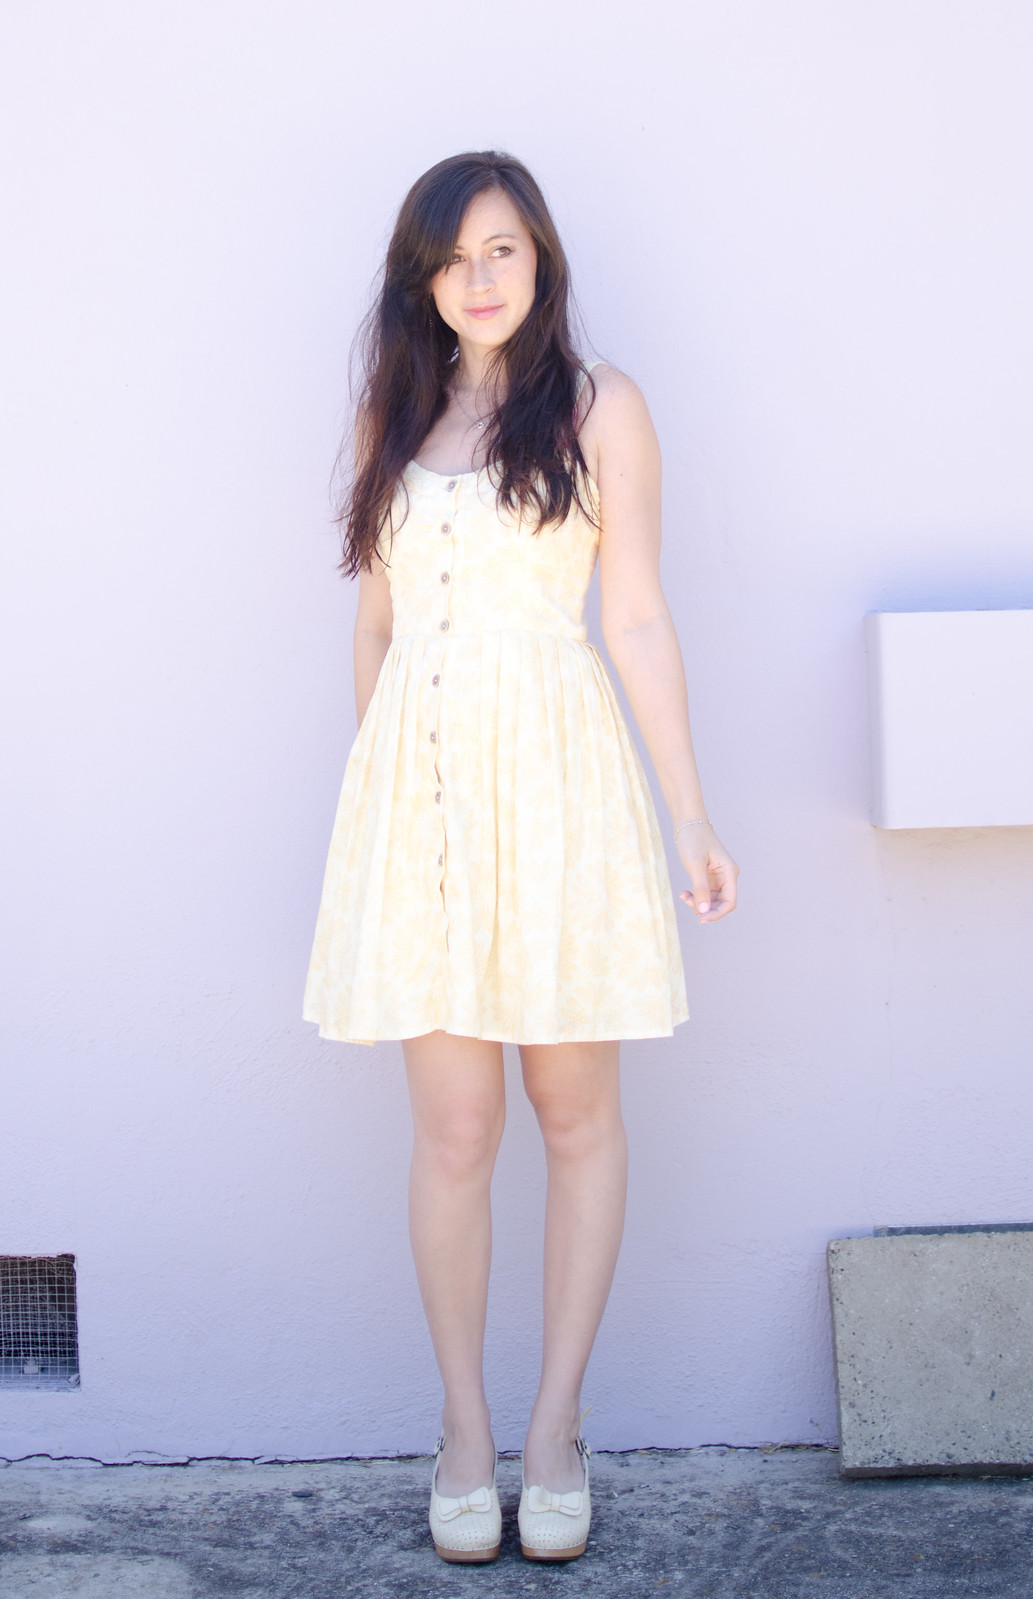
DSC_0175dress: self-made, pattern (which I hacked) here // shoes: Swedish Hasbeens 

*My Fabric Designs sent me fabric free of cost. All Illustrator work, thoughts, and opinions are my own. Except for the part where I copied the fabric from an Anthropologie dress.

You guys! I  have a fun new hobby. I was contacted by the lovely people at My Fabric Designs about trying out some of their fabric, which works kind of like Spoonflower. You can upload your own print, use prints offered on the site, or make your own print with their design tool, and have it printed on one of the 26 fabrics they offer.

They sent me a swatch booklet that has a swatch of each of the fabrics they offer, each one with some colors and fabric information printed on it. You can snag one of these for $5 and I highly recommend doing so so you can gauge the fabric and print quality before choosing your fabrics.

While they do have some really awesome looking prints, I was most excited about trying to design my own. I use the term “design” very loosely because my first two ideas were copycat projects. You may have seen peeks if you follow me on Instagram.

The first problem I ran into is that I had no idea how to use Illustrator. I watched about 7 Youtube videos and slowly started to figure it out. I also recommend the videos at Lynda.com (for wayy more than just Illustrator too, they have classes on all kinds of stuff). There’s a monthly membership access fee involved, but there are two ways around that. 1) They offer a 10 day free trial. 2) Check to see if your local library has access! Mine does, so I was able to log in on the library-specific Lynda login page with my library card information (NOT on the actual Lynda website).

Another hint: if you have one of the more recent versions of Illustrator (and a computer that can run it), it comes with a patternmaker software where you can really easily make seamless patterns! My 2012 laptop complained a bit but in the end we got through it.

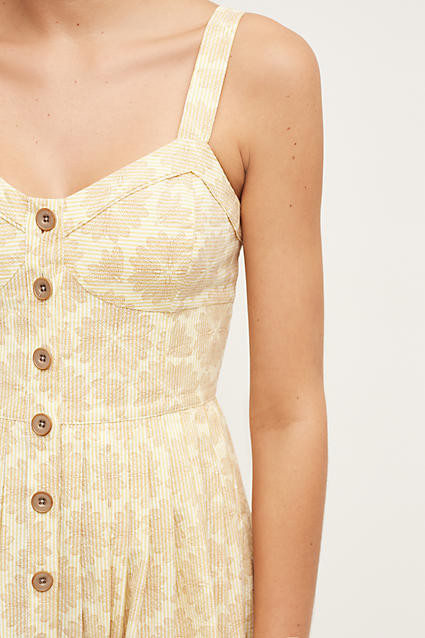
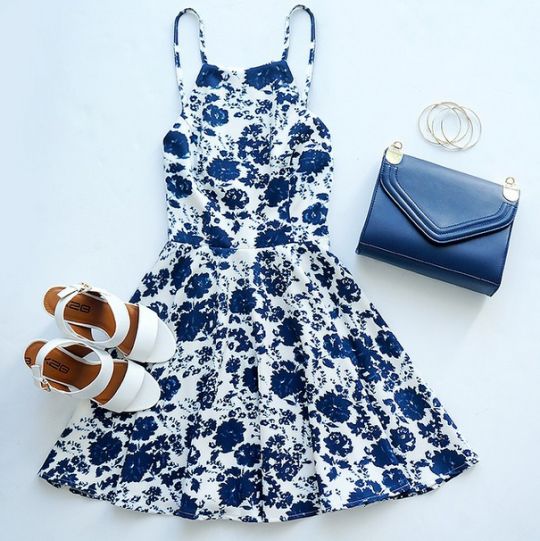
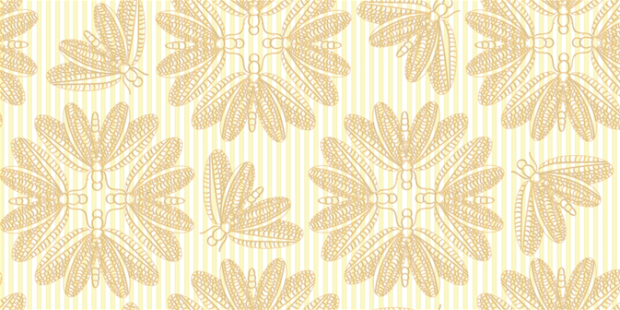
Anyway, I’ve always loved the fabrics used in dresses at Anthropologie so I clicked around for a while until I found this one. I just love how it’s a floral sundress but between the flowers looking like insects and the color scheme, it’s really not overly girly.

Many hours on Illustrator later, I came away with this:
Screen Shot 2016-04-30 at 4.14.12 PM

Pretty spot on, right?? My friend (who STILL has not given me the write-up on her Hunger Games butterfly dress) described it as like insect tea parties, except some of them are left out and lonely.

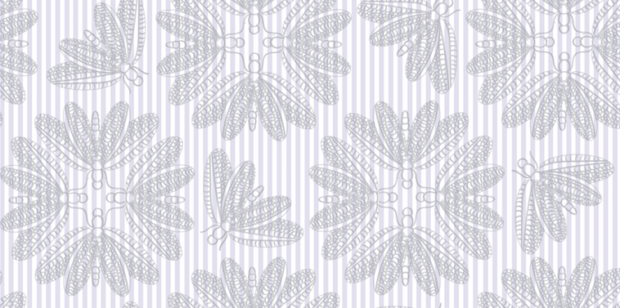
I also tried another color scheme:
Screen Shot 2016-04-30 at 4.16.28 PM

I ended up ordering the yellow fabric in the Organic Cotton Sateen, and the lilac one in Cotton Poplin. It took a while to get to me due to the whole custom-printing thing; I think this order took about two full weeks. (I’m completely spoiled by Amazon Prime.) I also just received my second order that you may have seen on Instagram that turned out SO BEAUTIFULLY and I’m so excited to share that one.

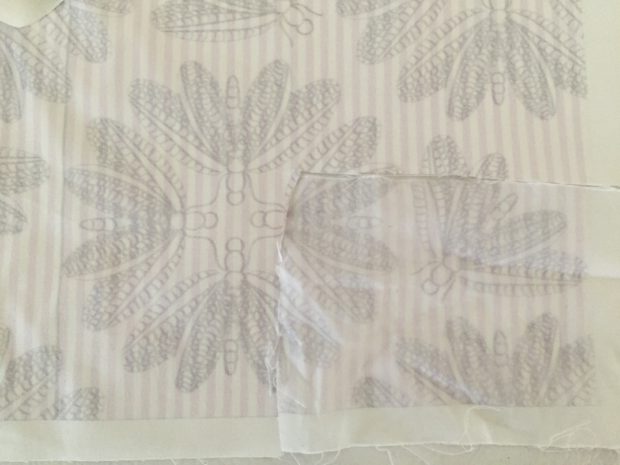
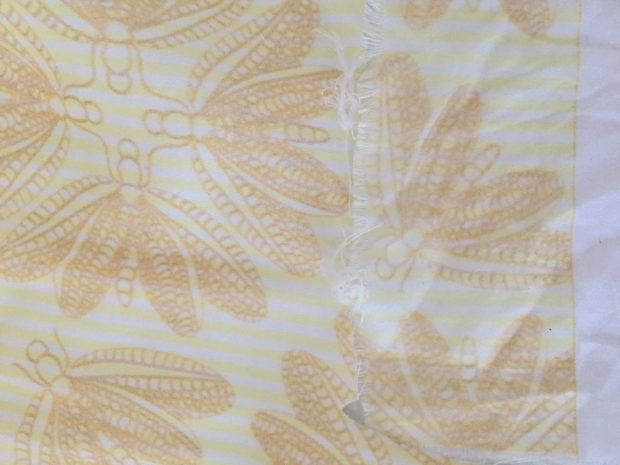
In terms of the fabric quality, the number one issue I’ve heard of with fabric printing is the colors fading in the wash so the first thing I did was cut off a piece of each fabric and run it through. I used the permanent press cycle on cold and then hung it to dry because that’s how I usually wash my clothes.
IMG_9106

IMG_1425I took these photos while the fabric was still wet, so they look a little odd. They don’t actually look smudgey in real life, just slightly faded.

There was some slight fading, especially with the purple print, but  nothing super noticeable unless you look at it really closely at the original. I want to test it out with more vivid colors too but for these lighter prints I’m happy with the way it came out of the wash. The only thing I wish they had was a zoom feature on the preview screen so you can zoom in on what your fabric is going to look like. I stupidly left the stroke set to the brown color of the flowers so there are thin brown lines that form rectangles all over the fabric. I tried to be strategic with where I put them and I don’t think they look super terrible but I kind of wish I’d been able to zoom in to see that they’d be there. Or that I had thought to check for that in Illustrator. *headdesk*

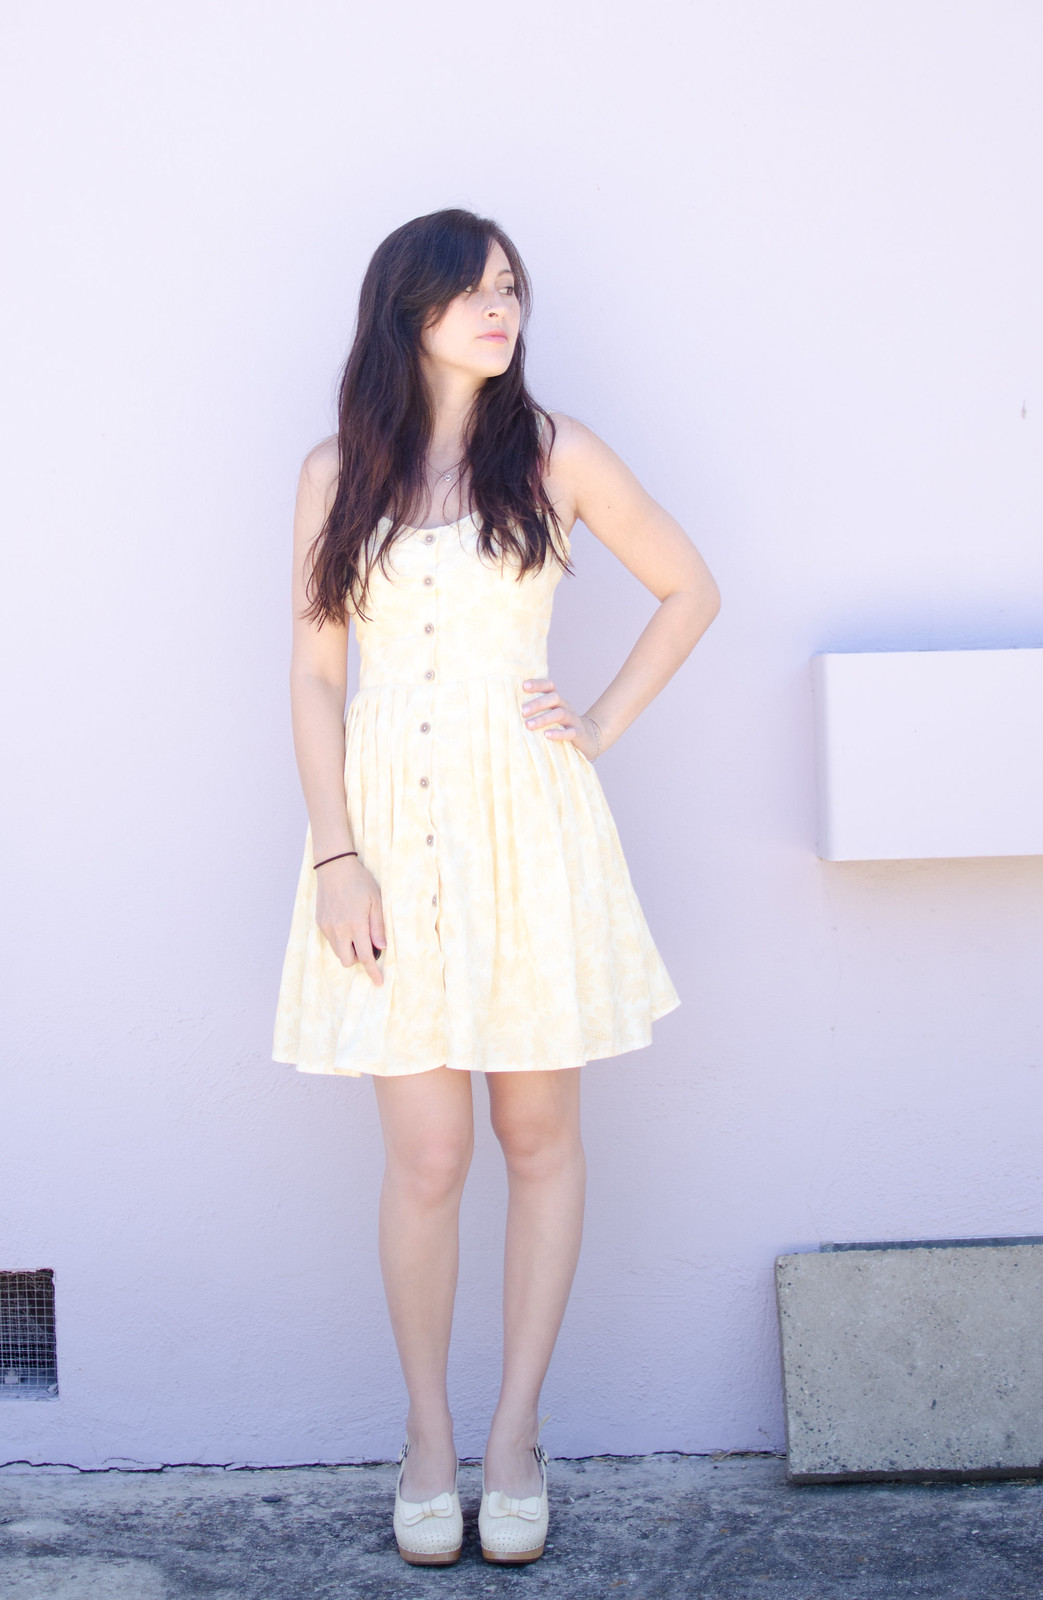
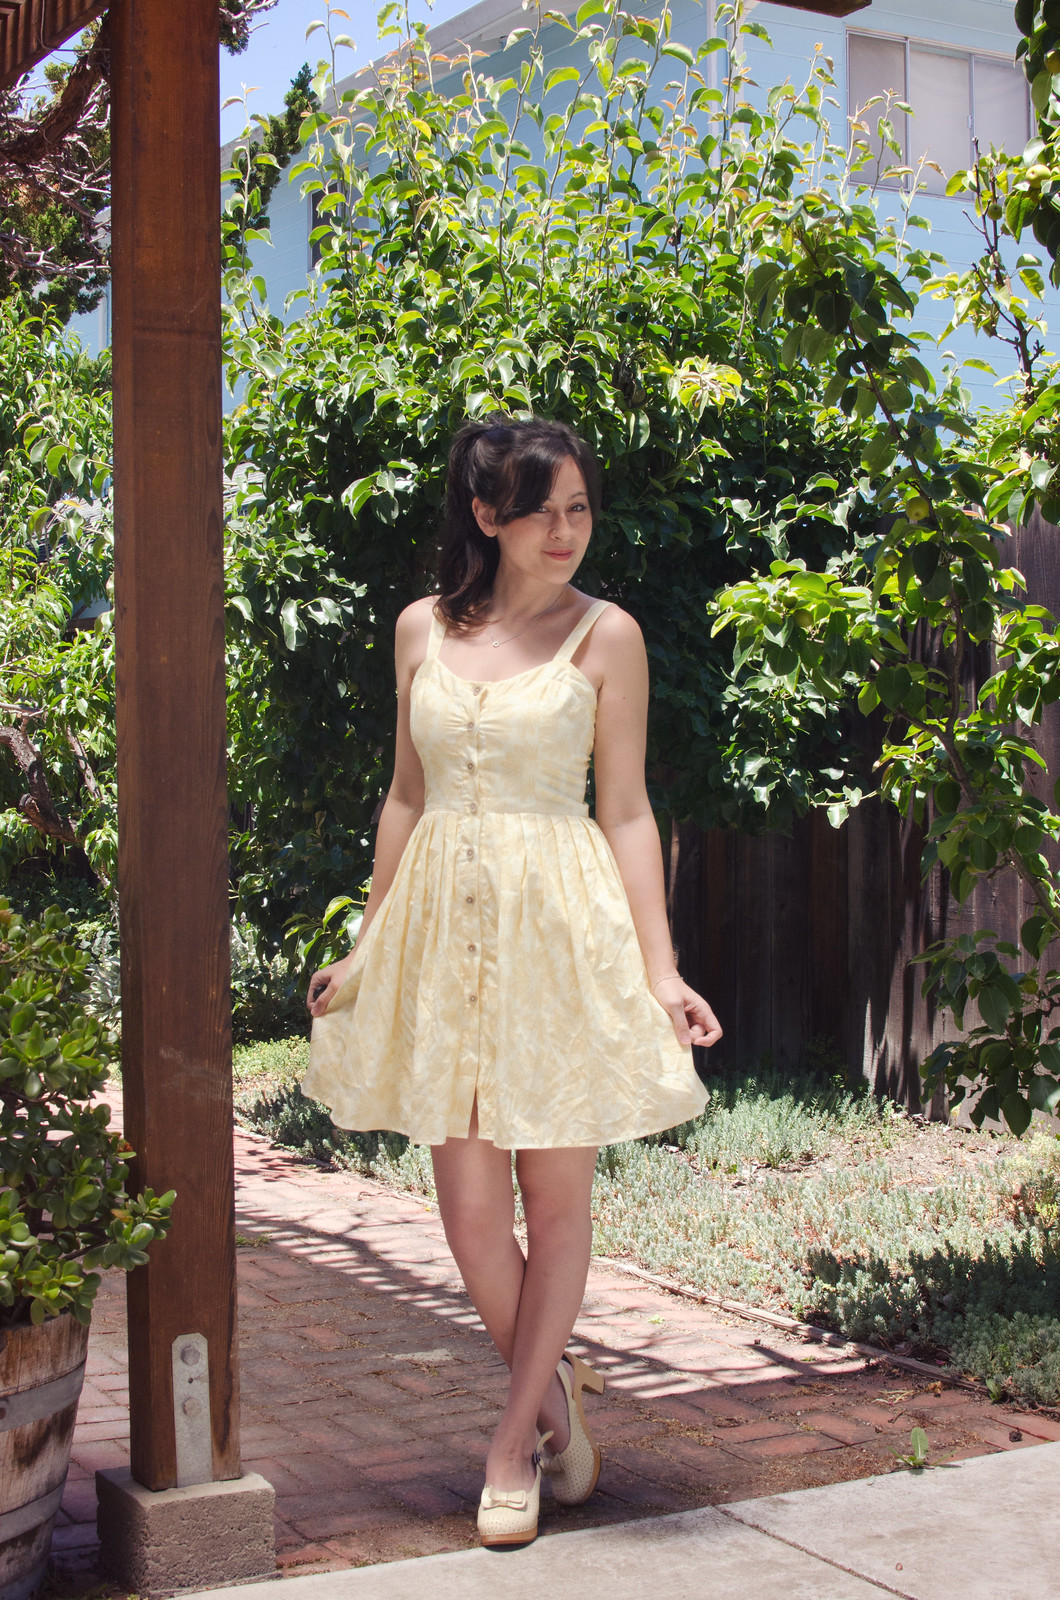
Onto the sewing! So far I’ve only sewn up the yellow fabric, but holy crap I love this stuff. It’s super soft and drapey and lovely. It’s a bit on the thinner side so I lined the whole dress (with muslin because I’m lazy and have a ton of it lying around for school so why not?). The cotton poplin is much more crisp and it’s absolutely perfect for the other dress I have in mind. More on that later.

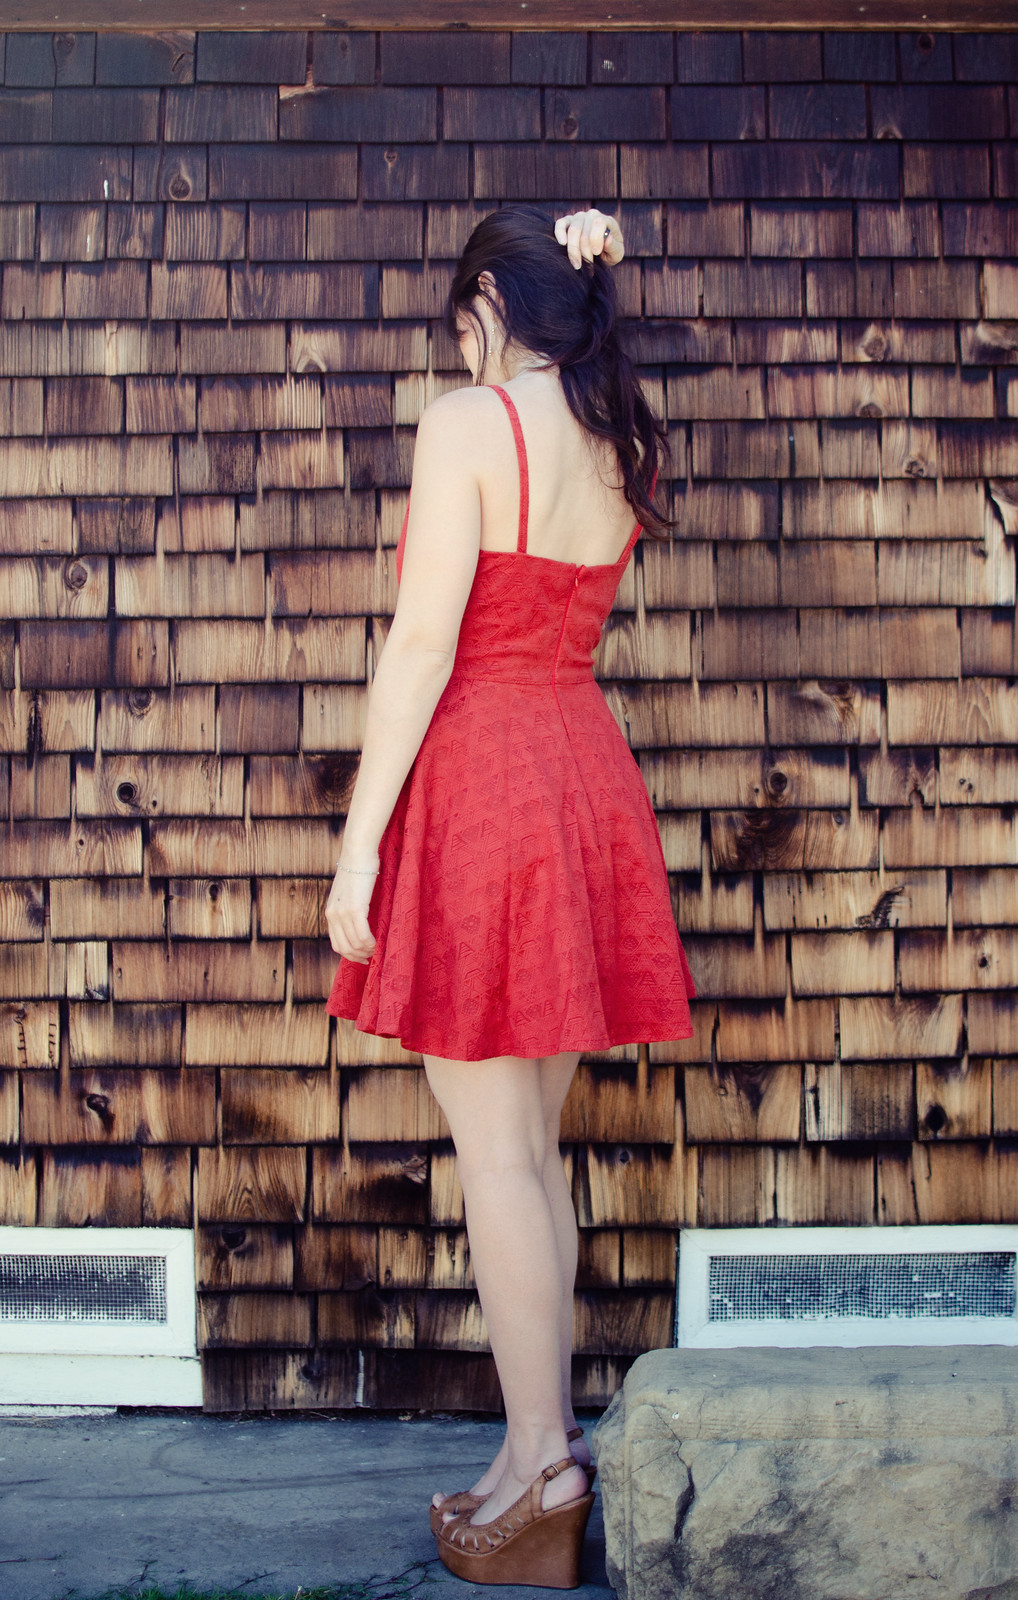
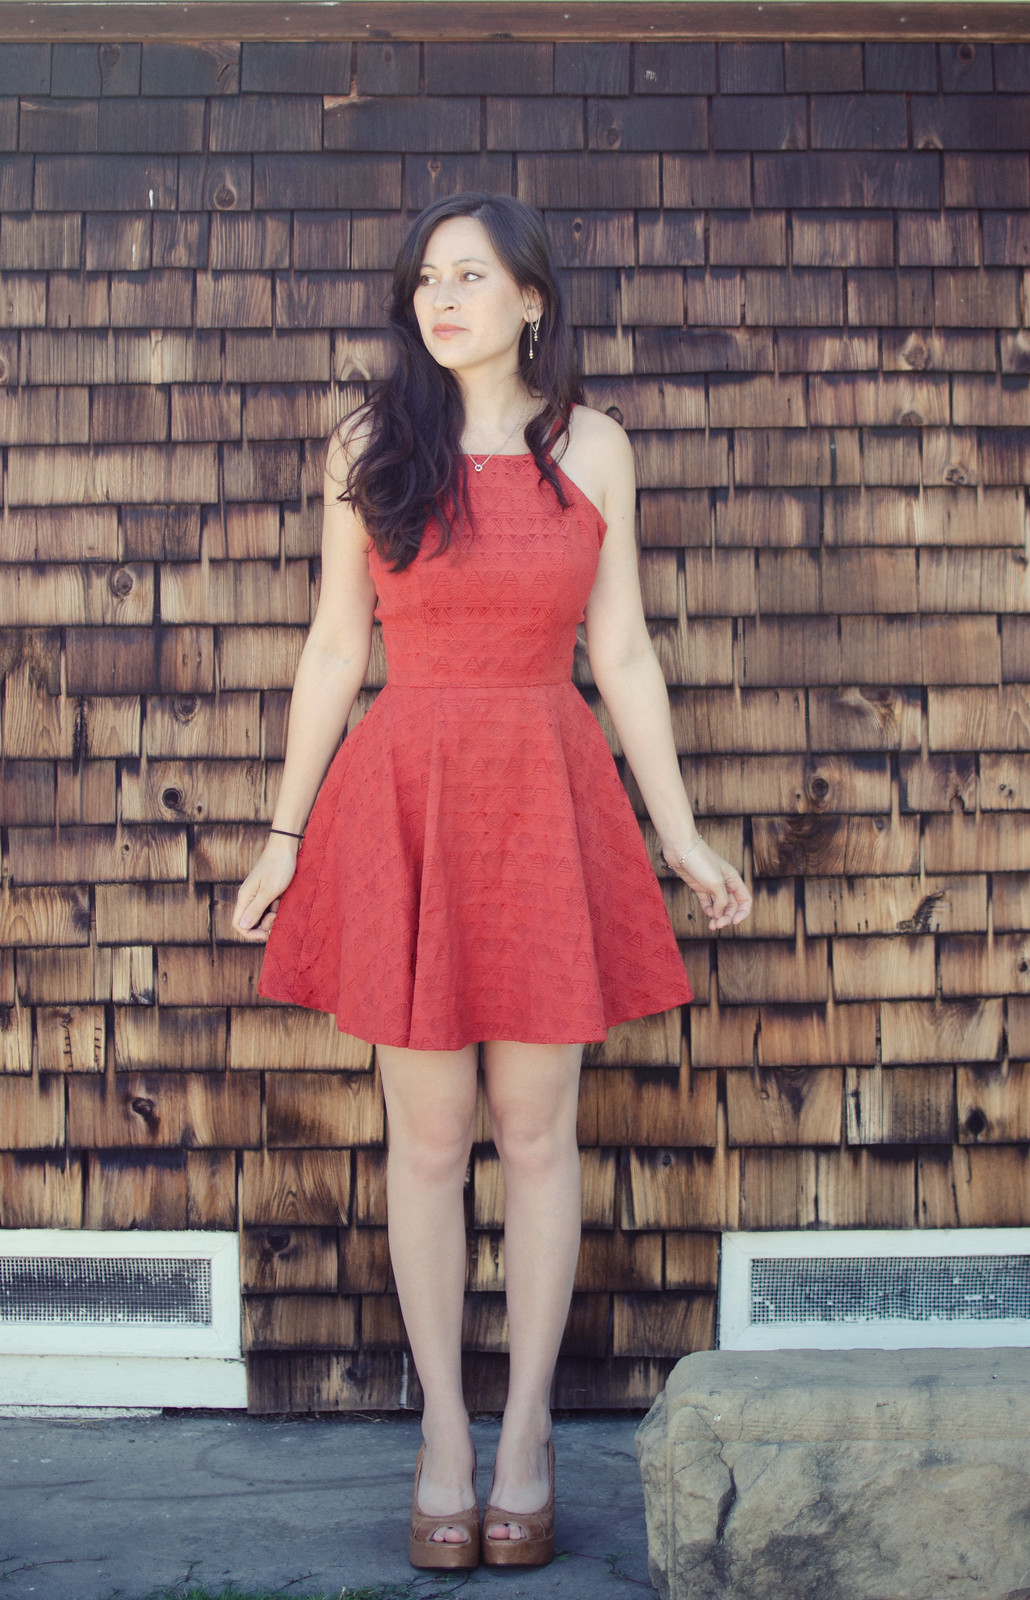
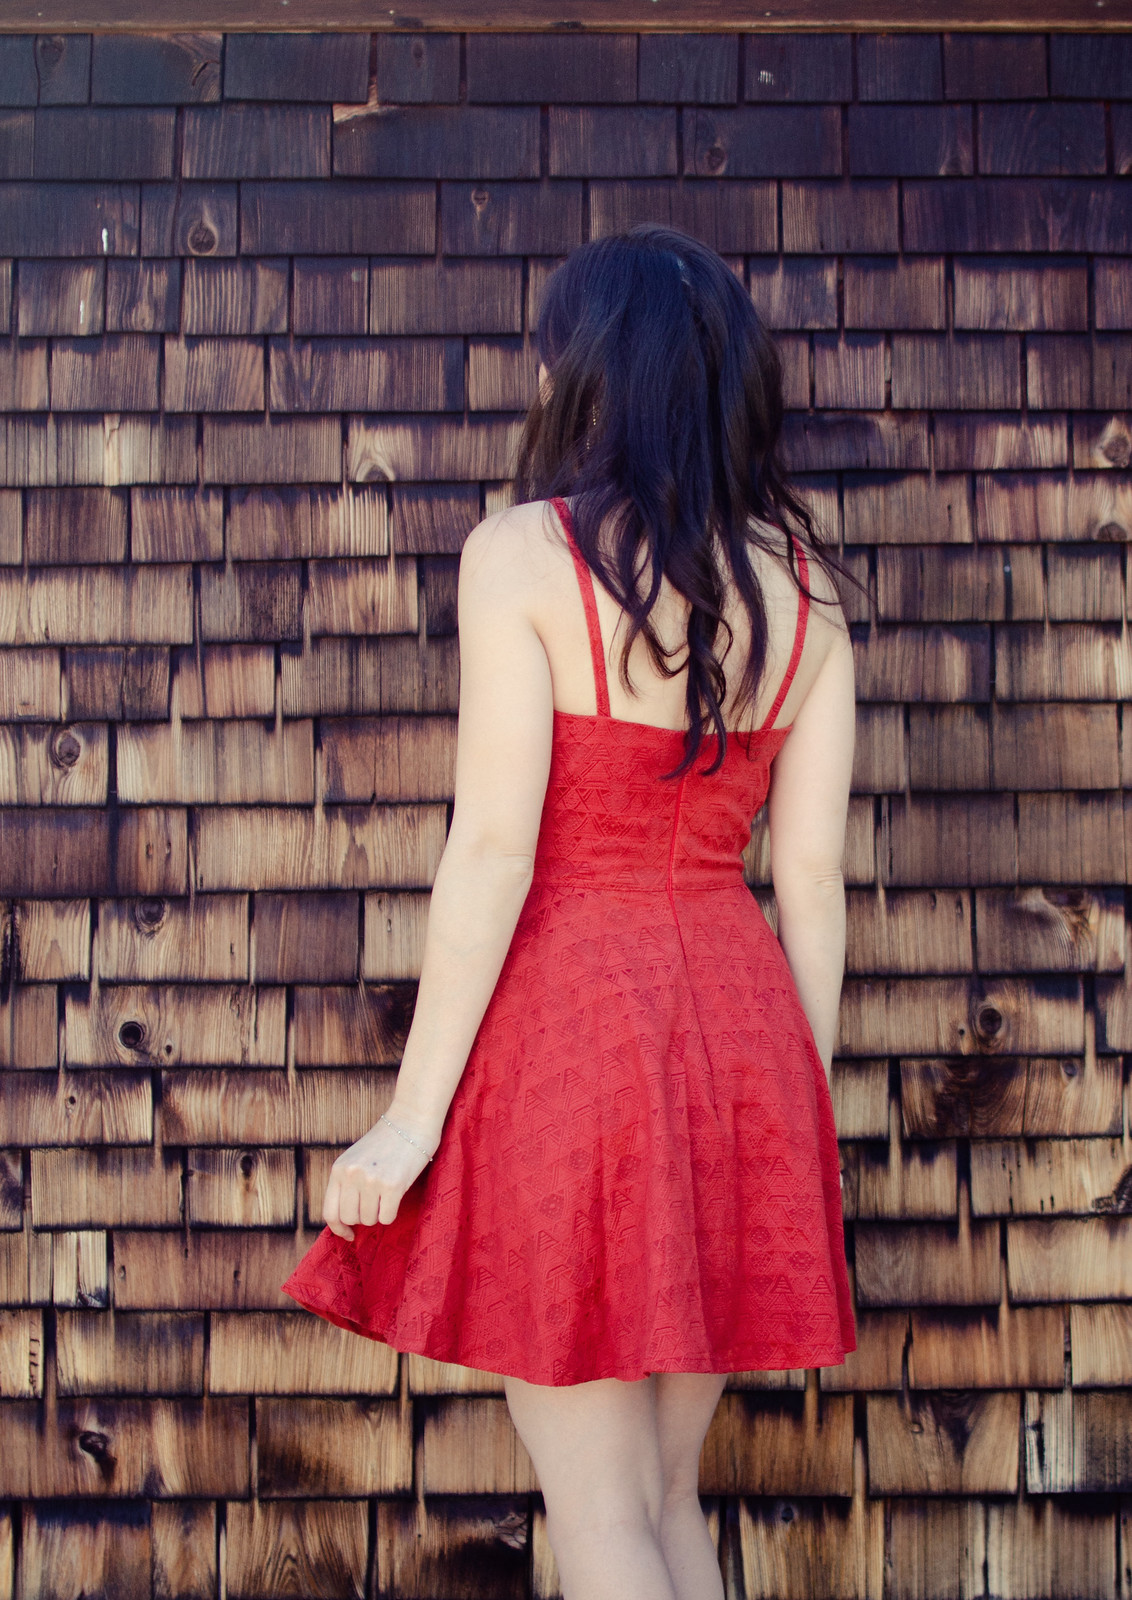
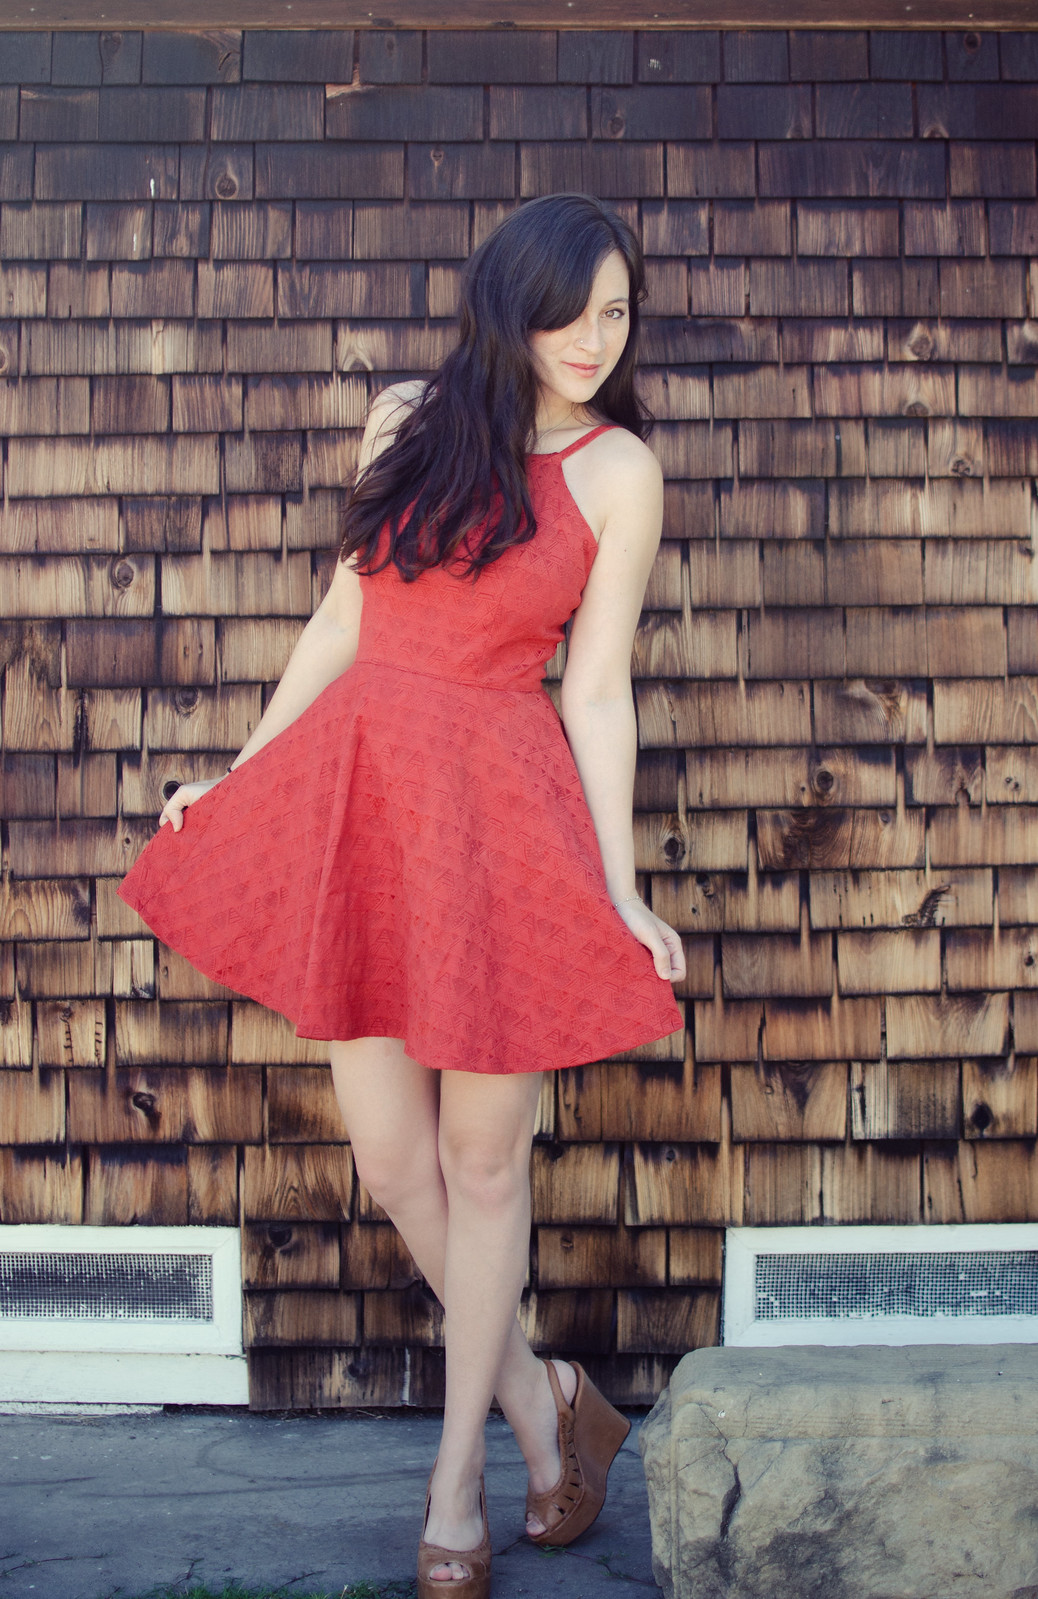
I used McCall’s 6740, which I bought a few years ago and couldn’t seem to find the right fabric for. I added a waistline seam by hacking it at the waist, and then drew in yoke lines for the top edges of the cups (~1.25″ wide). I decided to leave out the cup shaping because it seemed too complicated and frankly it looks fine the way it is. To be honest, I probably could’ve found a more accurate pattern to go from but I already had this one and it was already traced so I just went with it. It does need more contouring along the top edge which I’ll definitely fix if I decide to sew this one up again.

The skirt was pretty simple. I just did lots of little pleats until it fit the bodice. Then I made two button plackets and sandwiched the side seams into them and added these cool brown buttons from Joann’s.
 

Adventures in drafting // red wedding

Red dress

Red dress

Red dress

Red dress

Red dress

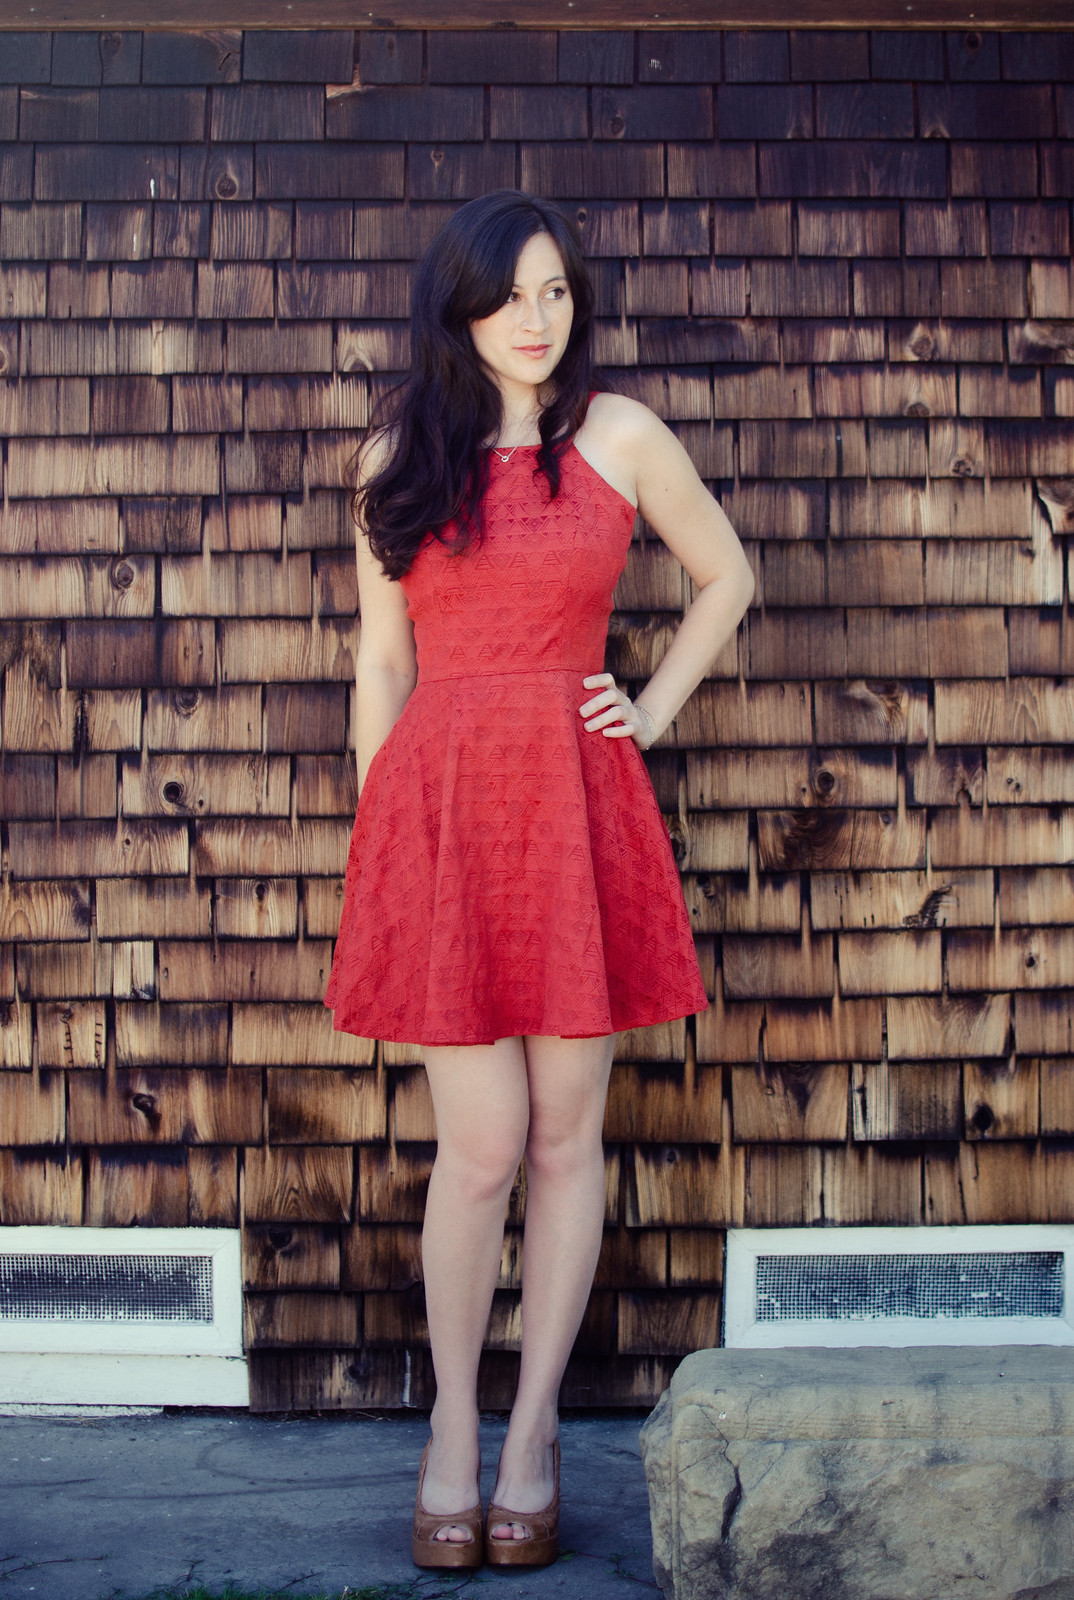
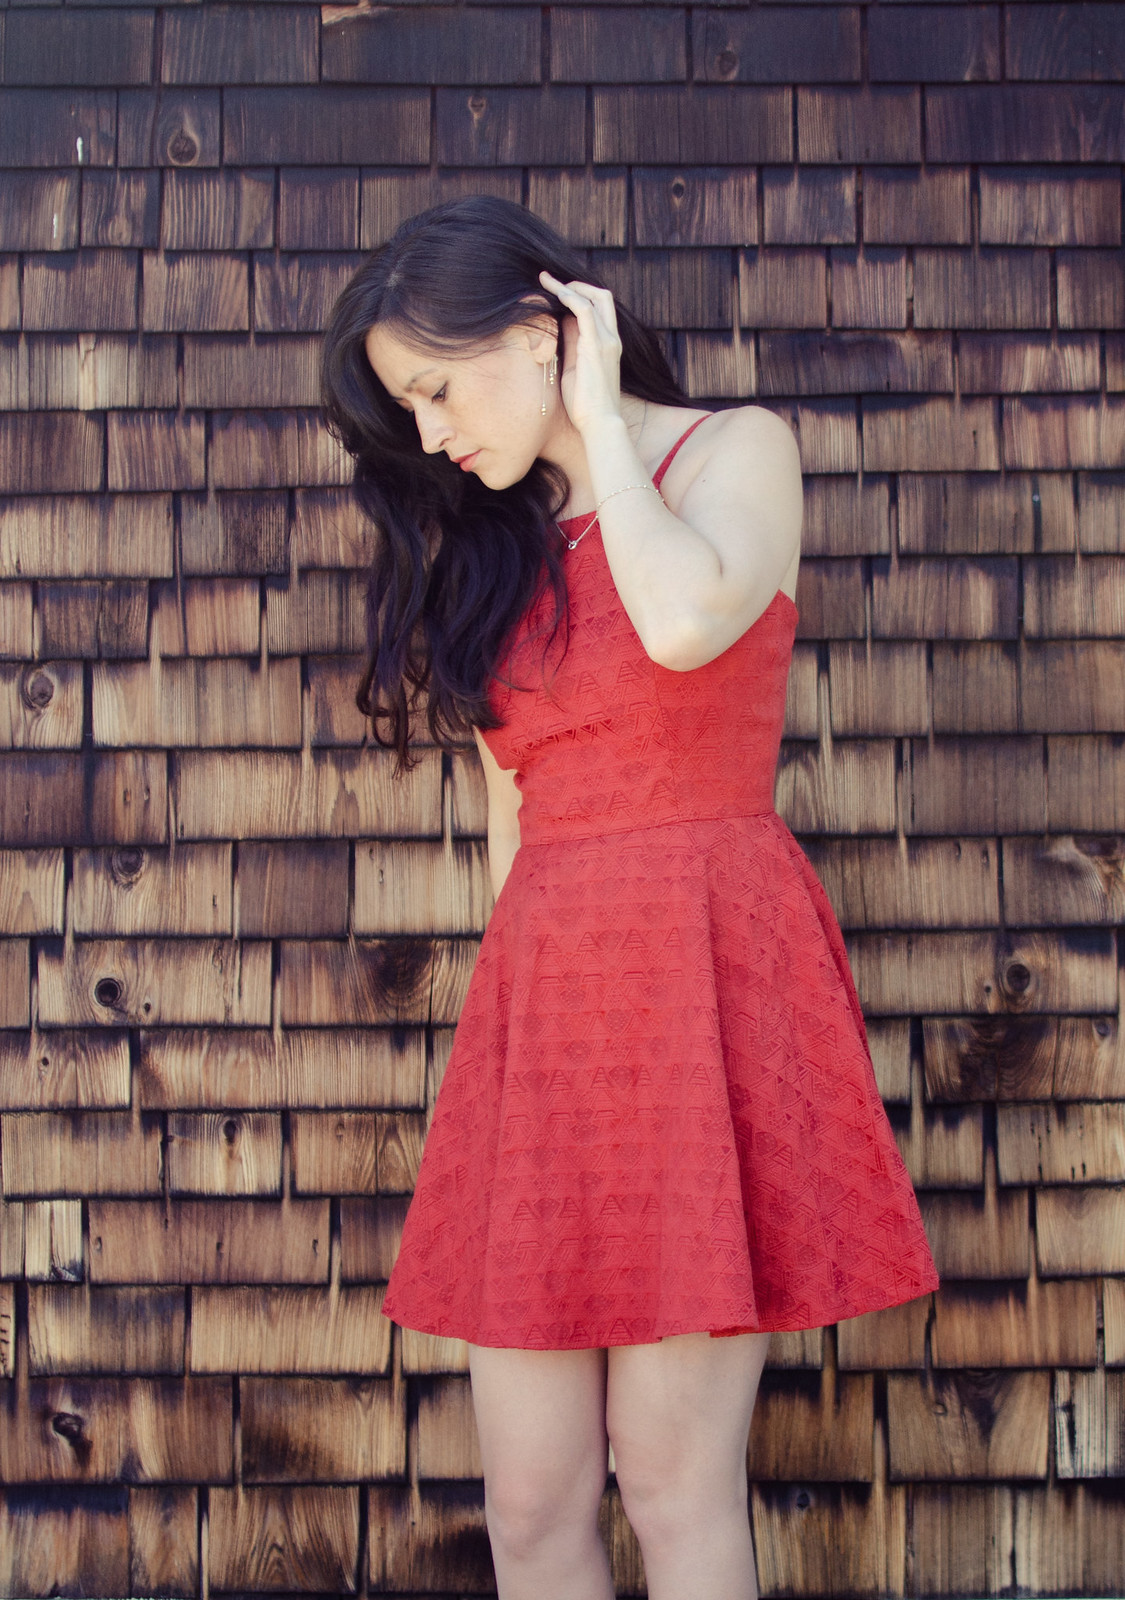
Red dresspattern: self-drafted // shoes: Cathy Jean

Haha just kidding. My friends’ wedding was lovely! No murderous musicians.

Anyway, I made this dress because a day before hopping on a plane to DC, I realized that every dress I owned was either black, white, one of the wedding colors, or more appropriate for winter.  So, I took a break from the Epic Peacoat Copycat of July to draft a quick pattern and then made an extremely panicked trip to Joann’s.
IMG_9062

I had found this photo somewhere on Pinterest (not sure where the original is from!) and wanted to do kind of a high-ish front, low-ish back sort of thing. I basically just lowered the neckline ~2″ and drew a new flatter neckline, did a sleeveless adjustment (bring armholes up 1/2″ and in 1/2″), then drew connecting curves from the new armhole up to the corner of the new neckline. Then I contoured the crap out of all it and moved the bust darts up and turned them into princess lines. The back was easy, I just repeated the sleeveless adjustment, closed the waist dart, and drew a line from from the armhole dipping lower at center back.
I didn’t have much time for tweaking but I’m pretty pleased with how it turned out! We were going through a bit of a heat wave last week so I was way too hot and miserable (and lacking in time) to deal with figuring out a bra for this one so I decided to just go bra-les. Eh, it worked out I think.

IMG_0225

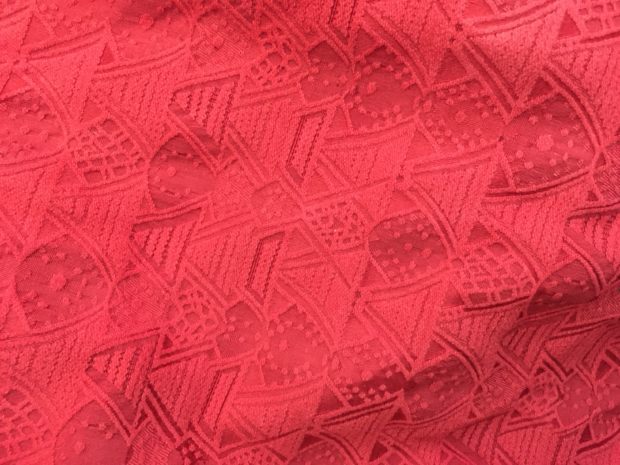
How cool is this fabric though?? I briefly considered adding trim or some other detailing to the dress but a) no time, and b) it really didn’t need it because of the cool texturing. Also, thank you Great British Sewing Bee for teaching me that even more subtle patterns should really be centered.

(Yes, it’s still bothering me that I was totally off on this dress but I feel slightly redeemed after getting it right this time.)

In other news, all this red is making me miss my red hair.

Refashion // beads & silk

Kimono refashion

Kimono refashion

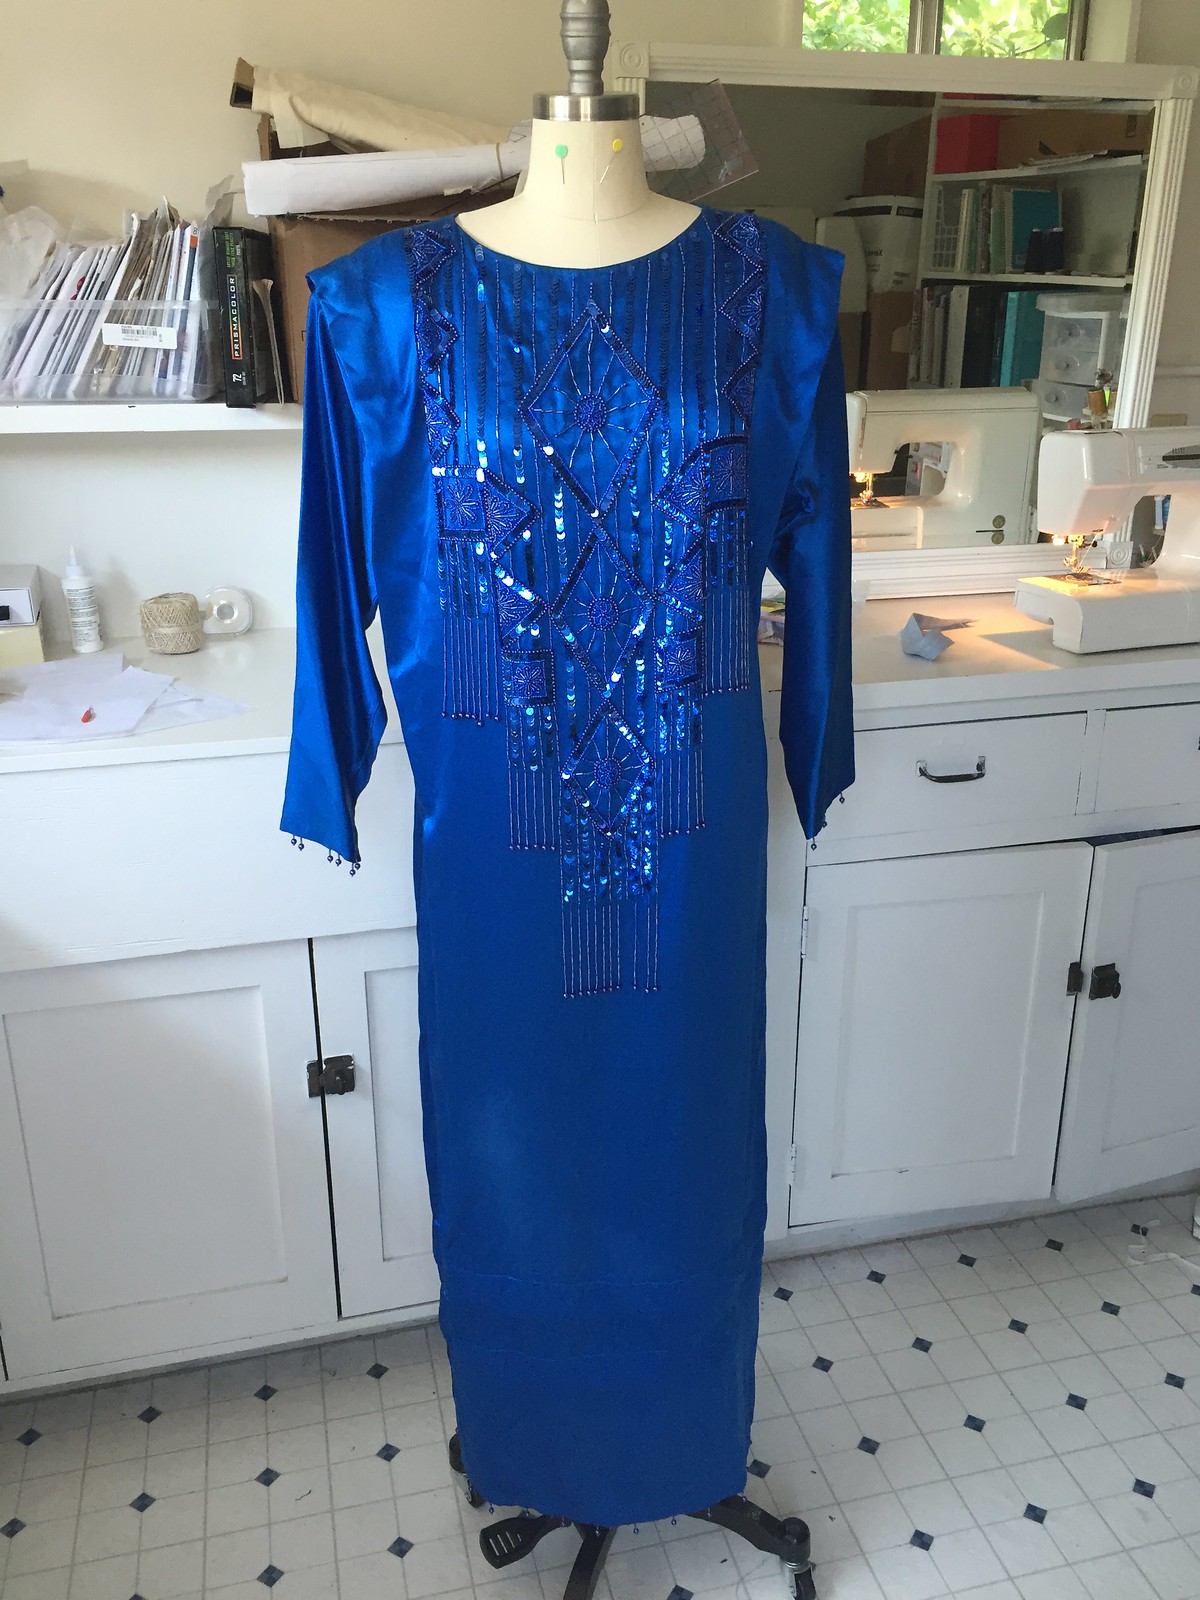
Vintage silk beaded dress refashion

Vintage silk beaded dress refashion

Kimono refashion

Vintage silk beaded dress refashion

Kimono refashion

Vintage silk beaded dress refashion

Kimono refashion

Vintage silk beaded dress refashion

I got a bunch of really gorgeous vintage dresses from one of Boyfriend’s relatives a few weeks ago and I was so excited about this one I dove right in and finished it in two days.

Kimono refashion

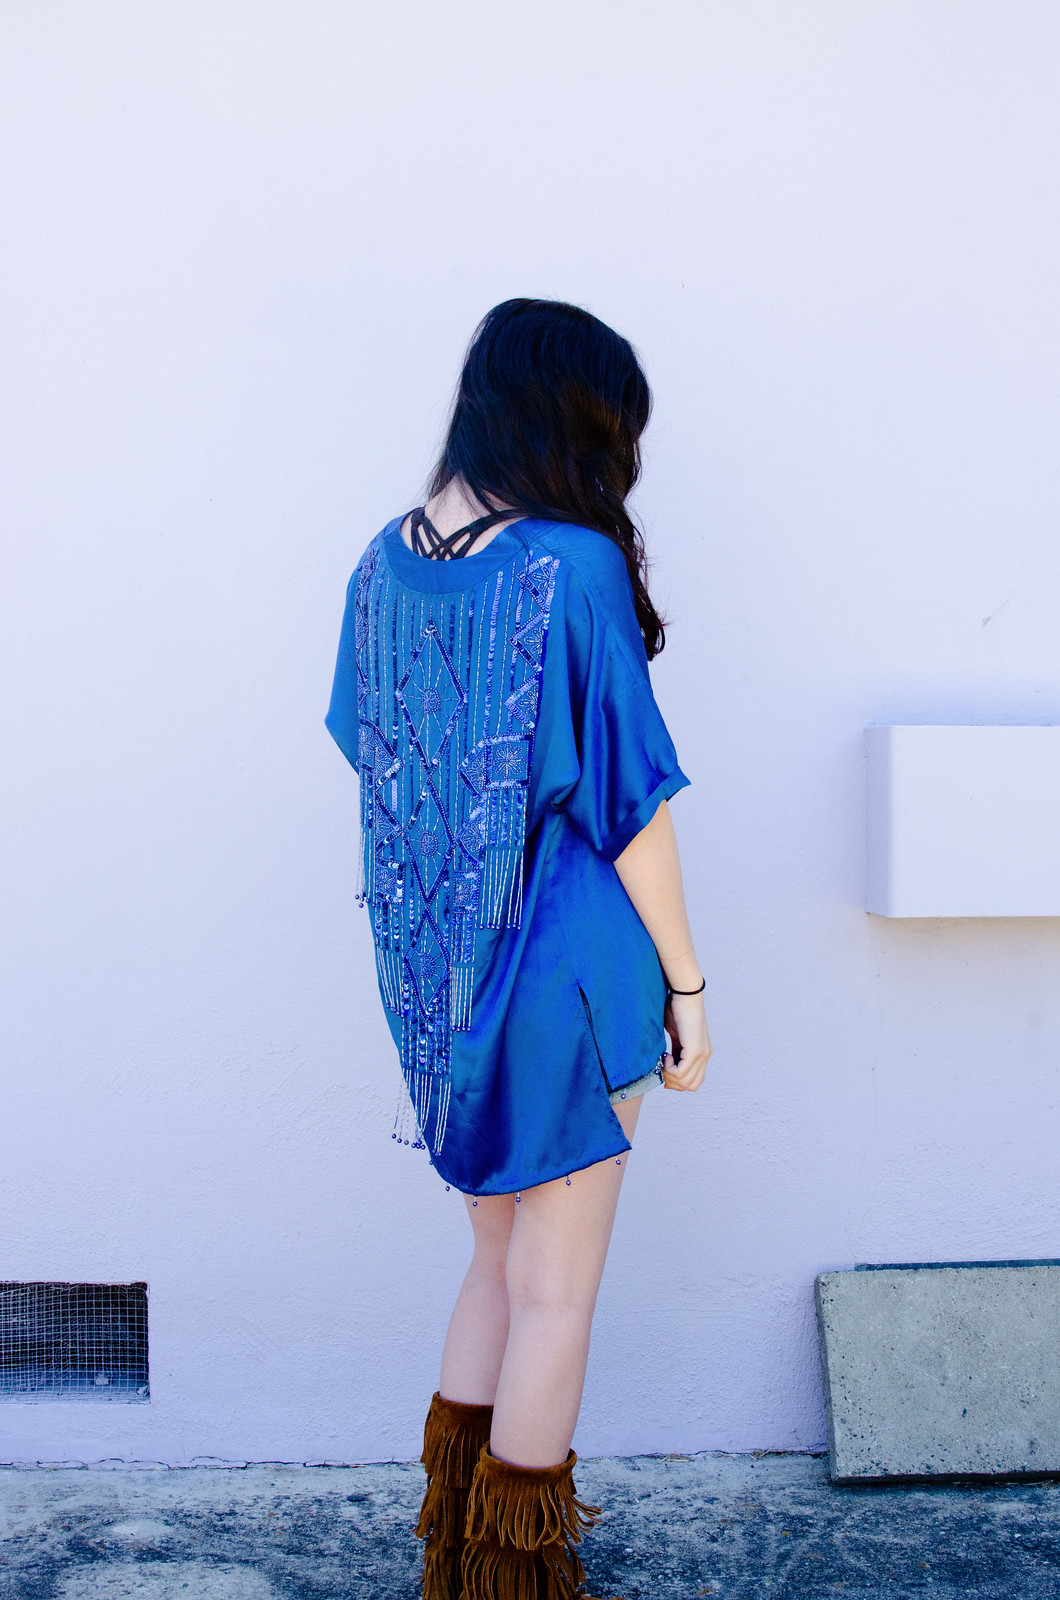
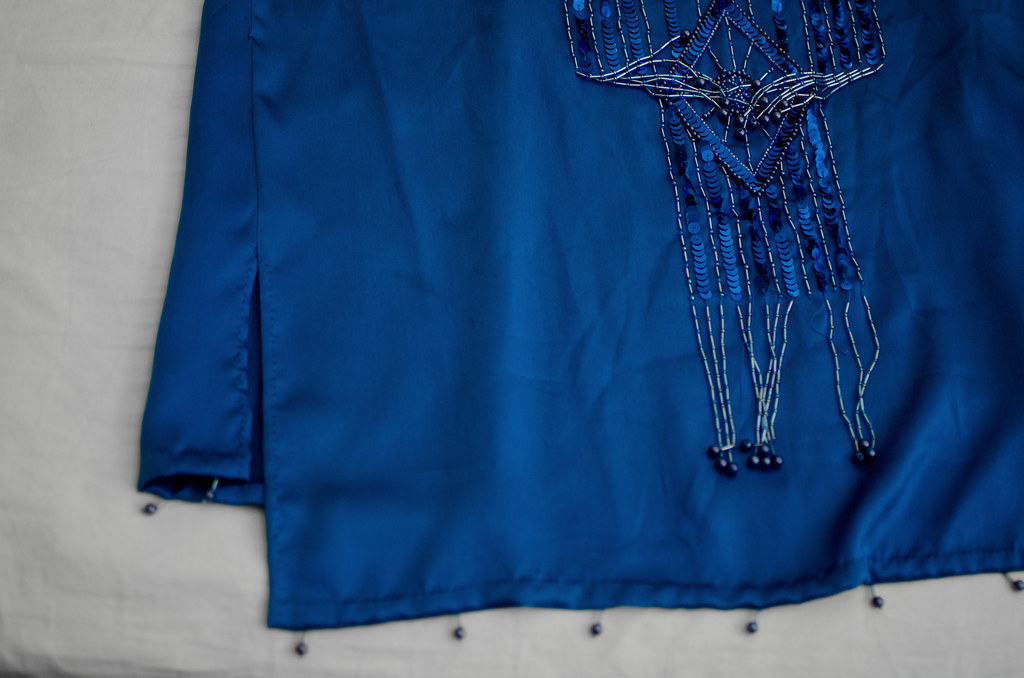
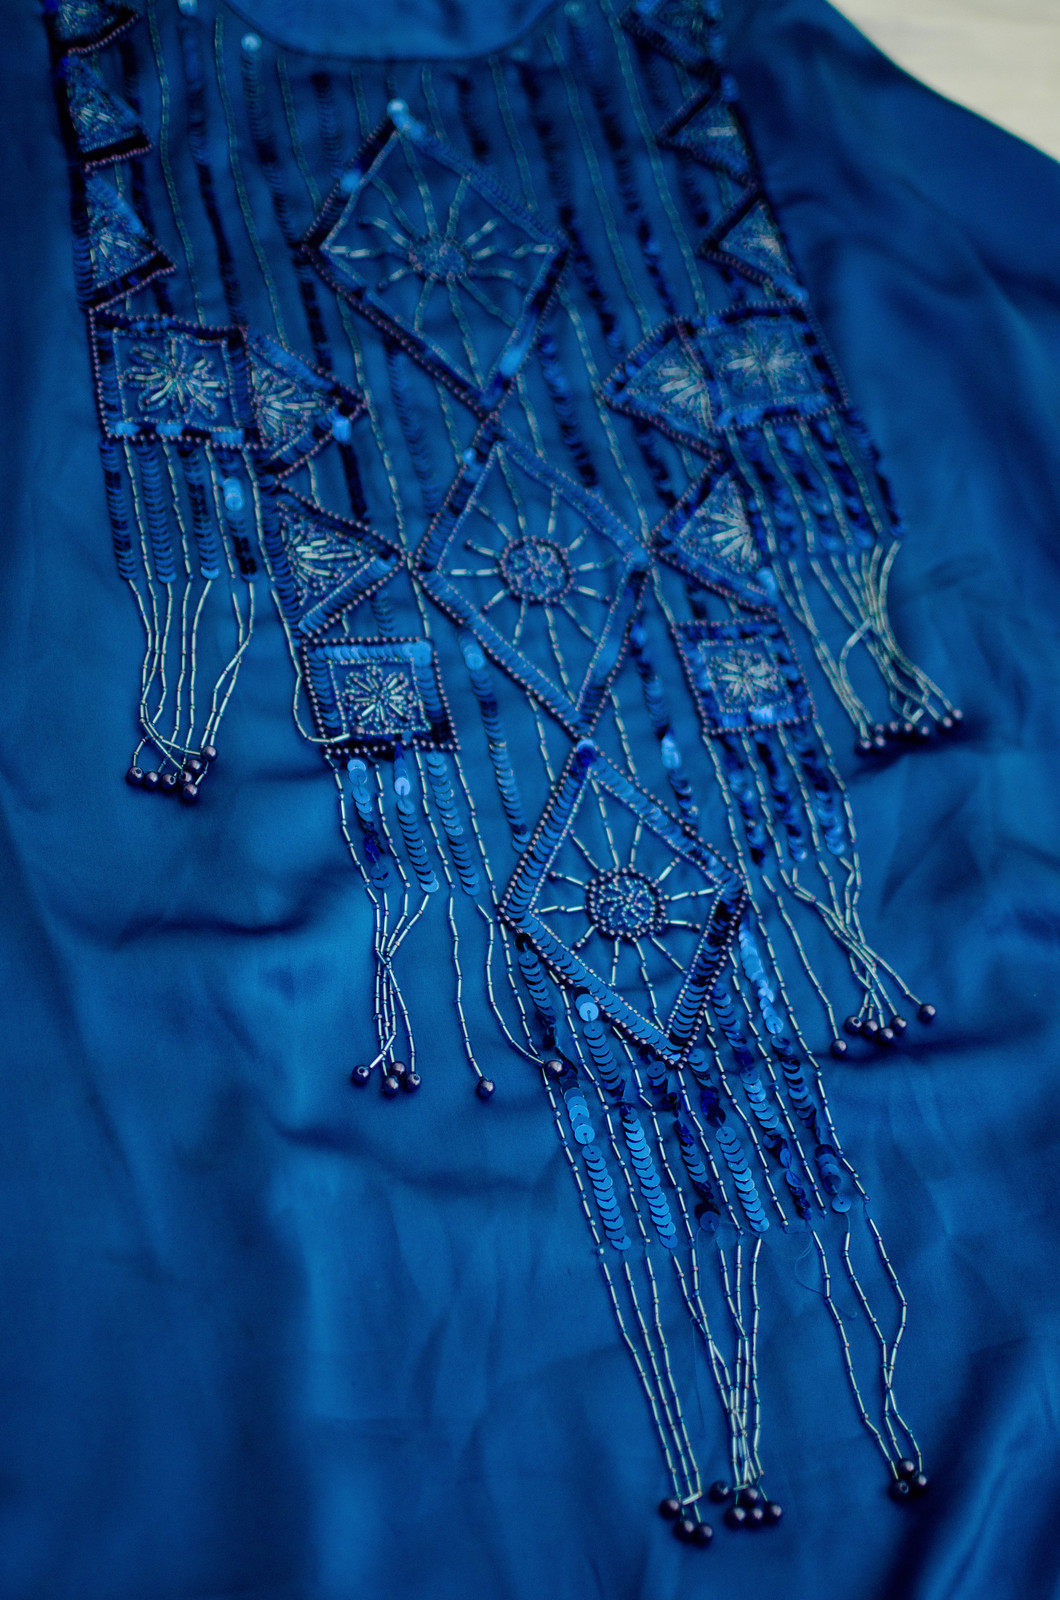
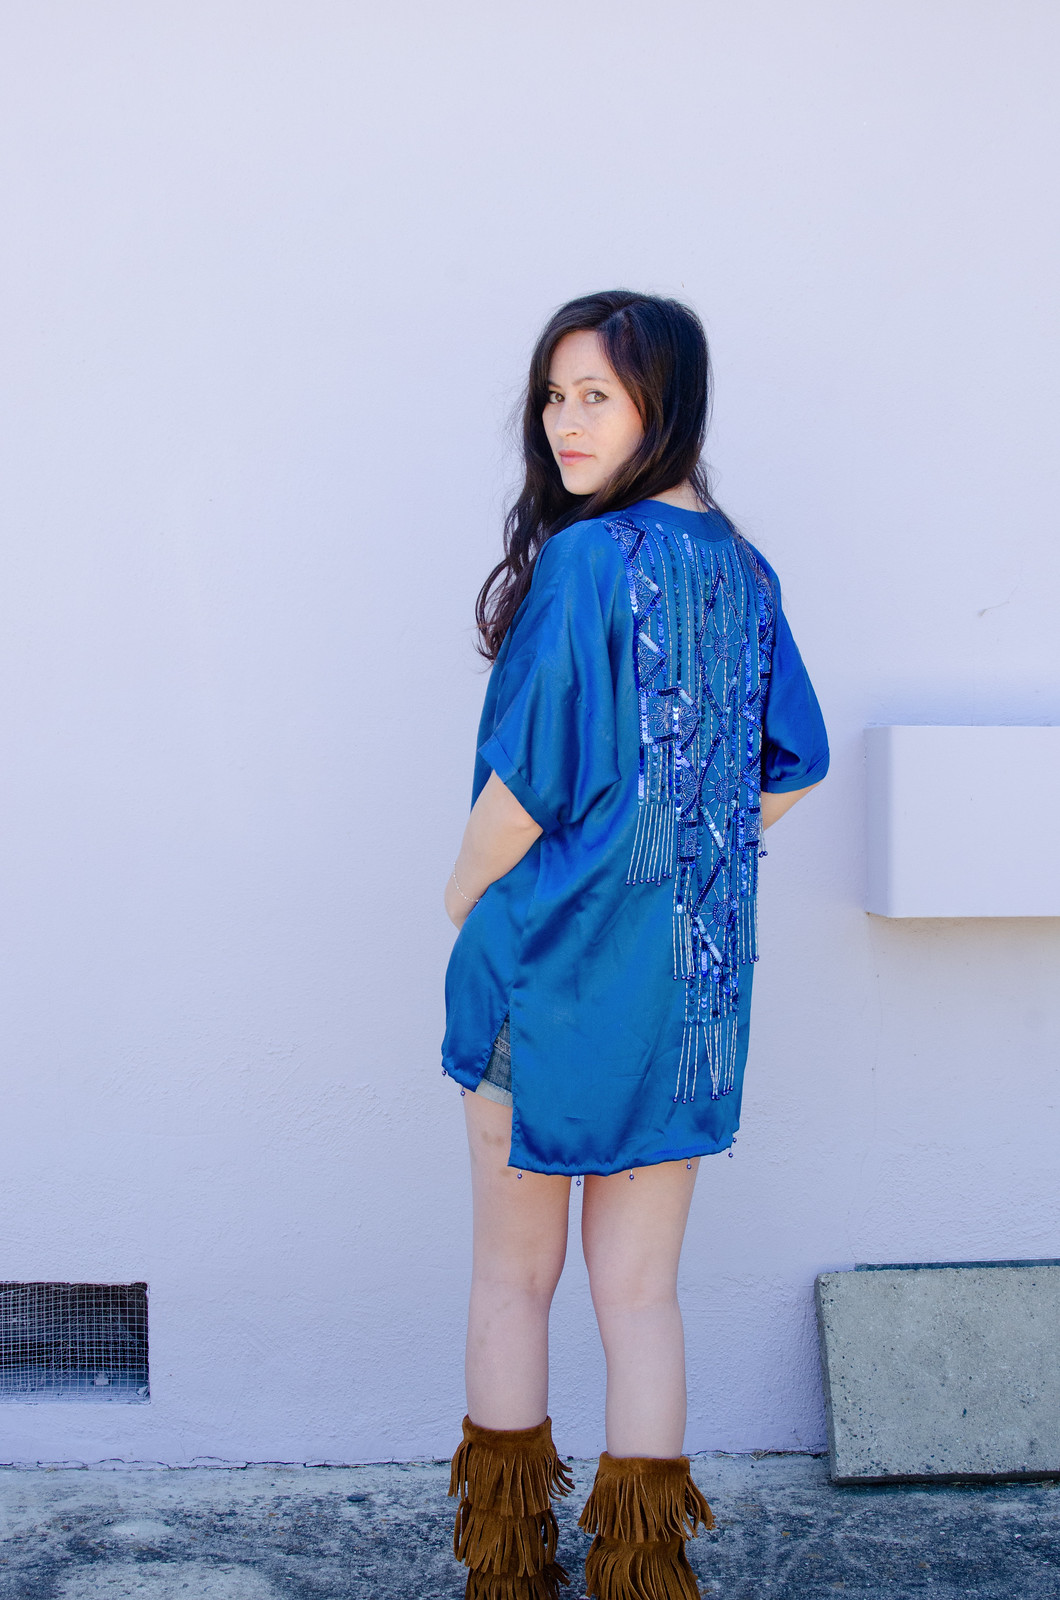
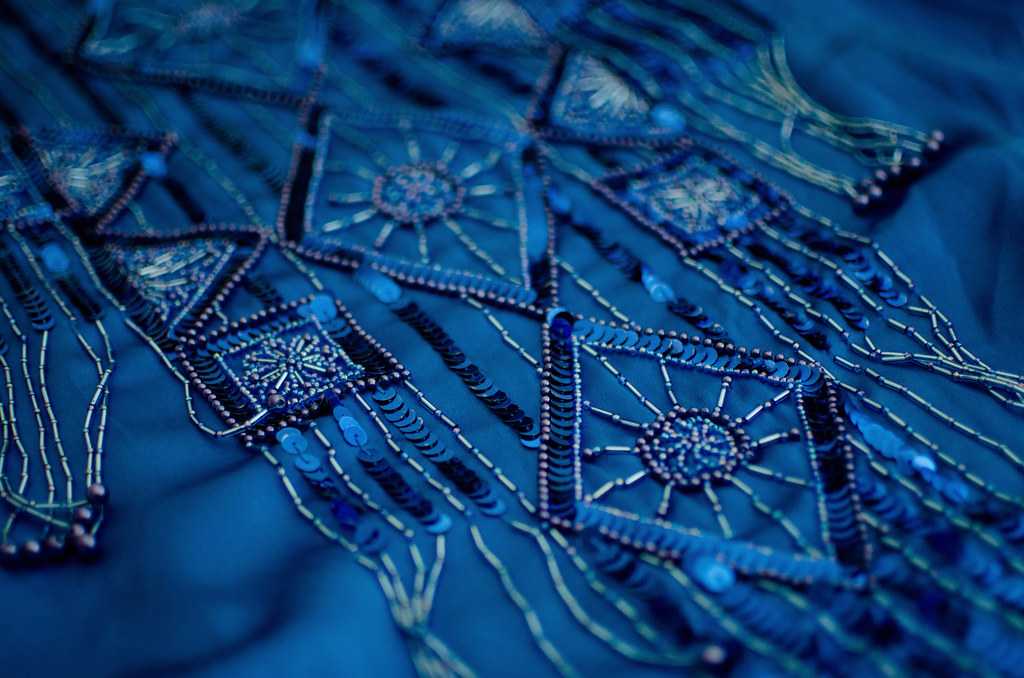
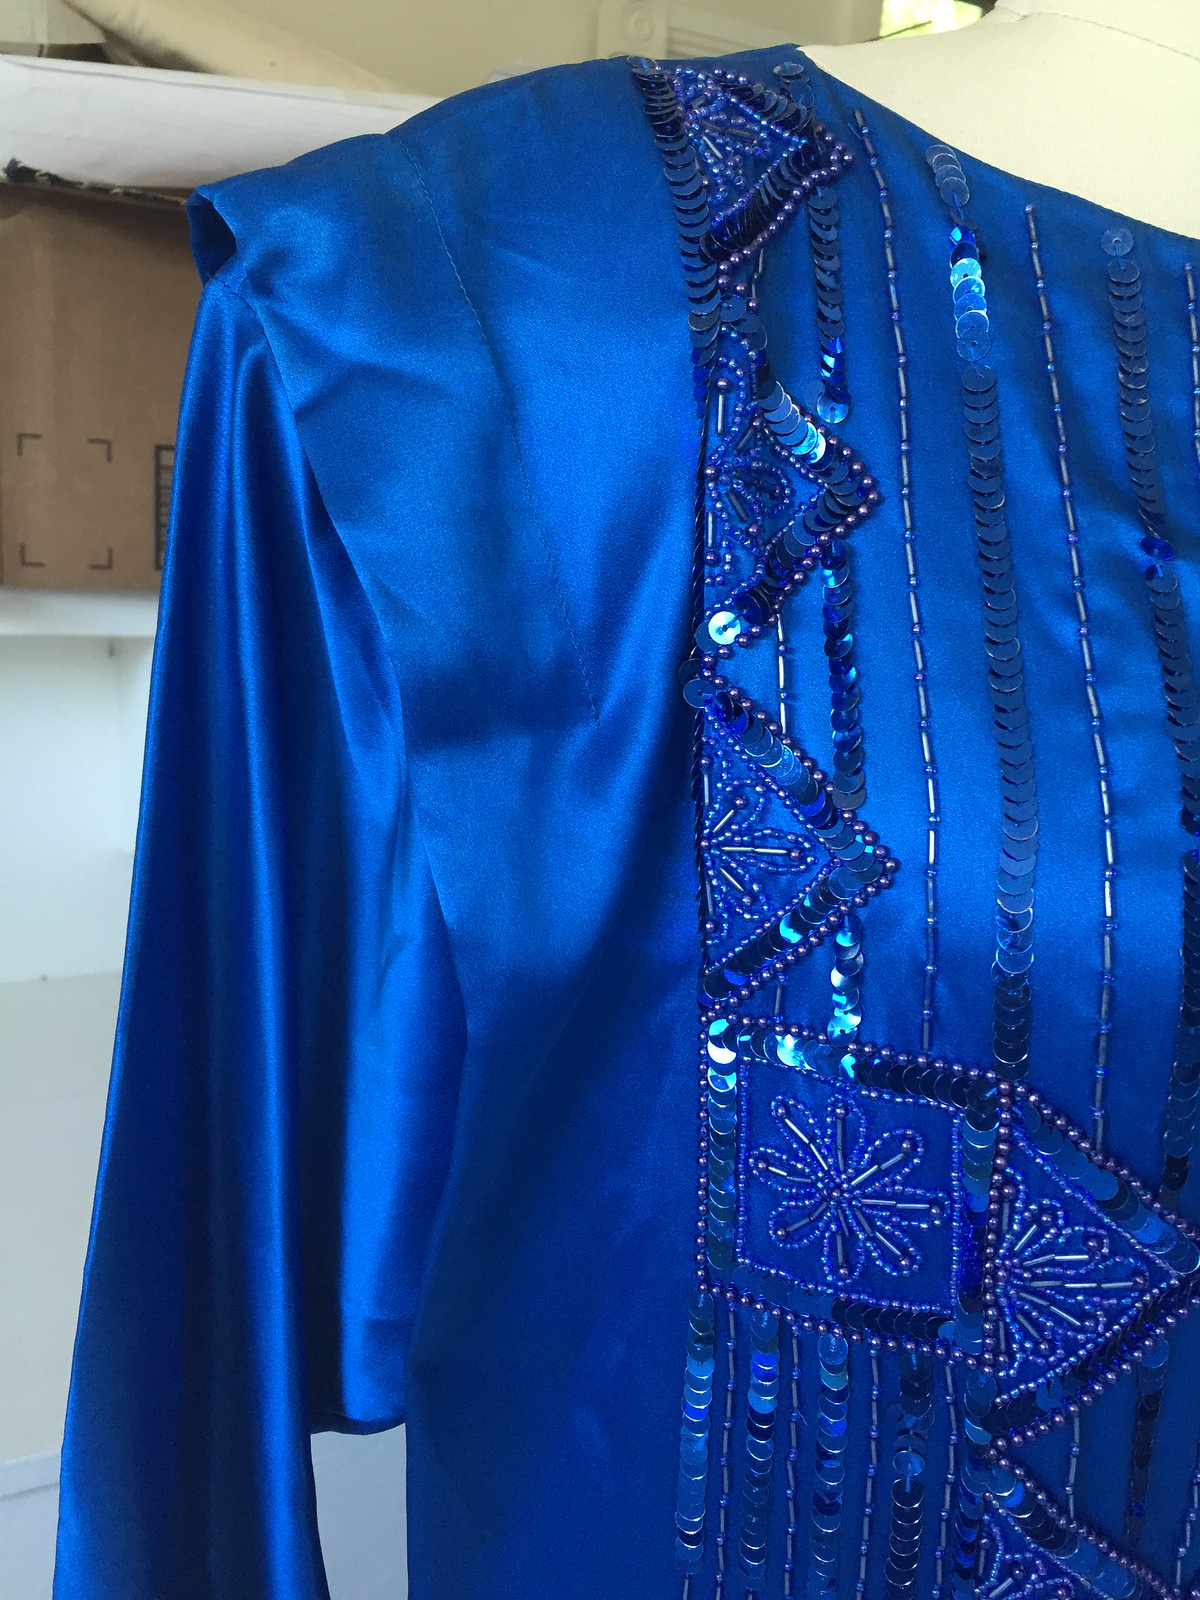
But let’s back up. This started out as a bit of a monstrosity. There were shoulder pads, shoulder flanges, no shaping darts anywhere, and awkwardly long sleeves. There was, however, the most gorgeous beading all over the back, as well as on the edges of the bottom and sleeves. Plus, it’s 100% silk and has the most luscious drape.

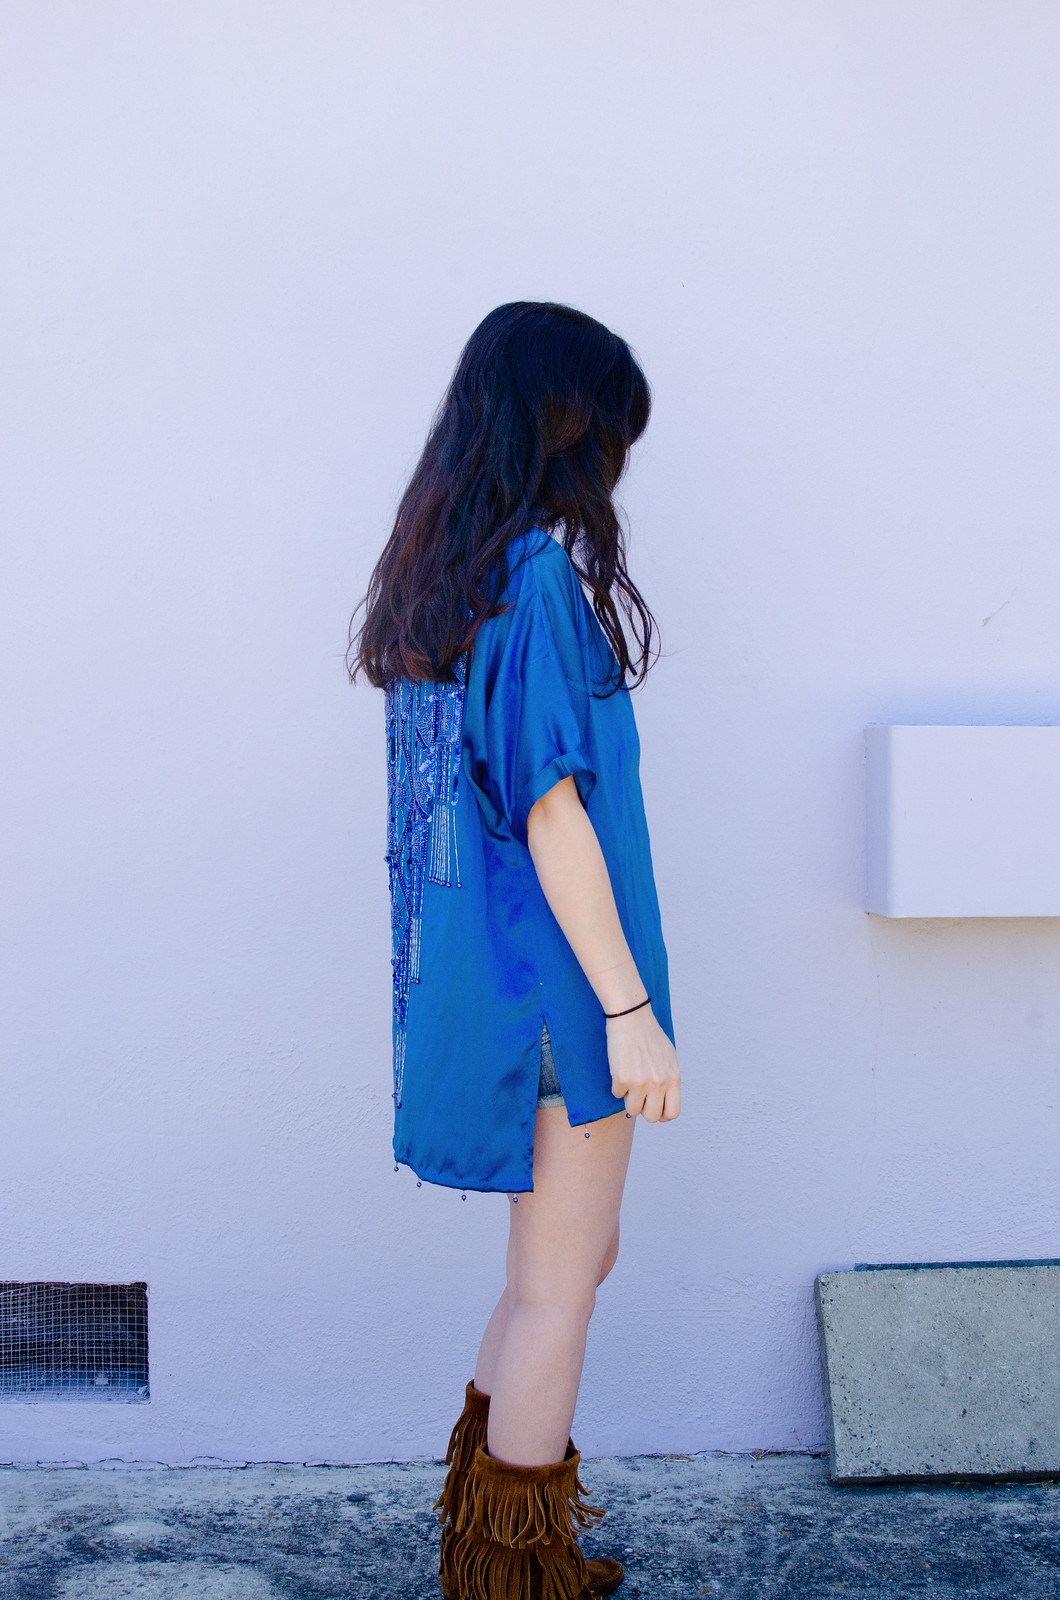
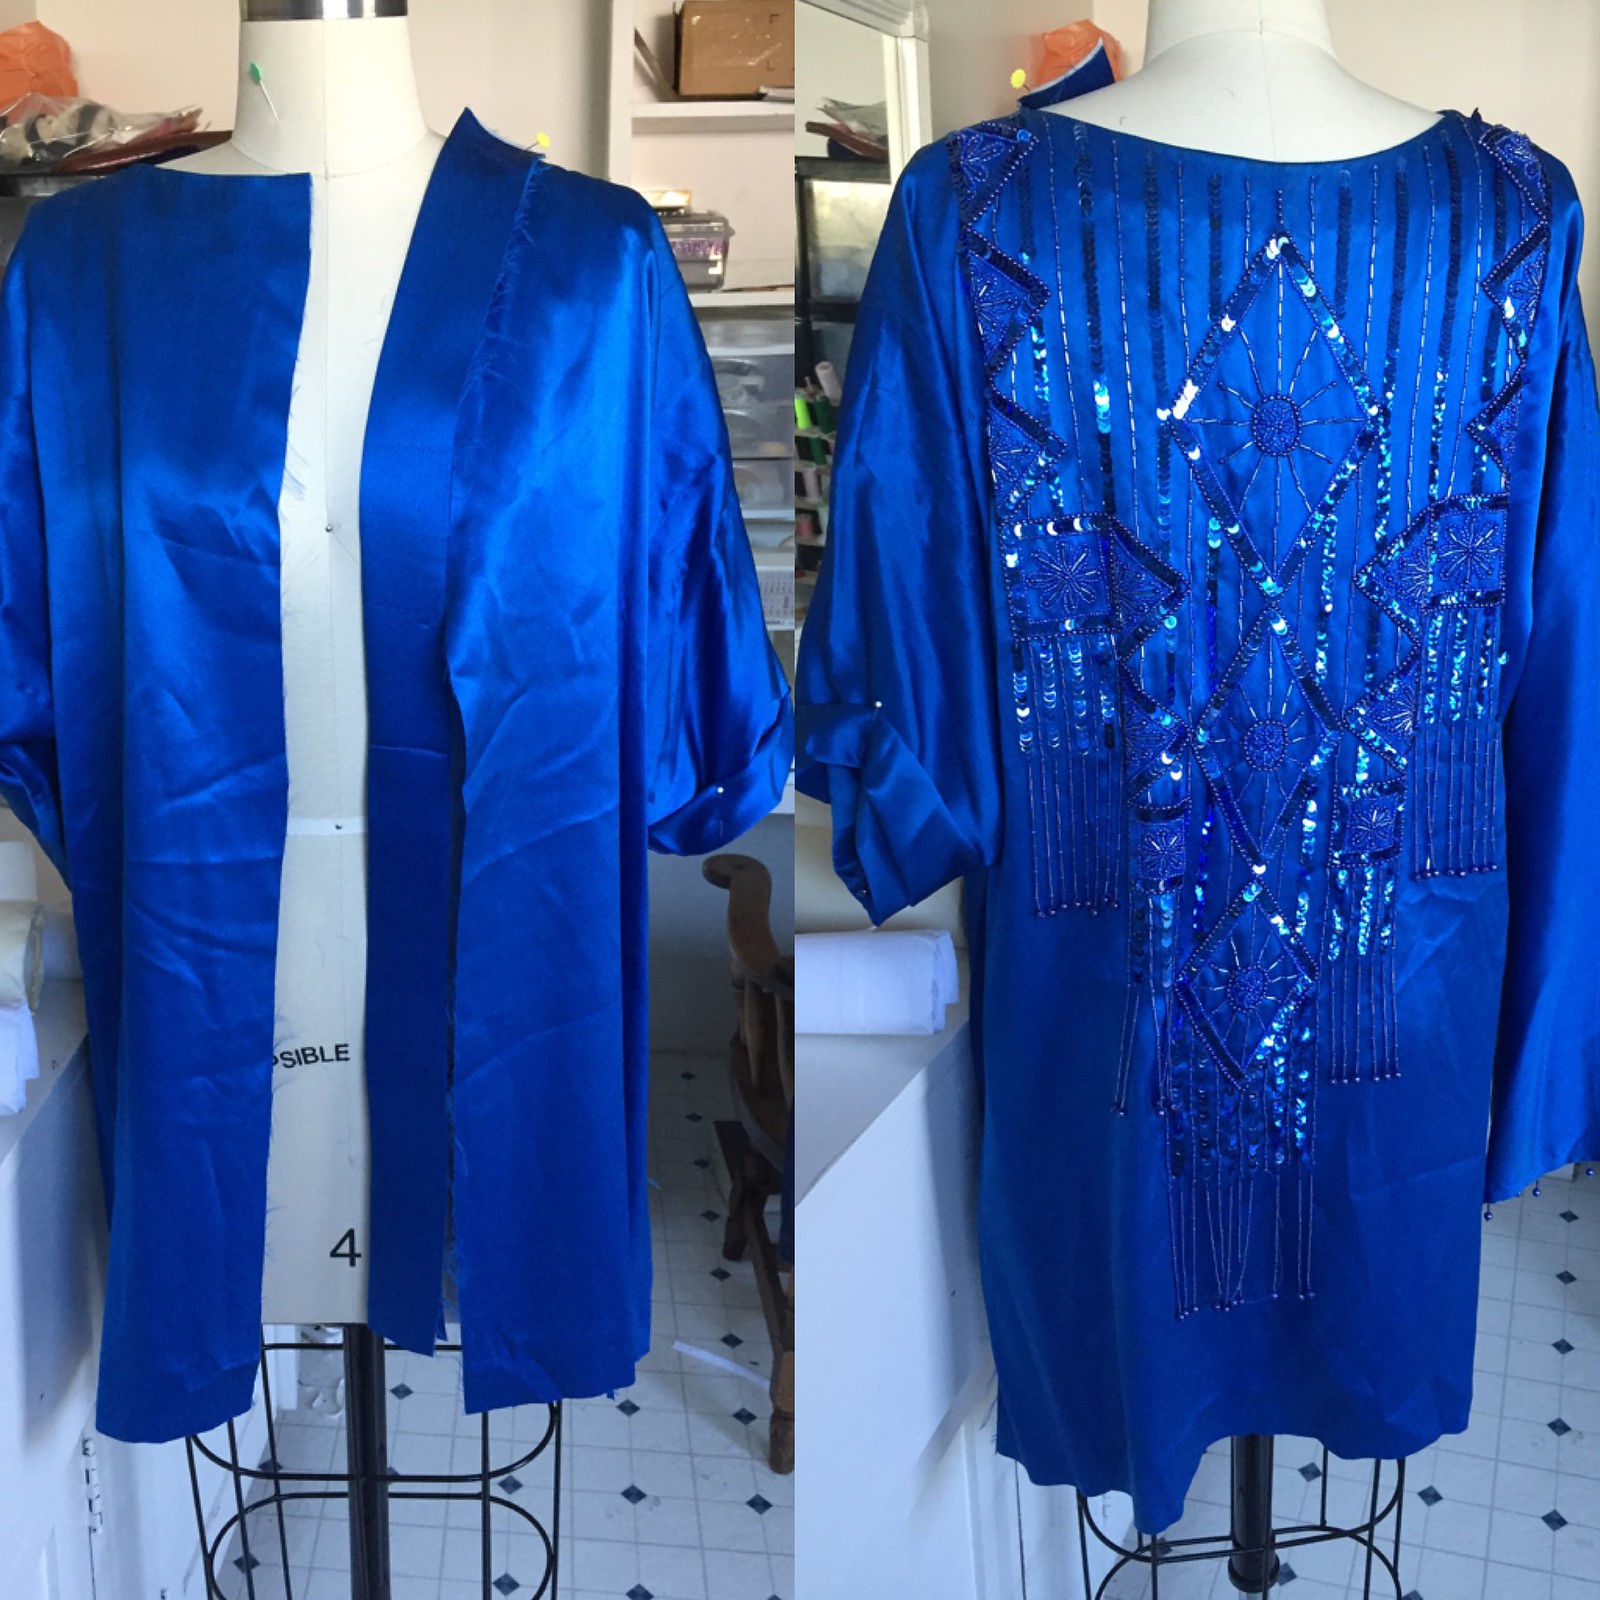
I knew immediately that I had to keep the beading all in on piece and not mess with it at all. I toyed with the idea of doing some kind of short shift dress, but all of the beading just seemed too heavy for that kind of design. Then I had one of those light bulb moments and realized that it would be much better balanced if I just turned it around and put the beading on the back.

Kimono refashion

Once I had a design idea, the first thing I had to do was a lot of careful seam-ripping. I unpicked the shoulder flanges and then undid the side seams up to about where I wanted to hack off the skirt. Then I did a lot of procrastinating before actually slicing off the skirt.

Kimono refashion

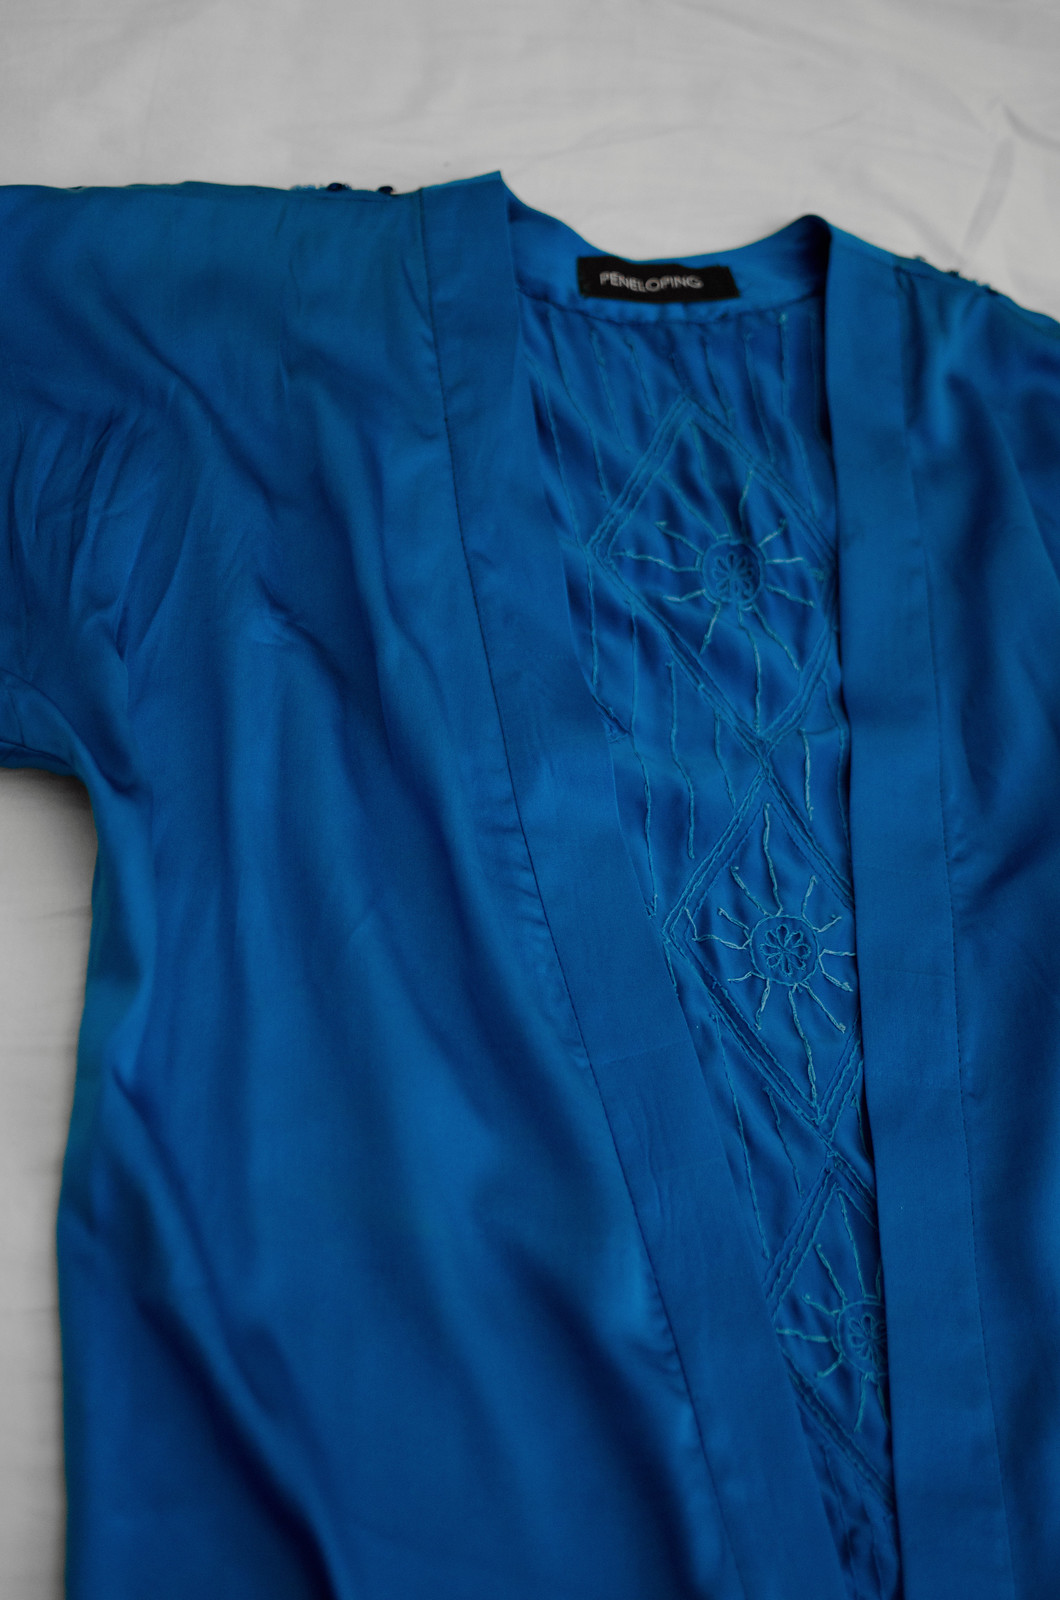
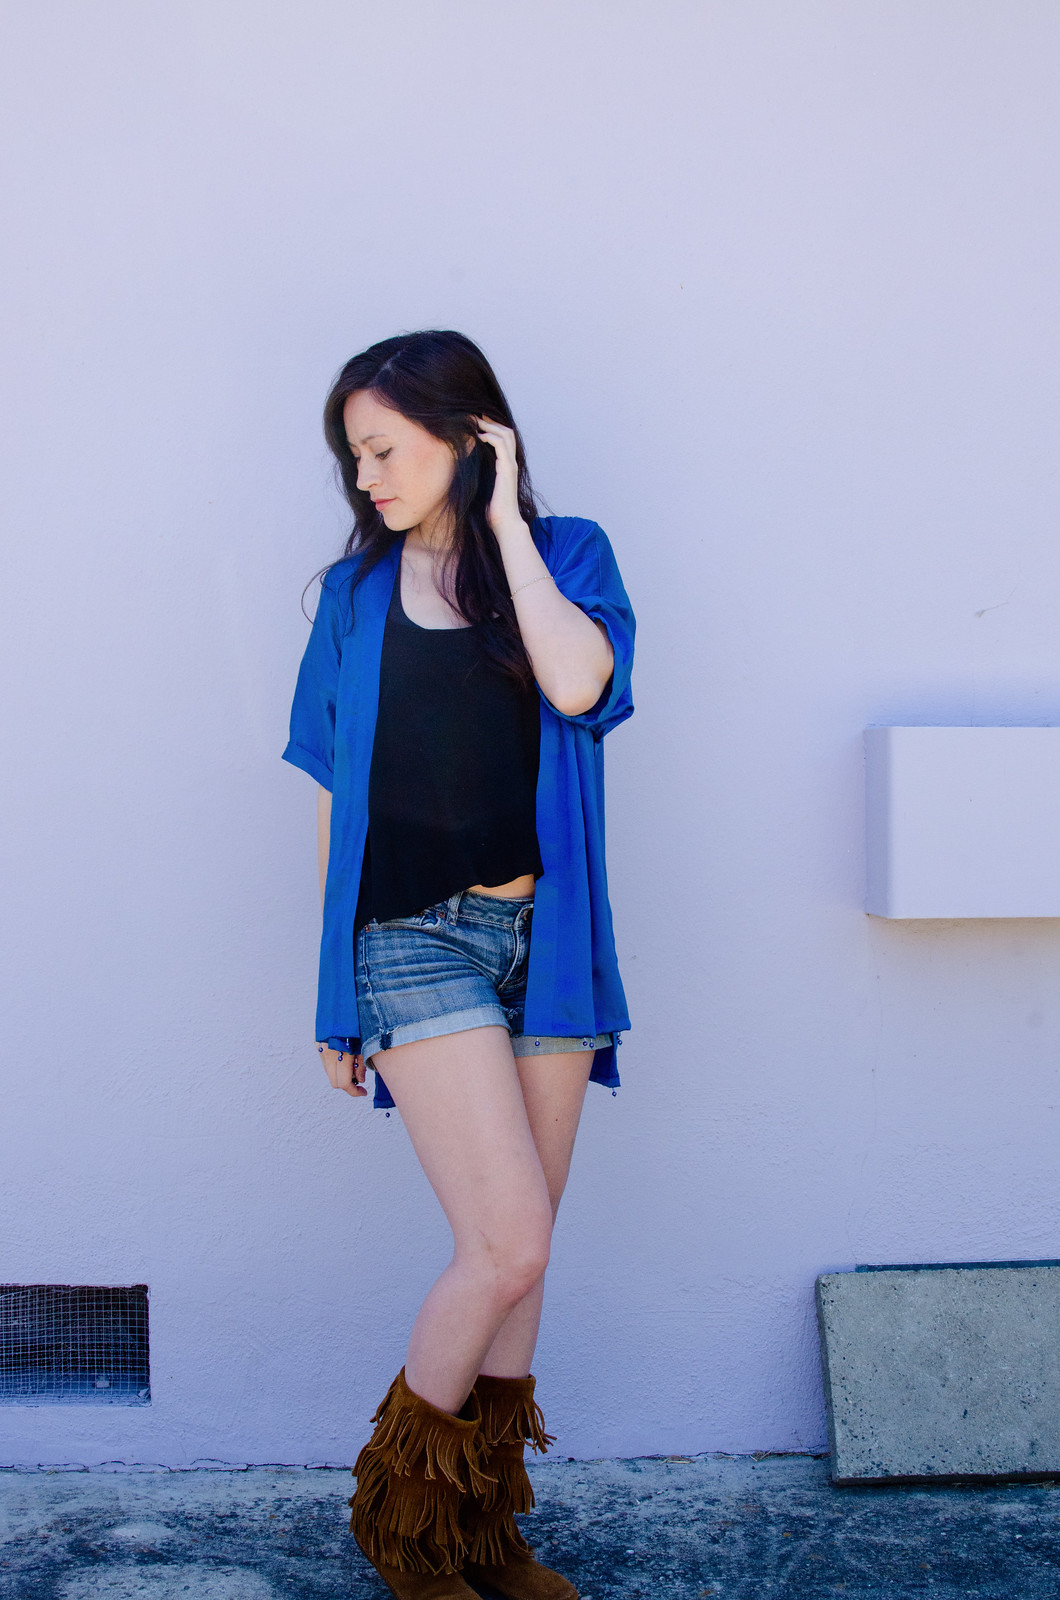
You guys, cutting into this thing was SO nerve-wracking. I chewed on my nails for a while and then just went for it. I decided I wanted a high-low thing going on at the hem so I measured and cut accordingly. The front is 3″ shorter than the back. Then I cut straight down the center back which would become the center front opening. I took the excess skirt fabric and cut long strips that would become the center front panels, and reshaped the front neckline to get a more kimono-esque shape. I also had to draft a back neck piece, which I sewed to the front panel strips, and unpick the facings, which I felt inordinately guilty doing since they were so beautifully sewn in.

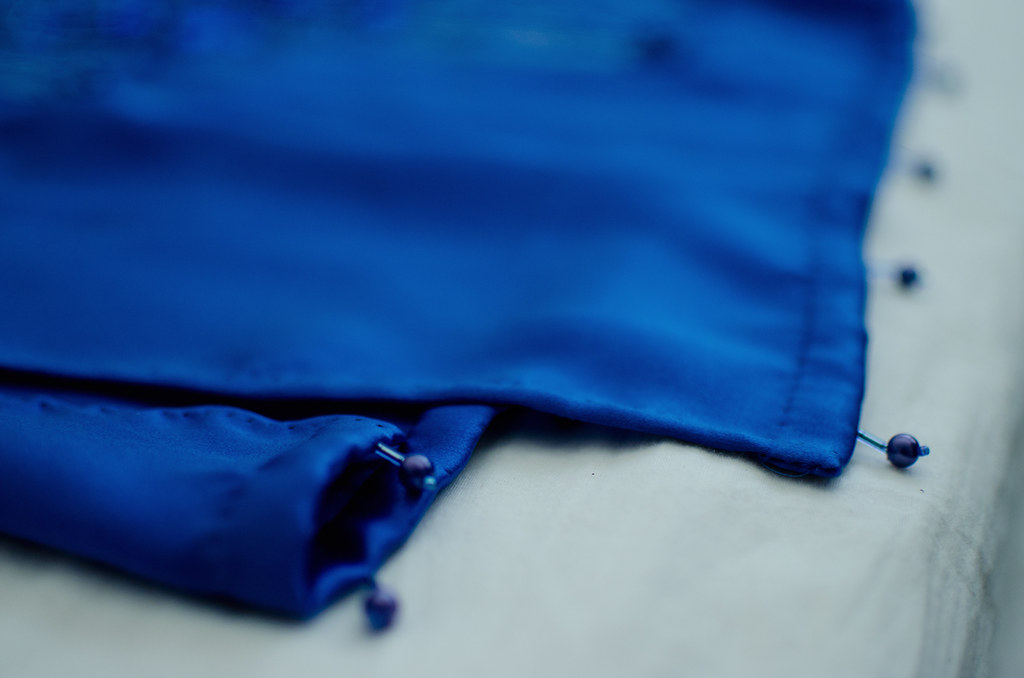
After that was a ton of hand-stitching. I sewed one side of the front panels on by machine but pretty much everything else was done by hand, including re-attaching all the beading to the bottom hem. I’m debating also adding beading to the end of the sleeves but haven’t decided if that would be a nice balance or just be too much.

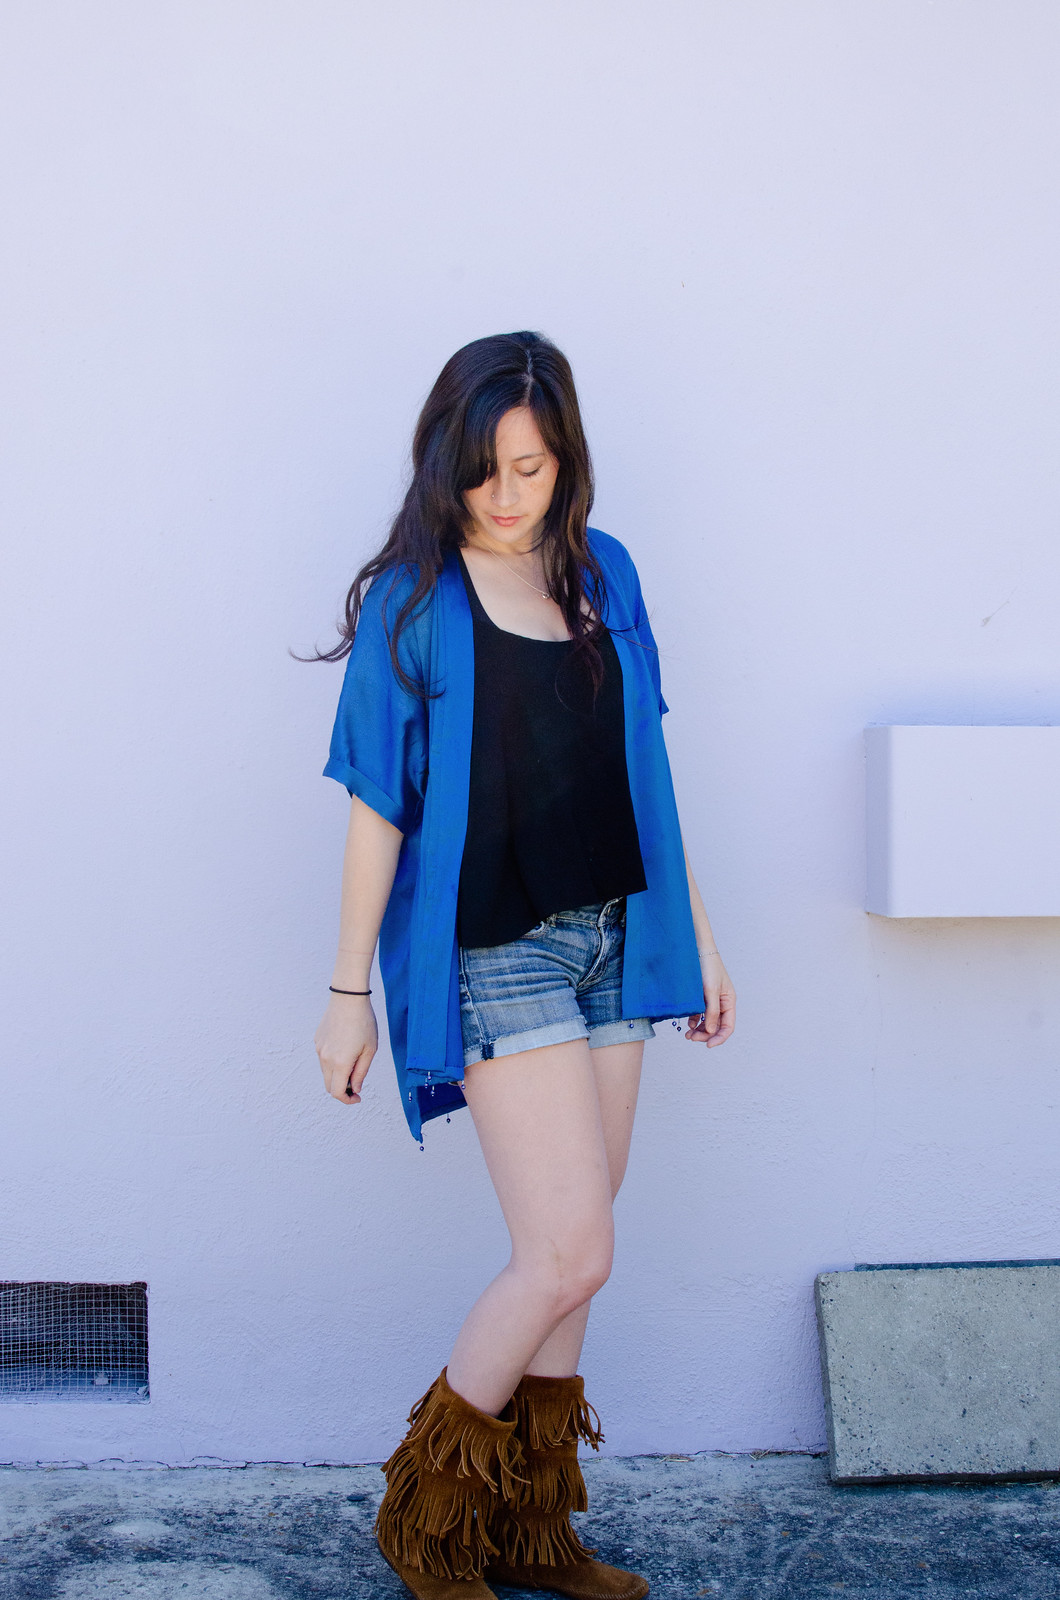
Either way I absolutely love how it turned out. It’s super swishy and fun to wear. Actually I didn’t realize until just now that I subconsciously picked my swishy Minnetonka boots to wear with it. Multi-swish! I’m literally slightly bummed that it stands out so much because I keep wanting to wear it every day. (I finished it a week ago and have worn it like three times already.)

(And yes, I should steam that back hem again. Wherps.)

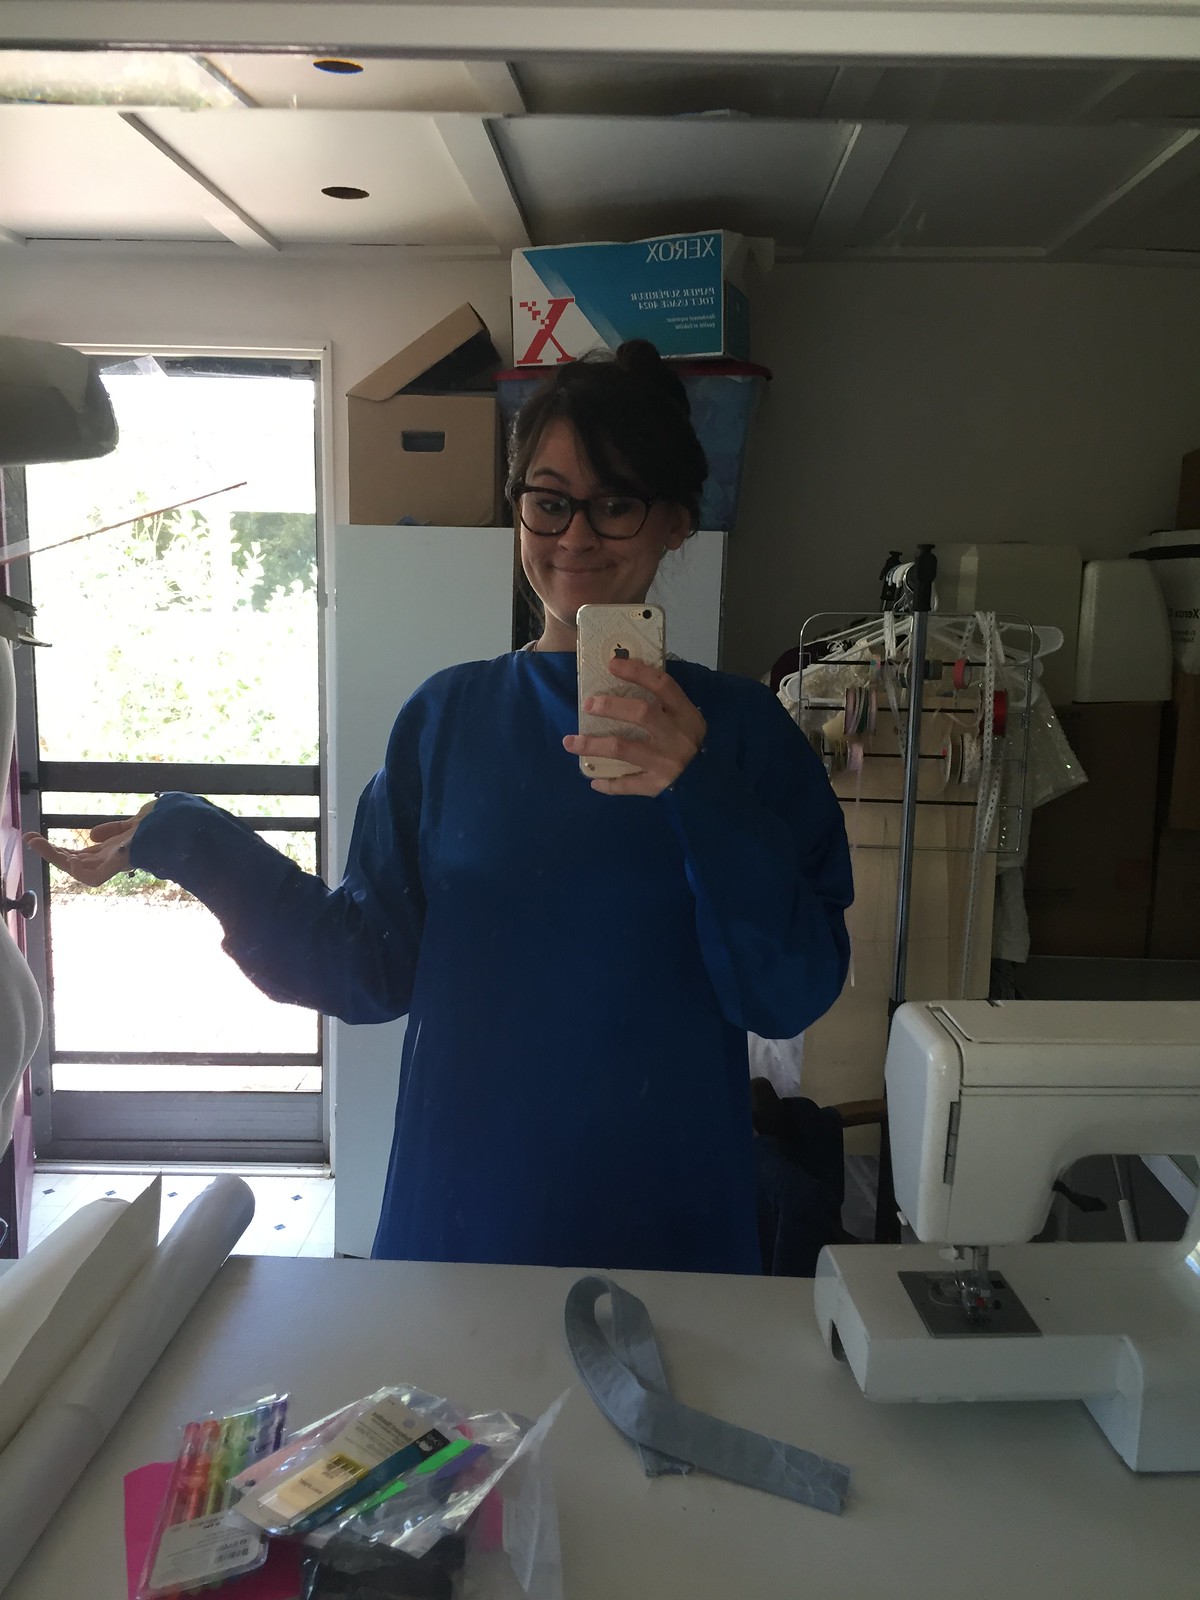
Anddd I’ll leave you with a photo of me looking utterly ravishing in a backwards shoulder-padsy dress.

Kimono refashion

Adventures in patterndrafting // tent labeling

Tent dress

Tent dress

Tent dress

Tent dress

Tent dress
dress: self-drafted // shoes: Seychelles

Dutch Label Shop sent me custom labels to try out free of charge, and all opinions, drafting errors, and leg injuries are my own.

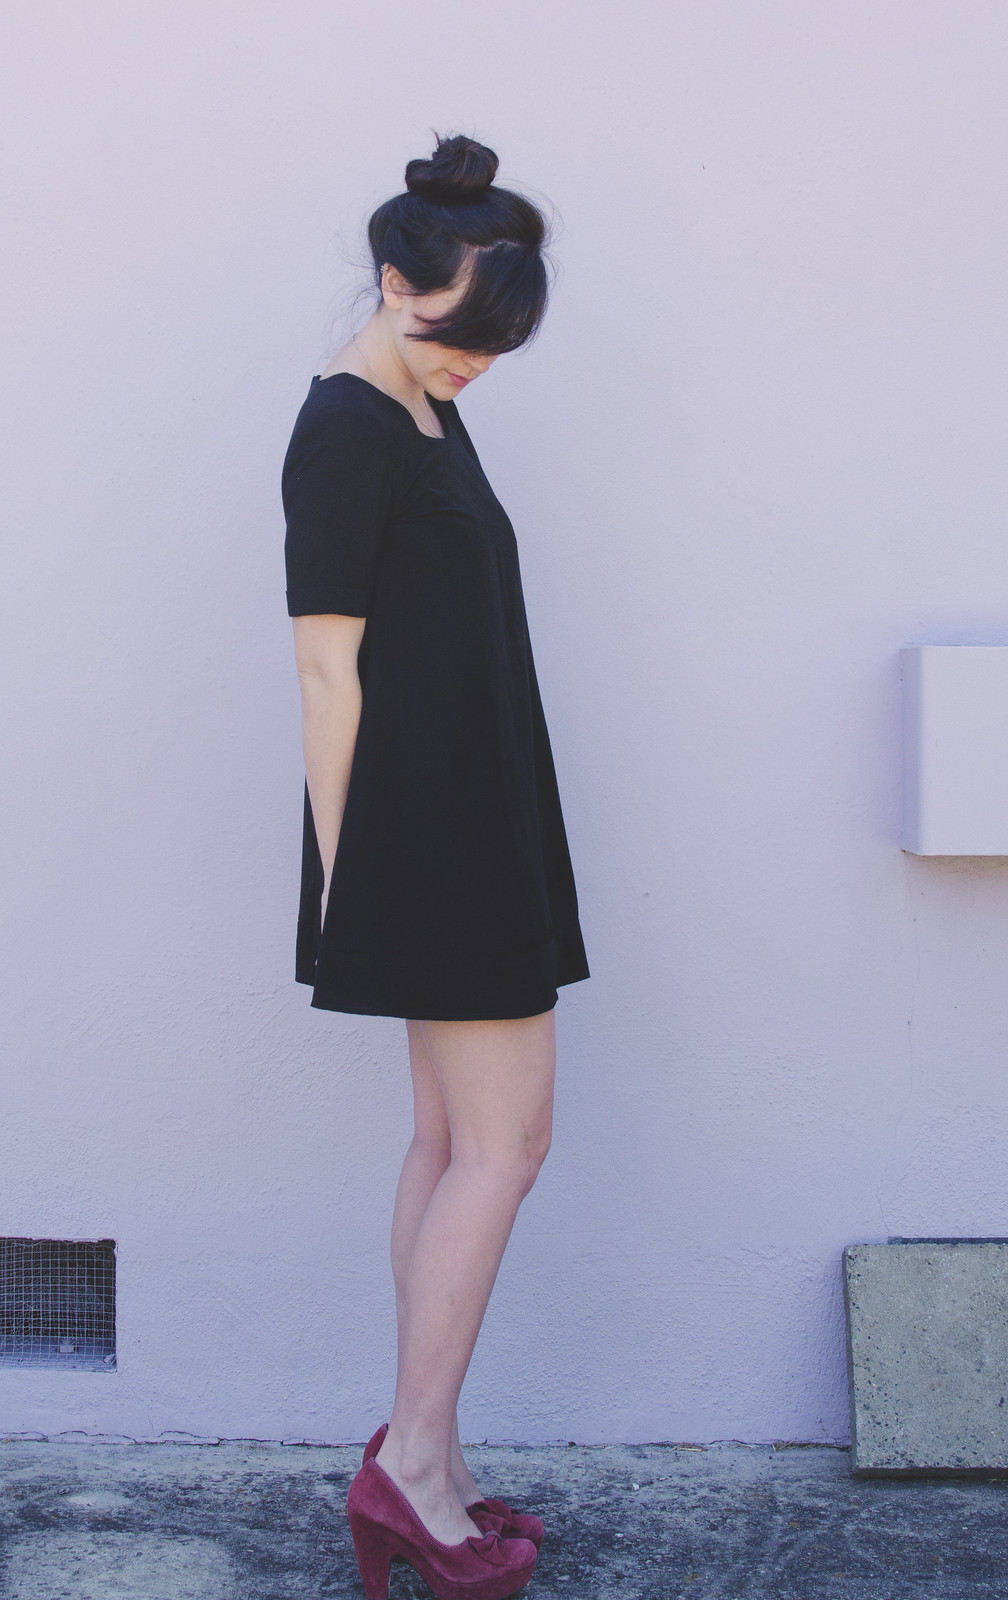
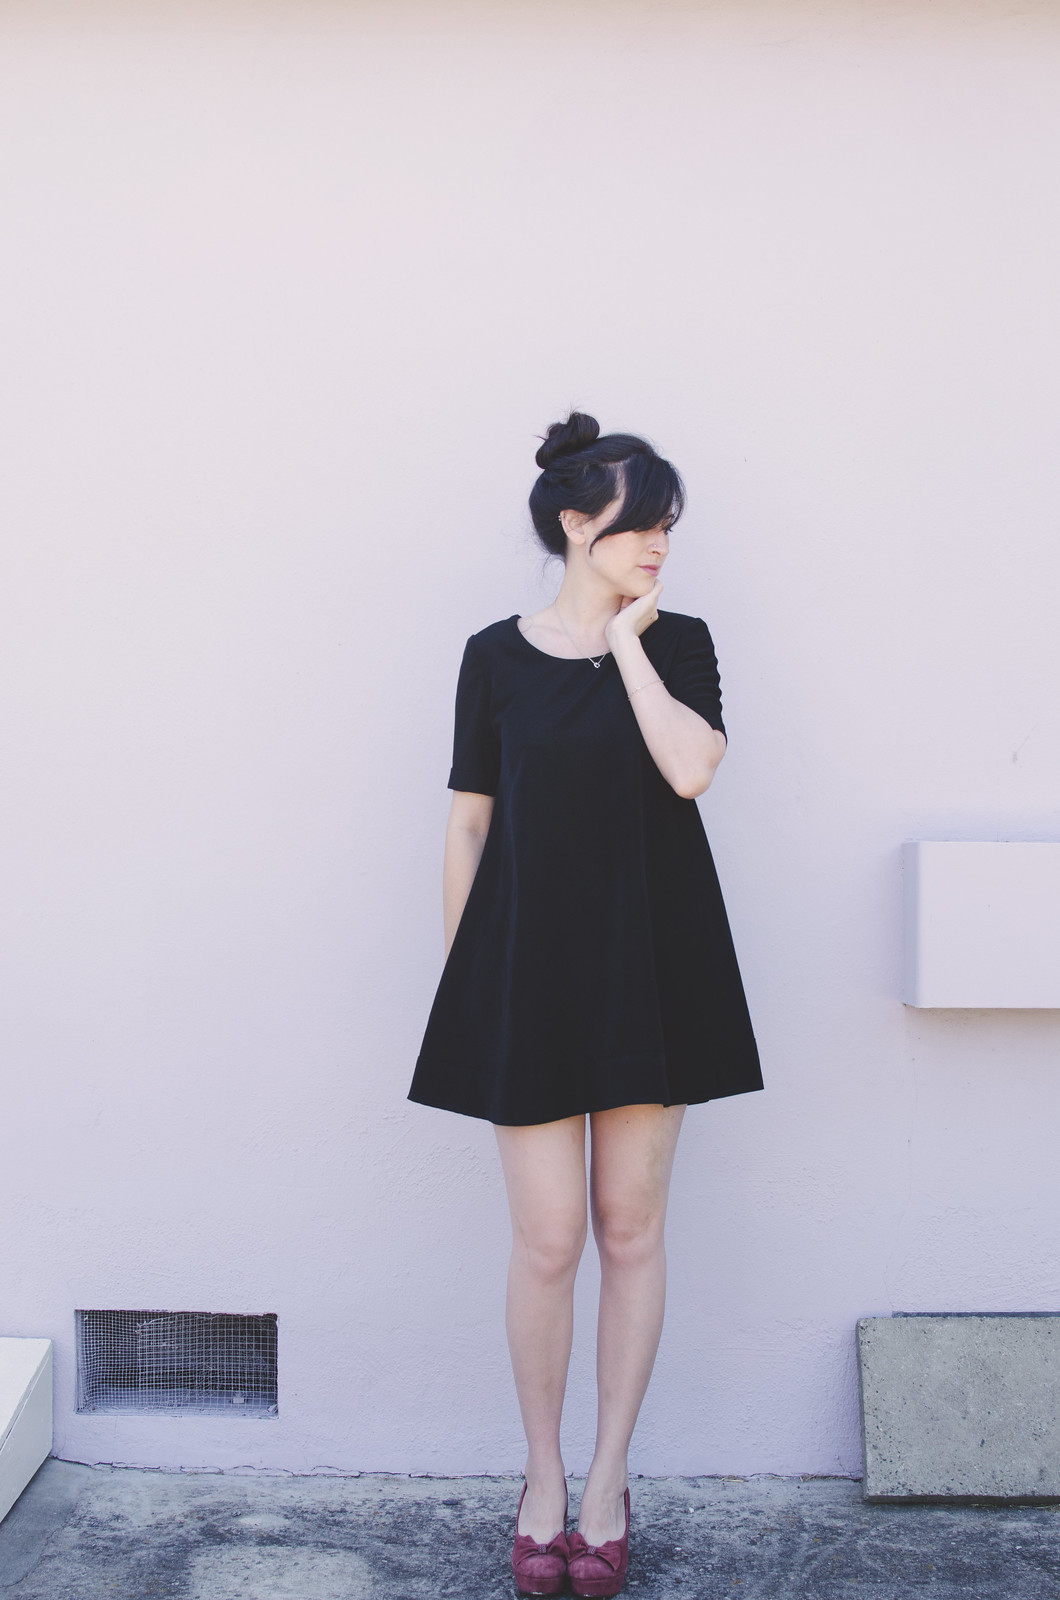
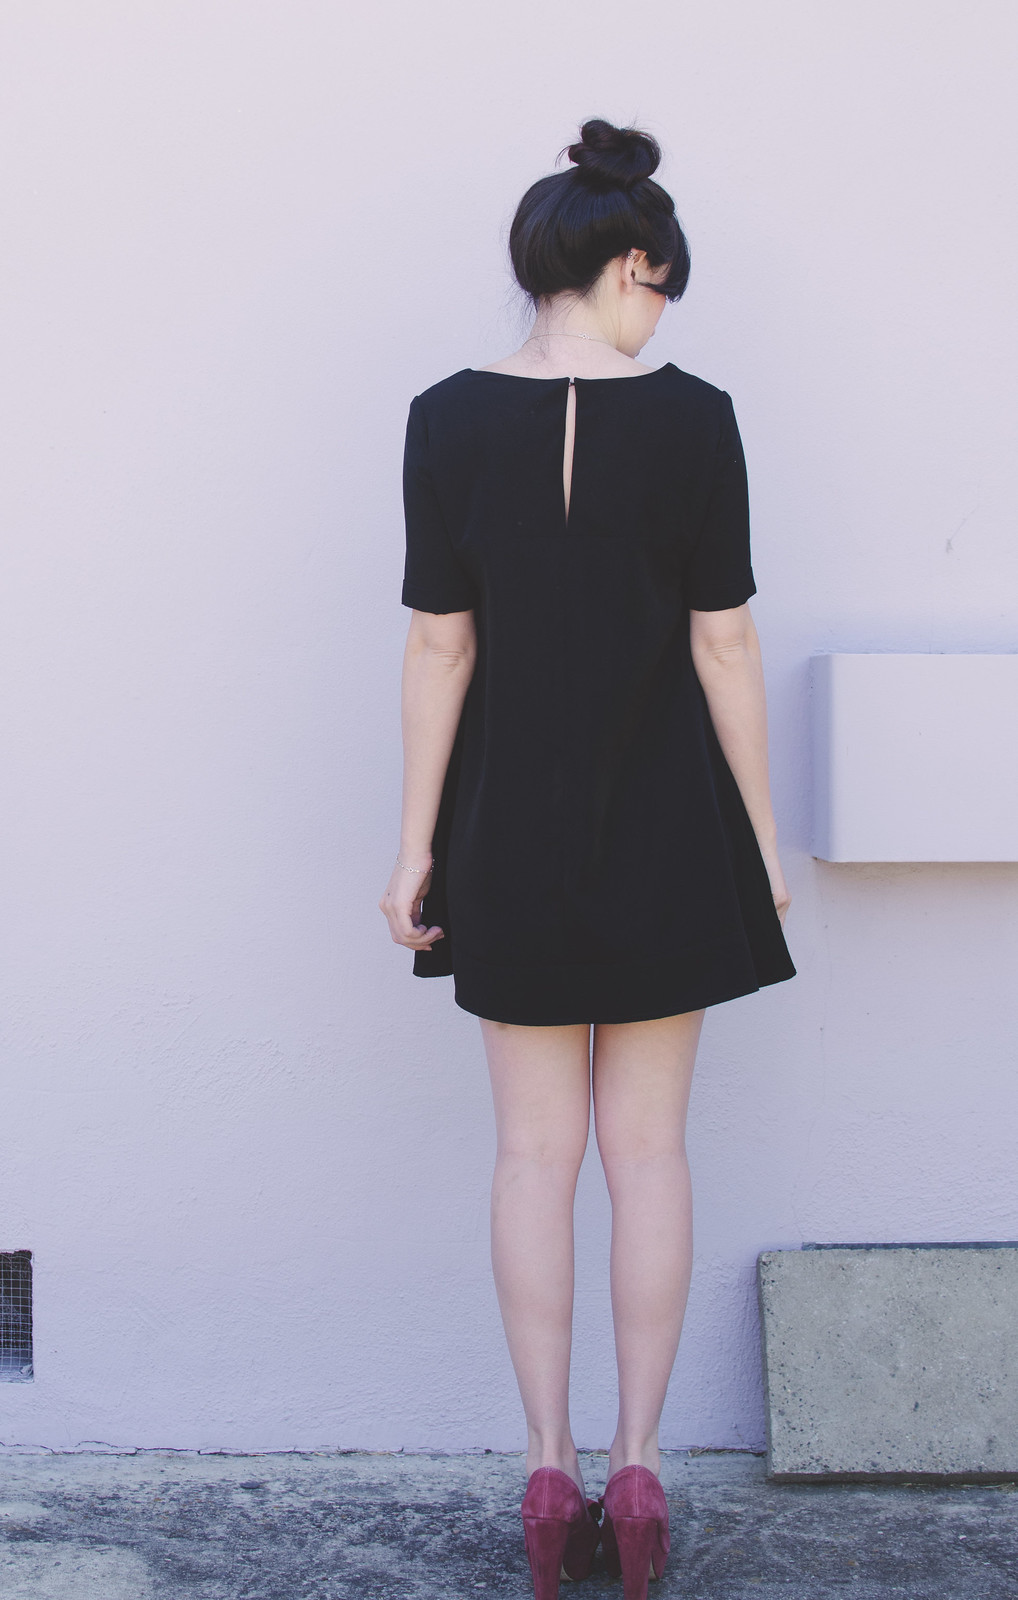
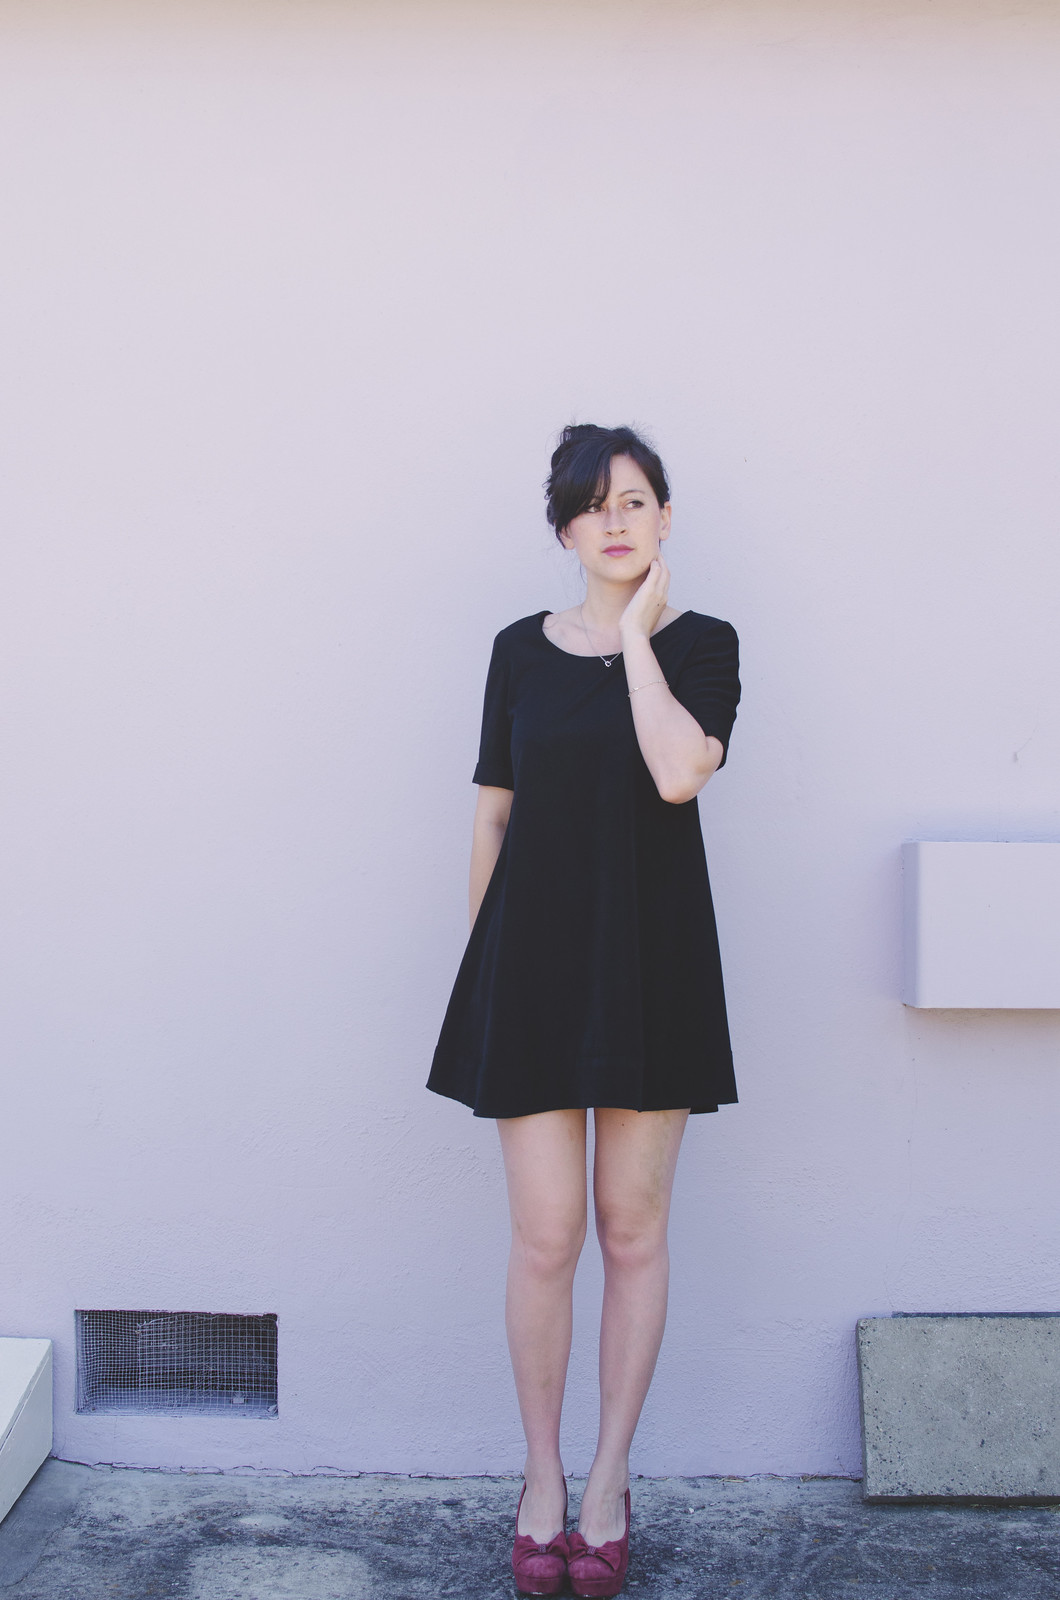
I have a bit of a ridiculous obsession with tent dresses. I blame Lauren and 90% of Keiko Lynn‘s wardrobe. Anyway, when we reached the “dresses without waistline seam” part of my flat pattern class, I pounced on the tent dress draft for my homework garment.

My first idea was to go absolutely nuts and make something super flowy out of chiffon. But I decided to dial it back so I could see what the basic tent draft looks like, and so I could be responsible and use up some peachskin I had in my stash.

It’s a pretty basic draft. I started with a torso sloper (drafted using the method in Nora MacDonald’s Principles of Flat Pattern Design book). For the front, I left the waist darts alone but transferred the side bust dart to the waist as flare. Then I added a bit more flare by going out at the side seam. I did the same thing on the back except by transferring the shoulder dart to flare. Then you mark the point halfway between the armhole and waist line and blend a line about 1/2″ inward there. Lastly, I put the front and back pieces on top of each other to make sure the side curves matched up.

What you don’t want to do at this point is mistake your new indent that’s halfway up from the waist as the actual waist, and measure your skirt length from there. I didn’t realize I’d done this until I’d already cut the fabric and therefore ended up with a dress that ended mid-vagina. Not attractive. I thought about making it into a tunic but it just didn’t quite look right in this fabric. I ended up drafting a 3″ panel at the bottom which I think looks kind of cool. Another thing you probably don’t want to do is forget that you meant to have an upper back yoke and therefore don’t need a center back seam on the bottom piece. For the next one I will definitely cut that lower back piece on the fold.

Dutch Label Shop

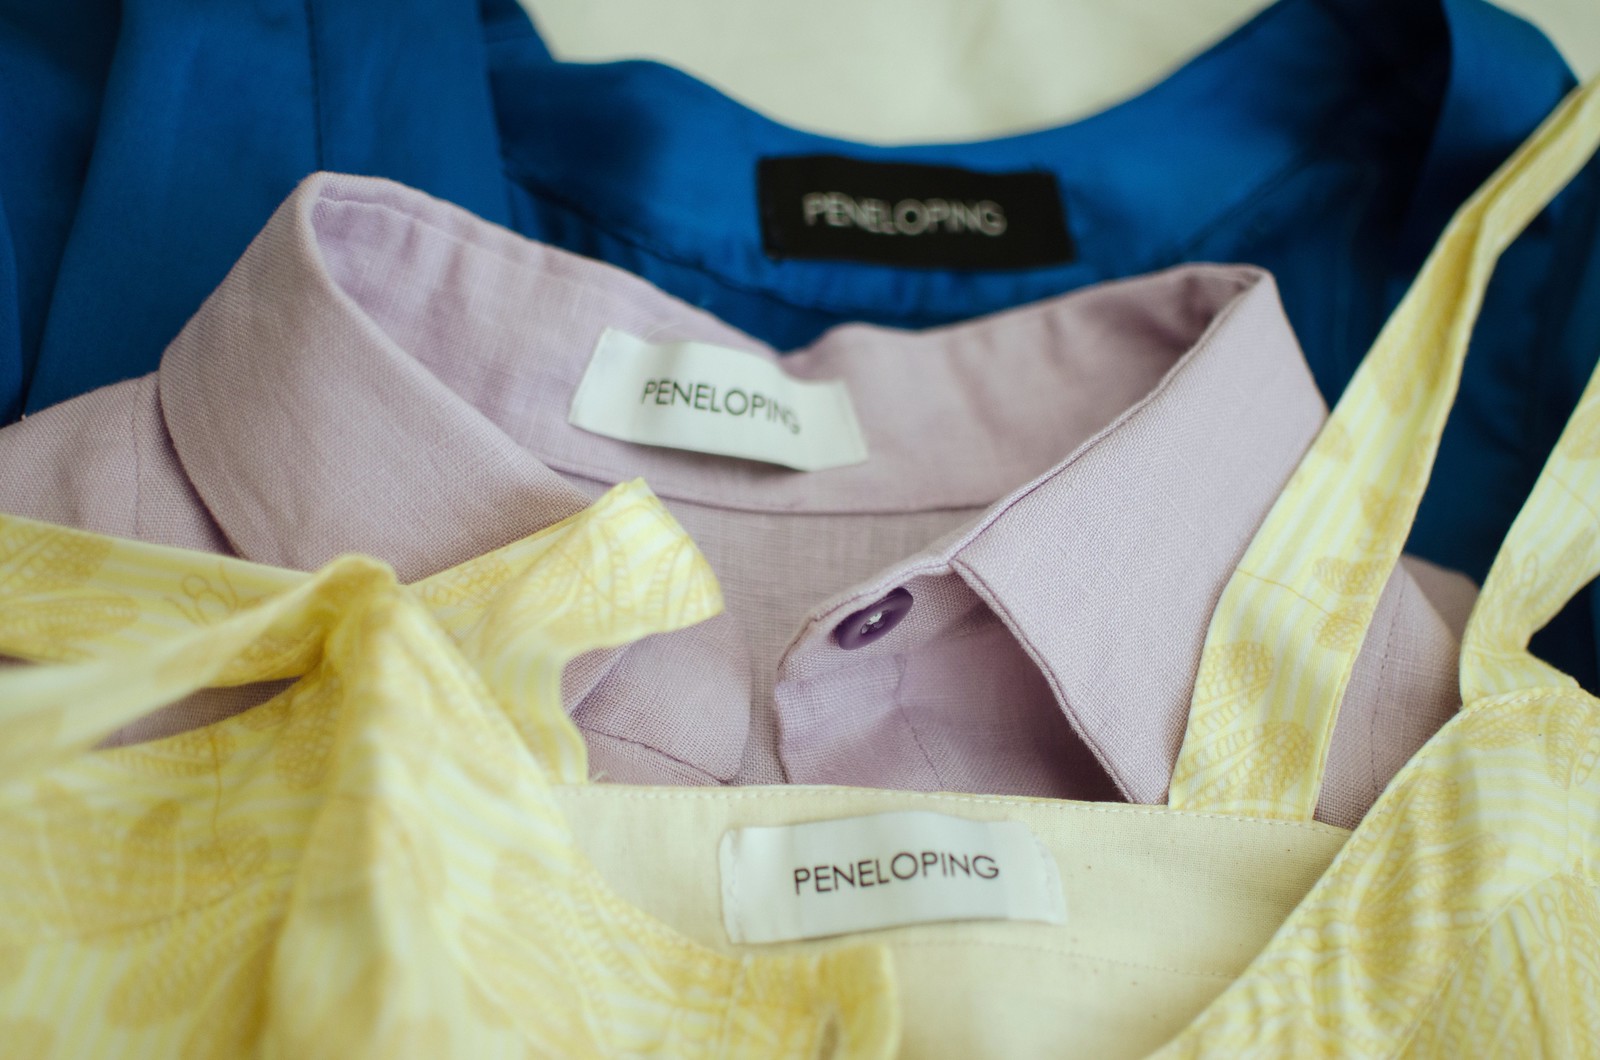
Andd the best part is that inside the neckline is a lovely professional looking garment label! My Bernina does letters so I’d tried my hand at making my own labels on twill tape before. They turned out pretty cute actually, but a bit too rustic for fancier clothes. These labels from the Dutch Label Shop are much more polished and will go on absolutely everything, especially since I ordered them in both black and white. These ones are the basic woven labels. You pick from a few fonts and colors, and they even have some themed clip art you can add. They also offer a “double white” option for white labels with dark lettering, to prevent the black from being too visible. It doesn’t make it completely opaque though, so you can still kind of see the shadow/outline of the black threads behind it.

They also have another option where you can send them an image of your logo/graphic and they’ll do custom woven labels in all kinds of shapes/sizes with it. It’s a bit more pricey but their example labels look really cool! I don’t actually have a logo for my blog so I just went with the simpler option.

Shipping was a bit tricky; my first order was actually misplaced in the mail. But once they discovered it had gone missing they immediately sent out a replacement and I received it within a few days. And now I can’t wait to put these guys on everything! If you want to order your own custom labels, Dutch Label Shop is offering Peneloping readers a 15% discount on your order from now until July 21st with the code PENELOPING. — CODE IS WORKING AGAIN – yay!

Anyway, no joke guys, this is officially my Indian lunch buffet/all-you-can-eat-sushi/Thanksgiving dress. Next I want to make one out of something a little drapier with no sleeves and cutaway armholes. And one out of linen. And one with double the amount of flare and made in chiffon, possibly with three layers. (Imightbecrazy.)

*Ignore the weird attempt at photoshopping out the giant bruise on my leg. I was mauled by two adorable puppies who were very excited to see me.

**I still haven’t heard from Leigh-Anne about receiving the Mood giveaway prize! If you could shoot me an email by Sunday, that’d be great! After that I’ll be randomly selecting an alternate winner.  Thanks! :]


adventures in patterndrafting // Mood fabrics giveaway

linen shirt dress

linen shirt dress

linen shirt dress

linen shirt dress

linen shirt dress

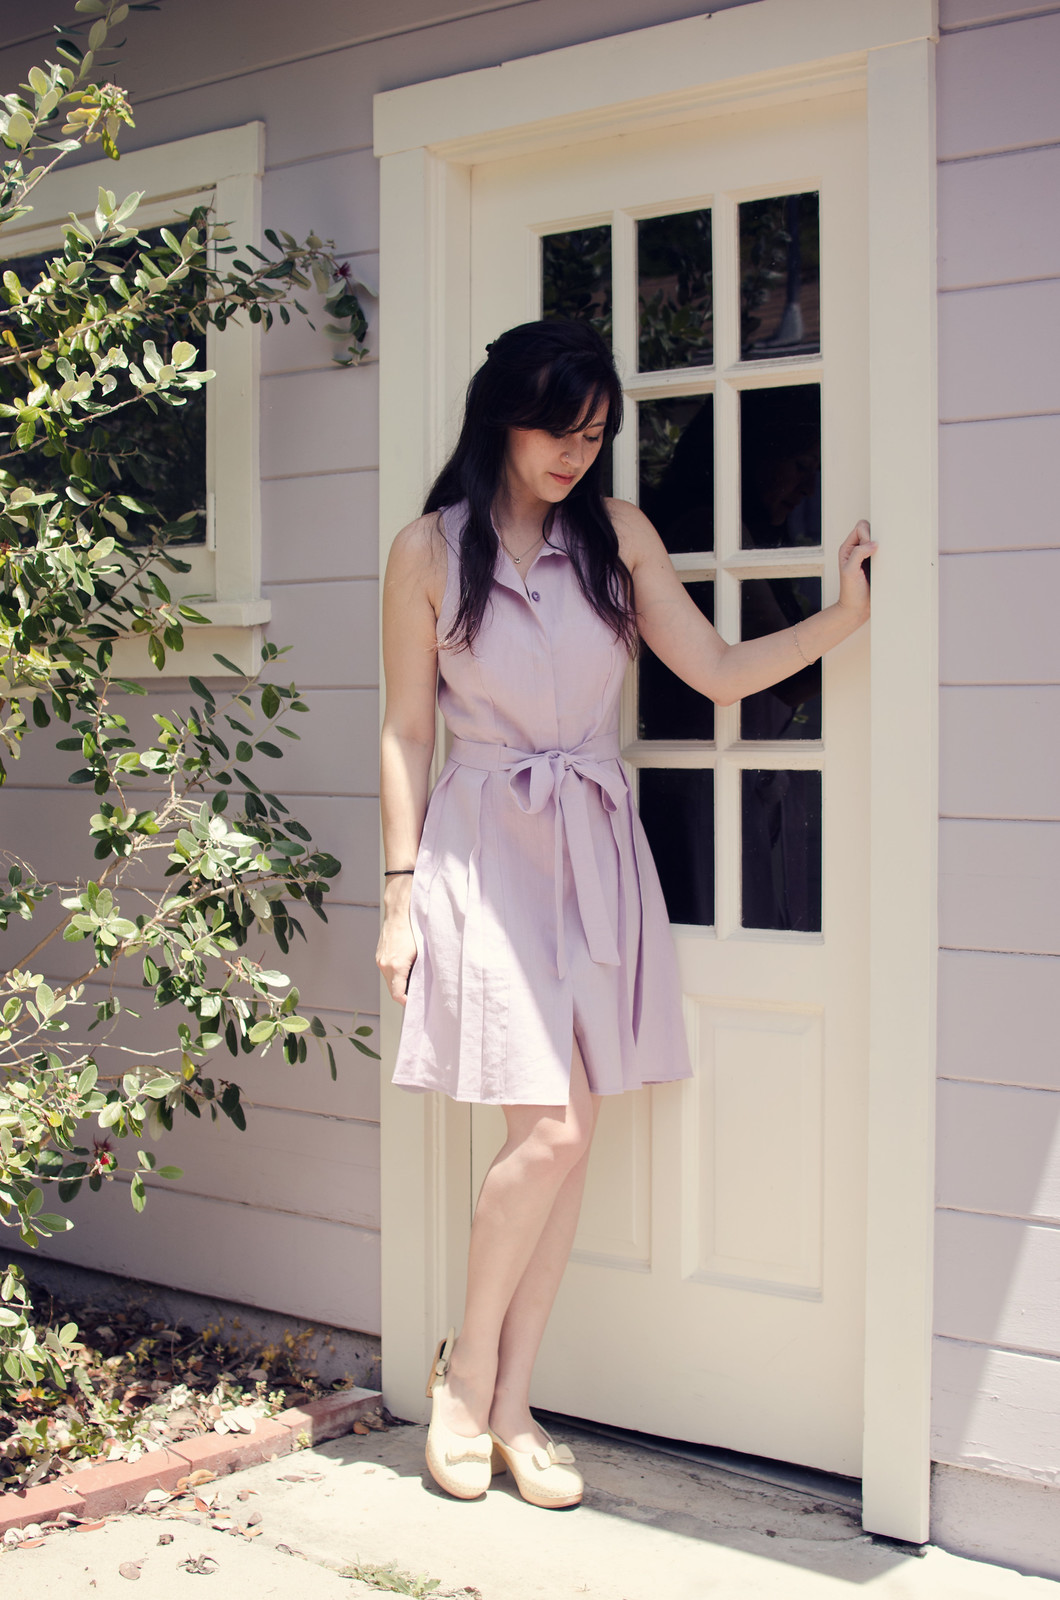
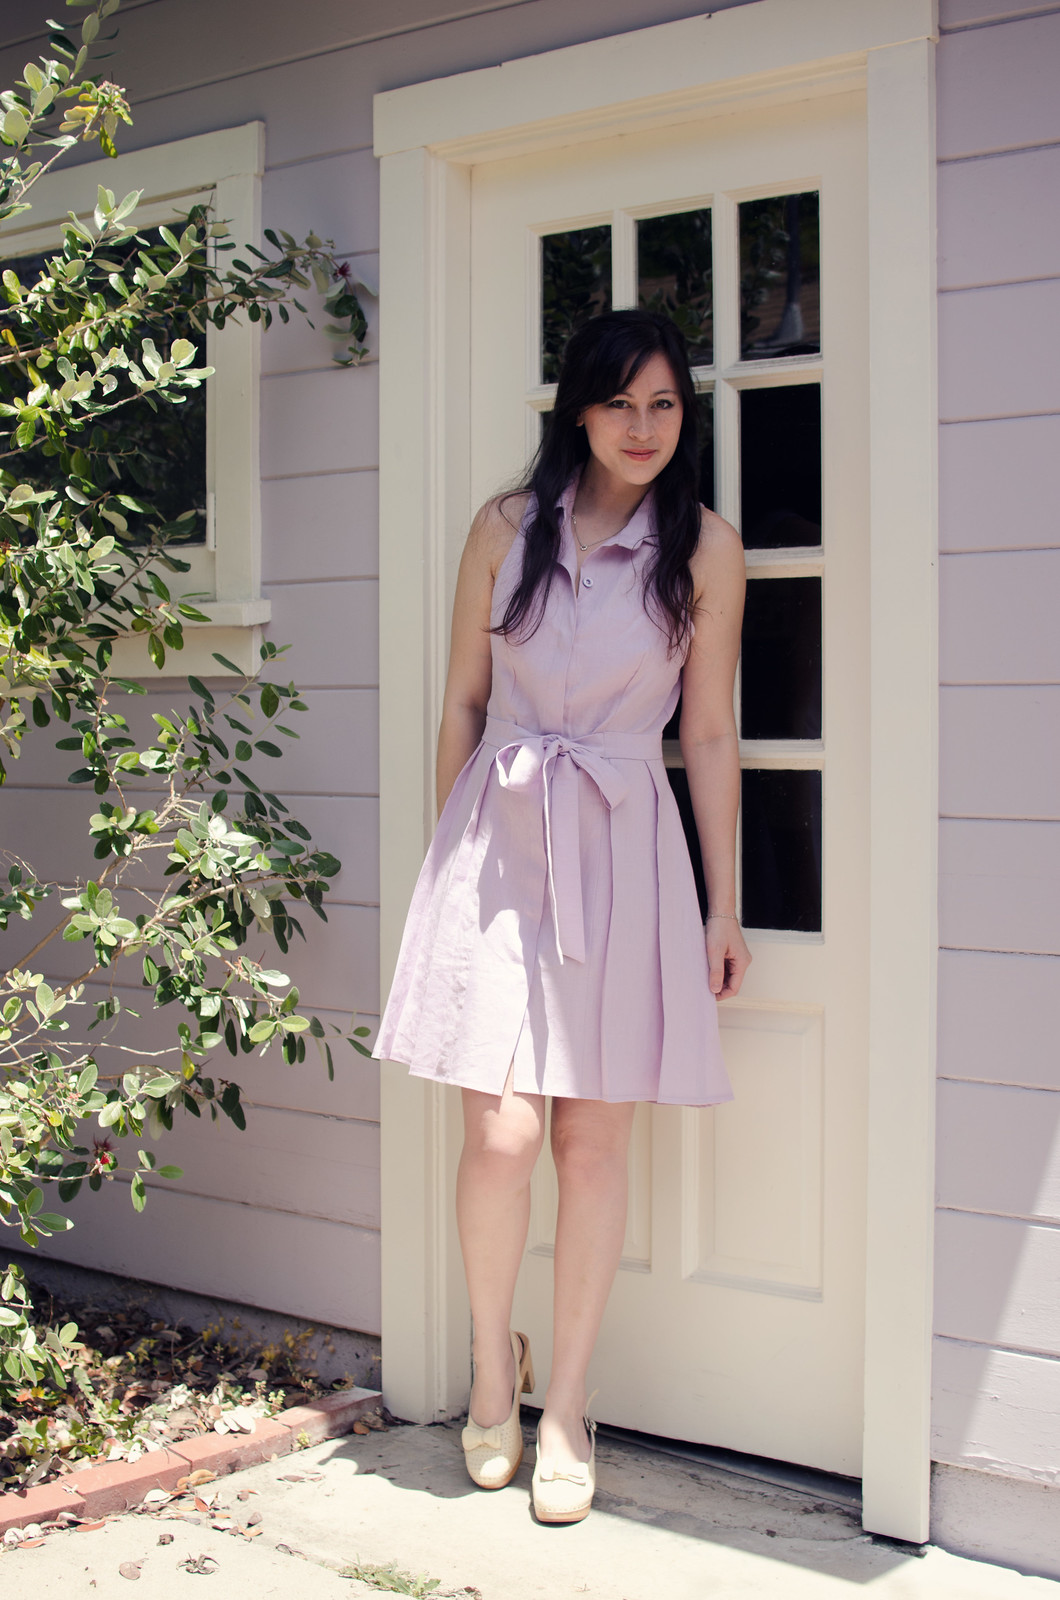
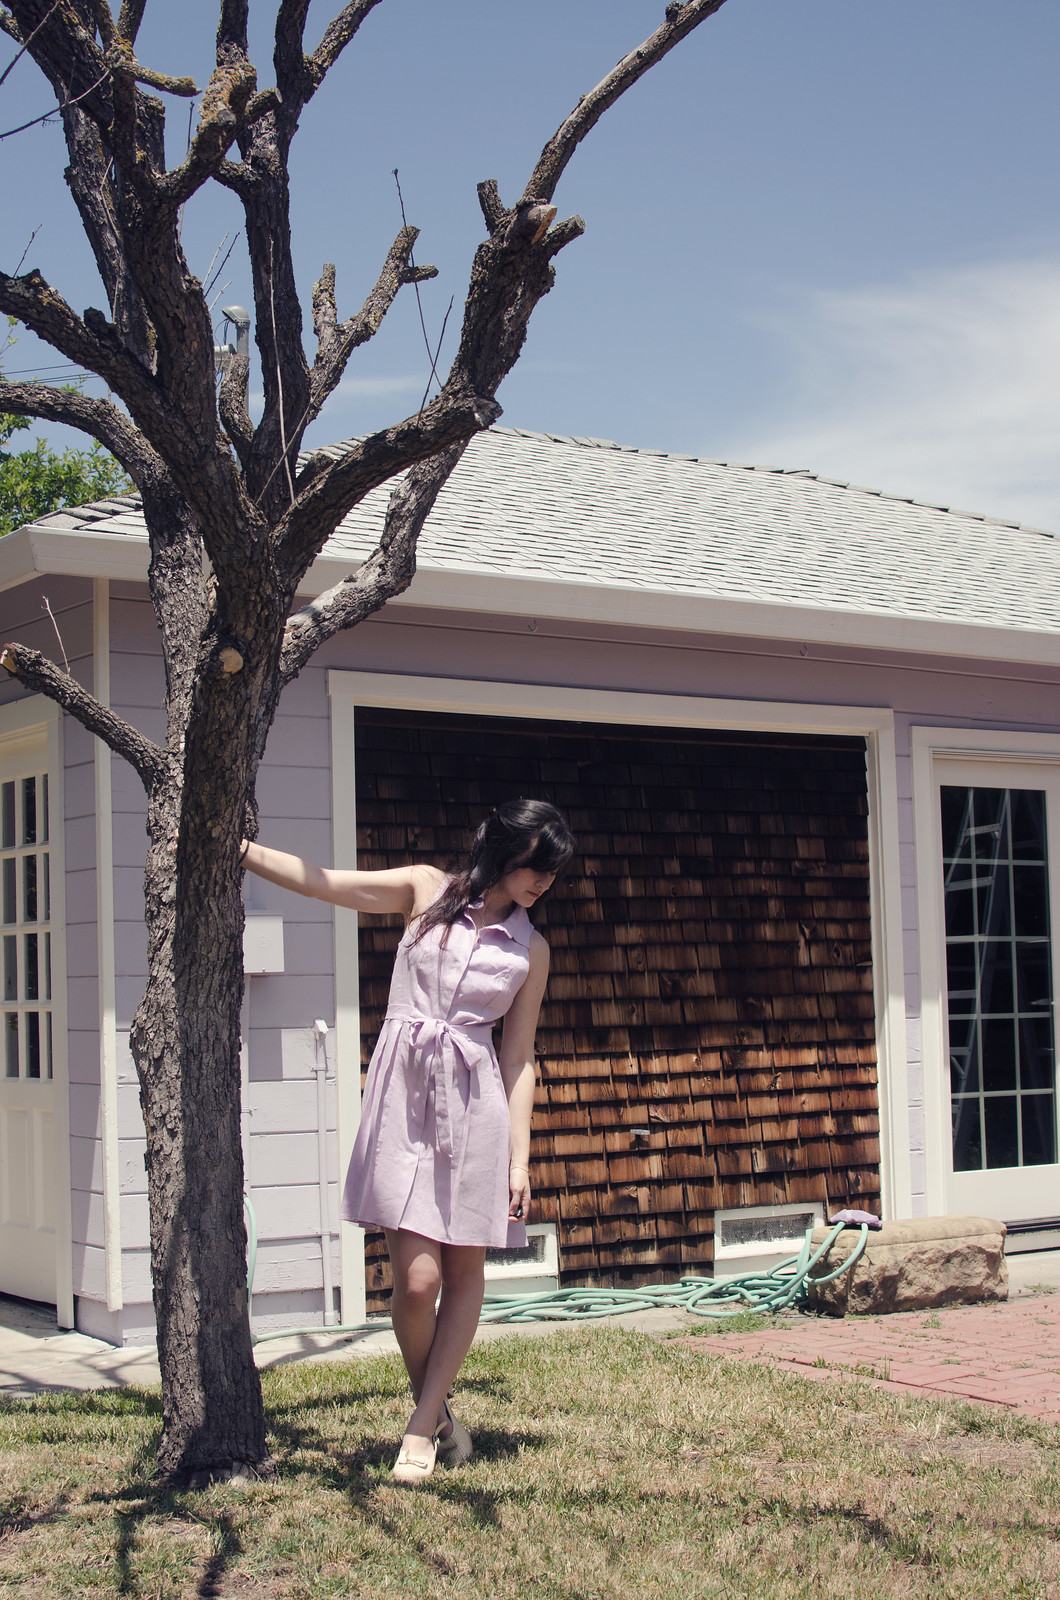
linen shirt dressdress: self-drafted // shoes: Swedish Hasbeens

Hi everyone! My latest patterndrafting adventure is over on the Mood blog today!

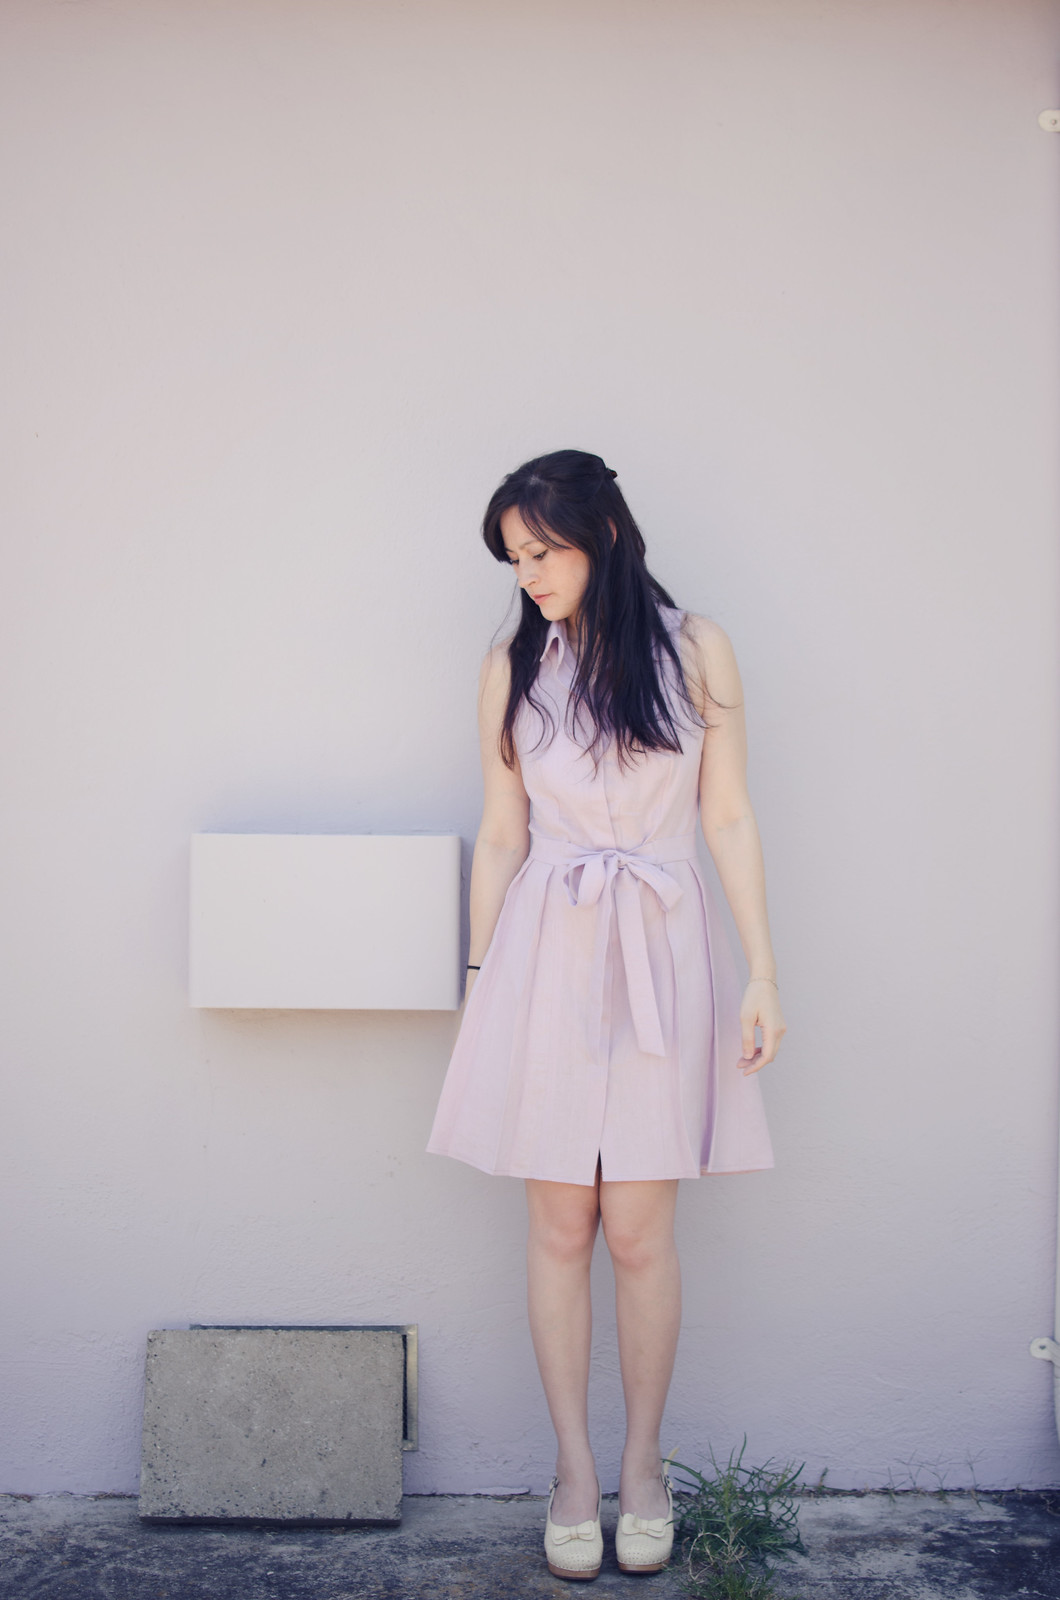
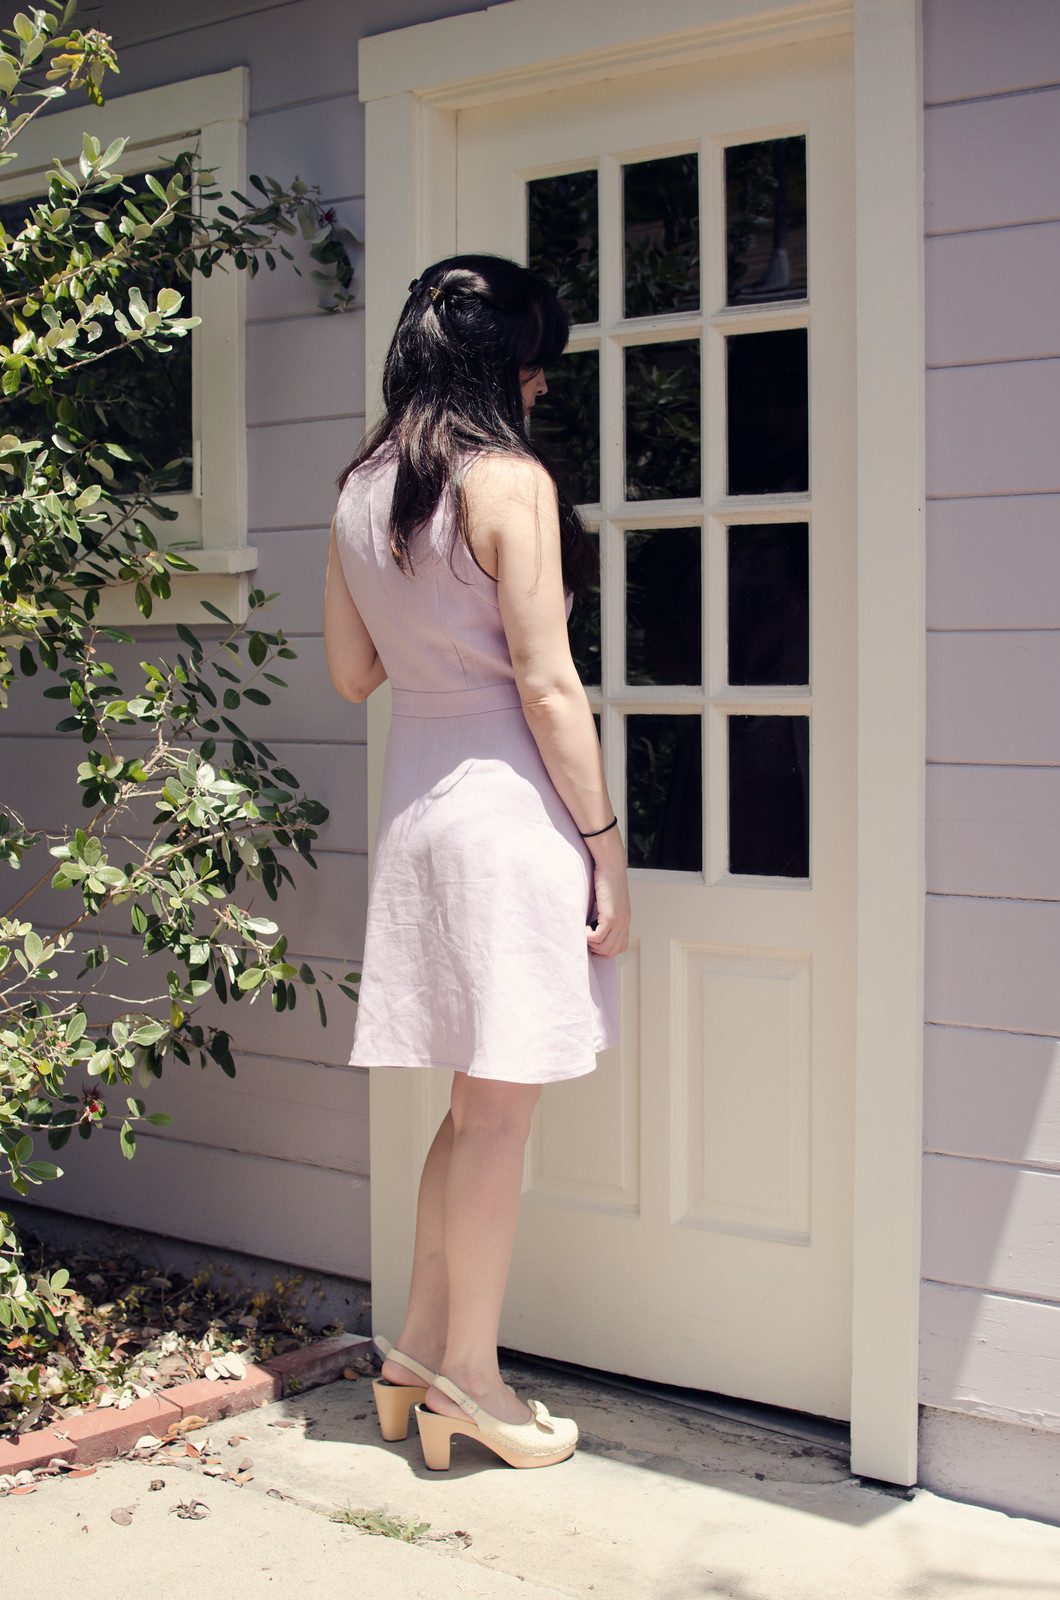
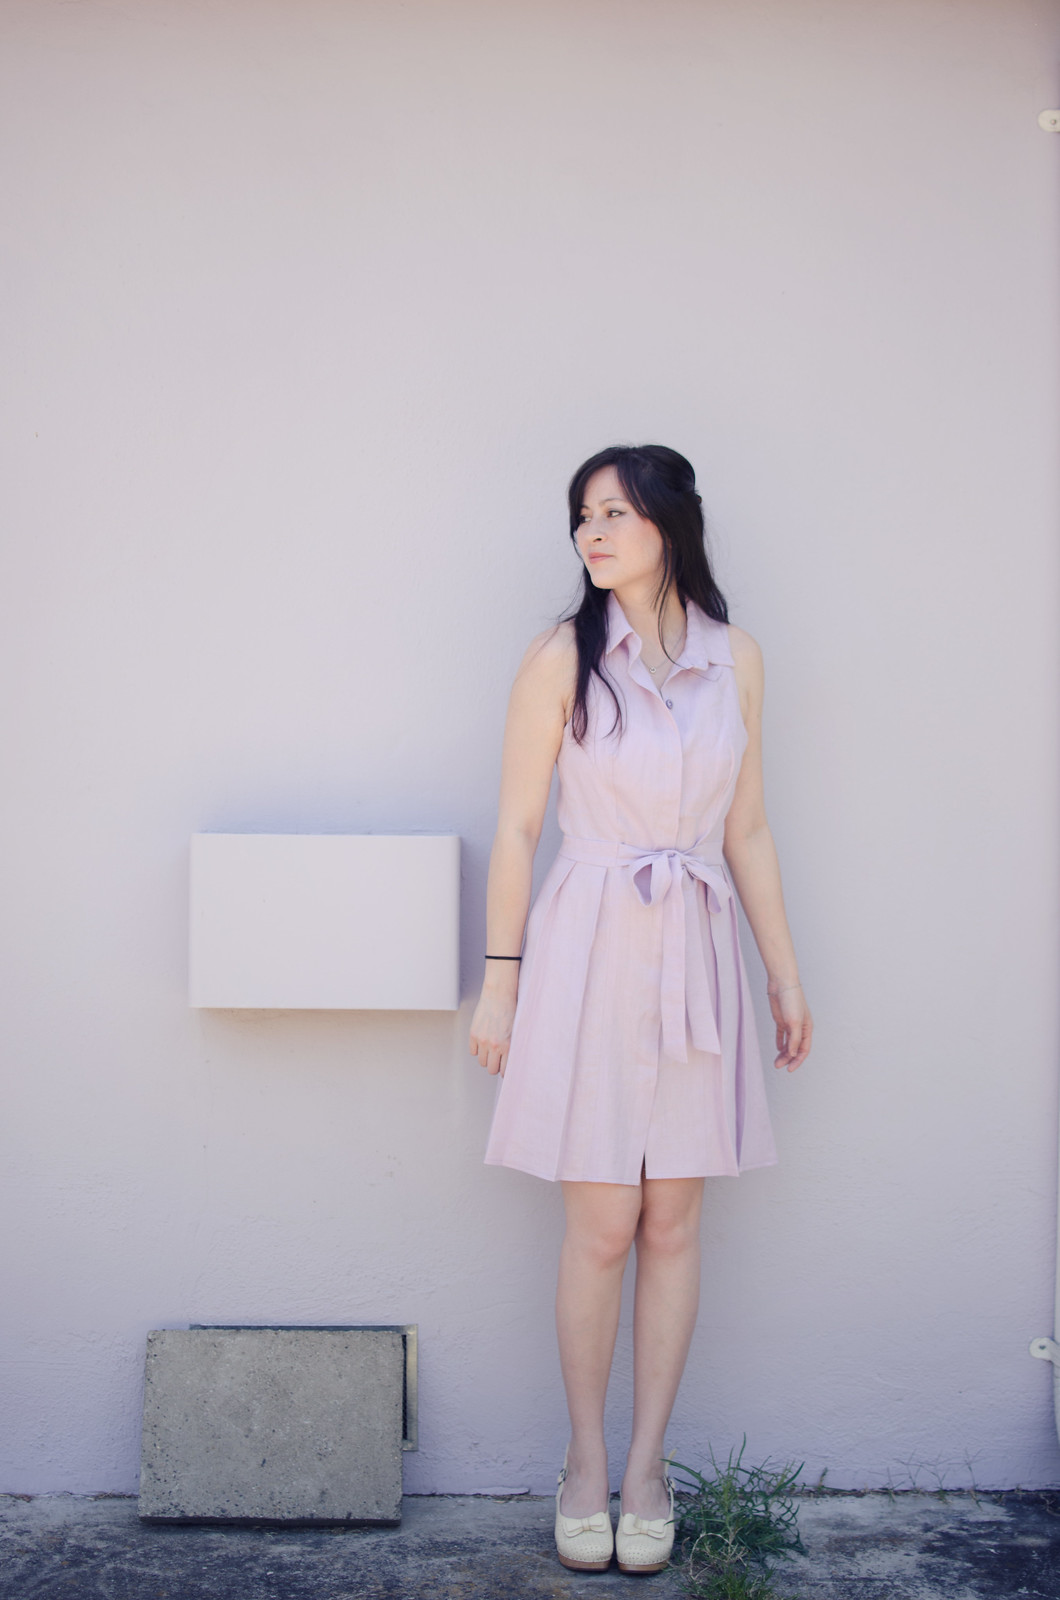
This dress is based on this Anthropologie dress. I actually saw it in the store, completely fell head over heels, and then went home and pinned it and started plotting to draft a pattern for it so I could make an army of them in different colors to wear this summer. So it was pretty serendipitous when Mood contacted me about doing a blog post AND had just gotten a bunch of gorgeous linens in.

You can check out the rest of the details over on the Mood Sewciety blog.

As a fun bonus, I’m also giving away  a $50 gift card to Mood, usable online or in-store. Just comment below telling me what you’re most excited to sew this summer!

This giveaway is open to US readers only (sorry, international friends!) and will be open until midnight Saturday, June 11. The winner will be announced shortly after.

Giveaway is now closed!

Also, unrelated but I totally didn’t realize my dress was the same color as my mom’s house until I went out to take photos.