 Just a disclaimer, this is going to be a long post with a ton of photos! You’ve been warned. :]
Frozen came out in 2013 and I spent the better part of the next year hearing “You haven’t seen Frozen?? Why not? It’s so good, you’ll love it! You should watch it immediately.” Why not? Because of this post. I get a bit, shall we say cuckoo in the head with certain films/tv shows and develop an urgent need to run to the nearest fabric store to recreate 1-5 costumes. In 2013 I was in a place of definitely not having the time or funds to do so and even without having seen the movie I could tell Frozen was going to be one of those films. So I held off for about a year.
You guys, it was immediate. Within two days of seeing the movie I had a long list of things to buy and was spending 3-4 hours a day pricing fabrics and craft supplies and reading up on different techniques of creating the bodice and different fabric combinations for the whole outfit.
From start to finish I think this took about six months, although I wasn’t working on it continuously.
BODICE
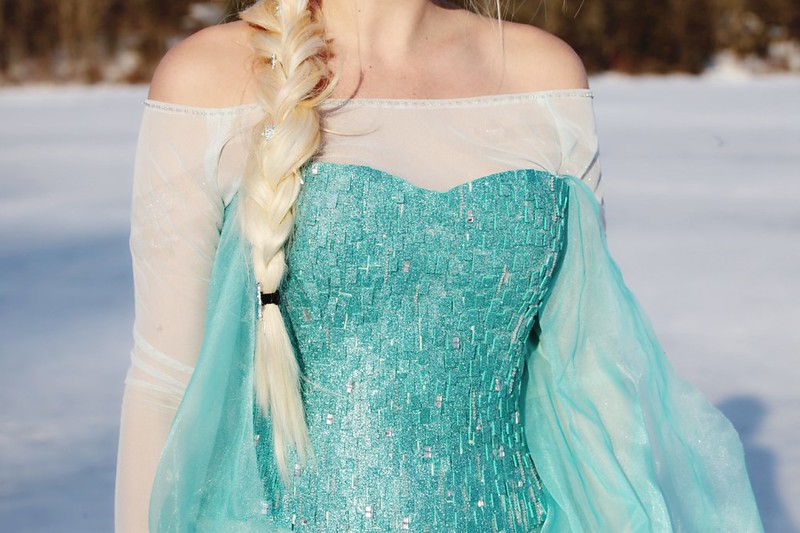
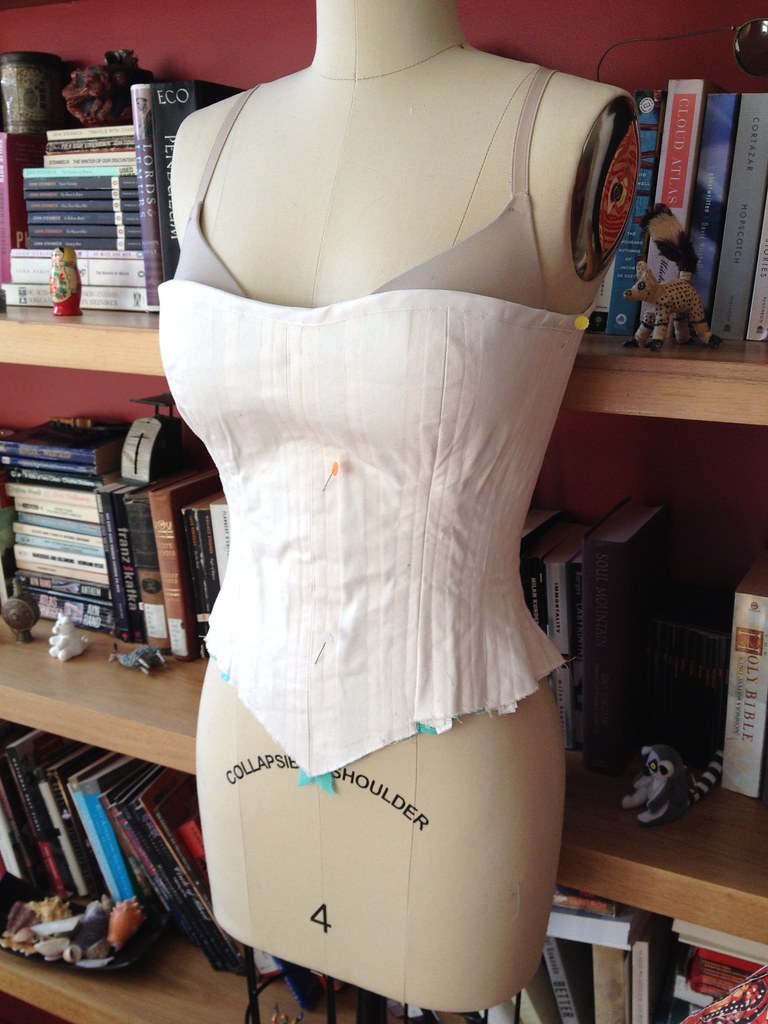
The bodice was definitely the most fun so it’s what I started with. I started off with Butterick 4254 View C and made a corset, complete with plastic boning. I used old cotton twill Ikea curtains for the outside, interfacing, and some turquoise rayon challis for lining. Once the corset was put together, it was time to figure out how to get the scaly rectangular effect of the bodice.
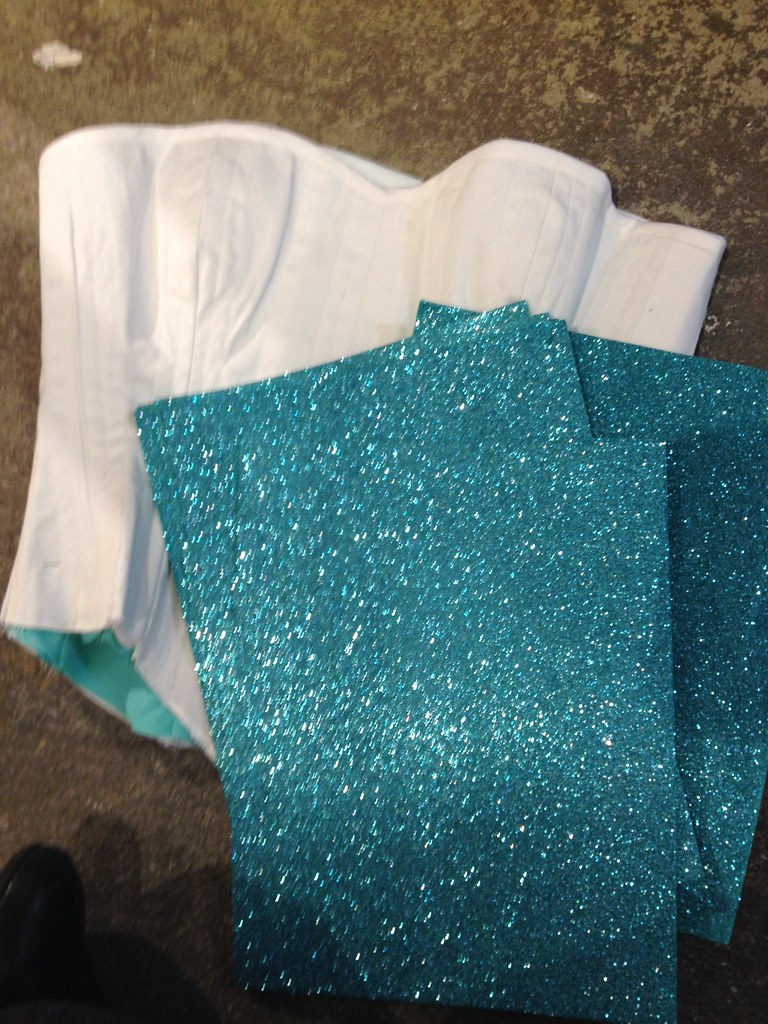
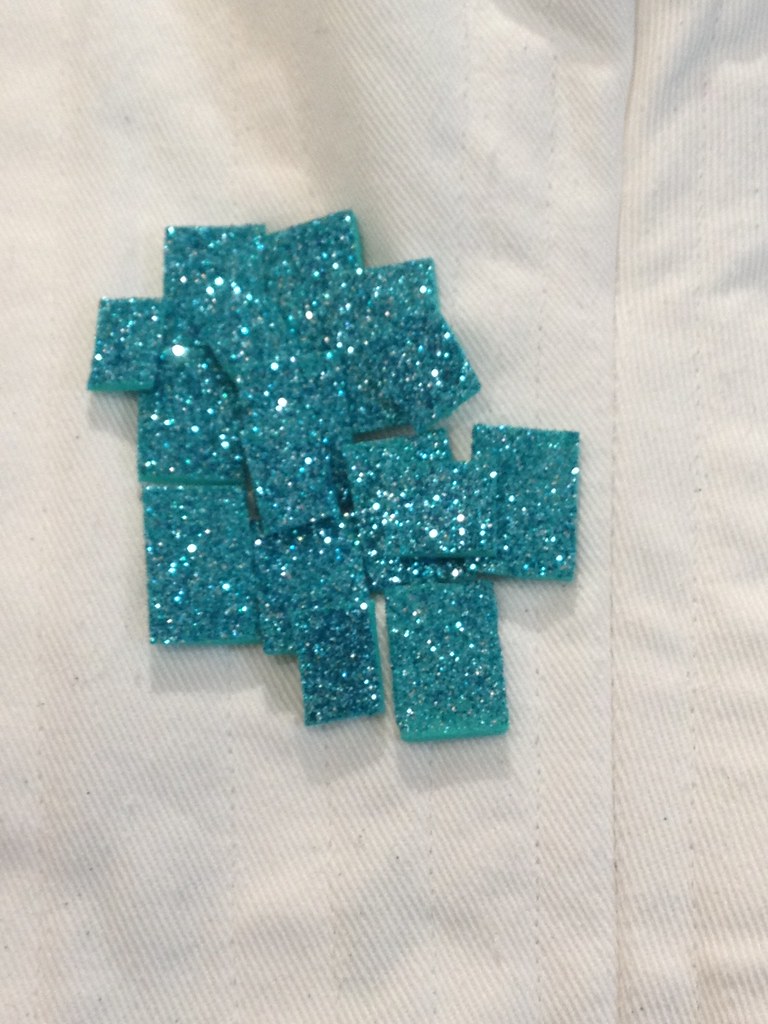
There seemed to be two main techniques that were popular, which was using custom cut rectangle sequins and using glitter craft foam. I didn’t love the effect of the sequins so I went with the craft foam. I ordered eight sheets of turquoise glitter craft foam from this eBay seller (I ended up only using about five sheets). I experimented with rectangle sizes and ended up decided to cut them primarily in two sizes, bigger ones for the bottom layer and then smaller ones for a second layer to fill in any cracks where the white of the corset showed through. I used craft glue which worked pretty well, although I did notice when wearing the corset that some of the rectangles came off where there was a lot of motion, such as underarm areas and the bottom edge around my hips. I’ll have to do some maintenance and will probably look into a stronger adhesive for that.
Once the glitter foam was glued on I used a combination of seed beads and square rhinestones as embellishment. Using reference photos, I concentrated most of them on the bottom edge. After that, I used spray glue and iridescent glitter to try to ombre the whole thing to be more screen accurate. I don’t think it made that much of a different, to be honest.

For the closure, I used six silver grommets on either side and white cording for lacing. It’s not turquoise but it doesn’t show through the cape so I was fine with the effect. The only thing I don’t love is that it doesn’t look so good without the cape on since you can clearly see white laces and white where the turquoise rectangles stop.
SKIRT
The skirt was easy to draft but kind of a pain to find fabric for. I was shopping for skirt fabric online right before my Taiwan trip and found this fabric, which seemed perfect except there was no way to touch it and make sure the color matched and it was a little more than I wanted to spend on just the skirt. I ended up holding off and then finding the most perfect fabric at a random fabric store that we wandered into on our first day there.
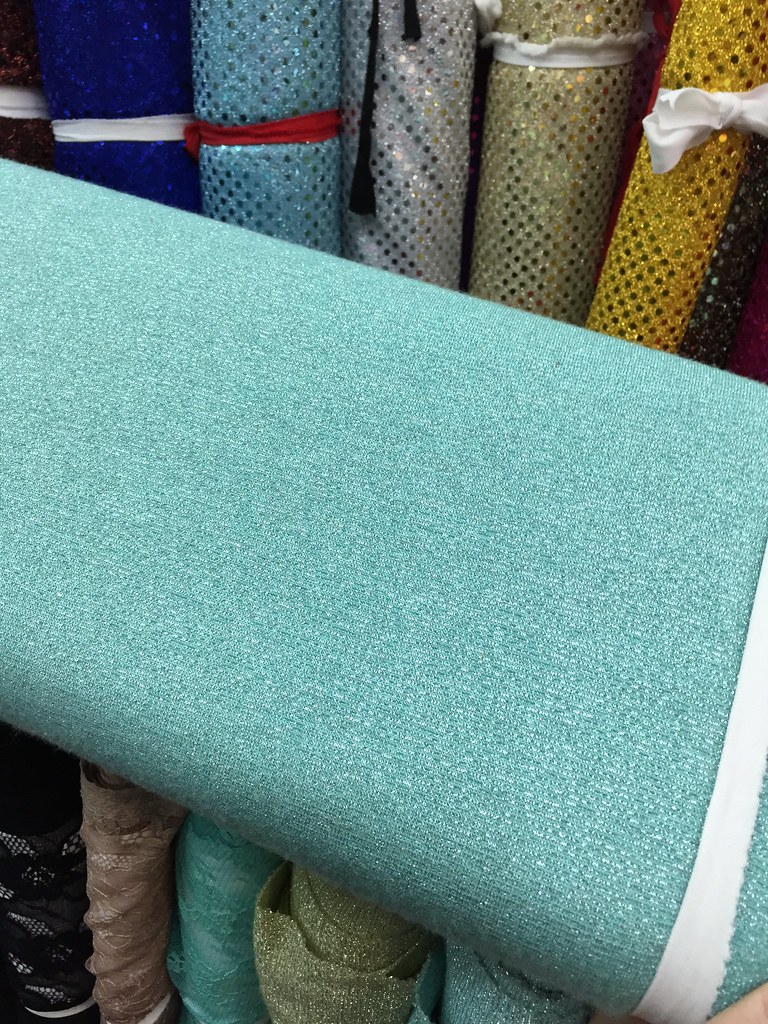
It’s kind of a light sweater knit with gorgeous silver strands woven in and the color works beautifully with all of the other turquoise shades. I decided to line it with a mysterious Sewfisticated fabric that looks like a cross between rayon challis and some kind of crepe. Then I used ribbon to close the seam and to add extra shaping to the bottom edge of the skirt, kind of like a faux horsehair braid effect.
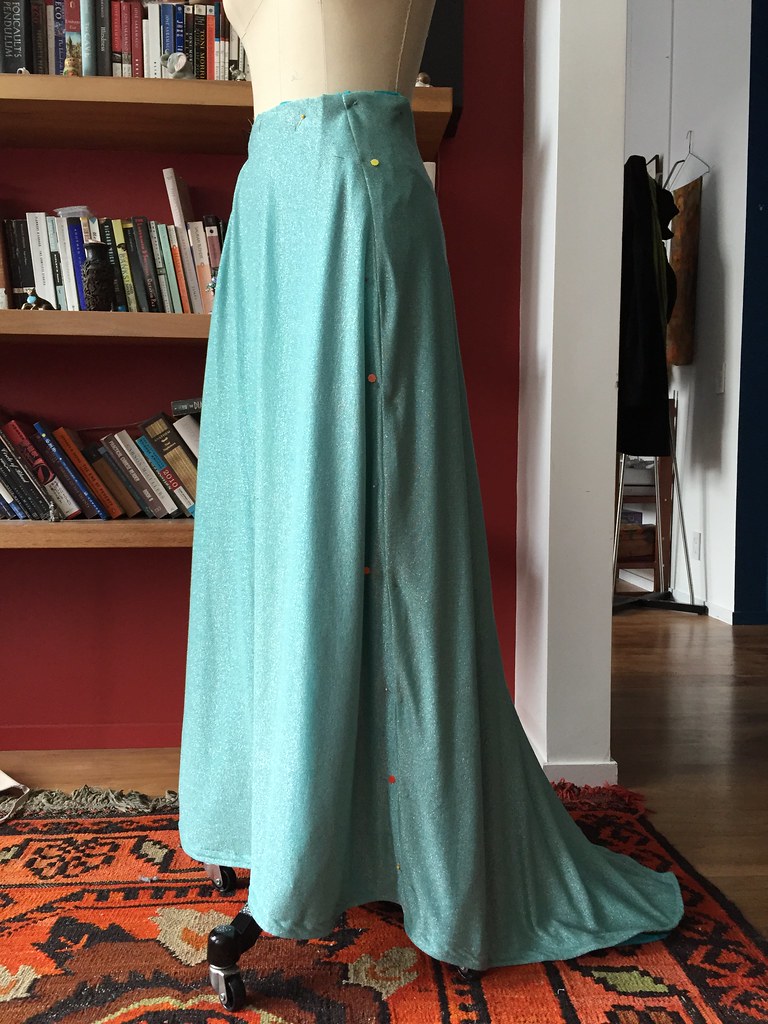
Drafting the skirt was pretty simple. I basically just cut one piece for the front and two identical pieces for the back, allowing for a bit of a train. I made the skirt a little fuller than Elsa’s actual dress but it feels a little more princessy so I’m ok with it.
UNDERSHIRT

The undershirt was a hilarious endeavor. I needed a raglan top made of mesh so it could be skin-tight and sheer so I bought some cream colored mesh and dyed it turquoise. Then I needed a raglan top and the Linden pattern I had just bought happened to be sitting next to me so I just decided to use that. I had to size down a lot and ended up taking in the sleeves an extra inch at the end but it worked really well. I omitted all of the bands and sewed a row of silver seed beads around the neckline. I also left the sleeve edges raw and cut them at an angle to be pointy.
I also did some last minute attempts to create the sleeve patterns with glitter and spray glue but ran out of time so I may have to go back and finish that someday.
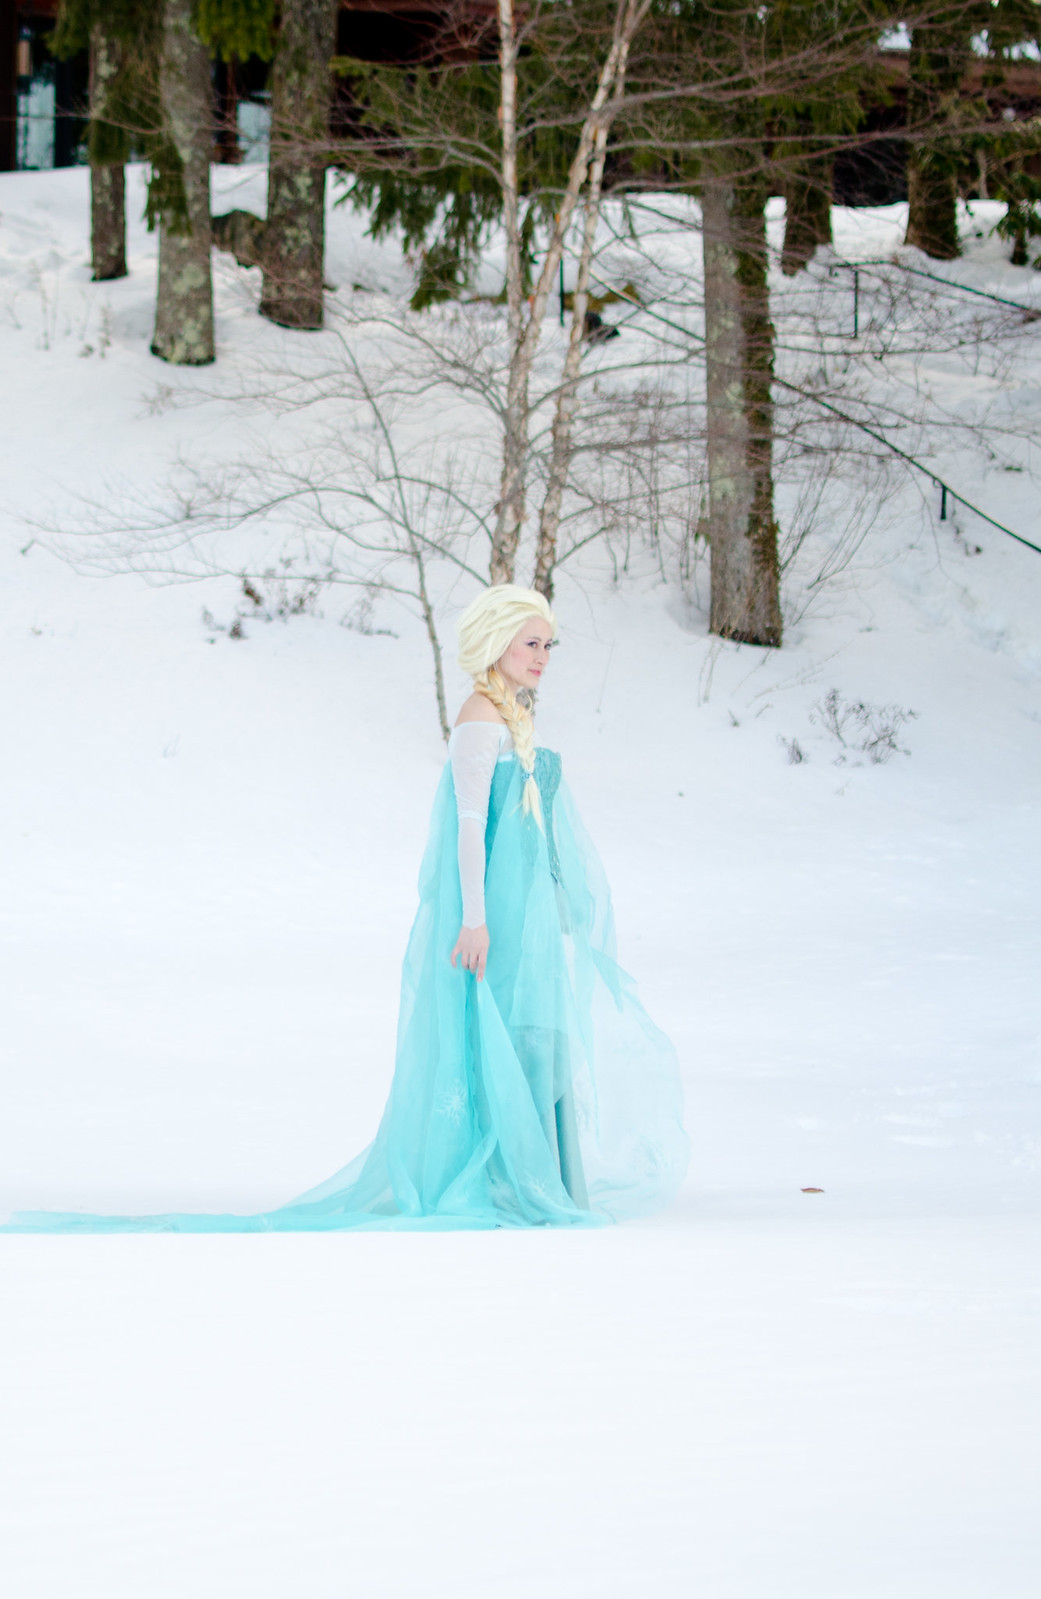
CAPE
The cape was so stressful but also so much fun! I started off with 5-6 yards of 60″ wide sheer curtain fabric from Sewfisticated.

I cut out a super long cape and while it was gorgeous it still felt like it was missing something. I ended up getting two more yards and adding “wings” on either side so the edge of the cape hangs around the knees and doesn’t actually hit the ground. Much better. I used French seams and burned the open edges (yay polys!) to finish. In total the cape has five separate panels.

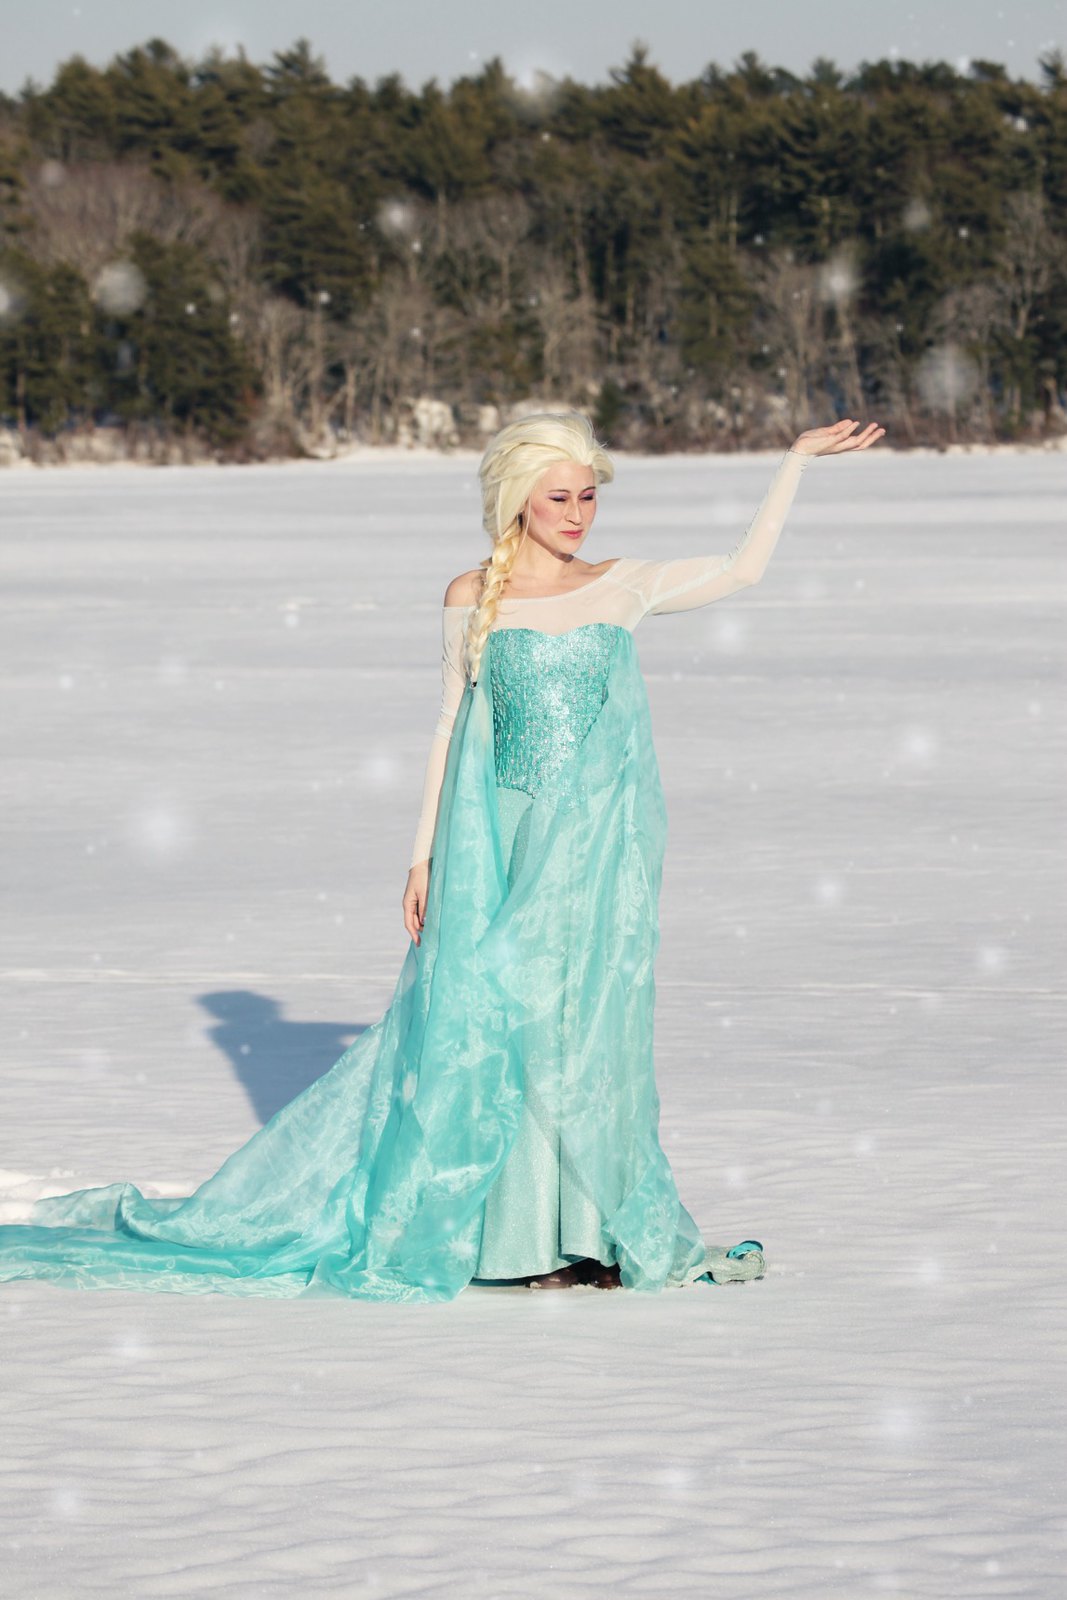
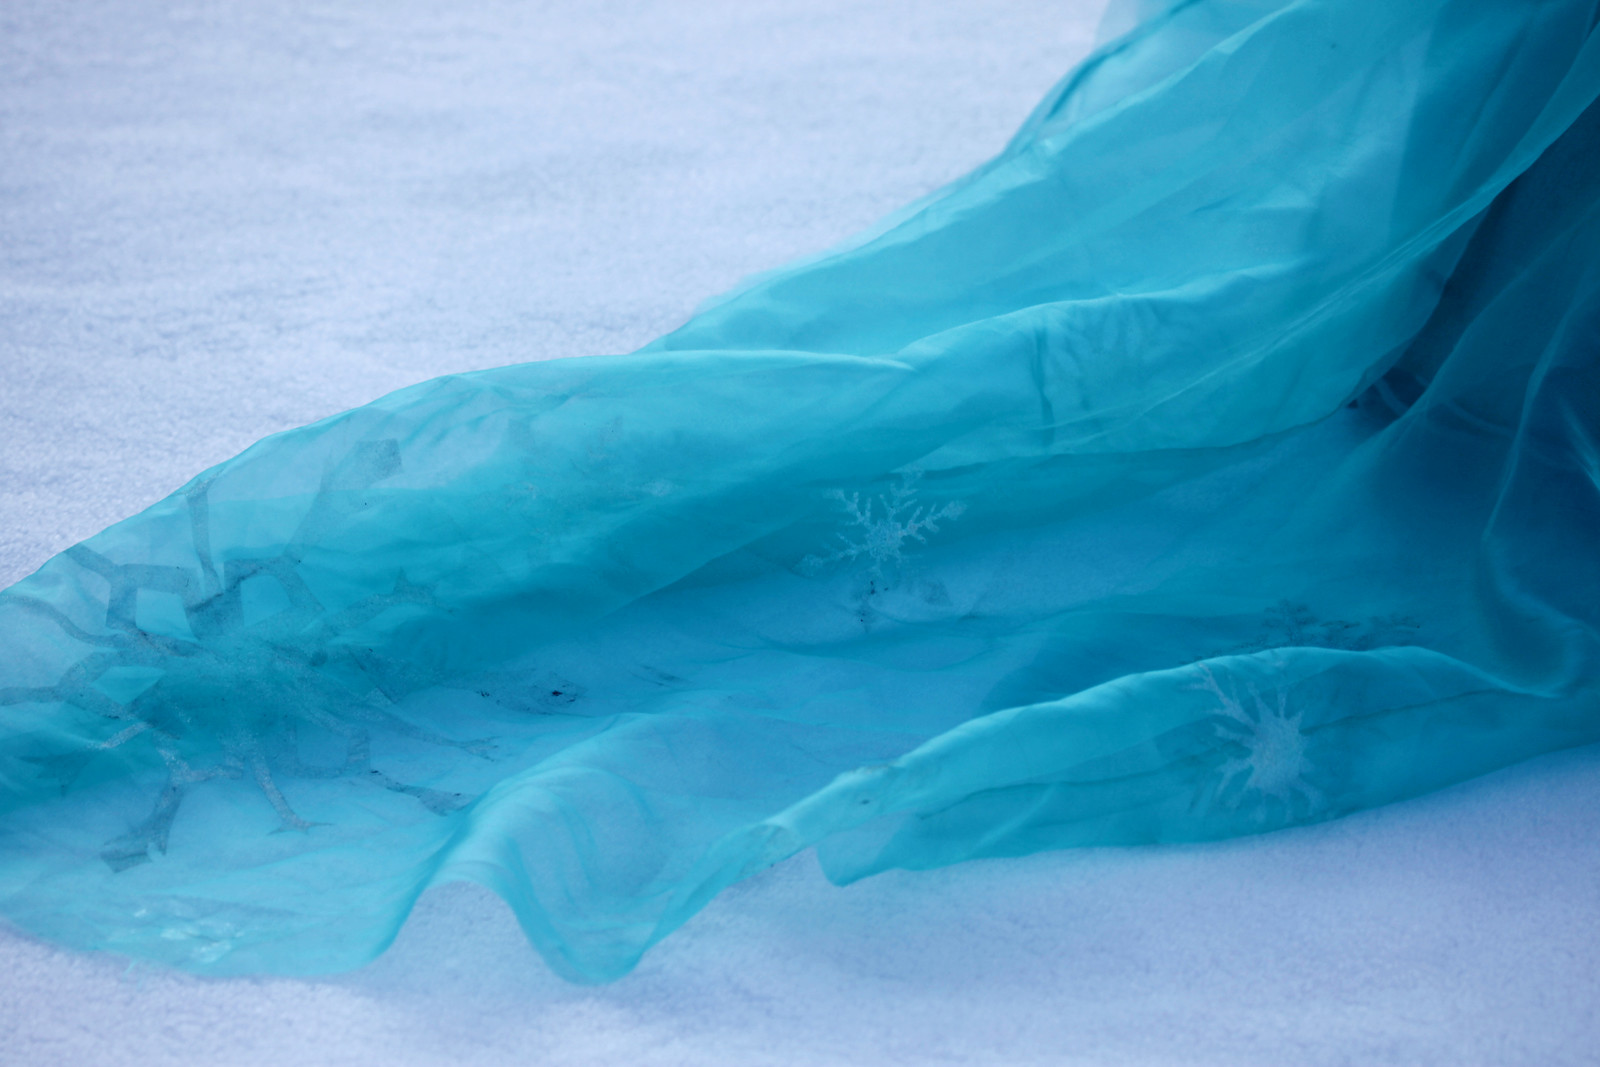
Then came the hard part. Elsa’s cape has a giant pattern in it that’s super hard to see because of all the folds and super hard to recreate because of how massive my cape was. I used painter’s tape to tape the edges of the larger designs, and then used glitter and spray glue for the actual designs.

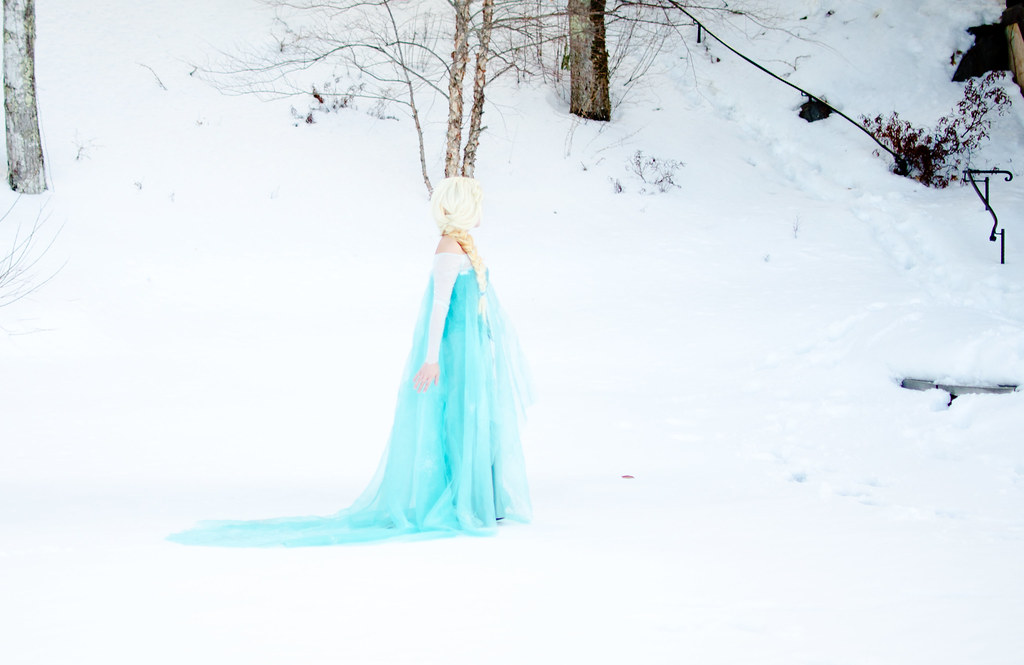
I used a mix of iridescent glitter and glow in the dark glitter from Michael’s and I love the semi-glowy effect in the photos.

The snowflakes were easier since it was just a matter of spacing them out evenly. I chose about 5-6 different snowflake designs and traced them onto sticky paper, then “laminated” them with packing tape.
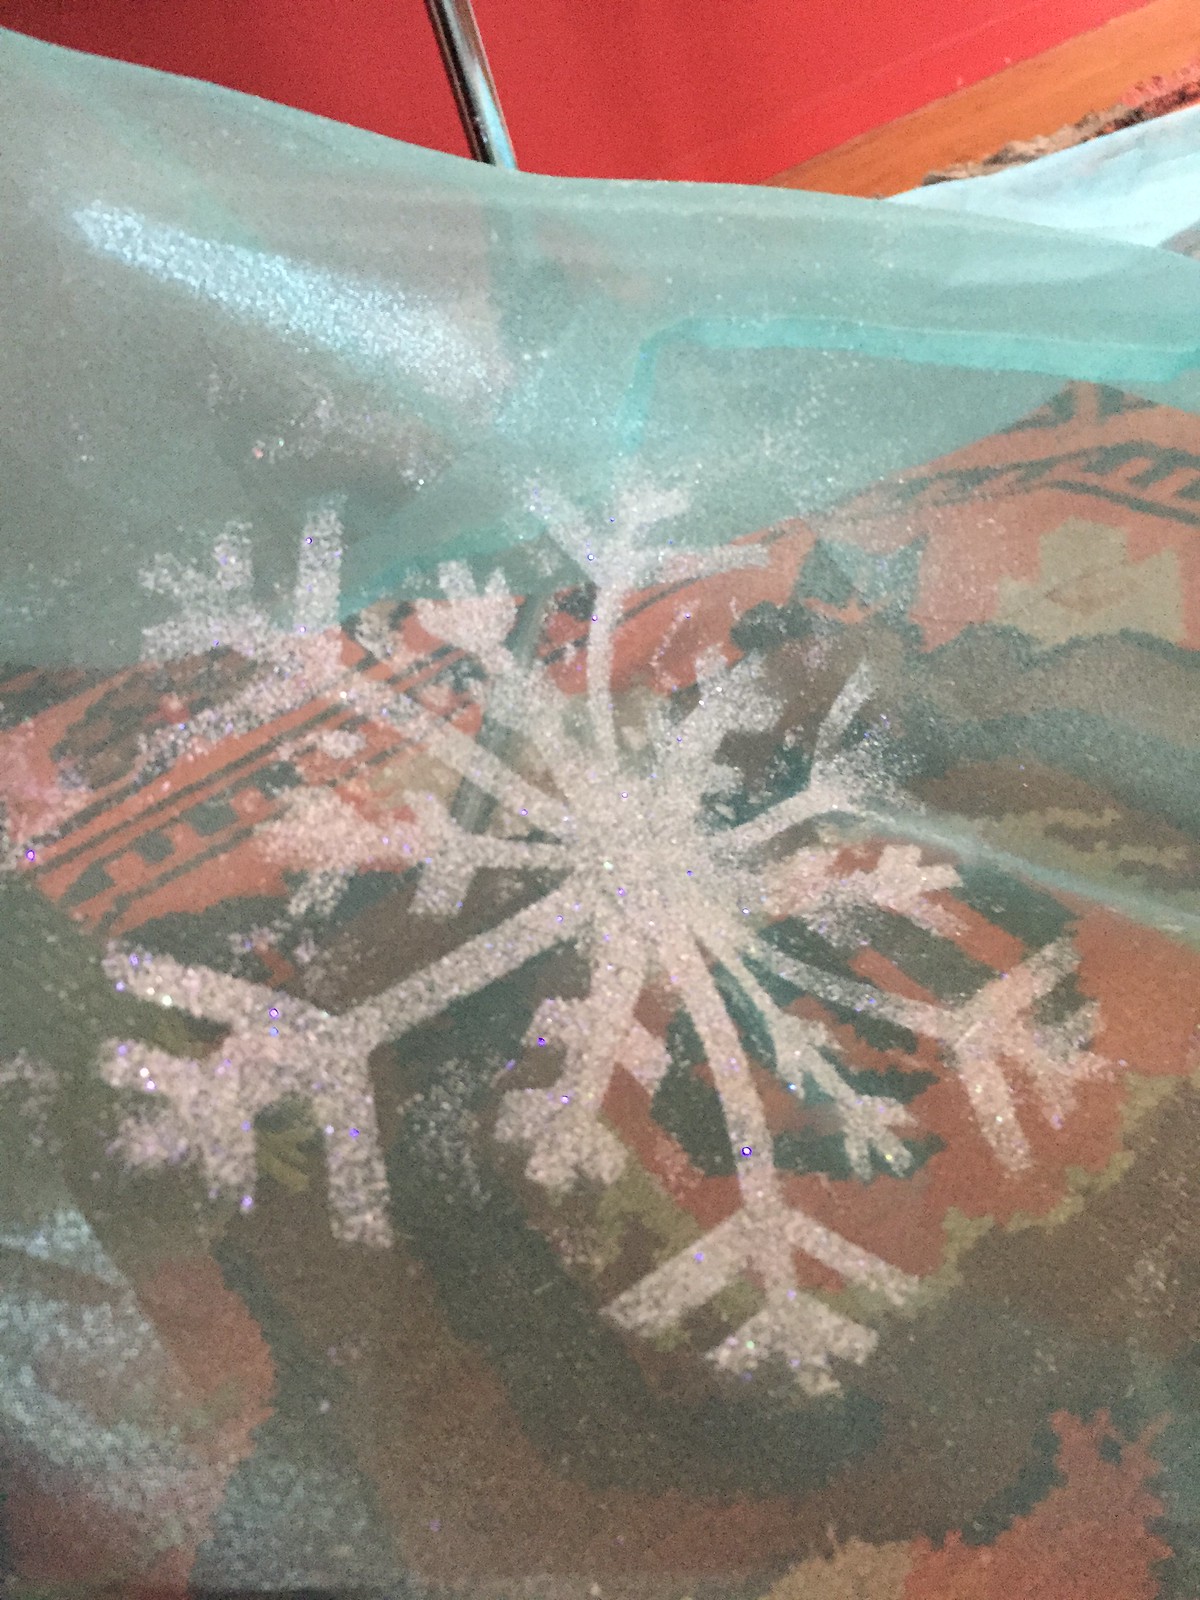
Then I cut them out and used/reused them as sticky templates with glitter and spray glue to make snowflakes all over the cape. The large center snowflake was harder because I had to sketch it out from a screen shot and make a special template for it that was much bigger. I love the effect though!
ACCESSORIES

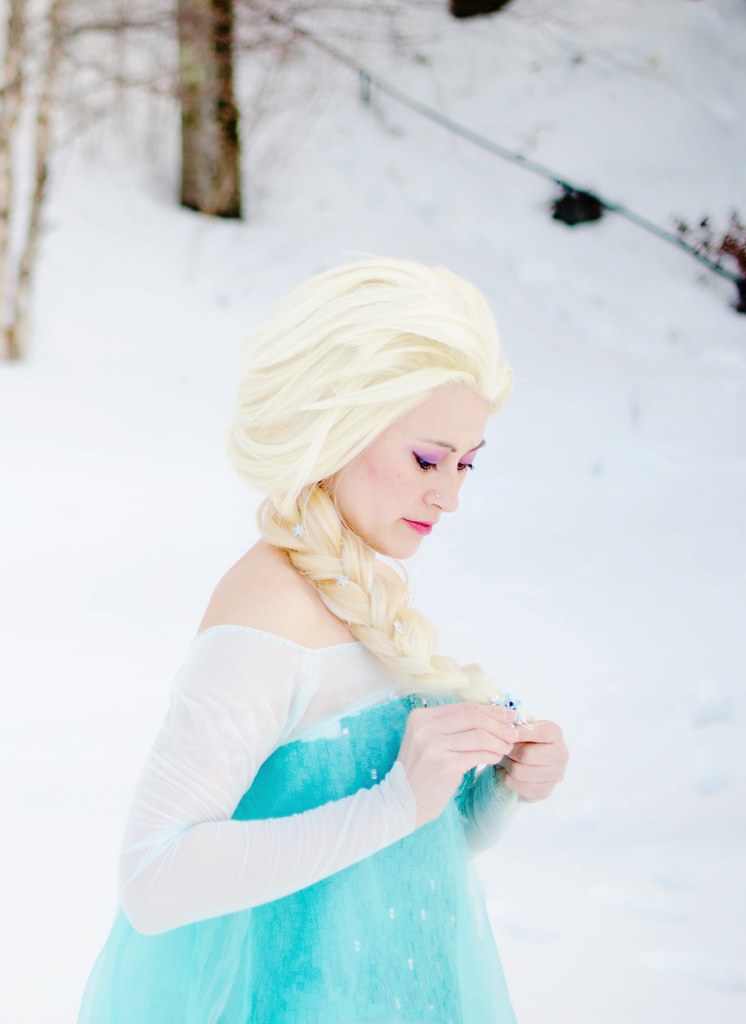
I spent a TON of time researching wigs because I’d never worn one before and it seemed like a lot of fun. I was originally going to go with a platinum blonde wavy one from one of the many reputable eBay wig sellers (like this one and this one) but then discovered Arda wigs.
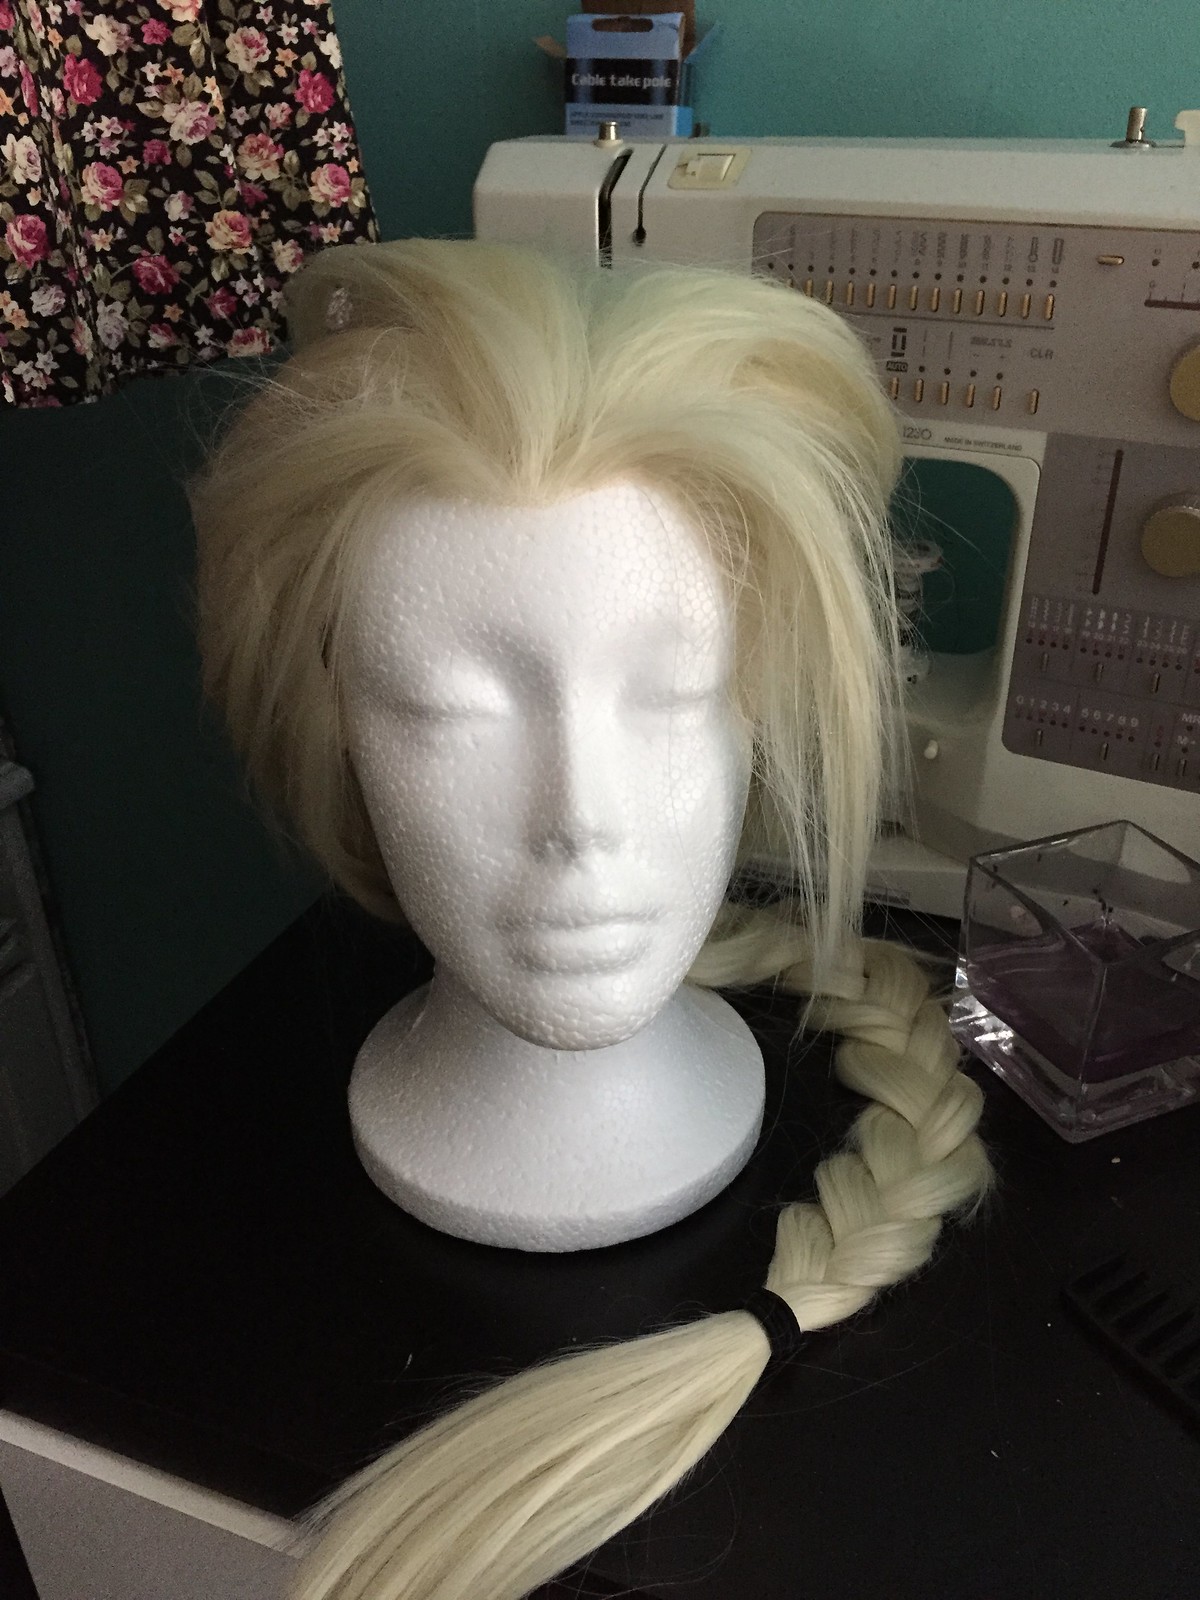
Arda actually released a wig specially designed for Elsa cosplayers that is almost perfect for recreating Elsa’s hairstyle. It’s super long and has layers cut into the front. It’s super nice quality and the Titanium Blonde color is so perfect for Elsa.
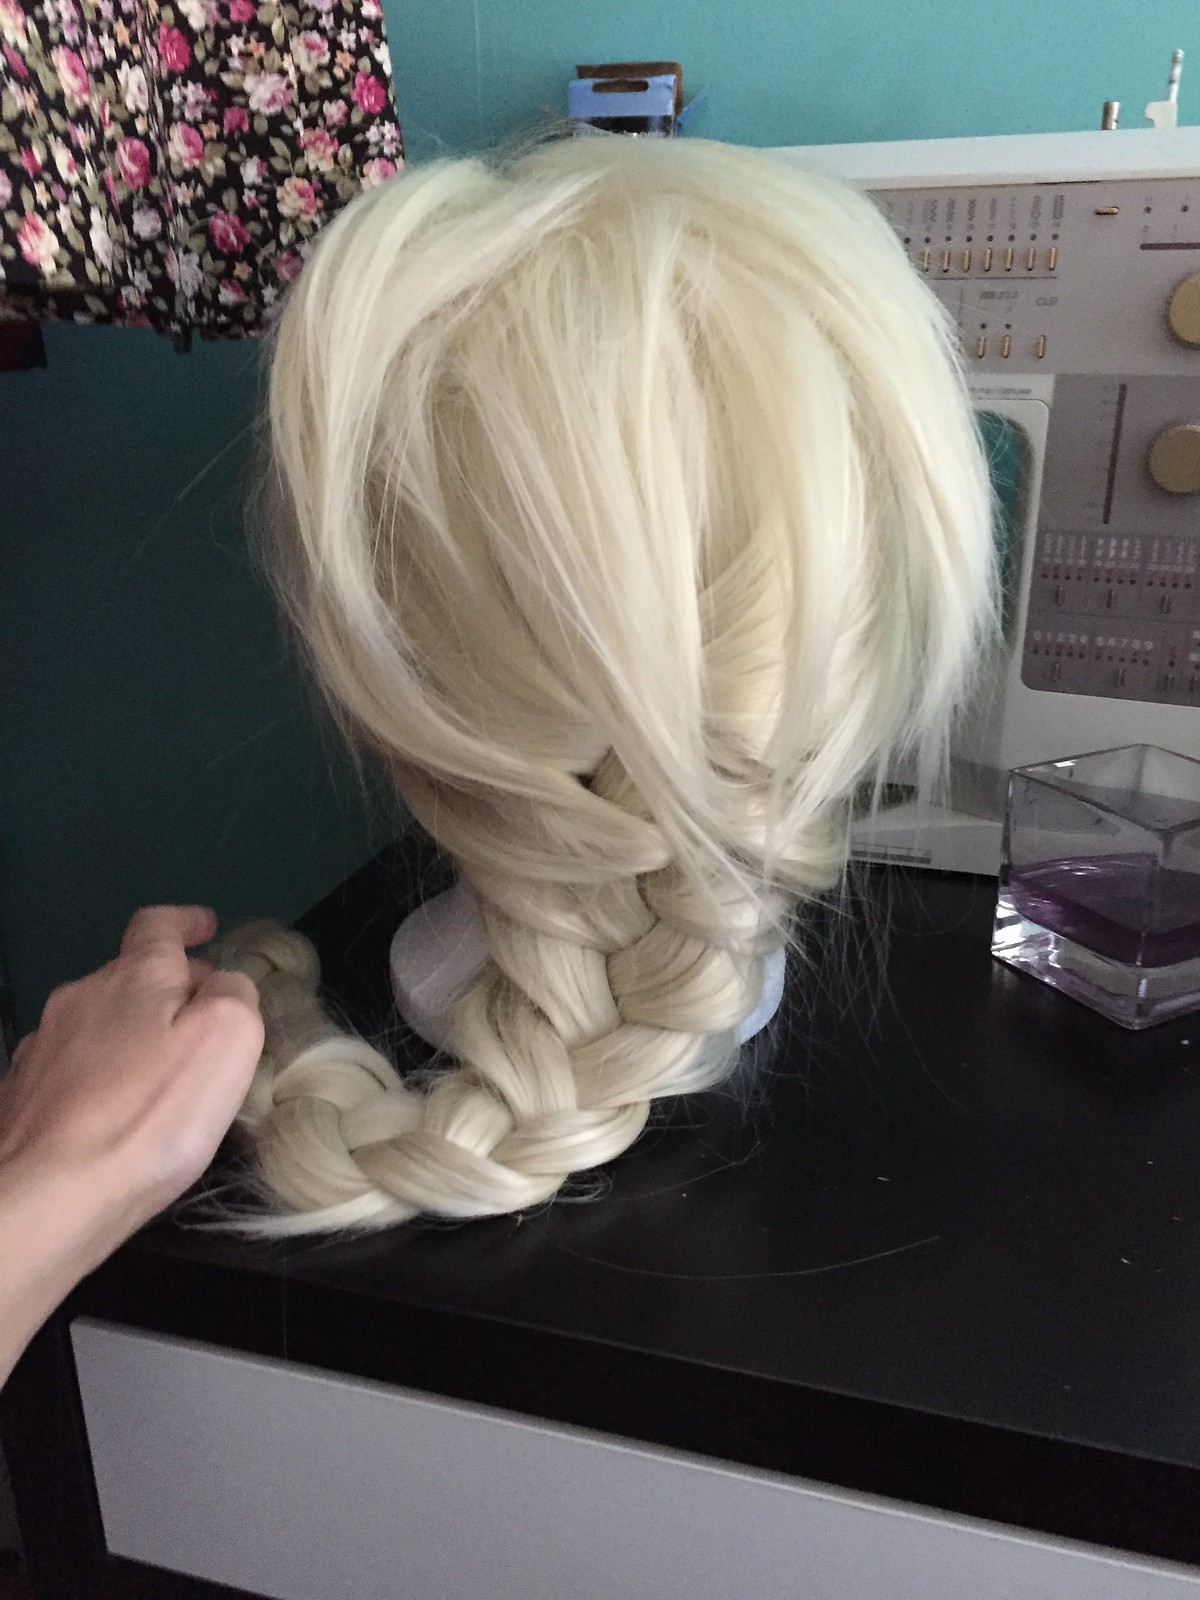
For styling, I trimmed the layers a bit and used Got2B Glued hairspray (that stuff is no joke) to spray everything into place. I used a little bit of the Got2Bglued spiking gel that came with the spray to style the spikes above the braid too. I also trimmed about 3″ off the end of the braid because it was a bit too long. I ended up deciding the braid wasn’t thick enough and I bought a second crappy $10 Amazon wig to cut up and sew into the Arda wig, but the color was off and I ran out of time to find one that wasn’t orange. If I were to do it over I’d get some extra wefts in the same color from Arda and sew those in to make the braid more substantial.
I also bought these snowflake hair pins to decorate the braid.
For colored contacts, I bought a few different options because I had no idea what I was doing. These ones were probably the most natural. The diameter is the same as normal contacts and the blue is a pretty natural shade. I also picked up a pair of these for funsies (I’m wearing them a few photos up and in the photoshoot). They’re a larger lens and give you a bit more of a cartoon-ish (or “alien”, according to Boyfriend) look. Both pairs are good for a year upon opening the package. I also bought some single use disposable ones in Taiwan but never actually tried them out. Whoops.
Someday I might make Elsa’s shoes but since this was for PAX I wanted to make sure I could actually walk around all day. I ended up snagging a pair of athletic-looking silver flats that did the job nicely.
PHEW! The end.