Tag Archives: sewing

brocade + bonus meowser

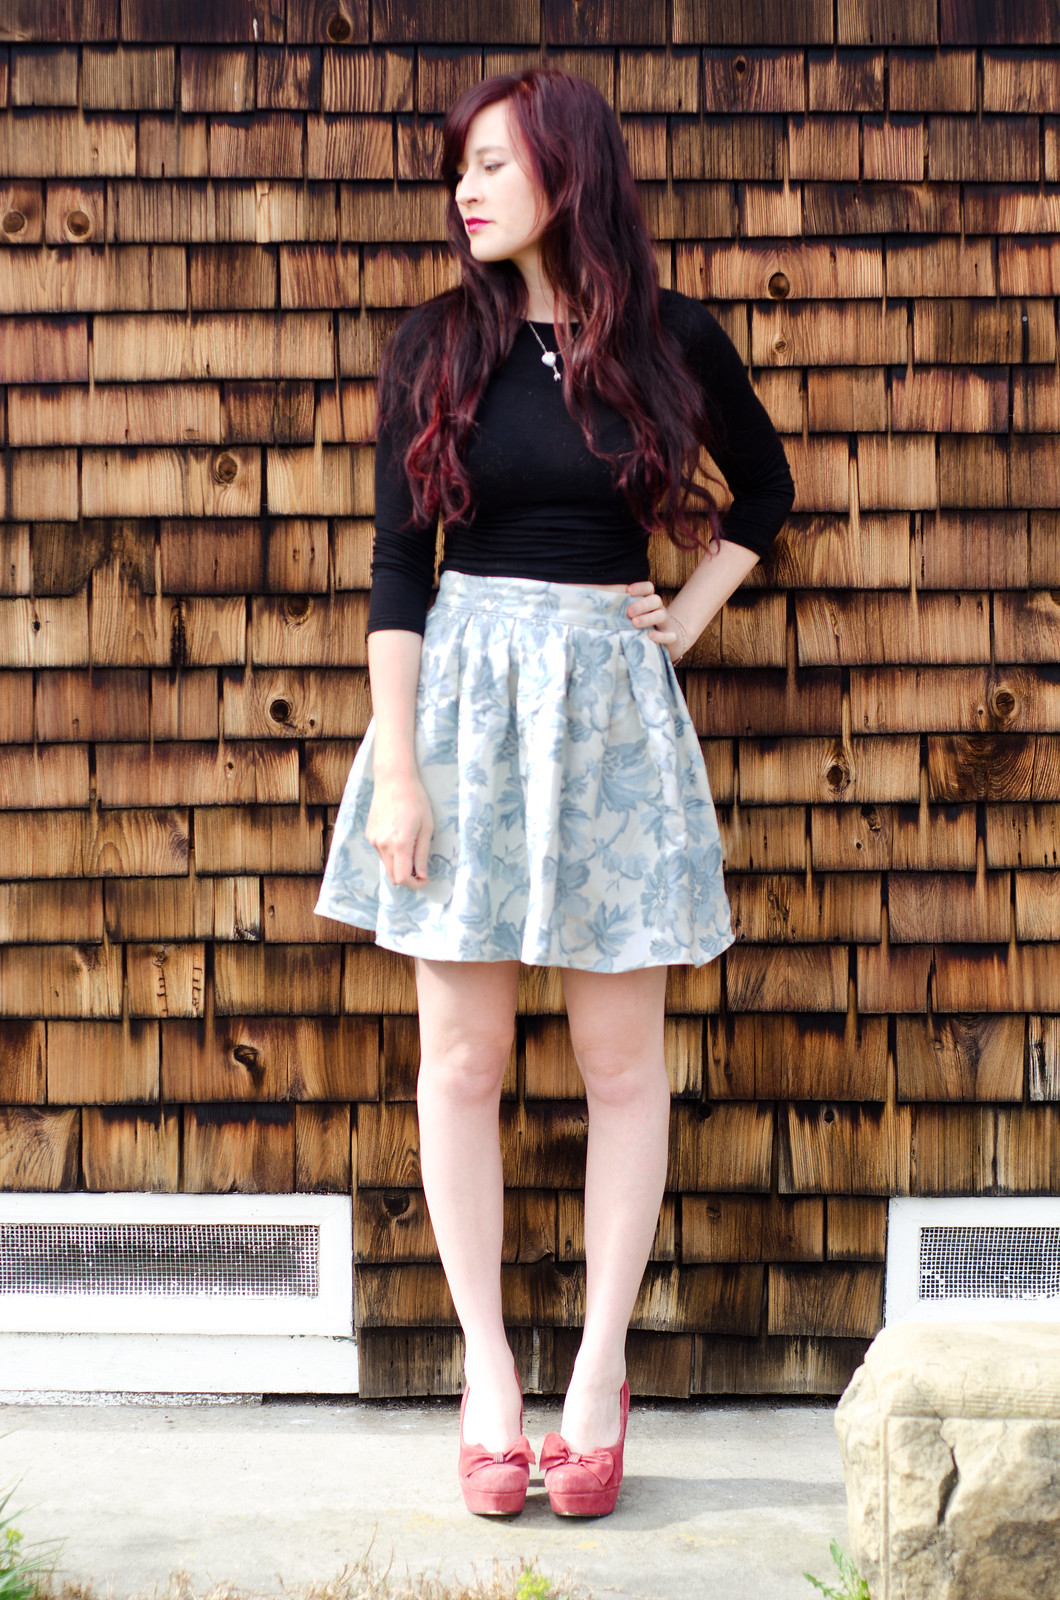
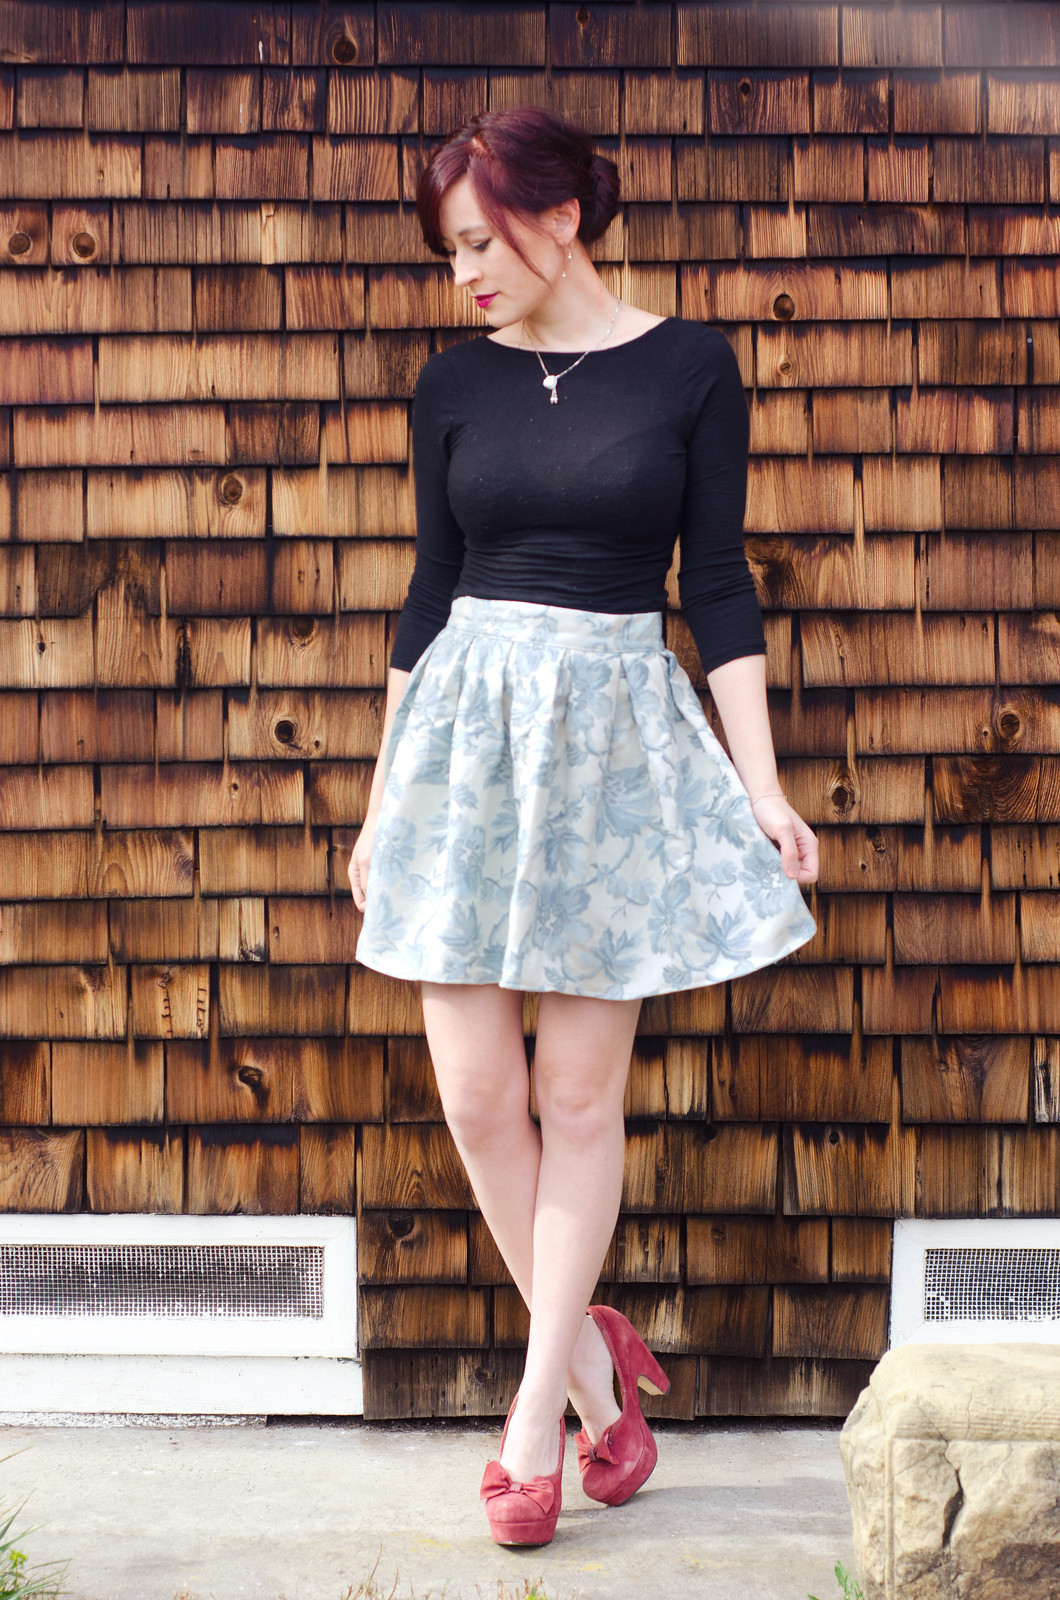
Pleated brocade skirt

Pleated brocade skirt

Pleated brocade skirt

Pleated brocade skirt

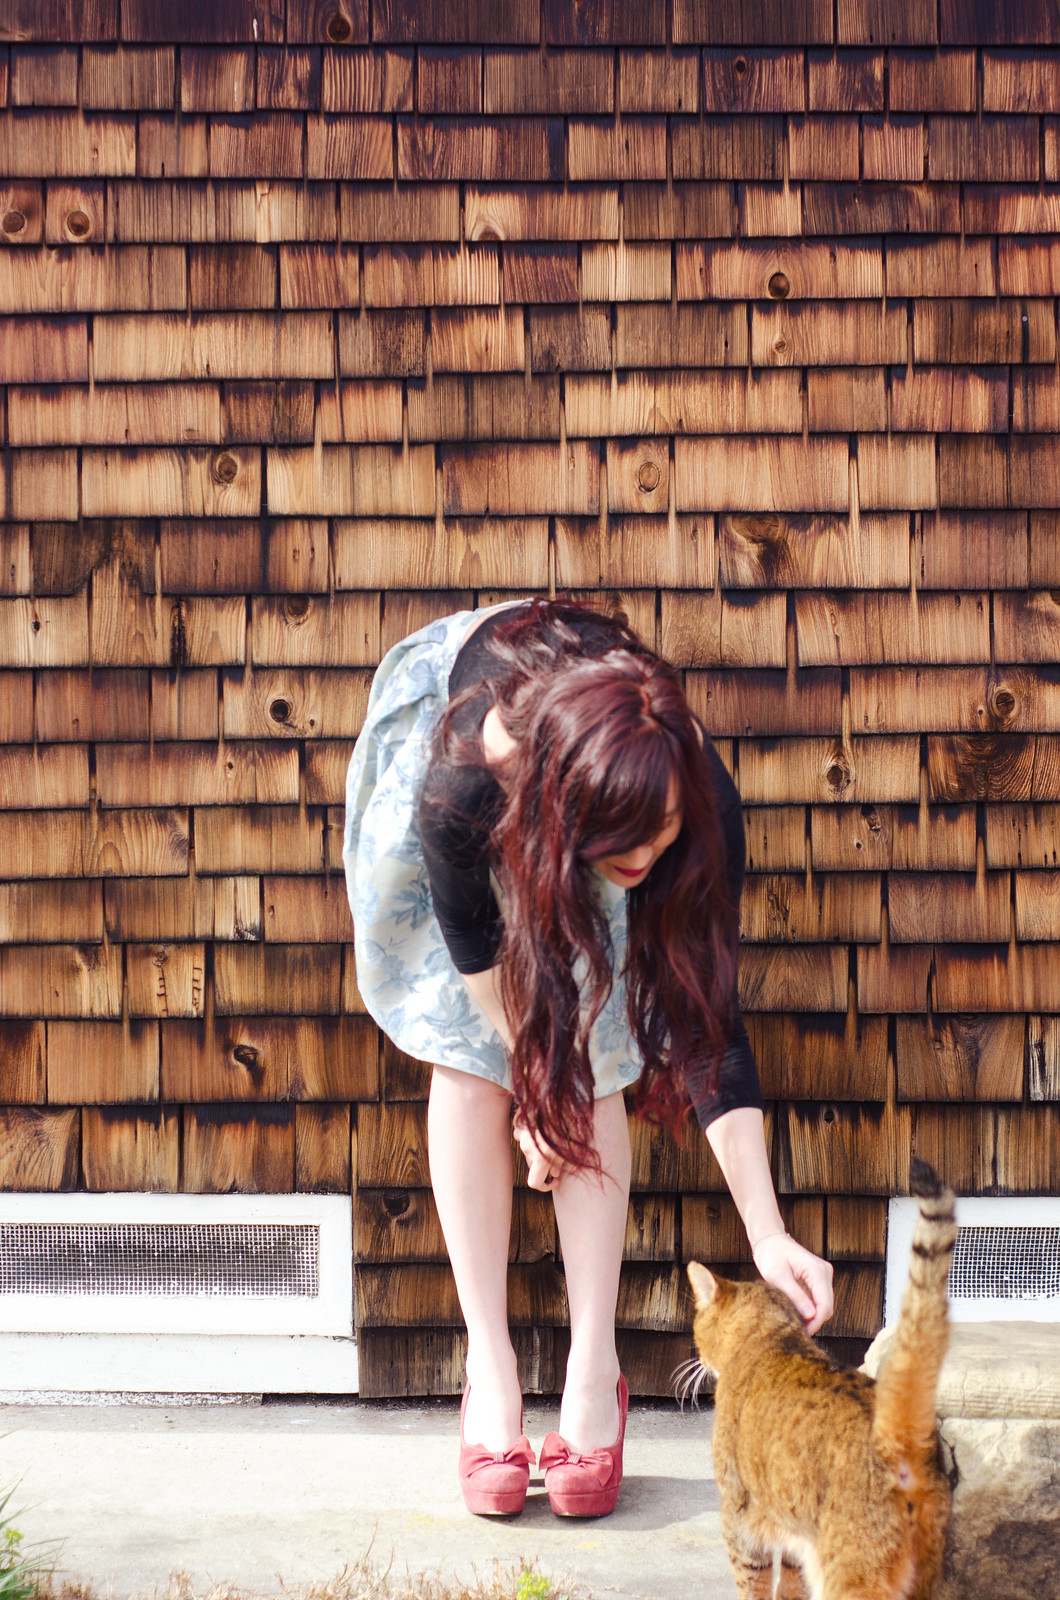
Pleated brocade skirtMy feline friend came to visit while I was taking photos hehe. 

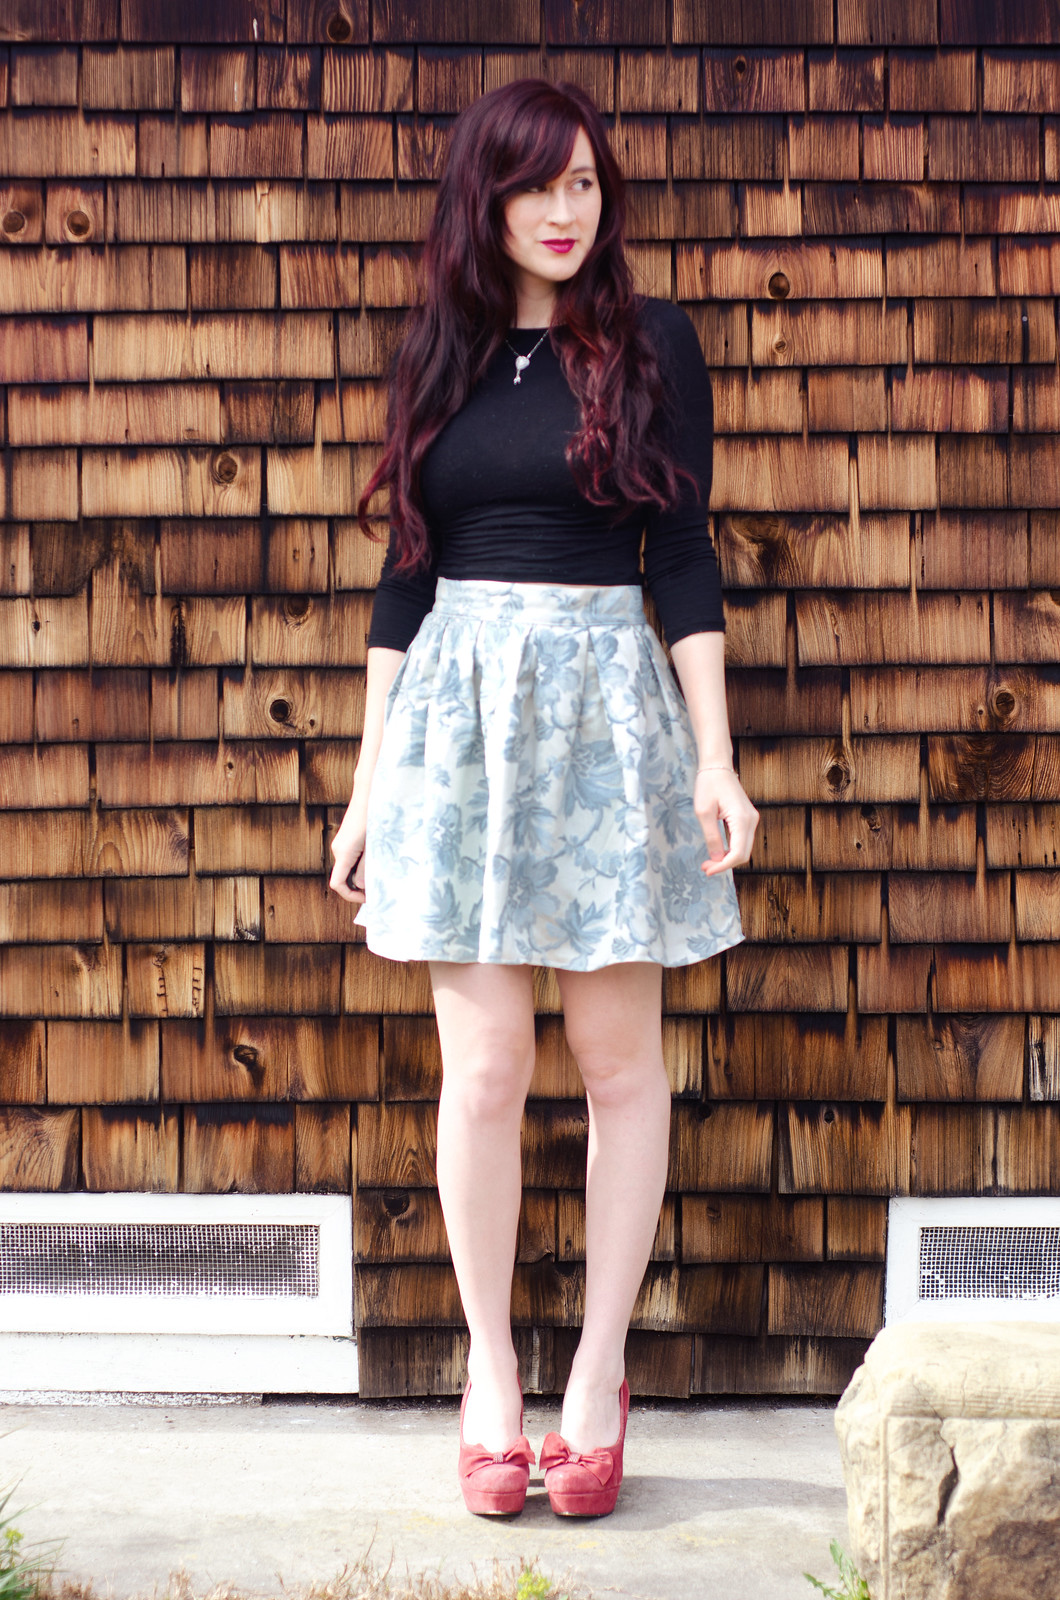
I actually made this skirt ages ago but it’s taken me forever to photograph it. I picked this fabric up at a rummage sale for something like $3. At first it was going to be some kind of zippy crop top, possibly with a peplum. Then I decided I would probably never wear that and fell down the rabbit hole of brocade skirts on Pinterest. Then it was an issue of whether it should be a Moss skirt, a pleated skirt, or something in between. I decided to go with the pleats.

It’s pretty basic, really. The Armstrong book talks about all kinds of technical shenanigans for making pleats but to be honest, I just measure out a waistband in the right size and then fuss with the pleats until they fit the waistband. The result is probably not quite as neat as it could be, but meh.

Helpful pleating tip: regardless of whether you measure out your pleats ahead of time, try to angle them so the inside fold of the pleat sticks out past the edge of the fabric. This keeps them from splaying open and keeps them nice and neat.

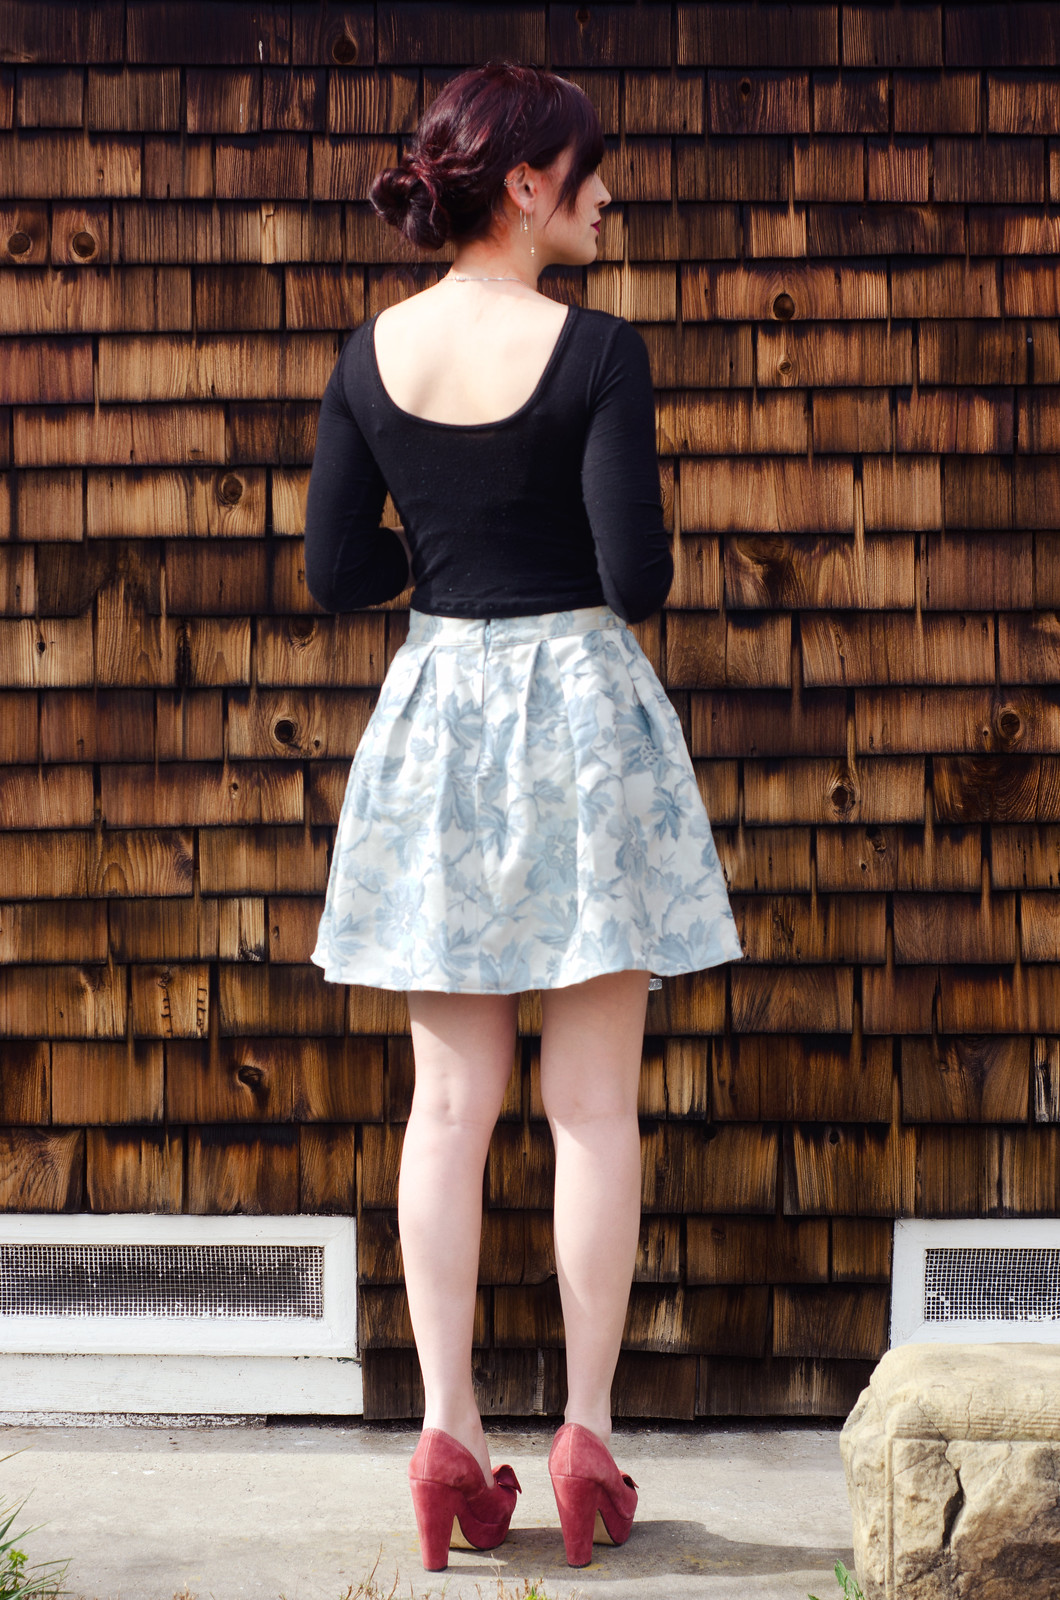
The top is actually a cropped Nettie top that I’m wearing backwards. It’s not technically meant to be reversible but I was getting dressed one day and the low scoop neck didn’t quite work with the outfit so I decided to try turning it around. The shoulders end up being slightly off but not really noticeably.

Now excuse me while I go pet the kitty who is currently indignantly meowing because I ignored him while I finished taking photos. (For the record, after that photo, he settled about halfway between me and the camera and licked his bits — out of view, thankfully.)
Adventures in drafting // christmas dress 2016

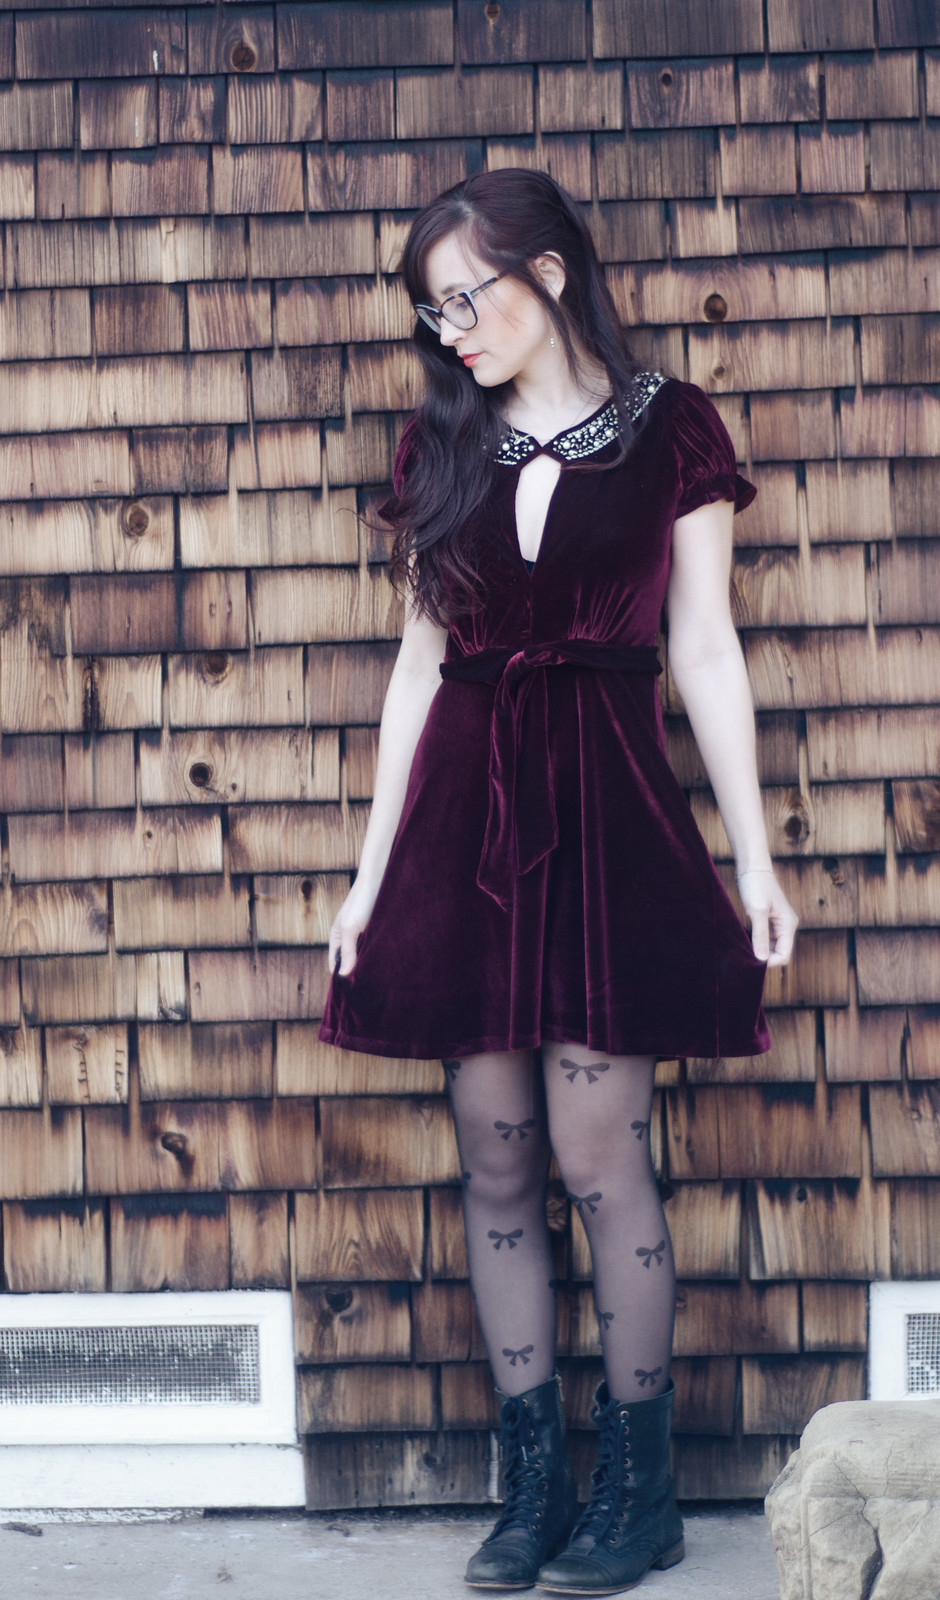
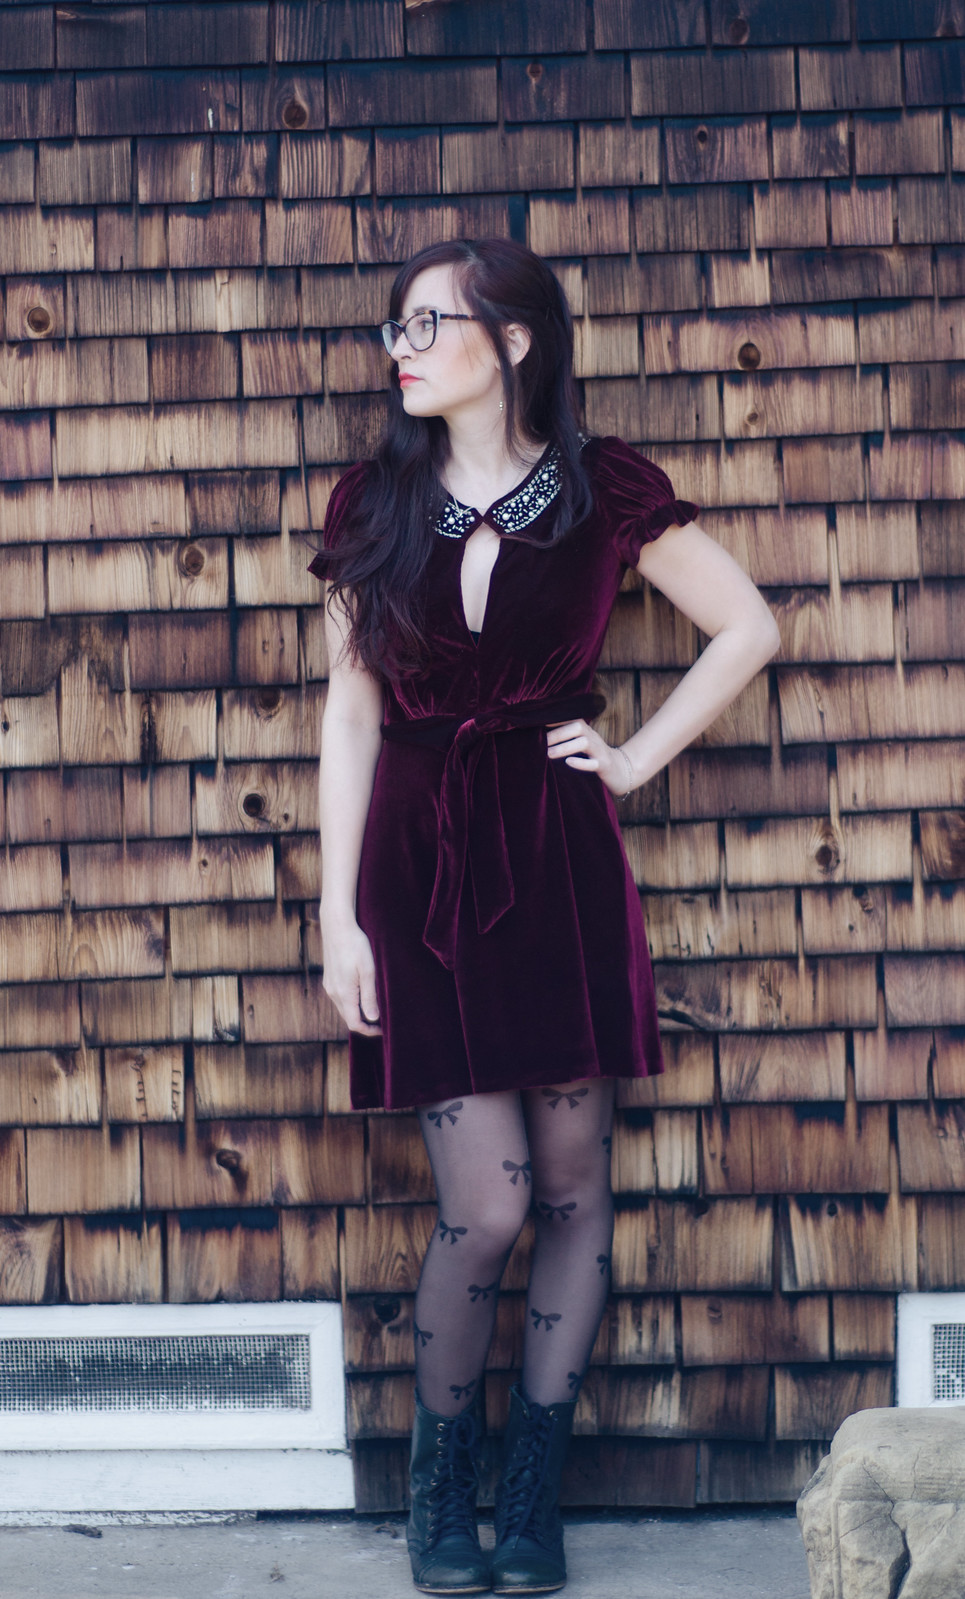
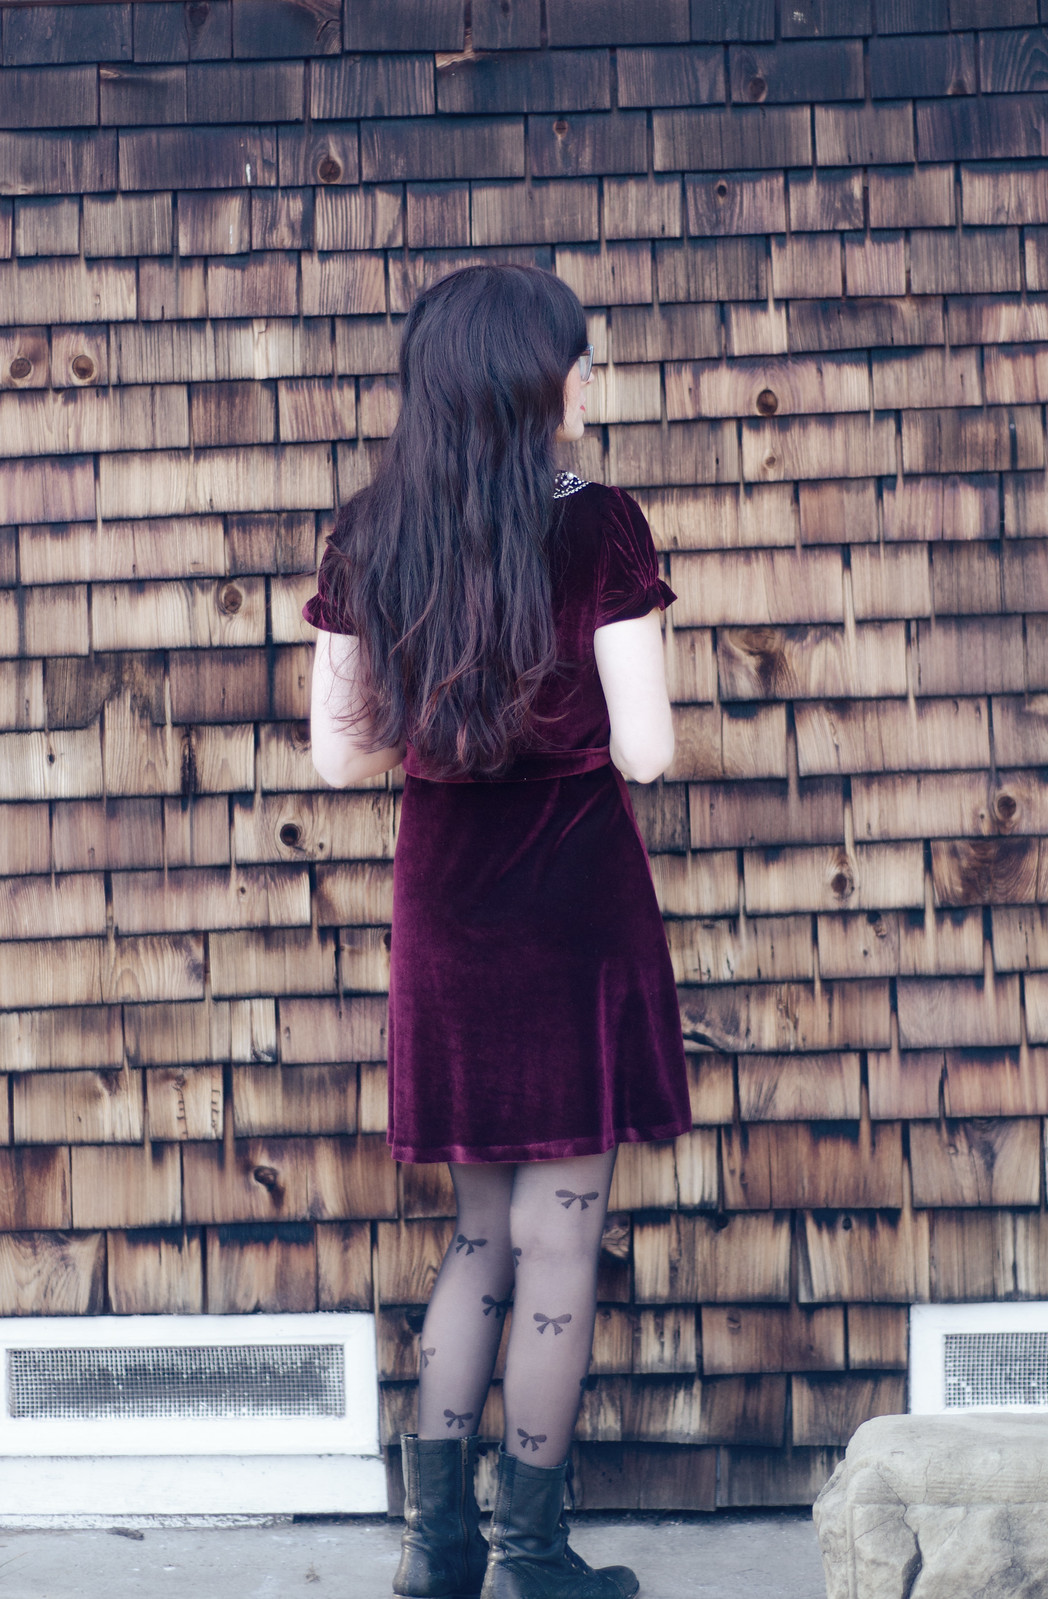
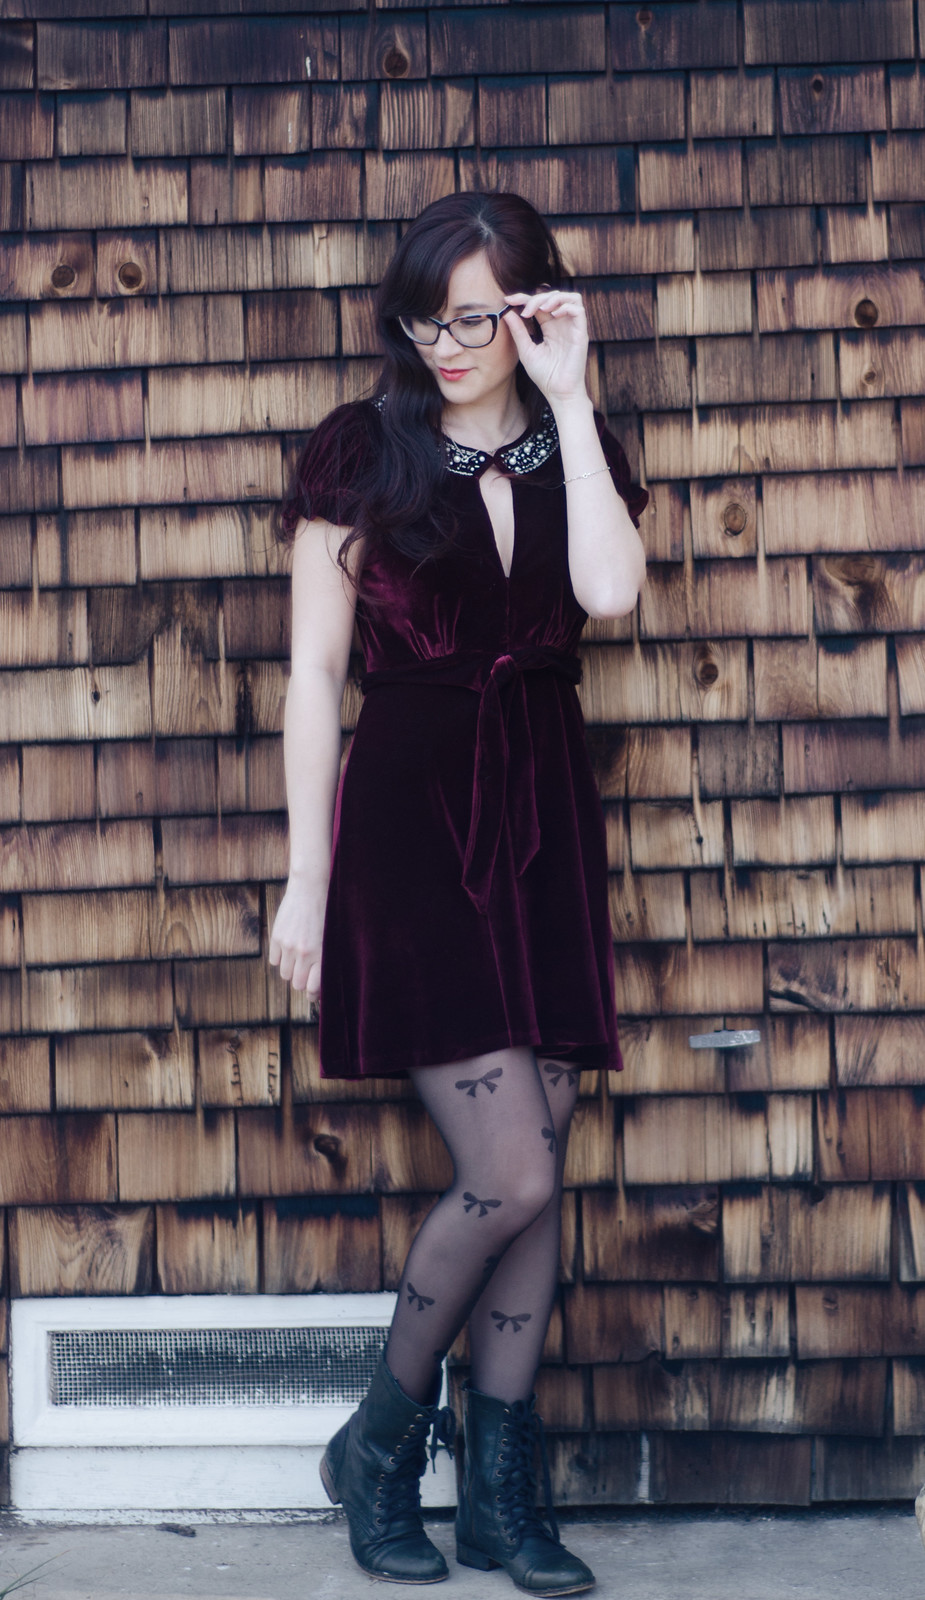
velvet xmas dress

velvet xmas dress

velvet xmas dress

velvet xmas dress

OHAI. It’s been a while.

I realized the other day that while I’ve alluded to certain things, I haven’t actually talked about anything life-related in a while. So here’s a life update in a  nutshell:

Last year I decided that my old career was not exactly panning out to be what I wanted (a lot of this had to do with licensing regulations in California, but that’s boring and not sewing-related).  At the same time, I had signed up for a flat pattern class at the local CC just to have something to do while I looked for a new job after moving from Boston back to California. Pretty much by week 3 of the class I decided I was going to need to switch careers.  The next semester I signed up for a full class load. Now I’m finishing up my last semester (well, technically I’ll have one last class next semester) while interning as a pattern maker for a local designer.

So, lots of changes going on in the last year! Spoiler alert: I love it.

Anyway, full time school + internship + part time job means not so much time for blogging, which I really miss. I have a whole pile of clothes I’ve sewn in the last six months that need to be photographed. I keep being hesitant to do it because it’s too cold outside. And then I remember I used to do this in Boston, in the snow, in 30 degree weather. I’m shivering just thinking about it. -_-

ANYWAY, now that we’re all caught up, meet this year’s Christmas dress.

The backstory is that my friend kept buying these gorgeous velvet dresses from Anthropologie, and then we planned a weekend holiday trip and decided one evening we would wear velvet dresses. So I got on Pinterest and looked for velvet dresses and found this lovely one by Holly Willoughby.

Making the pattern was pretty straightforward. Move bust darts to waist and turn them into gathers, neckline yoke thing, V-front cutout that meets in the middle, puffed sleeve with gathers that don’t go all the way to the armhole. Since I was using velvet and didn’t want to bother with a separate lining, I made facings for the front and yoke to make it easier.

I used a cheapy stretch velvet from Fabrics ‘r Us because this was kind of an experiment. We’ll call it a Christmas muslin. It actually wasn’t that hard to sew together. I basted the tricky bits but other than that the pile of the velvet sort of acted like velcro and it mostly stayed put. I used stitch witchery for the hem and sleeve edge to avoid having a row of stitching. It stays put and I just think it looks nicer.

The beading was super fun and so quick now that I have a beading needle. I didn’t even bother buying new beads. I’ve done so many beading projects in the last few years that I have an assortment of extra beads and the original dress didn’t seem to have any distinct beading pattern so I just used what I had.

Anyway, I do kind of wish the insides were a little prettier (I was kind of rushed because this was one of two finals week procrastination projects) but I’m in love. It’s one of the comfiest fancy dresses I own and I’ve already worn it twice. The velvet makes it look dressy but the stretchy means more room for feasting.

Maybe I need one in green too..


Accidental Sashiko

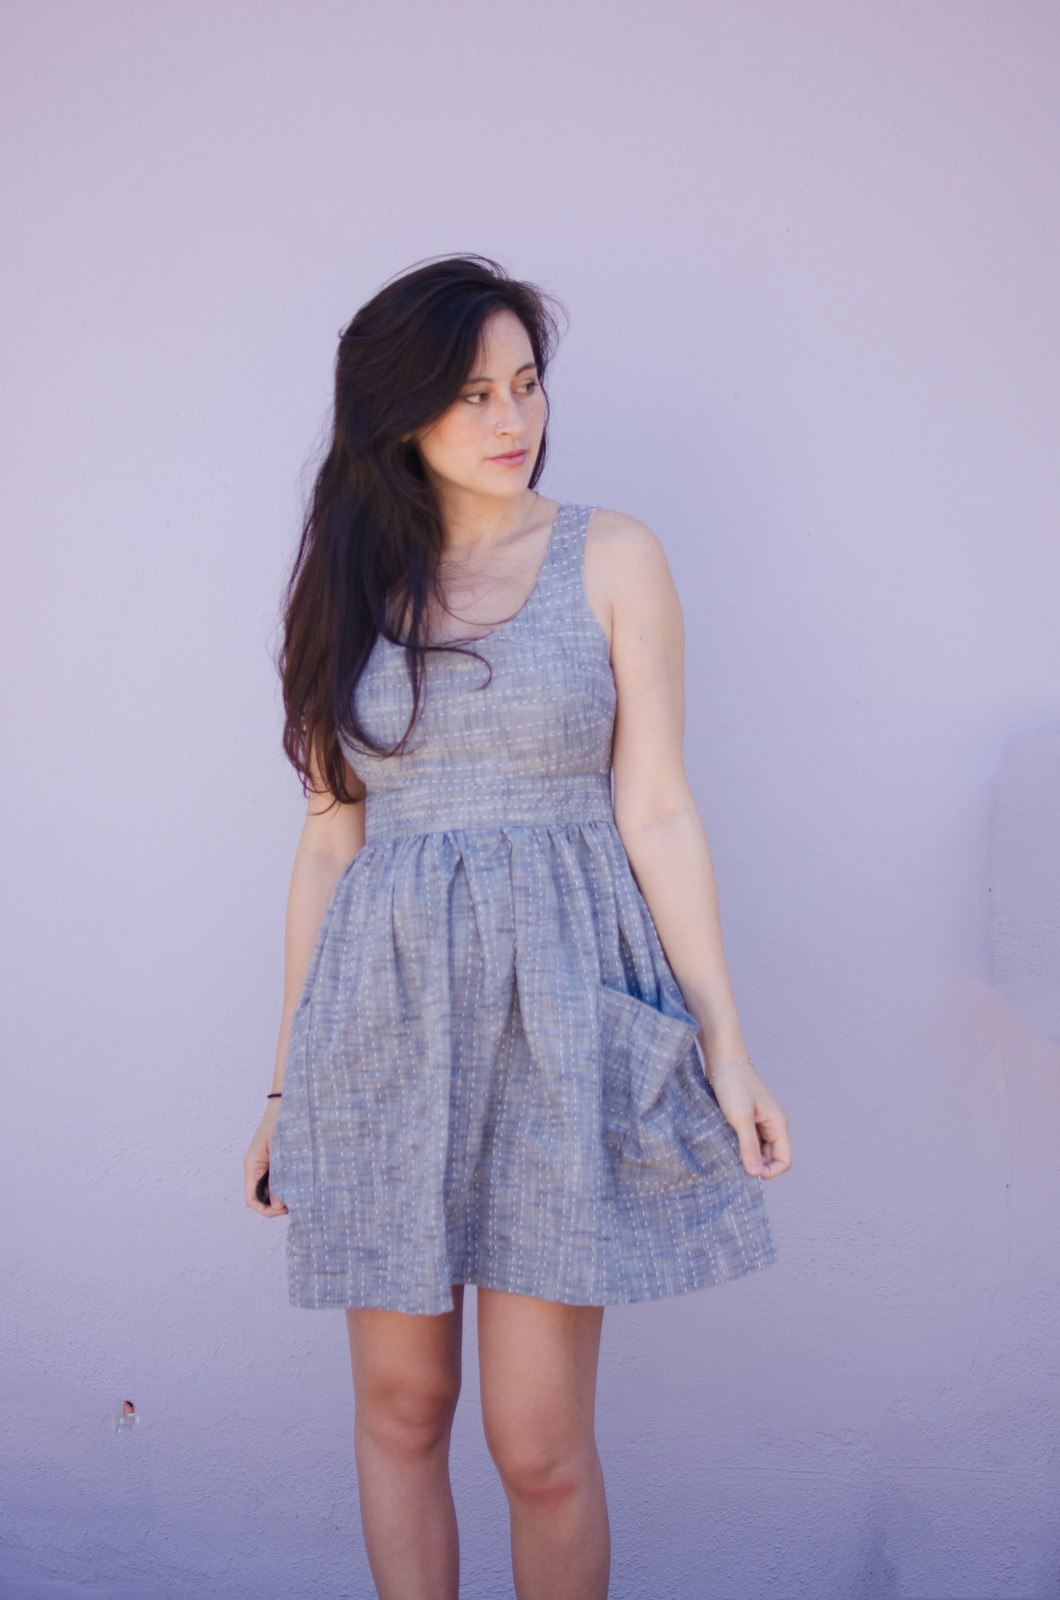
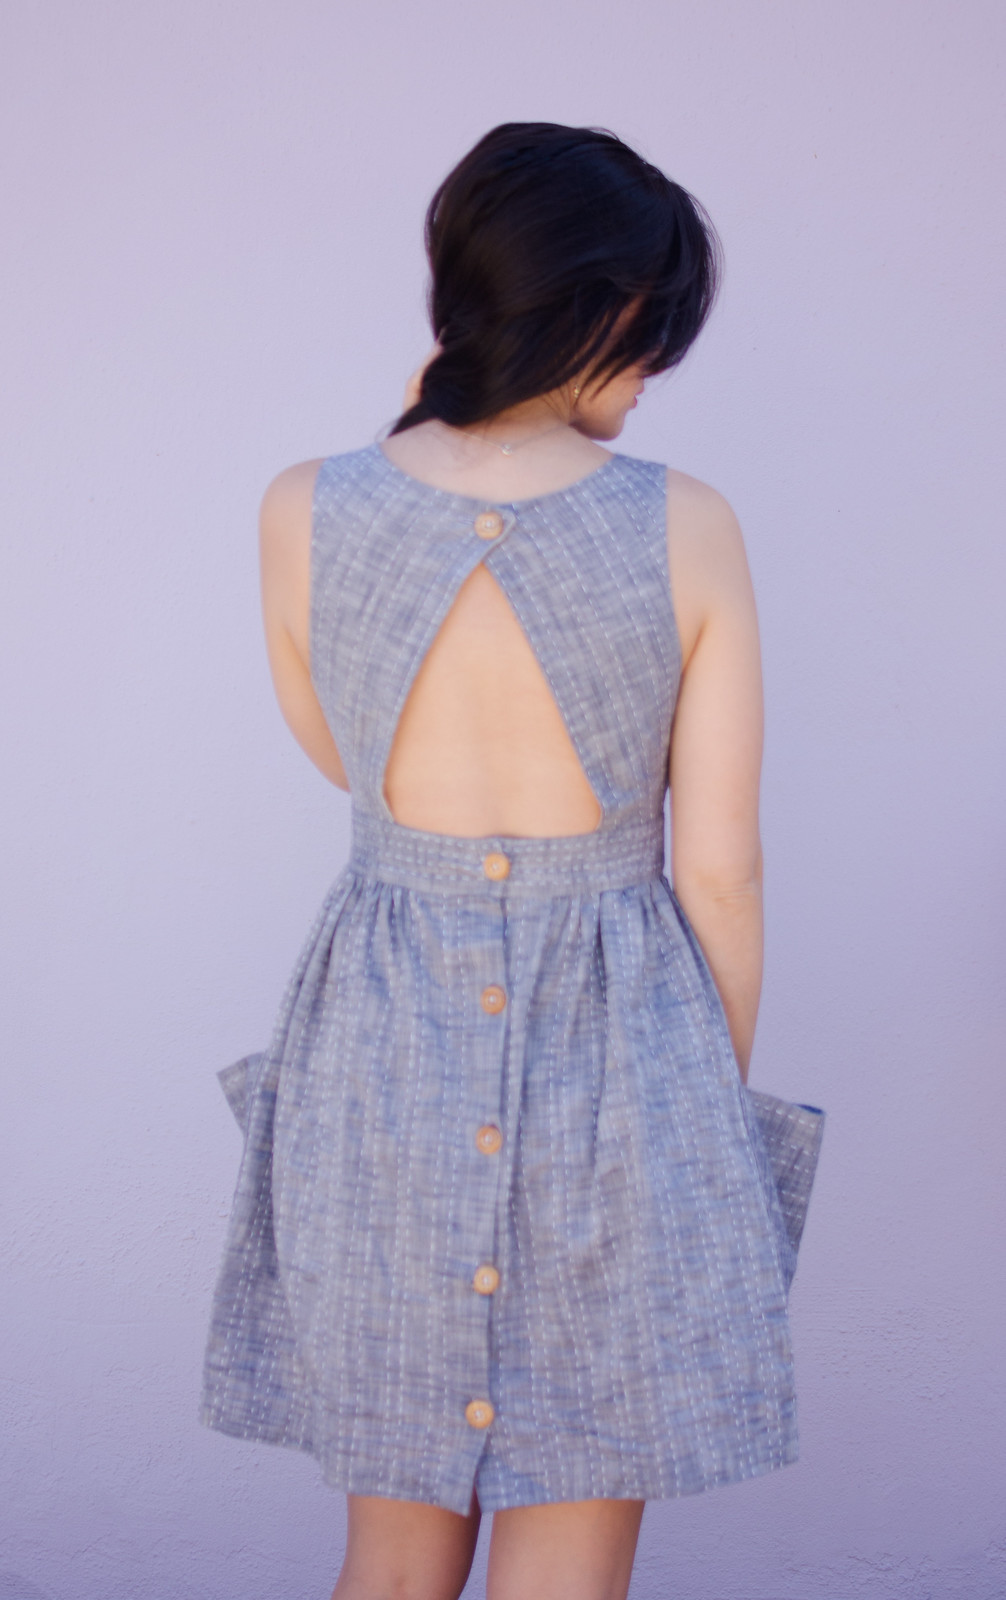
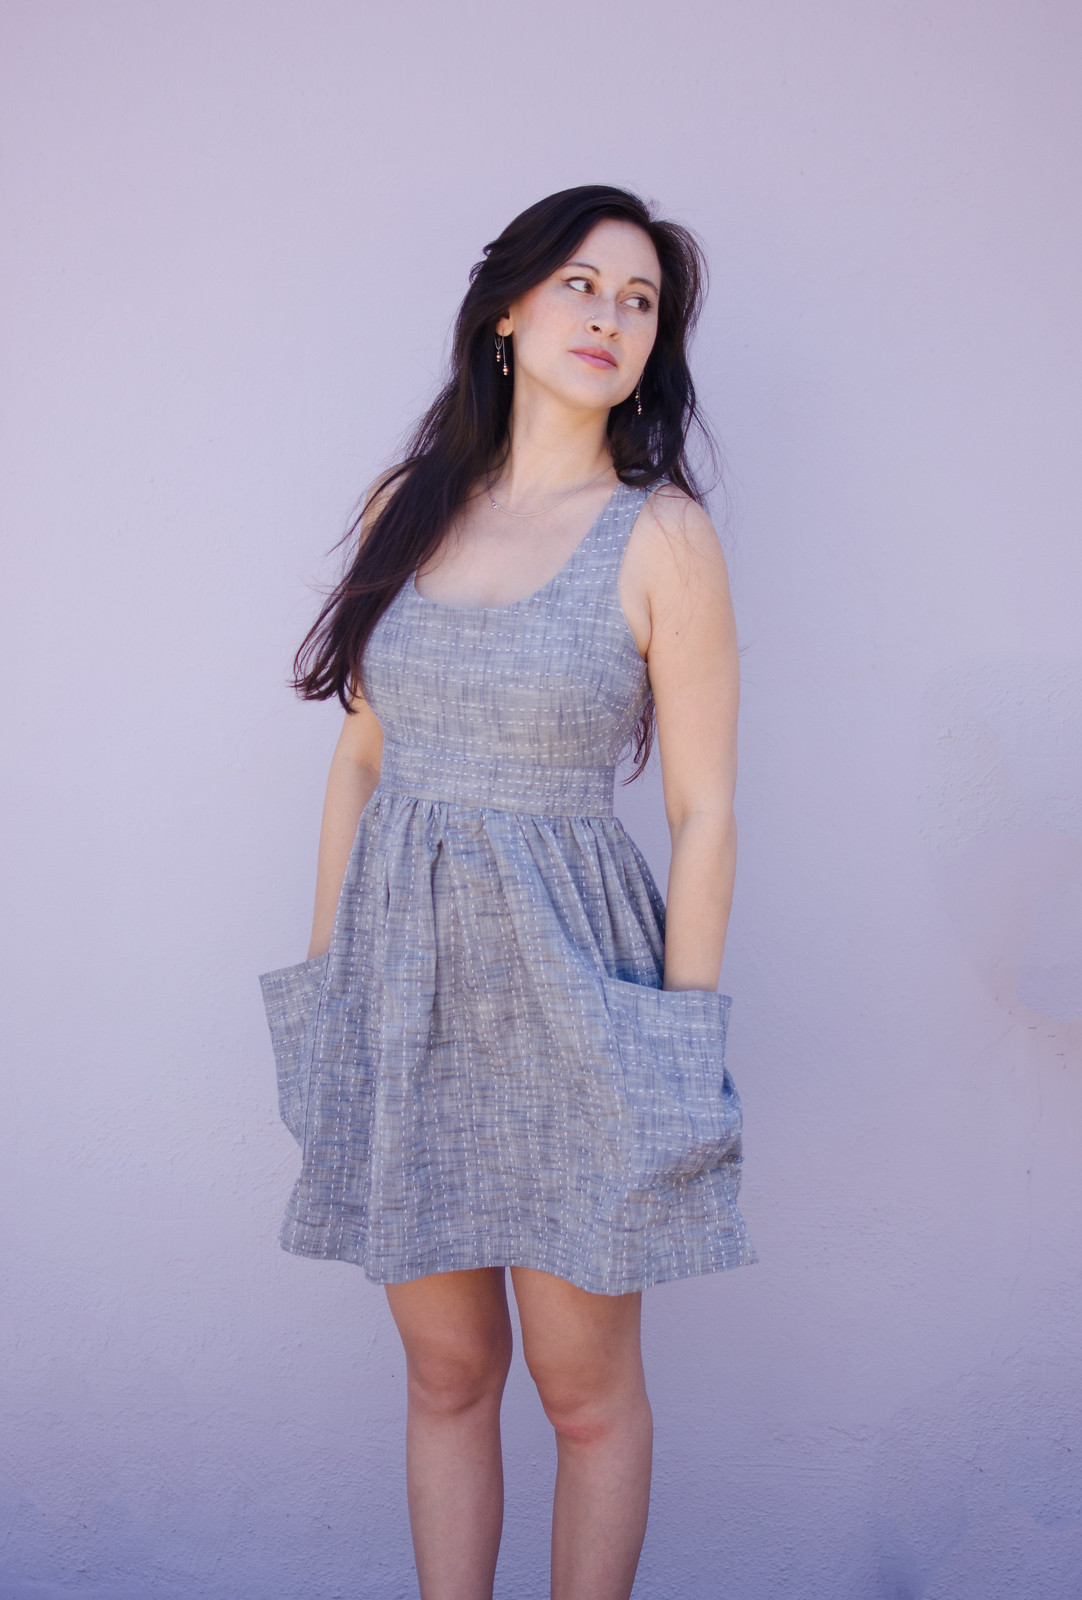
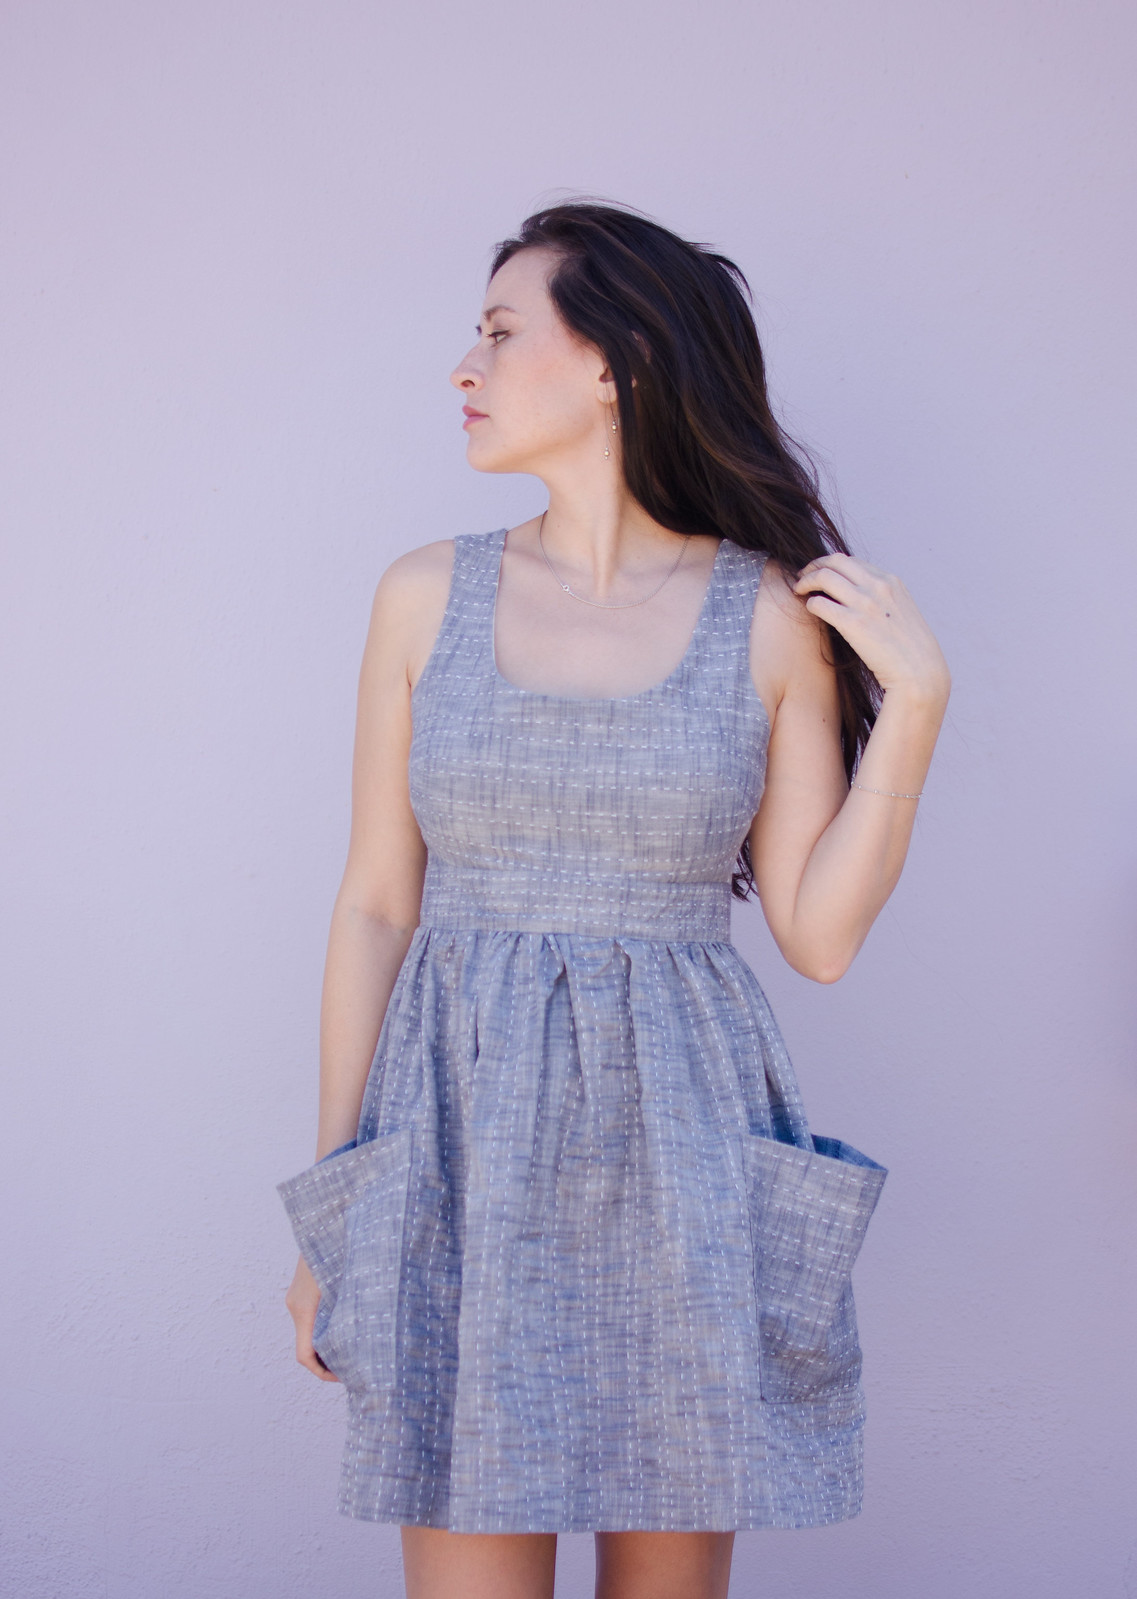
Sashiko dress

Sashiko dress

Sashiko dress

Sashiko dress

Sashiko dress

There’s a funny story behind this dress. Several months ago I got one of those “Here are all the things your stash needs!” emails from Fabric.com and one of the fabrics pictured caught my eye. I forget the designer (I want to say Robert Kaufman but I might be lying) but it was this beautiful chambray with lines of thread running through it. I immediately thought of fun, simple, rustic-looking summer dresses. Except they were sold out of it in like five minutes because holy crap it was beautiful. The idea of those summer dresses stuck in my head though, so after I took Copying RTW and made the flower-picking dress pattern, I decided maybe I should make my own stitched fabric. By hand.

Meanwhile, I had also come across Japanese-style mending on Pinterest, which if you aren’t familiar with, you should check out immediately because it makes me want to “mend” all of my clothes, regardless of state of wear and tear.

Anyway, those two ideas squashed together and I grabbed some cotton crochet thread and the needle with the fattest eye I could find and started stitching away at the two yards of gorgeous cotton chambray I picked up at Stone Mountain and Daughter.

It took.. forever. At least two seasons of Arrow. (salmon ladder ftw)

When I was about 86% done, I showed it to a friend, who said “Oh! Are you doing sashiko?” My response was “No, I’m just stitching.” When I was about 92% done, I showed a photo of it to another friend, who said “I can’t believe you’re sashiko-ing your own fabric!” It was around then that I figured I should probably look up what sashiko was. Whoops. And then around 95% completion, a third friend recommended a sashiko needle, which I didn’t even know existed. And lastly, when I showed up in my pants drafting class (taught by Lynda Maynard, who had also taught the Copying RTW class), Lynda started telling me all about her sashiko machine.

Anyway, the moral of the story is that this took forever and I need to look into different needle types because I also didn’t know that beading needles exists. But that’s a whole other embarrassing story.


Flower-picking

Copying RTW - blue dress

Copying RTW - blue dress

Copying RTW - blue dress

Copying RTW - blue dress

Copying RTW - blue dress

Copying RTW - blue dress

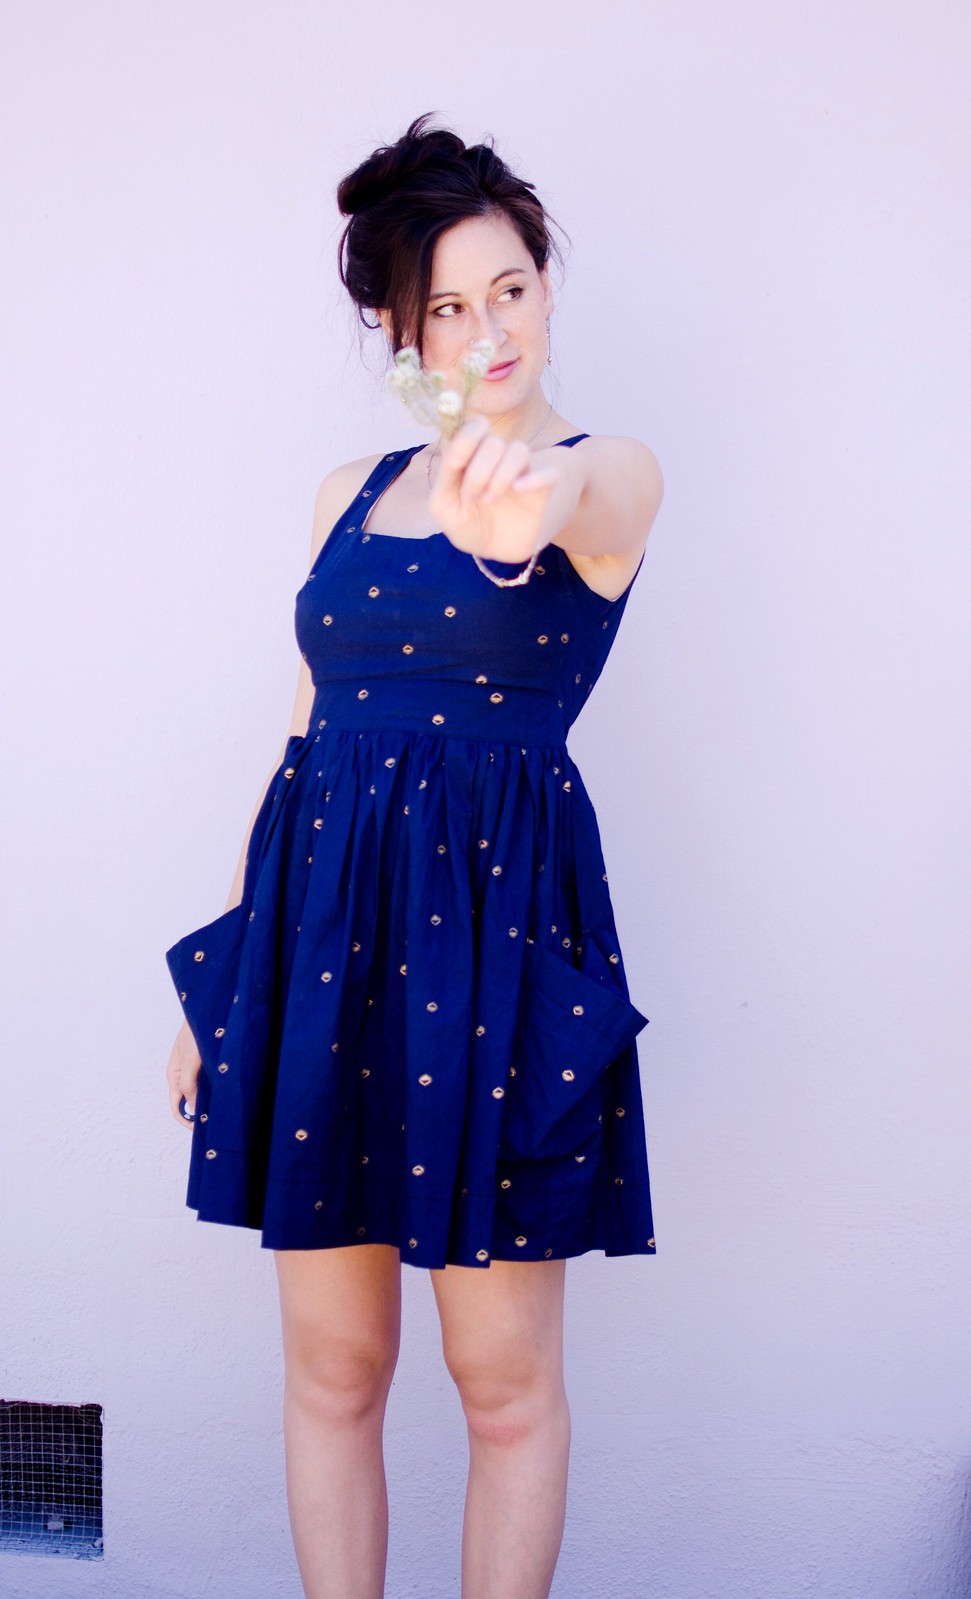
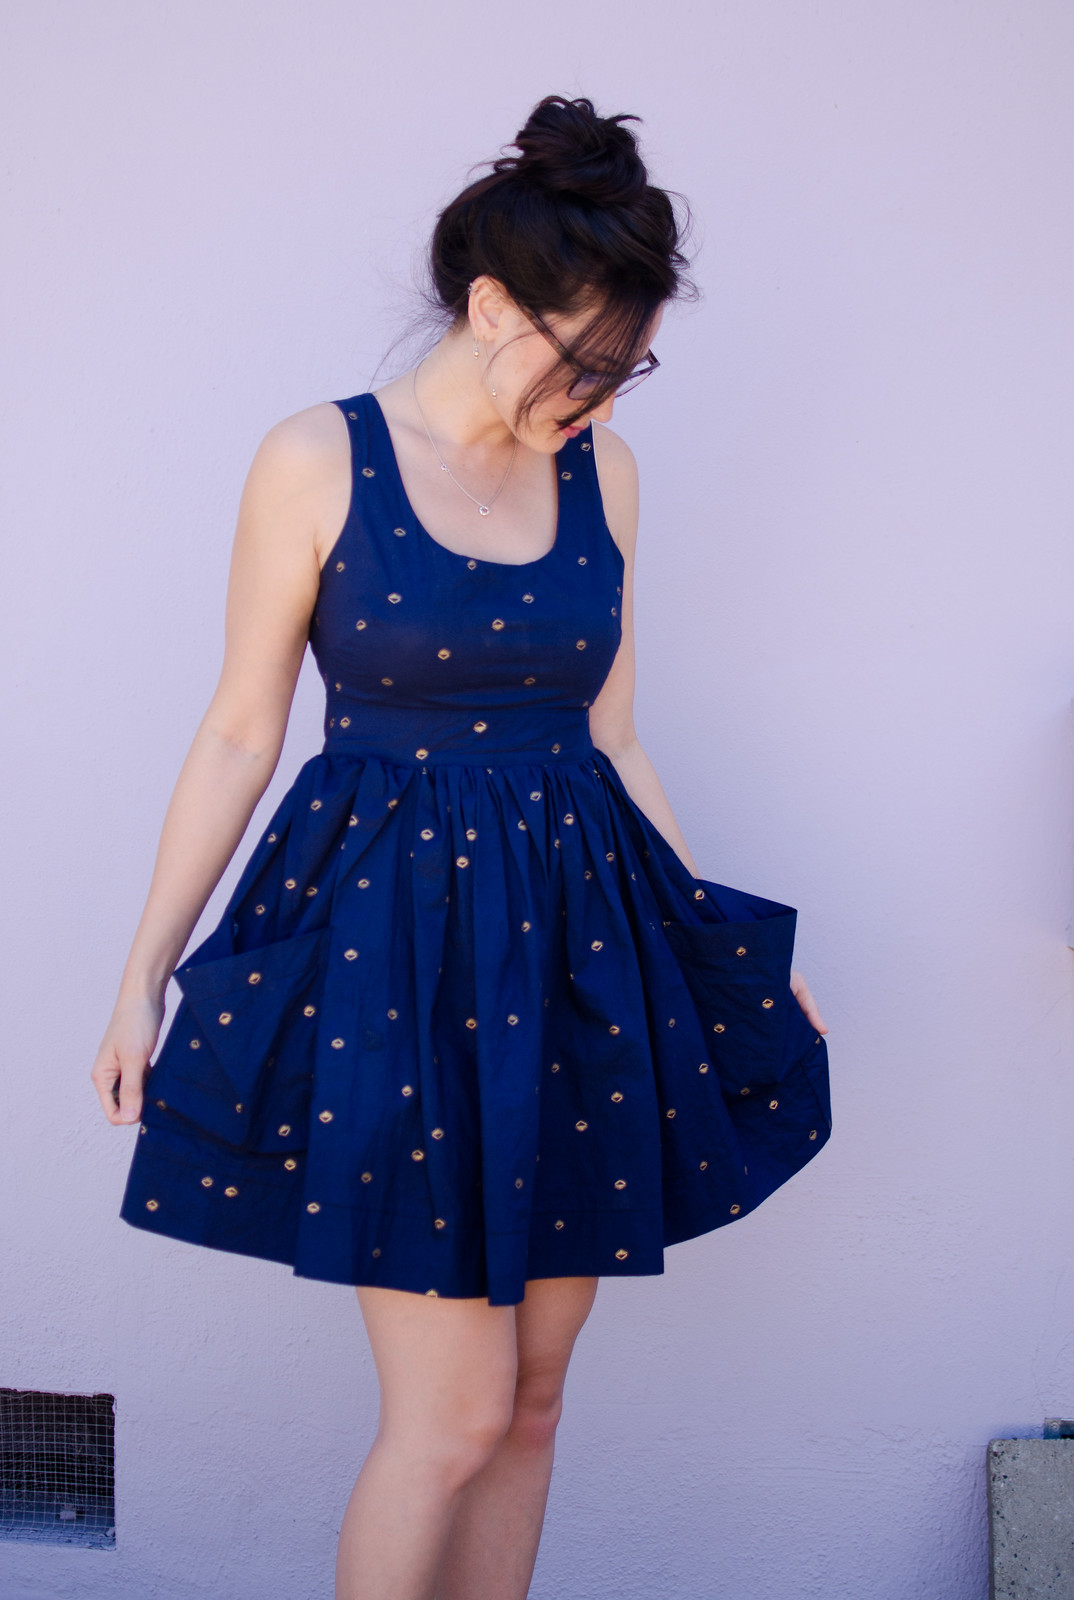
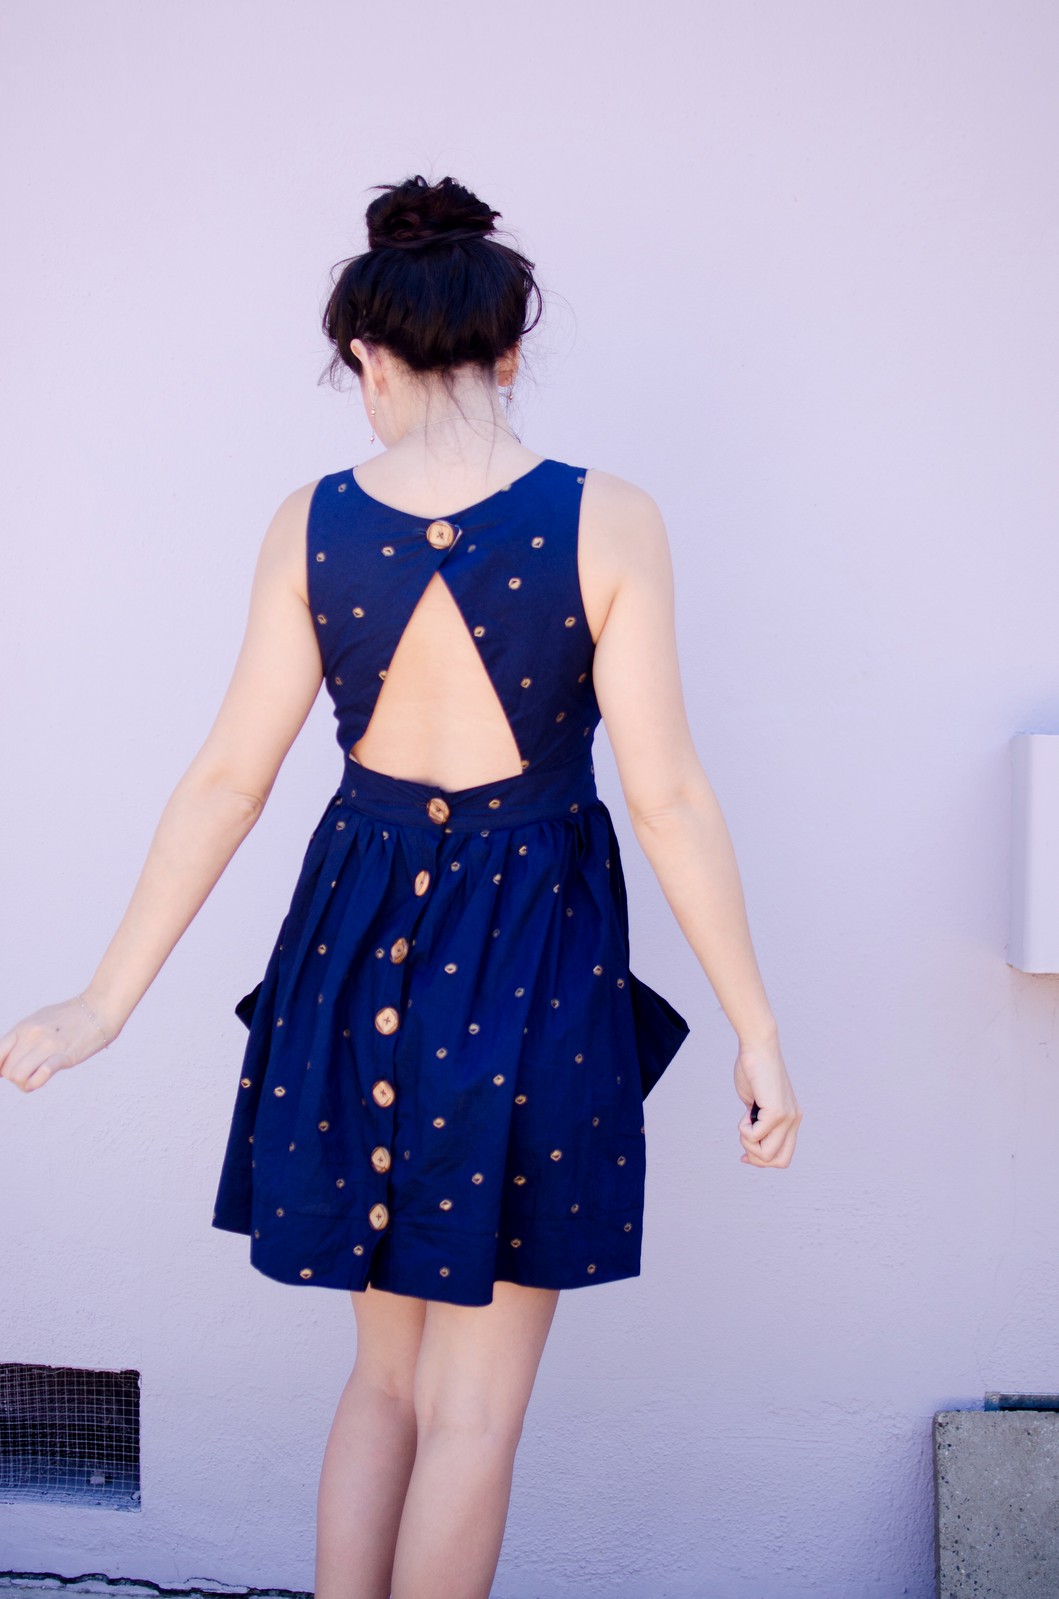
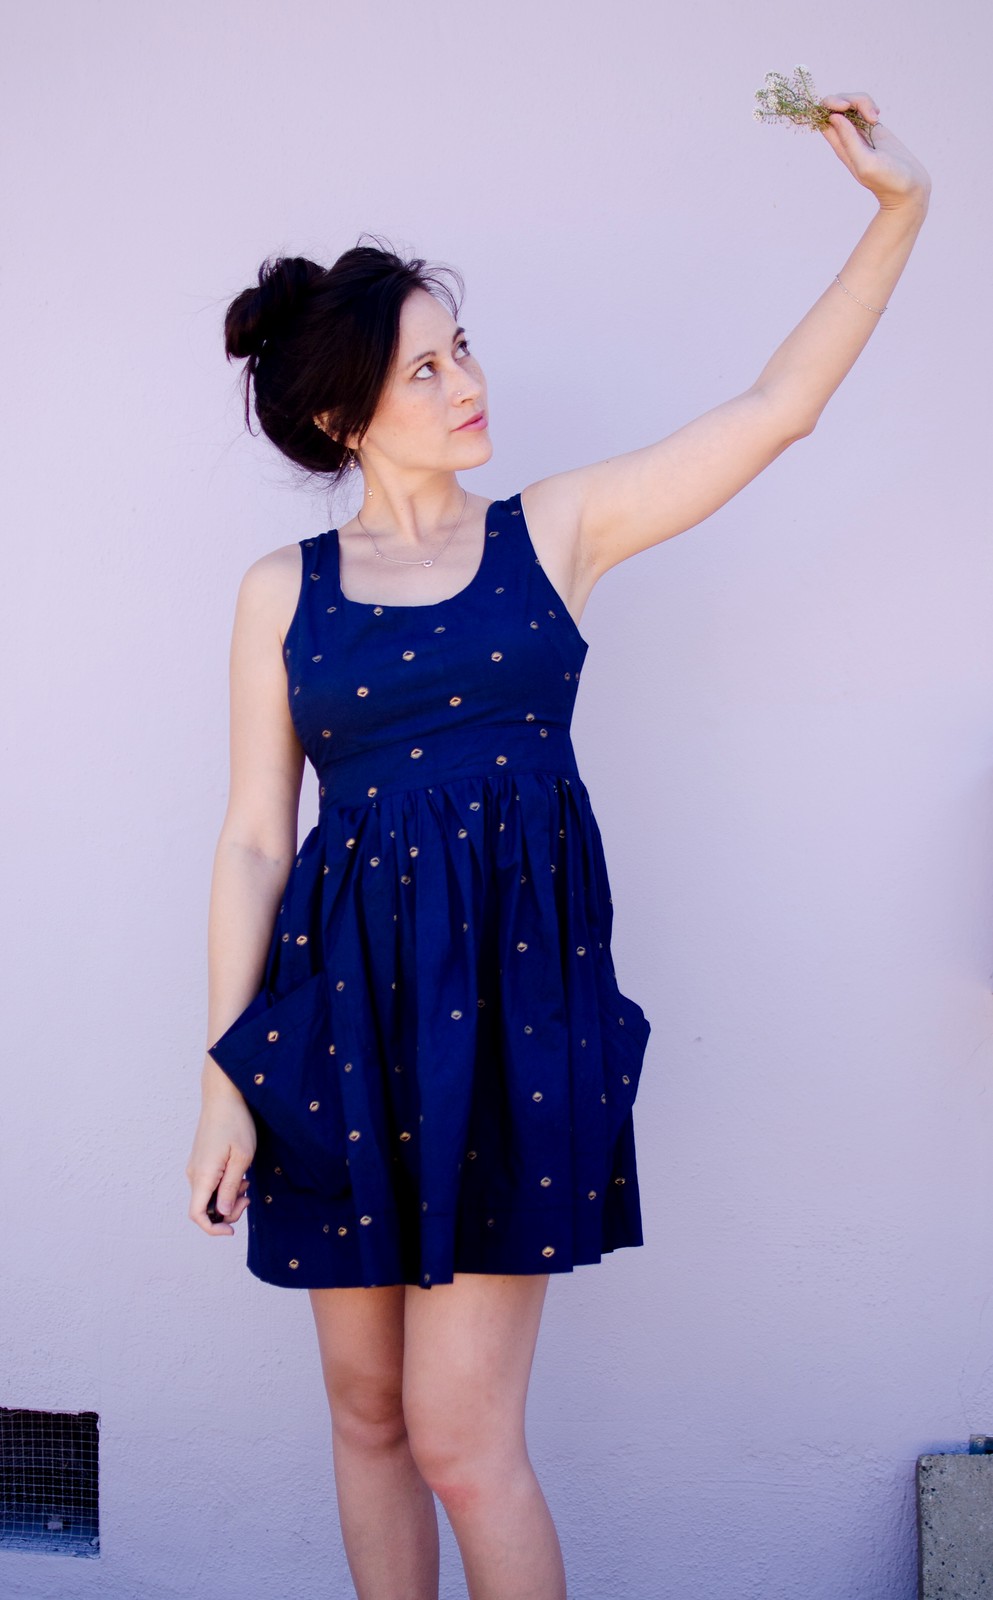
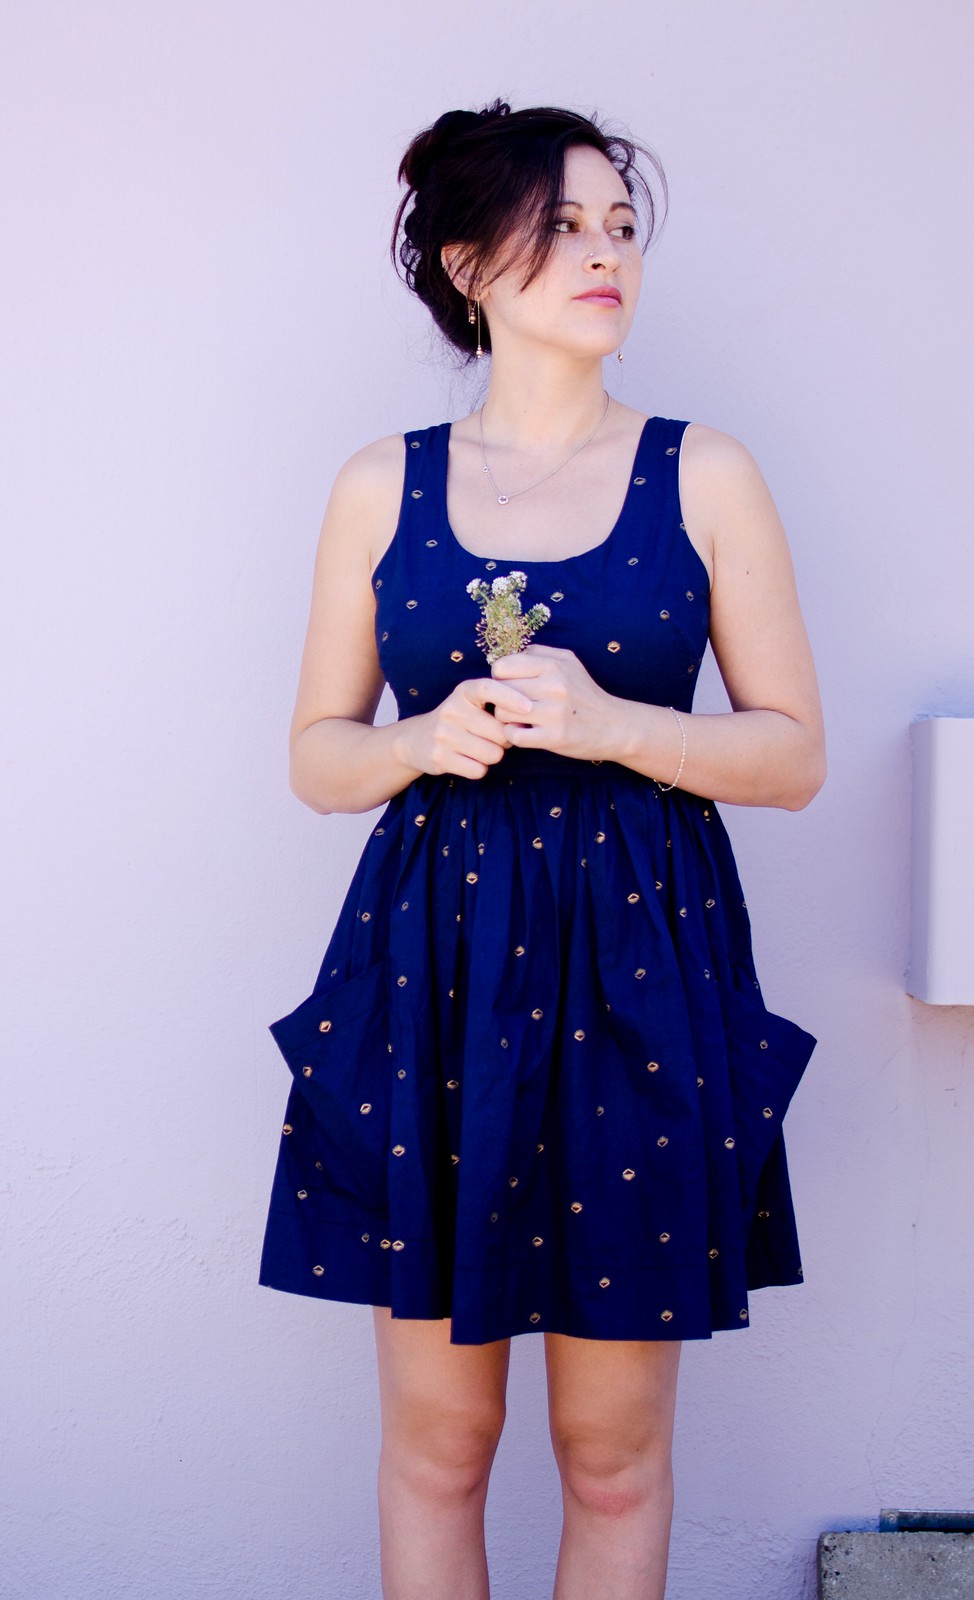
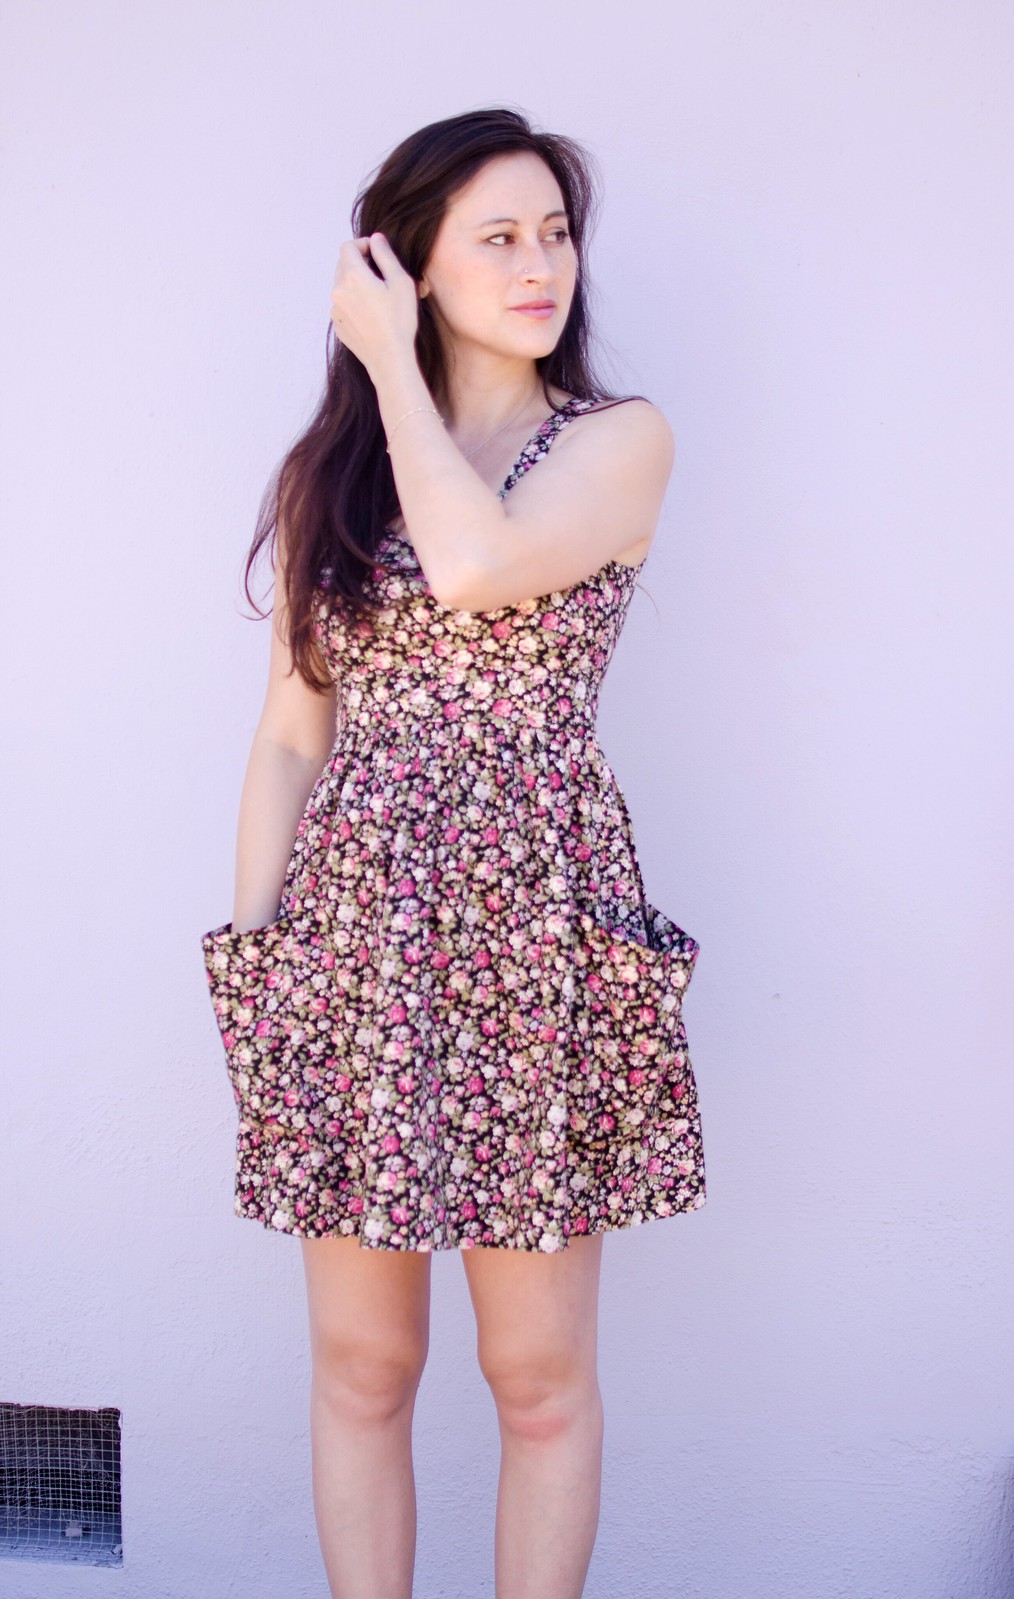
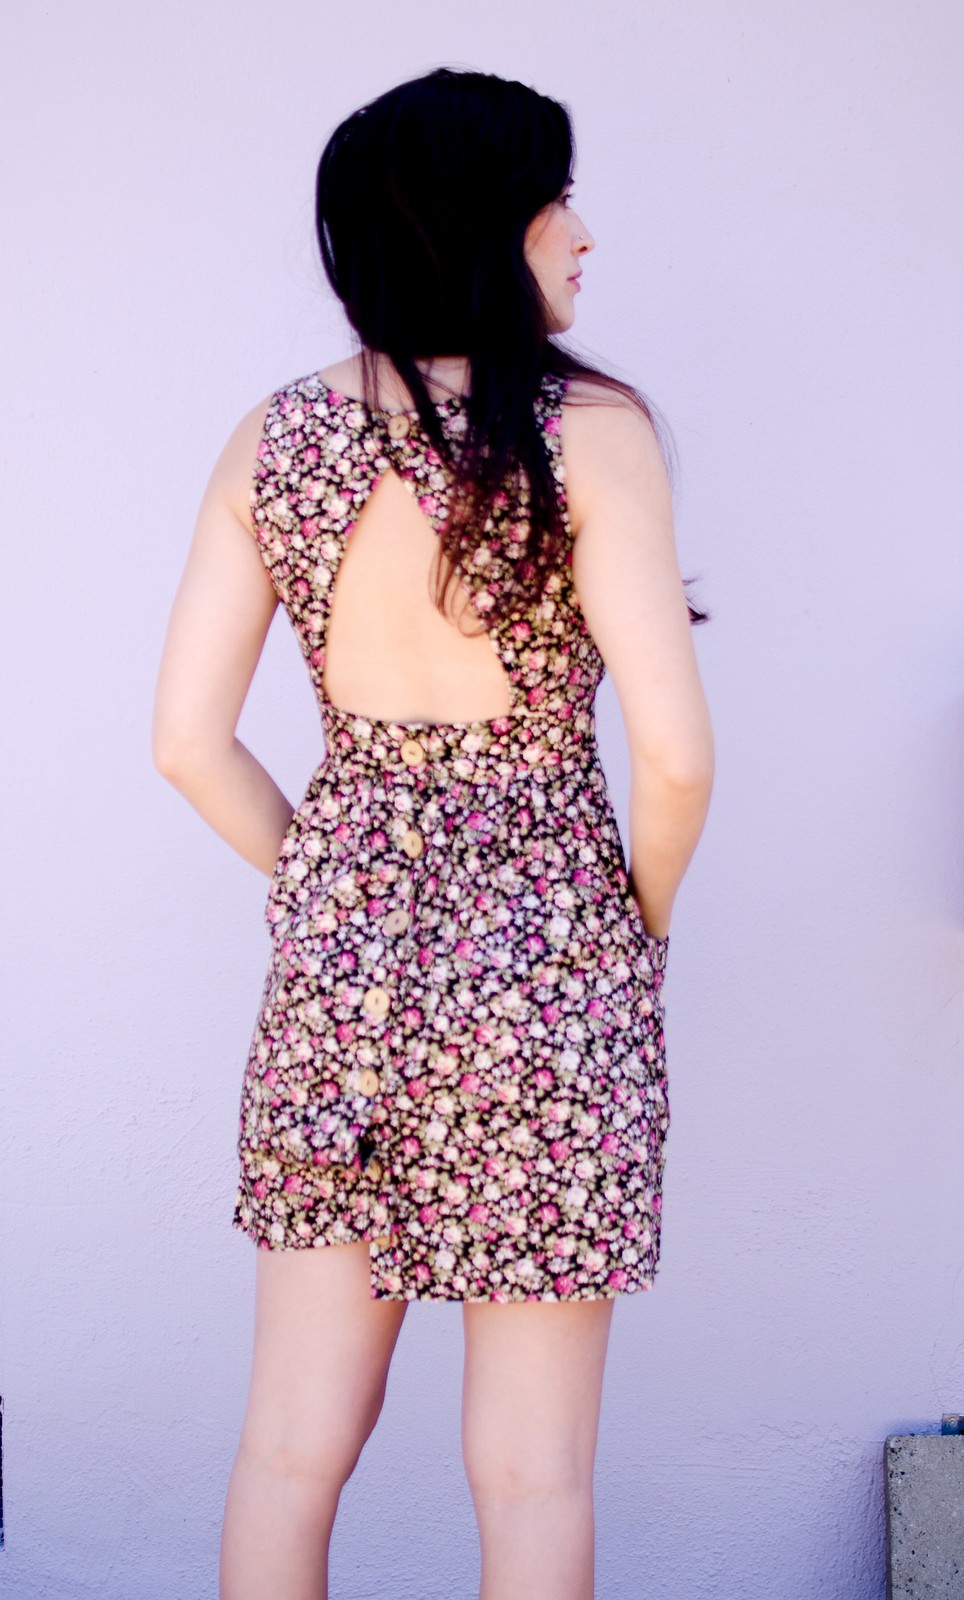
About a million years ago I bought this dress at Forever21. It was a cute little cotton floral dress with a lined bodice, back cut-out, gigantic pockets, and pretty wooden buttons along the back. It fit me perfectly and was the perfect comfy summer dress. Or the perfect dress for picking flowers and/or berries. I had to really resist making a flower crown for this post.

Anyway, over the years I’ve gotten rid of every other Forever21 purchase but I could never seem to let go of this one. I had this idea that I was going to try to make more of them but it never really seemed to happen. Then this summer I took a Copying Ready to Wear class at school. I decided to use a coat as my class project so I could learn all the more difficult stuff, but as soon as class was over I used the same techniques to whip up this dress. (And then immediately made a second one, and started a third. More on those later.)
Copying RTW - F21 dress

Copying RTW - F21 dress

I used this Cotton + Steel fabric (I actually ordered it from Craftsy but they don’t seem to have it anymore) and it’s so so so perfect. It’s got the great crispness of cotton which is perfect for all those gathers and the pockets, but it’s a lawn so lightweight and doesn’t look like it’s made of quilting cotton. Insert heart eyes here. And then there’s the buttons!! I knew I wanted wooden ones but I was in one of those situations where I wanted the dress to be done RIGHTTHISMINUTE so I could wear it, so I only had time to go to Joann’s. The only ones they had that were wood and big enough were these stupid square ones. Except then I realized if I turned them a bit they became diamonds and suddenly they fit perfectly with the print. *squee*
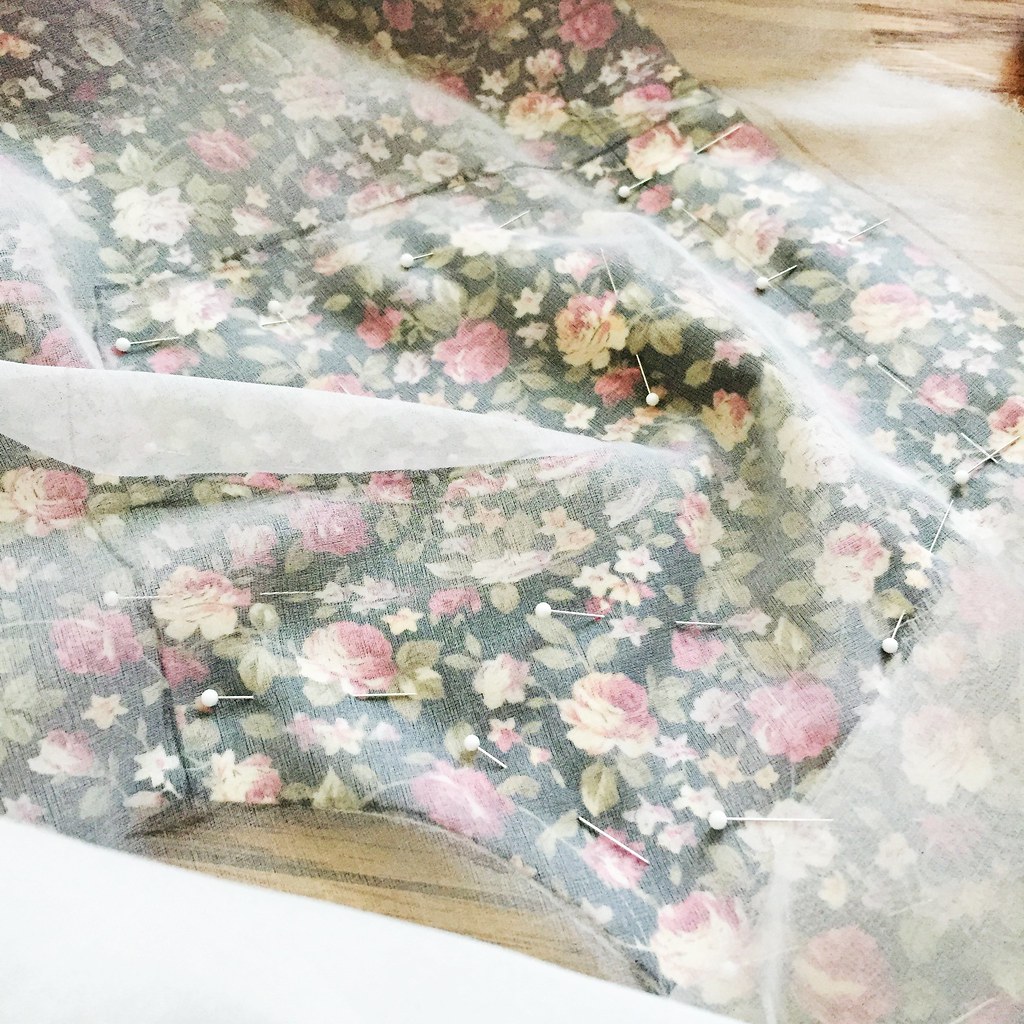
The nice thing about this technique for copying RTW garments is that you don’t actually have to take the garment apart. It can be rather time-consuming though, so you do want to make sure you’re putting all the work in for a garment you’d actually want to wear in the end. The super simplified gist of it is you mark grain lines on the RTW garment with thread, then use marked silk organza and about a million pins to trace seam lines and darts. Then you transfer those to tissue, true up your lines, and you’ve got a pattern of your RTW garment.

copying RTW F21 dress

If you’re interested in the more in-depth version of this, the book we used in class was “Making Garments from Existing Garments” by Kenneth King. It’s fairly in depth with lots of photos which makes the process pretty easy to follow. I believe his Jean-ius class on Craftsy uses the same technique if you’re a more visual learner. And of course, if you’re in the San Francisco Bay Area, you should just hop over to Canada College and take the class with Lynda Maynard because she’s fantastic. (Although I’m not sure if it’s offered every summer. Might be every other summer.)

In other news, these are my new favorite pockets and I want to add them to cardigans and other full-skirted dresses. You basically just cut them wider at the top edge than the bottom edge (like a trapezoid), but then stitch the side seams parallel so the excess from the top edge falls away from the garment.

Now excuse me while I go find some berries to pick. I have a sudden blackberry craving.

Adventures in patterndrafting // mystery fabric contest

Mystery Fabric Contest dress

Mystery Fabric Contest dress

Mystery Fabric Contest dress

Mystery Fabric Contest dress

Mystery Fabric Contest dress

Mystery Fabric Contest dress

Mystery Fabric Contest dress

Mystery Fabric Contest dress

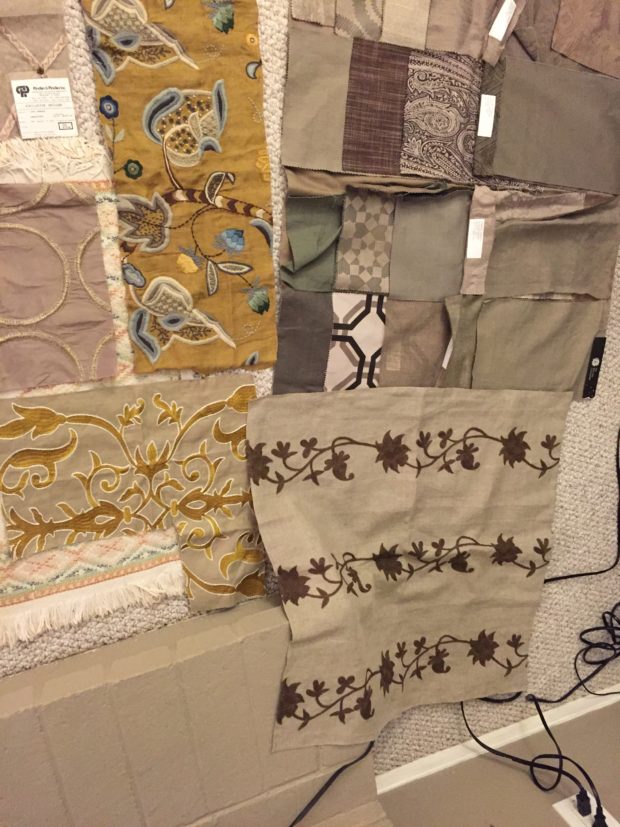
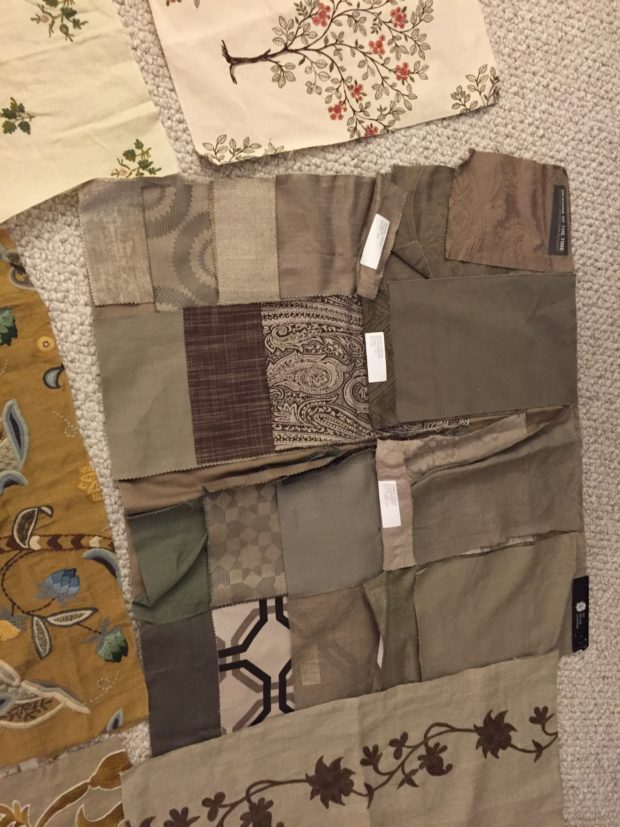
My school hosts a mystery fabric contest every year. This year participants received a bundle of mystery fabric, each one marked only with a number and the general color scheme of the fabric inside. You have from October to April to put together a garment using at least 50% of each piece of fabric included. Some people received several yards of the same fabric. Other people (ahem, me) received mostly tiny samples, with nothing bigger than a fat quarter. You can add as much fabric as you want too!

2016-01-28 22.37.12

2016-01-28 22.37.03

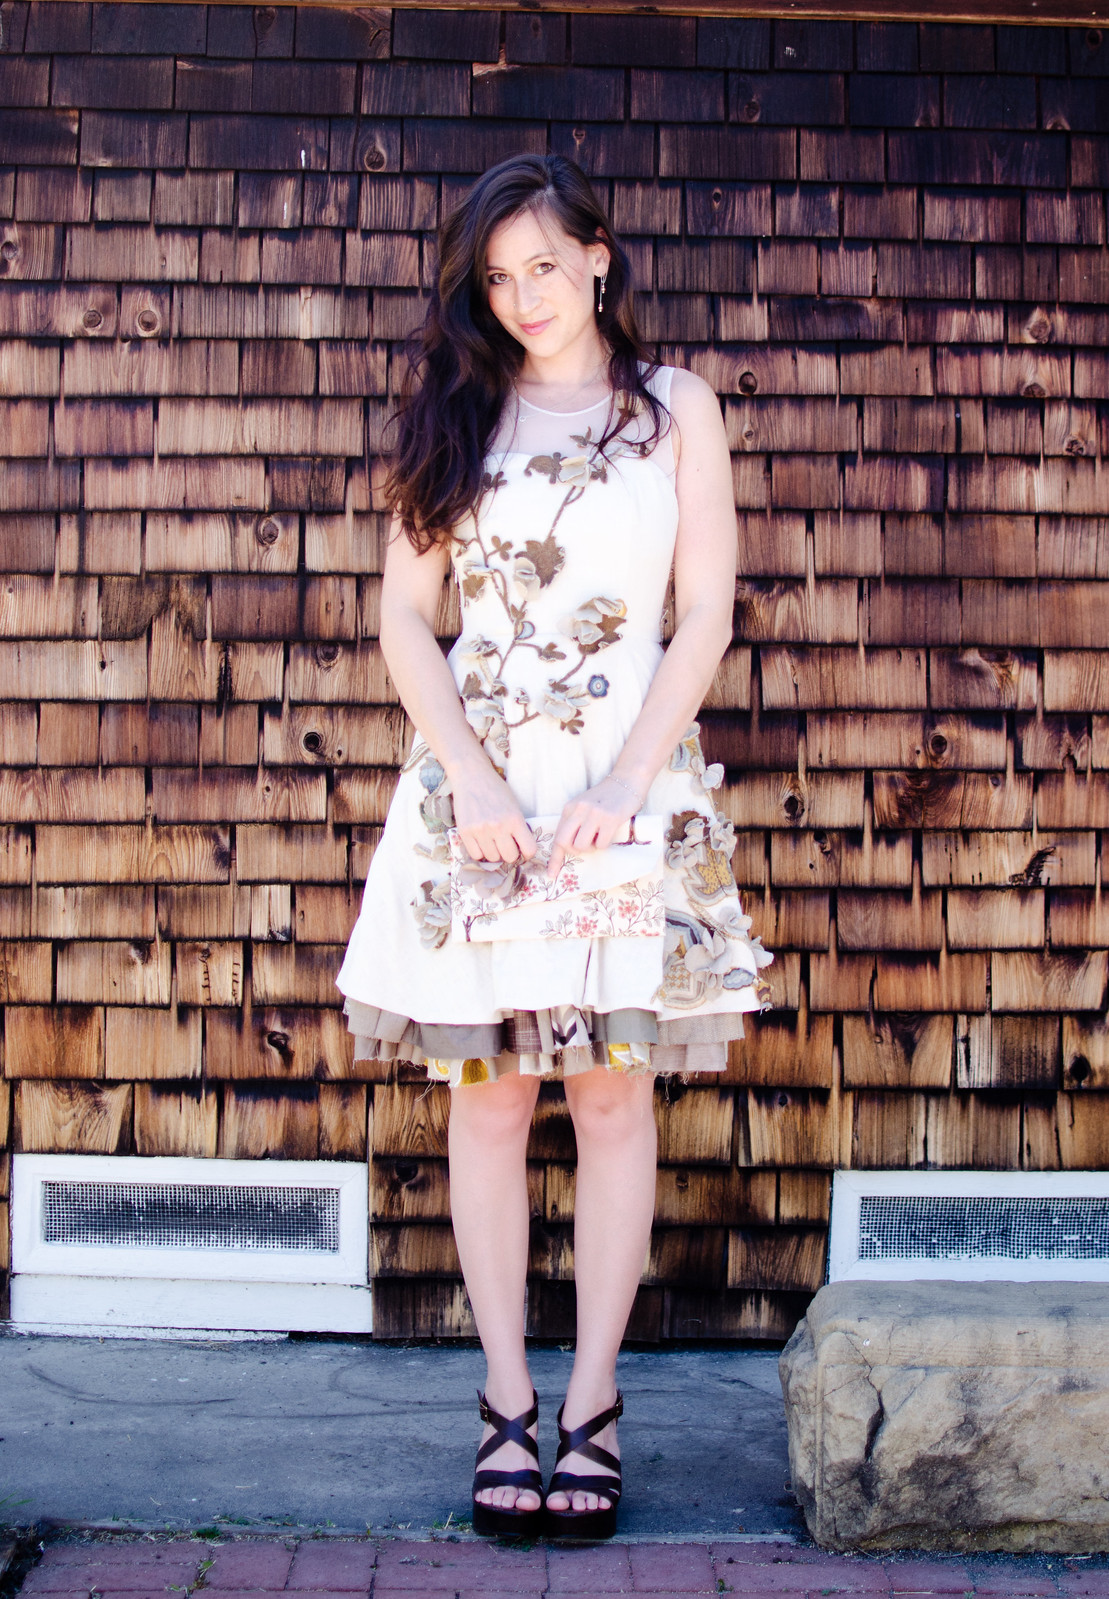
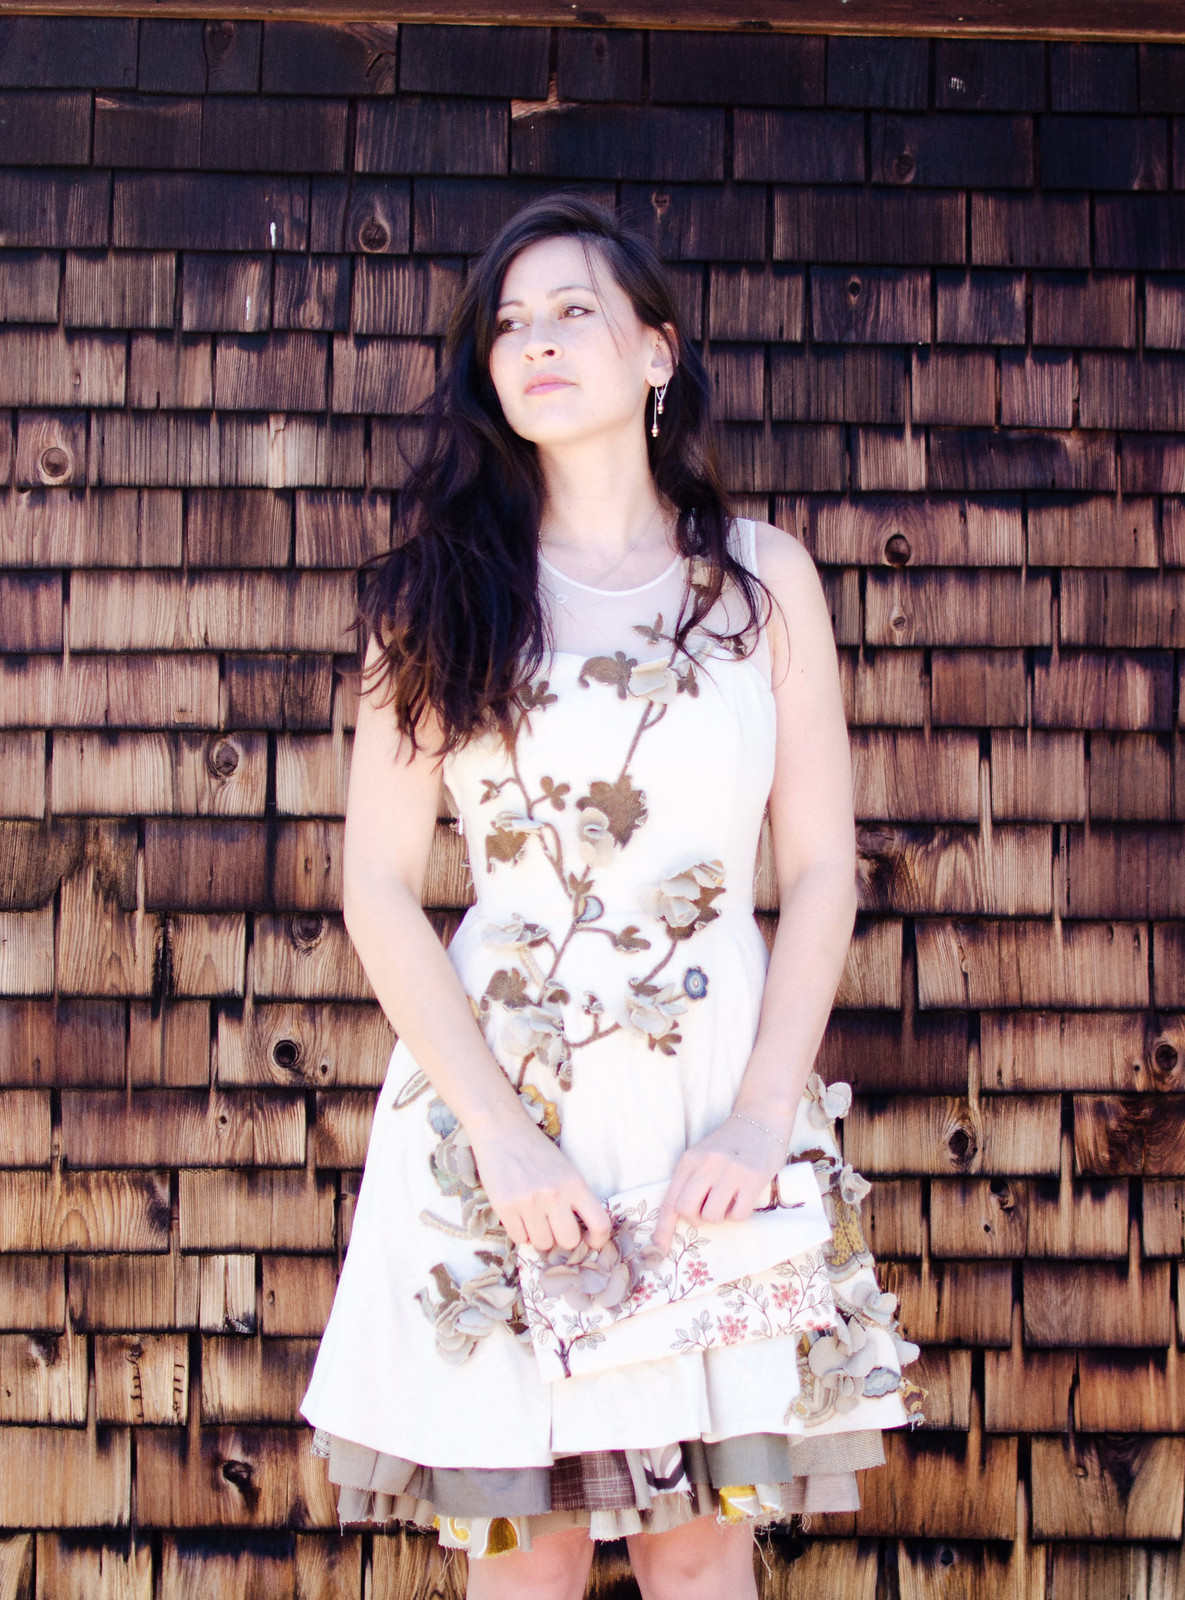
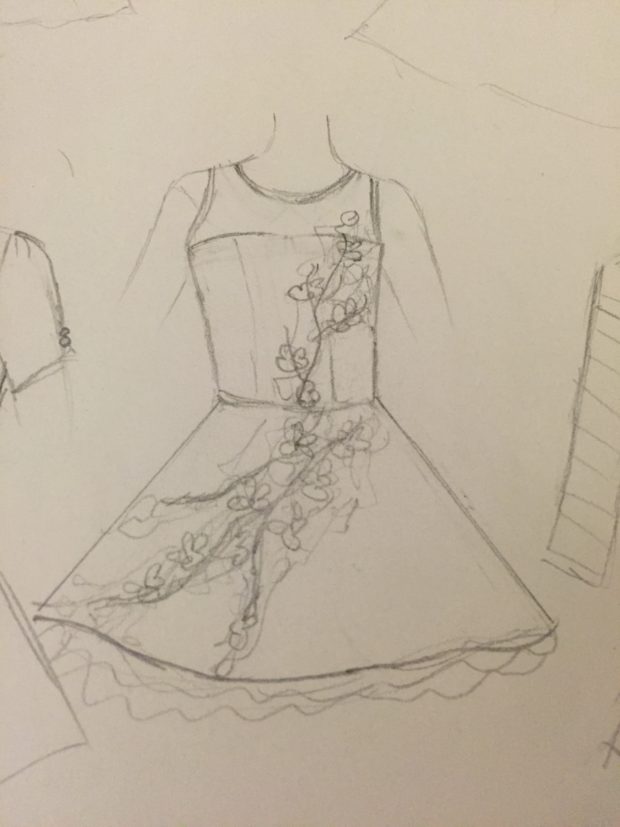
I was pretty stumped for a while after getting my bundle. At first I was thinking of doing something big and dramatic a la Regina from Once Upon A Time (season 1-2), with one side done in a cool patchwork pattern and the other side in a solid or floral print, but I kept coming back to a fear of it coming out looking like a quilt so I nixed that idea. Then one day when I was working on Cinderella’s ball gown while simultaneously daydreaming about doing Cinderella’s wedding gown (I am a crazy person, yes.), I had a lightbulb moment. Why not do a modernized party dress version of Cinderella’s wedding dress, but with the same floral/mesh/gauzy look?

2016-01-28 22.01.19

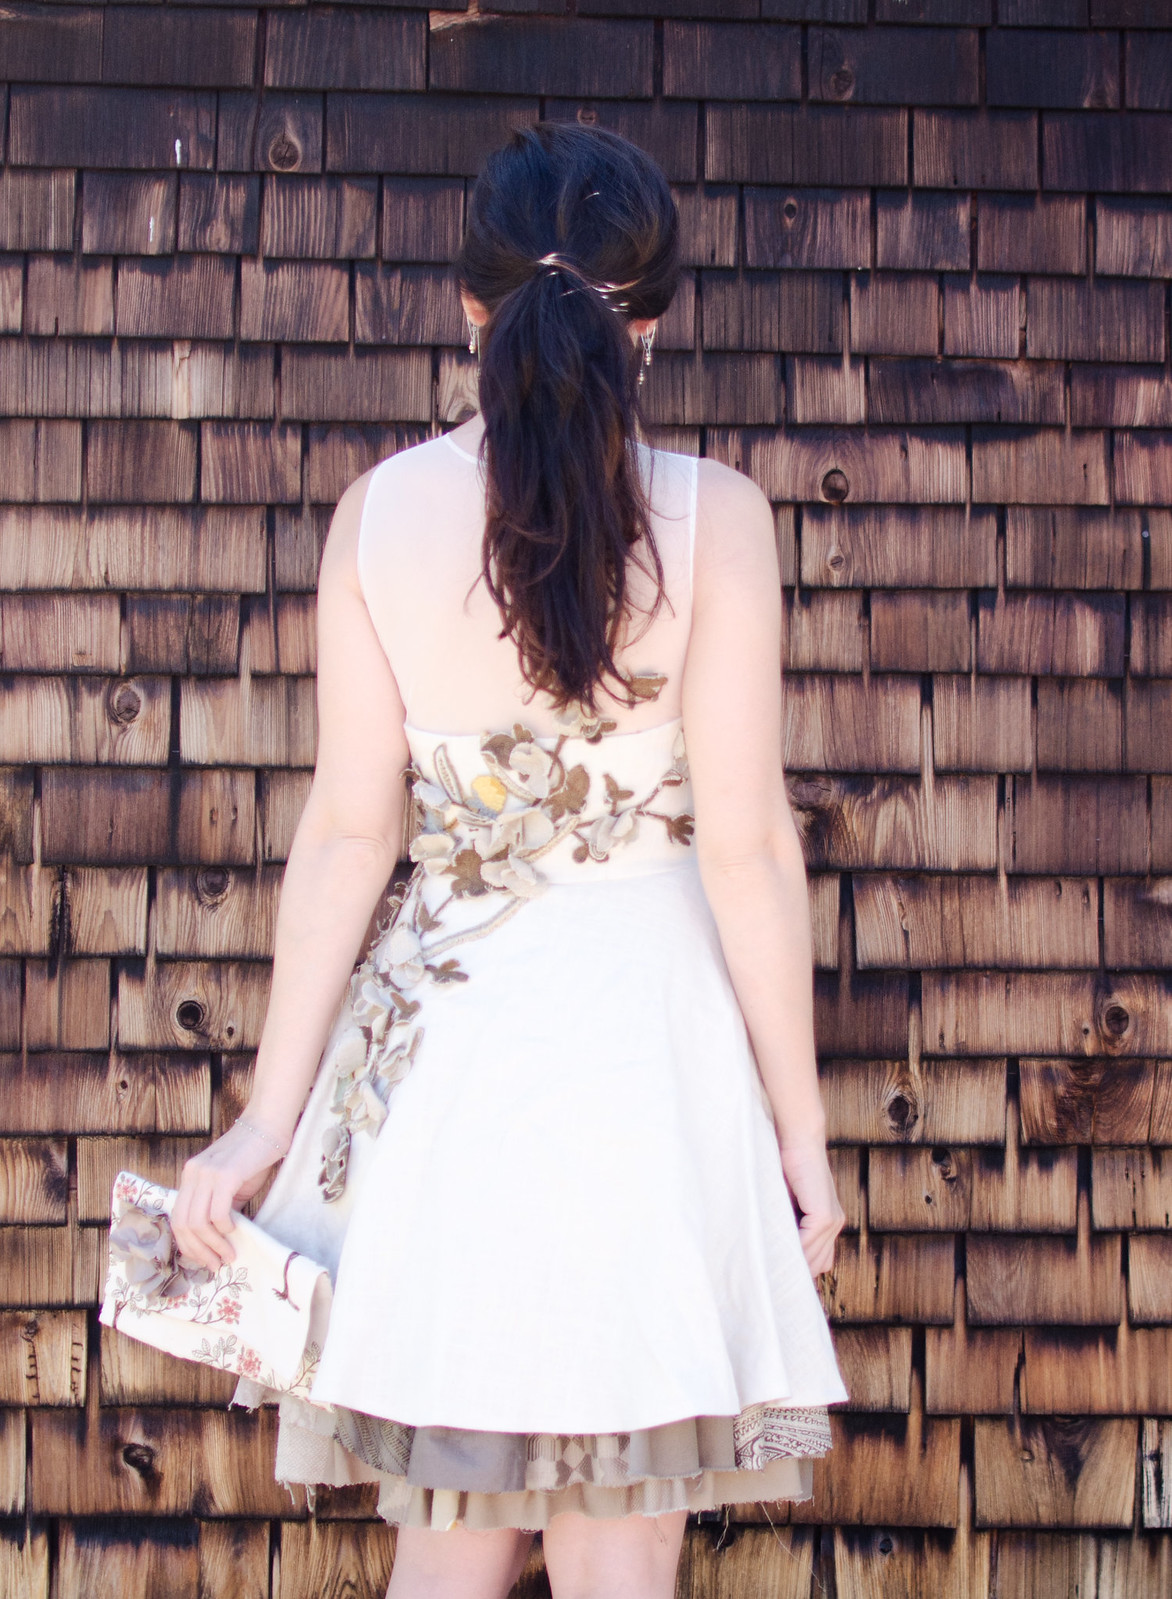
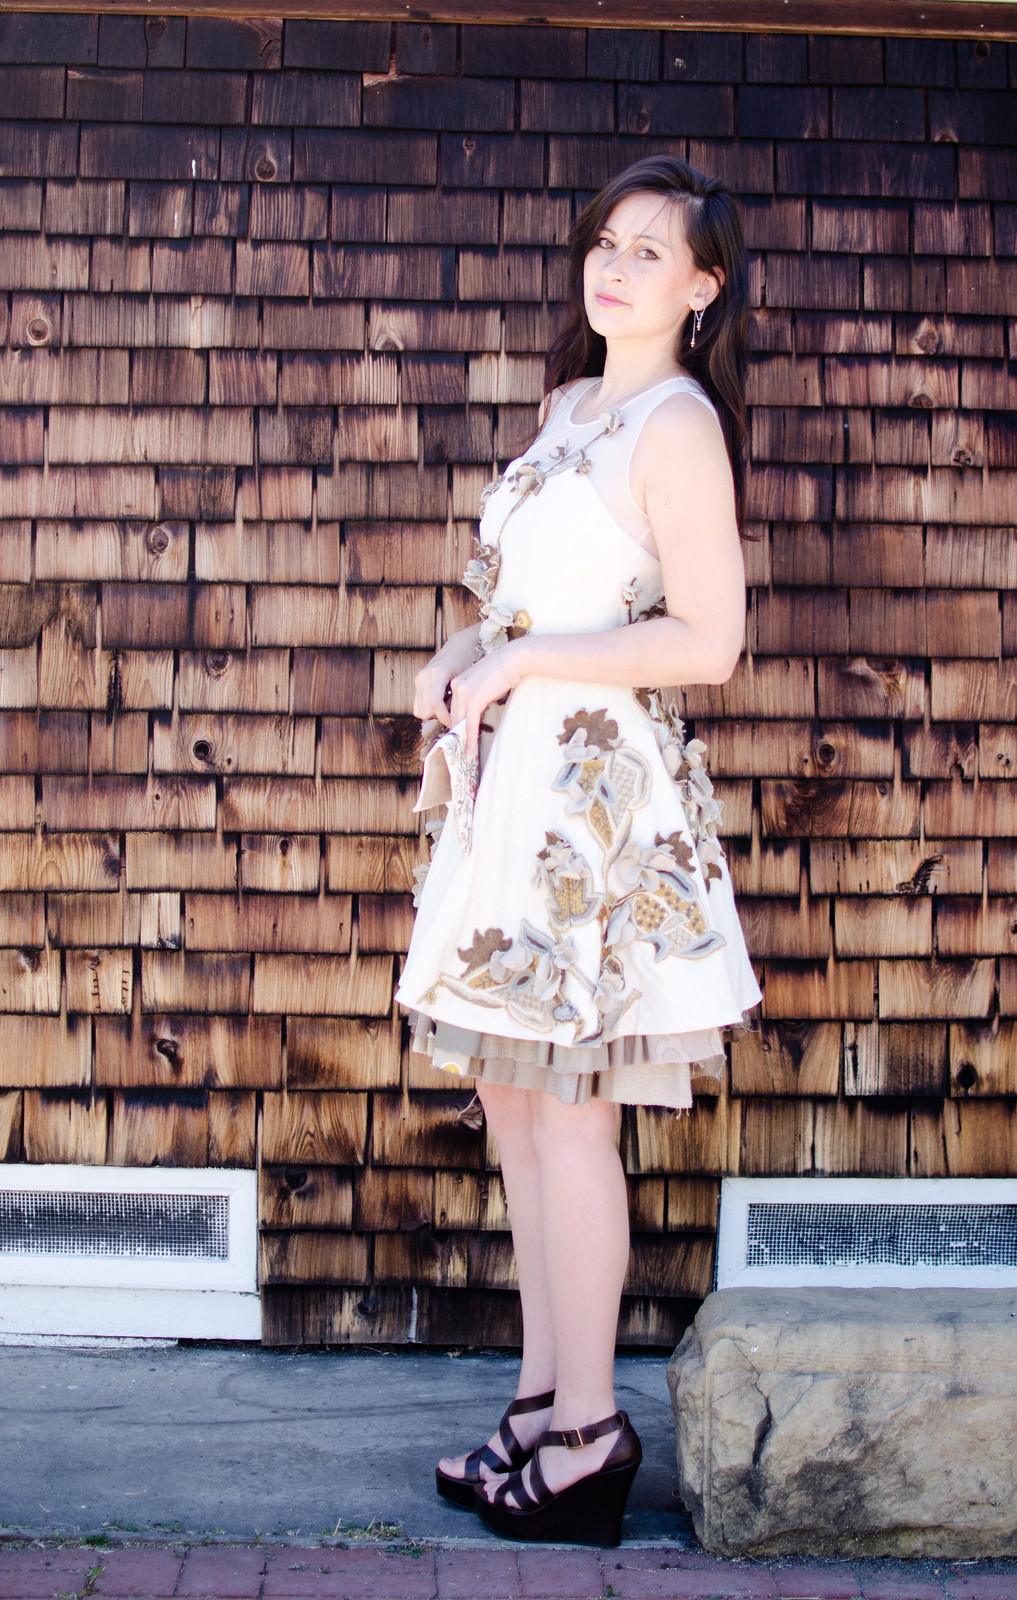
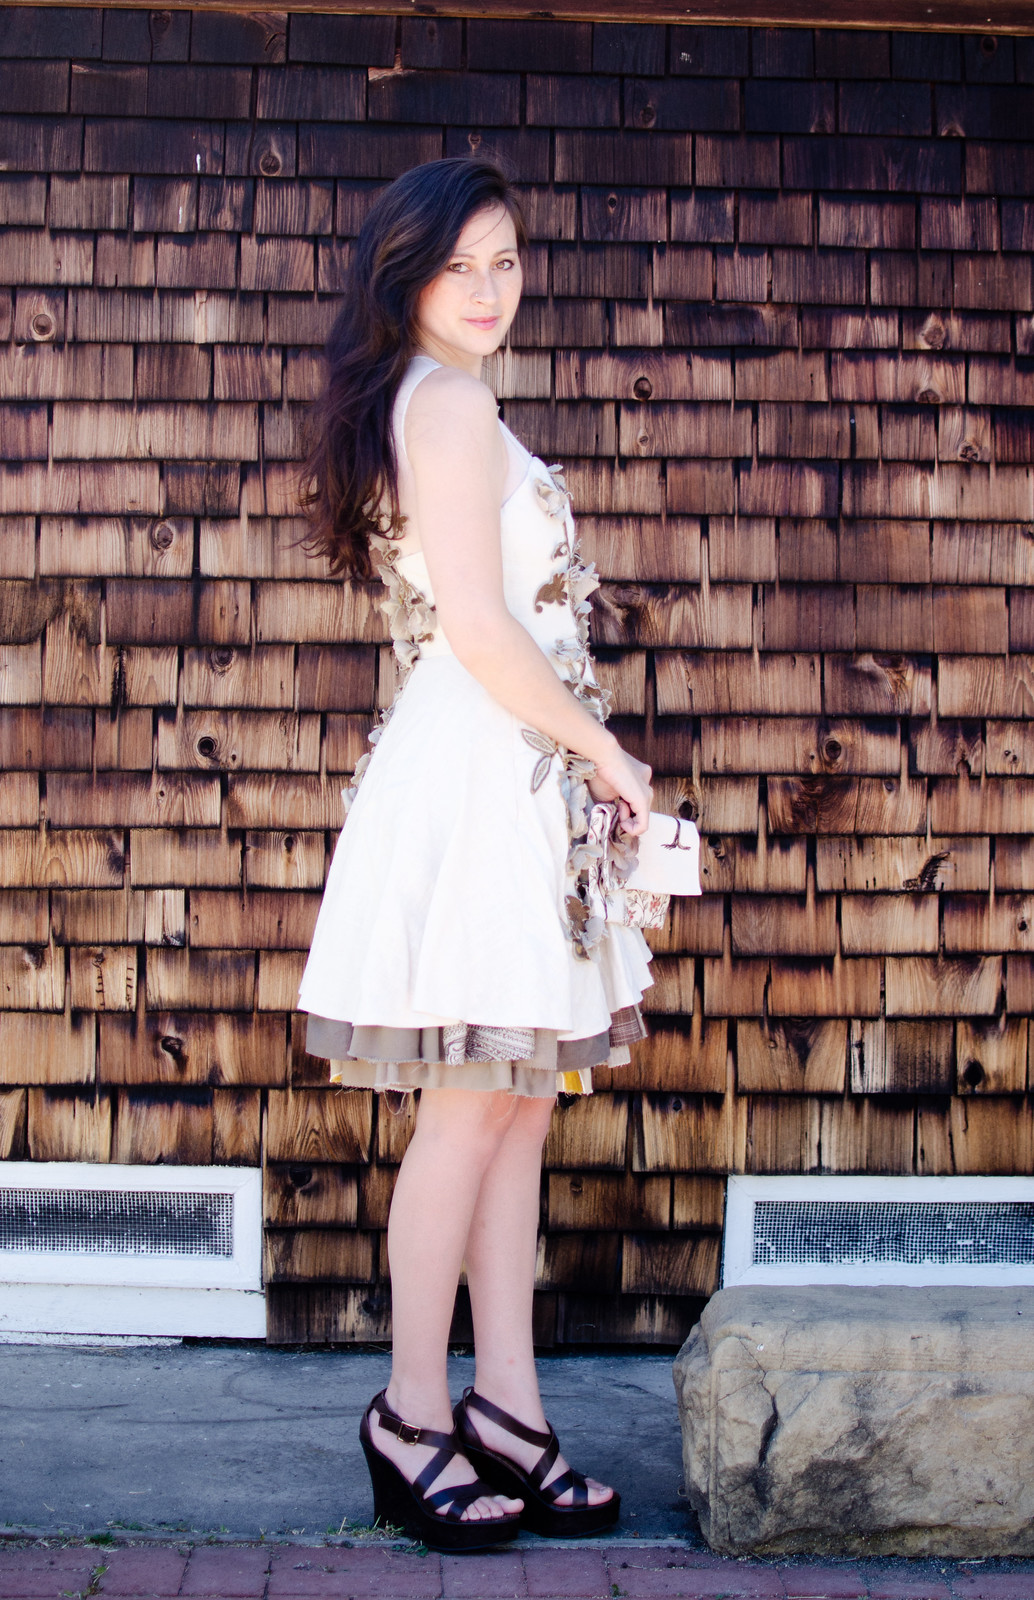
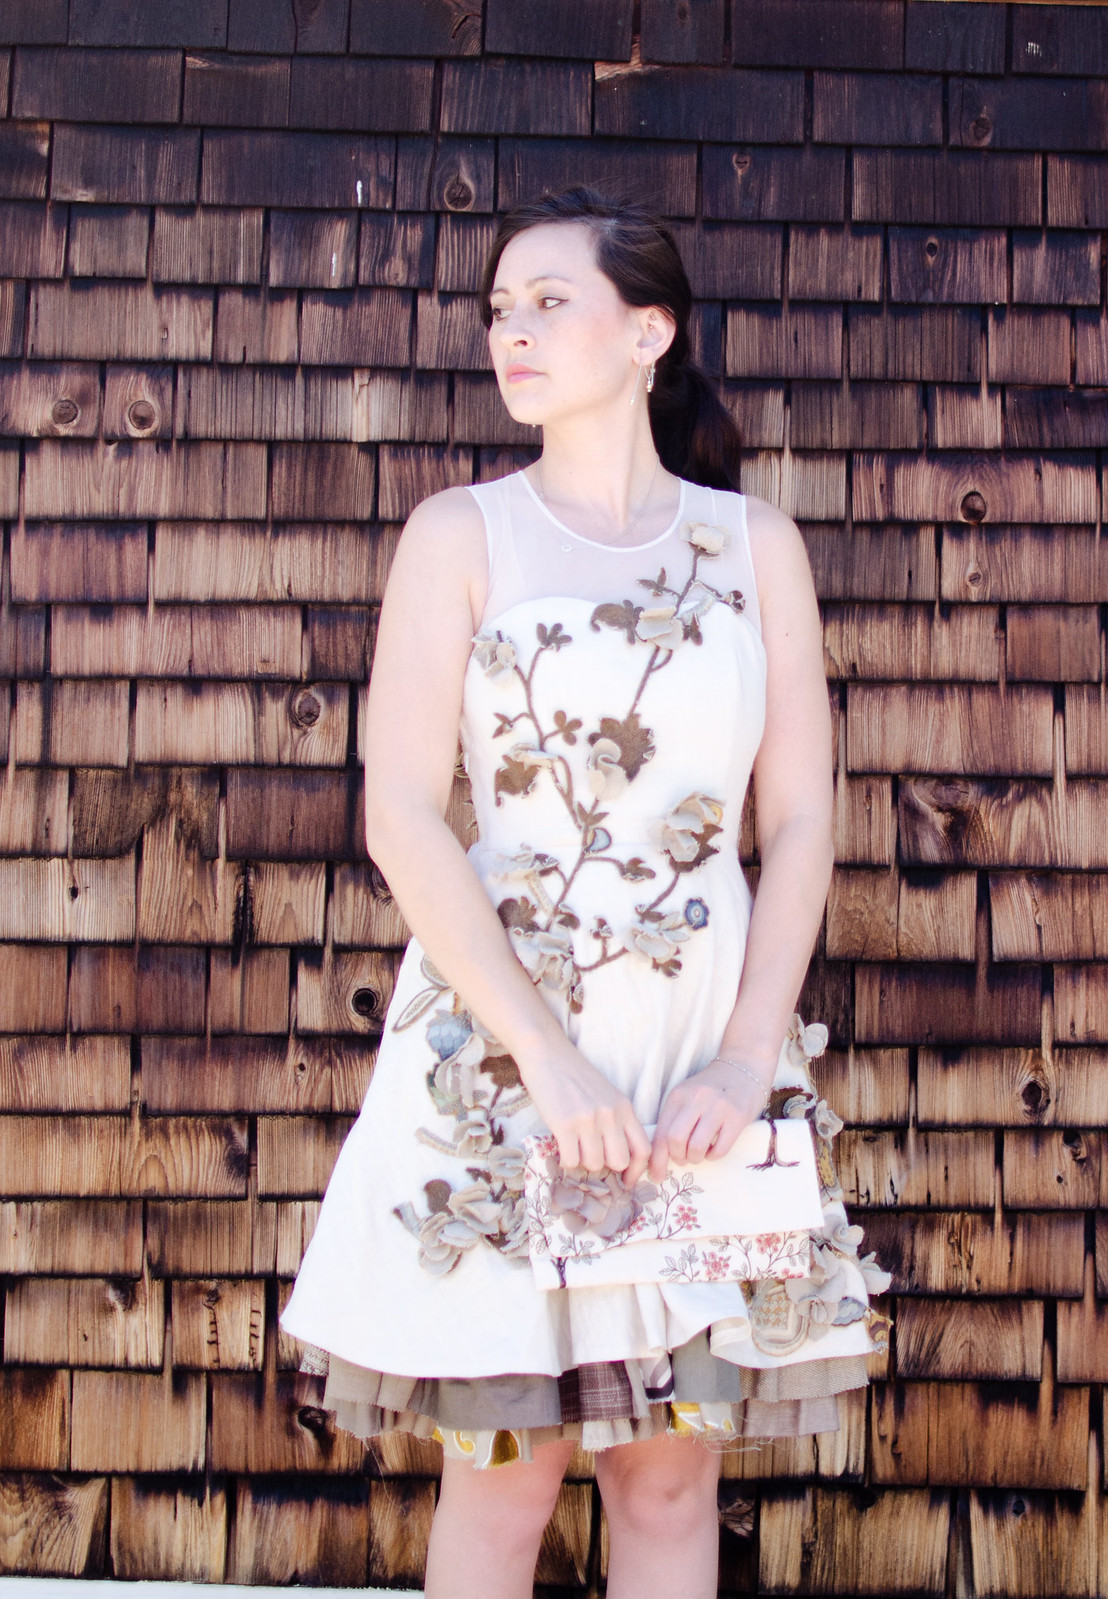
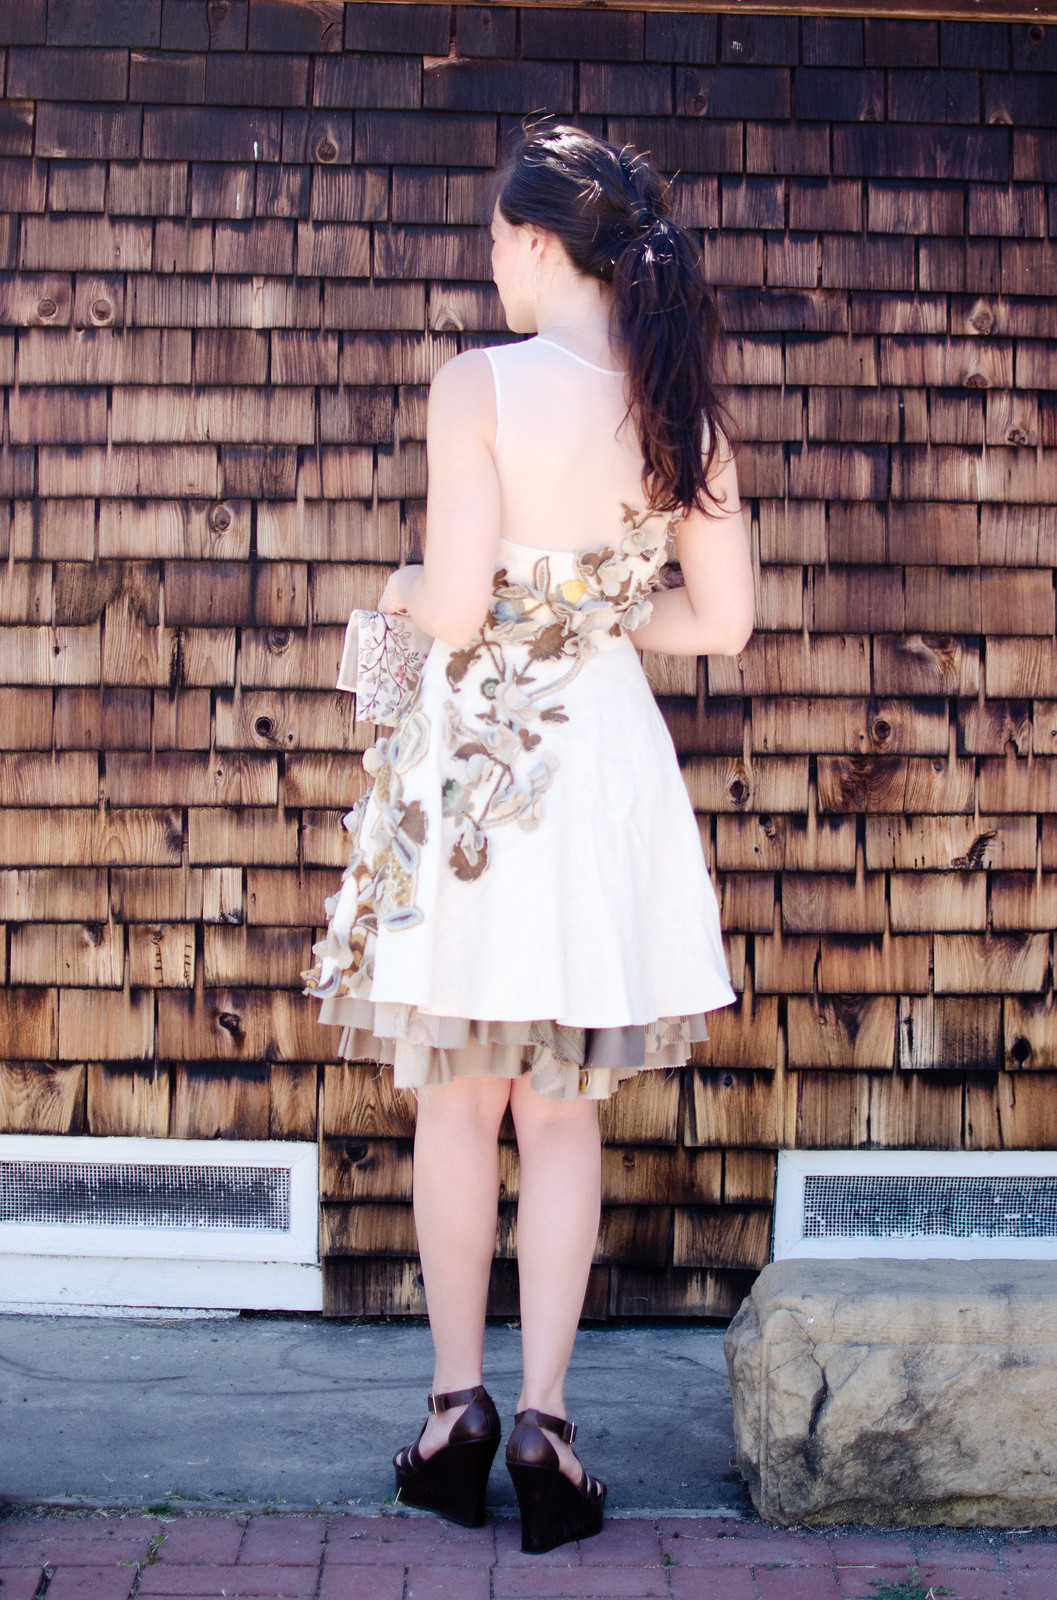
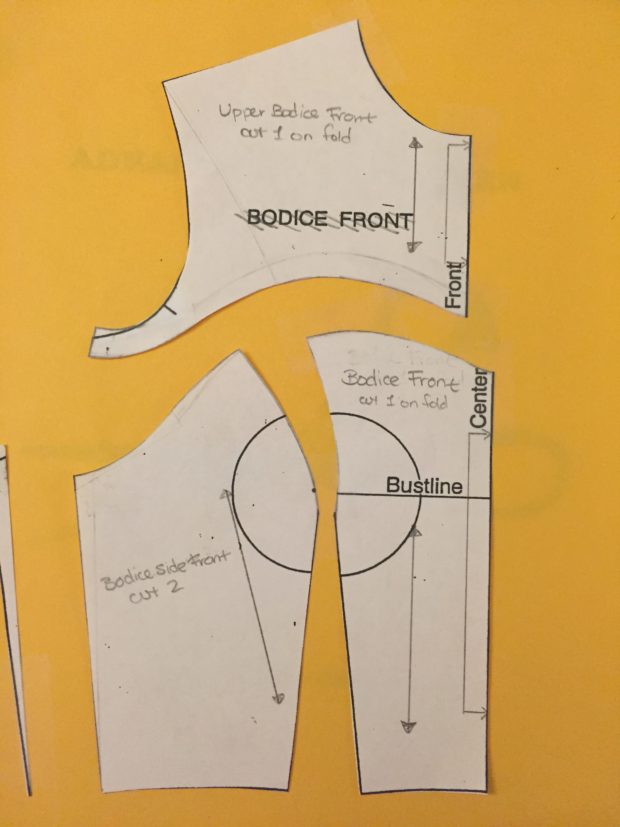
I started off drafting a pattern for a dress with an upper yoke in a sweetheart neckline shape. Since I knew I wanted to sew the upper yoke in mesh and since I wanted it to have a more formal party dress kind of look, I did a lot of contouring around the princess lines and sweetheart neckline to make it more form-fitting. Then I just used the same skirt pattern as my Christmas dress. Since a lot of the fabrics in my bundle were linens in earthy colors, I went for a similarly earthy (but still somewhat fancy-looking) linen from Joanns in ivory.

2016-01-28 22.01.26

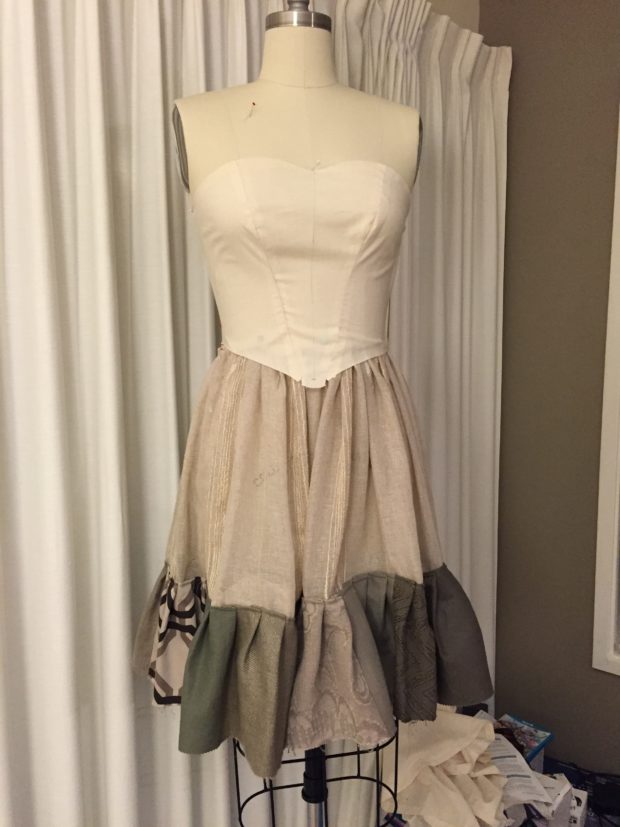
Construction-wise, I started off by taking the three identical pieces of sheer gauzy curtain fabric and sewing them together as a dirndl underskirt. Then I tore off all of the sample rectangles and cut up the backing fabric into similarly sized rectangles and sewed them together into a long piece (similar to what I did for my Cinderella ball gown). I then pleated  those and attached them in two tiers to the underskirt so they would peek out a bit under the main dress.

2016-03-07 23.17.29

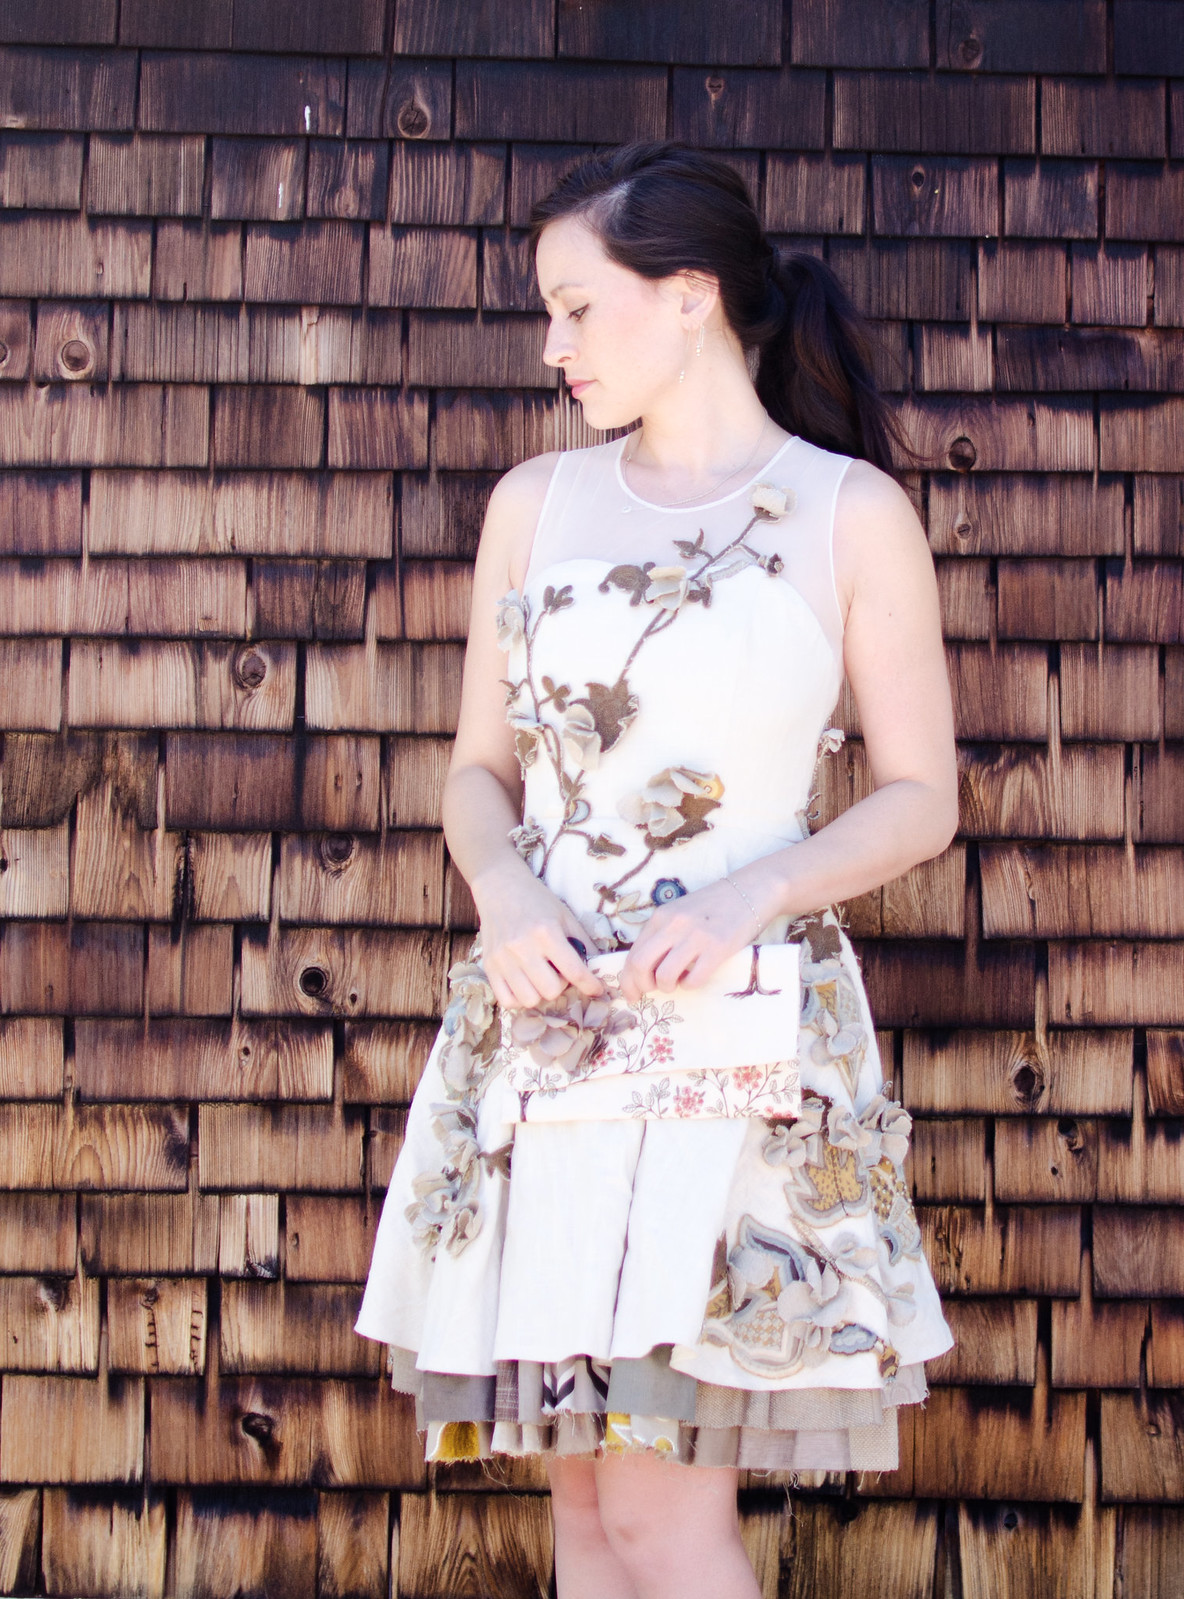
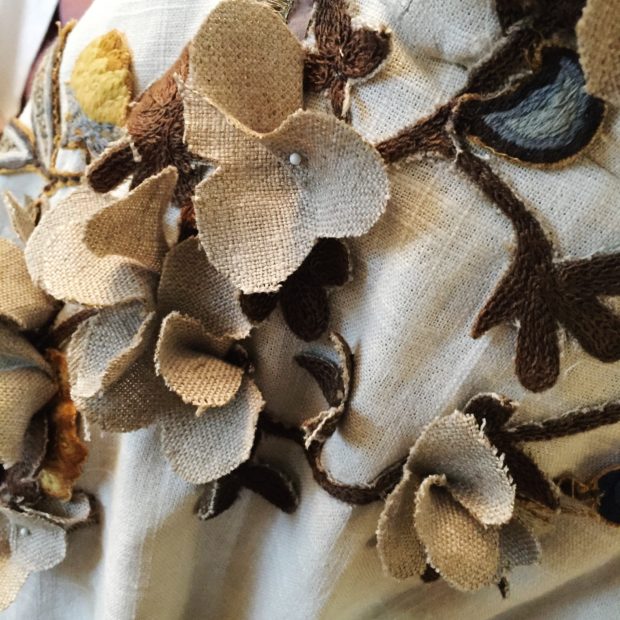
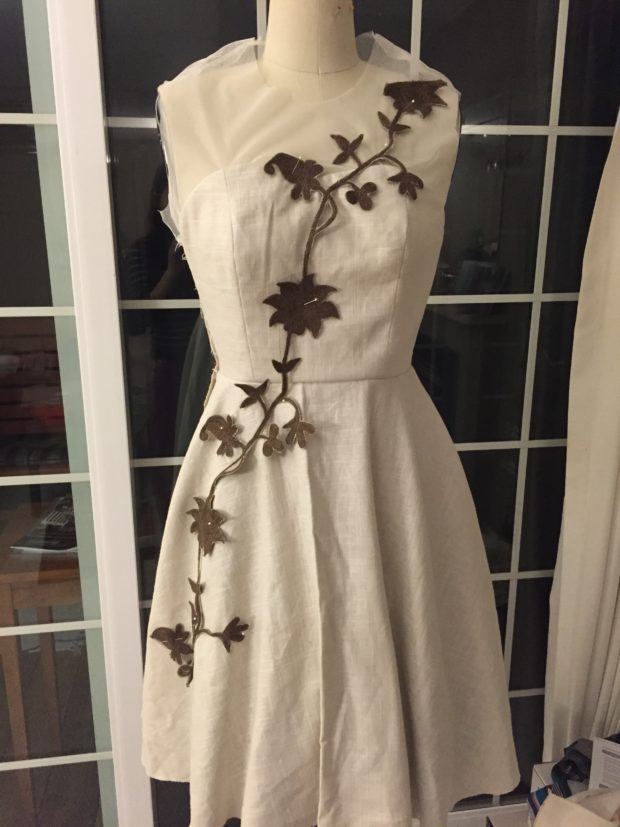
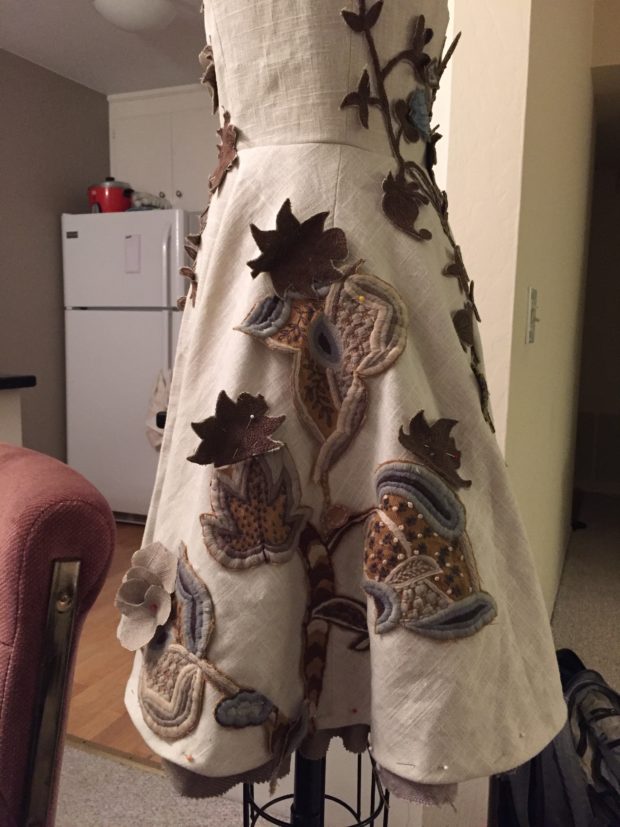
I’d had a hard time trying to figure out what to do with all of the thicker embroidered fabrics (especially ones where the background fabric clashed) so I decided to cut the embroidery out of the fabric and sew it onto my dress.

2016-03-24 13.06.28

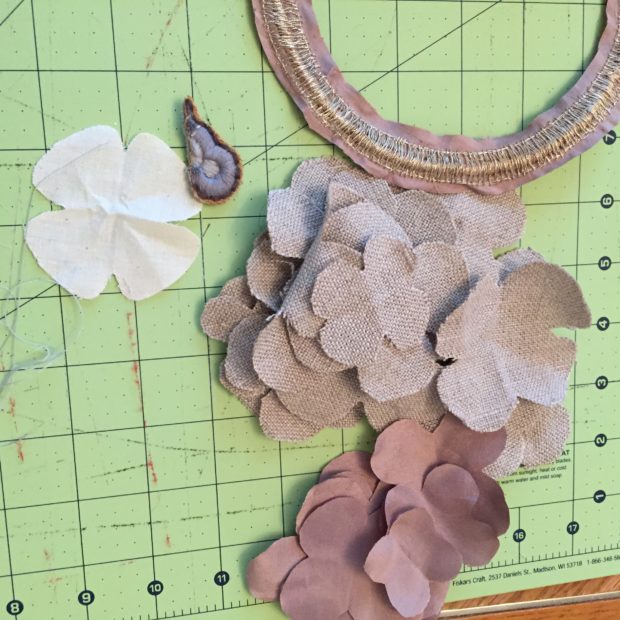
One of them was some kind of burlap-ish canvas and had a floral vine pattern so I cut out the vines and used them as the base for the hand-stitched design. Then I cut the background fabric into little flower shapes and folded them slightly and stitched them all over the garment.

2016-03-12 18.59.28

You may also have noticed the gorgeous colorful embroidered flowers on the horrid mustard background up there. Since the mustard really didn’t fit with anything, I decided to cut out all those little designs too and sewed them all over the dress for little hidden bits of color. Some of the bigger pieces ended up on the side of the skirt too.

2016-03-16 21.41.10

The end!

2016-03-24 13.16.48

You can check out some of the other submissions here. Tiny spoiler alert: my dress won first place!