Tag Archives: sewing

An axillary beast

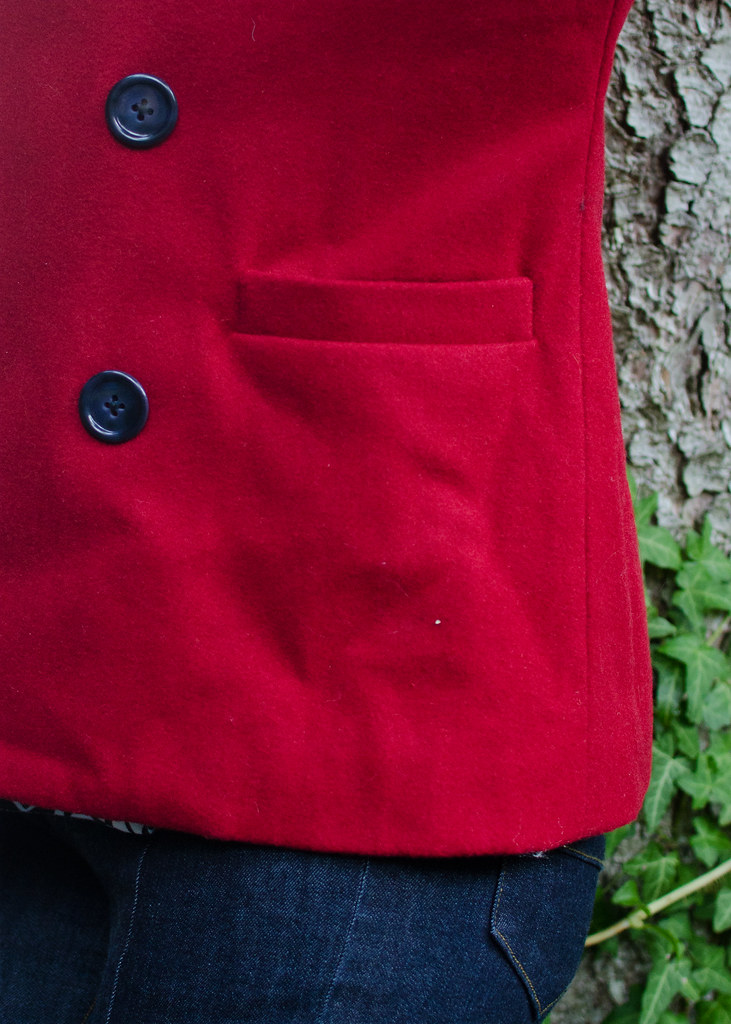
Colette Anise

Colette Anise

Colette Anise

Colette Anise

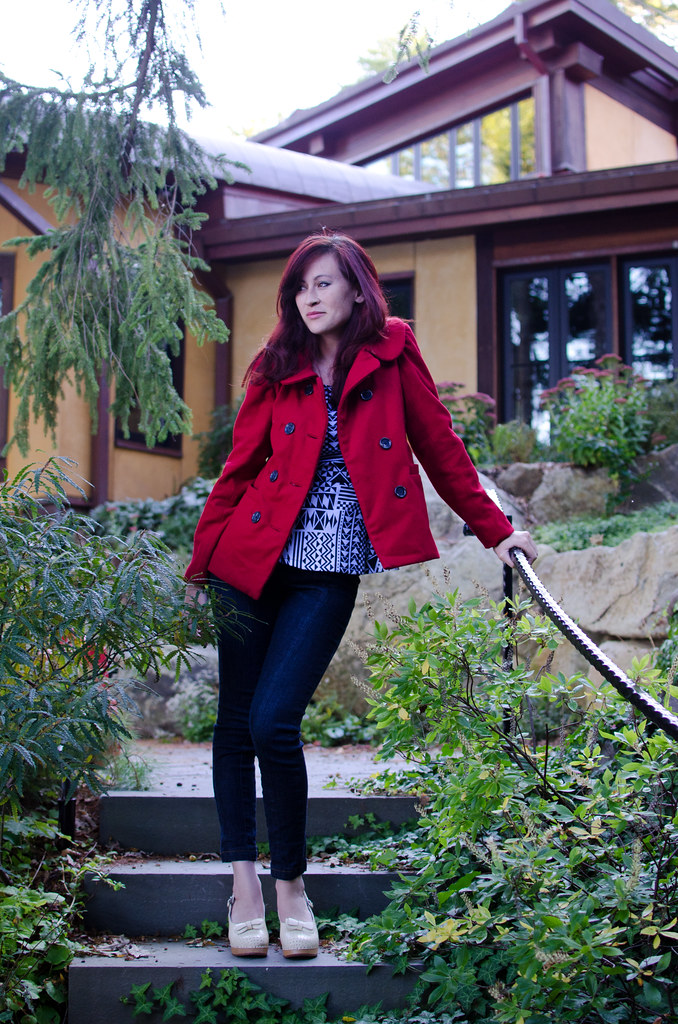
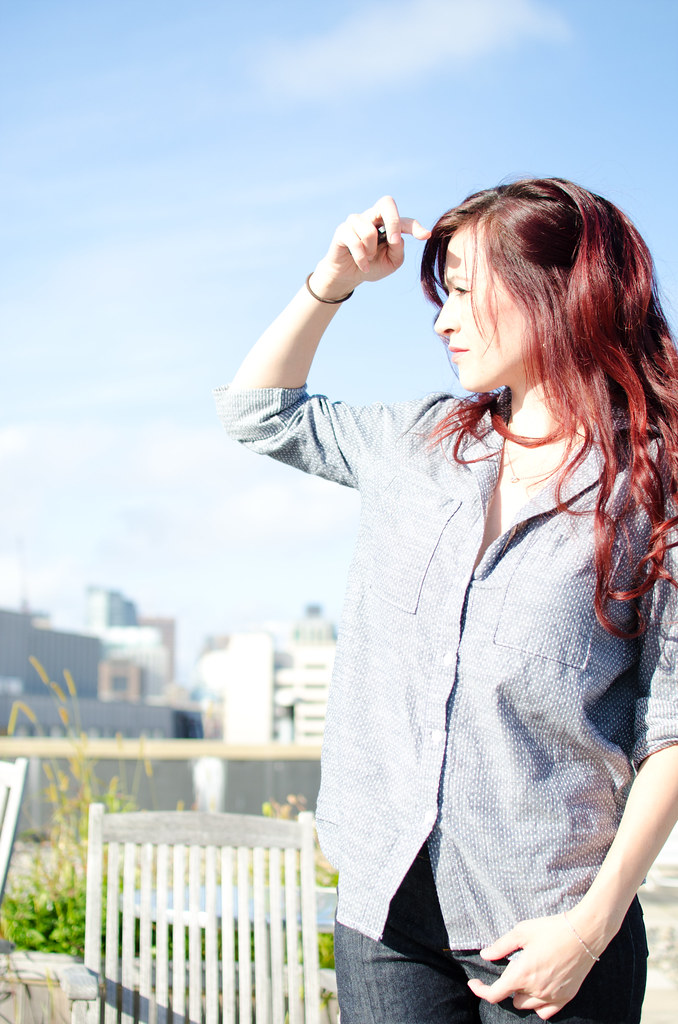
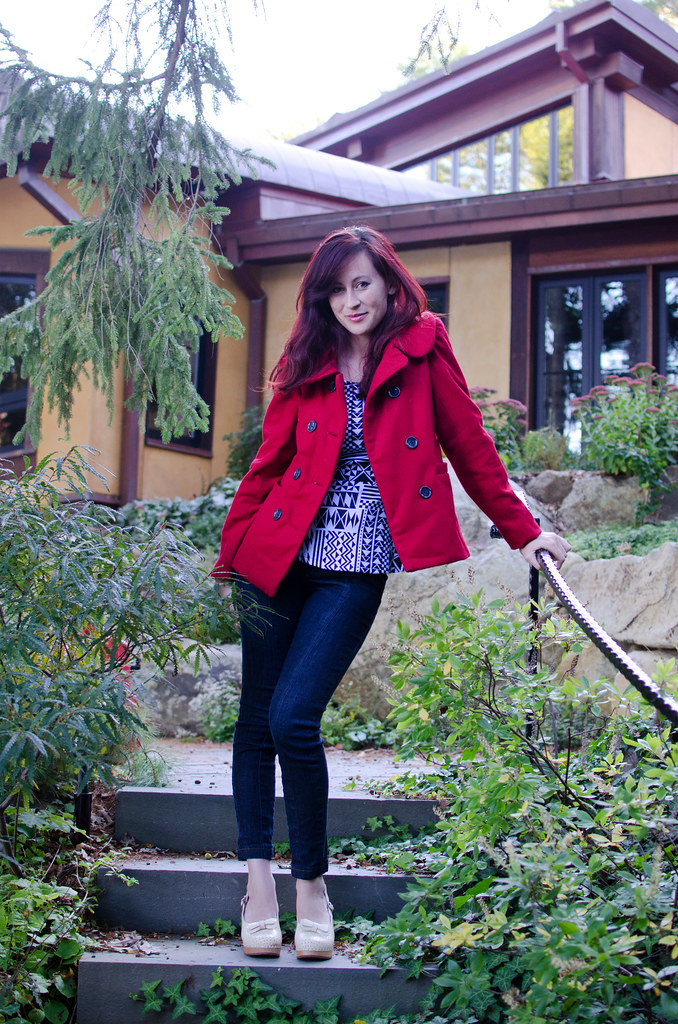
coat: self-made, pattern here // jeans: self-made, pattern here // top: on the blog soon! // shoes: Swedish Hasbeens

I have recently become coat obsessed. I blame Sonja’s coat post from a few weeks ago. I think it’s my way of coping with the sadness of summer being over. Although technically it was 80 degrees this weekend so we’ll see about that.

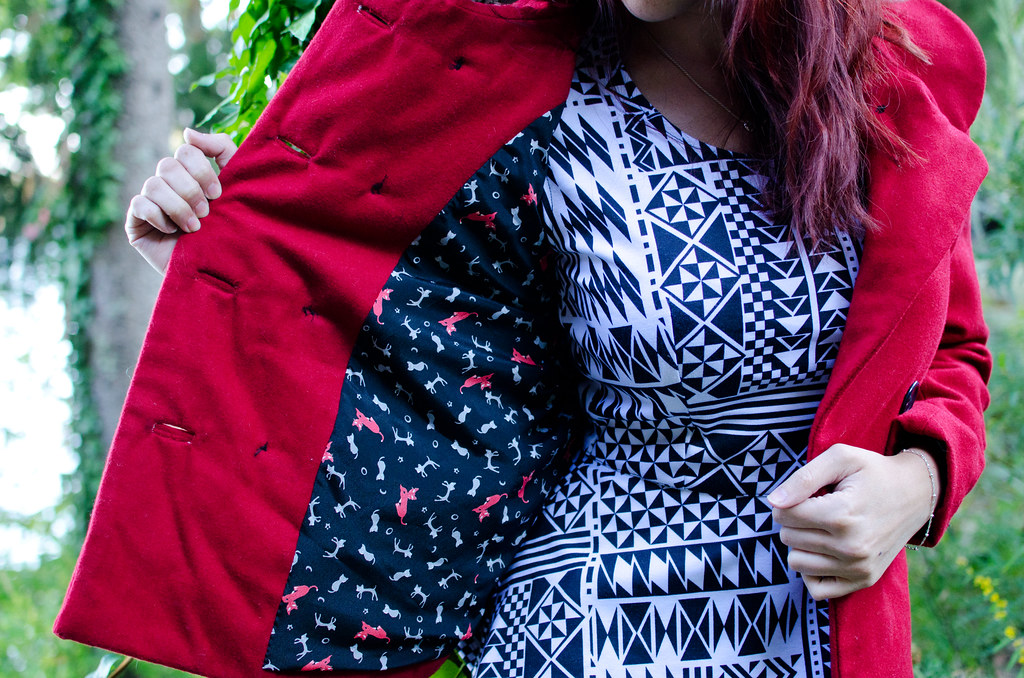
Anyway, ever since my blazer fiasco last year I’ve been a little hesitant to try anything remotedly bagged or specially lined or tailored. Then for some reason a few weeks ago I decided I needed an Anise and I needed it now. I’d made a first attempt and it had failed spectacularly due to a series of unfortunate decisions. First I bought a wool that was way too lightweight and drapey. Then I decided to compensate by using the stiffest interfacing I could find and getting some weirdly stiff satin for the lining. This resulted in Cardboard Coat.

This time around I used a nice heavy Melton wool and some poly kitties as lining. It’s funny how things work out when you use the right weights of fabric.

I sewed the smallest size and didn’t do much alteration to the pattern other than adding a whopping 4″ to the length. I am not kidding about my long torso. The fit is ok except the shoulders are the tiniest bit tight if I wear much more than a shirt underneath and ohmylord the armpits are tiny. I was griping at sewing club about Colette patterns giving me a complex about my beastly armpits. So next time I’ll go up a size and lower the arm-thingy by an inch at least. (Not sure why I didn’t think to do it this time considering I had to do the same thing with the Laurel and the Sorbetto.) I think I’ll also do some more practice on the bound buttonholes because they’re pulling a bit on that side of the coat.

Other coats I’m drooling over:

-Named is quickly becoming one of my favorites thanks to the Jamie Jeans and this lovely coat. In fact if you saw on Instagram I sort of made this one in one day. It will make it to blogland soonishly.

-The Talea coat from Burdastyle has literally been in my queue for about seven years, waiting for me to be competent enough to be able to make it. I rediscovered it the other day and I think it might be time.

-I think this double breasted boyfriendy look is what I was going for when I made the Anise. I love how the Anise turned out but it’s a very different fit than what I was expecting. Which is silly because “cropped with a huge peter pan collar” doesn’t exactly scream “boyfriendy”.

Ineedthis.


(Sidenote: I just realized my post title makes it sound like I have monsters living in my armpits. Whoops.)

de Nîmes

Jamie Jeans + Archer
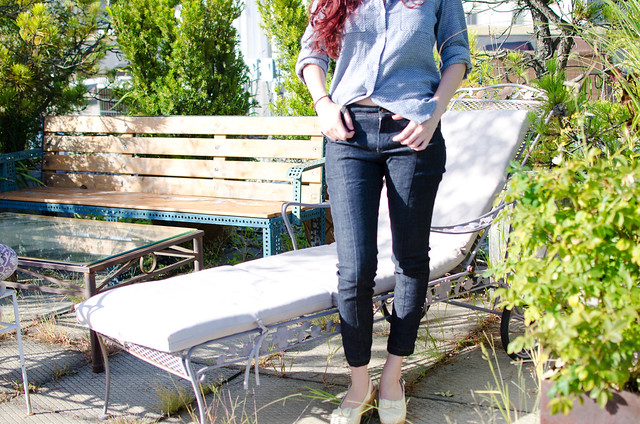
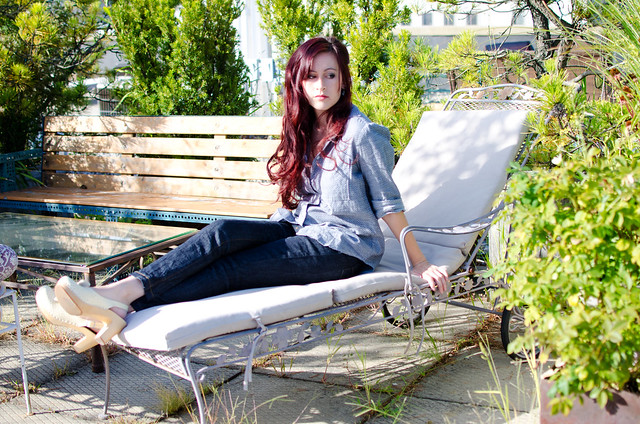
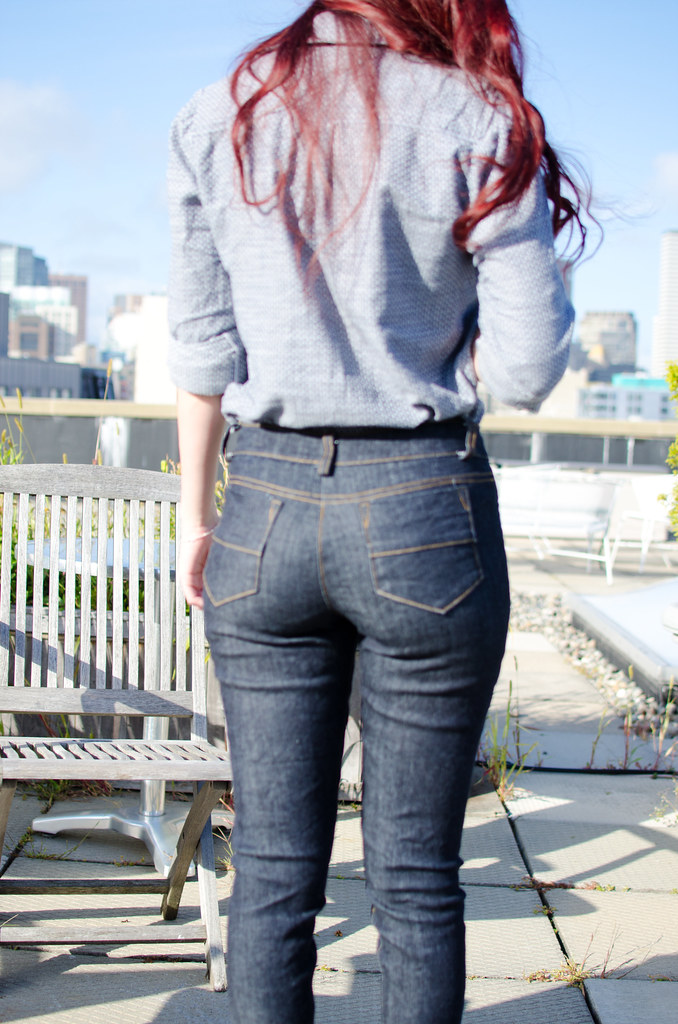
Jamie Jeans + Archertop: self-made, pattern here // jeans: self-made, pattern here // shoes: Swedish Hasbeens

For a while now I’ve wanted to have a mostly handmade wardrobe. I wanted to be able to look down at my outfit and know that I made most of it. A happy percentage for my ego was about 80%. That meant I wore a lot of dresses and leggings because making actual jeans would of course be impossible. People don’t make jeans. Jeans come out of machines ready-made. Fairies are likely involved.

And then I discovered the joys of squats and deadlifts and pretty soon all of my jeans were too small in the butt and upper leg area (including my favorite pair of Paiges, sad!). This briefly prompted an interest in the Barbell Apparel Kickstarter until I remembered that I learned to sew so that I don’t have to pay over $100 for single garments. I spent about two weeks reading every single pattern review of jeans on the internet and decided that the Jamie Jeans pattern would be a good one to start with. My two fears were finding the right fabric and getting the fit to be flattering.

I had no idea where to start fabric-wise. I ended up ordering 5 different denims from fabric.com and then emailing Named Patterns out of sheer desperation. Laura from Named wrote me back with some super helpful advice that I’m posting here (with permission):

“Most of the women’s skinny jeans are made of light weight denim, meaning 12 oz or less, and have approximately 1-4% elastan/lycra. If you want to make the jeans very fitted, I would suggest choosing a 8 – 12 oz denim, with about 2% of elastan. A stretch percentage of 10-15% is just enough, as very stretchy denims that have more than 2% of elastan are not very durable – they will feel nice and comfy at first, but become baggy quite soon, as the elastan fibers will wear off faster than the cotton. Basically, the heavier the denim the more durable it is, and same goes for the stretch, the more stretchy, the more fragile. These are just a couple of things to keep in mind when choosing denim, because jeans are usually something that you will wear almost every day, and if you make the effort of sewing a pair, you will definitely want them to last as long as possible 🙂

An 8 oz denim with 10% stretch sounds all right to me, it could be a little heavier too, perhaps 10 oz for added durability. As I said, I wouldn’t suggest anything with more than 2%. The Jamie jeans have some negative ease though, and they are meant to be fitted, so in any case it’s necessary to have some stretch.”

For my first pair of jeans I used this fabric, which is sadly no longer available. At 12.5oz it’s a little heavier than Laura suggests but it worked out great and made a sturdy pair of jeans that were still stretchy and comfy as skinny jeans. They’re a little too heavy to be summer jeans but in the winter the thickness would be perfect. The Named instructions were decent enough but what I pored over religiously through the whole process was this Flickr tutorial that I found on Scruffy Badger’s Jamie review post.

The problem was that I didn’t like where they sat on my waist. My super long torso meant that they were just a smidge too high to be regular jeans and a smidge too low to be actual high waisted jeans. I ended up cutting off about an inch under the waistband all the way around, except I forgot to take this into consideration with the width of the actual waistband so I ended up with a pair of jeans that fits great all the way up to the waistband, which is constrictingly tight. I think I can salvage them by just cutting a longer waistband but by this time I needed to move away from this project.

This was before I added the button closure.

For my second pair I decided to do something a little more summery. I bought this fabric in white and decided to make a pair of white jeans that I would then dip dye. I used 100% white cotton thread so the thread would dye too and it turned out pretty well! The one thing that was a bit annoying was that I didn’t actual wear them around until after I’d dyed them and they stretched out a bit and some of the undyed white stitching showed through. If I were to do this again I’d wear white jeans around for a day before dyeing them. This fabric felt much lighter but the stretch doesn’t seem to have as much recovery as the other pair, which is a bit annoying.

I made them the exact same way as the first pair except with an adjusted waistband. Sadly I threw these in the wash with a pair of denim shorts that bled so there is some weird blotchiness on top. Luckily they hadn’t turned out as dark as I had wanted so I had wanted to redye them anyway.

My third pair is very nearly perfect! I used a random denim I found at Joann’s (I think it was 8.5 or 9.5oz with 2% stretch). I took out a wedge at the top of the center back seam, trimmed an inch off the top before adding an appropriately sized waistband. I forgot that Named patterns have a 3/8″ seam allowance so I’m pretty sure I sewed these up with a 5/8″ seam, but it worked out because I remember having to take in the seams a bit in my first pair so these were the perfect size. They did stretch out a bit with wearing but I threw them in the dryer once (which I normally never do with jeans) and since then they’ve become the perfect size!

One thing I would do differently on the third pair is that I used cotton on the inside of the waistband instead of using denim. I found the waistband of the first pair (made of 12.5oz denim) slightly too constricting and thick and wanted to try using cotton instead. I forgot the actual reason for doing so and did it even though this fabric was more lightweight, which resulted in a flimsier waistband than I would like. Also the fabric was not the nicest and although it’s softened up with multiple washes, it was a bit scratchy at first.

Anyway, the moral of the story is that jeans are totally doable! The only supplies I bought that I’d never heard of where the jeans buttons (I wandered into Grey’s and asked Sarah “Do you have the button thingies that go on jeans?” and she was like “Here are 5 different kinds.”) and jeans topstitching thread. (Don’t laugh. I thought you just bought gold thread and maybe used the triple stitch button on your sewing machine.) The other thing that was absolutely indispensable in making my topstitching nice was the edgestitching foot I bought recently. It actually made topstitching fun rather than a perilous journey of sweat.

I’m currently working on my 4th pair in an unlabeled denim from Sew Low that feels around 9oz with maybe about 15% stretch. I’m trying something a little different with this one and using a dark thread for topstitching instead of the traditional gold. Next I want to do a light wash pair but I’m having some trouble finding a nice light shade of blue that isn’t weird.

Yay jeans!

Oh and I FINALLY finished my poor abandoned dotted Archer. I had set it aside because I’d done something wrong and was too demoralized to try and fixed it and then it ended up just sitting in my closet for over a year. Once I’d picked it up again I couldn’t figure out what I’d done wrong and it took me all of about two hours to finish it. Wherps.
Distract with a bow

Blue belladonna

Blue belladonna

Blue belladonna

Blue belladonna

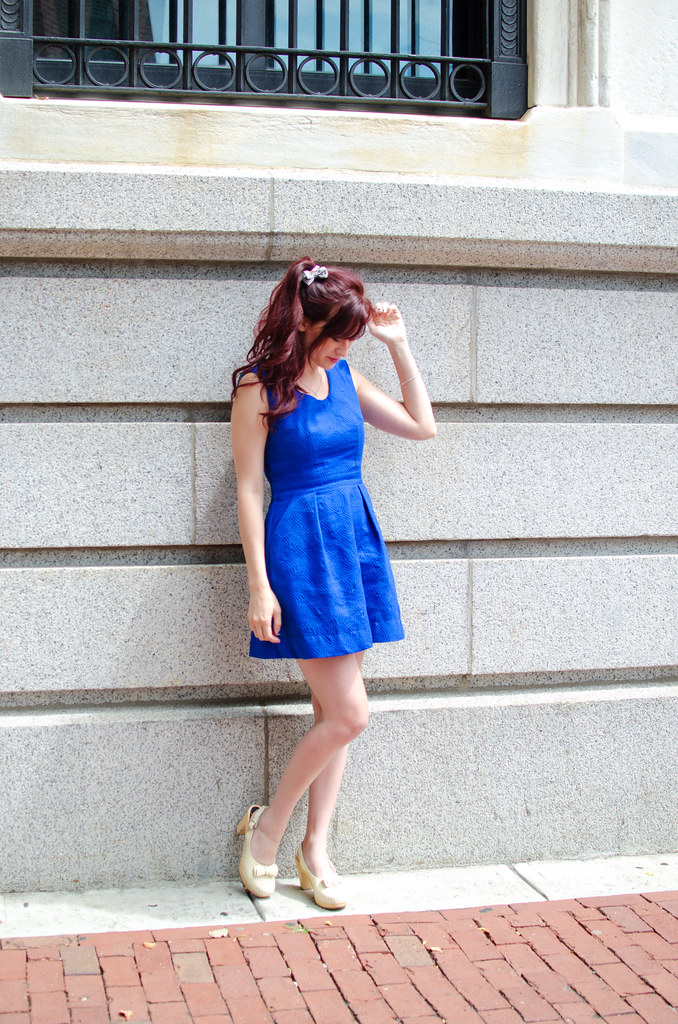
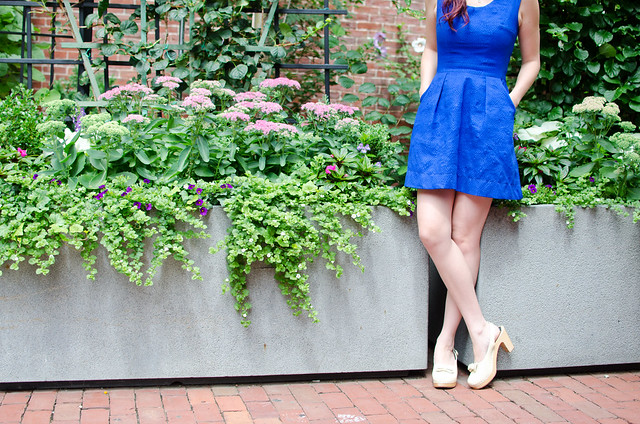
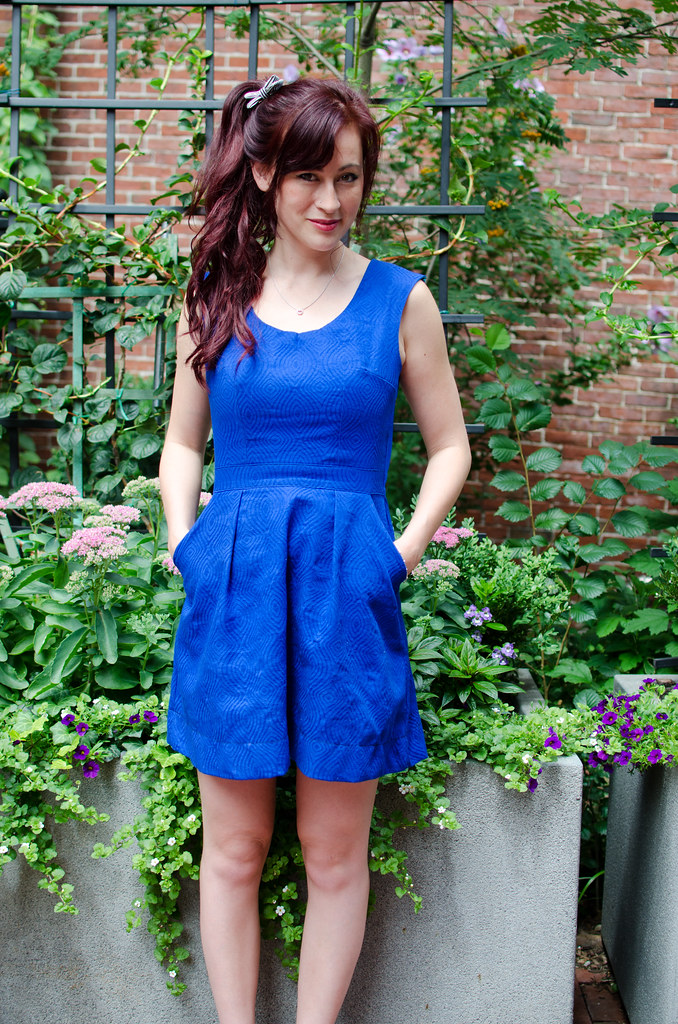
Blue belladonnadress: self-made // shoes: Swedish Hasbeens // bow: F21

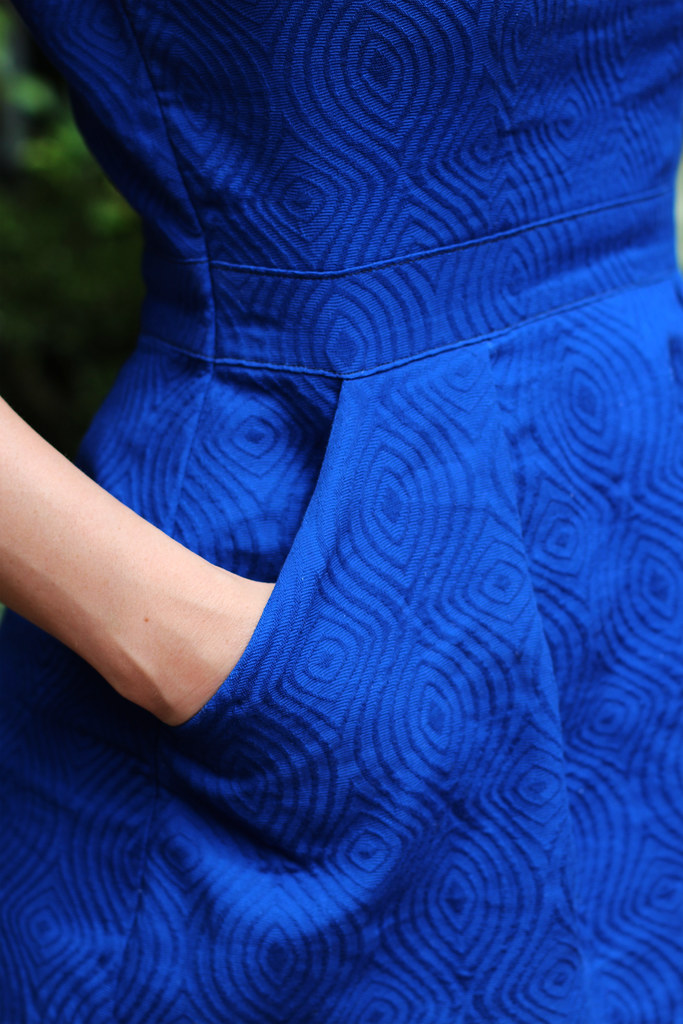
The second I saw this fabric I knew it was going to be a Belladone. Even if there wasn’t enough I planned on making a peplum top version. Luckily with some strategic fabric cutting, there was! I snagged this from Tall Sarah’s pre-move stash clearing so I have no idea what it is but it feels cottony and has some texture to it.

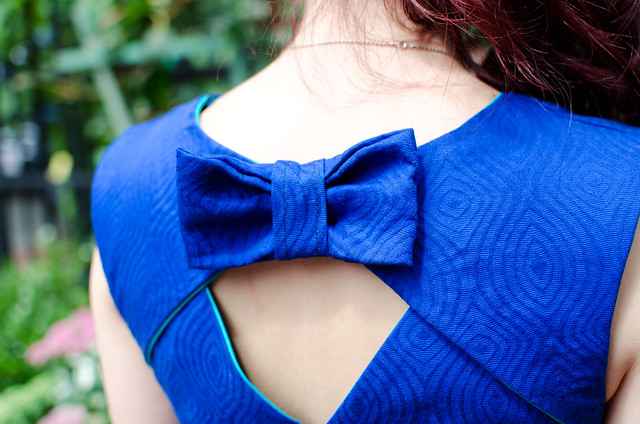
There’s a secret to the bow. What happened was that Tall Sarah gave me this fabric on Wednesday, and I decided that I just HAD to make the dress in time to wear to her going away dinner on Saturday. Except that I made this decision at about 9am Saturday, which was quite inconvenient and left me about four hours to do it. Somehow I made it happen but it meant that I didn’t have time to run out and find the right kind of zipper (also laziness) so I had to make do with a regular zip, which looked terrible. My solution was to add a bow, which distracts you from the horribleness of the zipper. I’m also redoing the hem. It needs to be trimmed down and I think I’m going to try out my blindhem foot on this one!

In other news, I just watched the entirety of the Great British Sewing Bee and I CANNOT stop noticing how the pattern is crooked down the front. Although considering it didn’t even occur to me to make it straight I’m surprised I even ended up with an oval in the middle! Yikes.

The cat’s pajamas

Cat pajamas

Cat pajamas

Cat pajamas

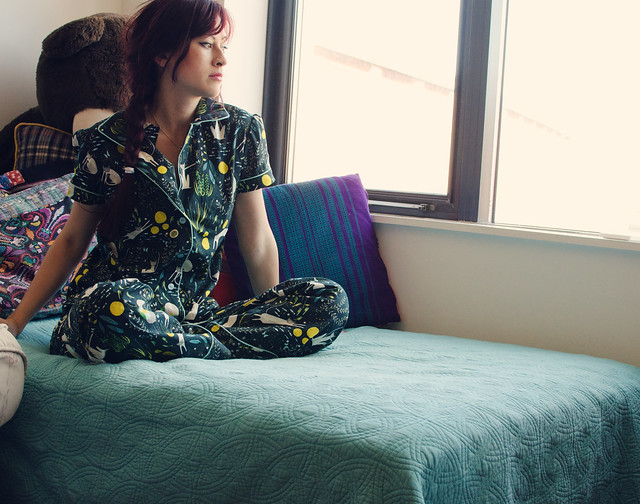
Cat pajamaspajamas: self-made, pattern here, fabric here

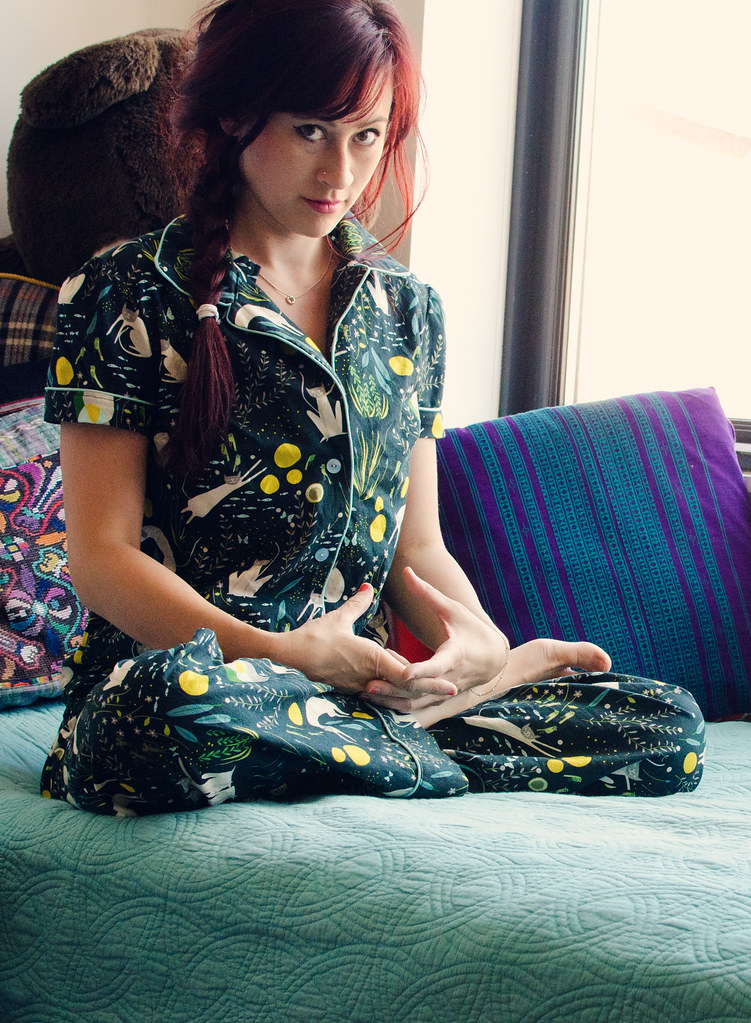
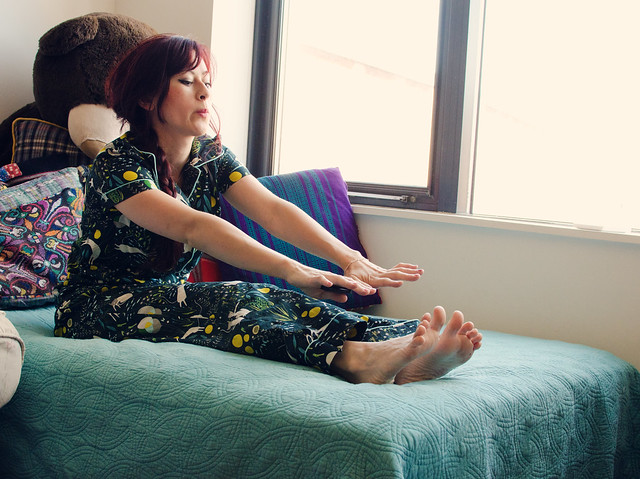
First off, I’m obsessed with this fabric. In fact, all of these are pretty much adorable and amazing and I need them. I have half a yard of the grey/white cat heads but I think I need a summer pajama set in the cream colorway of this fabric. All the meowzers!

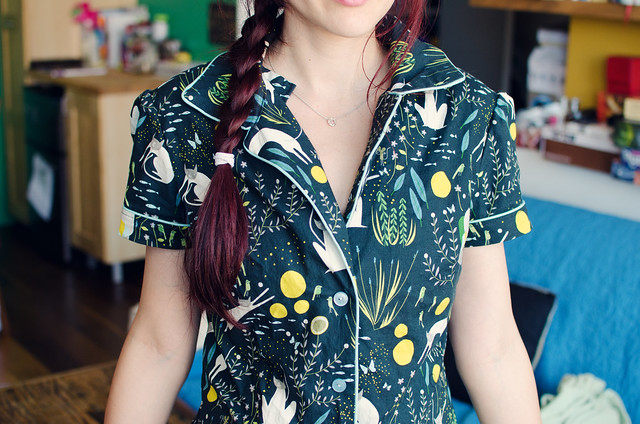
Anyway, the moral of the story (of these pajamas) is that I watch too much New Girl. In my defense, Jess spends a lot of time in pajamas and they are always adorable. So I decided I needed my own set of cutesy old man pajamas, complete with piping and short sleeves. I used view B of McCall’s 6249 but with the short sleeves. And I made a contrast bow for the pants but decided it would be huge and uncomfortable so I left it off. I pretty much went according to the pattern except that for the pants and the sleeves I slashed it partway in to attach the contrast piping.

In other news, I learned how to make piping! Turns out it’s not that hard if you can identify which foot is the zipper foot.

My only beef with this pattern is that the front facing seems to be attached weirdly. I’d thought it would extend into the shoulder seam but it’s a bit short and the instructions seem to want you to just fold the edge parallel to the shoulder seam (but about 1″ too short) over and finish itself. The problem then is that it keeps flapping toward the front and the right side is visible in nearly all the photos. I also interfaced it as instructed but that was a bad idea. The fabric is a little on the thick side for this pattern so the neck area ended up being a bit too rigid. I might take it apart and redo the facing and remove the interfacing. Maybe.

In other news, KITTEHS! My favorite part are the happy mice. See if you can spot them.


Horses prance through a silver storm

Horses maxi dress

Horses maxi dress

Horses maxi dress

Horses maxi dress

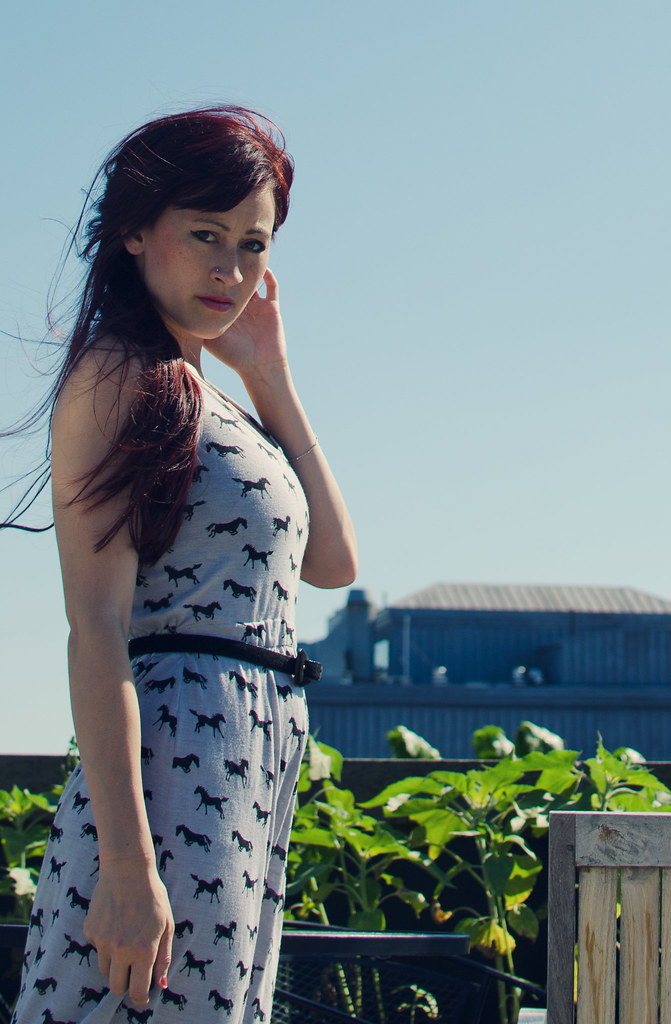
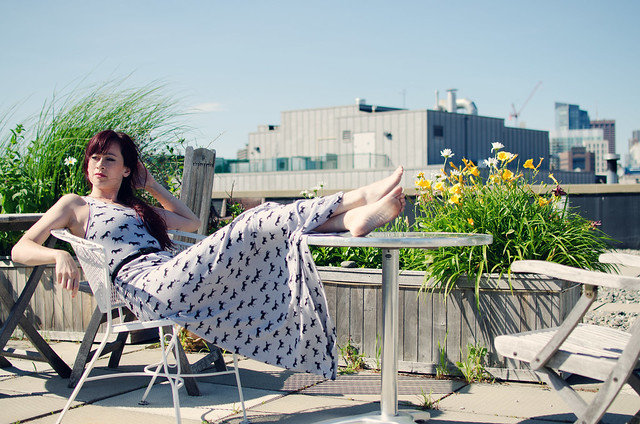
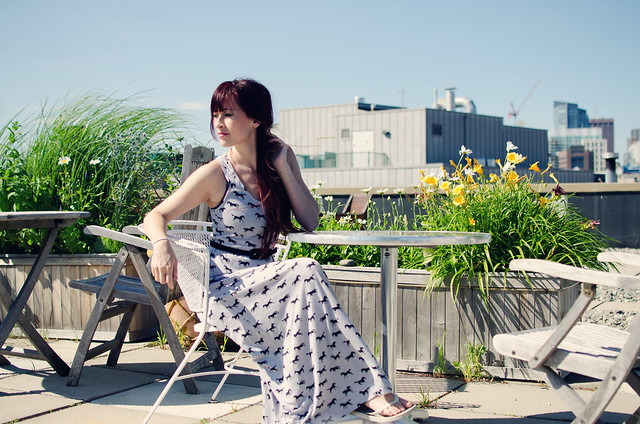
Horses maxi dressdress: self-made, fabric here // belt: thrifted 

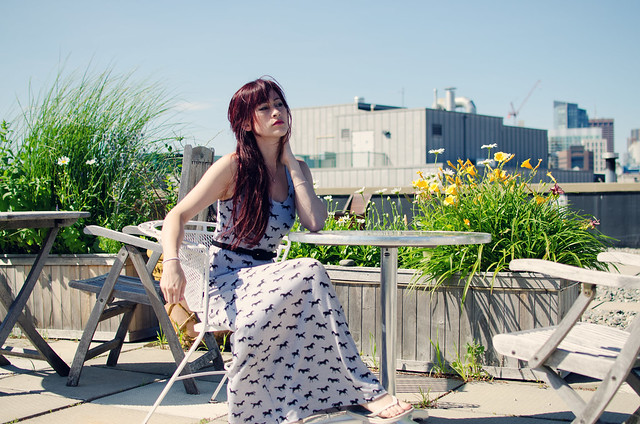
To be totally honest, I kind of hated maxi-dresses until kind of recently. I usually prefer short floofy skirts. I think it was having to bypass more than half my wardrobe when getting ready for work that made me reconsider going maxi. Now I’m kind of addicted.

A few months ago I bought an olive green maxi-dress with two super high slits up the leg in the front. It was super hot in a slightly Khaleesi kind of way, but also semi-skanky. I thought about returning it until I decided that would be dumb because I can sew things and it was a really gorgeous dress. I’m really glad I decided to listen to myself on that one because once I sewed up the slits 3″ on either side it’s become one of my favorite dresses. So much so that I ended up tracing it and making a pattern from it, from which I’m basically creating a small maxi army.

The first one was that black maxi skirt from a few weeks ago, and this is the second one. I’m normally horrible at waiting for things so the word “preorder” makes me run the other way, but I saw this horse knit at girlcharlee.com and was so smitten I didn’t even mind waiting the extra two weeks for my entire order to get to me, just to have these horsies.

Now, I’d heard some mixed reviews about Girl Charlee and I’m still a little on the fence about them, but it’s the kind of fence where I just spent $60 there and already have another cart full of fabric I’m coveting. Most of what I’ve bought from them has been awesome but about half of it has ended up being lighter weight than I had expected based on the product descriptions and some fabrics (like the horsies) have been pillier than I’d hoped. On the plus side I was worried this one would be see-through but it’s totally not! Anyway, I’ll keep buying from them since they stock such cute prints but probably not for things like leggings because my tush does not need to see the world.

Sidenote: I did not realize I had a tan line.

The dress pattern is pretty simple. I think this one took me an hour to put together. It’s just a front and back bodice with two identical skirt pieces. I cut a strip of fabric the length of the waist (all the way around, front and back) and stitched in the ditch to attach it to the bodice/skirt seam, then sewed the other side down about 1.5″ above, making a nice cozy tube for some elastic to live inside. My pattern drafting skills are still nonexistent but I can do a tutorial if anyone’s interested.

In other news, I recently re-watched the entire X-Men series (holy inconsistencies though) and just started reading some of the comics. Sooo if I start sewing exclusively in spandex, please stage an intervention.