in progress // ella

cinderella progress

I just realized I haven’t actually posted anything Cinderella-related on here! If you follow me on Instagram you’re probably pretty familiar with this project that’s been going on for almost a year now.

This was one of those movies where I IMMEDIATELY knew that several garments would end up on the cosplay wishlist, so I tried to hold off watching it. I lasted about a month. Sometime around April I caved.. and immediately started shopping for periwinkle chiffon fabrics. This was about three weeks before I was about to pack up my life, get on a plane, and move across the country, so the timing was not ideal. I ended up staving off project start-itis cravings by making this skirt in the meantime, and by ordering 20 yards of various shades of blue chiffon on eBay and having them sent to my mom’s house in California.

Anyway, progress.

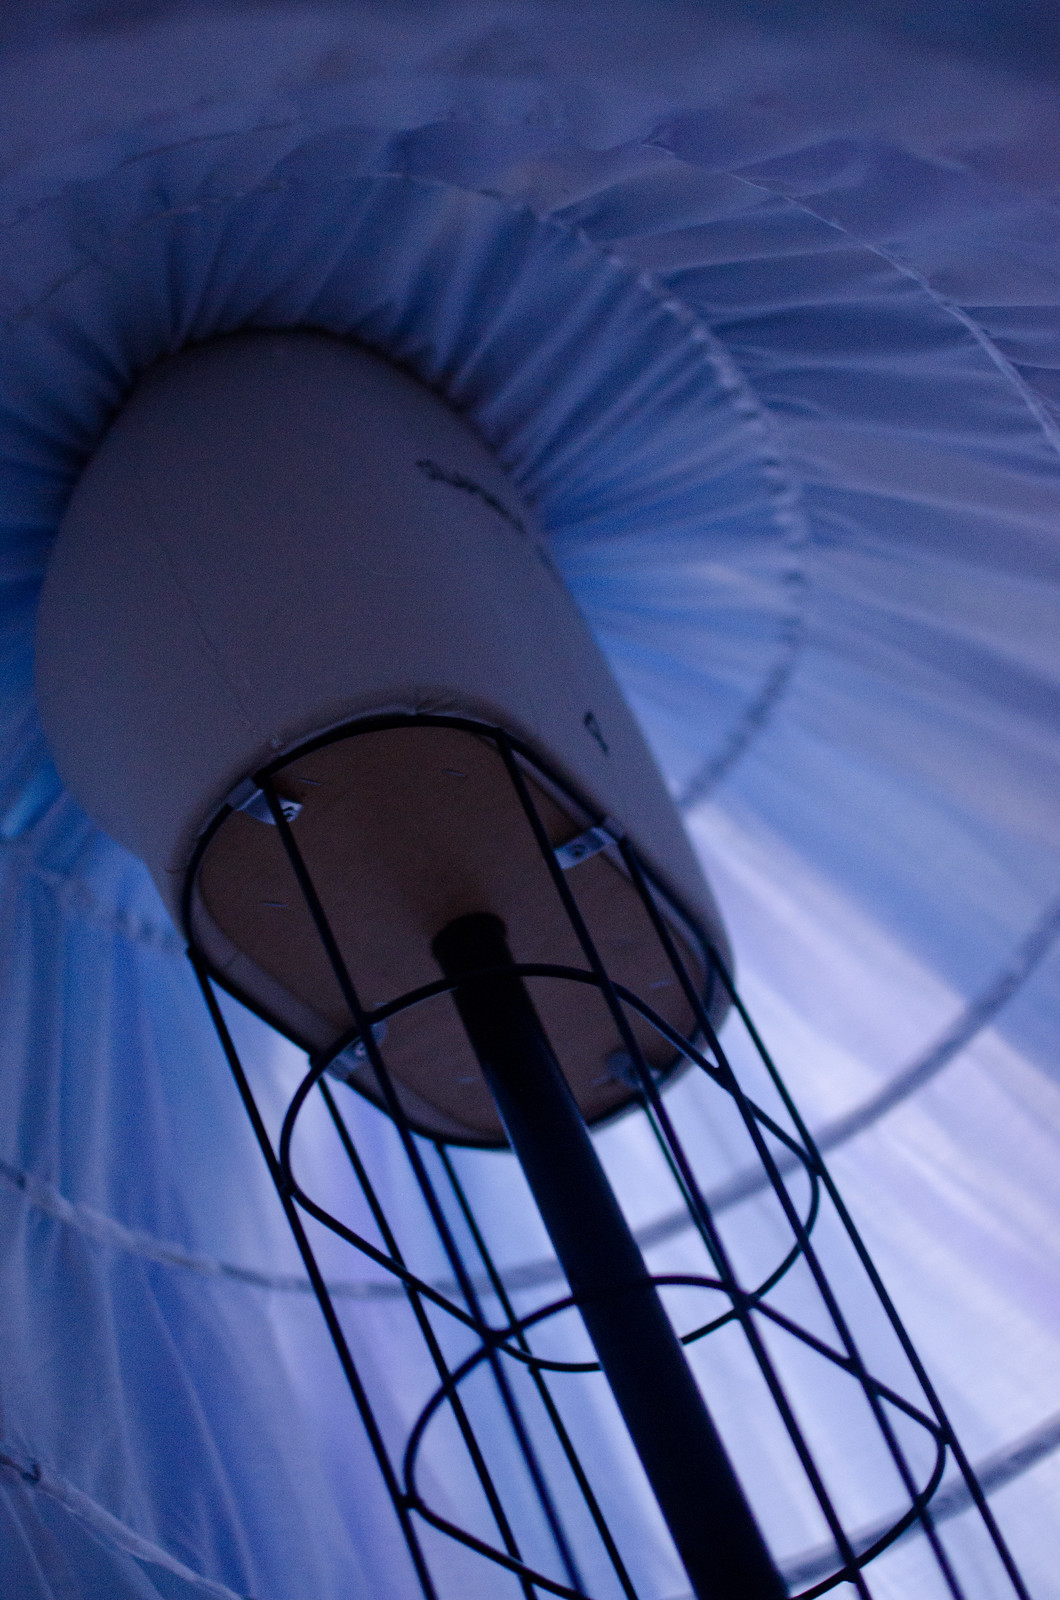
Fabric-wise, I think I’m up to 60 yards. I kind of lost count. Each circle skirt is about 5 yards, and then there’s all the ruffle-age. I bought a hoopskirt because my Kaylee one ended up being a trainwreck and I was more excited about making the actual dress. Plus, the one I got has adjustable hoops so if I wanted to wear it under my Kaylee dress I can adjust the hoops to be more cone-shaped (rather than slightly more bell-shaped like Cinderella’s dress).

cinderella progress

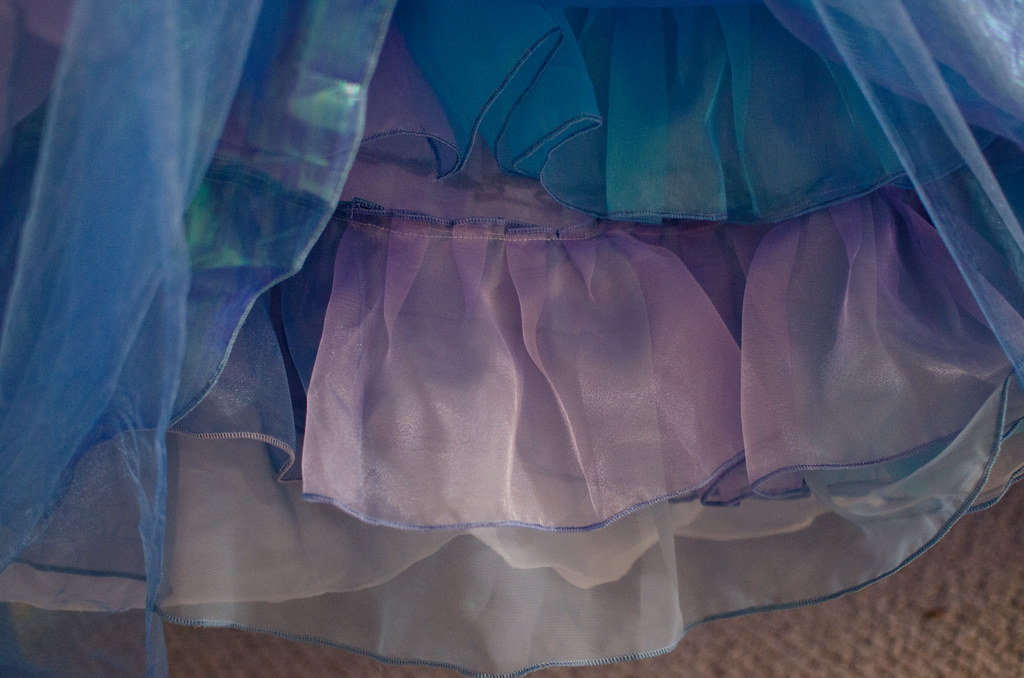
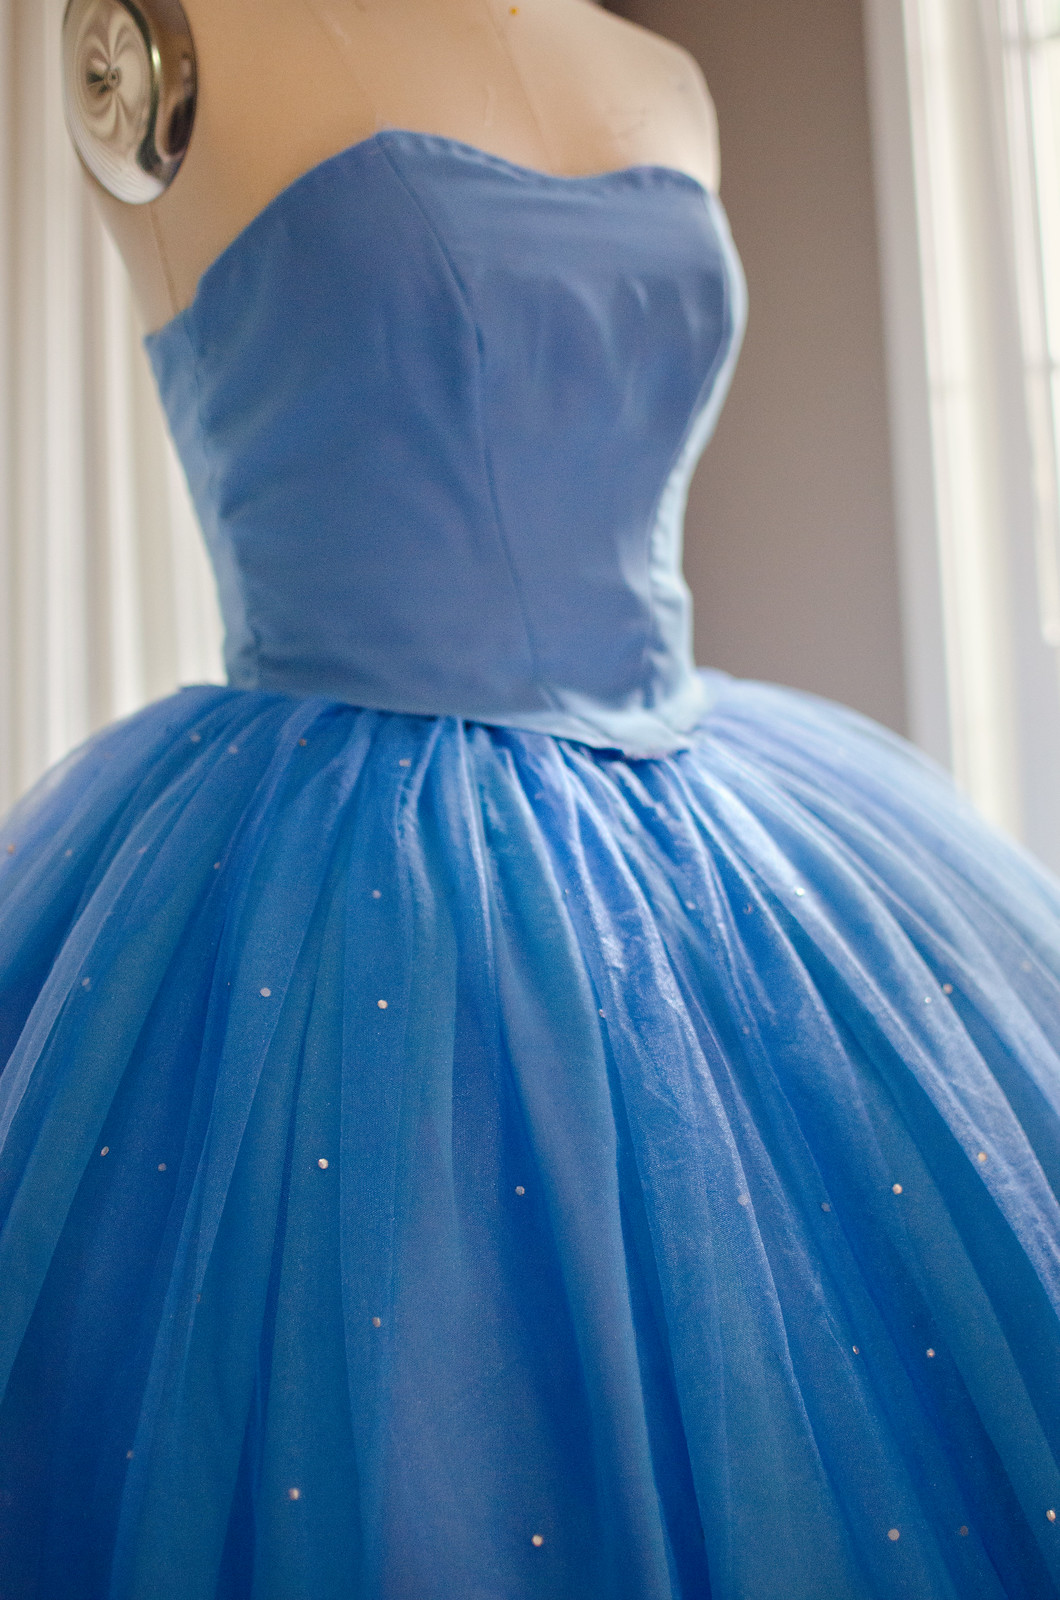
Over the hoopskirt, I’ve got two petticoats that are basically sheer mirror organza circle skirts with a bajillion yards of gathered organza sewn on in three tiers. To get the watercolor effect, I cut long strips, serged both sides, and then chopped them into smaller segments and then sewed them together so the colors alternate. Not time-consuming at all.

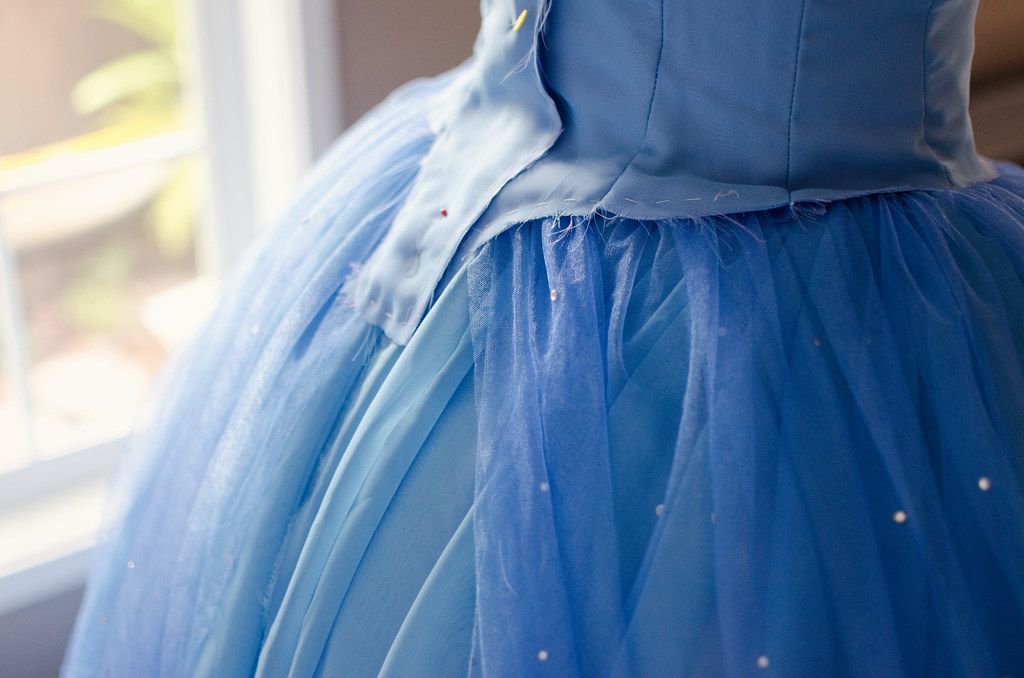
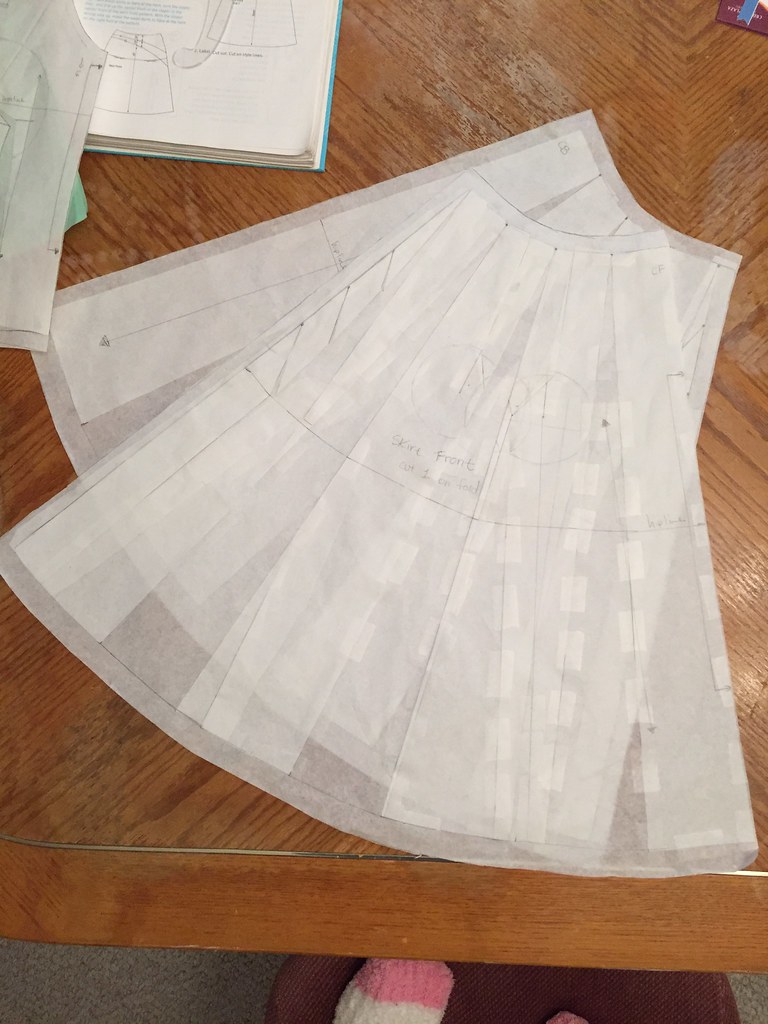
On top of the two petticoats are three circle skirts: iridescent organza, pale purple organza, and light blue chiffon. I played around with the layering a lot to get the right coloring effect I wanted and I think this order is the winner. Each one is just a simple giant circle skirt slightly gathered at the waist for that princessy waist pouf.

cinderella progress

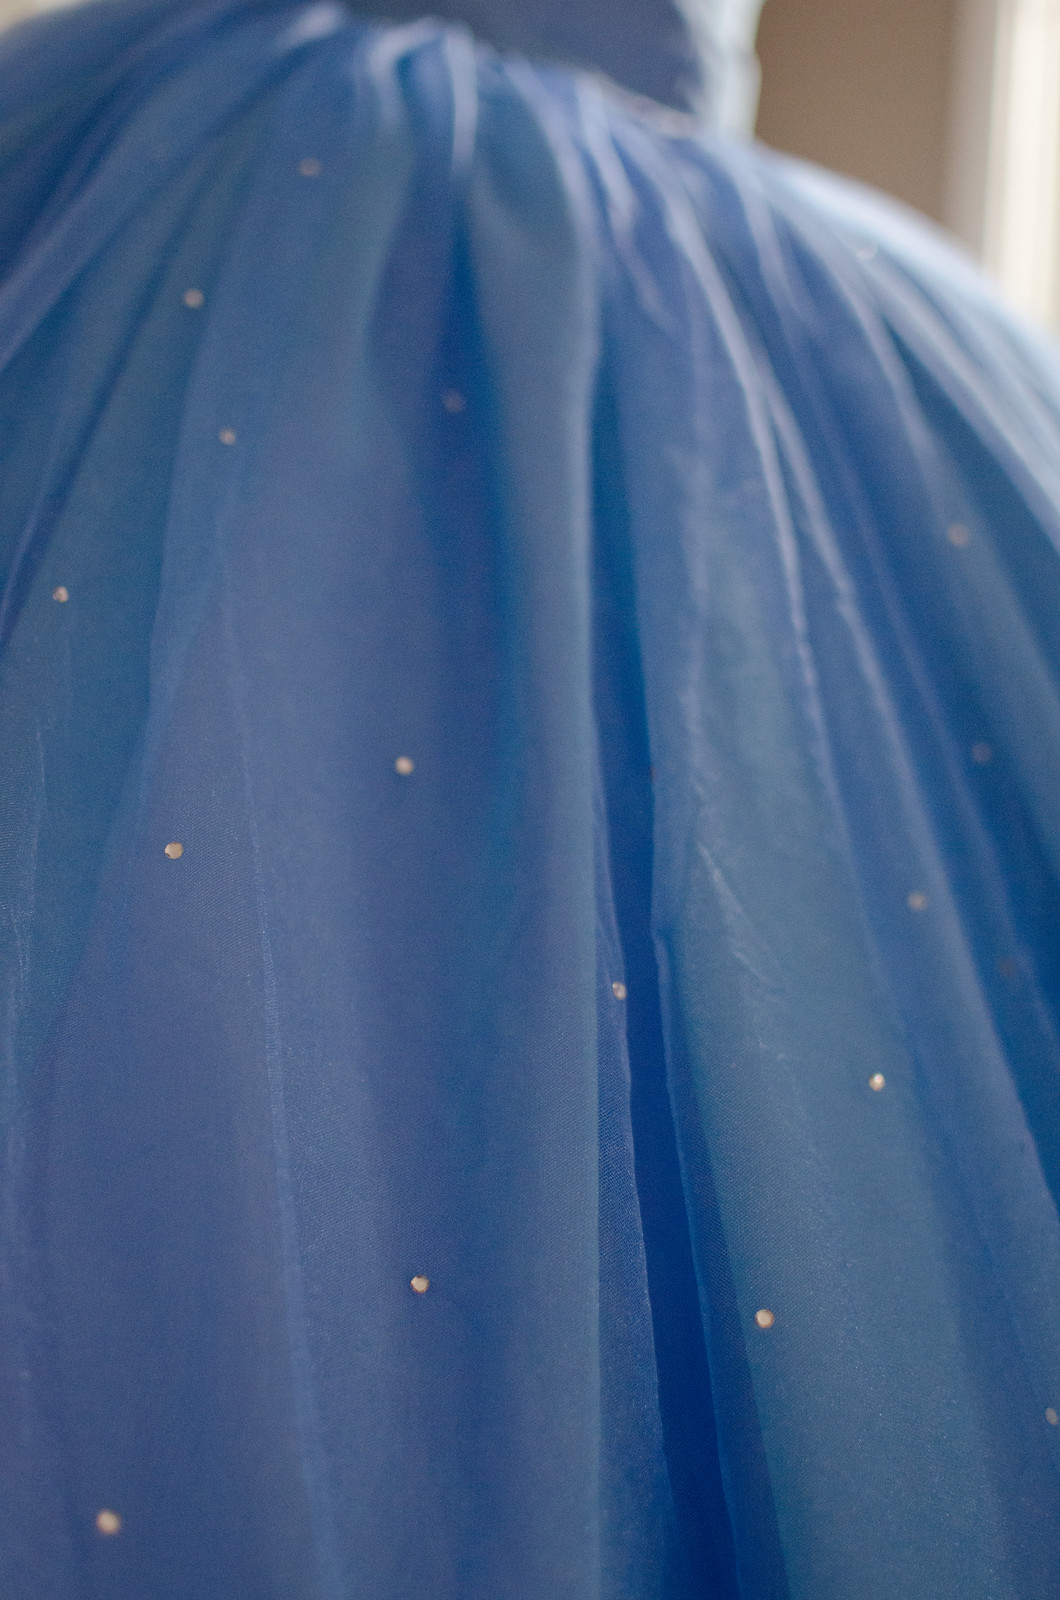
The top-most layer had me befuddled for ages. At first I bought a periwinkle blue chiffon for the top layer but it turns out it’s a bit too opaque, which I’d been afraid of. The iridescent fabric shows through a bit in the light but it’s really not quite the same effect. Since there’s no way I’m going to get my hands on 10 yards of yumissima at $150/yard, I was kind of resigned to just using poly chiffon anyway. But then I had a brilliant idea! I actually woke up at 7:30 one morning having solved my top-layer problem.  I had been at Joann’s a few days prior and they had a micronet fabric in their costume fabrics section. It’s super lightweight and since it’s a micronet, even though it’s technically “net” fabric, the holes are itty bitty enough that it ended up being perfect. I had dismissed it originally because they only had white and pink but then I remembered that iDye poly exists and there’s no reason I couldn’t try to dye it myself!

cinderella progress

The dye worked perfectly. I’m so pleased. I mixed blue and a tiny bit of pink to get a purpley blue shade that is so perfect. Once it dried, I started the very lengthy process of gluing rhinestones on. I decided that I wanted the rhinestones to be even throughout the fabric, so there would be more of them at the top where the fabric is more gathered together, and more spread out toward the bottom. To make it easier on myself, I drew out a grid with red dots where the rhinestones should go and covered the dots in bits of tape (to prevent the fabric from gluing itself to the paper). Then I placed a dot of glue on each red dot and then a rhinestone on top. It went pretty quickly, other than waiting for the glue to dry. Accuracy-wise, I think my rhinestones are too big and there aren’t enough of them. Sanity-wise, I don’t think I’d change a thing.

cinderella progress

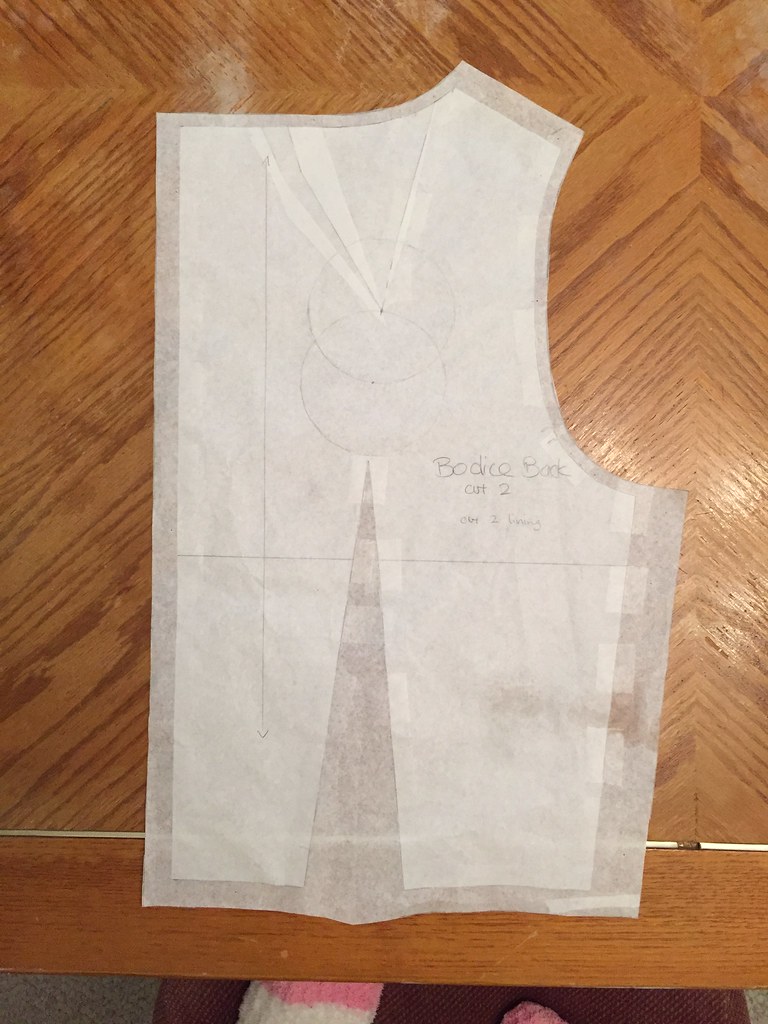
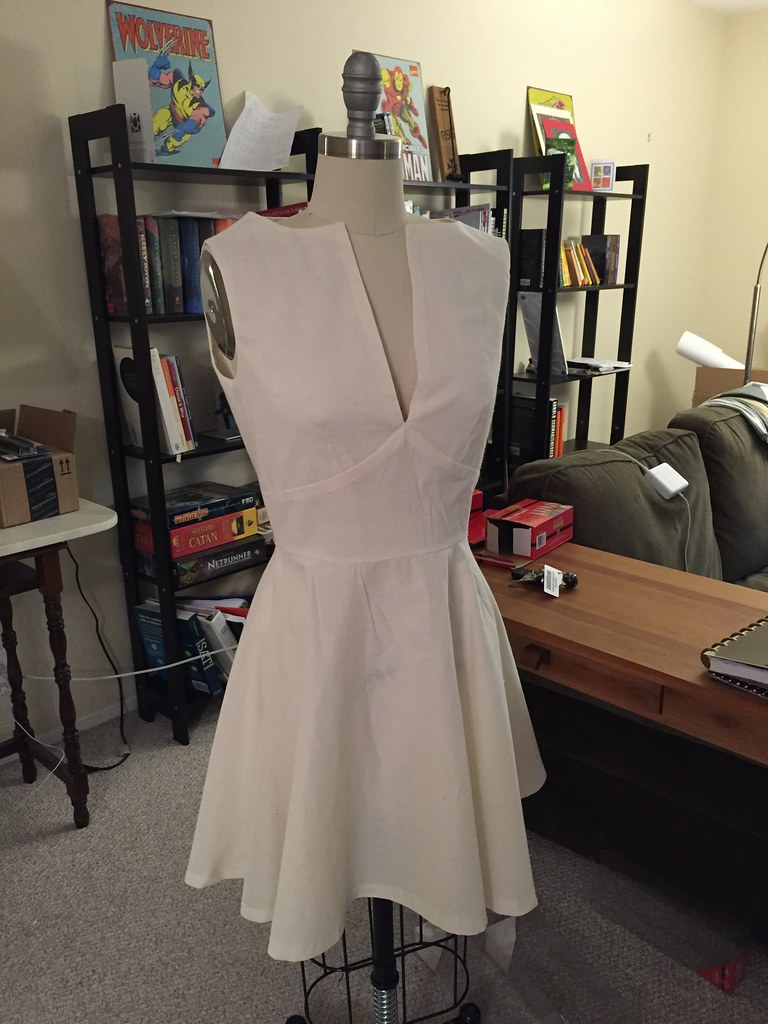
The bodice has been a huge headache for unknown reasons. I drafted four separate muslins and my current one is almost perfect except that I decided the bodice area looks stumpy and I want to elongate the corset by about 1.5″. Back to the drawing board on that one. Fortunately I’ve figured out what fabrics to use and what order to layer them in so once I have the corset pieces tweaked and lengthened it shouldn’t take too long to re-do.

And that’s what I have so far!
adventures in drafting // self-striping

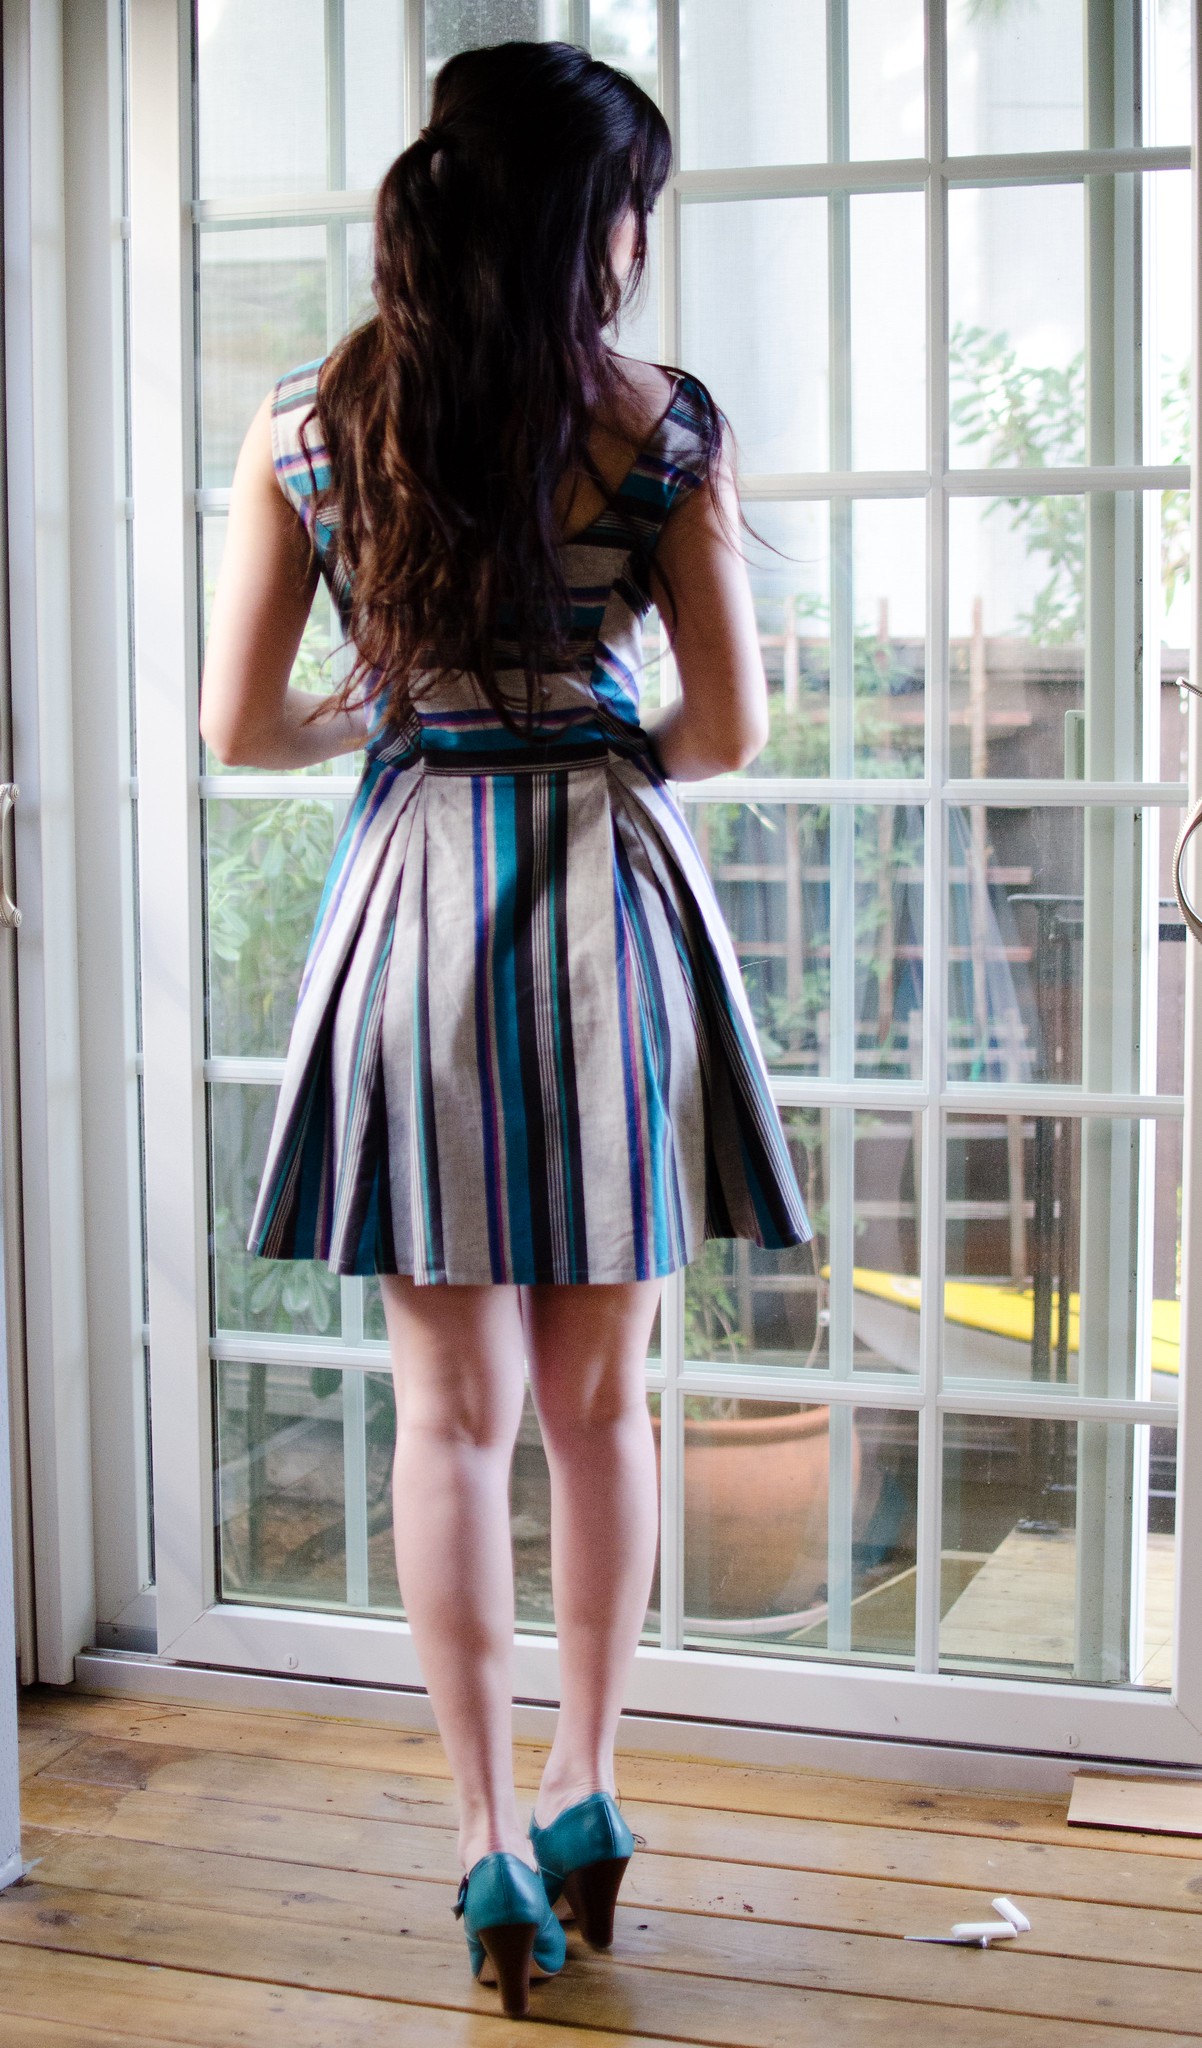
Striped dress

Striped dress

Striped dress

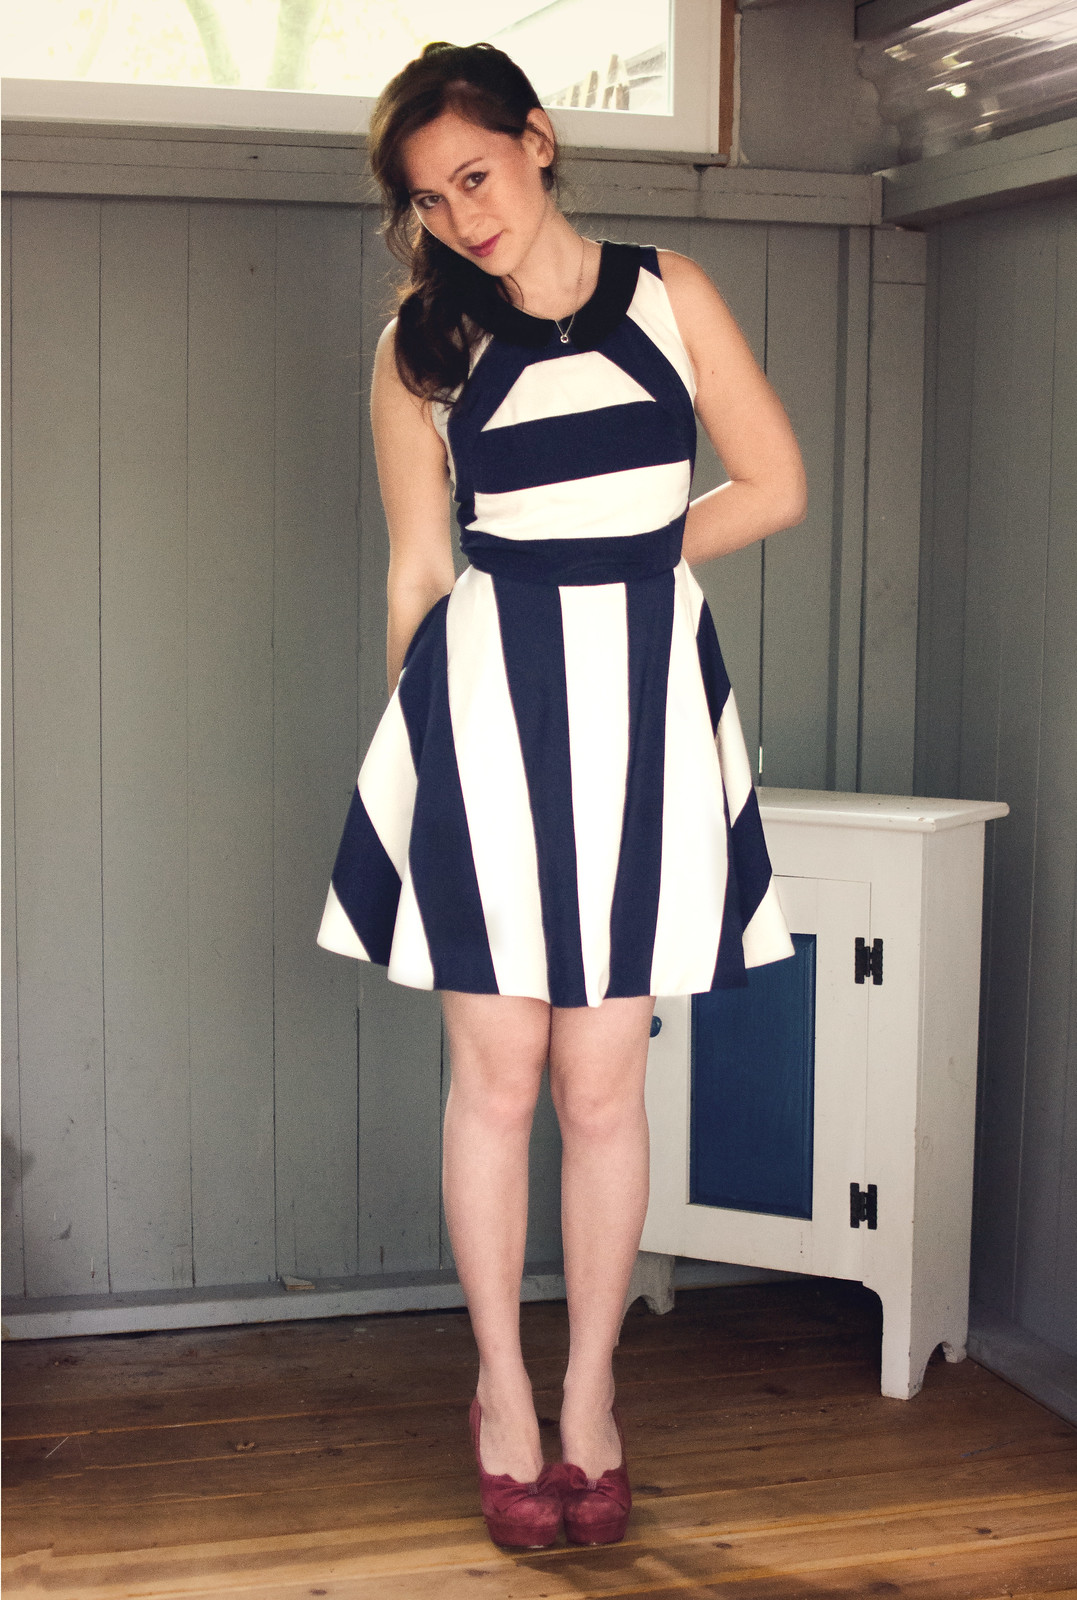
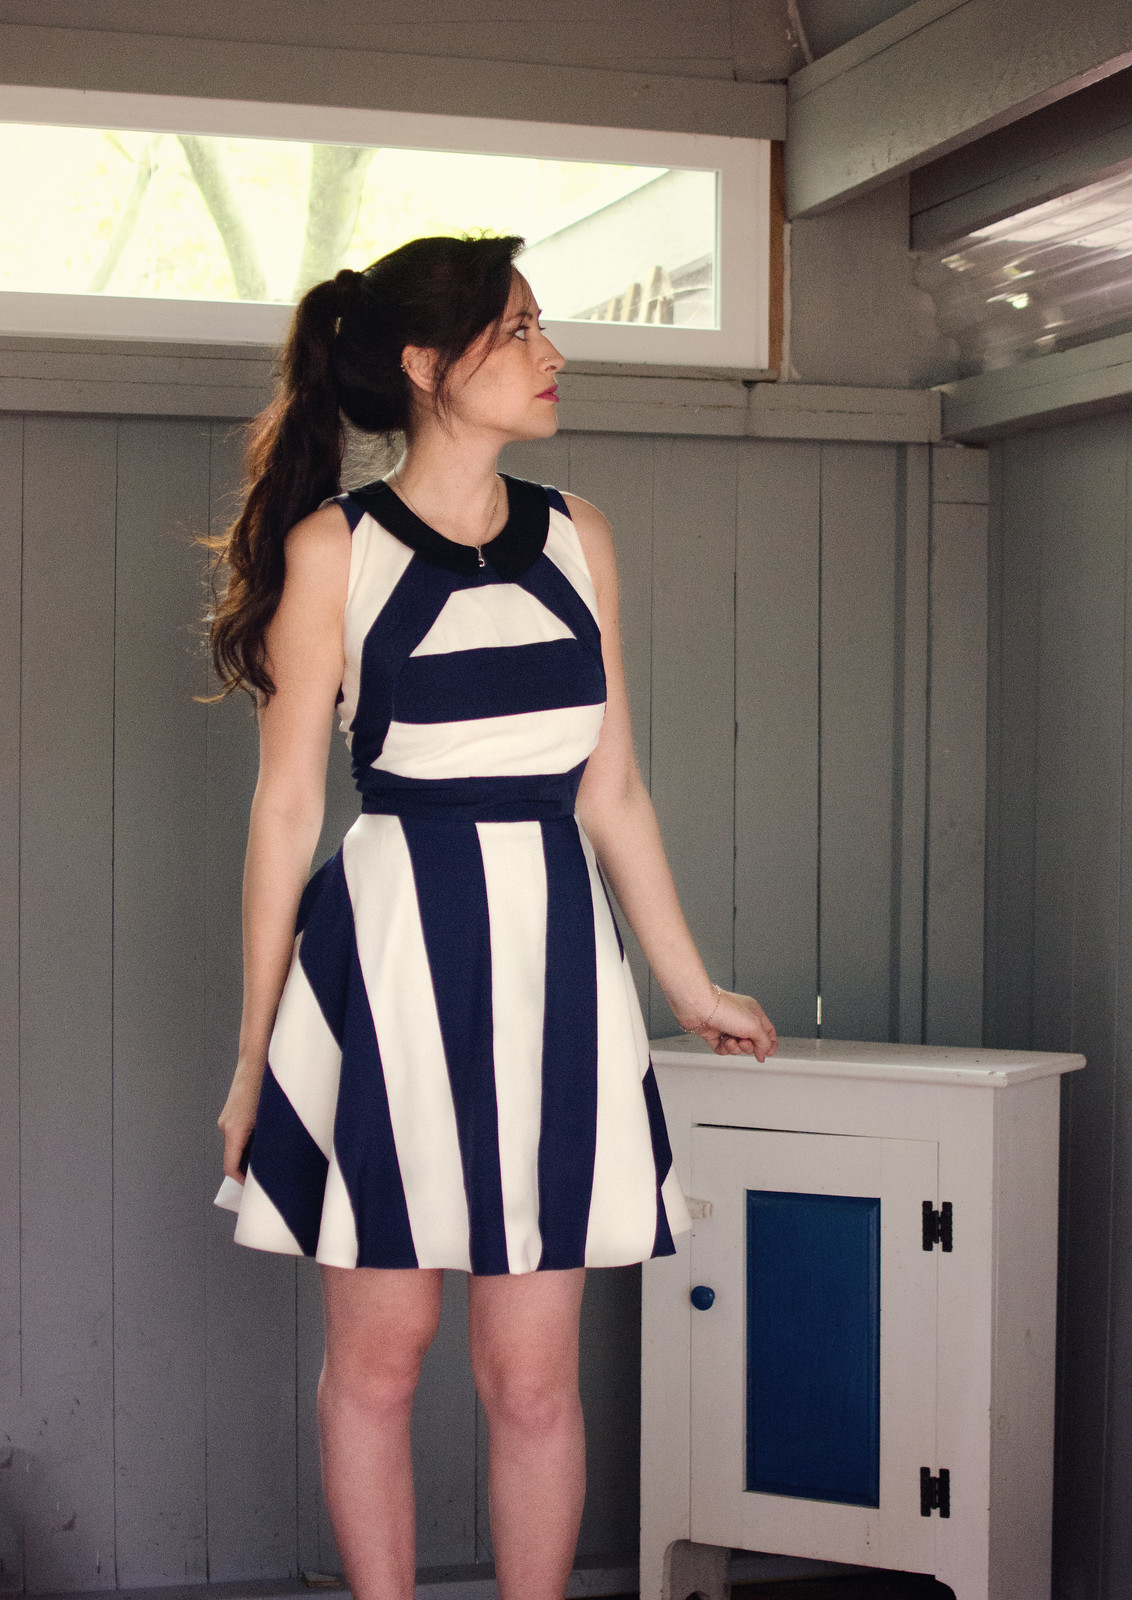
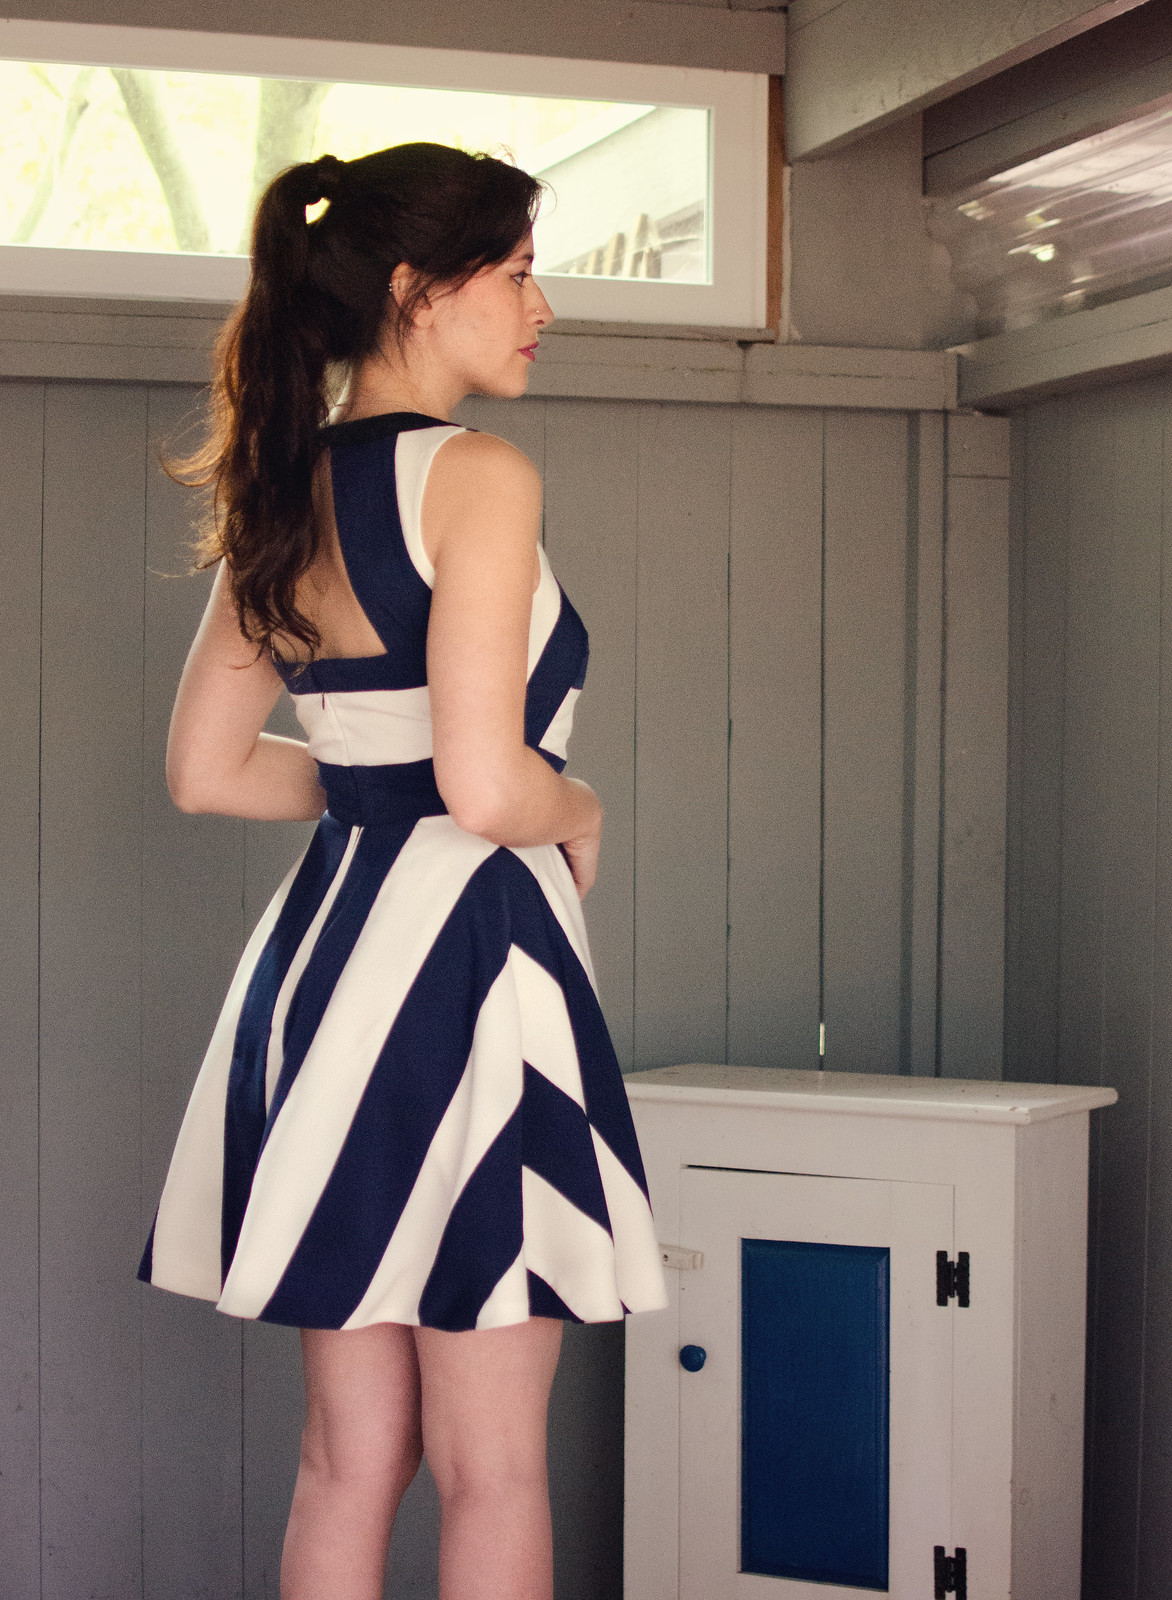
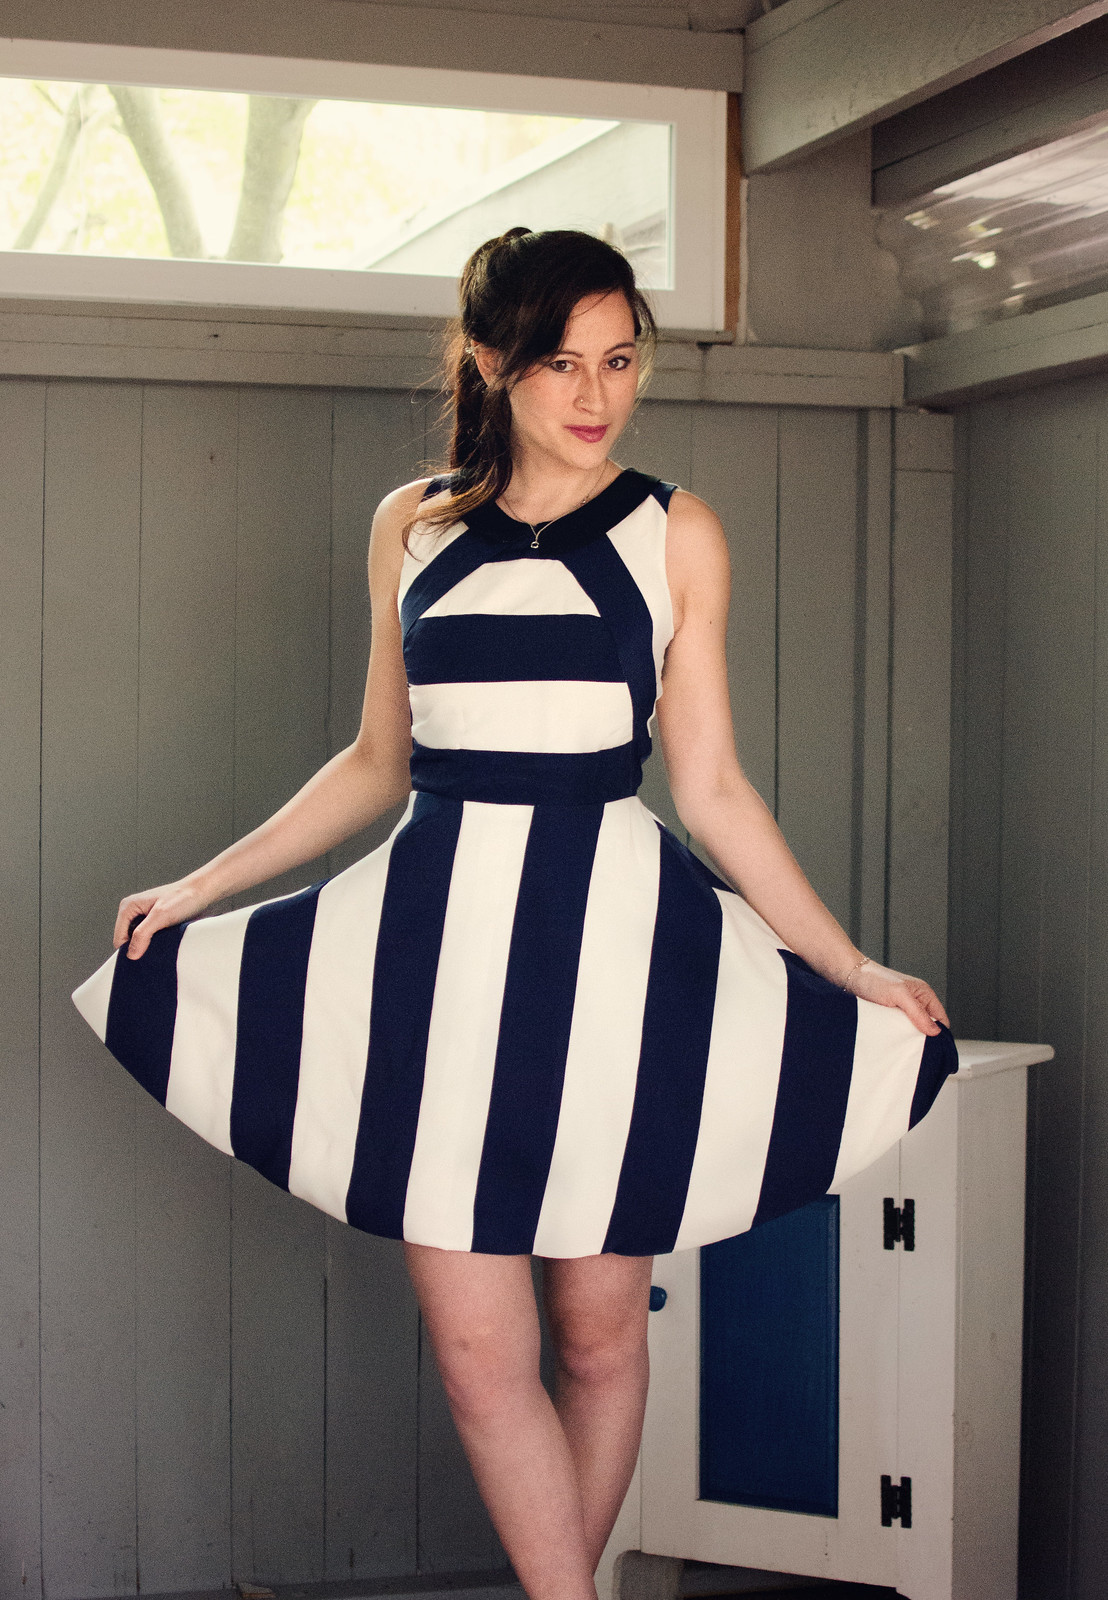
Striped dressdress: self-drafted // shoes: Seychelles

**Photos should hopefully be fixed now!

No, not like sock yarn. Like when you go crazy and decide to make your own striped fabric.

2016-03-24 16.16.06

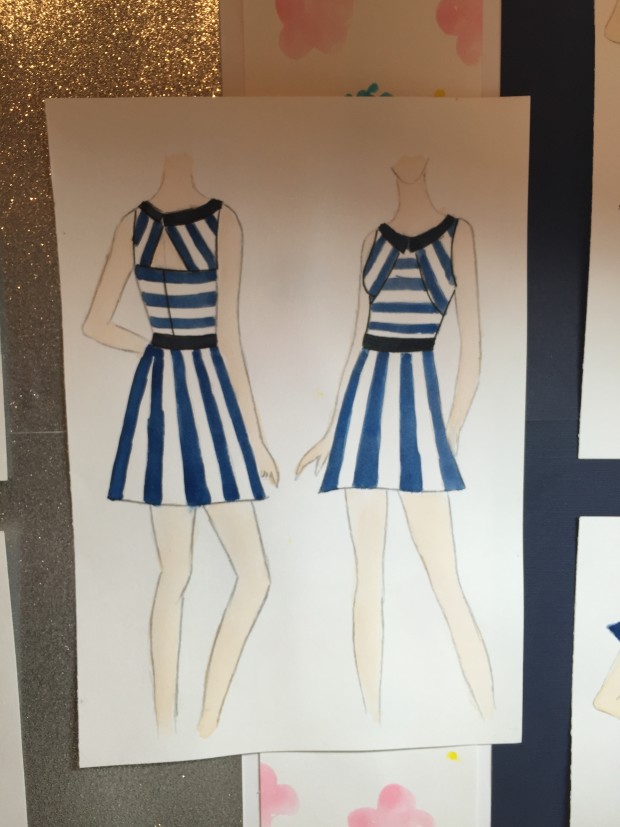
In my defense I really tried to find navy and white striped fabric and just couldn’t. At the beginning of this semester we were assigned a storyboard of a five garment mini-collection, with the stipulation that one of our three garments due this semester had to be from the board. Now, a normal person would’ve drawn garments in a solid, or easier-to-find kind of print. I decided I just had to have my wide navy/white stripes.

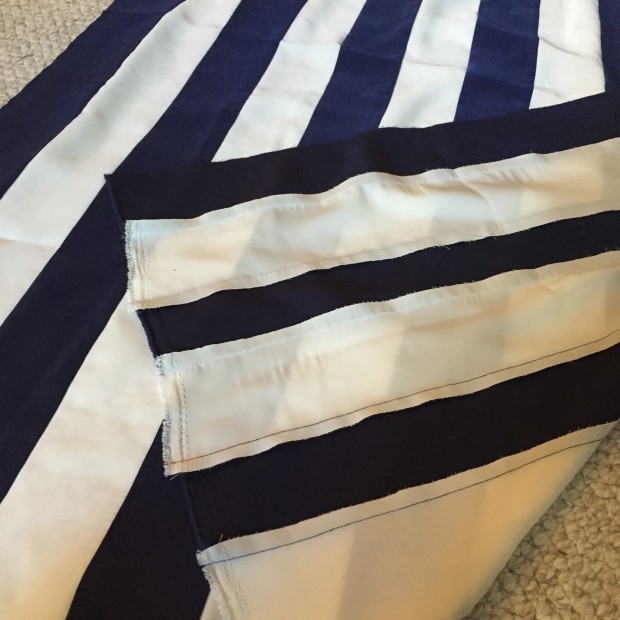
So I sewed my own. I bought peachskin fabric from Joann’s in navy and ivory, cut them into 4″ strips, and sewed them together with a 1/2″ seam allowance so each stripe ended up being 3″ wide. Perffffection.

2016-03-24 16.16.42

Drafting this was a bit of an adventure. Basically I wanted to re-make the Arrow dress from Dear Creatures (looove), but with a bodice that would actually fit me (I think they draft for an A or B cup and I’m a D –my bewbs are definitely not the happiest in that dress), and with a slightly more modern silhouette.

2016-03-24 16.20.39

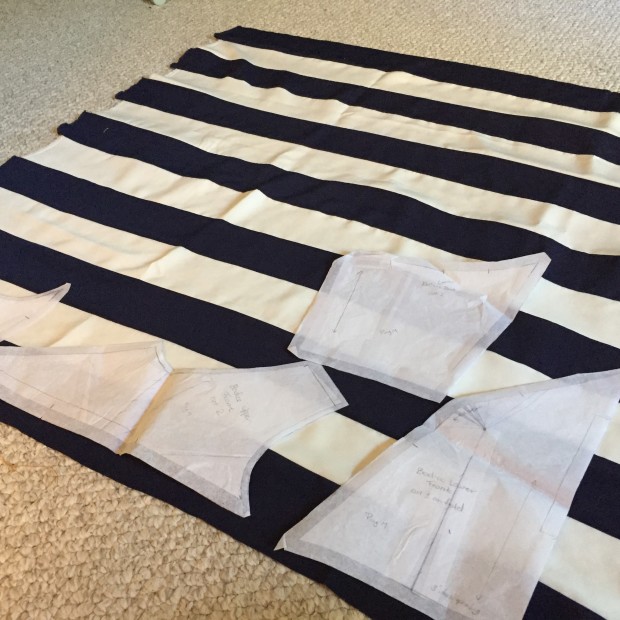
I started off with the same bodice sloper we use for class. For the front I did a sleeveless adjustment, made a cut-away armhole, and lowered the neckline a bit. Then I drew in a princess line variation from the center front neck diagonally down to the side seam, and moved the side bust dart to the neckline, and transferred the waist dart (with a new apex 3/4″ over like Armstrong says) to ease. (You can kind of see it in the photo right above.)

The back was a little more tricky because my pivot points happened to be right where I wanted the back cut out. I ended up basically just doing a lot of contouring and it seemed to work out. It took a few tries though. The first attempt had a strange lump where most people lack a body bulge, and another attempt was slightly sideways.

The skirt is the same skirt pattern from my Christmas dress. And lastly, I drafted a flat roll Peter Pan collar because why not. :]

In terms of construction, I lined the whole thing with muslin because I have a crap ton of it for school, I needed something light in color because of the white stripes, and I was on a roll and didn’t want to have to stop and drive to Joanns for actual lining fabric.

The verdict: it fits a million times better than the Arrow dress! The only thing I’m a bit sad about is that the bottom edge of the bodice seems to have stretched out a bit, possibly when I was sewing the stripes, and there’s a weird wrinkle in the tummy area of the bodice. Oh well. Also I don’t love what’s happening with the stripes in the back. It’s like my bum ate most of the white stripe.

Anyway, other than those two tiny details, I adore this dress. I’ve already worn it to a party and it was the perfect mix of twee and fancy.


review // Boundless Style

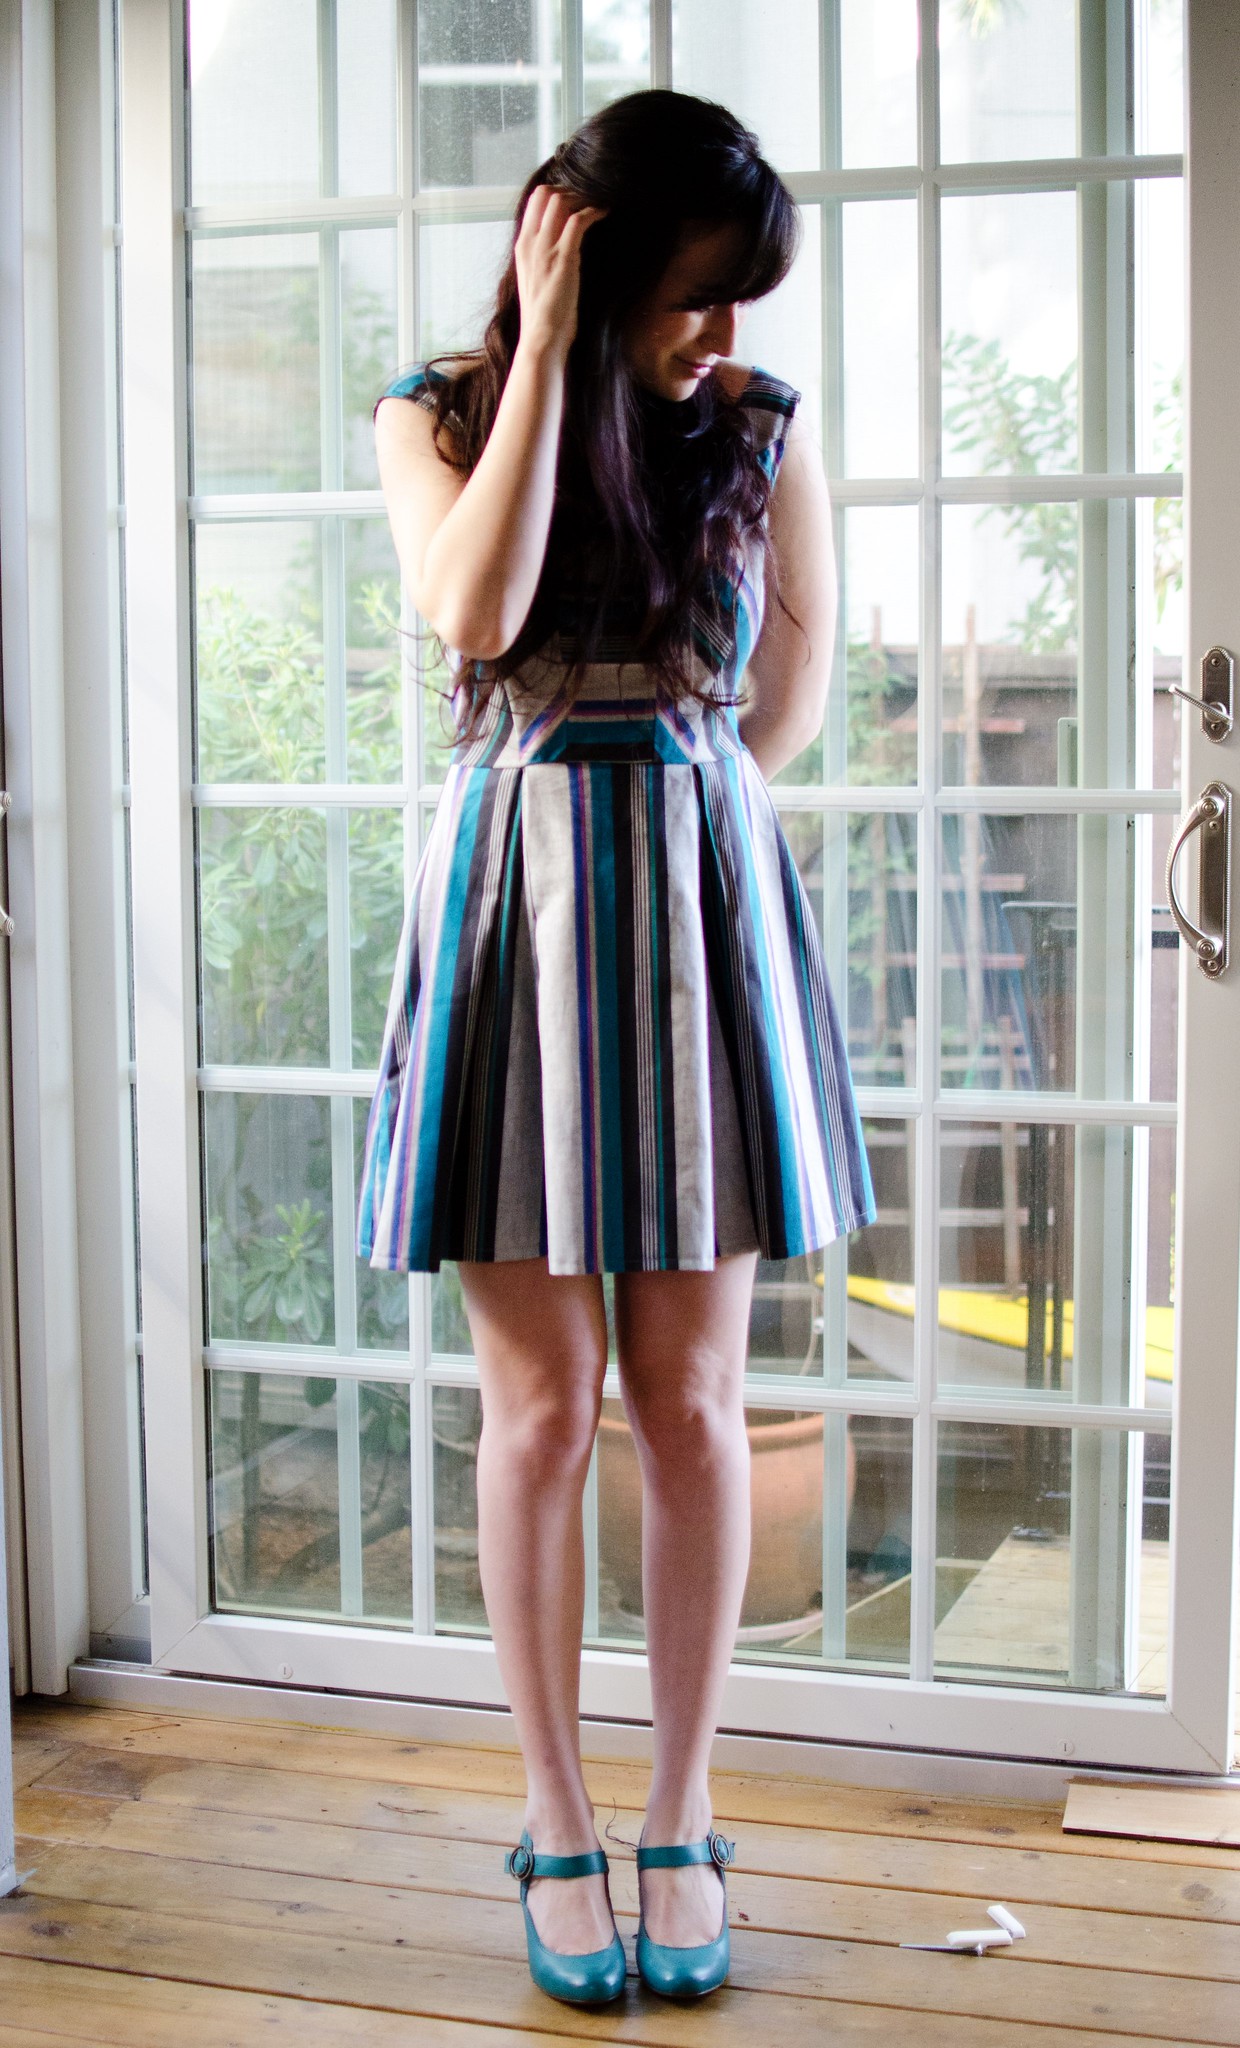
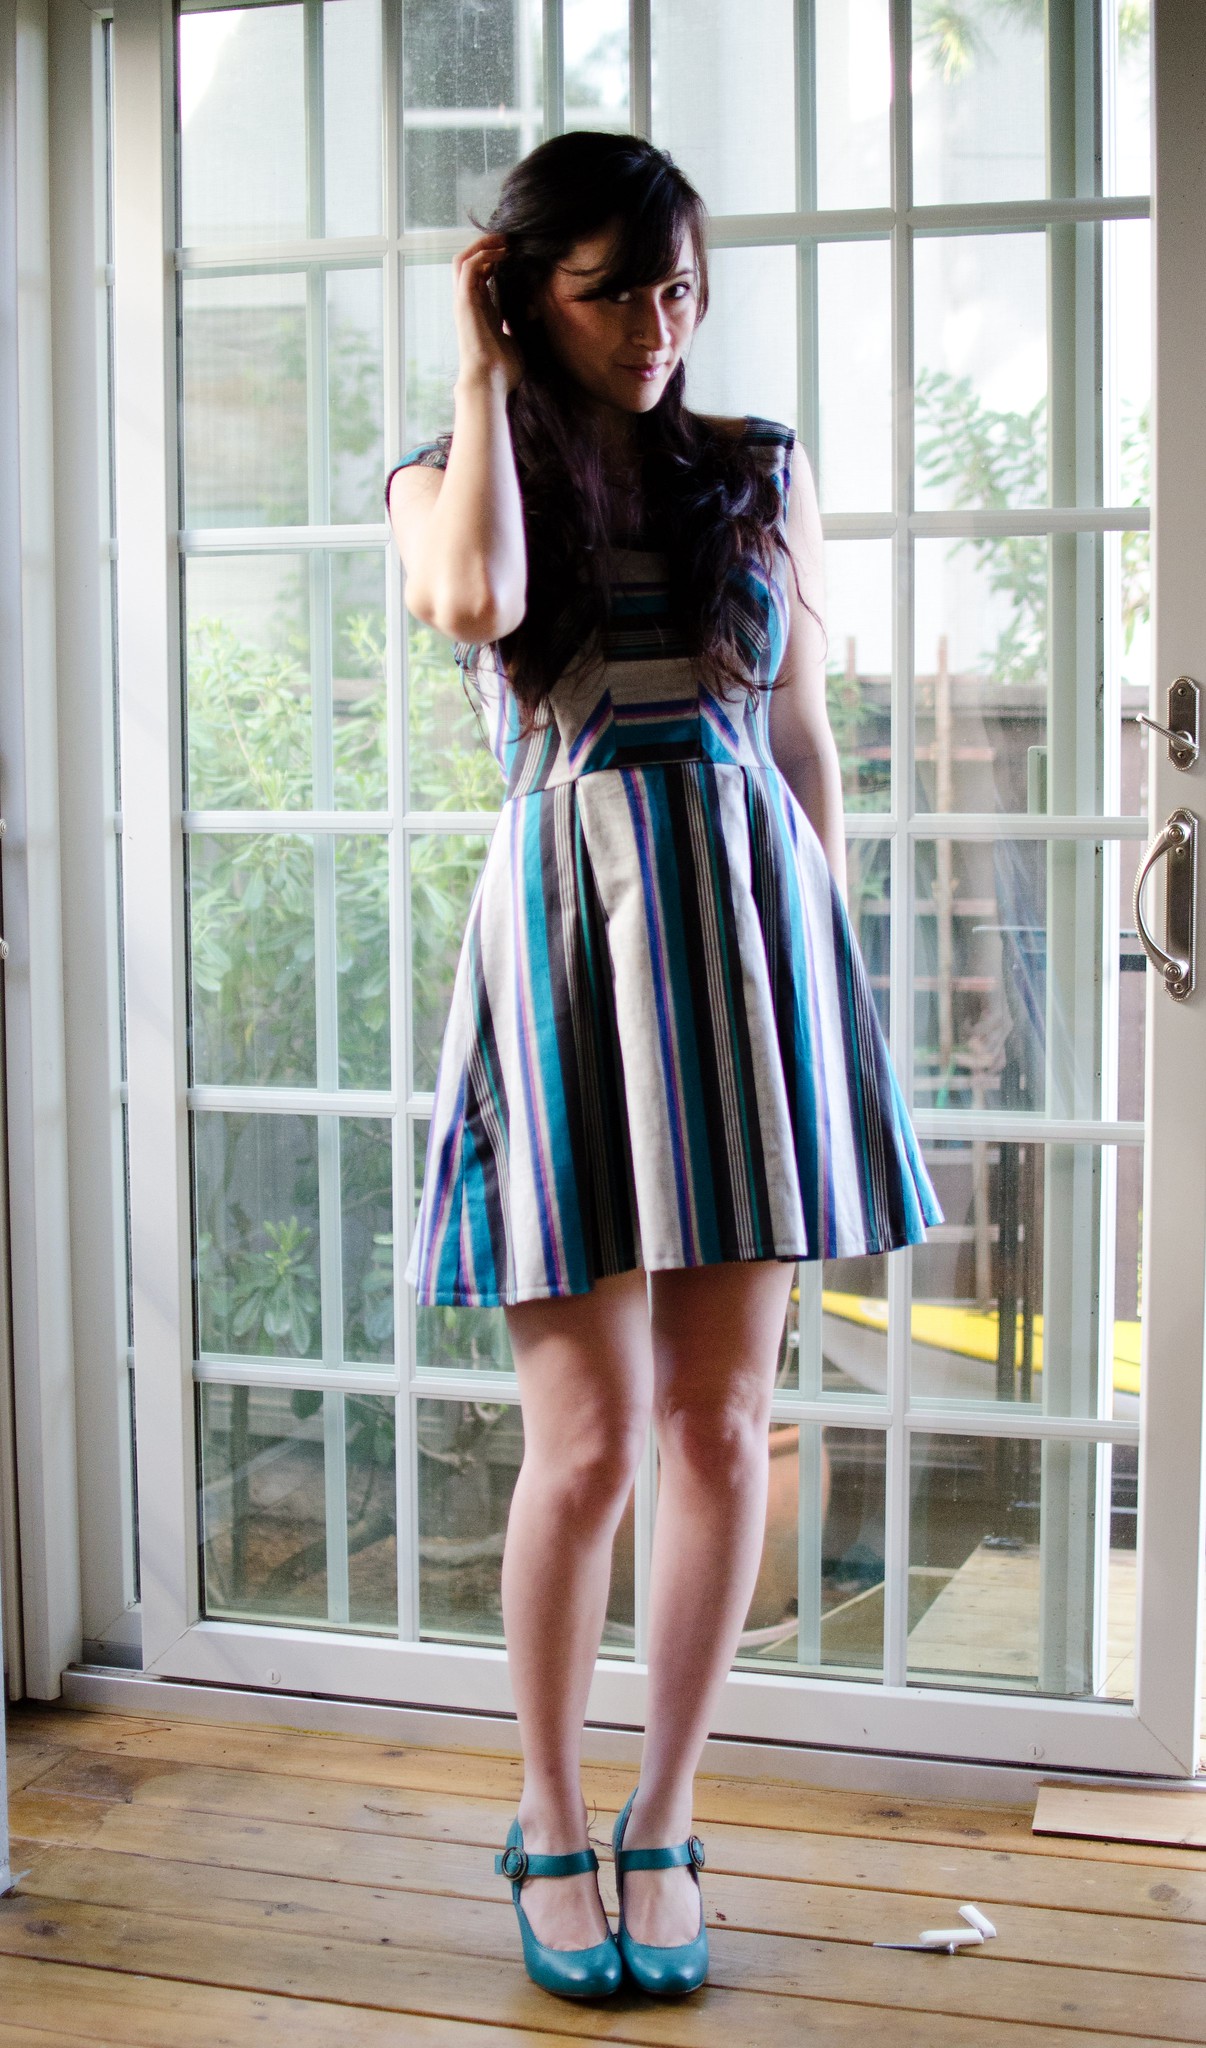
Boundless style dress

Boundless style dress

Boundless style dress

Boundless style dressdress: self-made, pattern here // shoes: Seychelles

I received this book free of charge from Interweave. All thoughts, opinions, and silly anecdotes are my own.

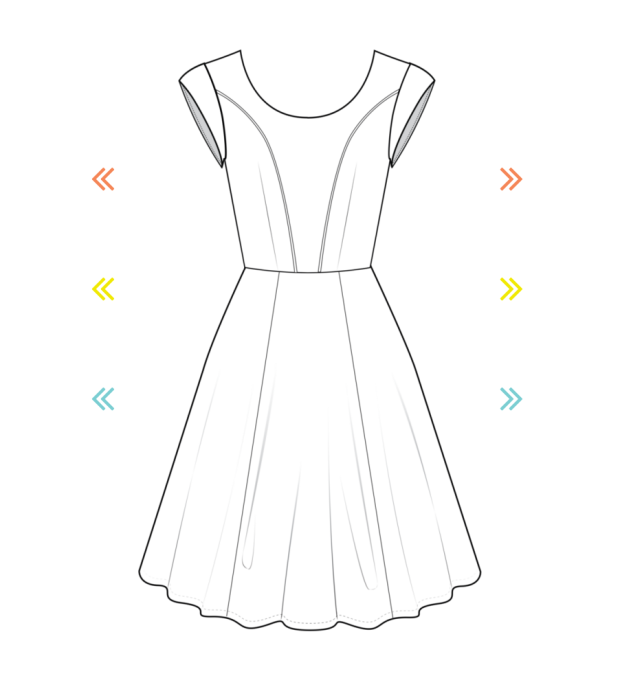
When I was little, I had this flip book I absolutely adored where you could flip heads, bodies, and legs of all kinds of different animals to make weird and cool combinations. That’s what Boundless Style by Kristiann Boos felt like. You get five bodices (some with slight variations), five skirts (with varying skirt/peplum lengths), and five sleeves (some with varying lengths as well).

I chose to do the Catrina bodice paired with the Lydia skirt. I was originally going to add the Moss sleeves but with all the stripe-age going on, it ended up looking like a bit much so I left them off.

This dress was a bit of an adventure, and a really fun one.  When I first flipped through the book, I spent about two hours just trying to decide which combination to do first. (Hint: check out their app if you haven’t already. It’s literally the dress version of that animal book.)

Screen Shot 2016-03-26 at 9.42.55 AM

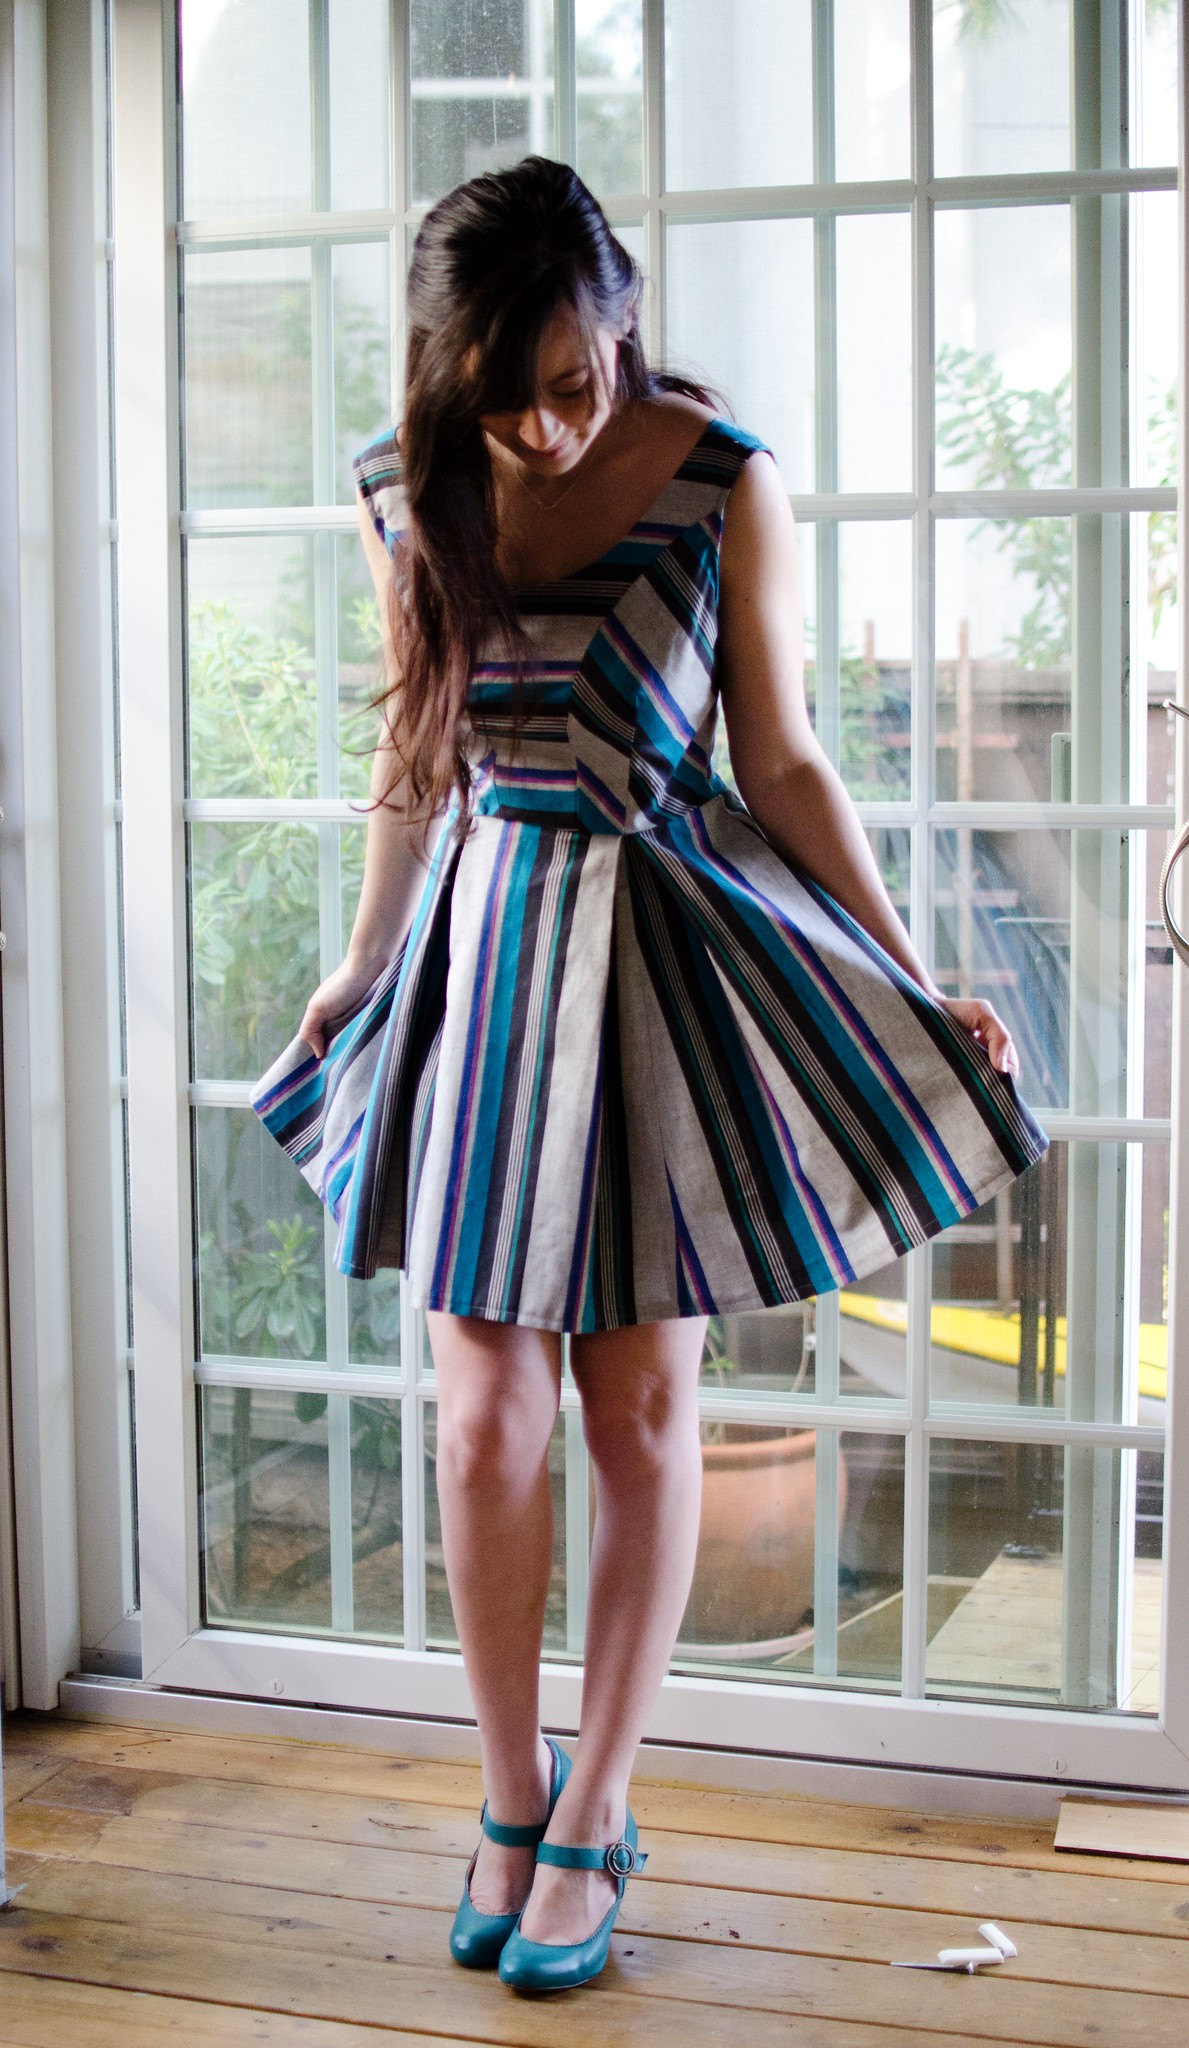
I ended up deciding on this one because I really wanted to try something fun with stripes going in different directions and I had this specific fabric in mind. My mom had been going through her old stuff and found this gorgeous striped fabric that my dad brought back from a business trip to India at least two decades ago. It was perfect.

What I didn’t realize was that there are extra waist darts next to the style lines that make that gorgeous middle panel, and at first I wasn’t sure how much I liked it with those side pieces sewn up in the stripe. I actually spent a few hours re-drafting it to a wider princess line to incorporate those darts, but in the end it just looked boring. And then someone pointed out that with the way I cut the fabric, the waist darts are symmetrical and I decided that the way it bends the stripes on both sides actually looks pretty cool.

Anyway, I love this dress! The middle panel is lined and I used a bias binding for the armholes, which makes the whole thing really light and quick to put together, while still being nicely finished. Kristiann  gives really great directions on each step without being overly hand-holdy. The only thing I didn’t love was that the patterns come on a CD in the back of the book. I’m not opposed to PDF patterns because in my mind, getting the pattern immediately is worth having to tape and trace. But if I have to wait to receive this book in the mail, then print out the patterns and tape them before I can even trace them, that seems a bit much. Also I’m pretty sure most computers don’t come with CD drives anymore, which would mean I’d either have to take this somewhere and pay to get it printed, buy an external CD drive, or find borrow a friend’s computer. I did read somewhere that if you run into this issue you can contact Interweave to have the PDF emailed to you, but if you don’t like PDFs in general, this won’t solve that particular issue for you.

Anyway, now I have this problem where I can’t decide which combination to sew next! Usually when I buy a pattern with several variations, I only ever end up sewing one of them. With this book, there are so many possible combinations, especially when you consider fabric choice, that I will definitely be sewing up several. I have some of this stuff from Cotton and Steel that screams to be made into a Jackie bodice.

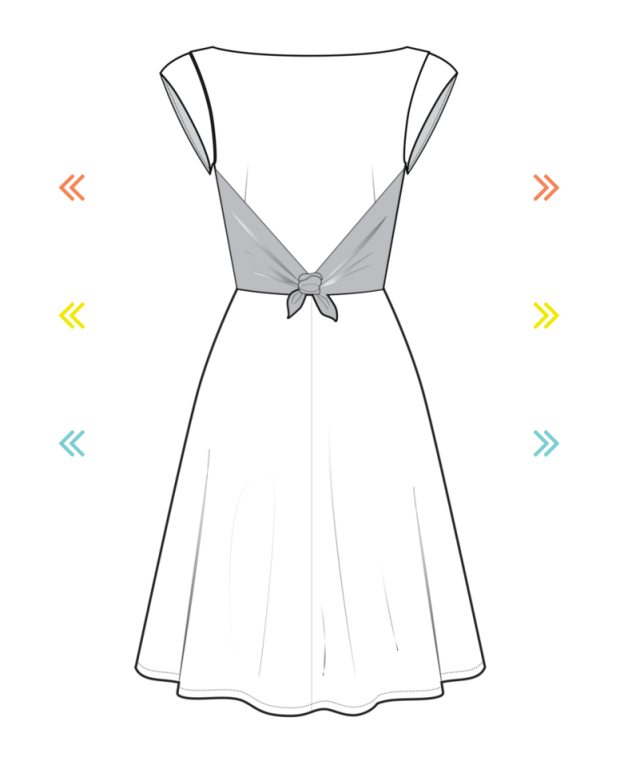
I’m thinking something like this, with the navy print as the main part and either a contrast print or a solid navy as the front tie bit.

Screen Shot 2016-03-28 at 10.22.17 AM

Seriously, this app (and book) are so much fun!

adventures in drafting – Christmas dress

DSC_9152_edited-1

DSC_9155_edited-1

DSC_9145_edited-1

DSC_9149_edited-1

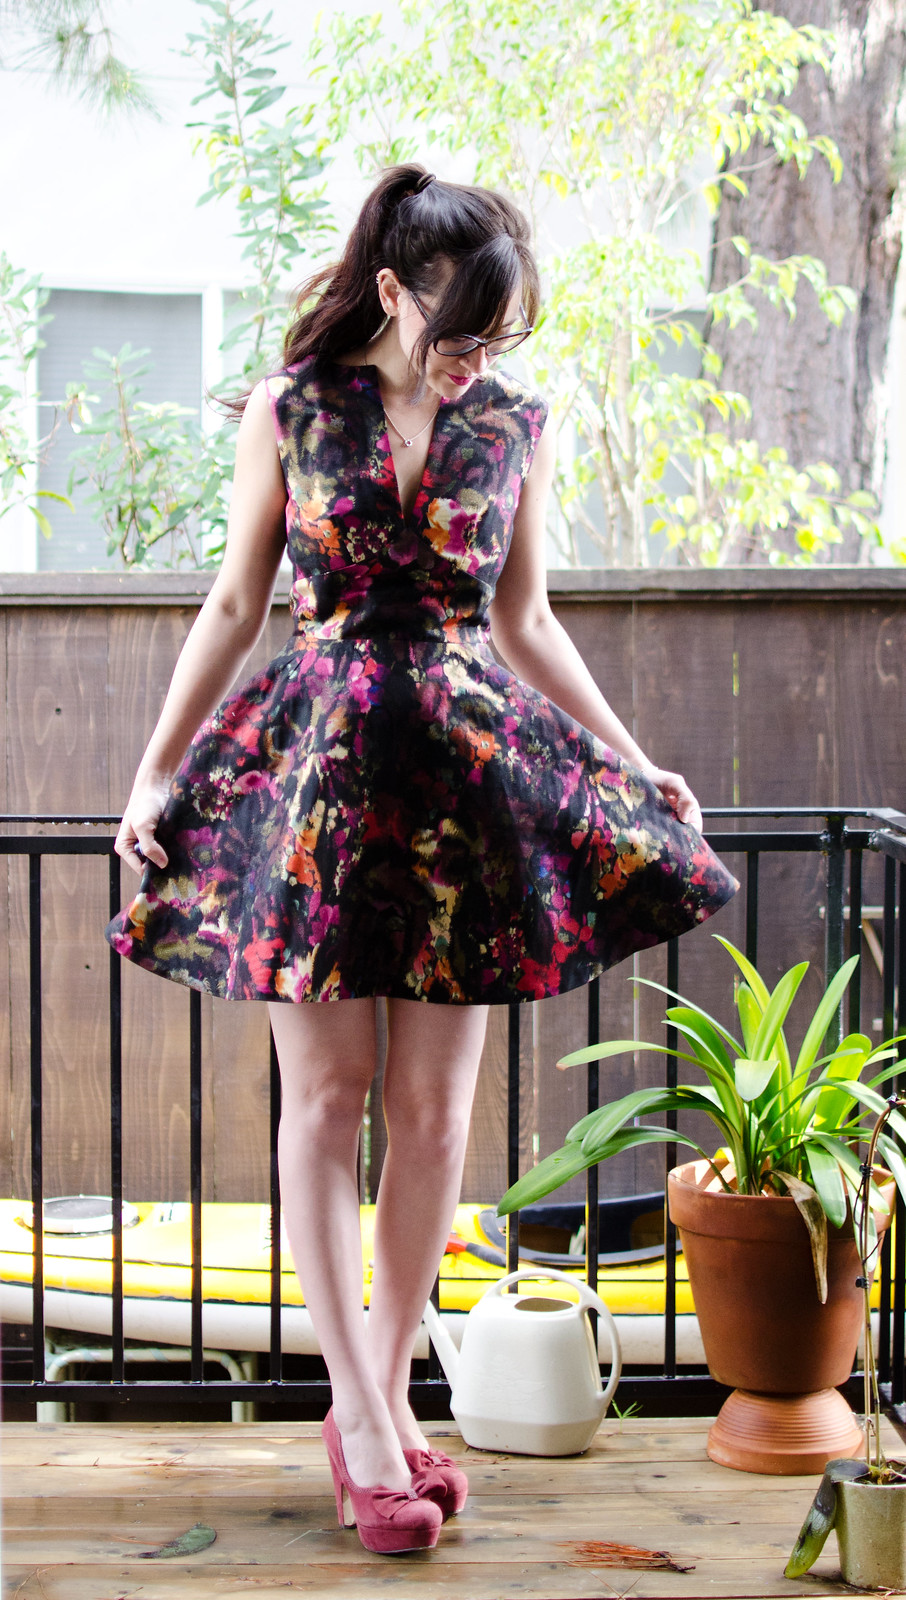
I finally had a chance to take pictures of this year’s Christmas dress! This one was my final project for my pattern drafting class last semester and I’m completely smitten.

I had some trouble getting started because the twee small child in me wanted to take my newfound knowledge of collars and necklines and throw a Peter Pan collar on everything I own. I decided on a bateau neckline and then cut a deep V into it for funsies. It wasn’t in the book but it worked in muslin and I just drafted a facing-shaped piece for interfacing and it stands up just fine.

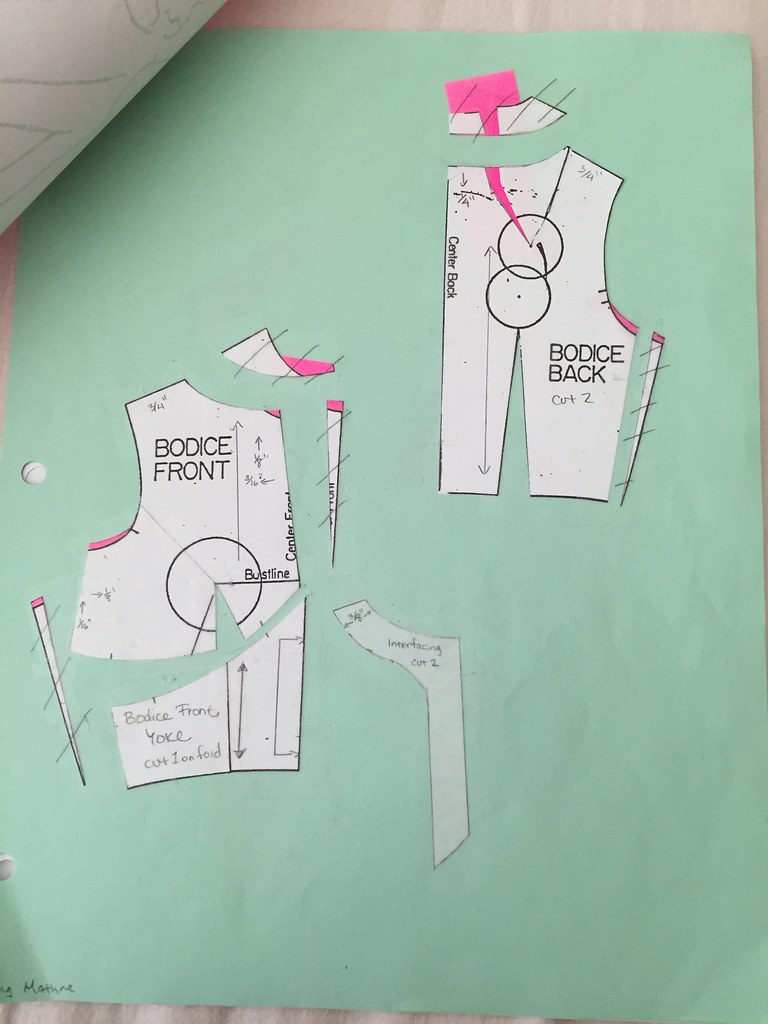
I started off playing around in quarter scale so all measurements on these guys are quarter-scale measurements. All of this stuff can be found in Principles of Flat Pattern Design. (We just started using the Armstrong book in the advanced class and so far I’m equal parts excited and overwhelmed. In a good way.)

IMG_6134

I started with a combined waist dart sloper and did an adjustment for no sleeves, bateau neck adjustment, cut a midriff yoke, and then angled the dart slightly for aesthetics. The deep V is just cut straight from the new neckline edge straight down to the bust line.

Now that I’m looking at this again I’m realizing I never closed the neckline dart in the bateau. Whoops. No wonder it gapes just a tiny bit.

IMG_9476

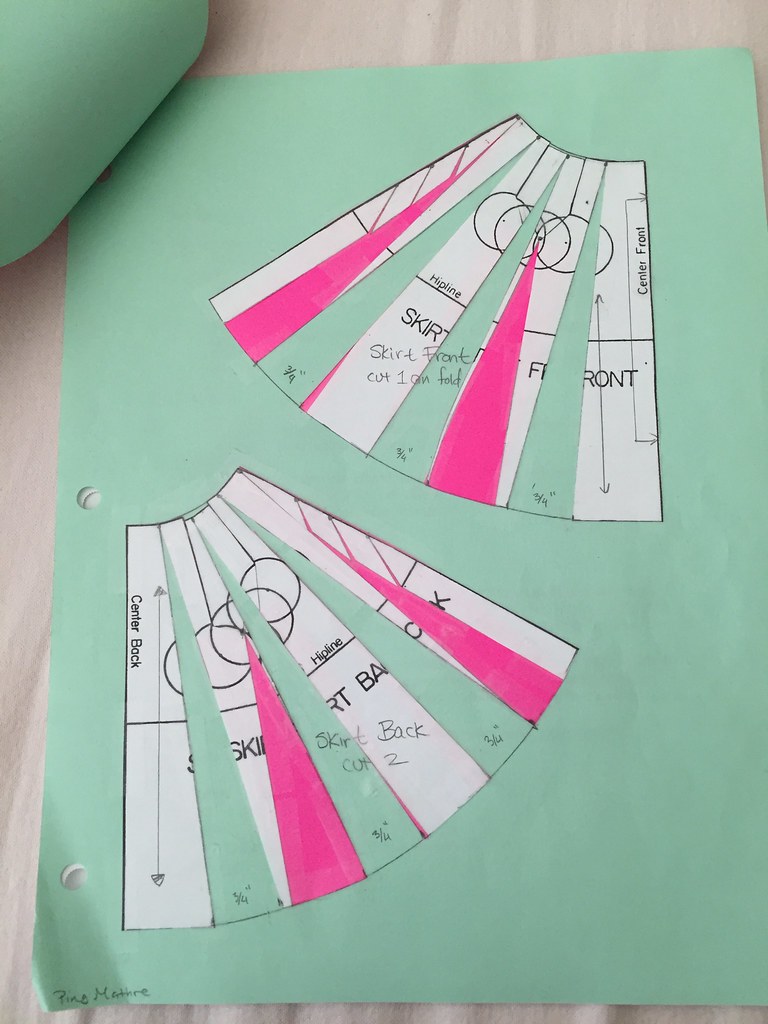
The skirt was pretty straightforward. I wanted something big but clean-looking (no gathers) at the waist, but not a circle skirt. I ended up doing a flared skirt (the pink additions) with extra flare (the green).

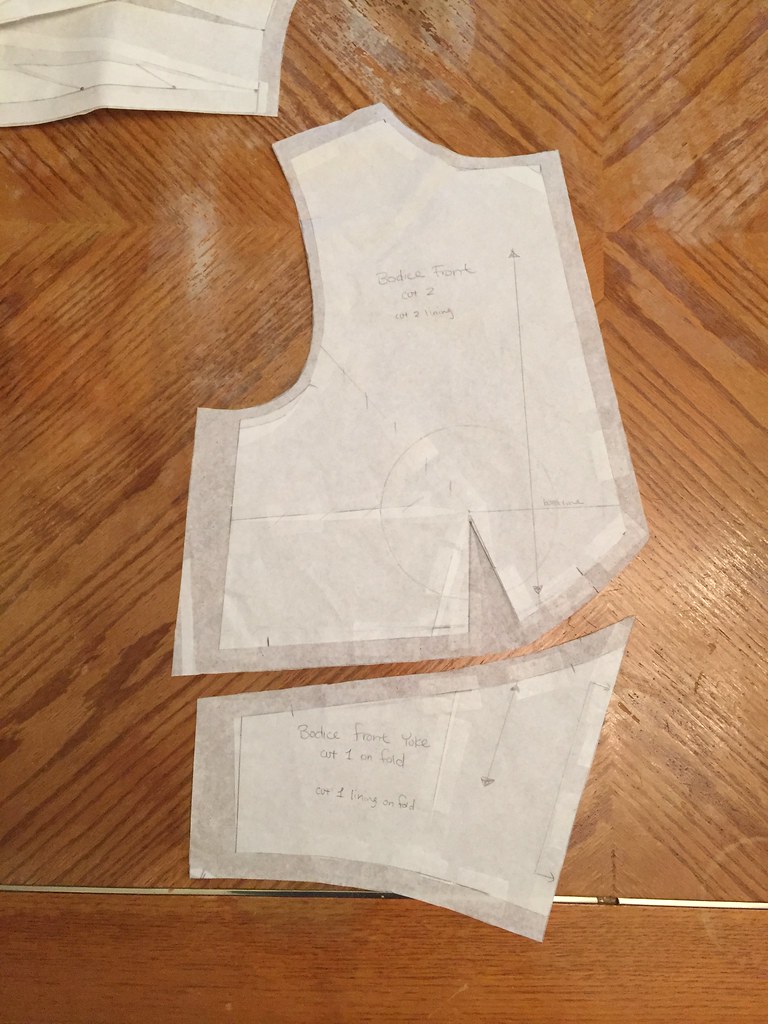
And then here’s what all the pieces looked like with seam allowances added! I did slightly tweak these after I took these photos though. I had forgotten to do the no-sleeves adjustment on the bodice back, and my hem allowance was too long so I changed it from 3/4″ to 1/2″. I also ended up drafting a pocket piece and added hidden pockets to the side seams of the skirt (as you can maybe see in photo #2 up there).

I also liked the idea of an invisible hemline so I used stitch witchery on the hem and then hand-stitched some gold bias tape (you can kind of see a tiny sliver of it in photo #3).

IMG_8196

IMG_1041

IMG_9211

And here’s the first version sewn up in muslin! This was before I made the aforementioned tweaks to the pattern so you can see some slight armhole gaping in the back and definitely in the back neckline. (Although to be fair, this dress form is a bit smaller than the ones we use at school.) You might also be able to spot some of that annoying hem pulling that happens when your hem is too wide and sewing it causes drag lines. I spent WAY too long trying to iron it flat.

Sidenote: this assignment was to make a garment that fits the dressforms at school (which are size 8s from 1997) using a Butterick sloper size 8. It was sheer luck that I happen to fit my dress, so any slight fit issues are because it wasn’t actually meant to fit me!

IMG_7926

IMG_8450

And that’s it!

(I actually really like the way it looks in cream and might have to make another one of these in some sort of a cream linen or crepe!)

Adventures in drafting – sherpa vest

DSC_8977

DSC_8980

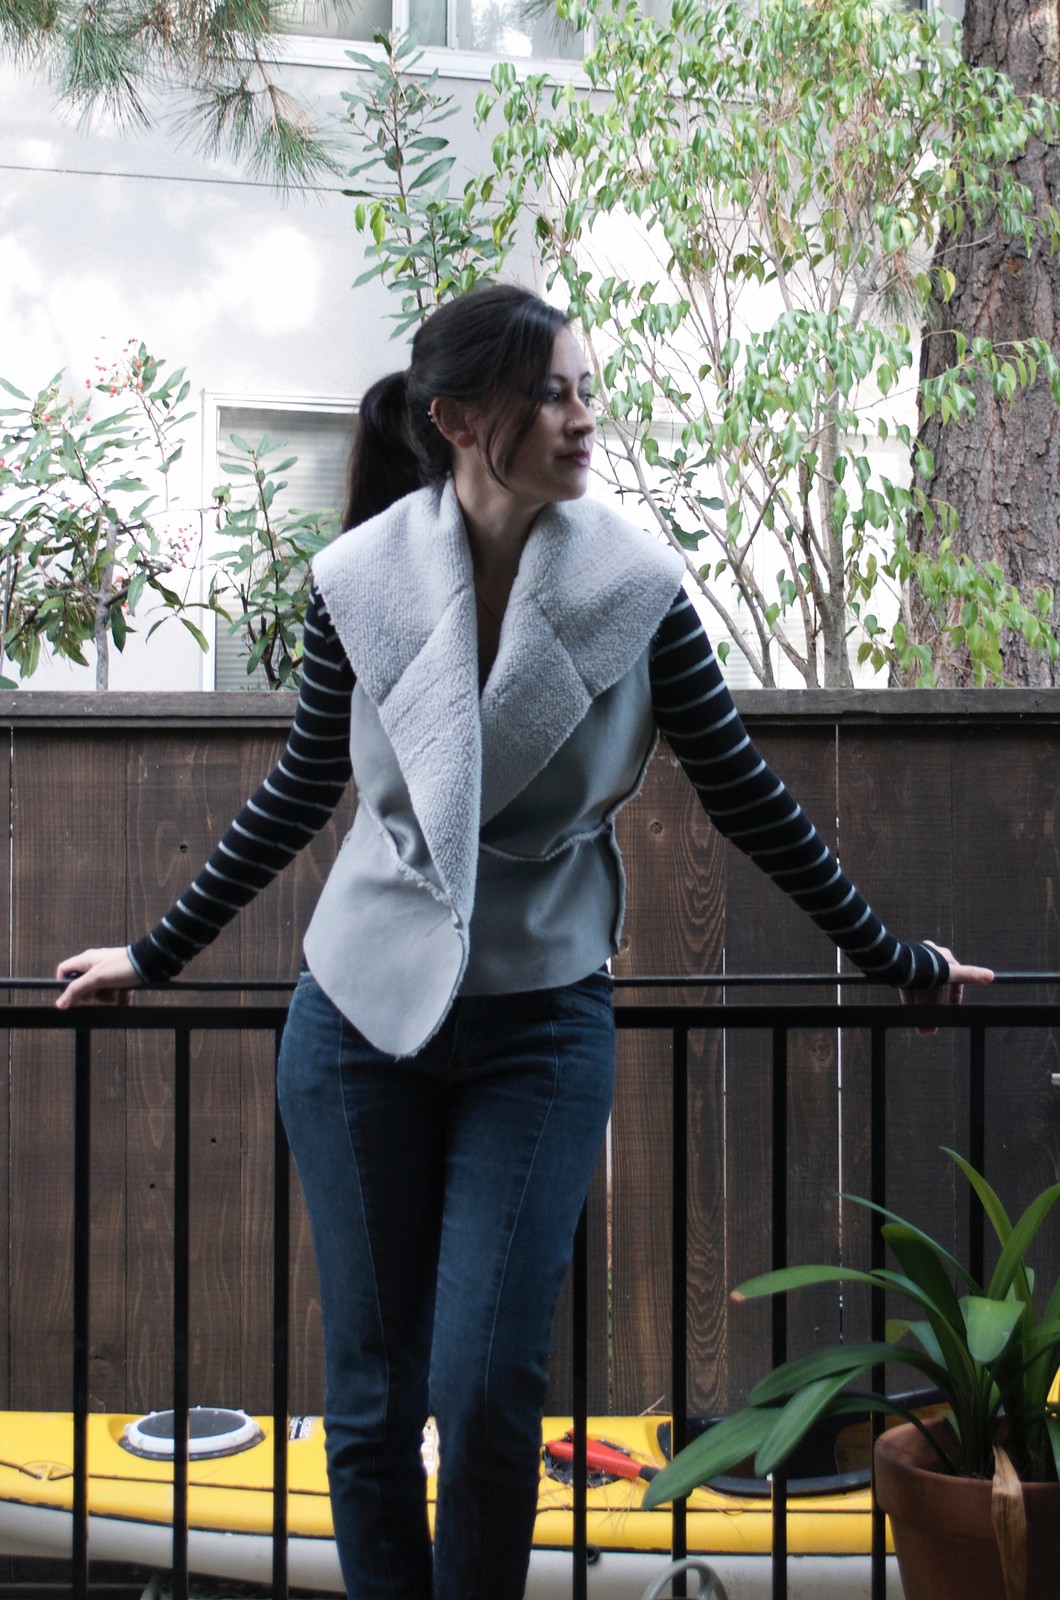
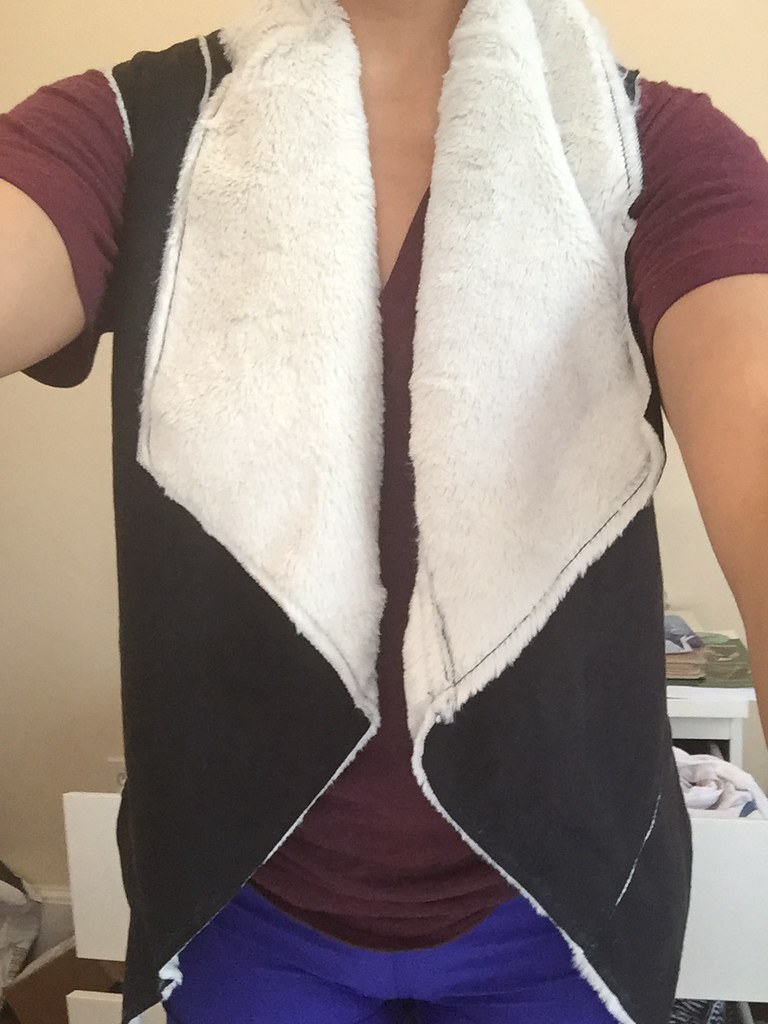
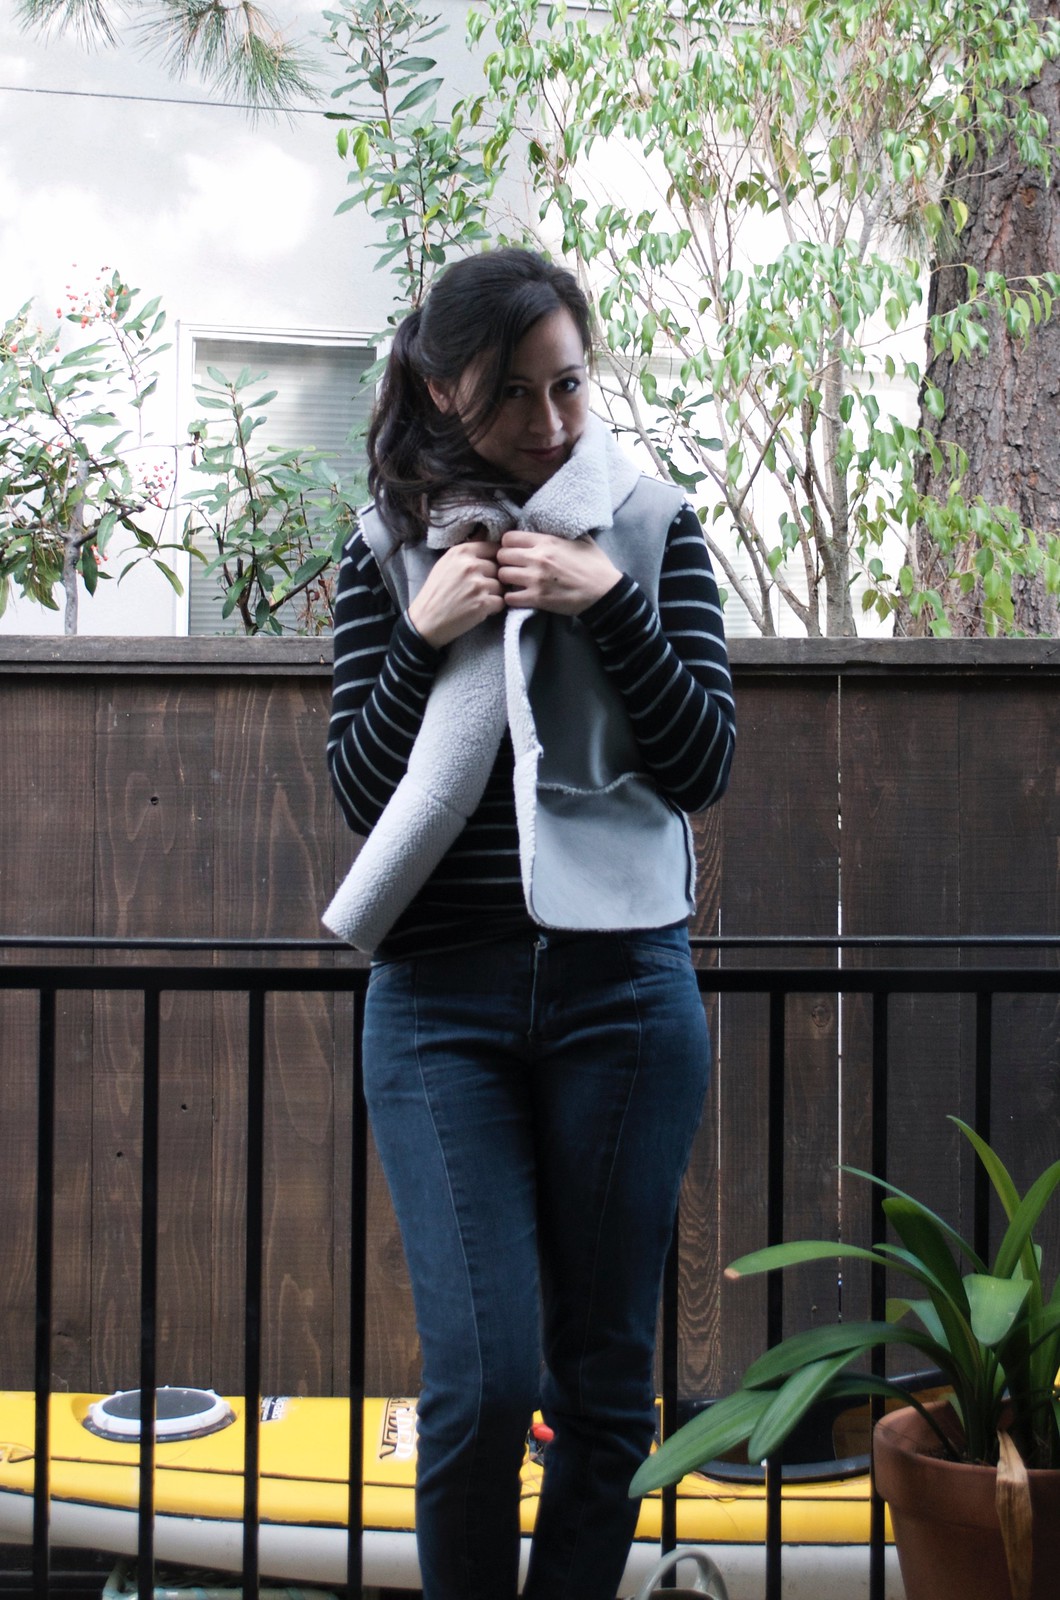
A few months ago my sister called me to FaceTime after a particularly successful shopping trip and showed me this adorable little sherpa vest she’d bought. I immediately fell in love with it and pestered her for the next two weeks to take photos of it from a multitude of angles so I could try to replicate it.

She sent me a whole bunch, the following being the most helpful, and I scampered to work.

2015-11-12 10.38.33

2015-11-12 10.38.39

2015-11-13 21.32.56

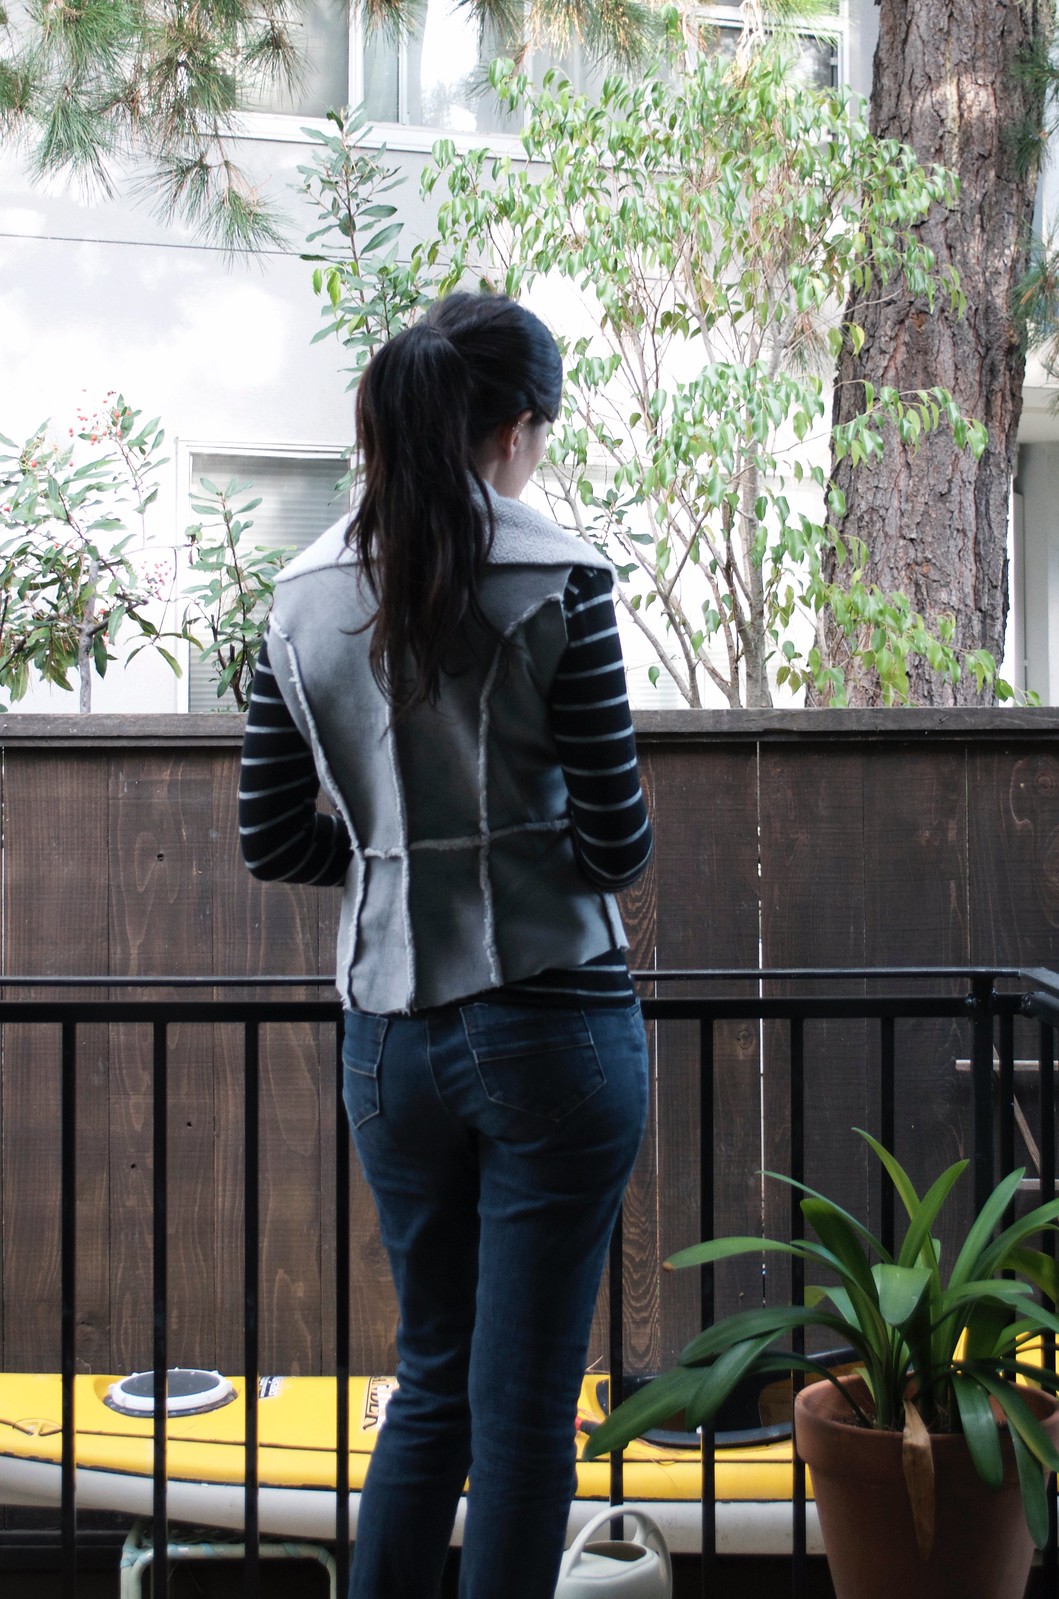
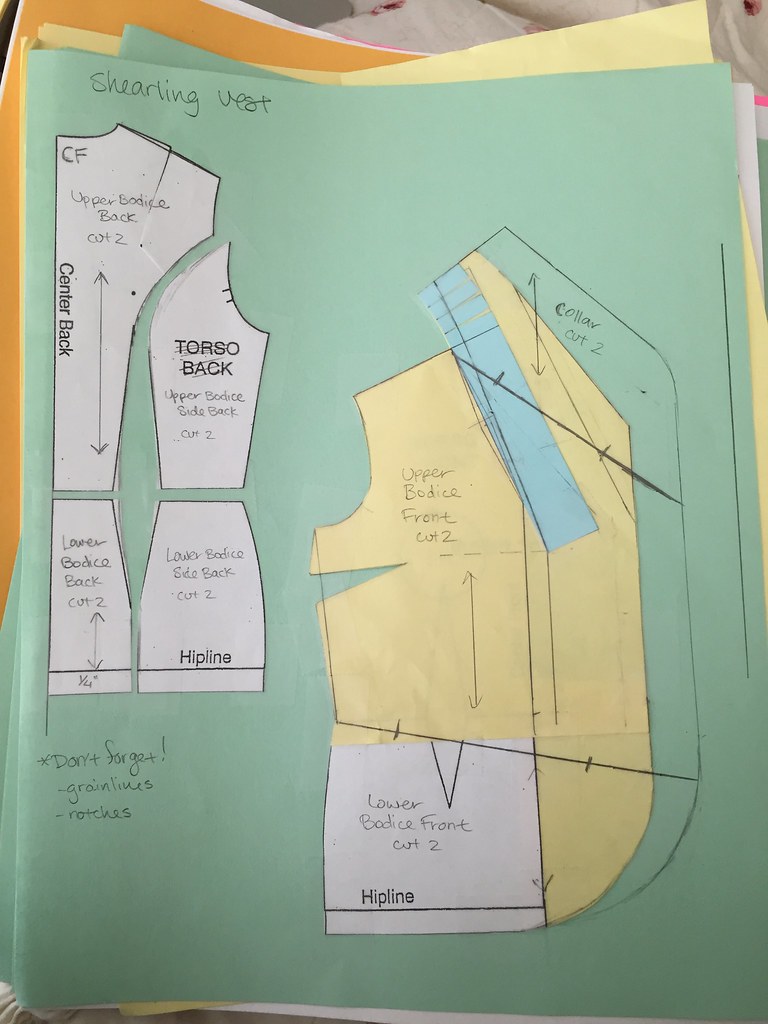
We had just covered necklines, including shawl collars, in class, so I had somewhat of an idea of how to go about doing this. I started with a quarter-scale torso front and back. The back was pretty straightforward. Princess lines from the armhole and then a seam at the waist.

The front was much harder. I wanted a shawl collar-y effect, but I wanted to top to be angled outward more and for the whole front center to extend out further than center front. I played around with it a lot (as evidenced by the several colors of paper) and finally ended up with something like this:

2015-11-13 09.19.05

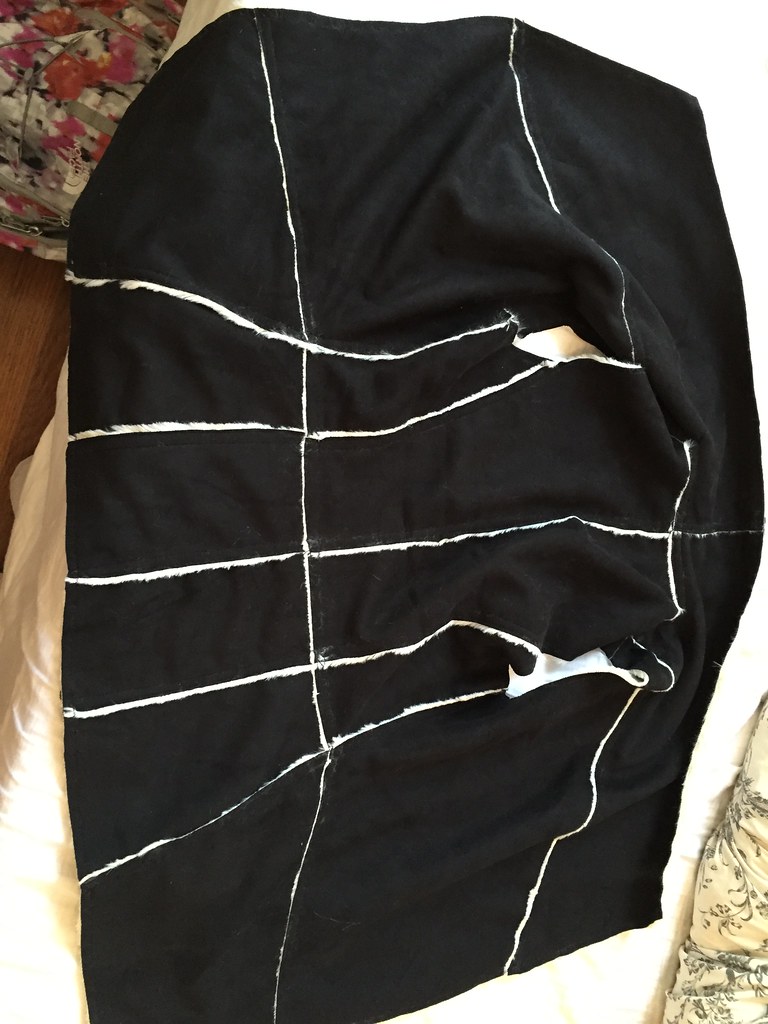
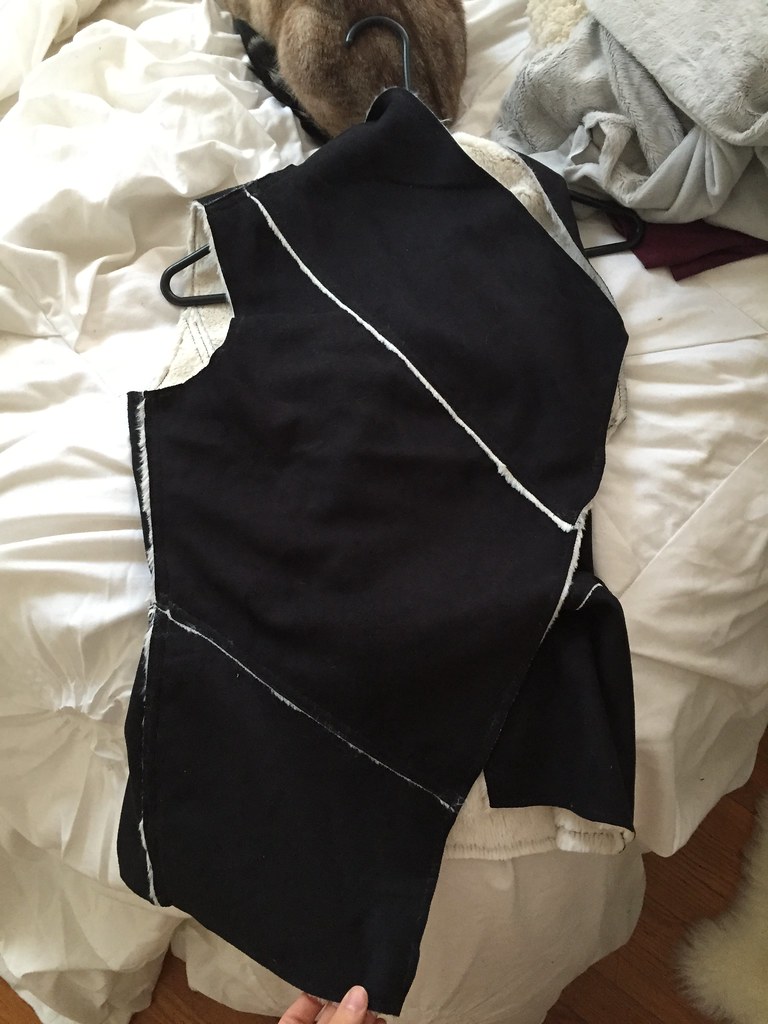
Then I ran into a tiny problem. I’d picked up a gorgeous pale gray and white faux shearling fabric at Joann’s but it was only half a yard. Despite my best tetris-ing efforts there was always one piece I couldn’t fit on the fabric. In the end I had to crop the length by a few inches and be ok with the pattern pieces being cut out in whichever direction they fit, rather than all being in the same direction. It worked out though, I think! I’m calling this one a wearable muslin.

For my next one, I want to try to find a sherpa fabric with more drape, since this one sits kind of stiffly. And a possibly foot that works better with the faux suede-y material on the outside. It’s SO comfy though and I’ve been wearing it a ton.

DSC_8990

options_framework_theme Theme by NUDGE MEDIA DESIGN.