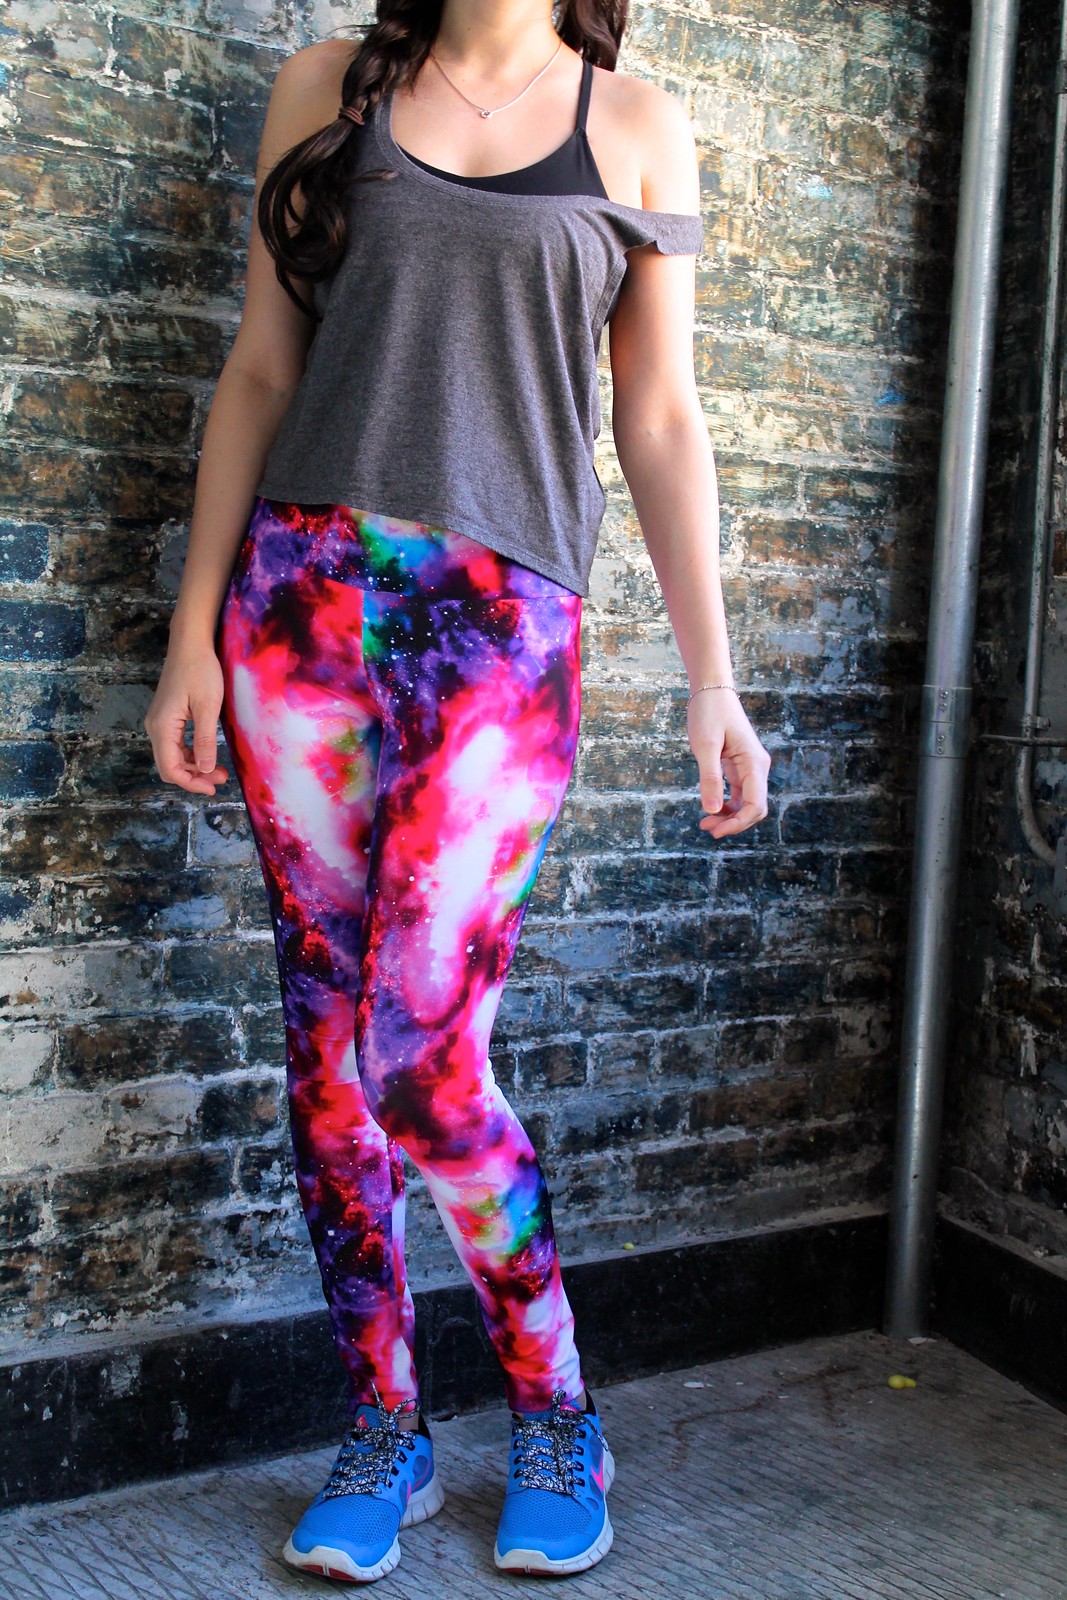
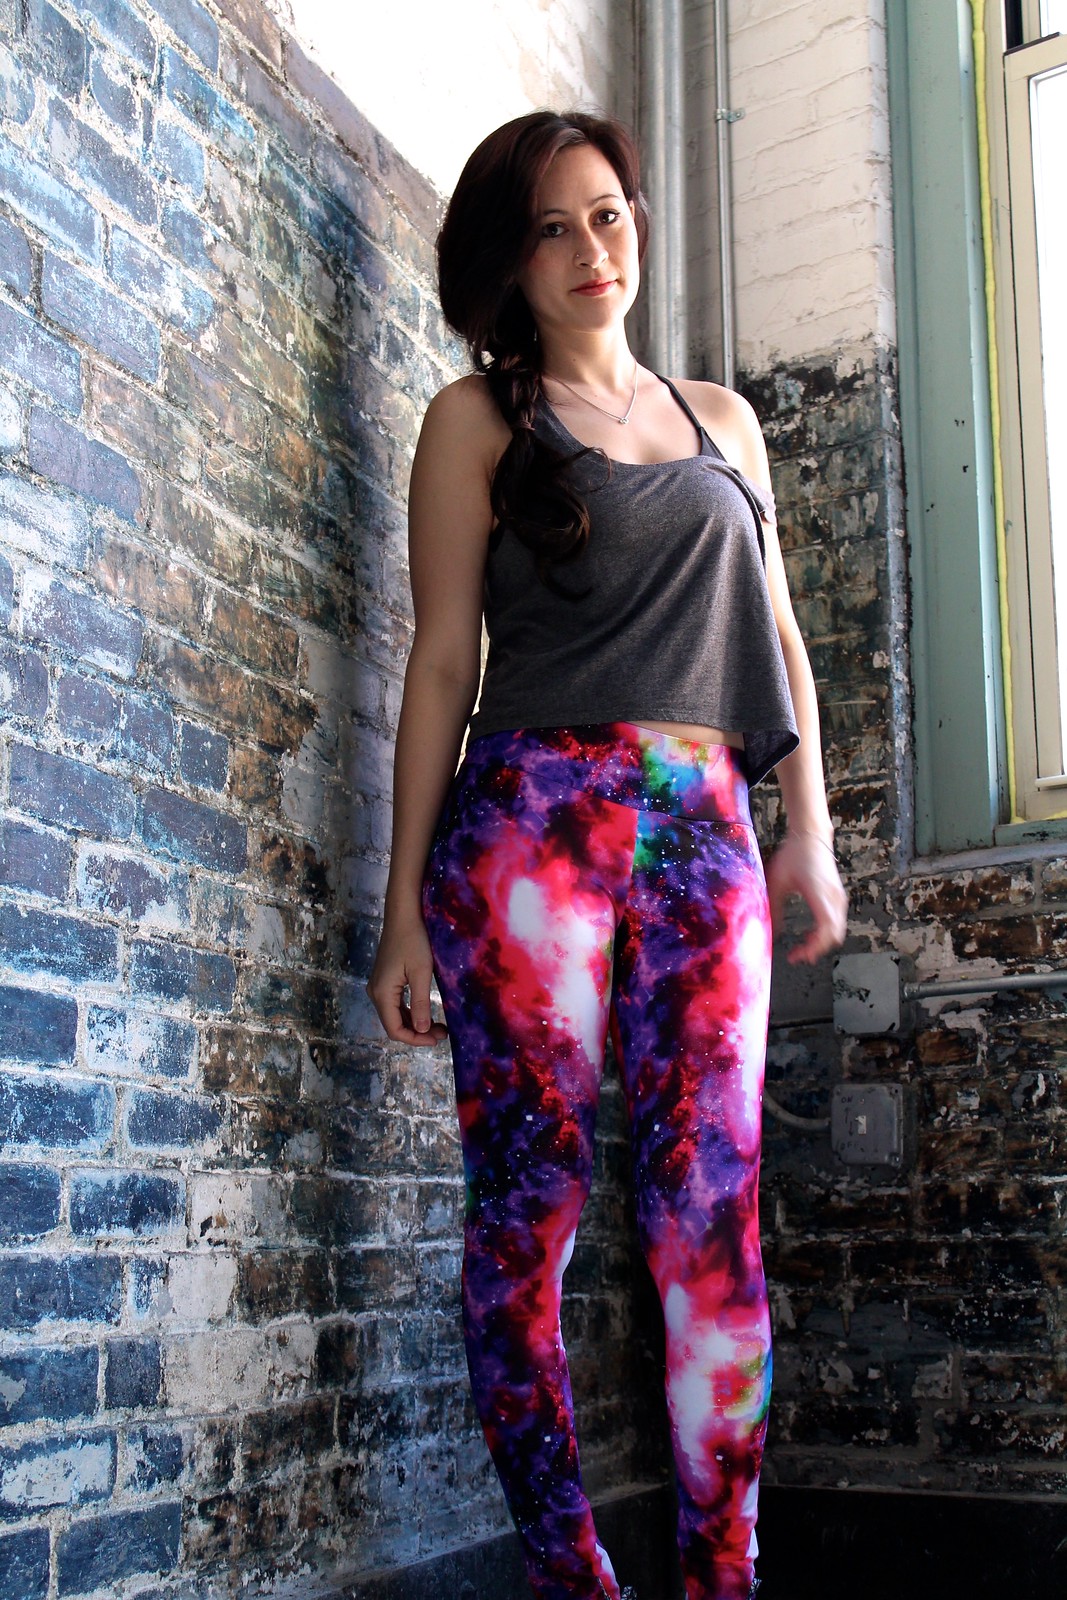
Galactic

IMG_4090

IMG_5404

IMG_5381

IMG_4127

IMG_4082
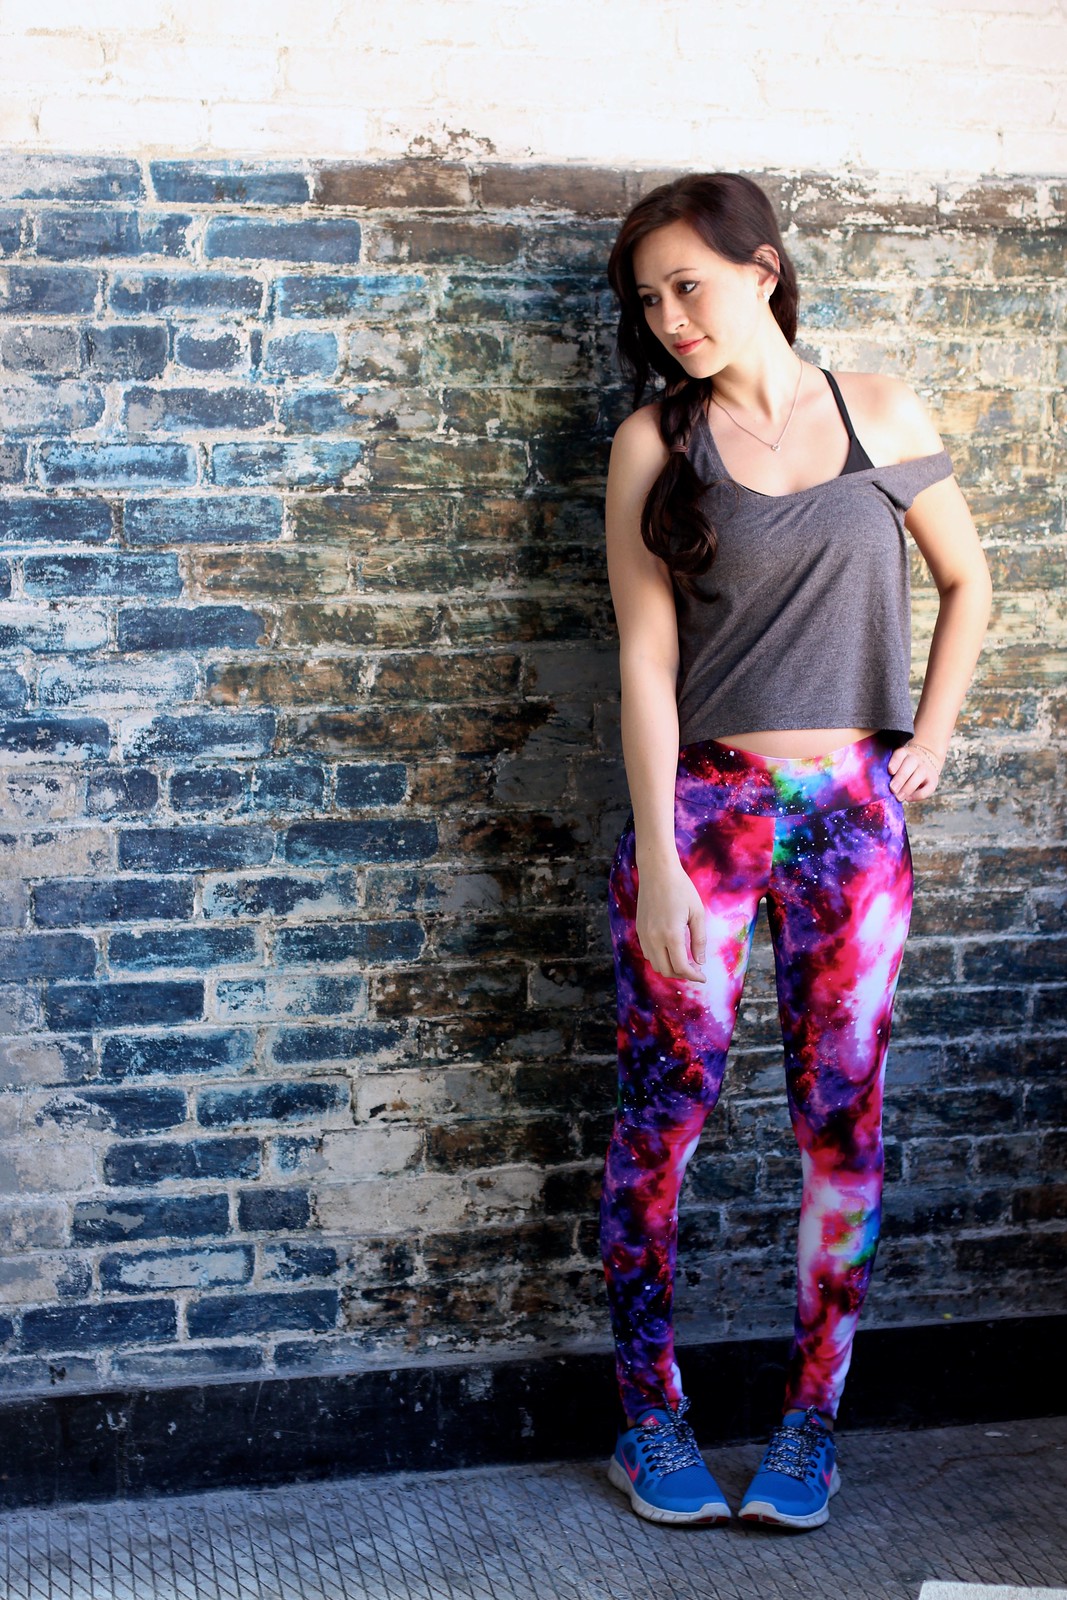
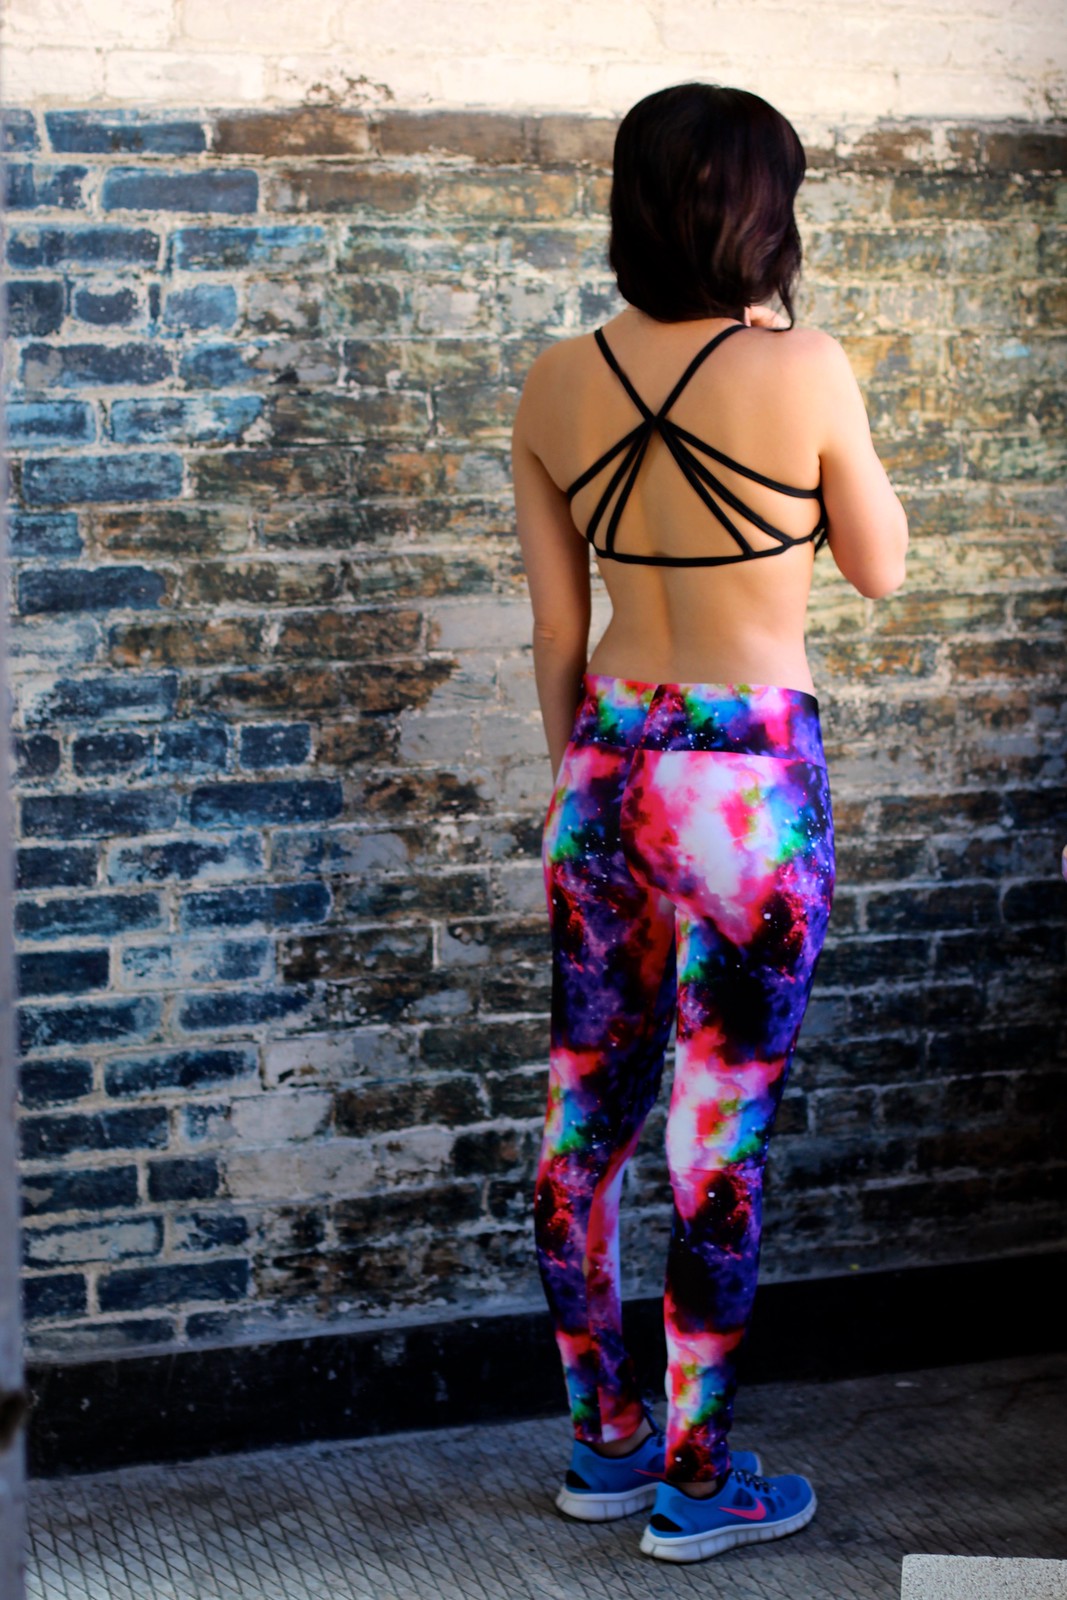
bra: self-drafted // leggings: pattern here //top: random brand

*Fabric for this project was provided by Funki Fabrics. All opinions, day-glo predilections, and strapping adventures are my own.

Funki Fabrics was generous enough to send me fabrics for three separate “outfits” (as much as you can call a neon bra/panty set an “outfit”) and this is the second one I came up with. As mentioned earlier, within minutes of perusing the Funki Fabrics site, I had galaxy leggings all over my brain. These were pretty easy to put together. I used this gorgeous fabric and Megan Nielsen’s Virginia leggings pattern with the minor adjustment of making the waistband 3″ tall (instead of 1″ as in the original pattern) and  then using 3″ elastic.

I was a little wary of the fabric being too thin and turning white when stretched out (particularly after a disastrous Girl Charlee order) so I was extremely pleased to find that this stuff is lightweight, has nice stretch, and is totally opaque. I can do my squats without worrying about wardrobe malfunctions!

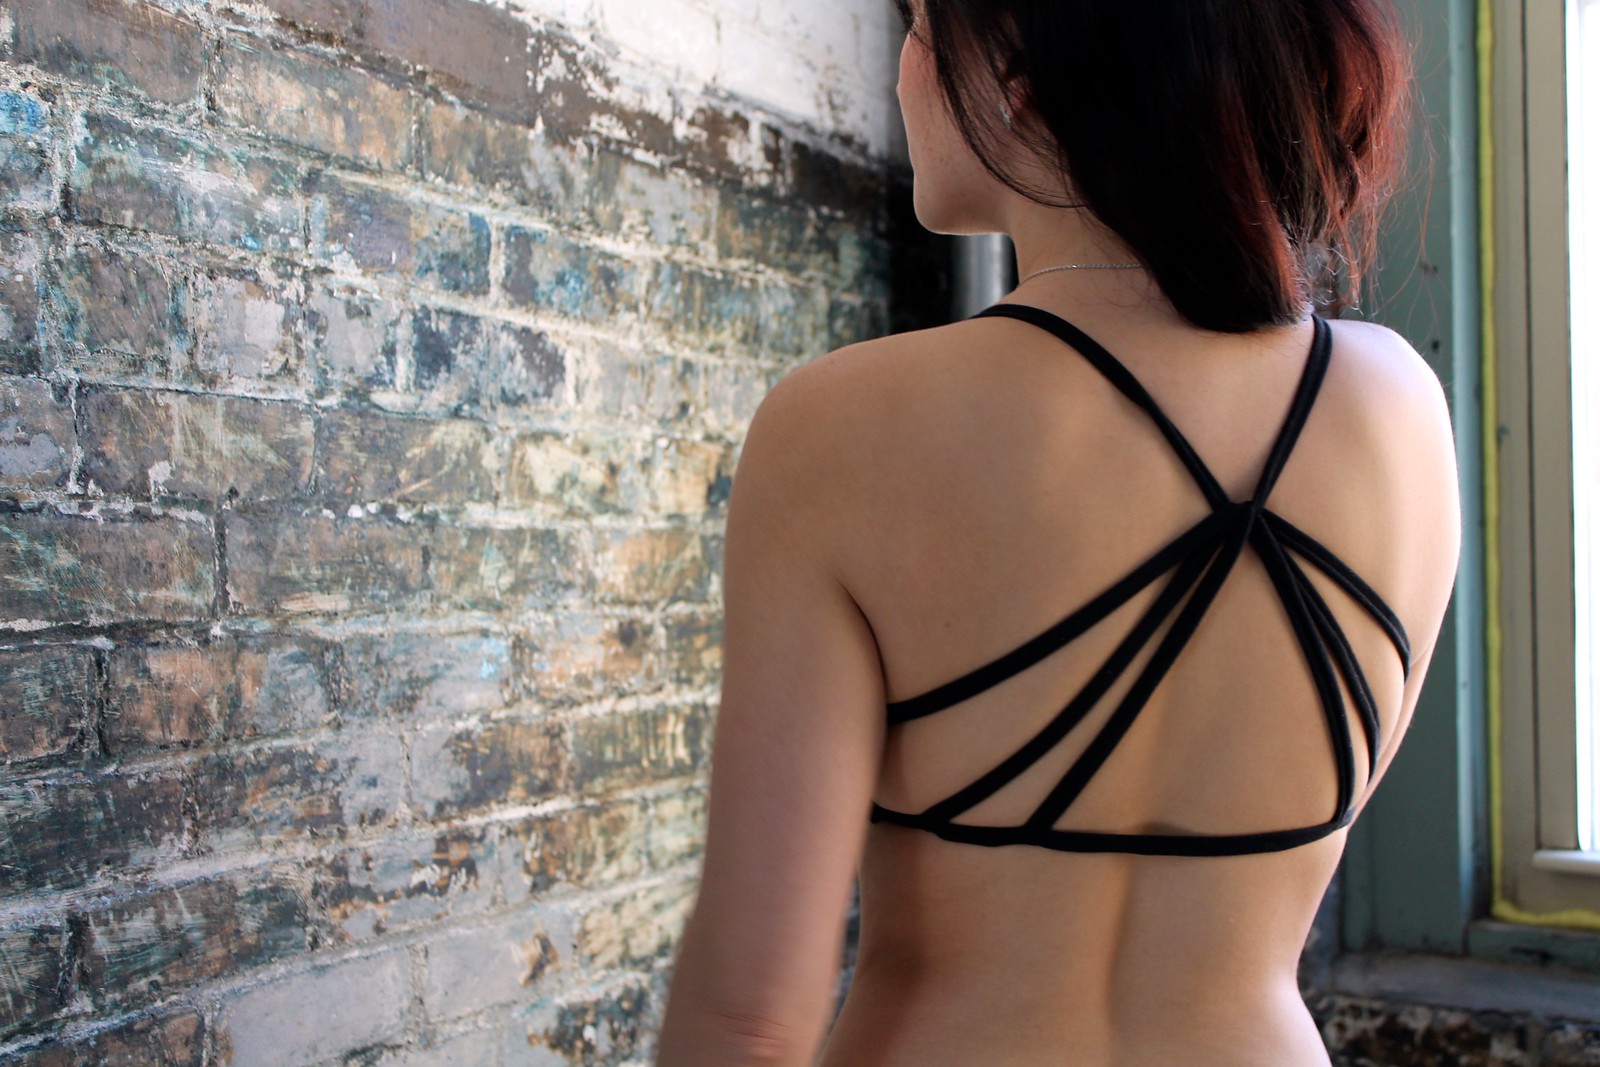
The bra was so much fun to draft and has been such fun to wear as well. I got the idea from a Free People bra my roommate owns that I’ve been coveting for months. The problem with the original bra is there is absolutely no support and when I tried hers on I was falling out of it in every direction. I wanted it to be something supportive enough that I could wear as a sports bra but with delicate enough straps that I could also wear it as a fun undergarment for a few backless shirts I own (but haven’ t been able to wear due to not having the right kind of bra).

I used this black supplex which I absolutely adore. I want to make all my workout clothes out of this stuff. It’s much less shiny than it appears in the product photo, kind of like cotton-y swimsuit material with great stretch. I started off by tracing a soft sports bra from Target (basically this one) and went from there. I lowered the neckline and made a more pronounced V shape, and extended the sides a bit on either side for extra bewb room. I recommend putting the sports bra on and marking where your side boob hits. I cut two layers of this and sewed the top seams but left the bottom open. I added a strip of 3/4″ elastic for underbewb support and zigzagged the bottom seam closed.

Then it was just a matter of making a bunch of straps and playing with strap placement. I used 1/4″ elastic and Ada Spragg’s Bombshell strap method to make five straps, about 22″ long each. I played with placement on the mannequin, then used safety pins to pin each strap in place so I could try it on. It only took about two tries to get the placement right. Then I just trimmed where necessary and stitched them on. I also added a few stitches to where the straps all meet in the center back to help keep everything in place.

I think my summer uniform this year is going to be strappy bras and flowy backless tops and dresses. Basically my inspiration is everything on this page.
Adventures in bra dyeing

Turquoise bra

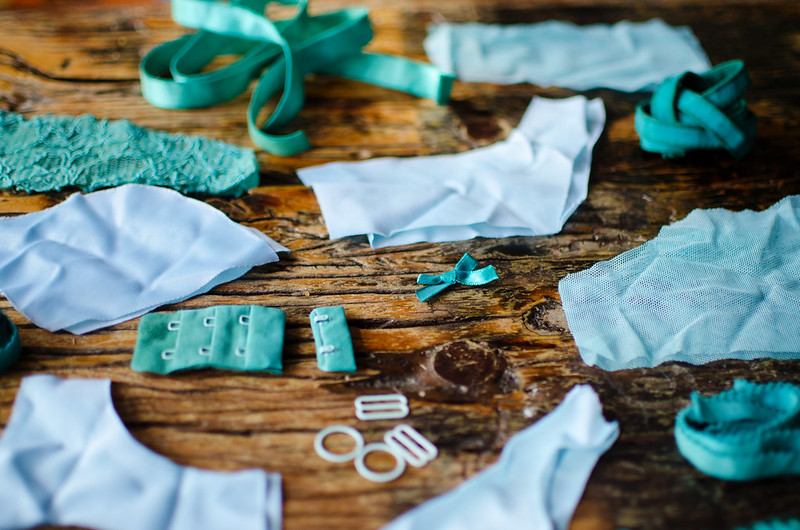
I think I’ve had turquoise on the brain for months now because of Elsa. One result of this is that I bought a lovely white bra kit from Grey’s with the intention of dyeing it and then decided on turquoise. Shocker.

It was a really interesting experiment though and I’m pretty excited about repeating it! I knew going into it that the different fiber contents of the different materials meant that they would each take up different amounts of dye but I hadn’t realized they would turn out to be completely different shades. This one reminds me of Giselle from Enchanted for some reason. I want to try doing one with a red dye to see if I can get shades of pink and red.

Now off to sew this up into a bra!

Bioluminescent bewbs + bra supply list

Neon Marlborough

Neon Marlborough

Neon Marlborough

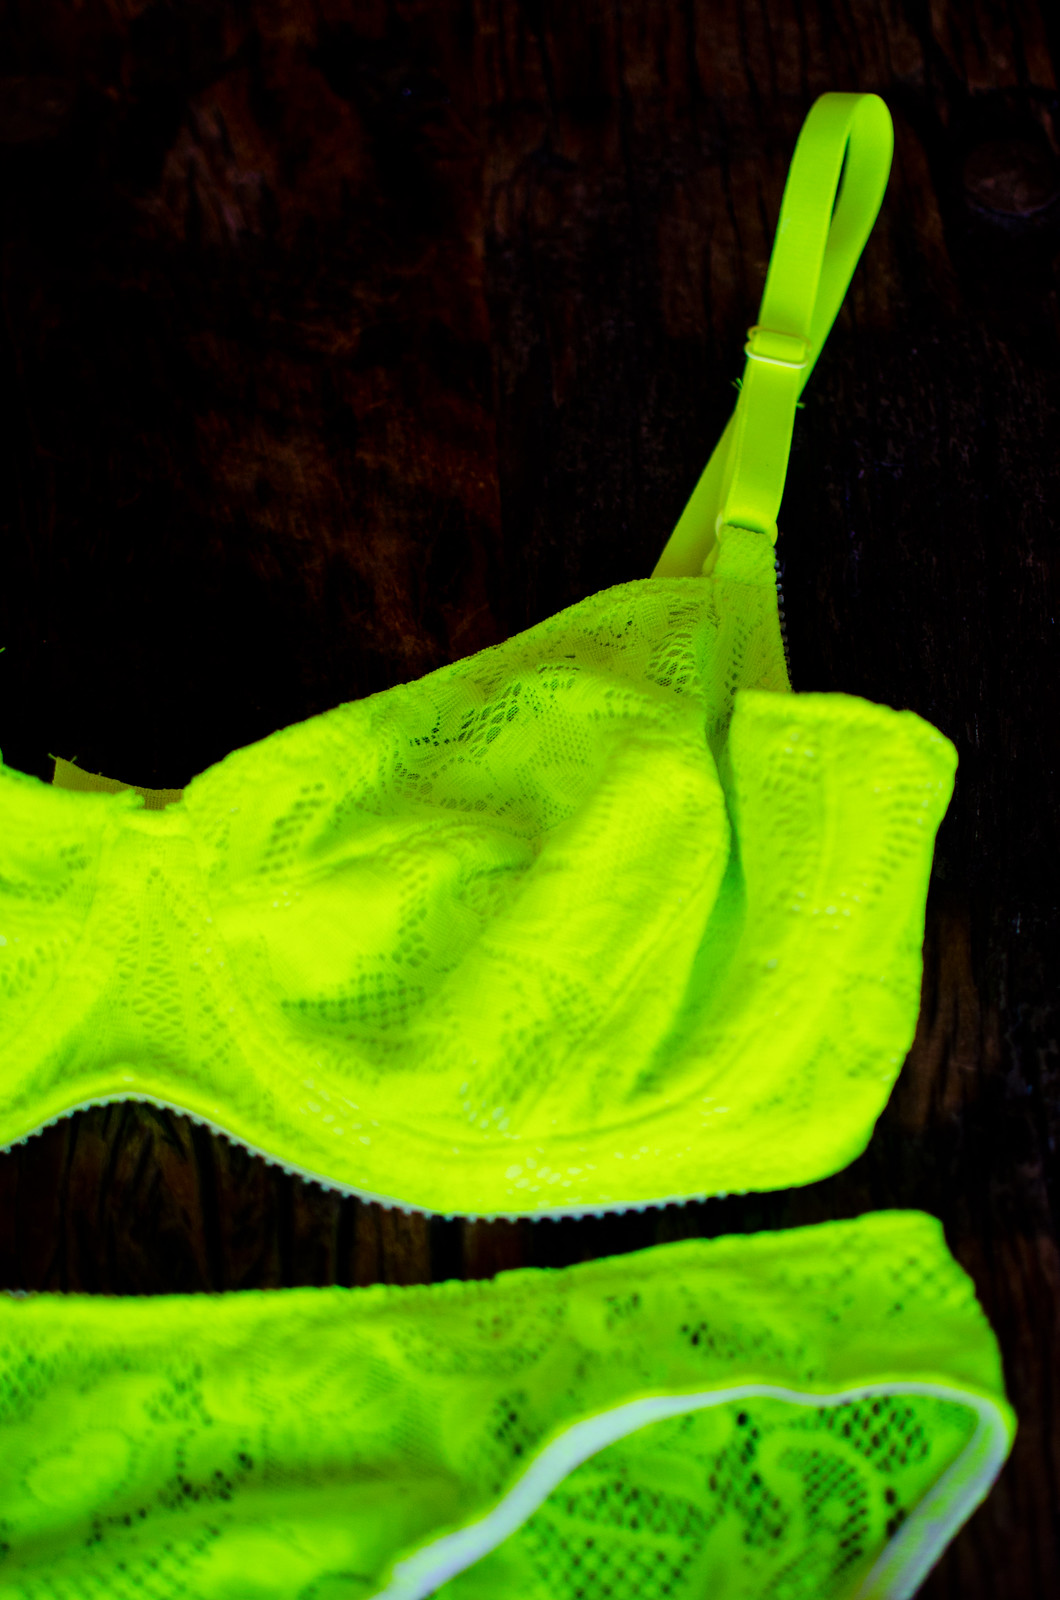
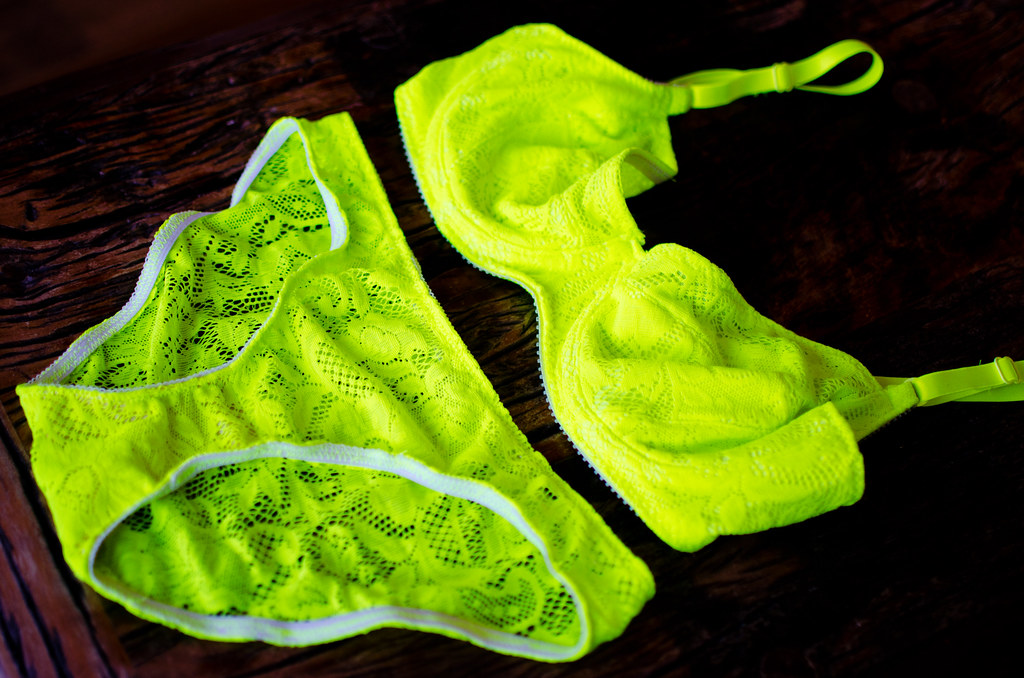
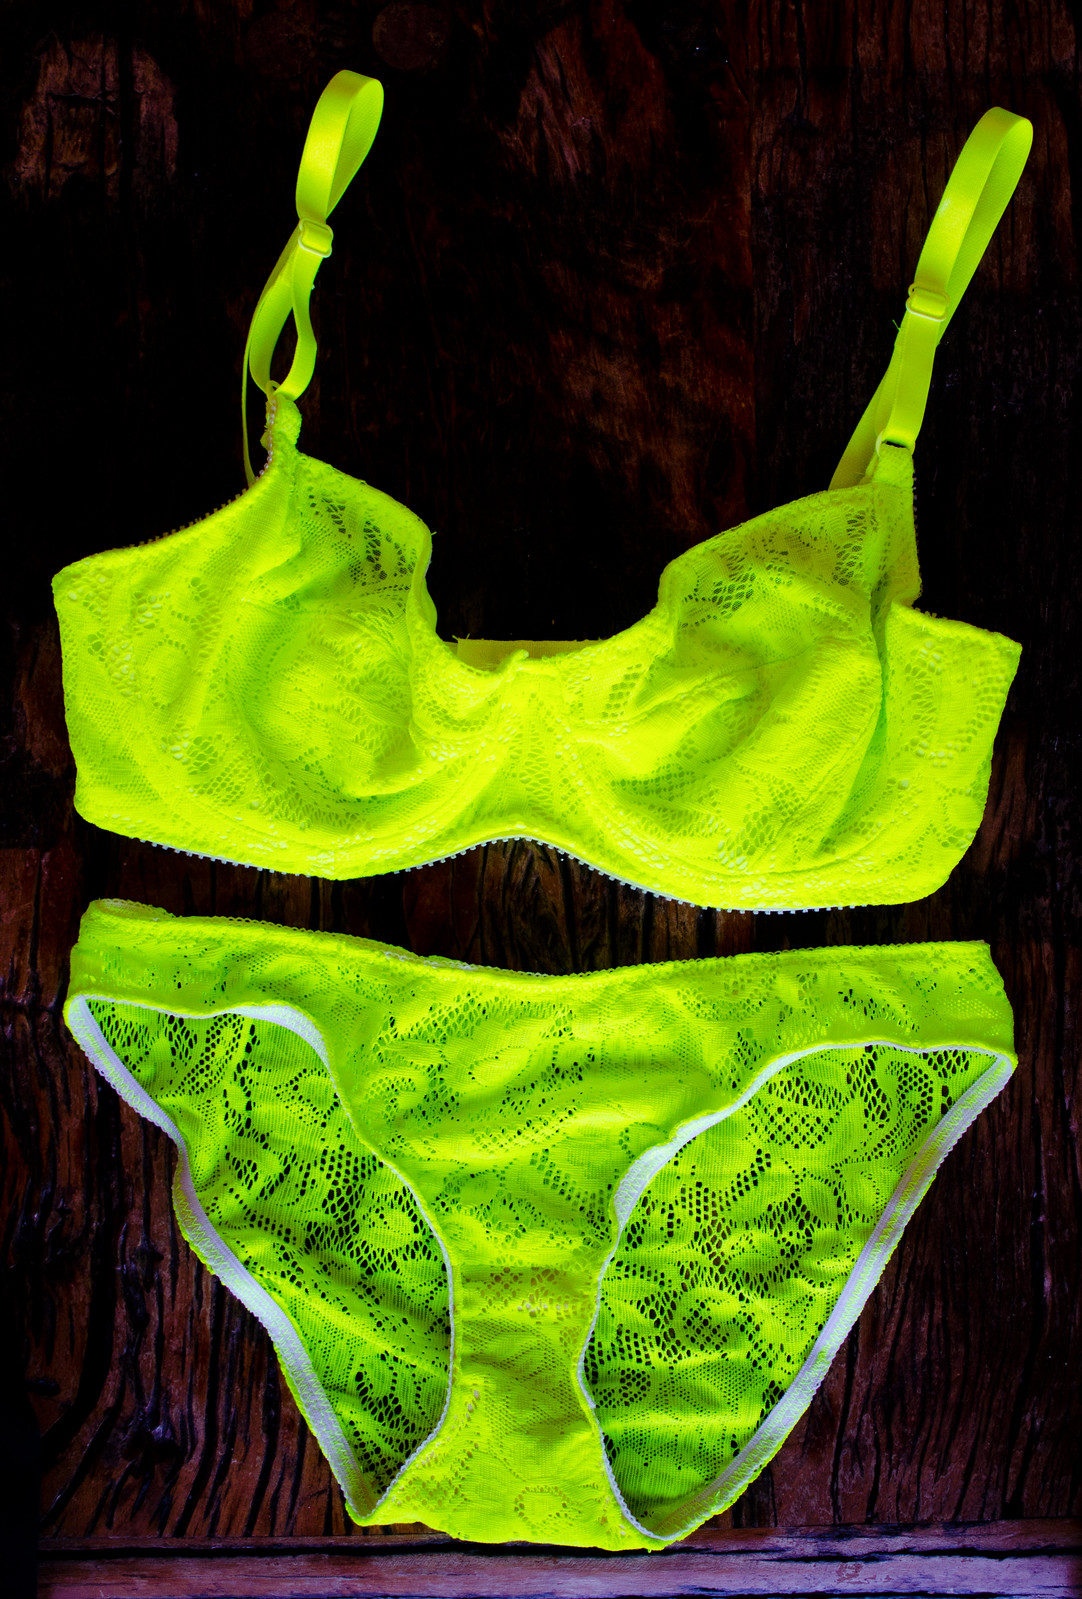
Neon MarlboroughBra: pattern here, fabrics and supplies listed below // Undies: pattern here

*Fabric for this project was provided by Funki Fabrics. All opinions, day-glo predilections, and dyeing skillz are my own.

When Funki Fabrics contacted me a few months ago about sending me some fabric, my first thought was “I NEED GALAXY LEGGINGS.” Then they sent a follow-up email suggesting I try out their stretch lace since I’d been making so many Marlborough bras and my mind immediately went to “I NEED A NEON BRA.” I’m not totally sure where this sudden attraction to day-glow colors came from but I’m going with it.

For this project, I picked out a neon lace for the main outer fabric, a coordinating mesh fabric for lining the upper cup, and a neon matte lycra to line the rest of the bra. The rest of the materials were from a large order of lingerie supplies from Sew Sassy a while ago. Since I’ve had some people ask about where I got this “kit”, here’s a list of everything I used to make this (based on the Marlborough pattern since that’s what I made):

  • Neon lace – I wanted this bra to be lace all over so I cut out all of the Marlborough pieces in lace except for the Band. This lace is so awesome to sew. It looks delicate and almost like crochet lace but is substantial enough to go through the sewing machine without snagging or being obnoxious.
  • Neon matte lycra – I used this as my lining. I cut this out in all pieces except the Upper Cup and Band. It’s so soft and bright without being gross and shiny.
  • Neon stretch net – I used this to line the Upper Cup and to as the outer layer of the Band because the Techsheen wasn’t the right shade of neon. This stuff was just thin enough to be a second layer without being too delicate to work with. 
  • 1/2″ White Nylon Coated Bra Strap Slides (B967NC) – The nylon coated hardware is great because it takes acid dye really well! 
  • 1/2″ White Nylon Coated Bra Strap Rings (B970NC)
  • White Tubular Channeling (CH922WH) – This stuff is satiny and adds a lot of support. I still want to try making a bra that uses this channeling and no actual underwires.
  • White 3 eye Hook & Eye Tape (HE952wh) – I bought 1/4 yard each of this in black and white and just cut off however many hook/eyes I need for a particular bra (32D takes 3 while 34C takes 2). It dyes really well too.
  • White Techsheen Fabric (TechS312) – I used this for the Band. It’s low stretch and very supportive and dyes really well.
  • Underwires I’ve tried both the UW920 and the flex lite UW927 underwires and honestly haven’t noticed a difference in comfort. I’m also not an underwire expert so probably can’t be too helpful in this area.
  • 1/2″ White Satin Strapping Plush Elastic (PE540wh) – I love these straps! Super comfortable and easy to dye.
  • 5/8″ Finishing Plush Elastic (PE440) – This stuff is interesting because the 5/8″ elastic takes acid dye really well on the plush side and not at all on the elastic side, but the 3/8″ elastic barely takes any dye at all anywhere. Luckily it’s all on the inside and not noticeable at all.
  • 3/8″ Finishing Plush Elastic (PE400)
  • 1/4-3/8″ regular picot-edge elastic For the top edge of the upper cups. Mine didn’t take dye at all.
  • Dharma acid dye in Fluorescent Lemon This stuff is incredible but make sure you start off with a tiny amount because it’s so vivid. My first batch turned out banana yellow because I used way too much.

I absolutely loved working with these fabrics from Funki Fabrics! I was a bit worried about the fabrics being too stretchy but the combination I used seems to work great. Plus the colors coordinated perfectly so the whole bra is just a lovely glowing set.

Apparently my neon kick is sticking around because (as you may have seen on Instagram) I’ve recently dyed another bra set hot pink and then purchased some neon coral lace for a Watson set.

Prepare to have your retinas burned out.

Floral Francoise

Floral Francoise

Floral Francoise

Floral Francoise

Floral Francoise
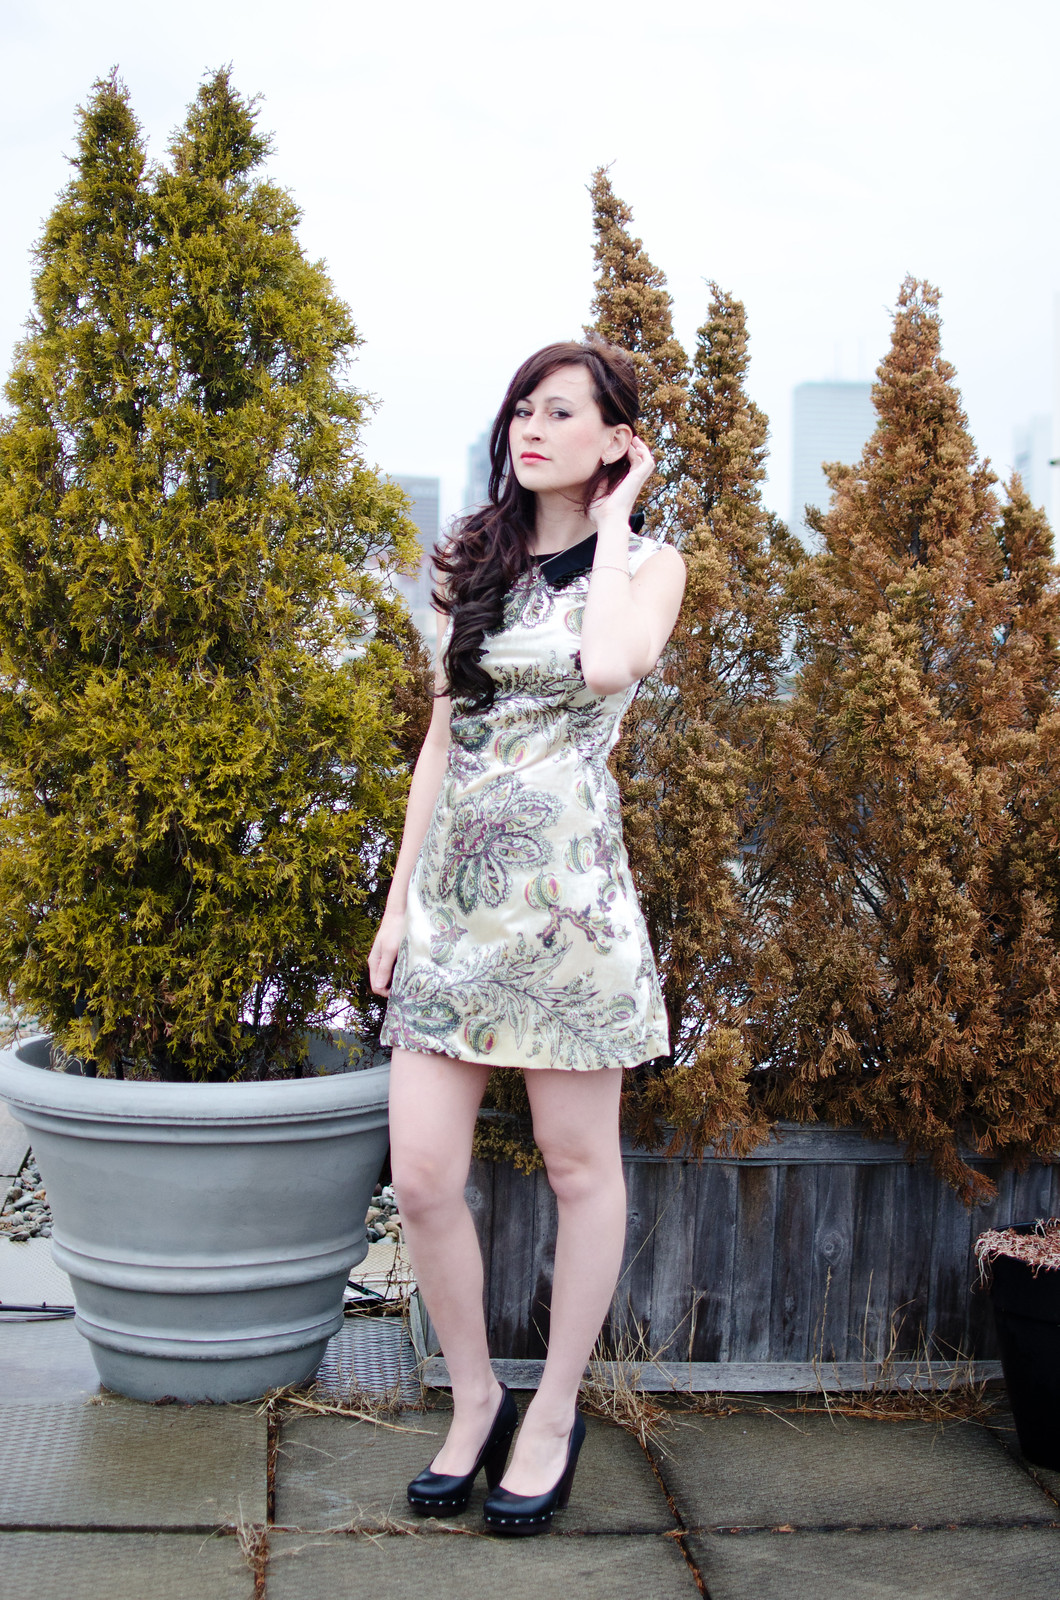
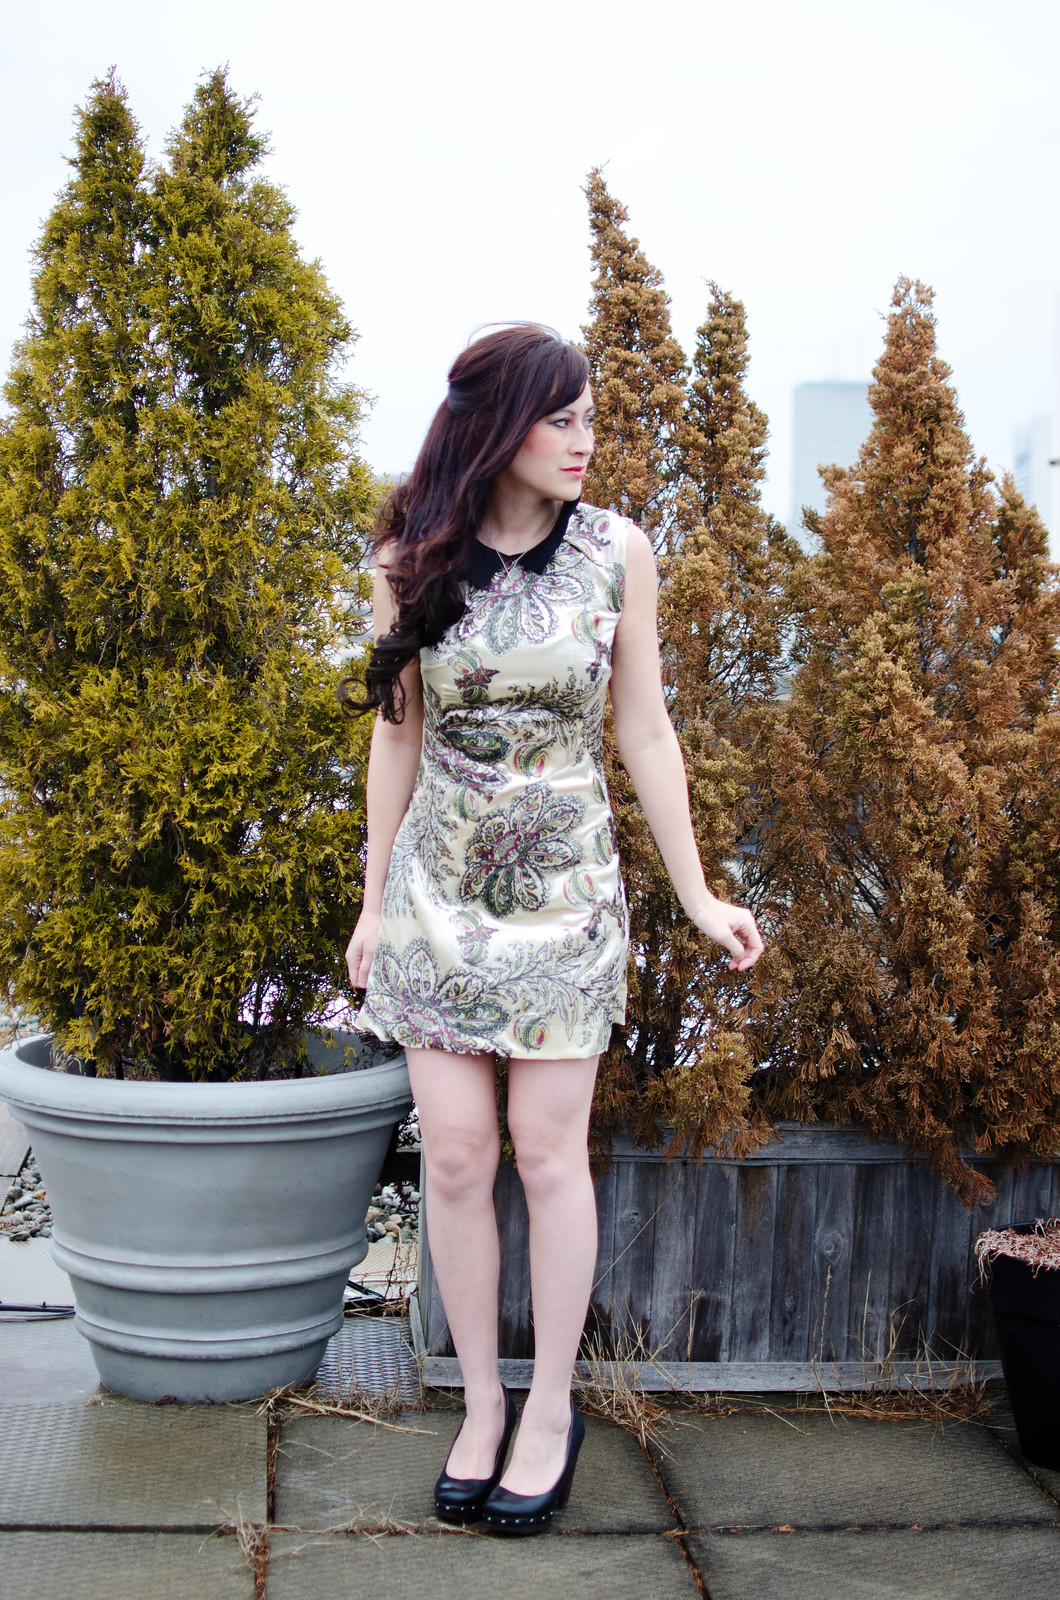
dress: self-made, pattern here // shoes: Seychelles

*Note: I received this pattern from Tilly free of charge. All thoughts, opinions, and crazy fabric choices are my own.*

I don’t even remember how long I’d been wanting a Peter Pan collared shift dress. I’ve made several collared dress with waist shaping/seams but they tend to look a bit twee (and then end up being harder to wear in real life), so when Tilly asked if I’d like to try out her latest pattern, I immediately spent about three hours plotting on Pinterest.

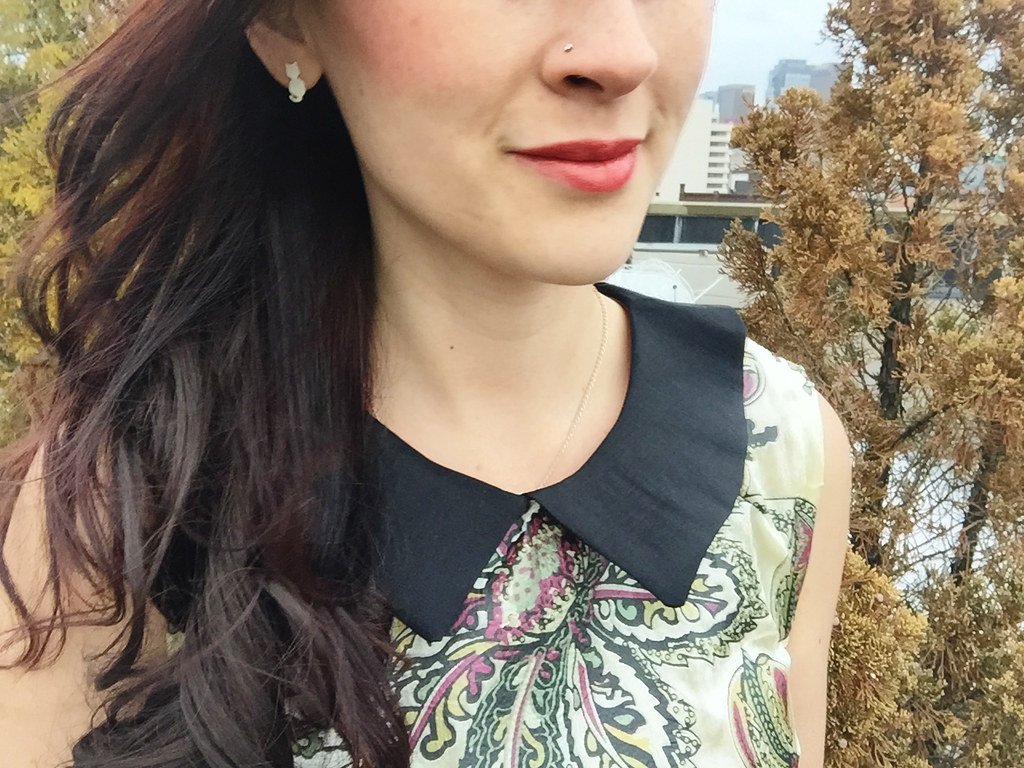
My original plan was to find some kind of shiny/sparkly solid party dress fabric and pair it with a sequin collar to wear to holiday parties, but that kind of fell apart when December became a crazy month. Then last week I wandered into Sewfisticated and this fabric jumped off the shelf and begged to be taken home and turned into a Francoise. Whoops. Fabric diet fail. In my defense, it’s a crazy but gorgeous velvet with some kind of faux leather-ish floral design. Really pretty but kind of a bitch to sew because the velvet has a bit of stretch and the floral part decidedly does not.
Sidenote: I’ve always been terrible with muslins and even though I’d been pretty good about doing them lately, all this costumey self-drafting made me cocky and I ended up just diving right in. Based on the measurements provided, I decided to cut a size 3 on top and grade down to a size 2 in the waist. Turns out, it was spot on! The only changes I made were to shorten the skirt by about 2″ and I took it in about 1/2″ extra on either side in the back.

I sort of skimmed and followed along with the instructions for a few steps but there are so few pieces that it was pretty easy to figure it out. I especially loved that Tilly marked the edges of each pattern piece so you can see at a glance which is the neck edge. As someone who occasionally likes to sew things on upside down or backward, this was a helpful touch. The pattern itself came in a cute, roomy envelope with enough space for me to store my traced pattern pieces on top of everything else already in there. Plus I love when patterns are printed on thick paper; it makes tracing a breeze and I don’t have to worry about ripping things during tracing-Twister-poses.

I was a little skeptical about the darts when I saw the line drawing, but I’m pretty thrilled about how they turned out! I’d never sewn a side-seam dart like that but I’ve also not sewn many shift dresses in my life so I just went for it. The bewb area is PERFECT. Since my brain is lacking in the area that handles understanding FBAs, I usually end up wearing a smaller bra because most of my favorite patterns have smaller busts than I do. This dress is my actual bust size. Happy bewbs!

I’m definitely making another one of these. I’m thinking a plaid one next. I picked up a luscious deep purple plaid last week (another whoops!) that was going to be a circle skirt but might end up being a Francoise instead. And I still want to do one with a sequin collar.

And lastly, in an unrelated note, hair extensions are fun!

Taiwan

Over the holidays my mom, sister, and I took a trip to Taiwan for the first time in ages. My mom went about nine years ago but my sister and I hadn’t been since we were five and nine years old. My mom’s entire side of the family still lives there so it was a bit strange to see everyone again, especially now that two of my cousins have had (adorable) babies.

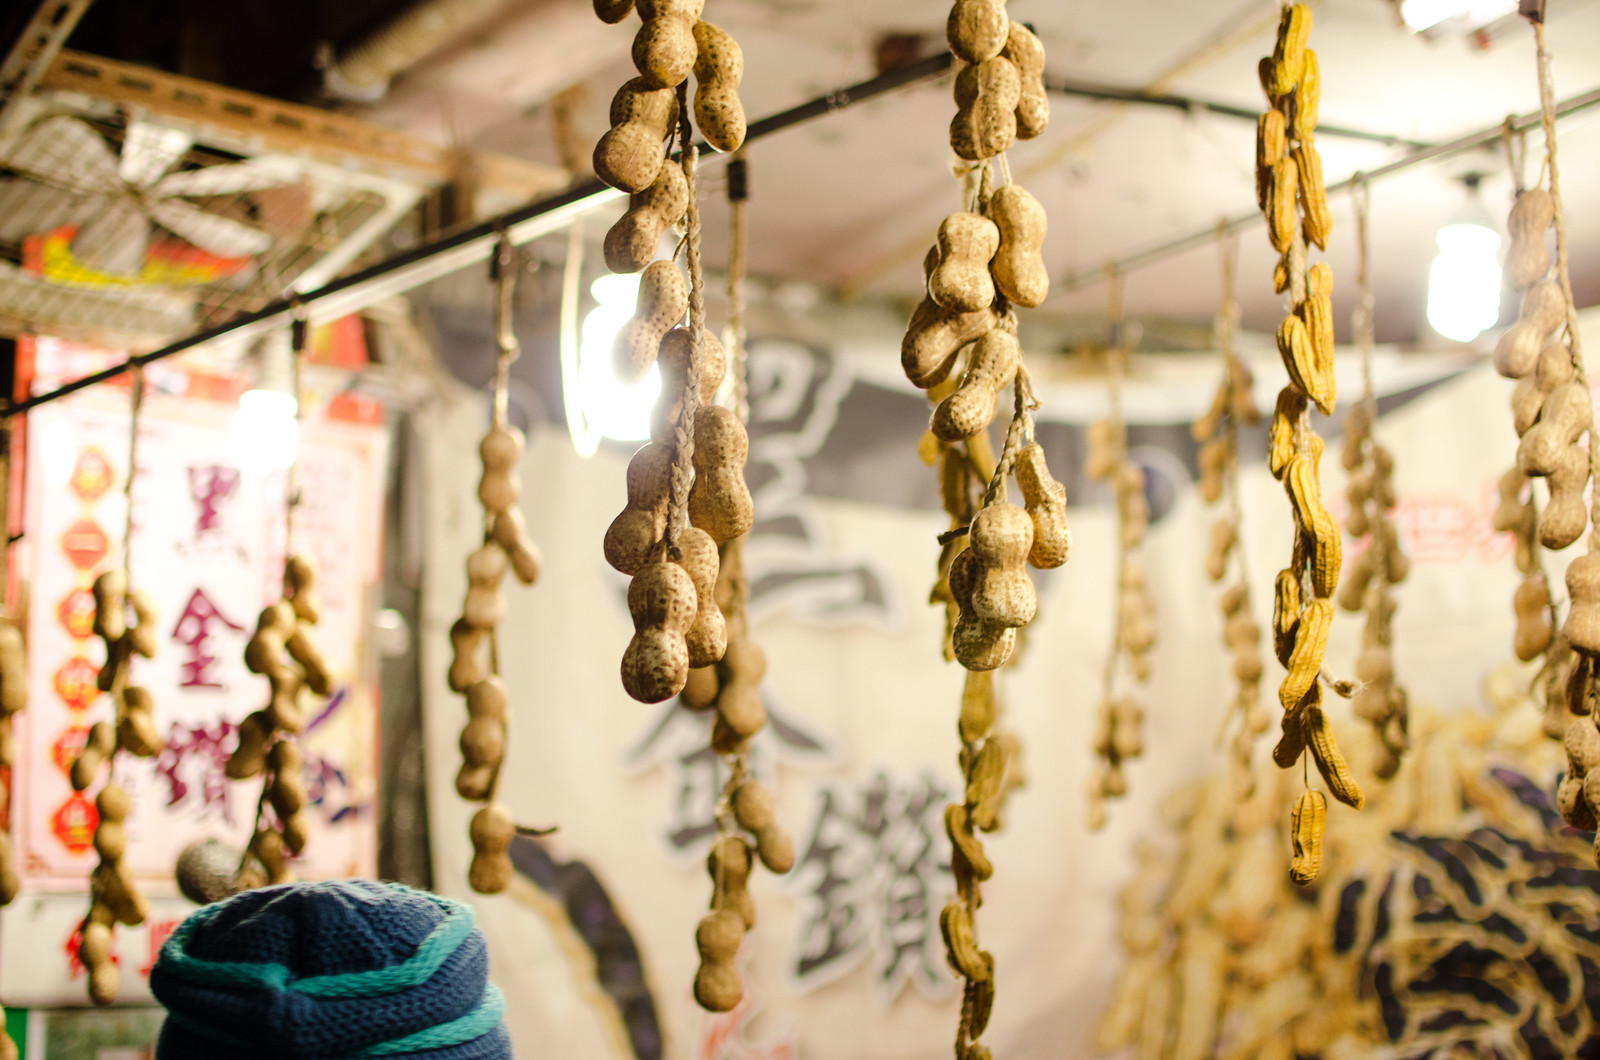
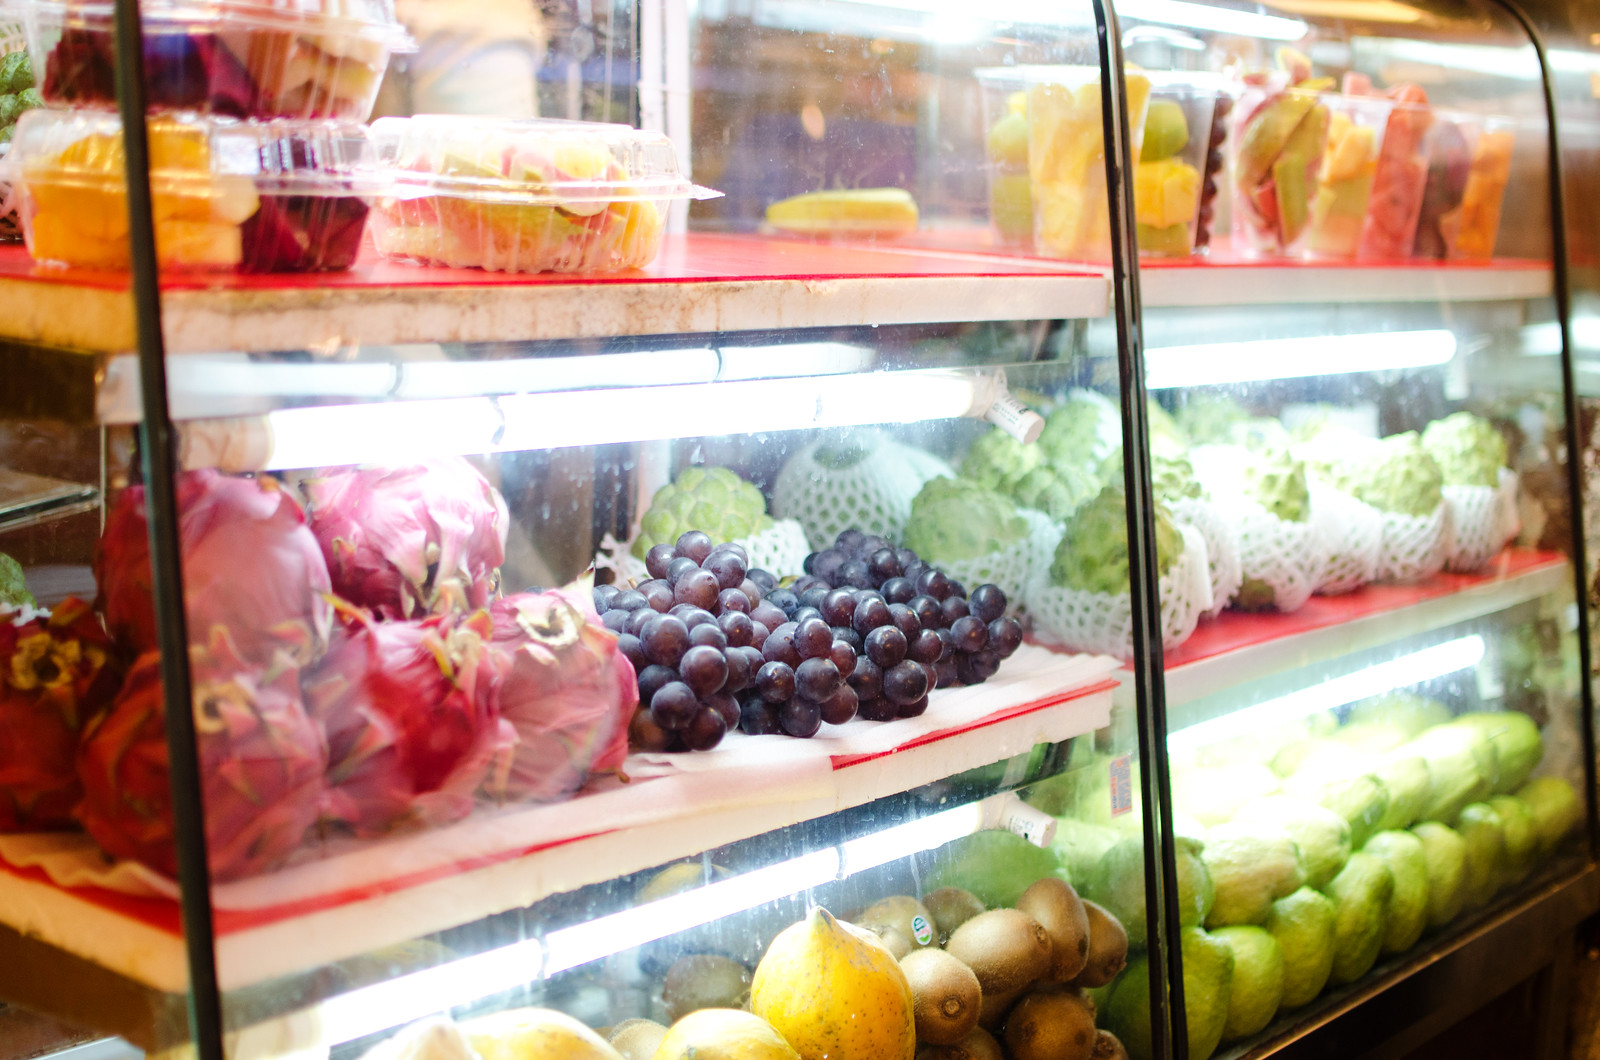
We mostly stayed in Taichung at my aunt’s house and we took two trips, one to Taipei and Jiufen and that area, and another to Tainan. There was a ton of shopping and I pretty much ate everything in sight. And also a cat village and lots of indoor and outdoor markets.

Brushing up on my Mandarin was also an adventure! Normally when I speak to my mom, if there’s a word I don’t know I just stick in the English word. It’s much harder to do that when you’re speaking to relatives who only know a few English words here and there!

I also posted a bunch of photos on Instagram while we were there. These are mostly ones I pulled from my camera.

Taiwan tripA giant Costco-sized maze of fabric on the second floor of a large building in Taipei.

Taiwan trip
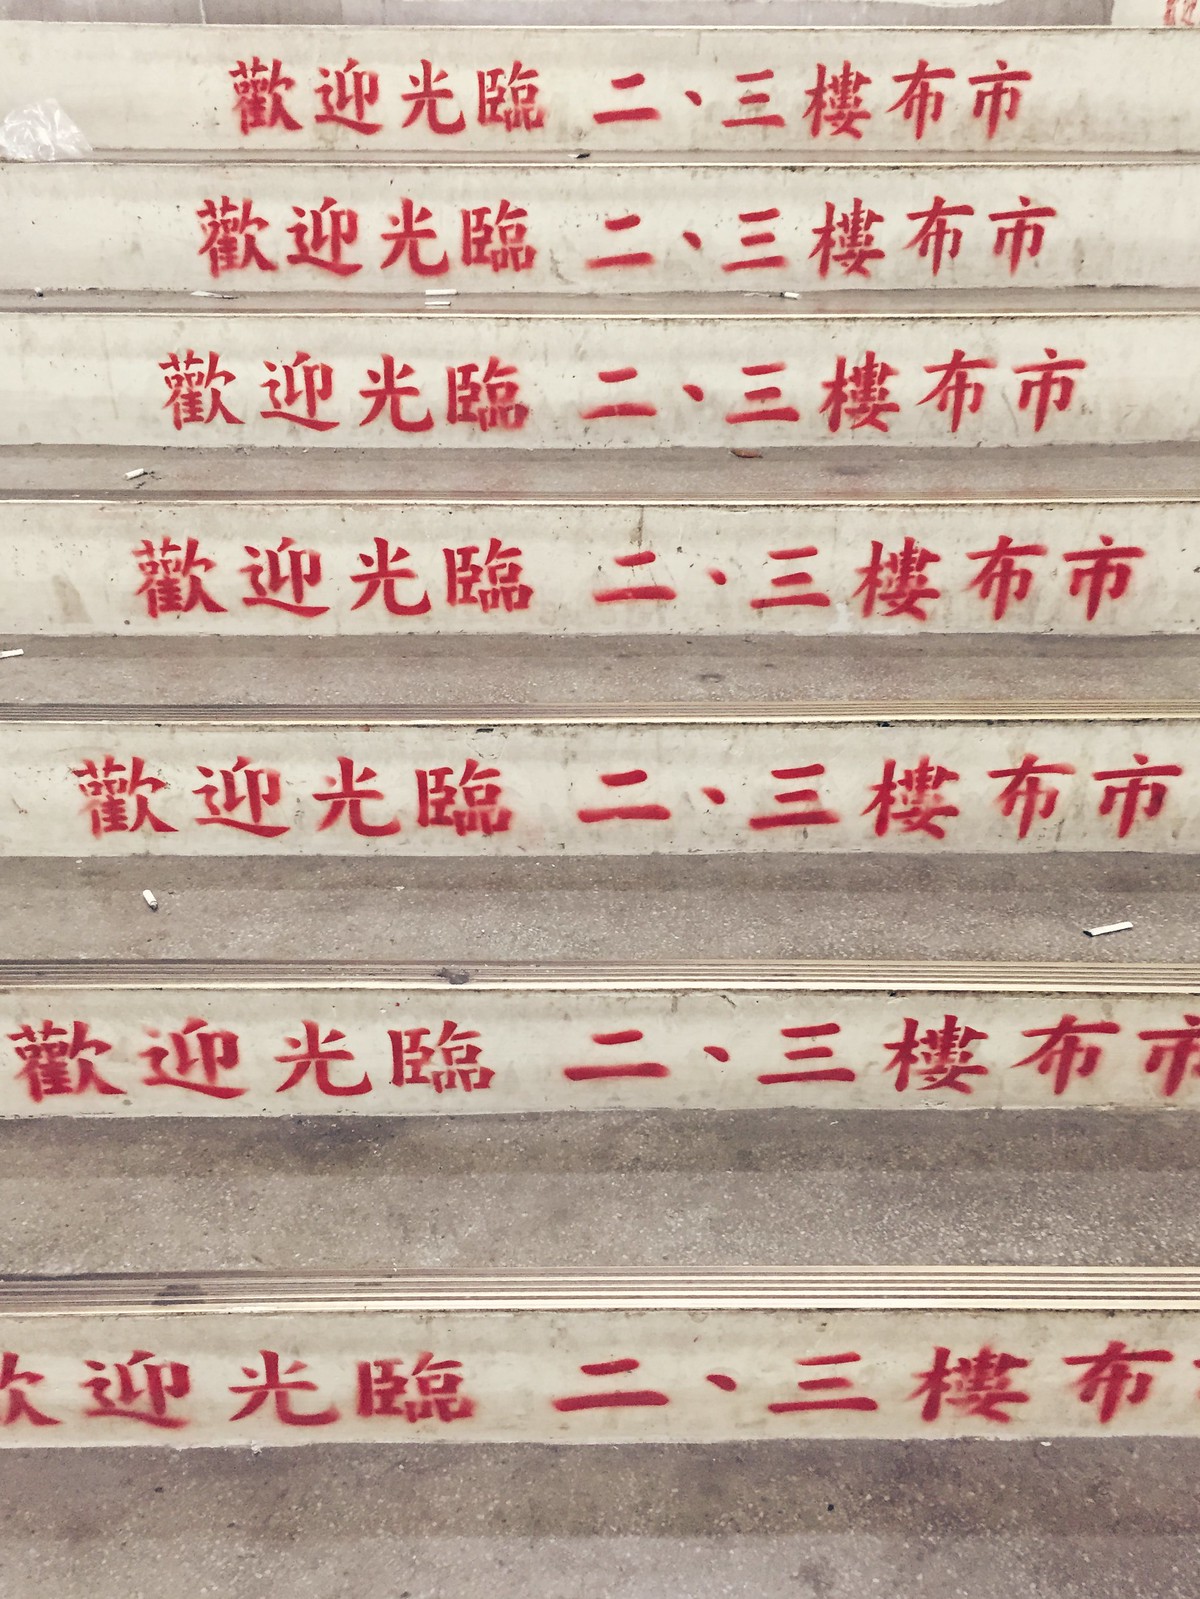
Pretty sure this should say “This way lives an overwhelming amount of fabric.”

Taiwan trip
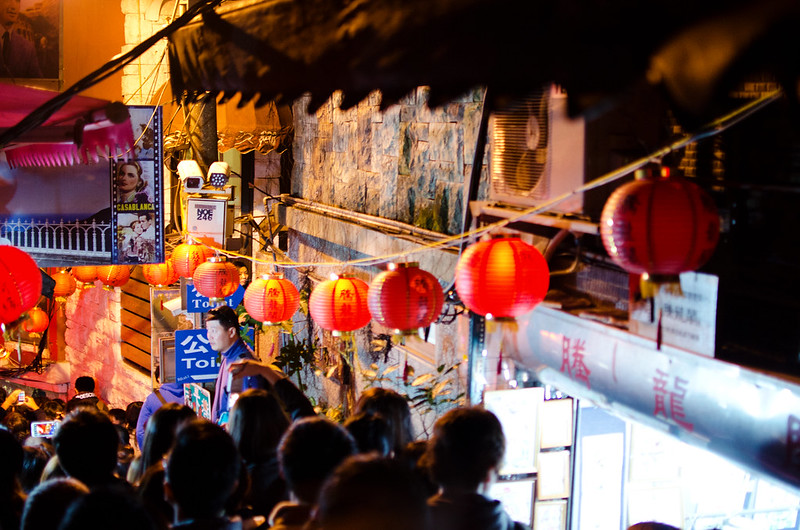
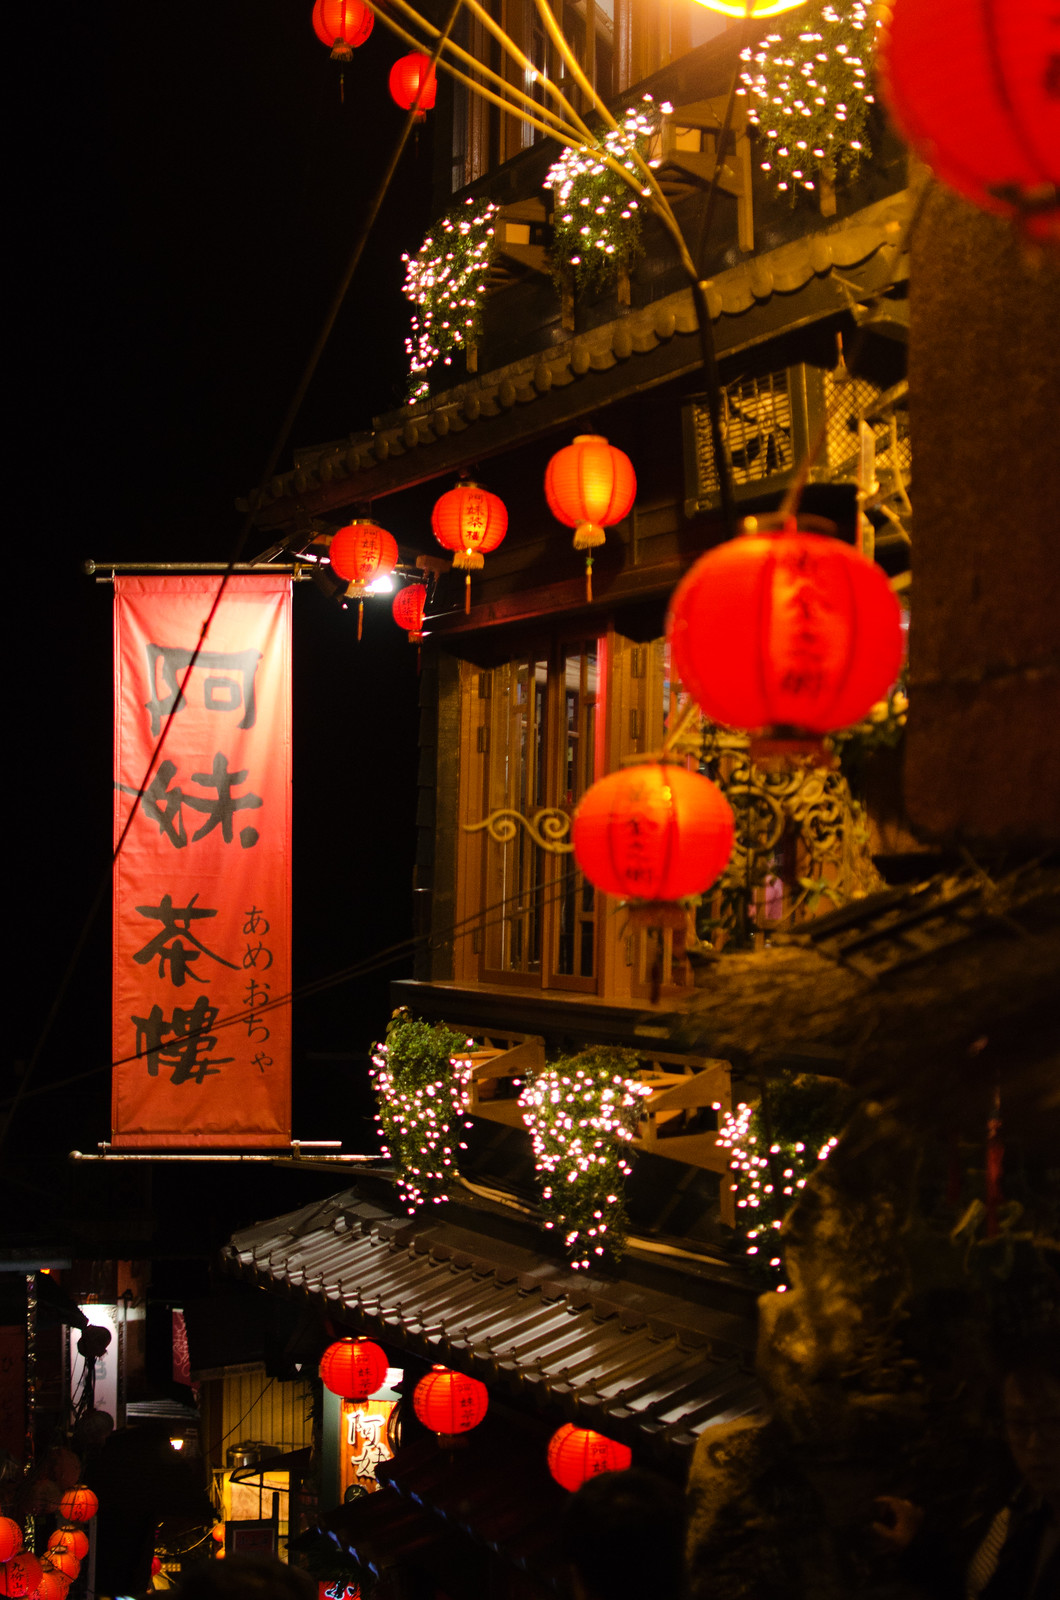
We went to Jiufen, which was the inspiration for Spirited Away! It was super crowded with lots of lanterns and shops. Also food.

Taiwan trip

Taiwan trip

Taiwan trip

Taiwan trip

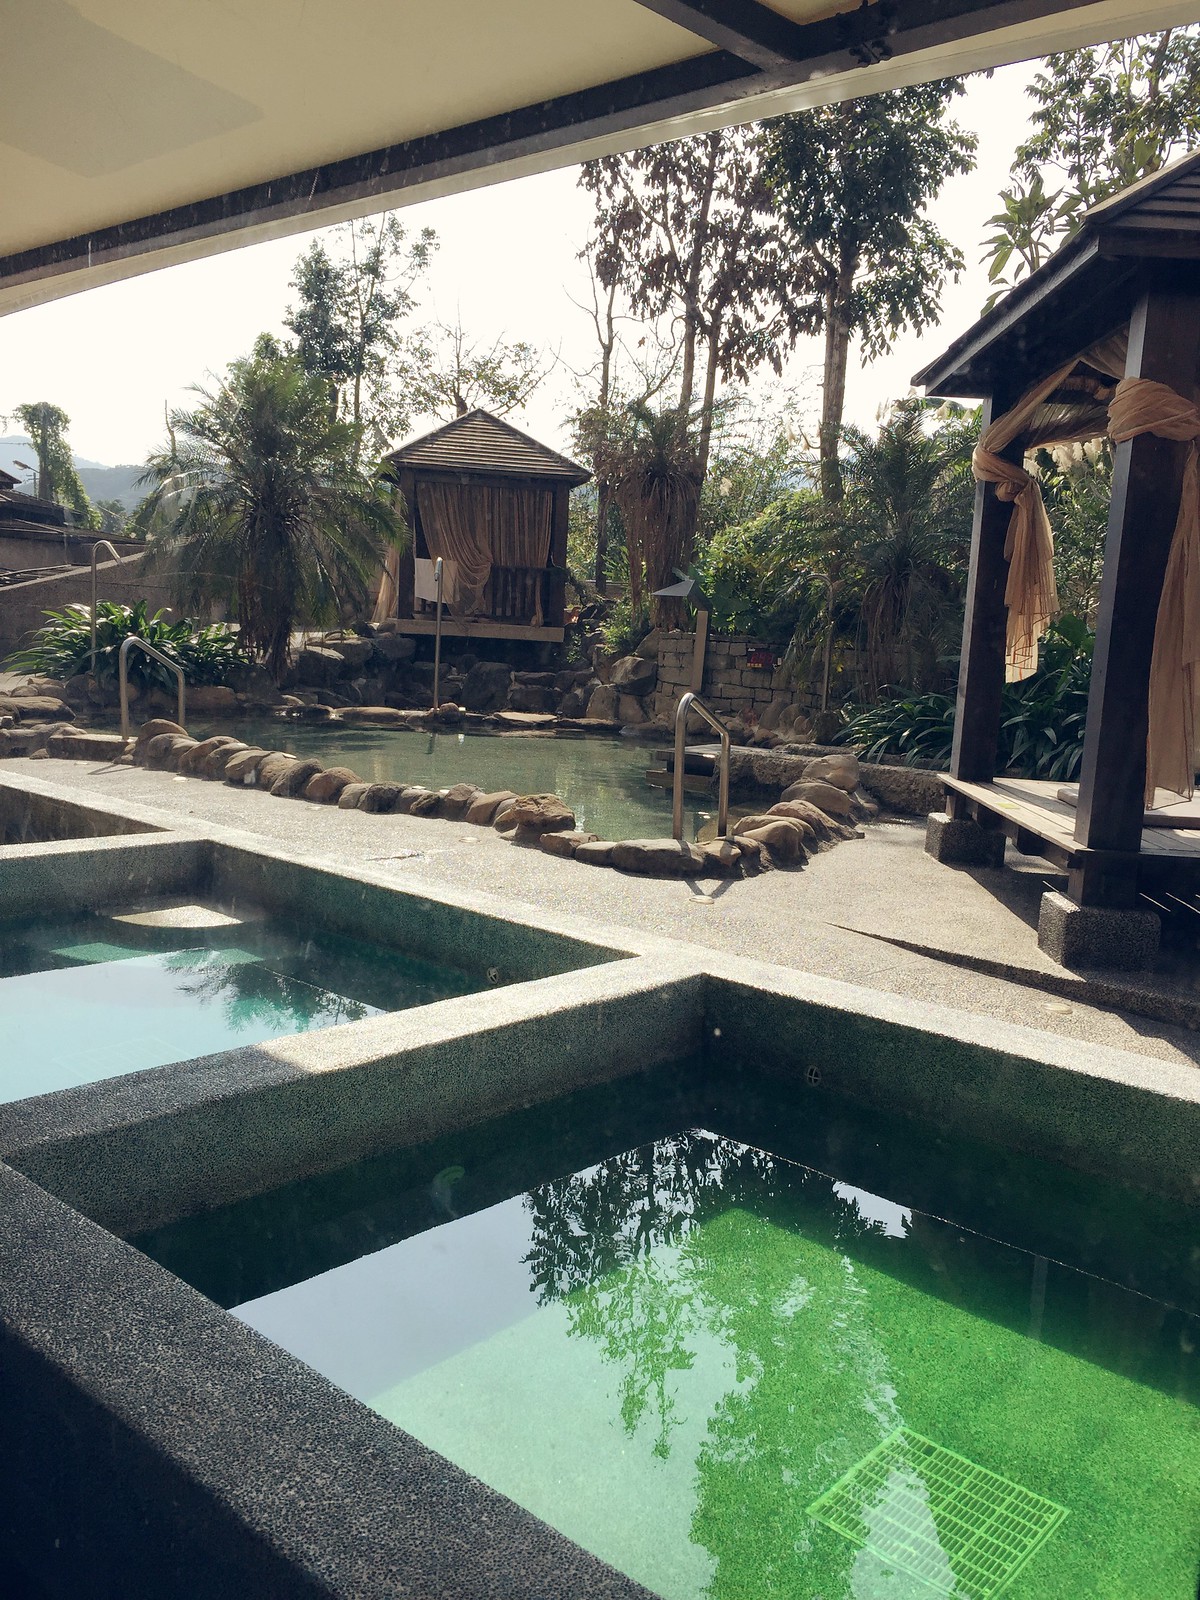
Taiwan tripWe stayed at a shmancy hotel with hot springs outside and two in every hotel room. It was difficult to leave.

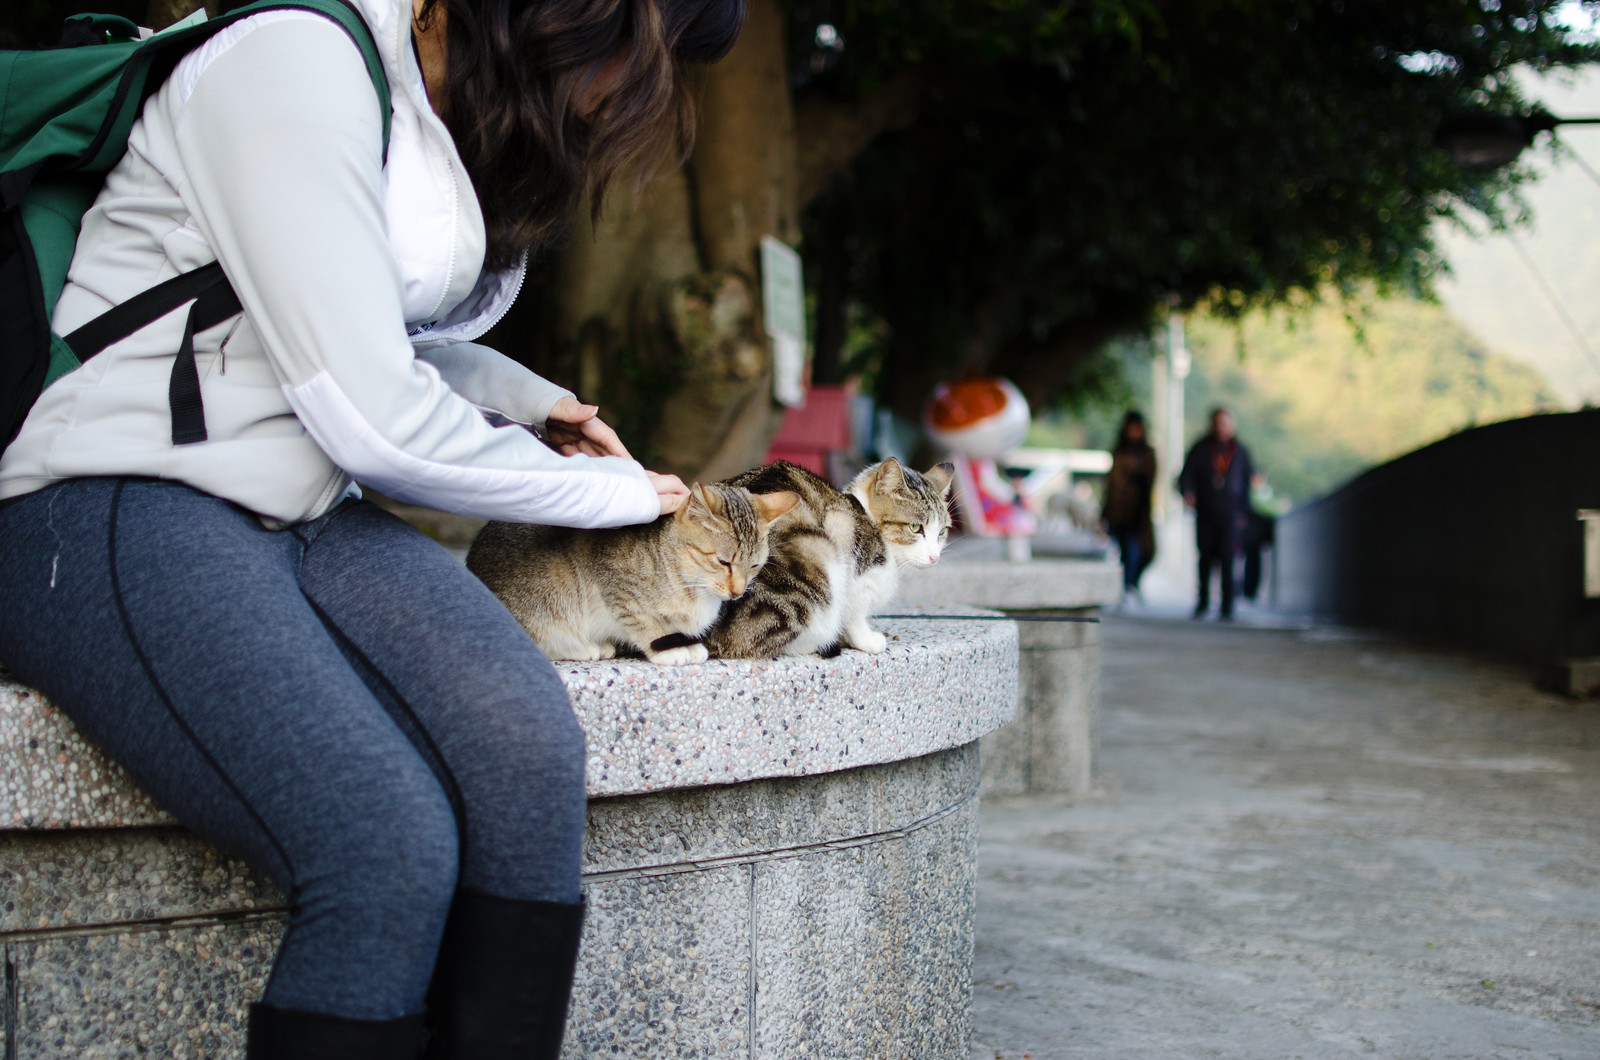
Taiwan tripCAT VILLAGE.

Taiwan tripThey’re just sitting around waited to be petted.

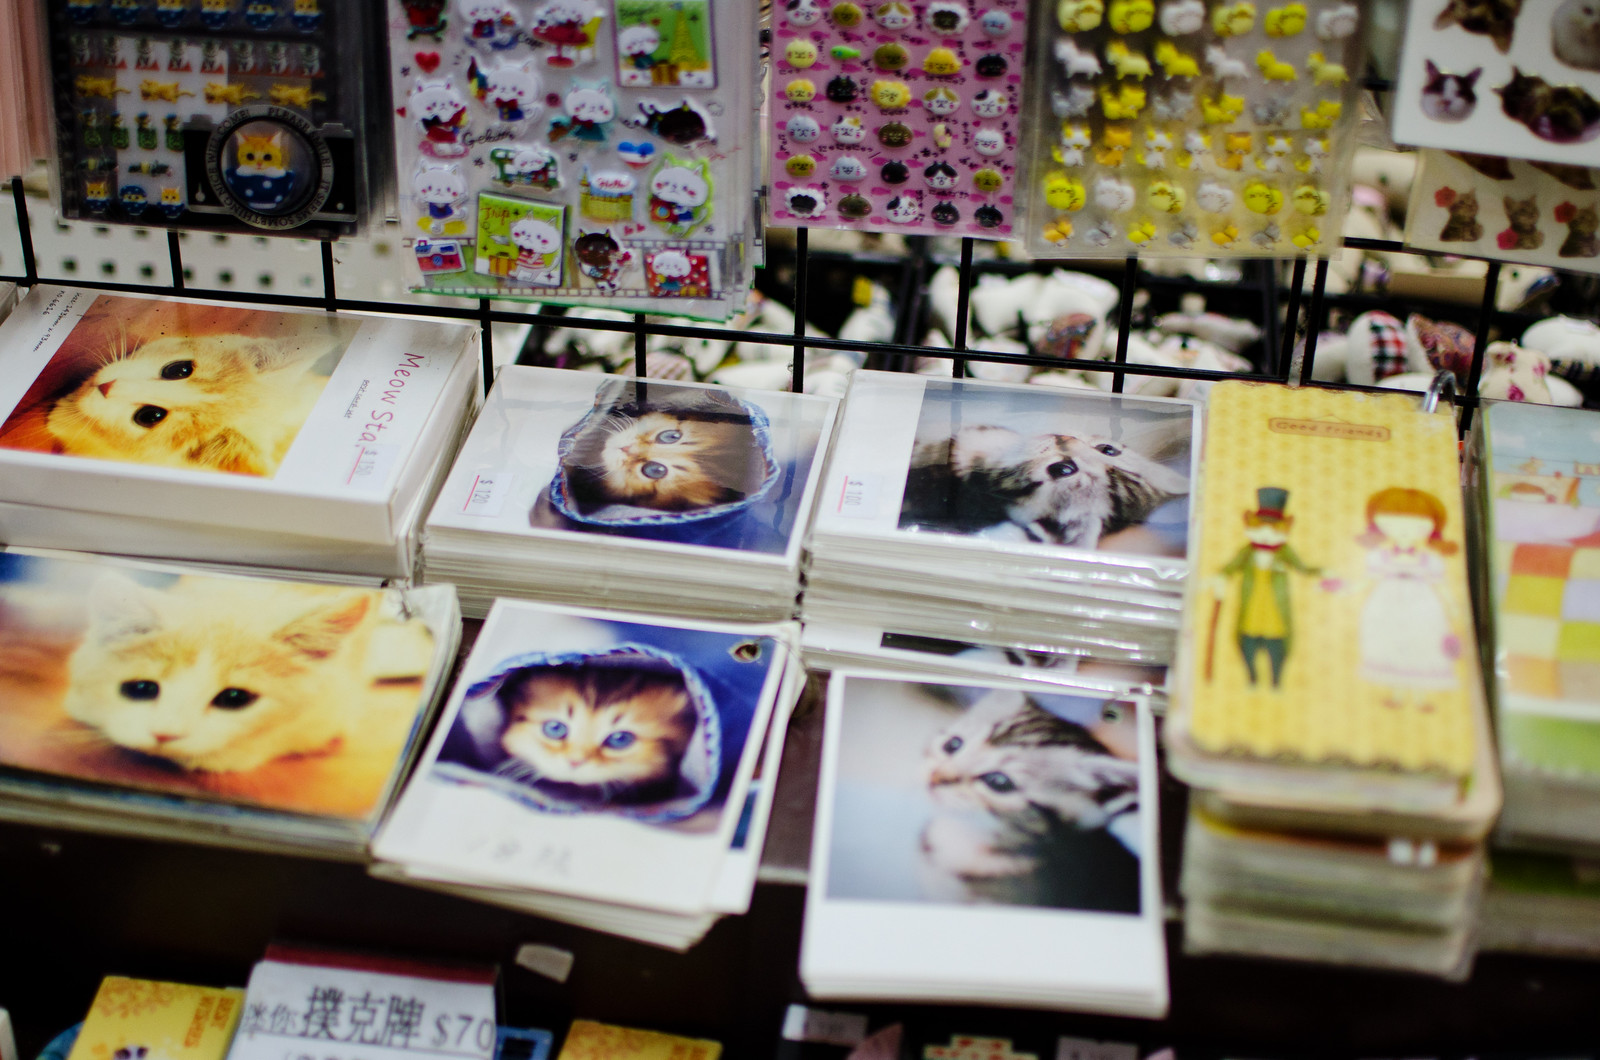
Taiwan tripAnd there’s lots of little shops selling cat-related things. (This one’s where I got my tights!)

Taiwan trip

Taiwan trip

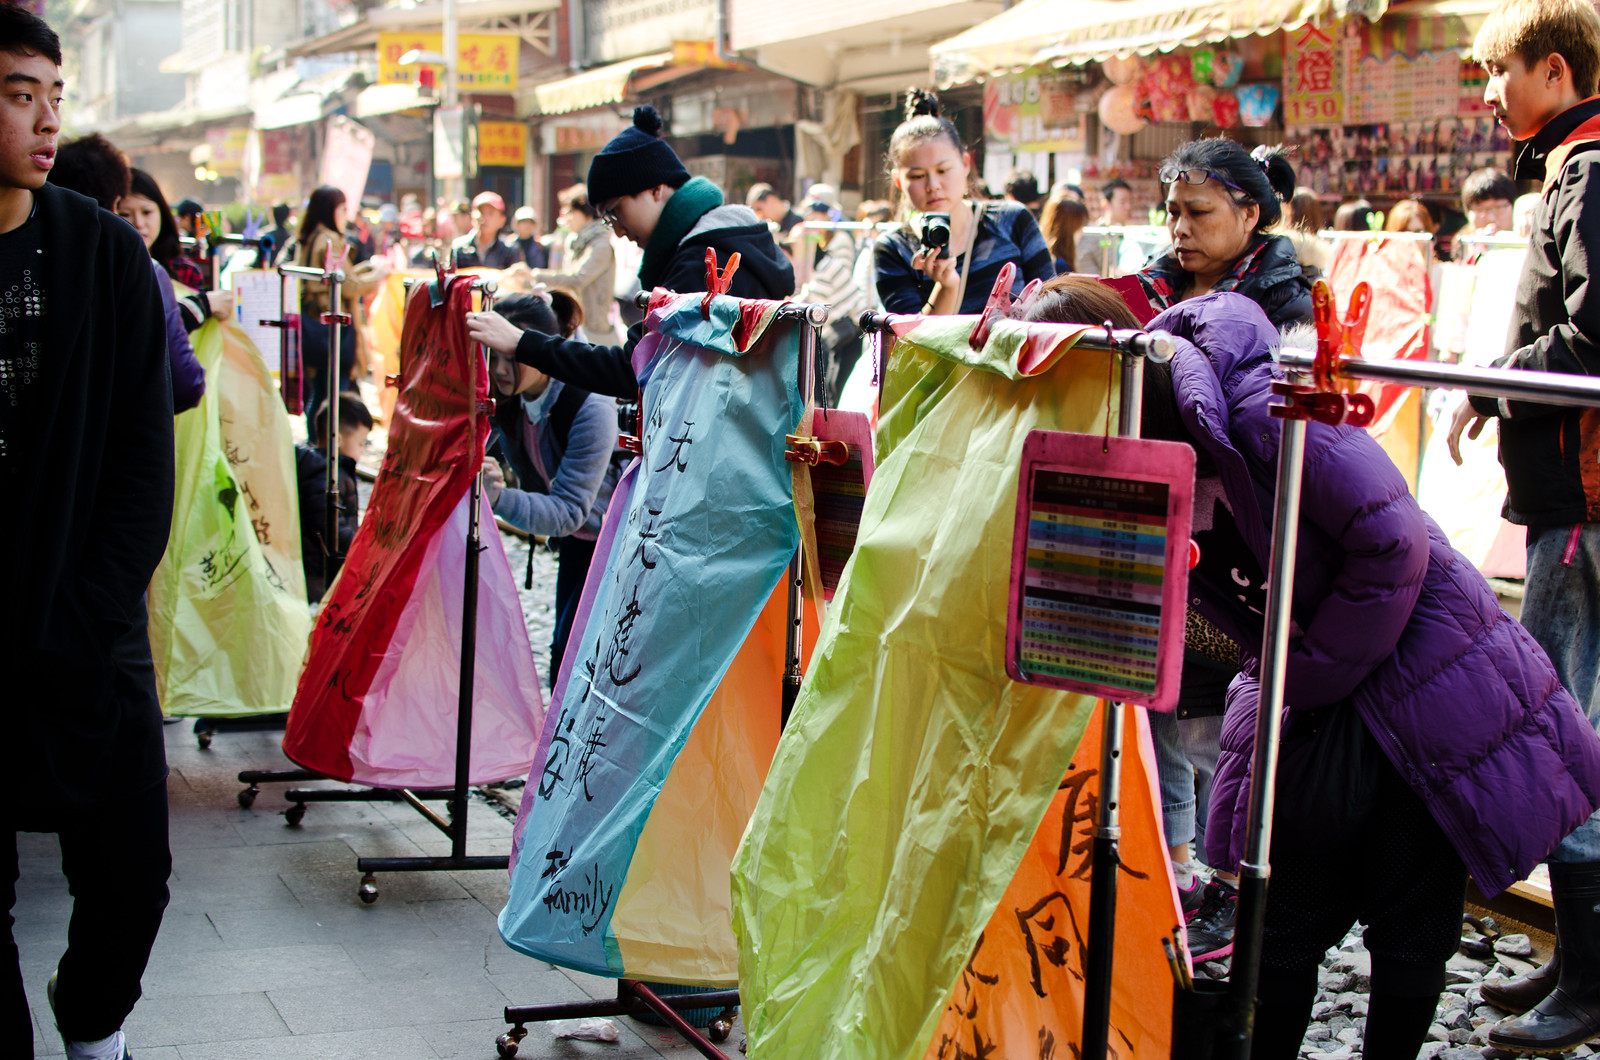
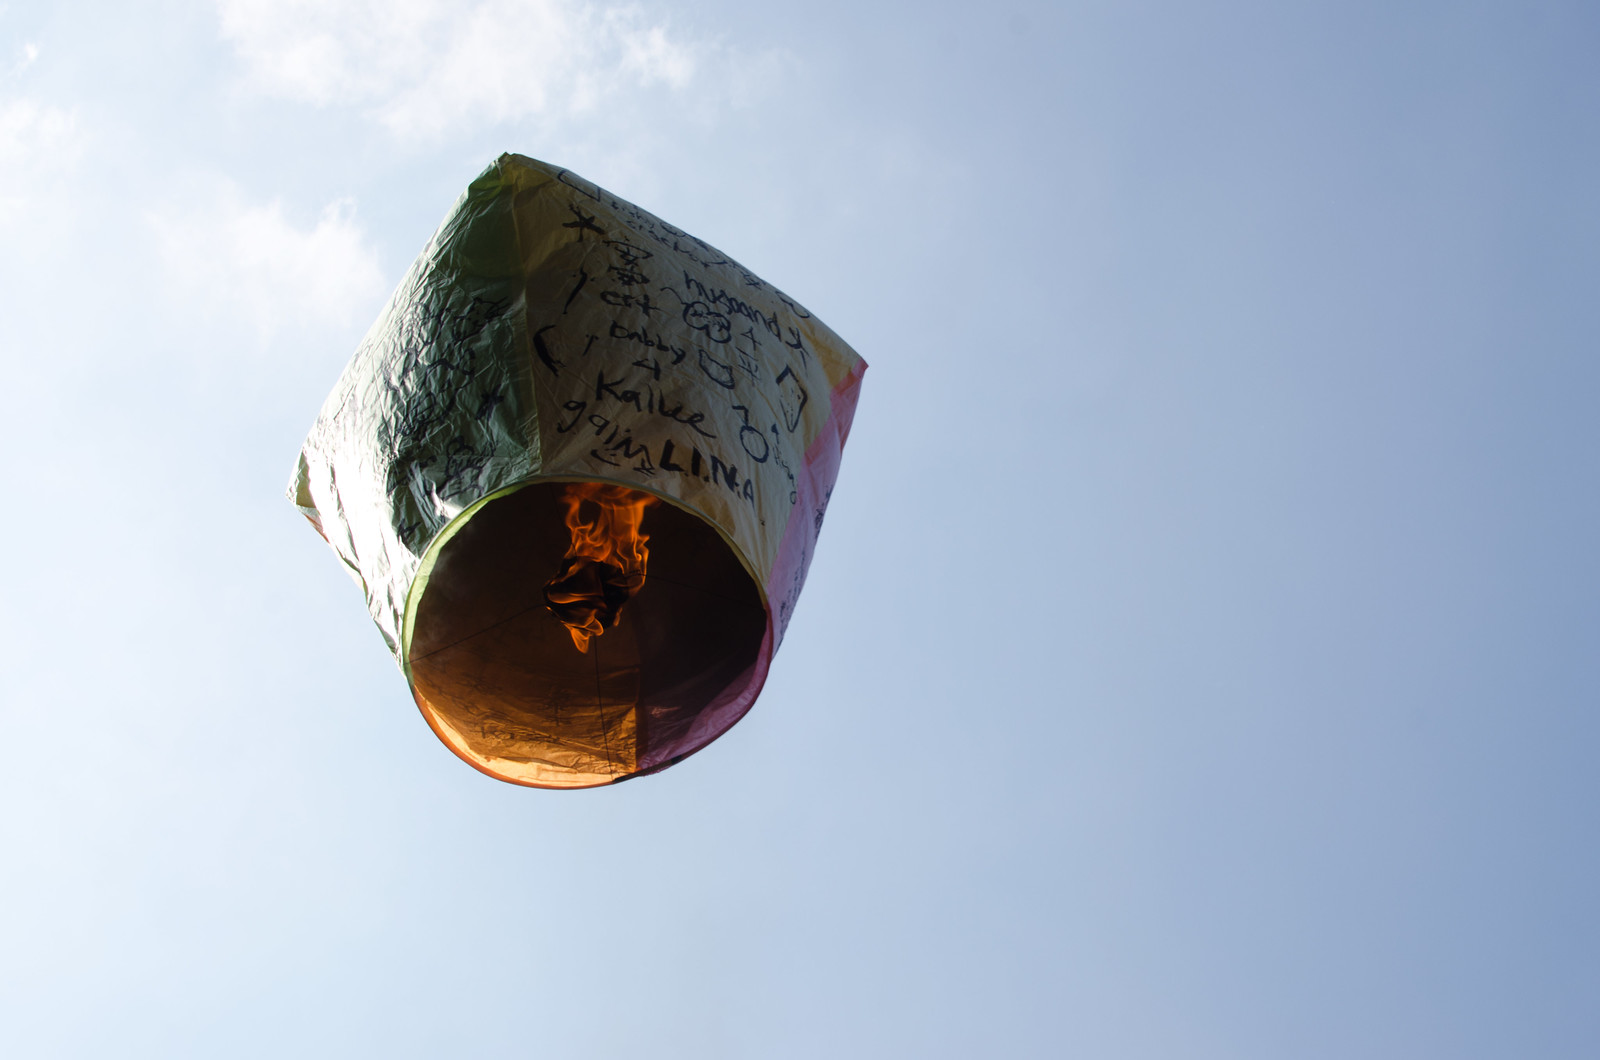
Taiwan tripWe did a lantern! Each color represents you can wish for (health, success, love, etc.) and then you draw/write on it and they light a fire under it and it flies away .

Taiwan trip

Taiwan trip

Taiwan trip

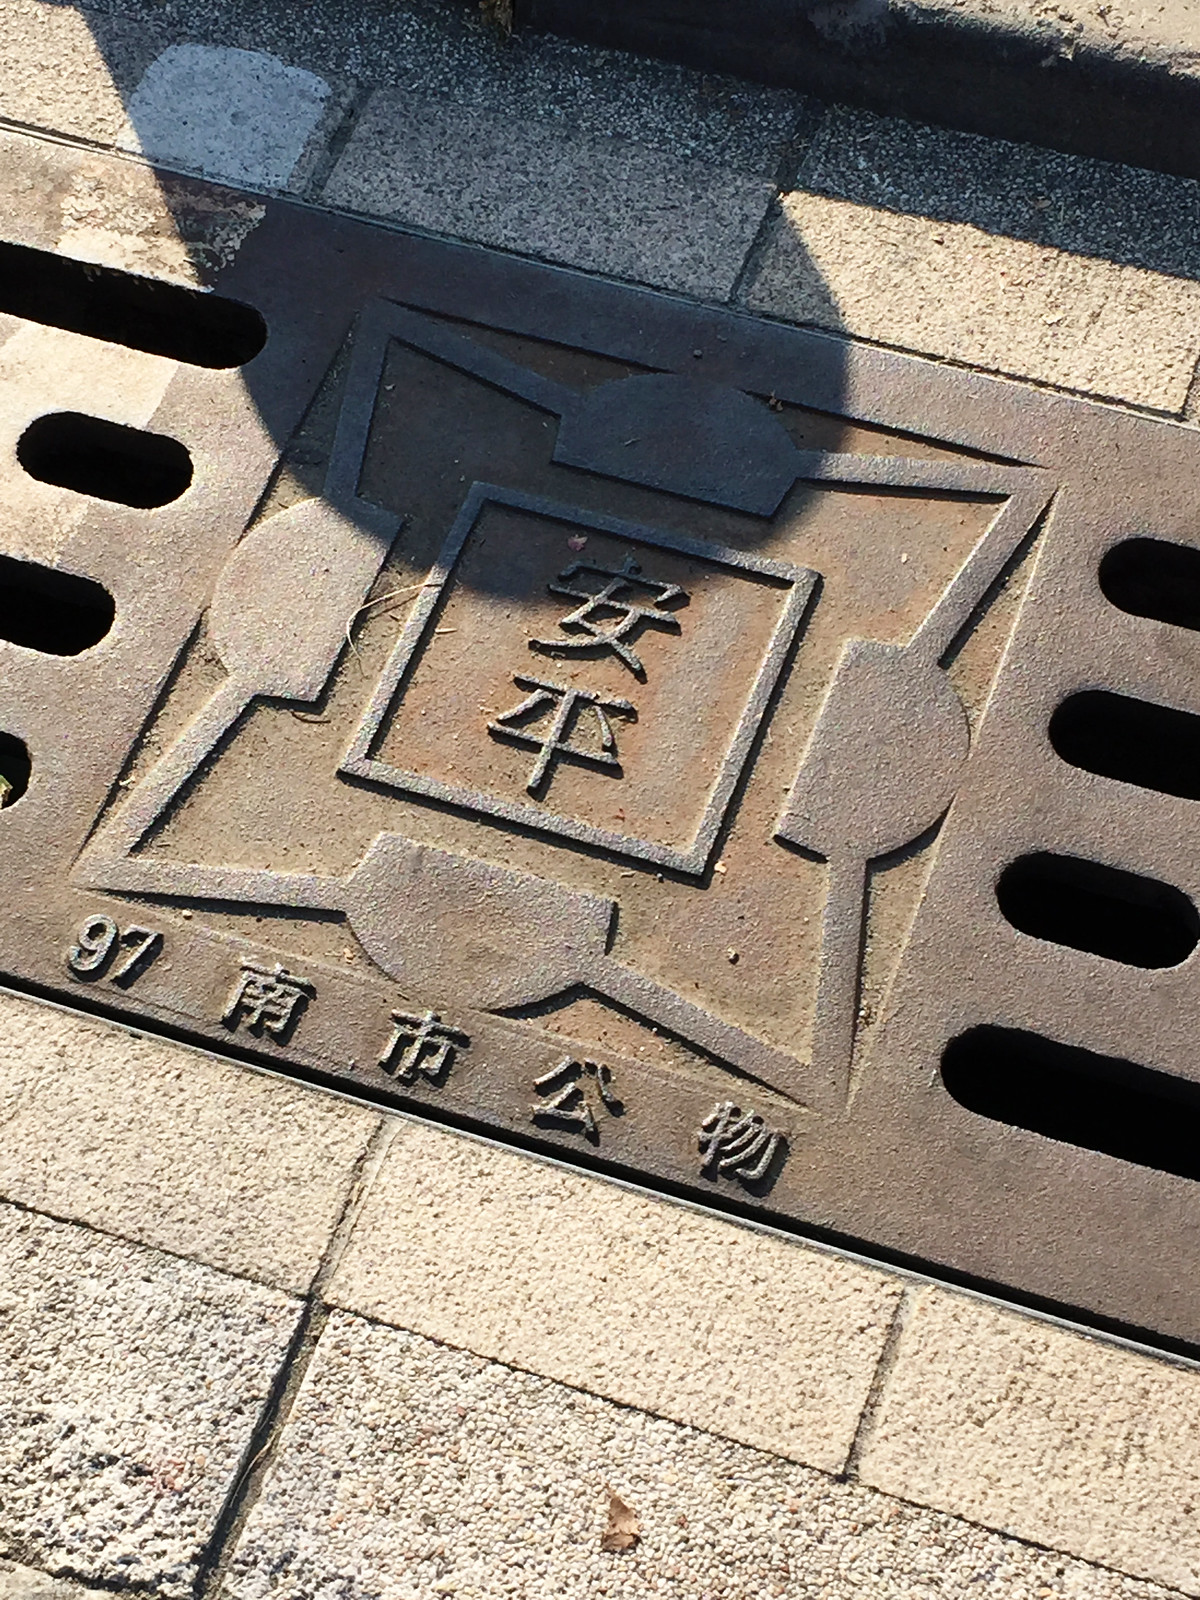
Taiwan tripWe went to a town in Tainan called Anping, which happens to be my sister’s name and mine put together. Somehow no one realized this until my sister and I kept noticing our names written everywhere.

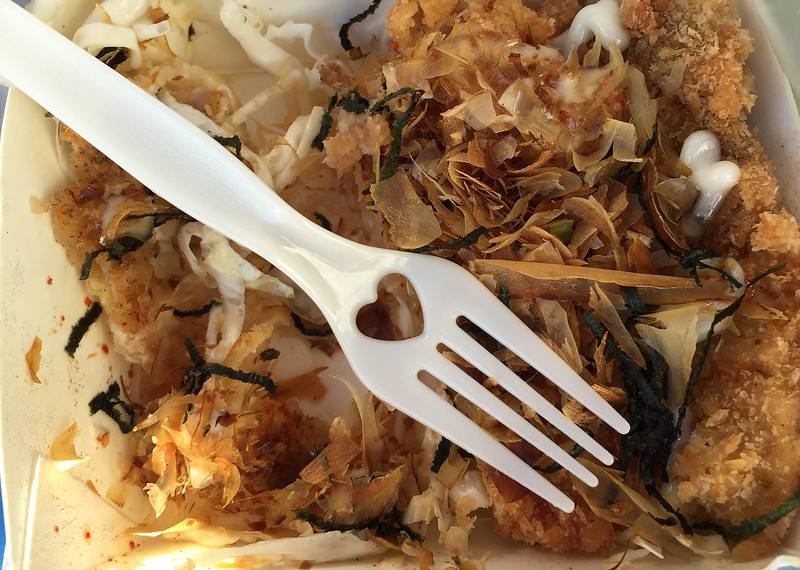
Taiwan tripEven the disposable cutlery is adorable.

Taiwan tripBugs at a night market. I did not try these.

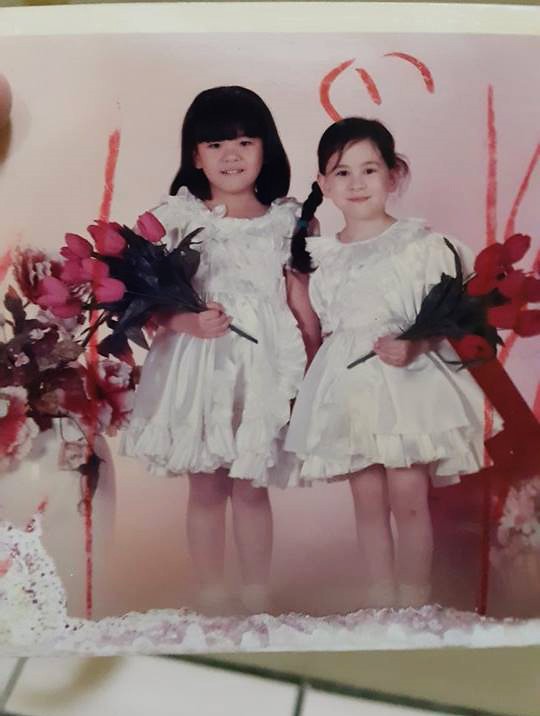
Taiwan tripIMG_5498My cousin dug out a photo from when we were tiny. We used to talk about living on farms next door to each other and having a cat family together. 

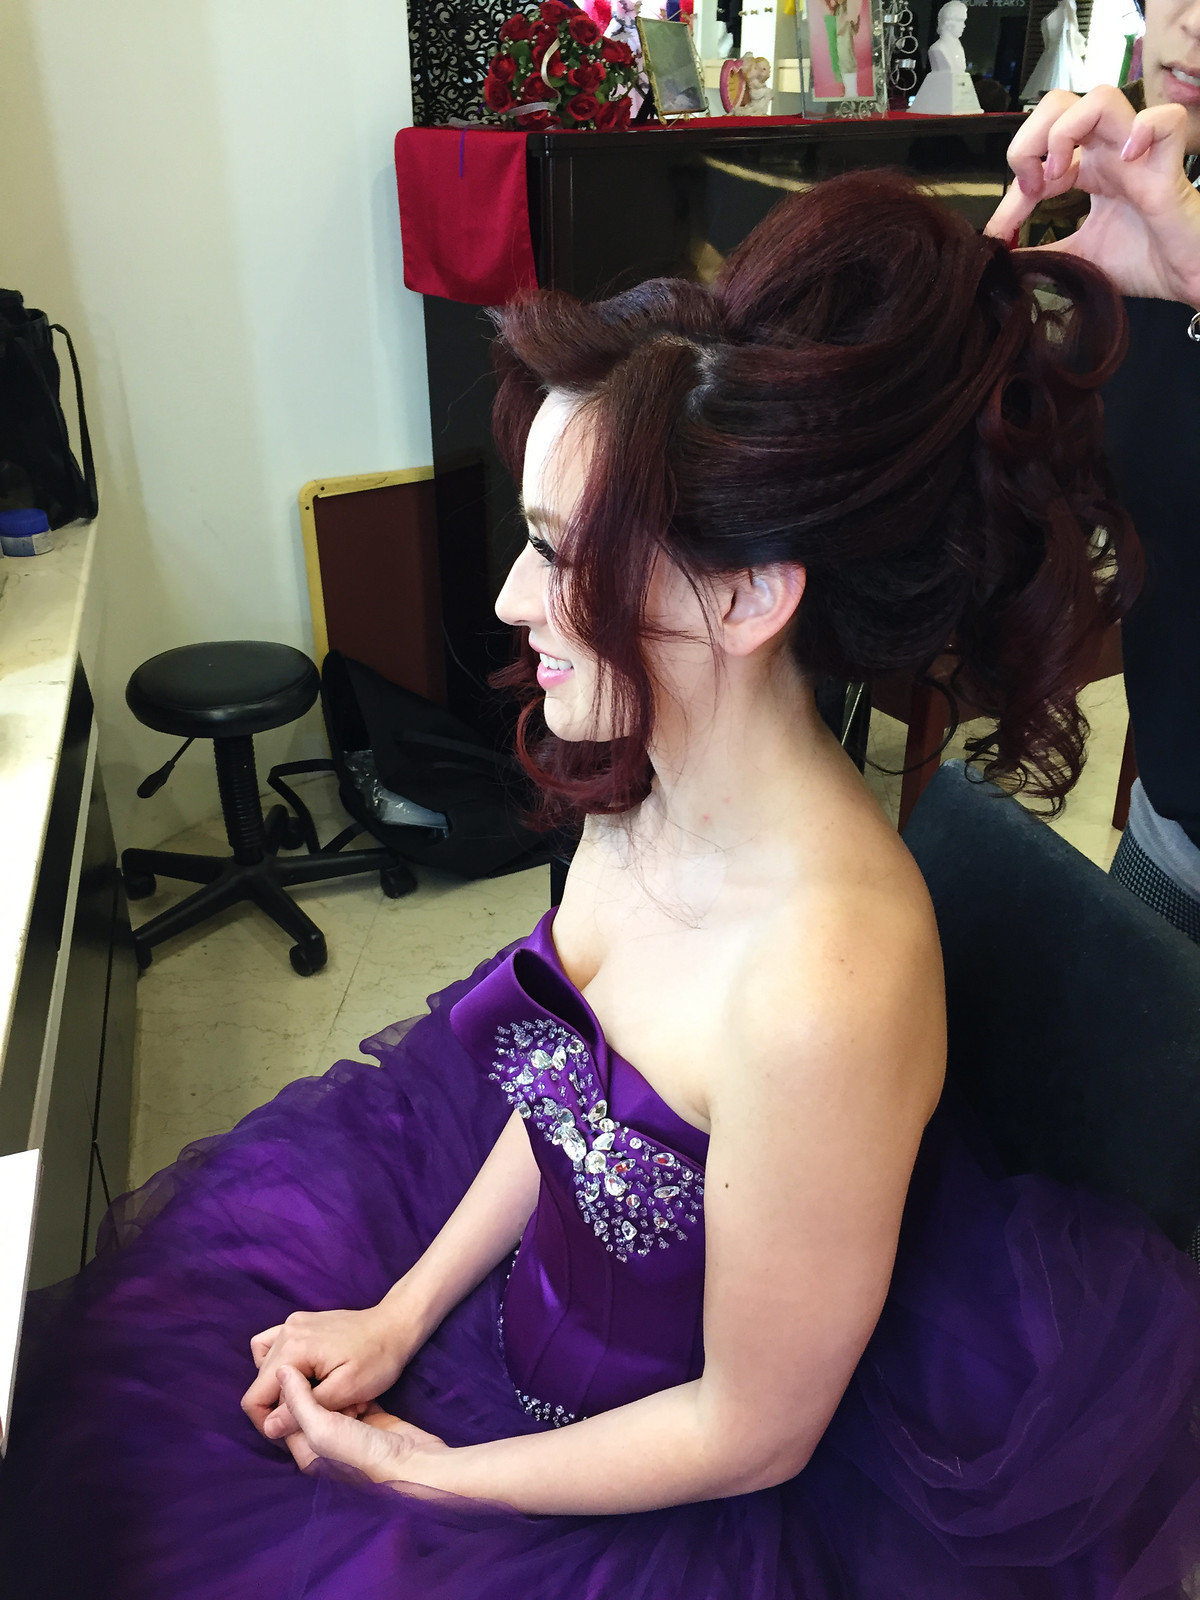
Taiwan tripAn Asian-style photoshoot may have happened. (My hair was HUGE.)

Taiwan tripThe most intensely painful massage happened here. The foot soaking/shoulder rub was ok but then they took us upstairs and I wanted to die. Afterward I felt amazing but I still can’t believe how painful that was.

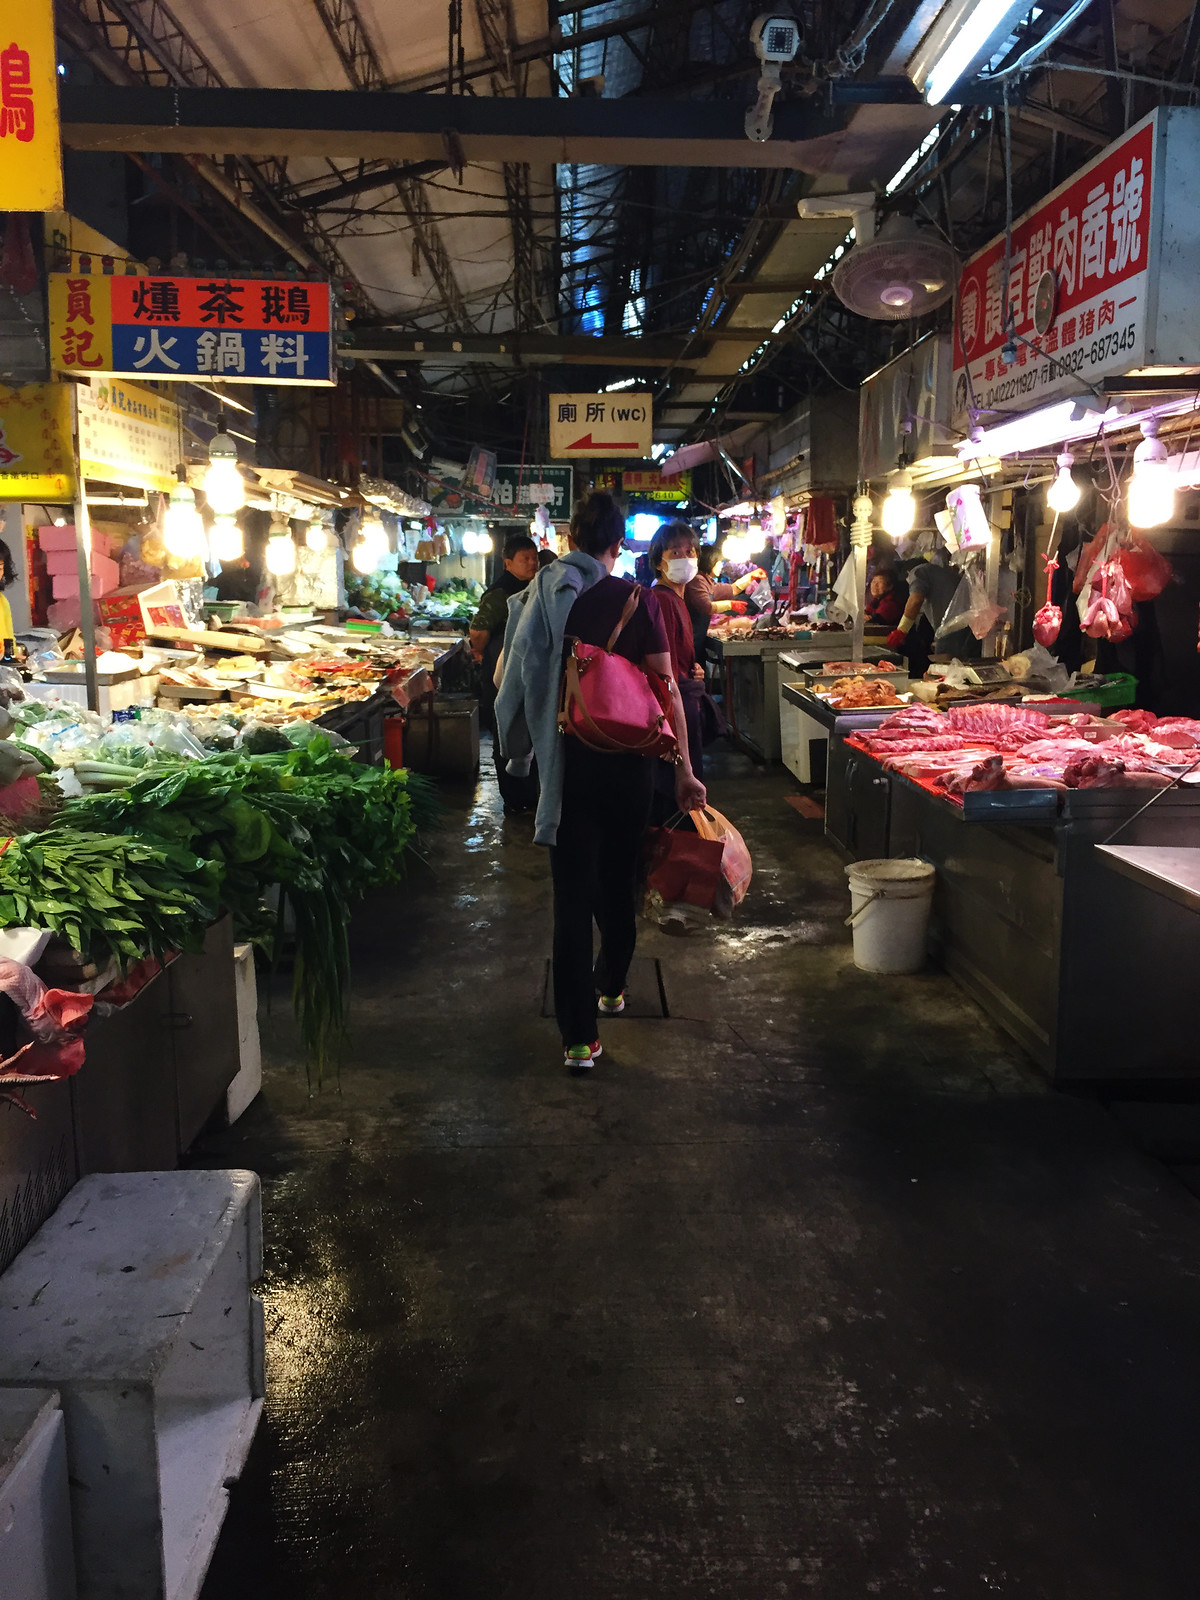
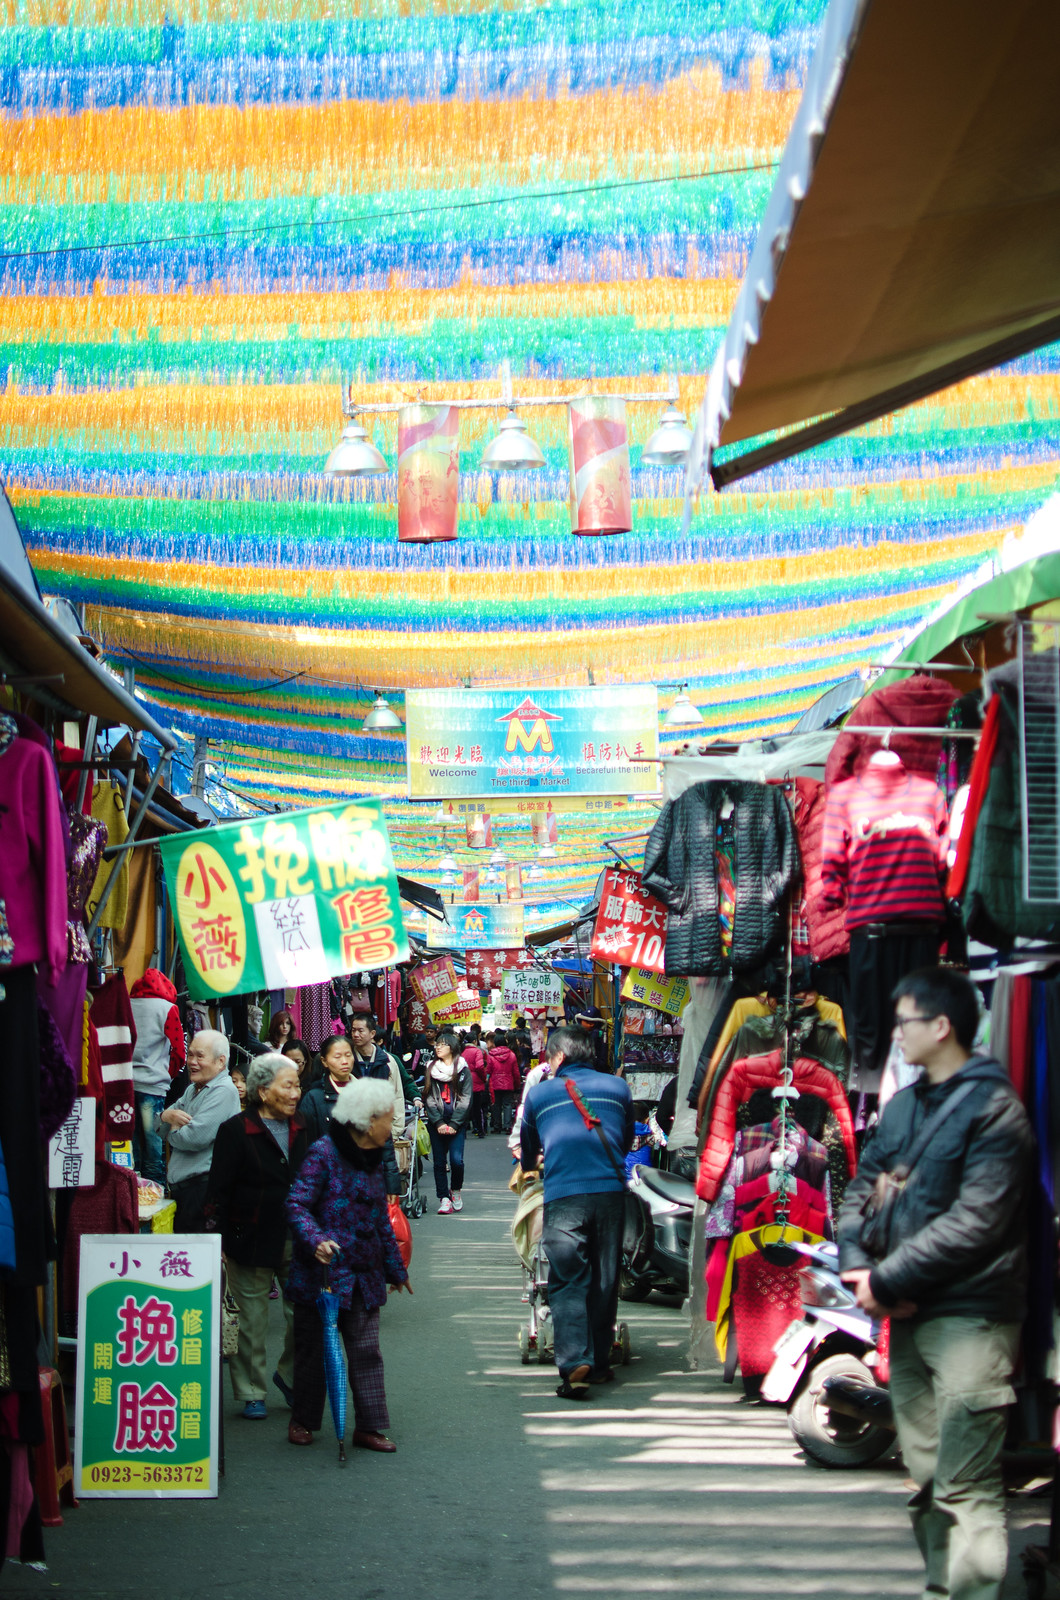
Taiwan tripA market near my grandparents’ house. 

Taiwan tripThe outdoor market-ness on my grandparents’ street! I used to wander around here with my cousin when we were little and we’d go buy Taiwanese hot dogs on a stick (kind of like corndogs but different). Eighteen years later it was still somehow exactly how I’d remembered it.

tl;dr – I ate my way through Taiwan and bought all the things.

options_framework_theme Theme by NUDGE MEDIA DESIGN.