All posts by Peneloping

Katniss

It’s been a loong time since I’ve posted anything costume-related, hasn’t it?

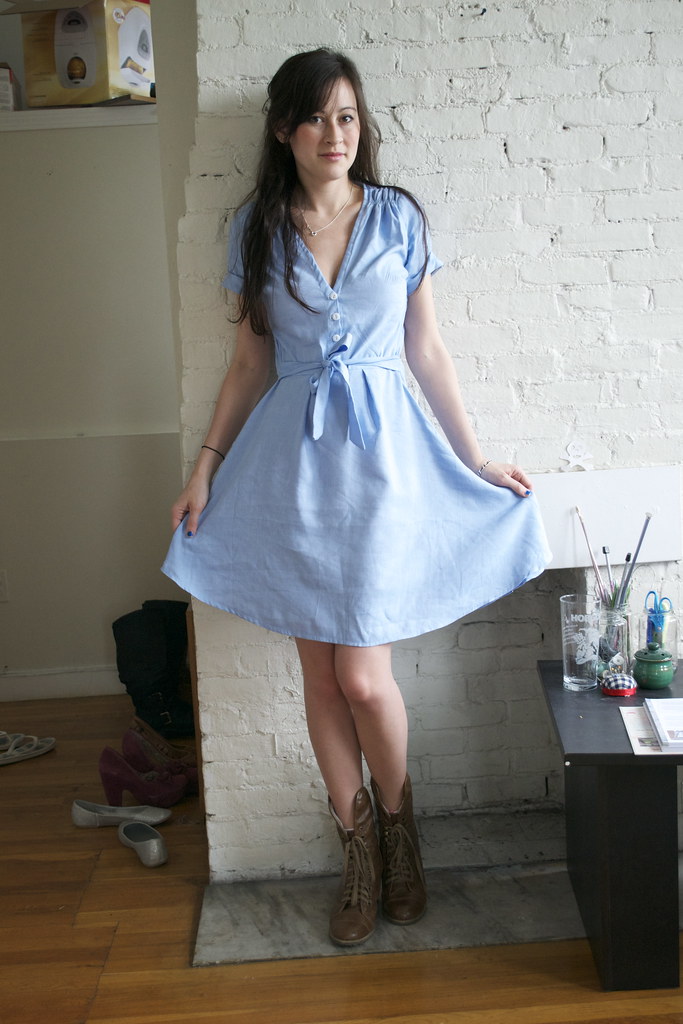
Well, here you are then: a costume replica! Katniss Reaping dress
I read Hunger Games a few months ago and pretty much fell in love. I knew the film version wasn’t going to be as good as the books so I made Boyfriend read the book before we went to go see it. I still think the book was tons better but I have to admit they did a pretty decent job with the movie version!

That said, I wasn’t a huge fan of a lot of the costumes, especially the ones of the other tributes during the parade. A lot of them seemed too much like elementary school play costumes.

Katniss Reaping dress

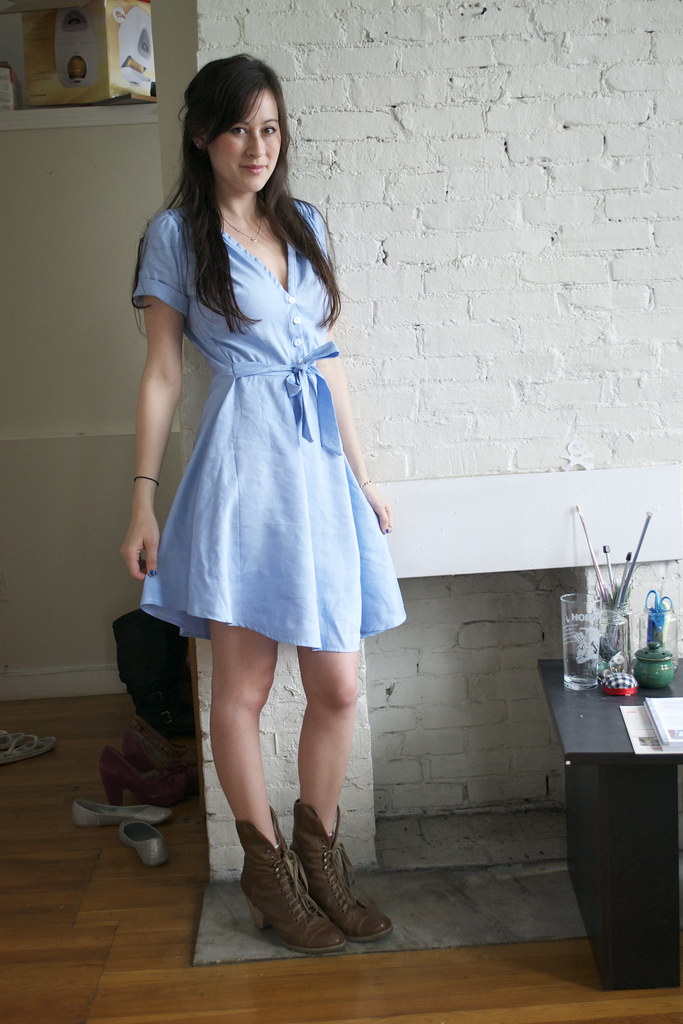
Anyways, the point is, I absolutely adore the dress Katniss wears to the Reaping. I thought it was very true to the way it was described in the book and even as I sat in the theatre I had a sinking feeling that I was going to be on a rabid hunt for light blue linen.

And then one day I was wandering around the fabric store looking for floral cotton when I happened to walk by the linen section where they had the exact shade of blue I needed in a linen/rayon blend, which is exactly what I’d wanted to use!

I had a vague idea of how I wanted to make it but I wasn’t entirely sure it would work. For the bodice I used the Darling Ranges bodice (haha, totally shocking right?) but made widened the shoulder parts to about 8.5″ for the gathering. I also raised the neckline on the back bodice piece a bit and widened the shoulder a bit.

The skirt was drafted by tracing the skirt of an existing dress, nothing fascinating. And since there are no buttons on the skirt, I added a side zip.

Katniss Reaping dress

I’m pretty happy with how this turned out! Boyfriend even recognized where it was from so that’s a good sign.

(Although to be fair his first guess was “that one movie with the famous kiss scene.”)

(On the other hand, he is a boy and that dress is also blue.)

(I’m talking about The Notebook in case anyone is lost.)

Darling Ranges #3

In case anyone was doubting my sentiments toward Megan Nielsen’s Darling Ranges pattern.. here’s yet another one!

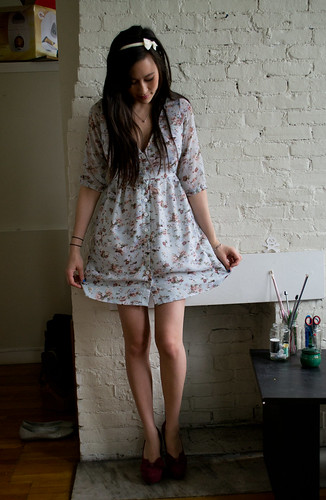
Darling Ranges #3
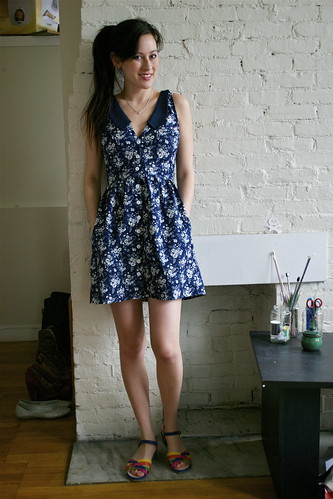
dress: self-made (Darling Ranges by Megan Nielsen), shoes: Modcloth

I saw some really gorgeous sleeveless ones so I decided to make this one sans sleeves. I almost like it better than the ones with sleeves! Definitely a different look. I also decided to add a faux-collary thing to this one. Totally experimental but I think it turned out really cute. This collar’s pointy but I think I’ll have to experiment with a Peter Pan collar next.

Here’s a fun instagrammed close up of the collar detail.

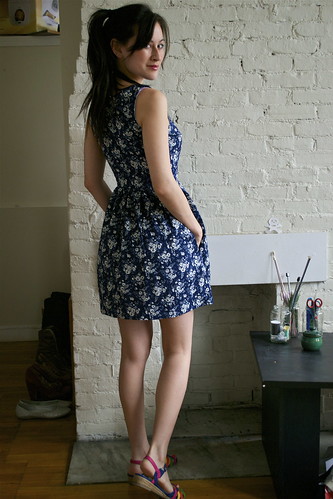
This is definitely one of my favorite things I’ve ever sewn because it fits me PERFECTLY. No joke. By some miracle every bit of it fits like a glove. I added back darts to this one and eliminated the back ties and I love it!

Darling Ranges #3

It’s been chilly lately so I’ve been pairing this with a long cardigan and some tights. Can’t wait to wear it out as a summer dress!

PS If you’re looking for ideas on variations of this pattern, check out Megan Nielsen’s Darling Ranges board on Pinterest!

Floral pretties

I’m not sure why or when this started but I’ve been obsessed with florals lately. Obsessed.

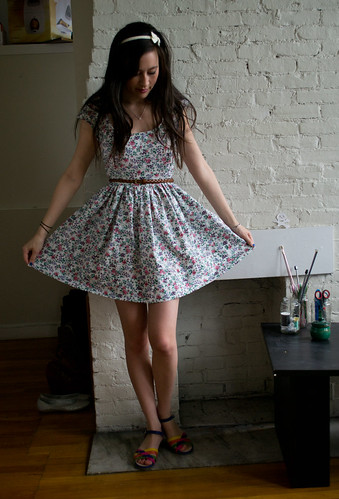
I’m also slightly obsessed with this pattern! I love the cap sleeves and the amount of gathering in the skirt is perfect for surreptitious twirls.

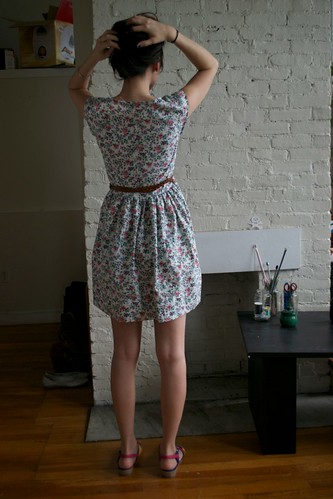
DSC_0711
dress: self-made (02/2011 #101 by Burda Style Magazine), belt & headband: F21, shoes: Modcloth

Edit: Here’s a photo of the back!

DSC_0708

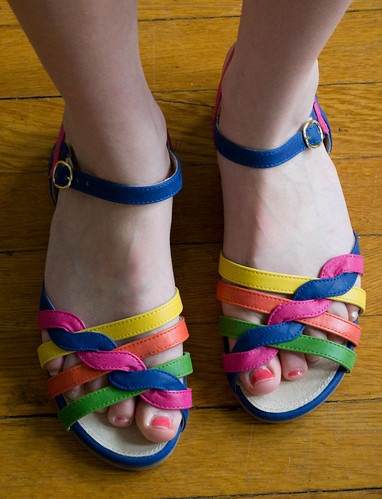
PS lookit my new sandals! I bought them as a yay-you’re-done-with-year-one-of-grad-school gift to myself. Sadly, I think they might be going back because my feet are super wide and they just don’t look that great on me. Boo.

Look, unflattering feet!

DSC_0700

It’s ok though, it’s possible that I have a pair of sandals from Lotta from Stockholm on their way to me..

Darling Ranges #1

Nothing like posting sewing projects completely out of order..

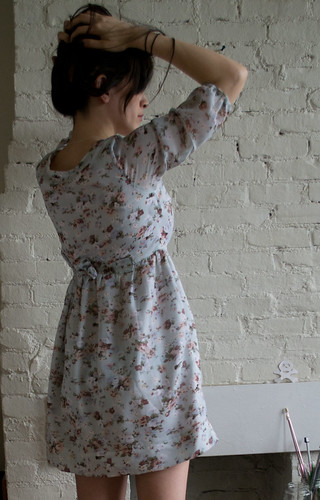
Here’s my first Darling Ranges dress!

Darling Ranges #1
dress: self-made (Darling Ranges by Megan Nielsen), headband: F21, shoes: Seychelles Ampersand

This is probably the least well put-together version of this dress that I’ve made but it’s one of my favorites. The chiffon was an absolute nightmare to work with but I like the end effect. Plus I was figuring out the pattern as I went along so there’s small iffy bits, especially along the placket and neckline.

Darling Ranges #1

I went entirely according to the pattern on this one but the waistline is a touch too high for my freakishly long torso so I lowered it by two inches on all of the other ones. It kind of works with the chiffon though, kind of a babydoll dress effect.

Plus now I have something to wear with my Seychelles. 🙂

Camera bag pretties

Sorry, I suck. In my defense, grad school!

Anyway, I took a break from all the paper writing to make myself a handy dandy little camera bag. Well, not the bag itself, but the inserts. I realized I’ve been terrified of leaving the house with my very obvious black camera bag so I’ve just been leaving my camera at home, which is of the lame.

I had been eyeing drooling like an idiot over the bags at Kelly Moore and Epiphanie, but decided I would rather buy a second lens than a pretty handbag. And then it occurred to me that it really wouldn’t be that hard to buy a handbag and make foamy camera-safe inserts to put inside.

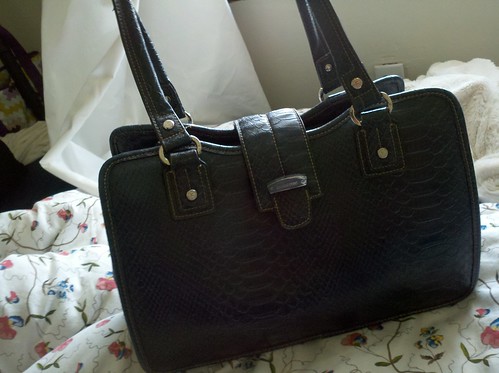
So this morning I shuffled off to Goodwill and picked up this lovely Liz Claiborne bag for a whopping $6.49.

Camera bag finished

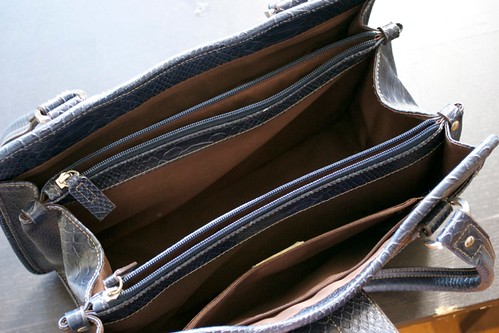
It has many many compartments, which I love. Plus the middley compartment where the camera will go has a structured rectangular bottom. I wouldn’t recommend trying this with a bag with a floppy bottom.

DIY camera bag

I sort of got over-excited and forgot to take pictures of the sewing process, but it’s pretty simple.

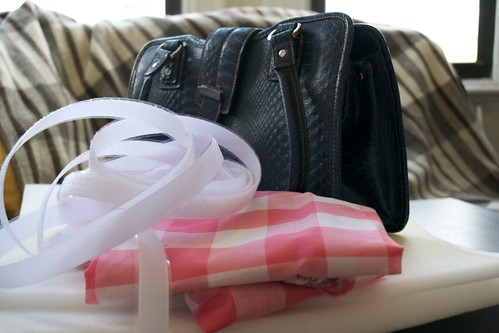
What you’ll need:

DIY camera bag

-A purse big enough to fit your camera with room for cushioning; if you want to fit extra gear, pick a bigger bag

-1 yard of fabric; I chose cotton, just make sure it’s not scratchy

-1 yard of velcro; do NOT buy the stick on kind, it doesn’t actually stick and you can’t sew it. If you do buy this kind, I recommend you get some kind of fabric glue too because you’ll need it

-1 foot of 1/2″ foam; the foam I bought was 18″ wide

-1 1/2 feet of 1″ foam; also 18″ wide

Instructions:

Measure the bottom of your bag. Cut a piece of the 1″ foam to those measurements. Mine was 11.5″ x 5″.

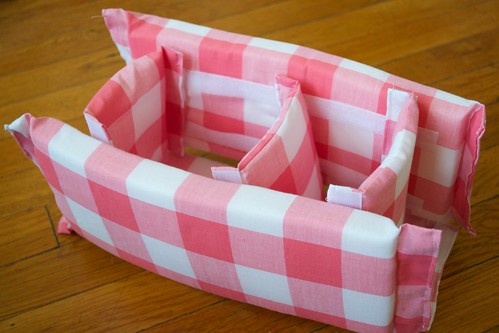
Put the cut foam on the fabric and measure out a piece of fabric that will essentially cover the foam like a pillow case. Sew all of the raw edges and tuck the finished insert in the bottom of the purse.

With the bottom insert in place, measure from the top of it to the top of the bag or as far up as you want the side inserts to go. Mine were 4.5″ x 11″. Cut two pieces of 1″ foam to these measurements. Cut out fabric similar to the first insert. Cut two pieces of velcro (the soft side) about 1″ shorter than the width of the side pieces and sew them in place on the same side, a few inches apart. Then do the same for the other side insert. Sew the pillowcase together for each.

For the middle ones, you’ll want to use the 1/2″ foam. With the bag pulled open, measure across the side inserts (I got 4″). When you cut the fabric for these, add an extra inch on either side for the velcro tab. Make the pillowcases for these the same way but just sew down an inch into the fabric on either side. Attach the velcro to the same side on each tab. I made three of these.

DIY camera bag

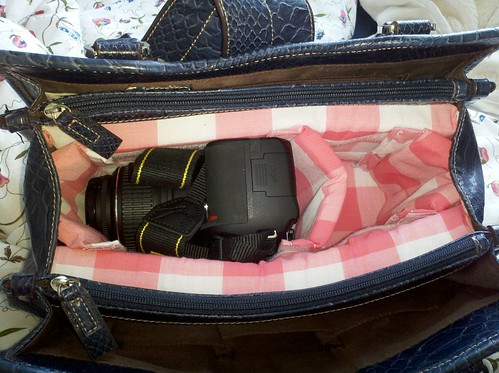
The best part is, you can remove the inserts and you’ll have just a normal purse!

You’ll notice I forgot that the sides and bottom didn’t need velcro so there are velcro tabs anyway.

DIY camera bag inserts

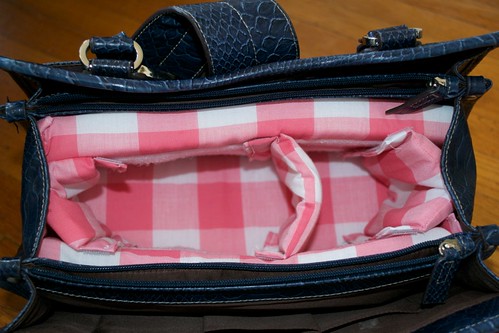
Look how snuggly it looks! (The extra space is for a new lens which is arriving tomorrow! -squee- )

Camera bag inserts finished