All posts by peneloping

Mini-bloomers

DSC_1185

Have you ever come across a pattern you’ve seen before and suddenly needed to make it immediately whereas past you had merely thought “eh.”?

DSC_1214

That happened to me this weekend when I rediscovered Colette’s Madeleine Mini-Bloomers. I first came across them when I found the Sorbetto pattern. At first I thought, “Cool! Free pattern!” And then I thought, “Ehhh, I’ll probably never make them.”

DSC_1219

And then on Sunday I saw them again whilst browsing the interwebs and suddenly I had to have them. I didn’t even care what color or pattern, I just knew I wanted a pair of my very own.

DSC_1216

Has that ever happened to you?

Sewing in circles

DSC_1153

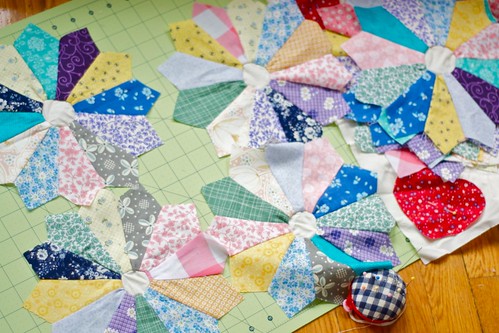
It’s drizzly and muggy out today, which I’ve decided is the perfect weather for working on abandoned quilts with a mug of tea. I started this one aaages ago and have been neglecting it in favor of making a million Darling Ranges.

What’s funny is I was inspired to work on it again because I kept thinking how adorable it would look on my bed with all of my finished dresses hanging nearby.

DSC_1156

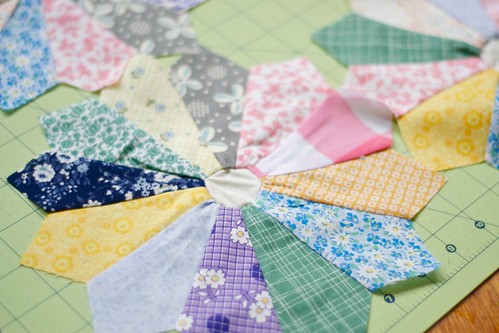
Anyway, I realized that I had accumulated a ton more scrap fabrics (from all of those dresses!) and decided to cut some more pieces to incorporate more variety in fabrics. I love how it’s turning out!

DSC_1157

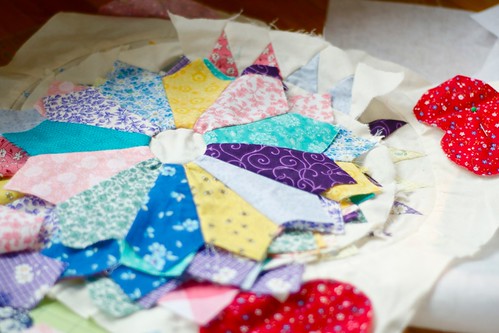
In retrospect, I have absolutely no idea why I chose this as my third ever quilt. It’s quite a beast of a project. And I’m still pretty terrible at sewing in circles.

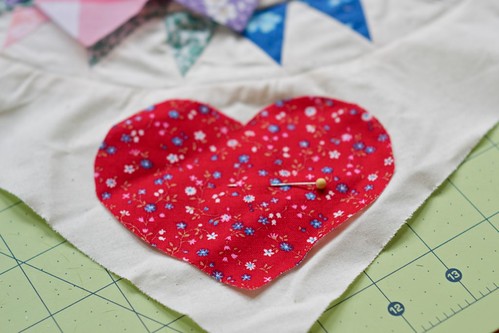
But look! It has hearts!

DSC_1160

Henna for your hairs

In college I used to dye my hair regularly in my dorm. I got bored easily and it was so easy and fun. There may have been a phase involving hot pink streaks which may have coincided with my last passport photos. Yikes!

Eventually I got tired of raggedy hair and missed that textured look of natural hair with natural highlights and I stopped dyeing it.

And then after some random interwebs browsing, I stumbled across the concept of using henna to dye hair. I’d only ever heard of using it for henna tattoos.

Anyway, I was hooked on this idea and did all kinds of research and this past weekend I finally grew the balls to try it!

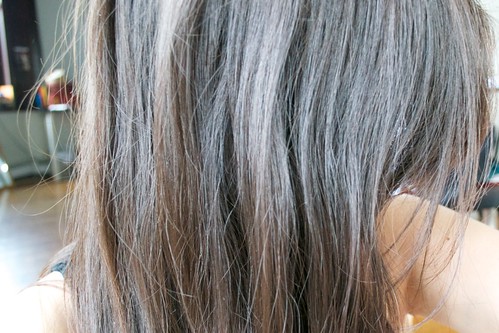
This is what my hair looked like before. I really have no idea how to described my natural hair color. Sometimes it looks super dark, sometimes it could pass for light brown. Sometimes there are strands of red or blonde.
DSC_1107

I bought a pound of henna from this Etsy shop. A lot of people also recommend purchasing from this shop.

I got most of my information from hennaforhair.com, but it was still kind of confusing. A lot of people recommend using something acidic to maximize the dye release; lemon juice, vinegar, or black tea were popular. Then there’s a whole other school of people who say that acids break down the cell walls of the dye molecules so you should use something neutral. And then there’s the people that say you should let the dye cure for 8-12 hours versus the people who claim 1-2 hours is more than enough. And if that’s not enough, some people say you’re supposed to mix it with boiling water, while others insist this destroys the dye molecules.

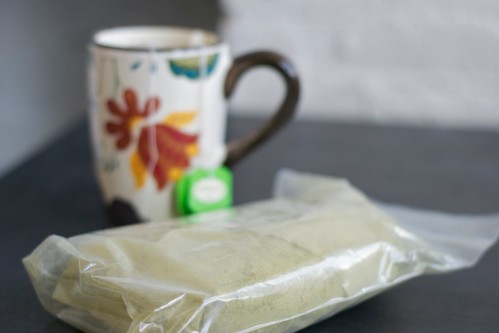
I decided to go with a strongly brewed chamomile tea mixed with room temperature water to become lukewarm.
DSC_1102
There are five teabags in that mug.

I mixed the henna until it was about Greek yogurt consistency but I think in retrospect it probably should’ve been a little thinner. It kept clumping off. I let it sit for about an hour and a half and then put a glop on my palm, let it sit for 30 seconds, and then washed it off. It stained my palm orange so I decided we were good to go!
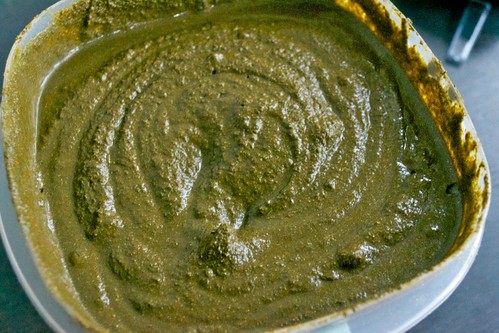
DSC_1110

The next part was tricky and a huge mess so I kept the camera away.

I sectioned my hair into four sections, put on an old shirt, and started smearing henna onto my hair. I didn’t have a paintbrush or anything handy so I kind of kneaded it in to make sure it was getting to all hairs. I also forgot to find gloves so my hands are still slightly orange. I recommend gloves. -stares-

Once my whole head was covered (and magnificently heavy), I put a plastic bag over the whole thing, tucked the ends in to make sure no henna would leak out, covered the whole thing with a towel, and then wobbled over to my bed where I accidentally passed out for two hours. In my defense, it was surprisingly relaxing!

In the end, I left it in for about three and a half hours. Washing it out was a bit of an ordeal but I ended up dousing my head with conditioner (no shampoo!) and it all washed out easy peasy after that.

And this is sort of what it looks like!
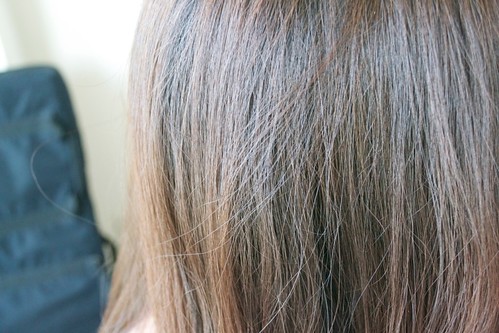
DSC_1113

Keep in mind, henna coats your hair, so it adds a red tinge to whatever color is currently on your head. It won’t lighten it!

And this is what it looks like in the light!

DSC_1116

Plus my hair feels super nice and silky now! And a lot of my split ends are gone!
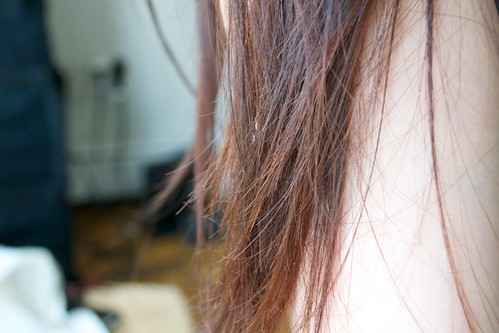
DSC_1114
I haven’t taken pictures yet, but it looks so cool in direct sunlight!

Some tips:

-Henna needs time to oxidize so give it about two days to deepen in color. Don’t shampoo your hair in this time!

-Make sure you’re getting 100% natural henna, without weird chemicals. If you were to dye your hair after henna those chemicals could react with the dye and melt your hair!

-Henna is a plant. It stains things red. There is no such thing as black henna or blonde henna. (For black or golden coloring, look into indigo or cassia, but again these are plants that stain. They won’t lighten!)

-Henna sort of smells like hay, which some people love and others hate. You can add essential oils to your dye to lessen or change up the smell a little if you want. Mine was fine while on my head but after it washed out my hair sort of smelled like celery. I’ve washed it once since and the smell is slowly going away.

-Mixed henna can be frozen and stored for up to two months (I think. Possibly longer.). This is great if you mix too much because you can use the extra to touch up your roots when they grow in!

-Gloves! I’m not kidding.

Anyways, I highly recommend this for anyone who wants to dye their hair without chemicals. And if you decide to try it, let me know! I’d love to see the results!

Noms! Bean salad recipe

When the weather gets warm, this is one of my favorite salad recipes. It’s cold, healthy, and super easy to put together!

Unfortunately, this year it is now June and the high today was in the low 50’s. Is this normal for New England? Considering it barely snowed three times all winter, I’m guessing not.

Anyway, I’ve been making sundresses and busting out sunglasses and making summer food in the hopes that the weather will catch on and heat up. So far, no dice.

Maybe you’ll have better luck!

Bean salad

Ingredients:  Note: This is one of those guesstimate amounts type of recipes :]

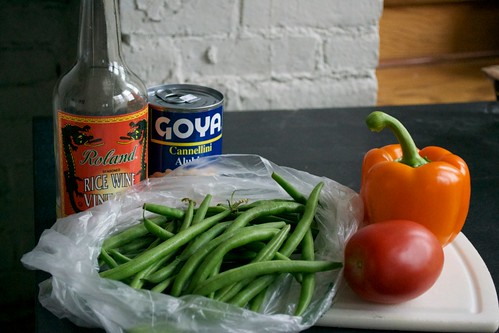
-1 bell pepper, diced (I’ve tried this with red, orange, and green bell peppers and orange is by far my favorite. Plus it goes the prettiest with the other colors, which is of course  a vital factor.)

-1 roma tomato (I still have no idea which kinds of tomatoes are good for which types of dishes, but romas work great for this.)

-green beans (These are my favorite part of the salad so I use a lot.)

-1 can cannellini beans with the juice (I’ve also used kidney beans and they’ve turned out great!)

-rice wine vinegar or rice vinegar (Is there a difference? You could probably also use apple cider vinegar for an even healthier version although I’ve never tried that.)

-salt to taste

Bean salad

Prepare the green beans and cut them up into bite sized pieces. I usually put them in a pan with a few tablespoons of water and let them cook just enough to be cooked but still delightfully crunchy.

When they’re done cooking, transfer the green beans to a separate bowl and pour cold water on them. Let it sit until the beans have cooled down so they don’t cause the other vegetables to cook when you mix them together.

Chop up the bell pepper and tomato into bite sized chunks, however big you want them.

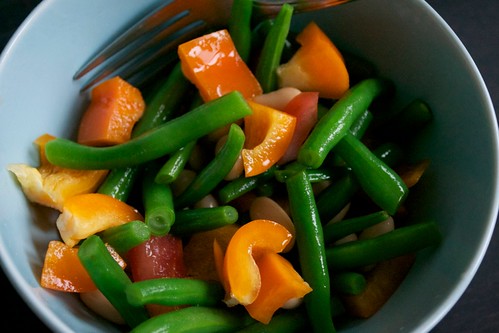
Mix all of the veggies together. Pour the cannellini beans on top, including the juice. Add a few tablespoons of rice vinegar. I would start with one or two tablespoons and add more if desired. Add salt to taste.

Bean salad

It’s best if you stick it in the fridge for at least an hour but I usually can’t wait that long.

Enjoy!

Lazy Sunday

It’s sort of muggy out, the perfect weather for lazing around and getting absolutely nothing done.

I managed to be a huge bum all morning but then had a surge of productivity. No idea where it came from but I hope it lasts. Up until now I’ve tried to update the blog more frequently than not, but I think the utter lack of organization has kind of led to sporadic posts followed by nothing for a week, followed by sporadic posts. Not exactly what I’m going for.

Luckily I happened upon this blog, and particularly this blog post and decided that a blog calendar is the way forward. Sidenote: I have no idea why I’ve never thought of this. Other sidenote: I could never in a million years pull off purple/blue hair but holy crap it looks amazing on her.

So I spent about half an hour writing out posts I’ve had in the back of my mind that I keep forgetting about when I actually sit down to write. And then I another half hour writing post-its for projects I keep meaning to finish and put those post-its on the second half of the month to give me some time to finish them. And now I have to finish them or bloggy will be sad and empty. It’s a win-win.

On a semi-related note, I may be guilty of jumping on the Pinterest bandwagon. In my defense, it’s SO helpful for keeping all of the sewing ideas/DIY/tutorials I run into in one accesible place!

Here’s some stuff I’m excited to try:

I thrifted a dress a while ago that I’ve been wanting to alter but wasn’t sure how. I think this might be a winner.


I printed out the Colette Sorbetto pattern a while ago and have been meaning to play around with it. I keep getting distracted by a tiny voice in my brain that keeps yelling “MAKE ALL THE DARLING RANGES!”

Anyway, this was one of the variations I wanted to try. I love how flowy and summer it looks with the gathers instead of just one front pleat. I’d wear this with summery cardigans and denim shorts.


This pattern is available for free on Burdastyle and I’ve had it for literally five years. I’m not exaggerating. I rediscovered it yesterday and now I really want to make it but I might add a skirt to turn it into a dress.

Source: burdastyle.com via Ping on Pinterest


I’ve been on the lookout for lace appliques like these so I can make these shorts. I’m so in love. LOVE.

Source: google.com via Ping on Pinterest


In other news, I need to go buy colored post-its.