Tag Archives: outfit

Peaseblossom 

My friend and I throw this party every year. She doesn’t sew but is very artistic so we like to make costumes together. The past few years, we’ve basically come up with party themes based on what kind of dresses/costumes/outfits we want to make. This year’s was A Midsummer Night’s Dream.

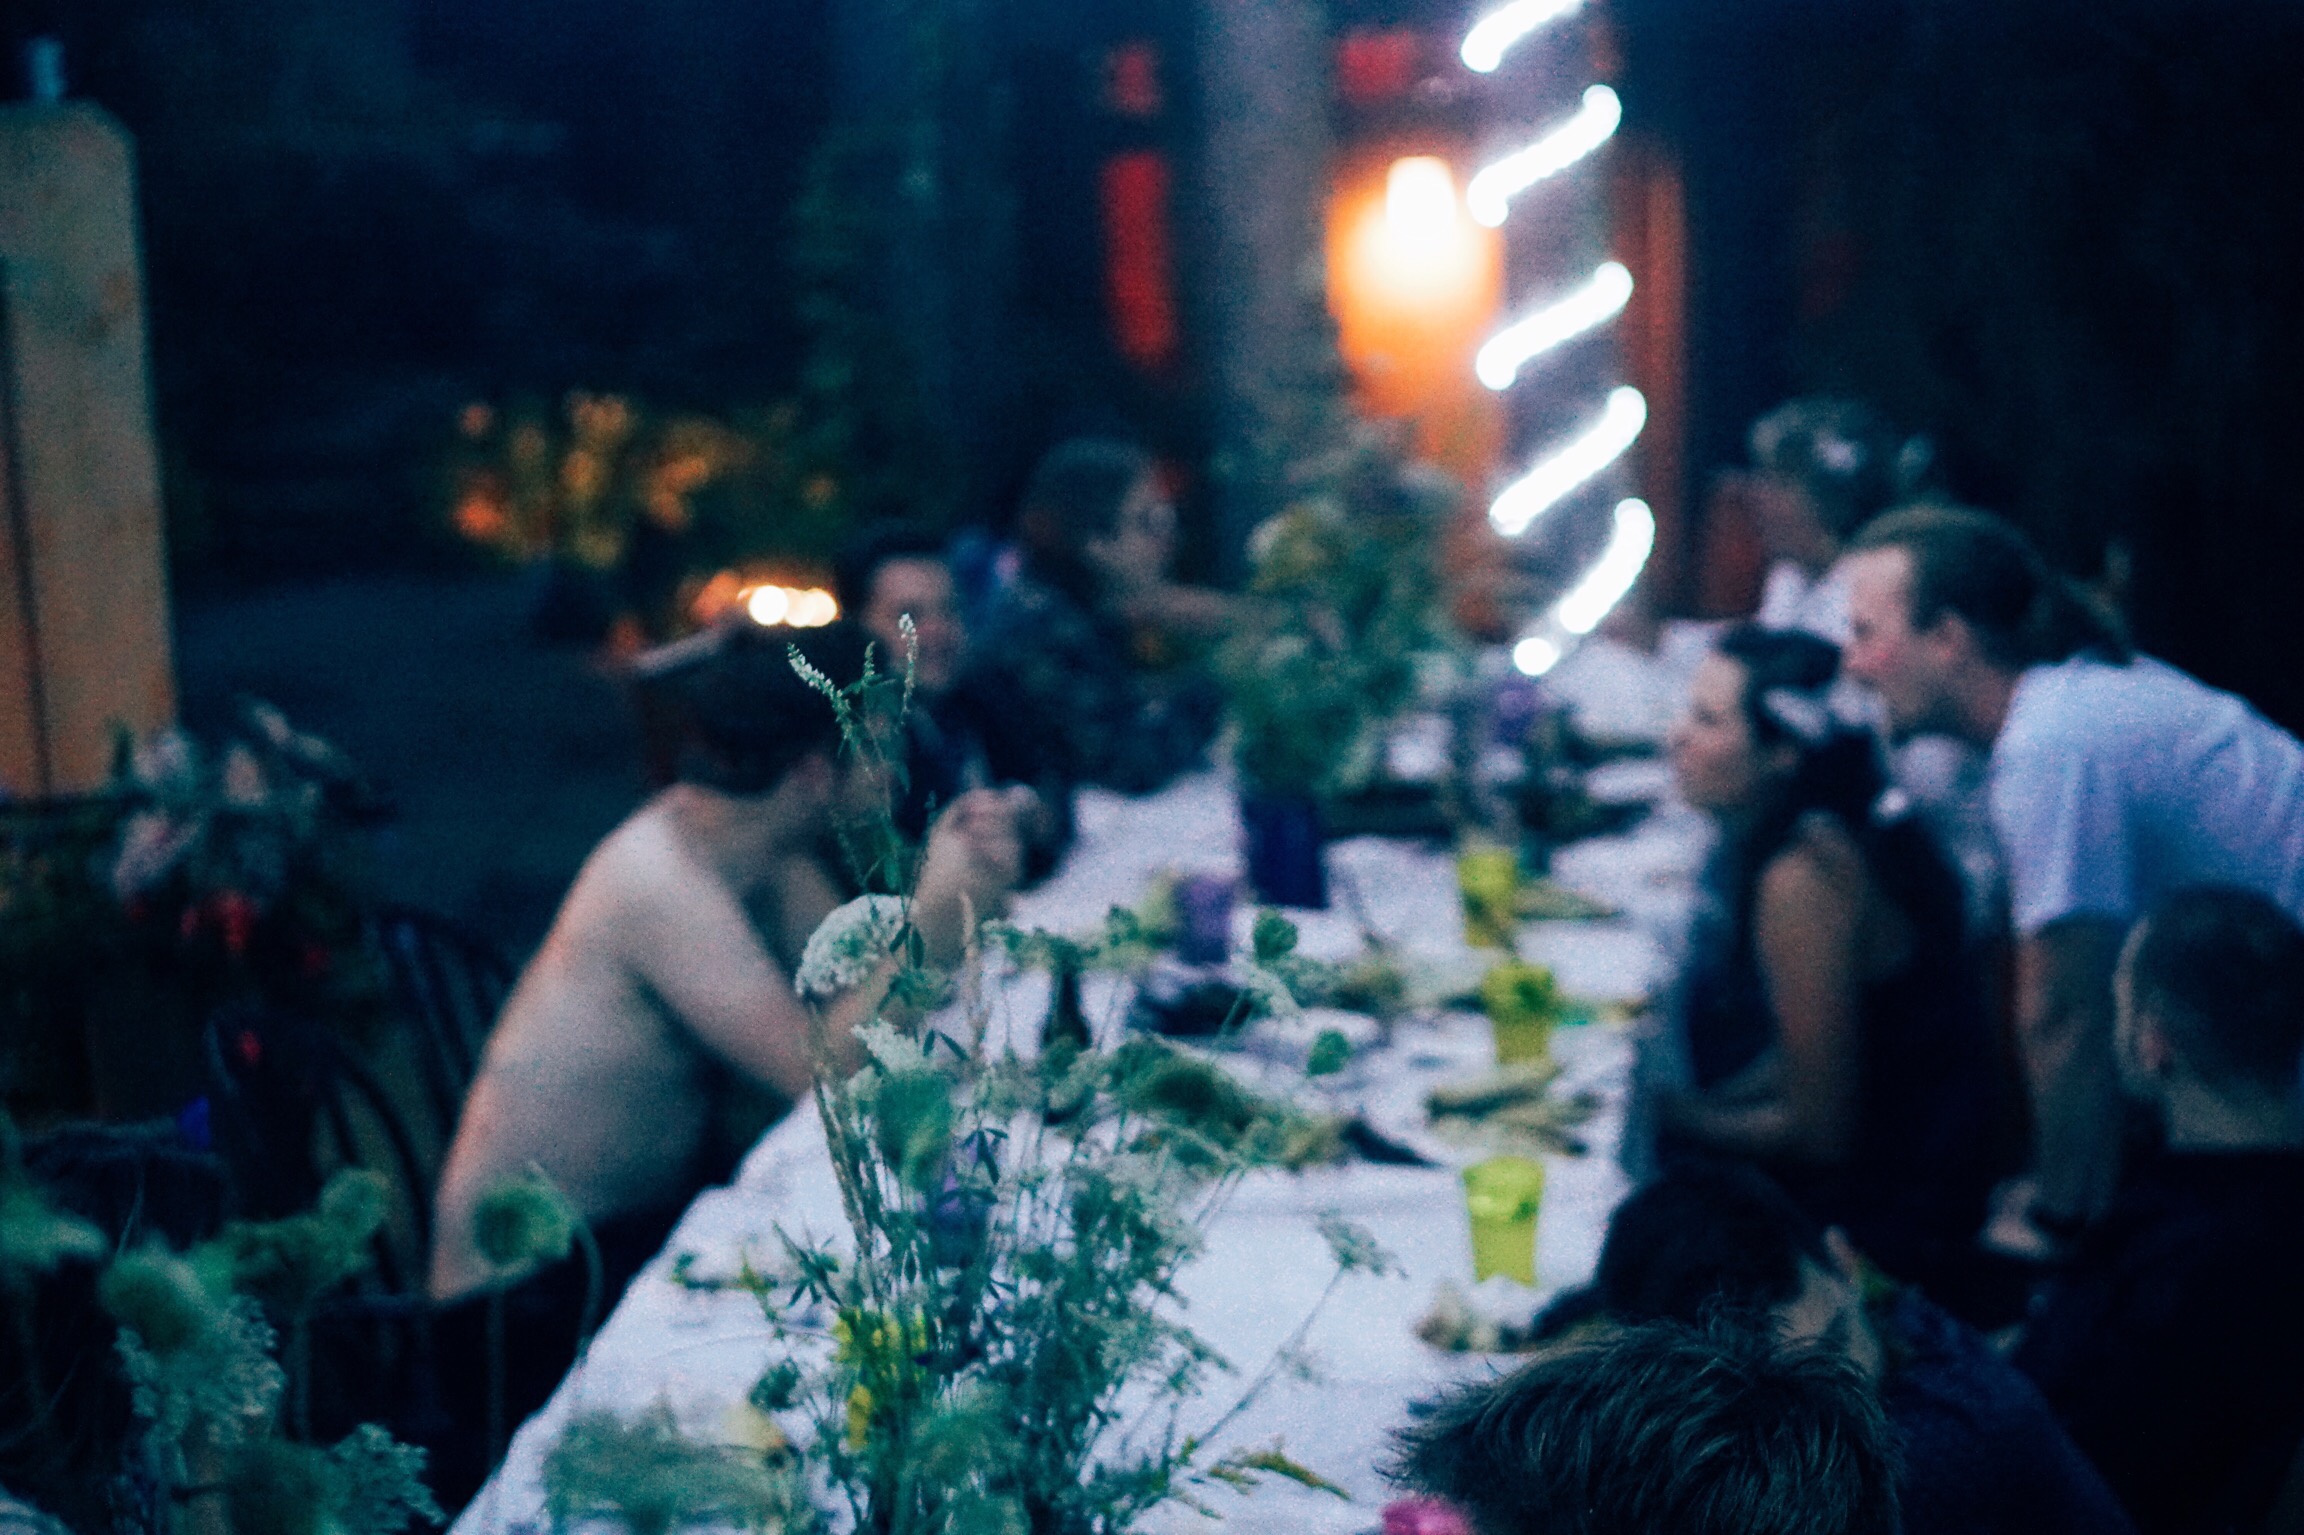
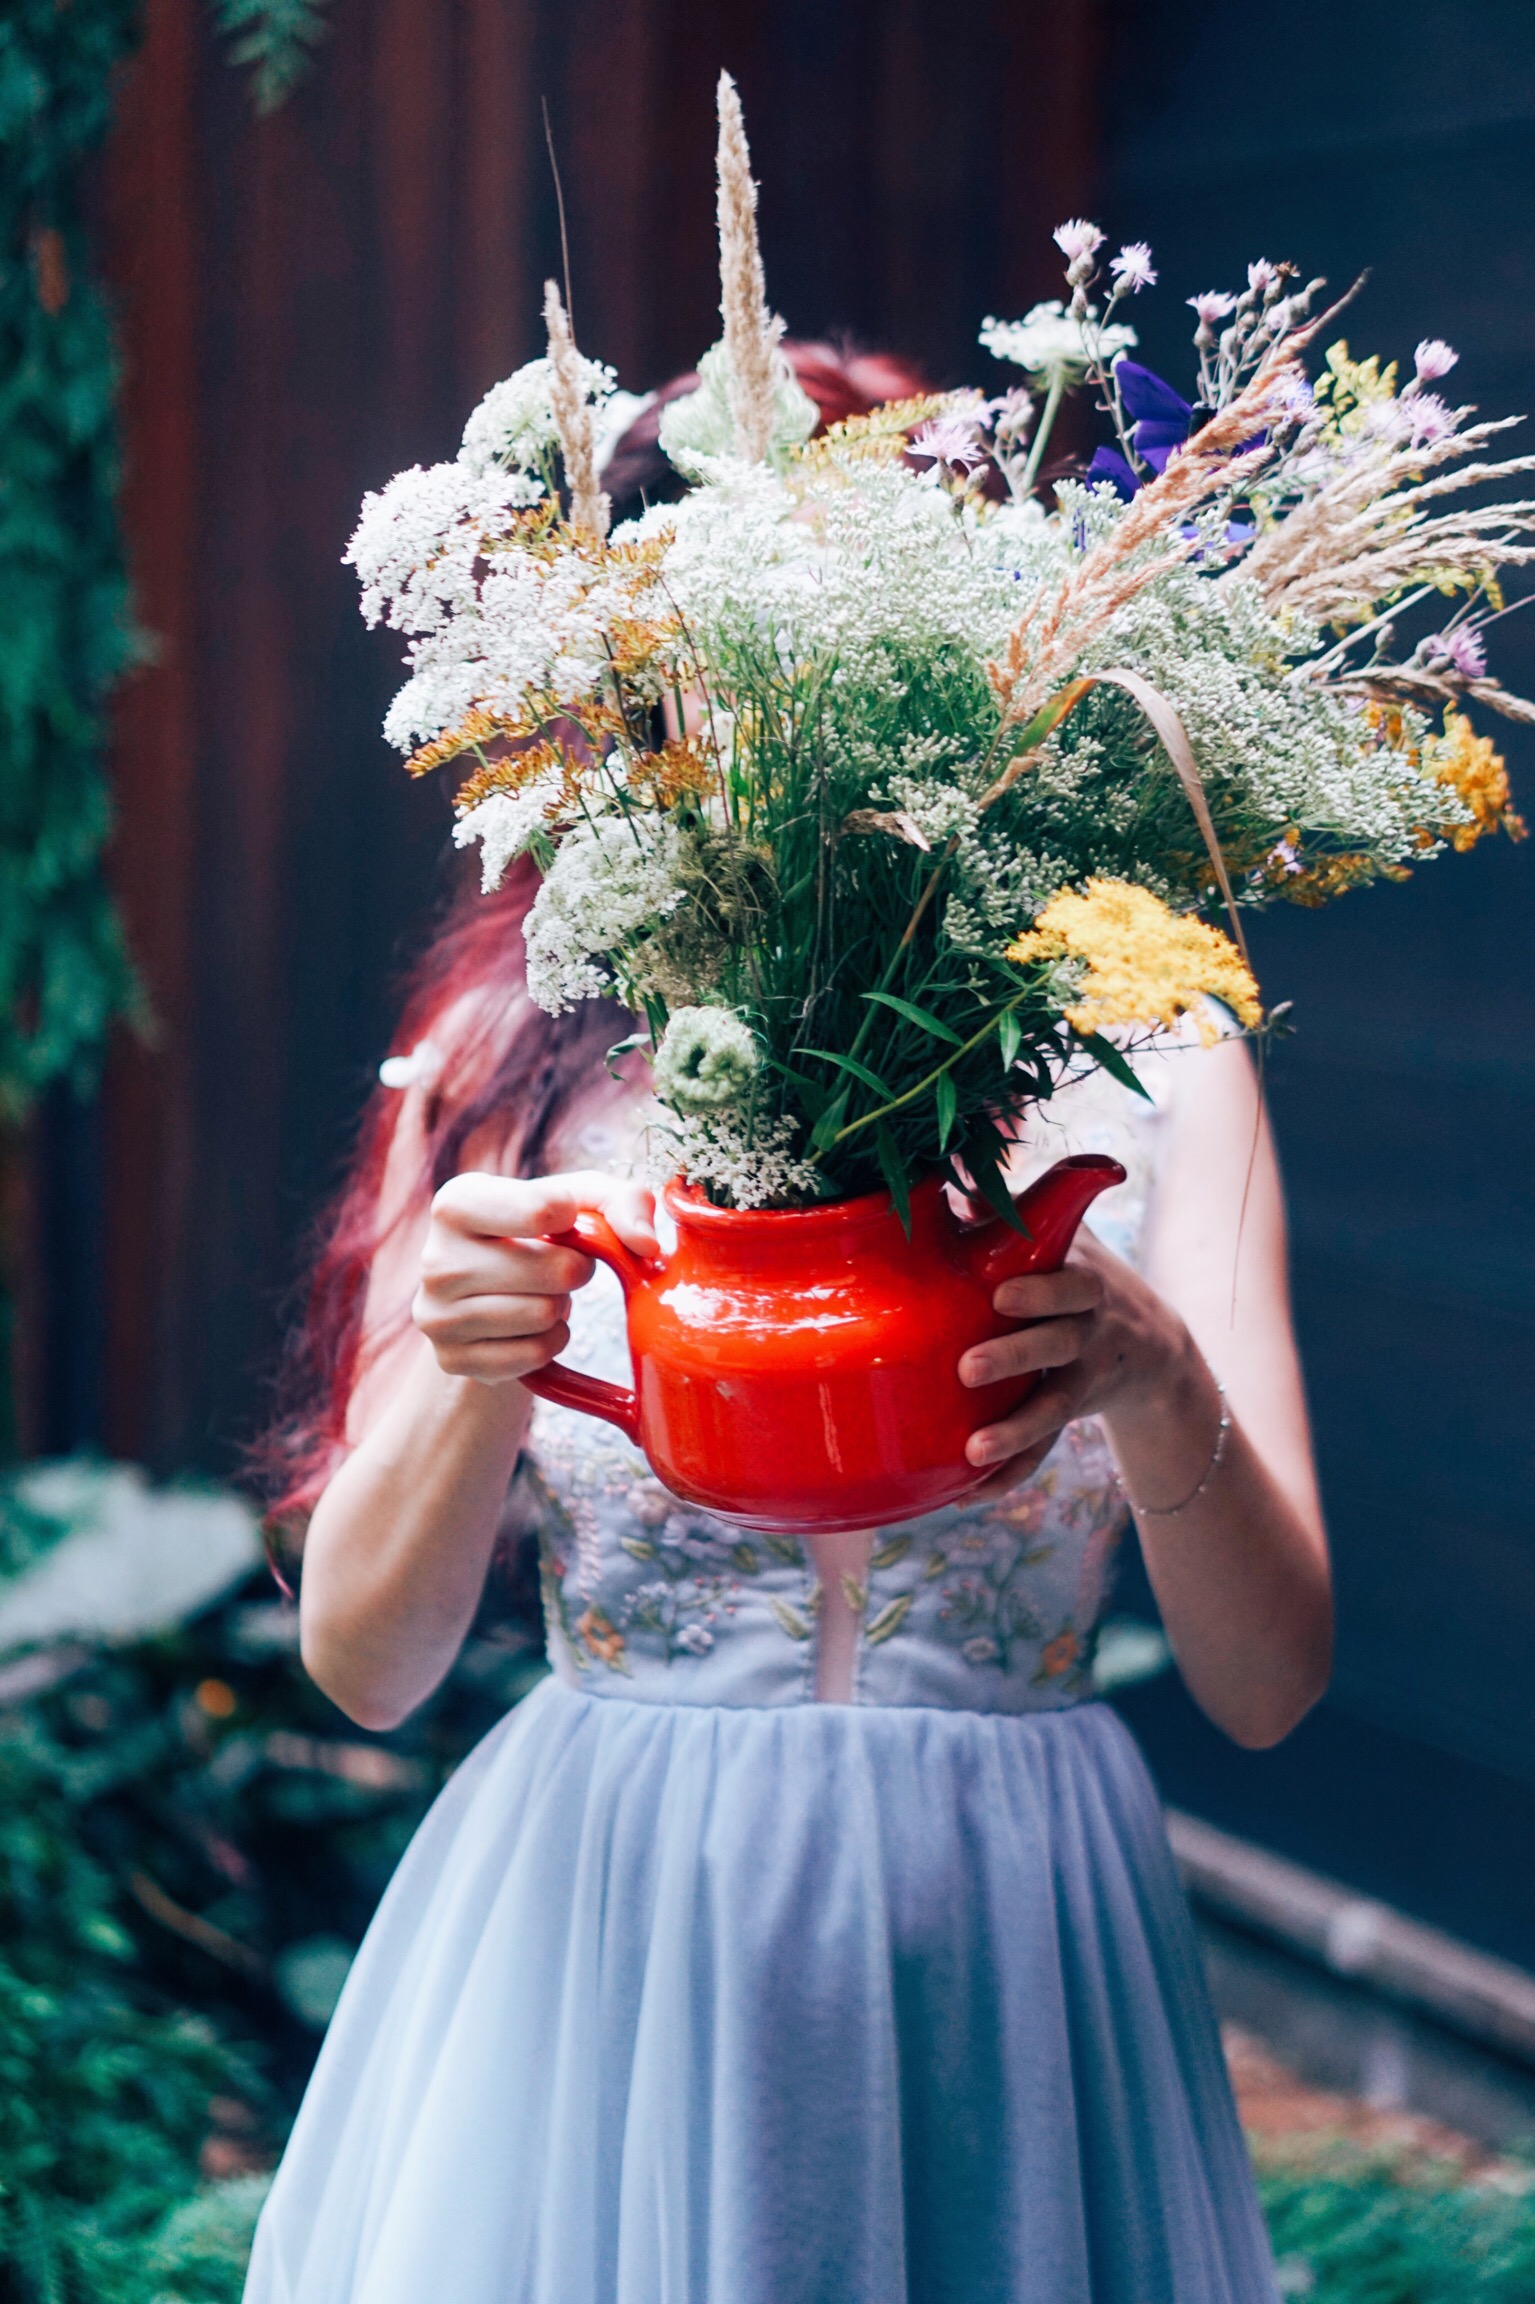
Her parents’ house is on a lake and surrounded by trees, and the party is always in August, so it was kind of the perfect setting. They hung fancy lights up, we picked a bunch of wildflowers and displayed them in vases and teapots, and there was a roast pig.

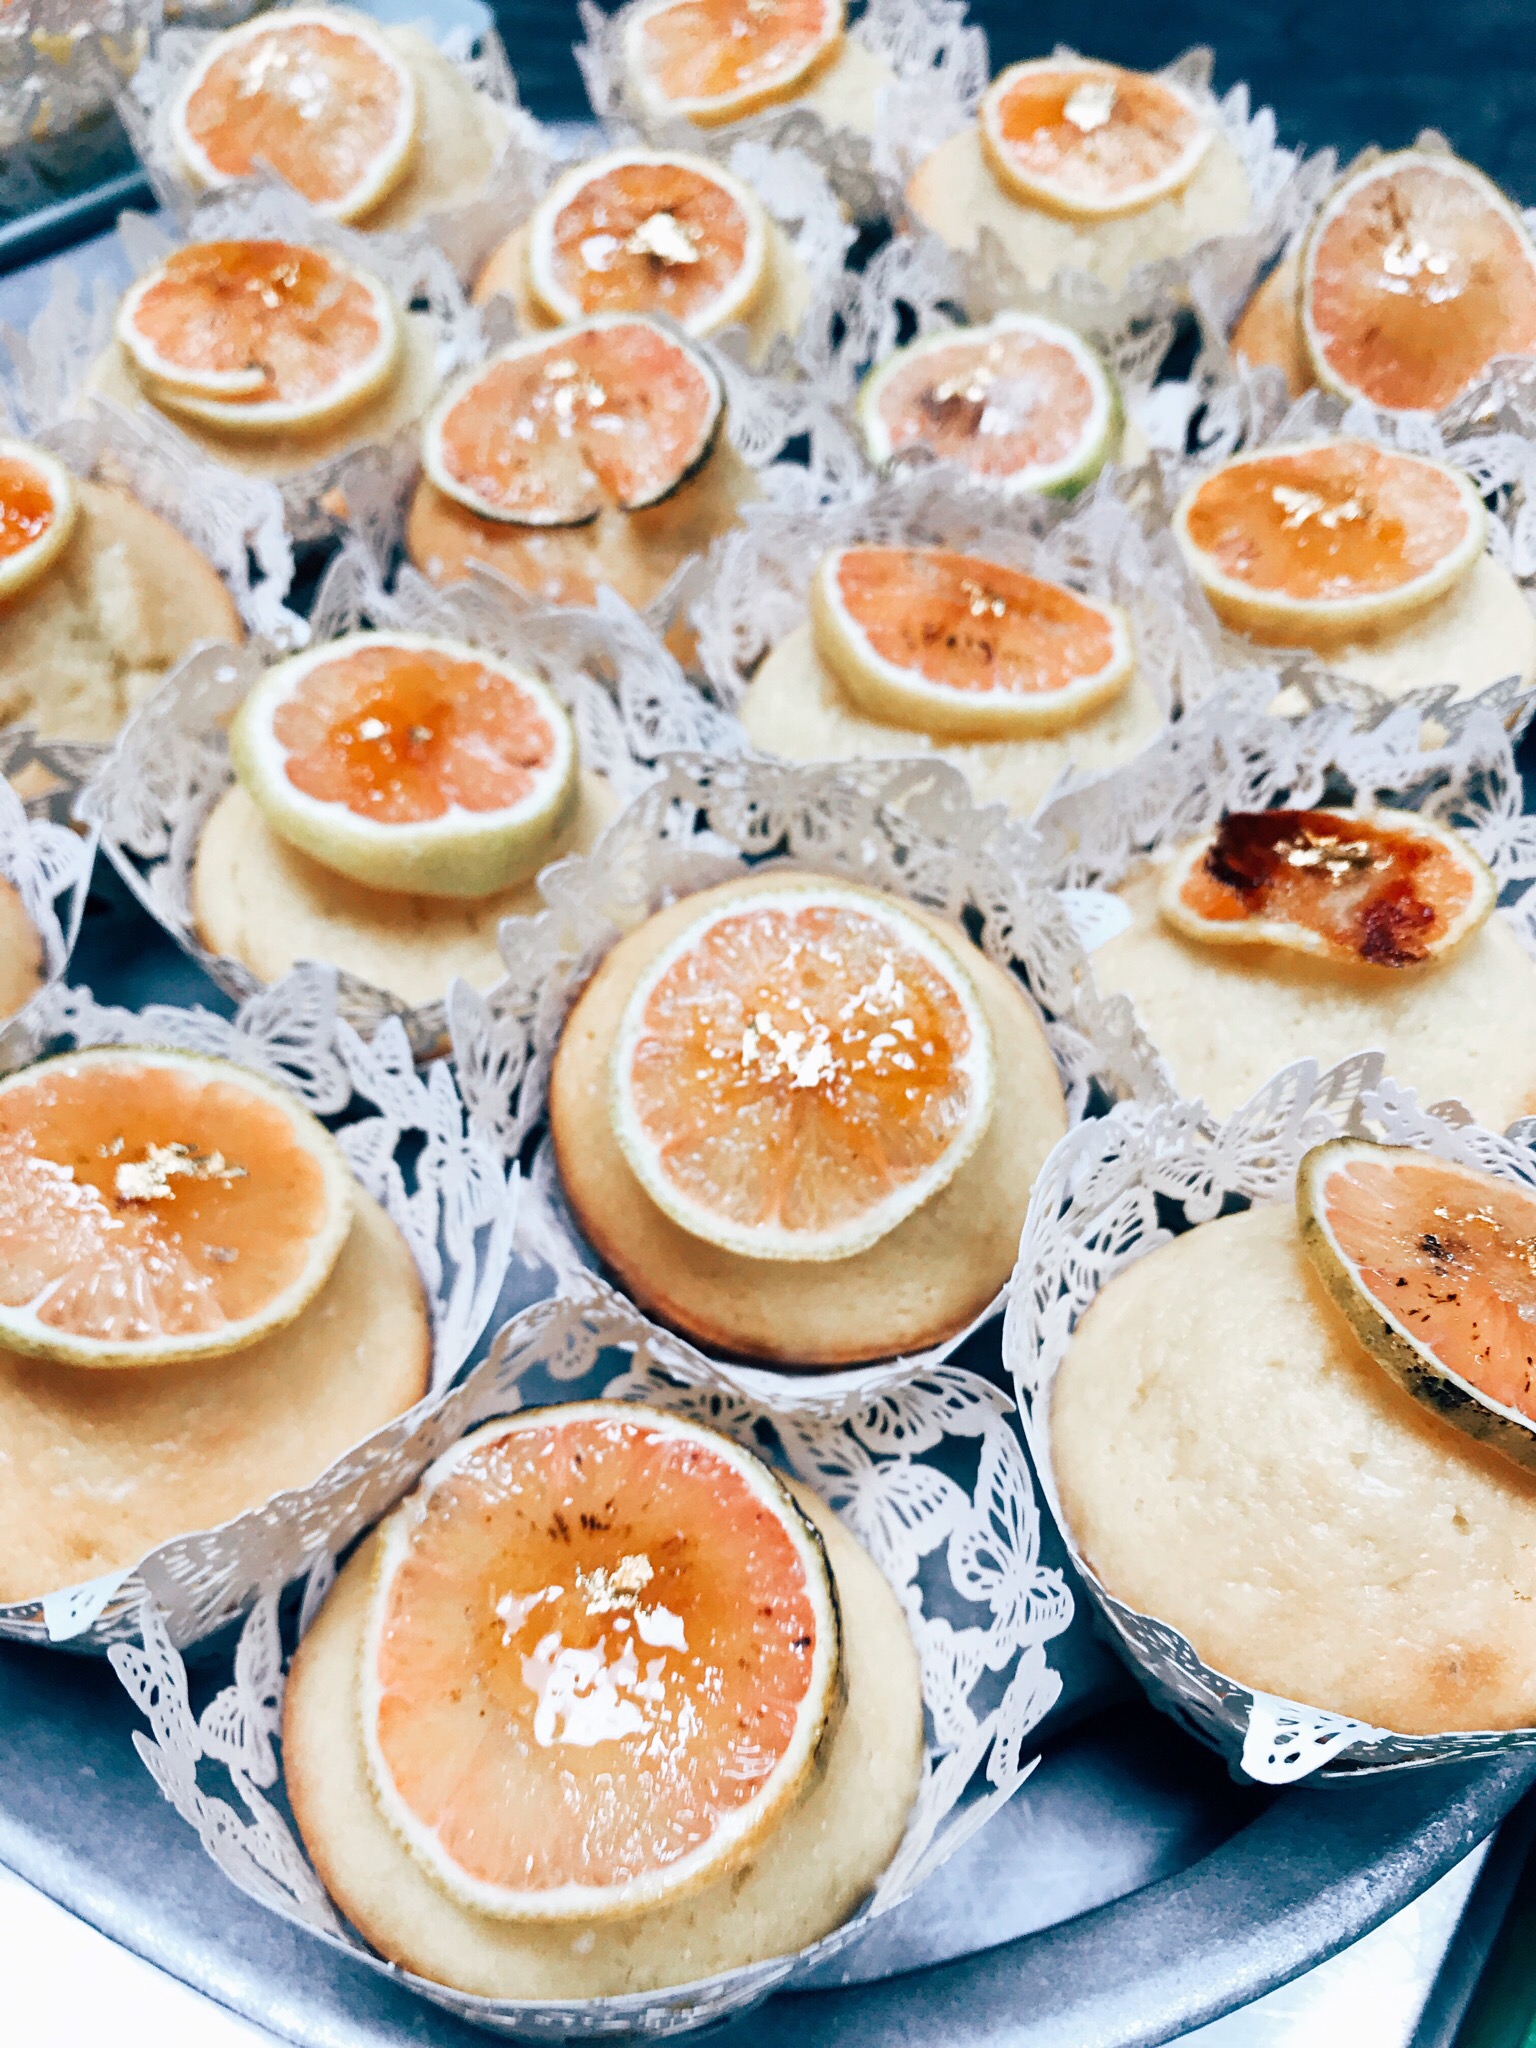
Lemon cupcakes with lemon glaze, topped with a brûlée-ed candied pink lime slice, topped with gold flakes. 

As soon as we decided on the theme, I knew I wanted to do something with tulle, and possibly lots of layers. Kind of like Cinderella Lite, except with embroidery. I’d picked up some linen embroidery floss at a rummage sale and wanted to try it out. I still don’t get why/when you would use this over normal embroidery floss. It’s a nice effect but it doesn’t look *that* different and the thread breaks unless you’re super careful or cut it into tiny pieces.

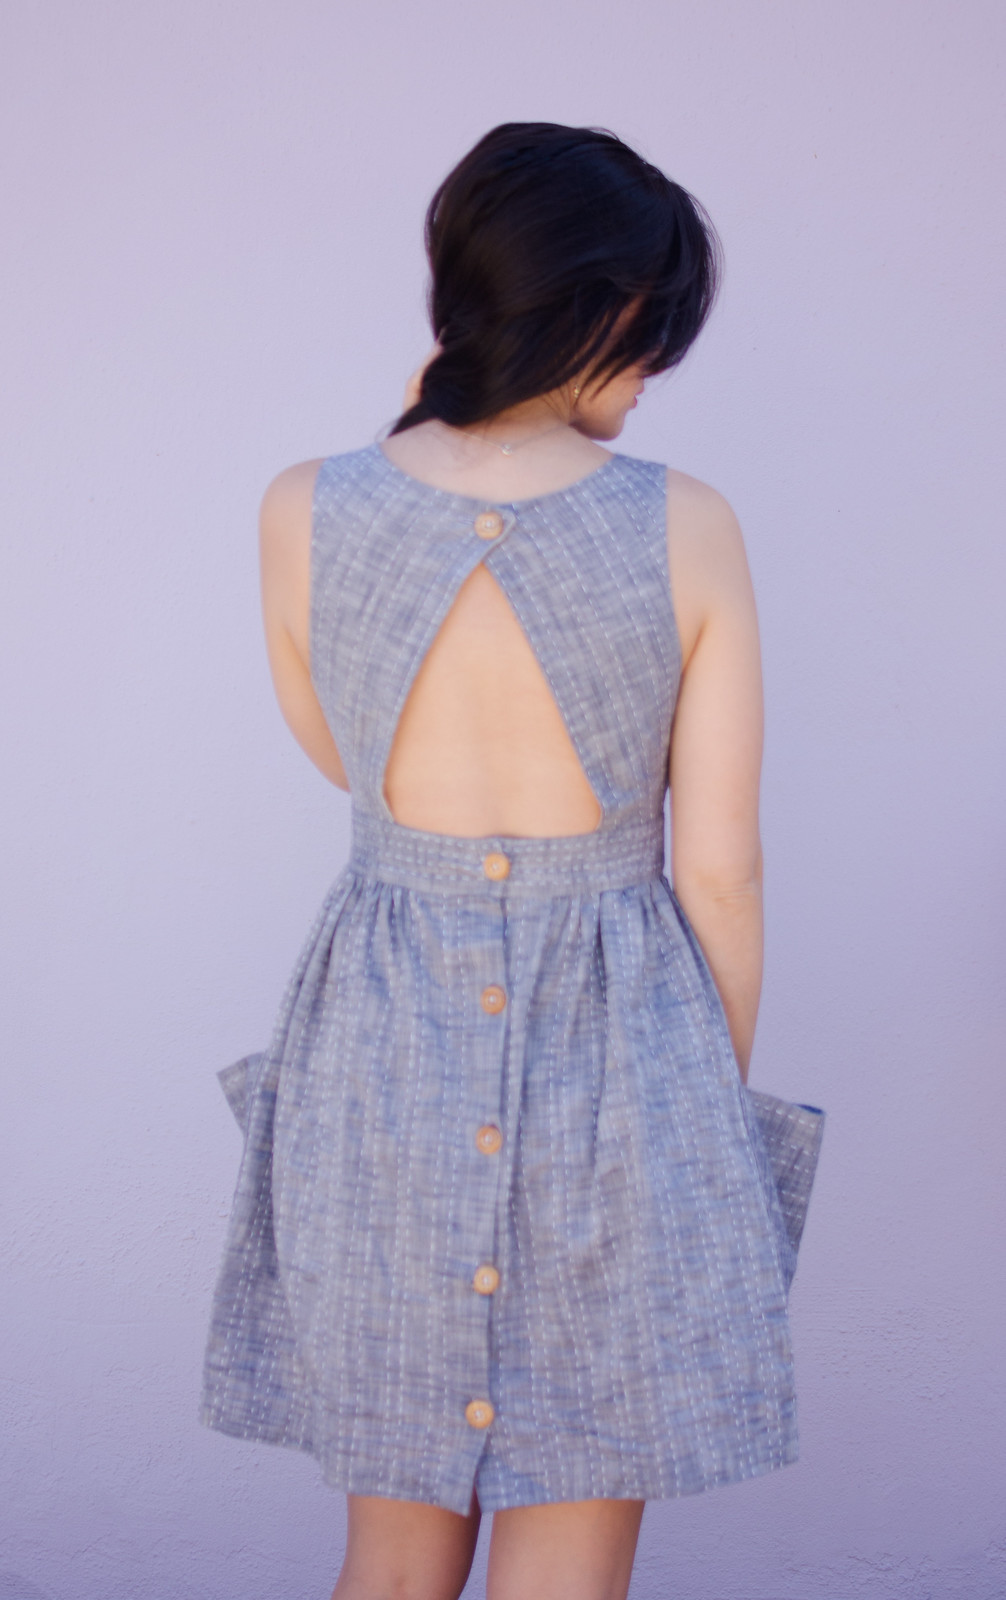
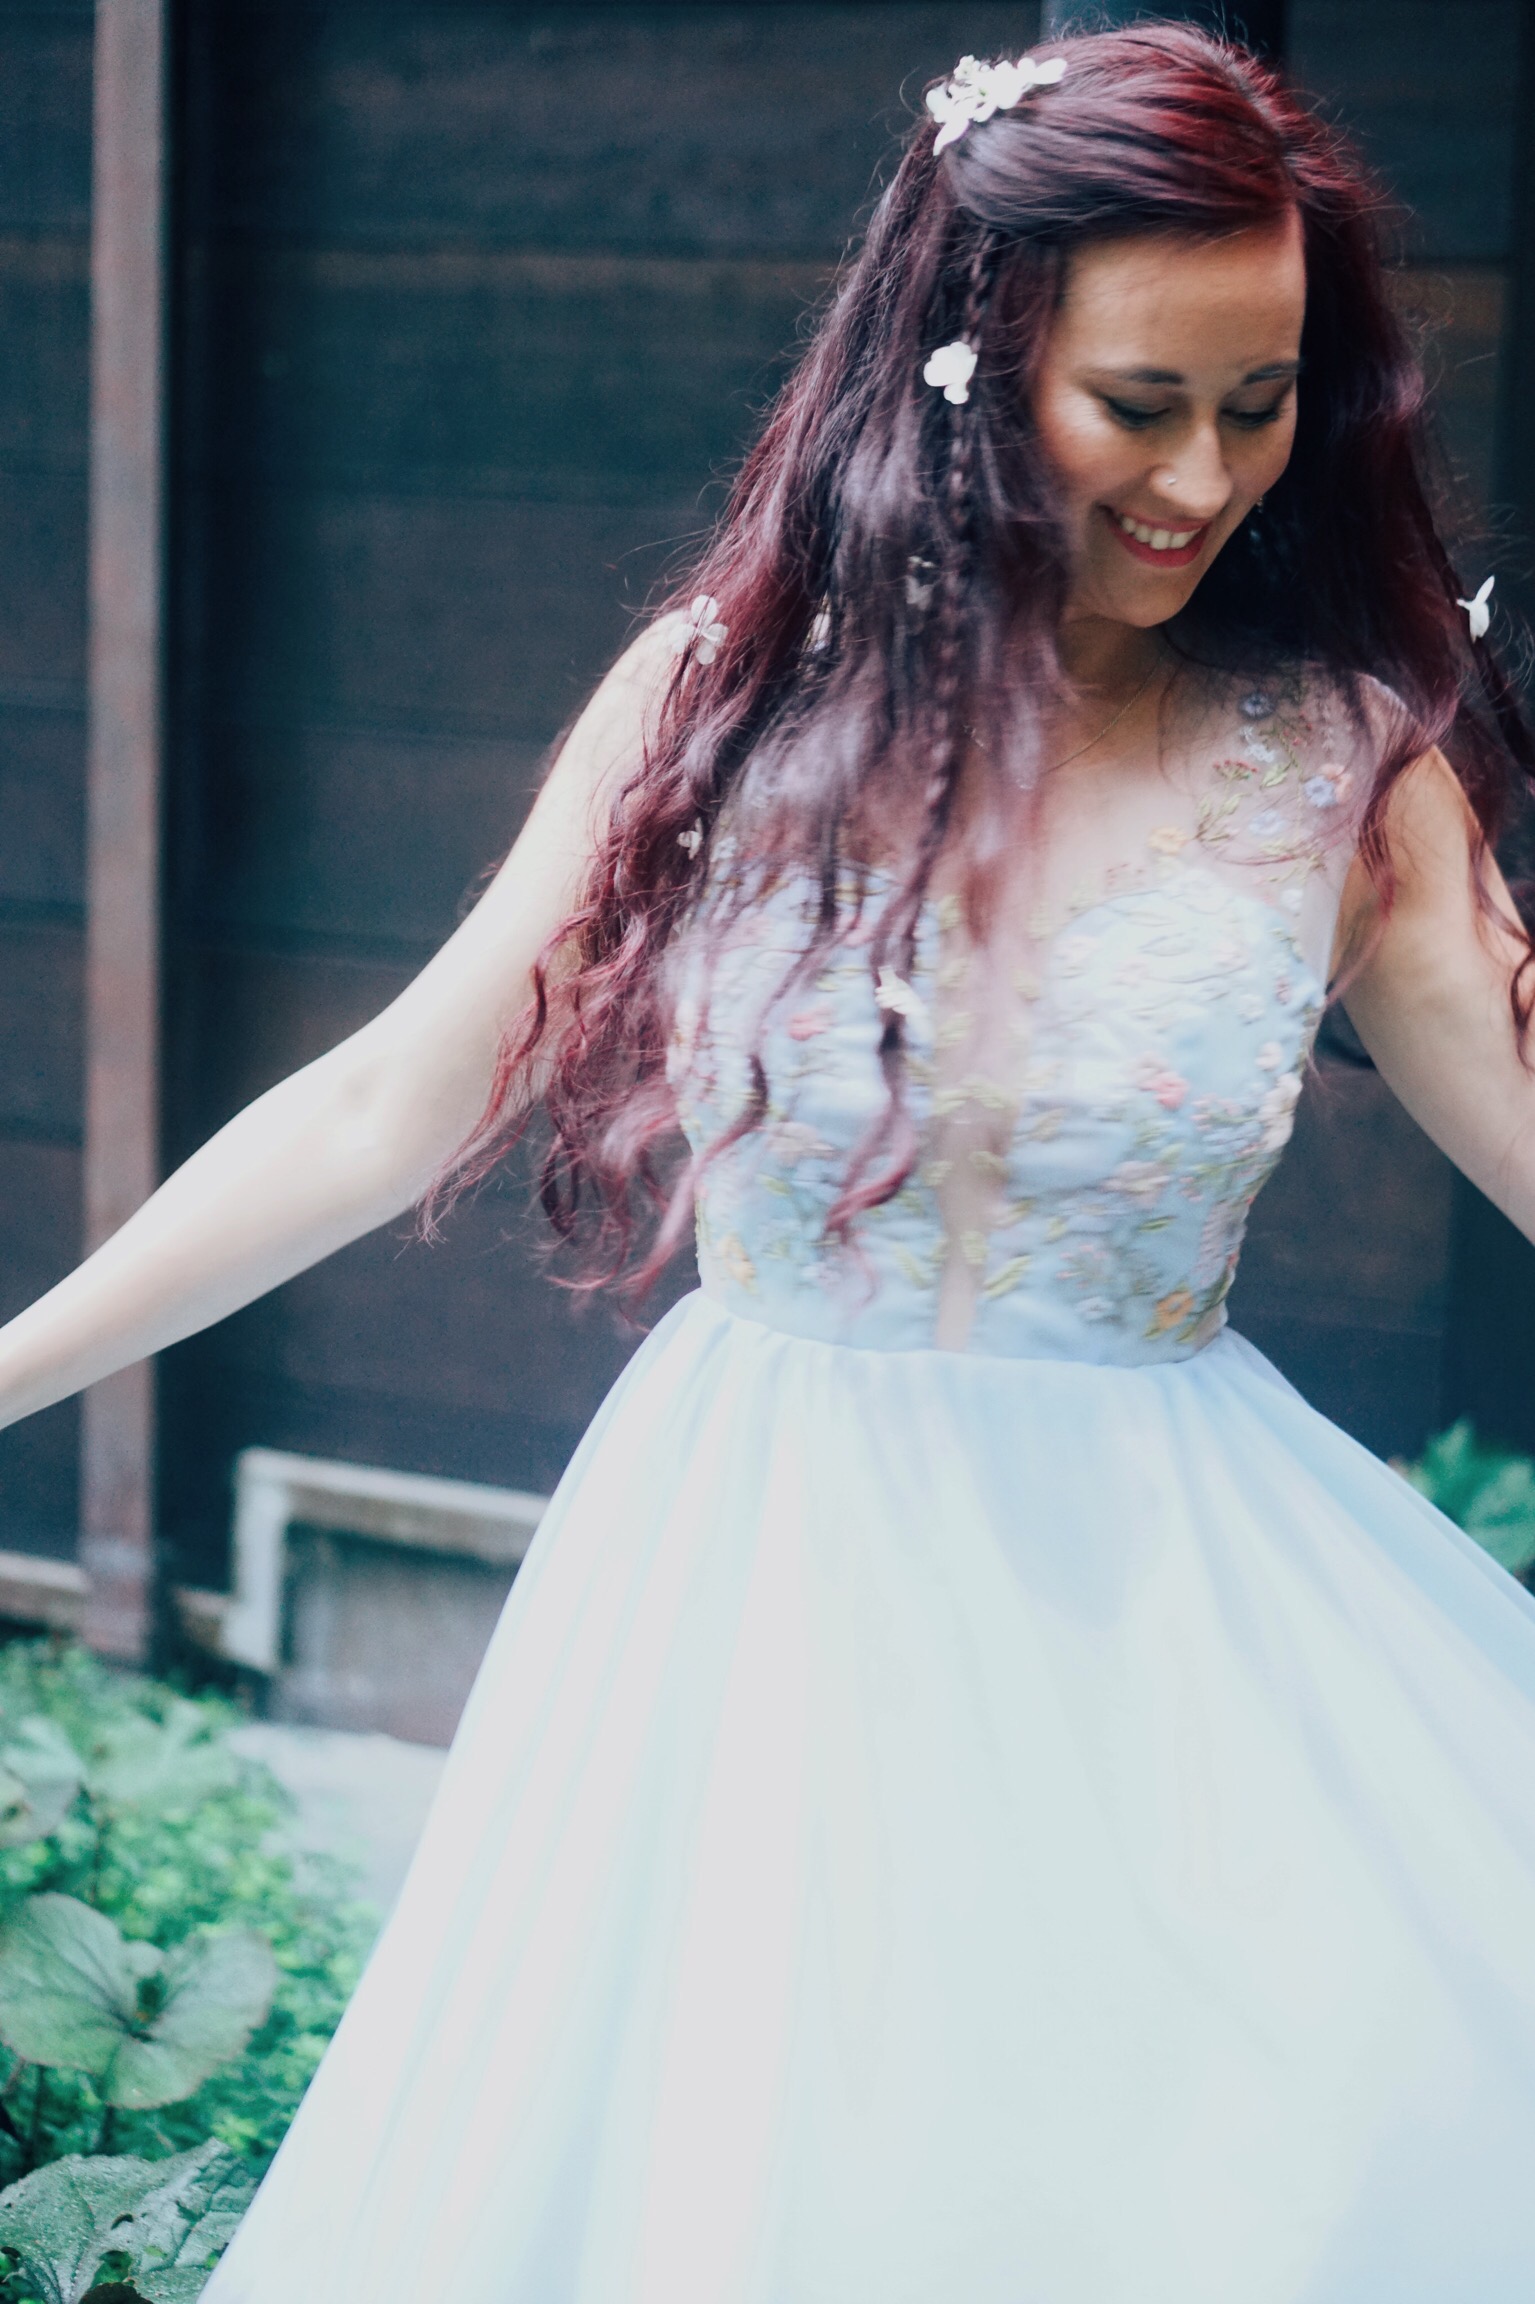
Anyway, I fell in love with this model/cosplayer’s wedding dress and decided to base my dress off of hers, but in a much more informal and less wedding-y way. I originally wanted it in a blush/ballet pink, but I had all this leftover Cinderella fabric so I decided to be a responsible person and just go with that.

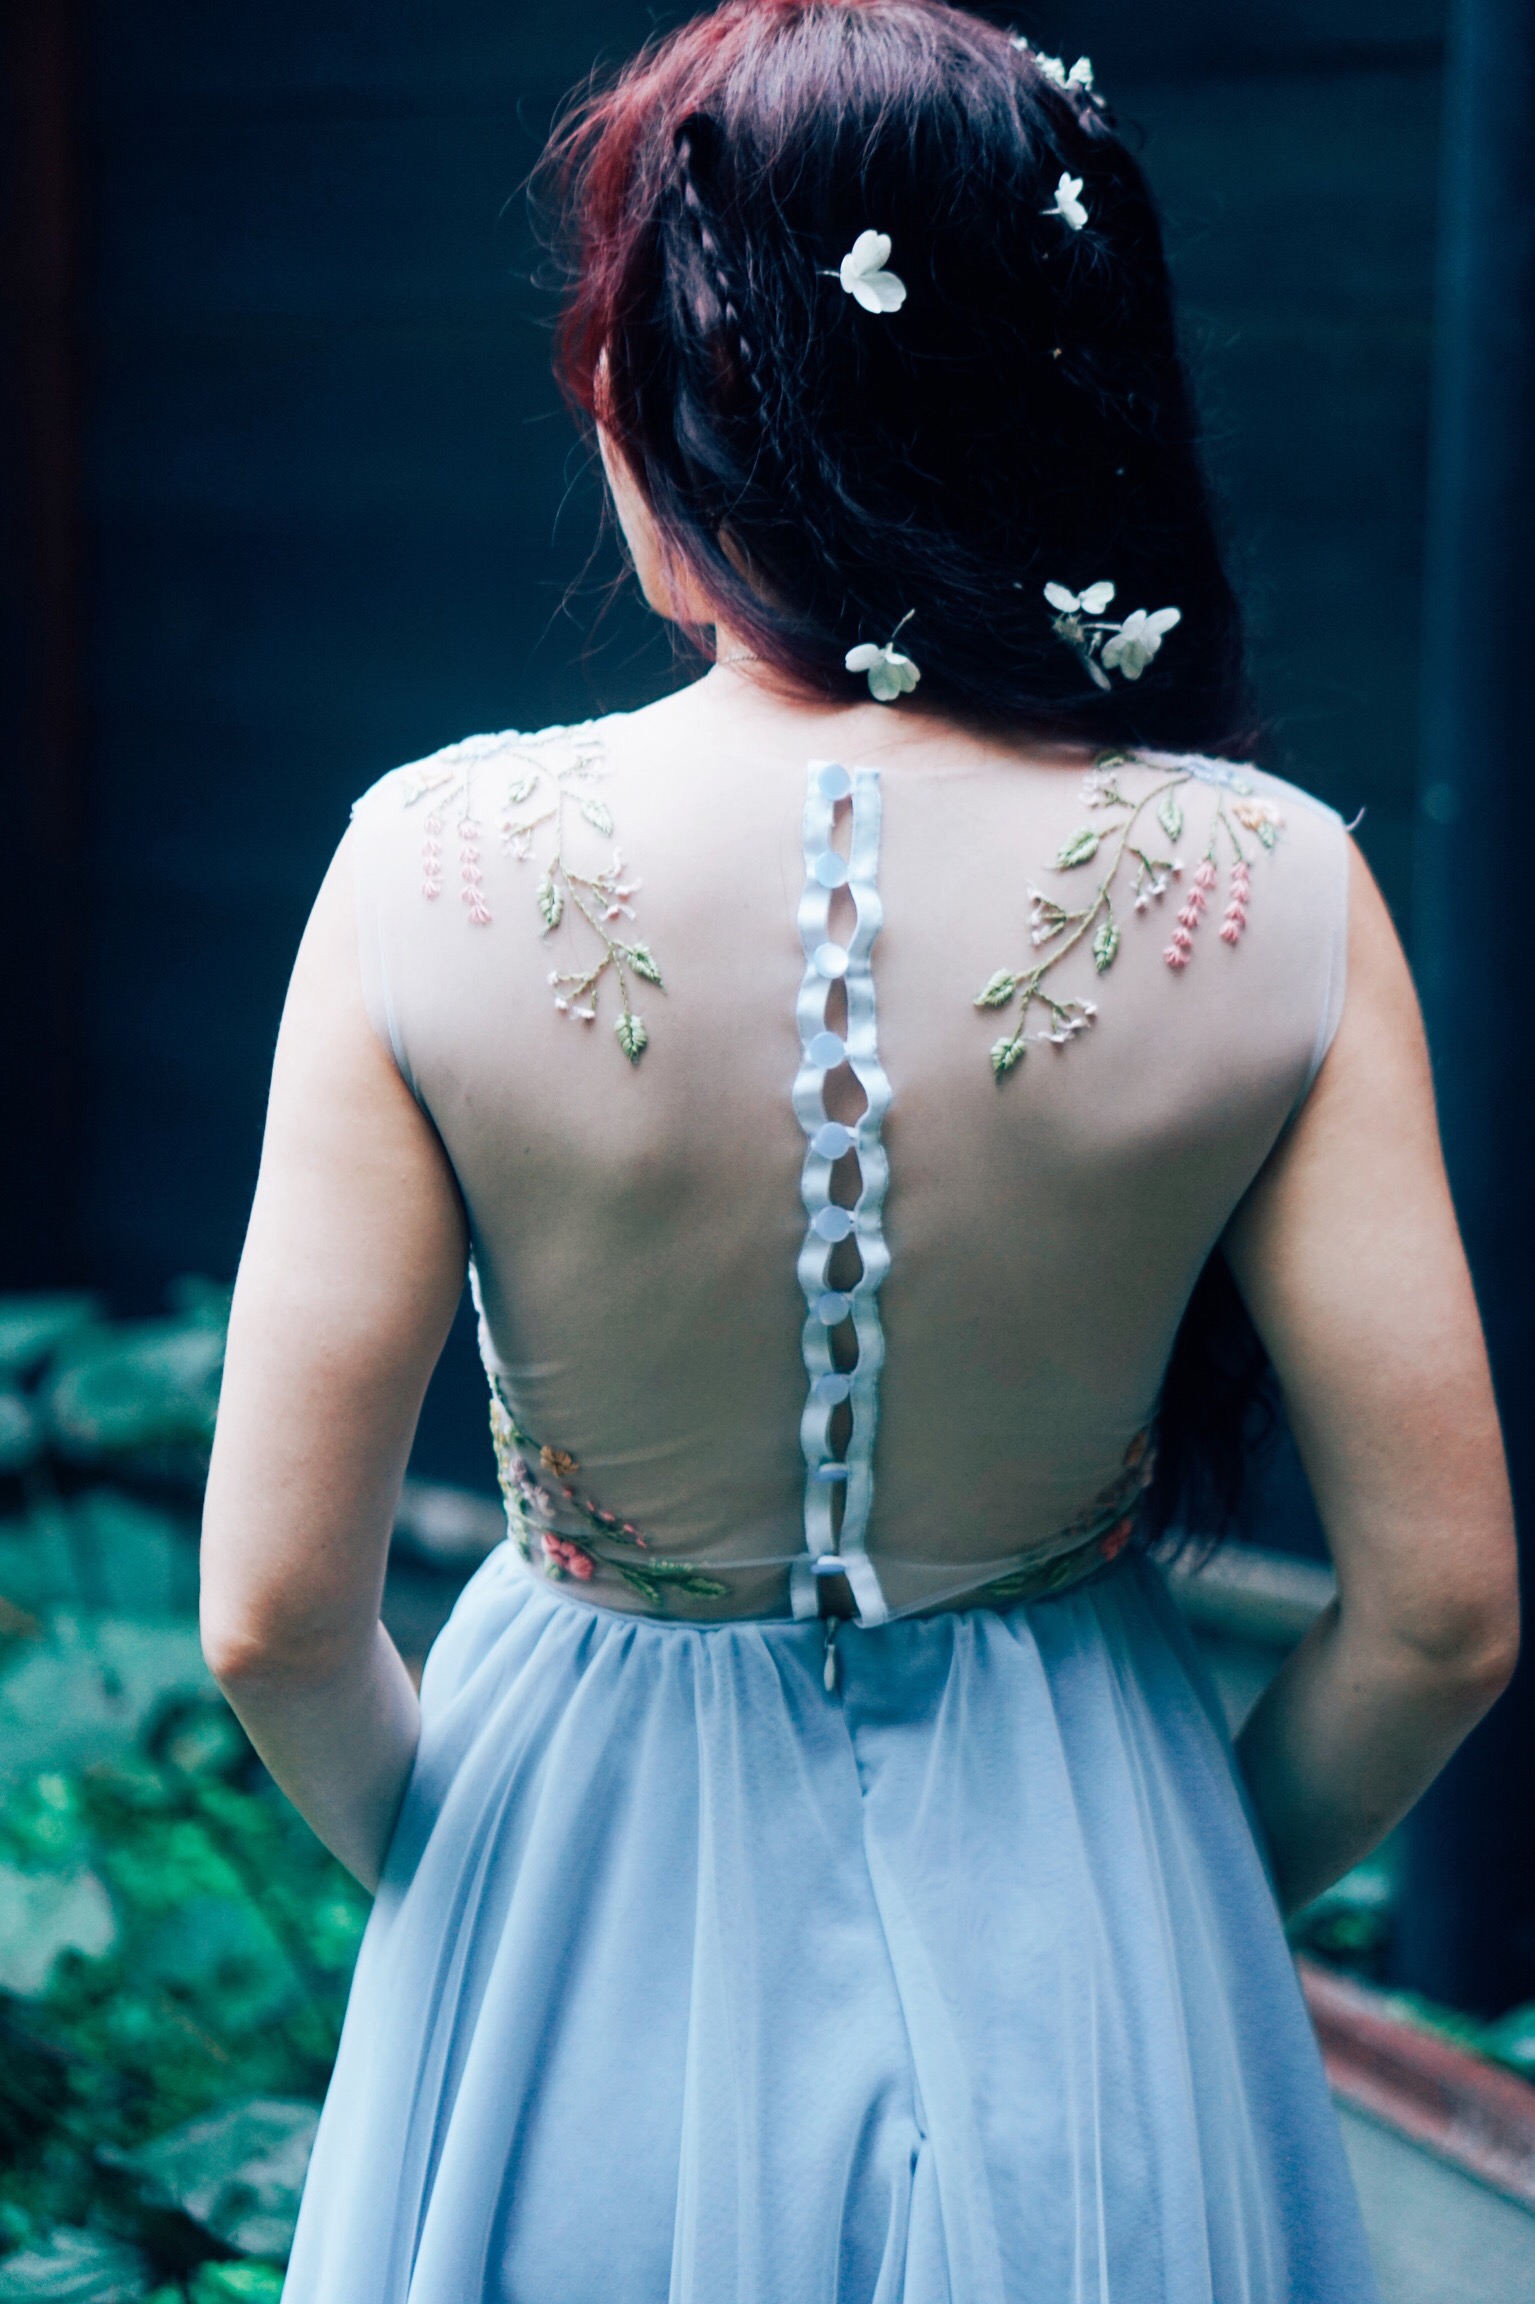
I started off with sewing the bodice. I bought some mesh and coordinating lining fabric from Joanns for the bodice. Basically I drafted a bodice piece and sewed that in the mesh, and then I made elongated “cups” out of the lining fabric sandwiching some lingerie cut and sew foam, and then handstitched the cups to the inside of the mesh.

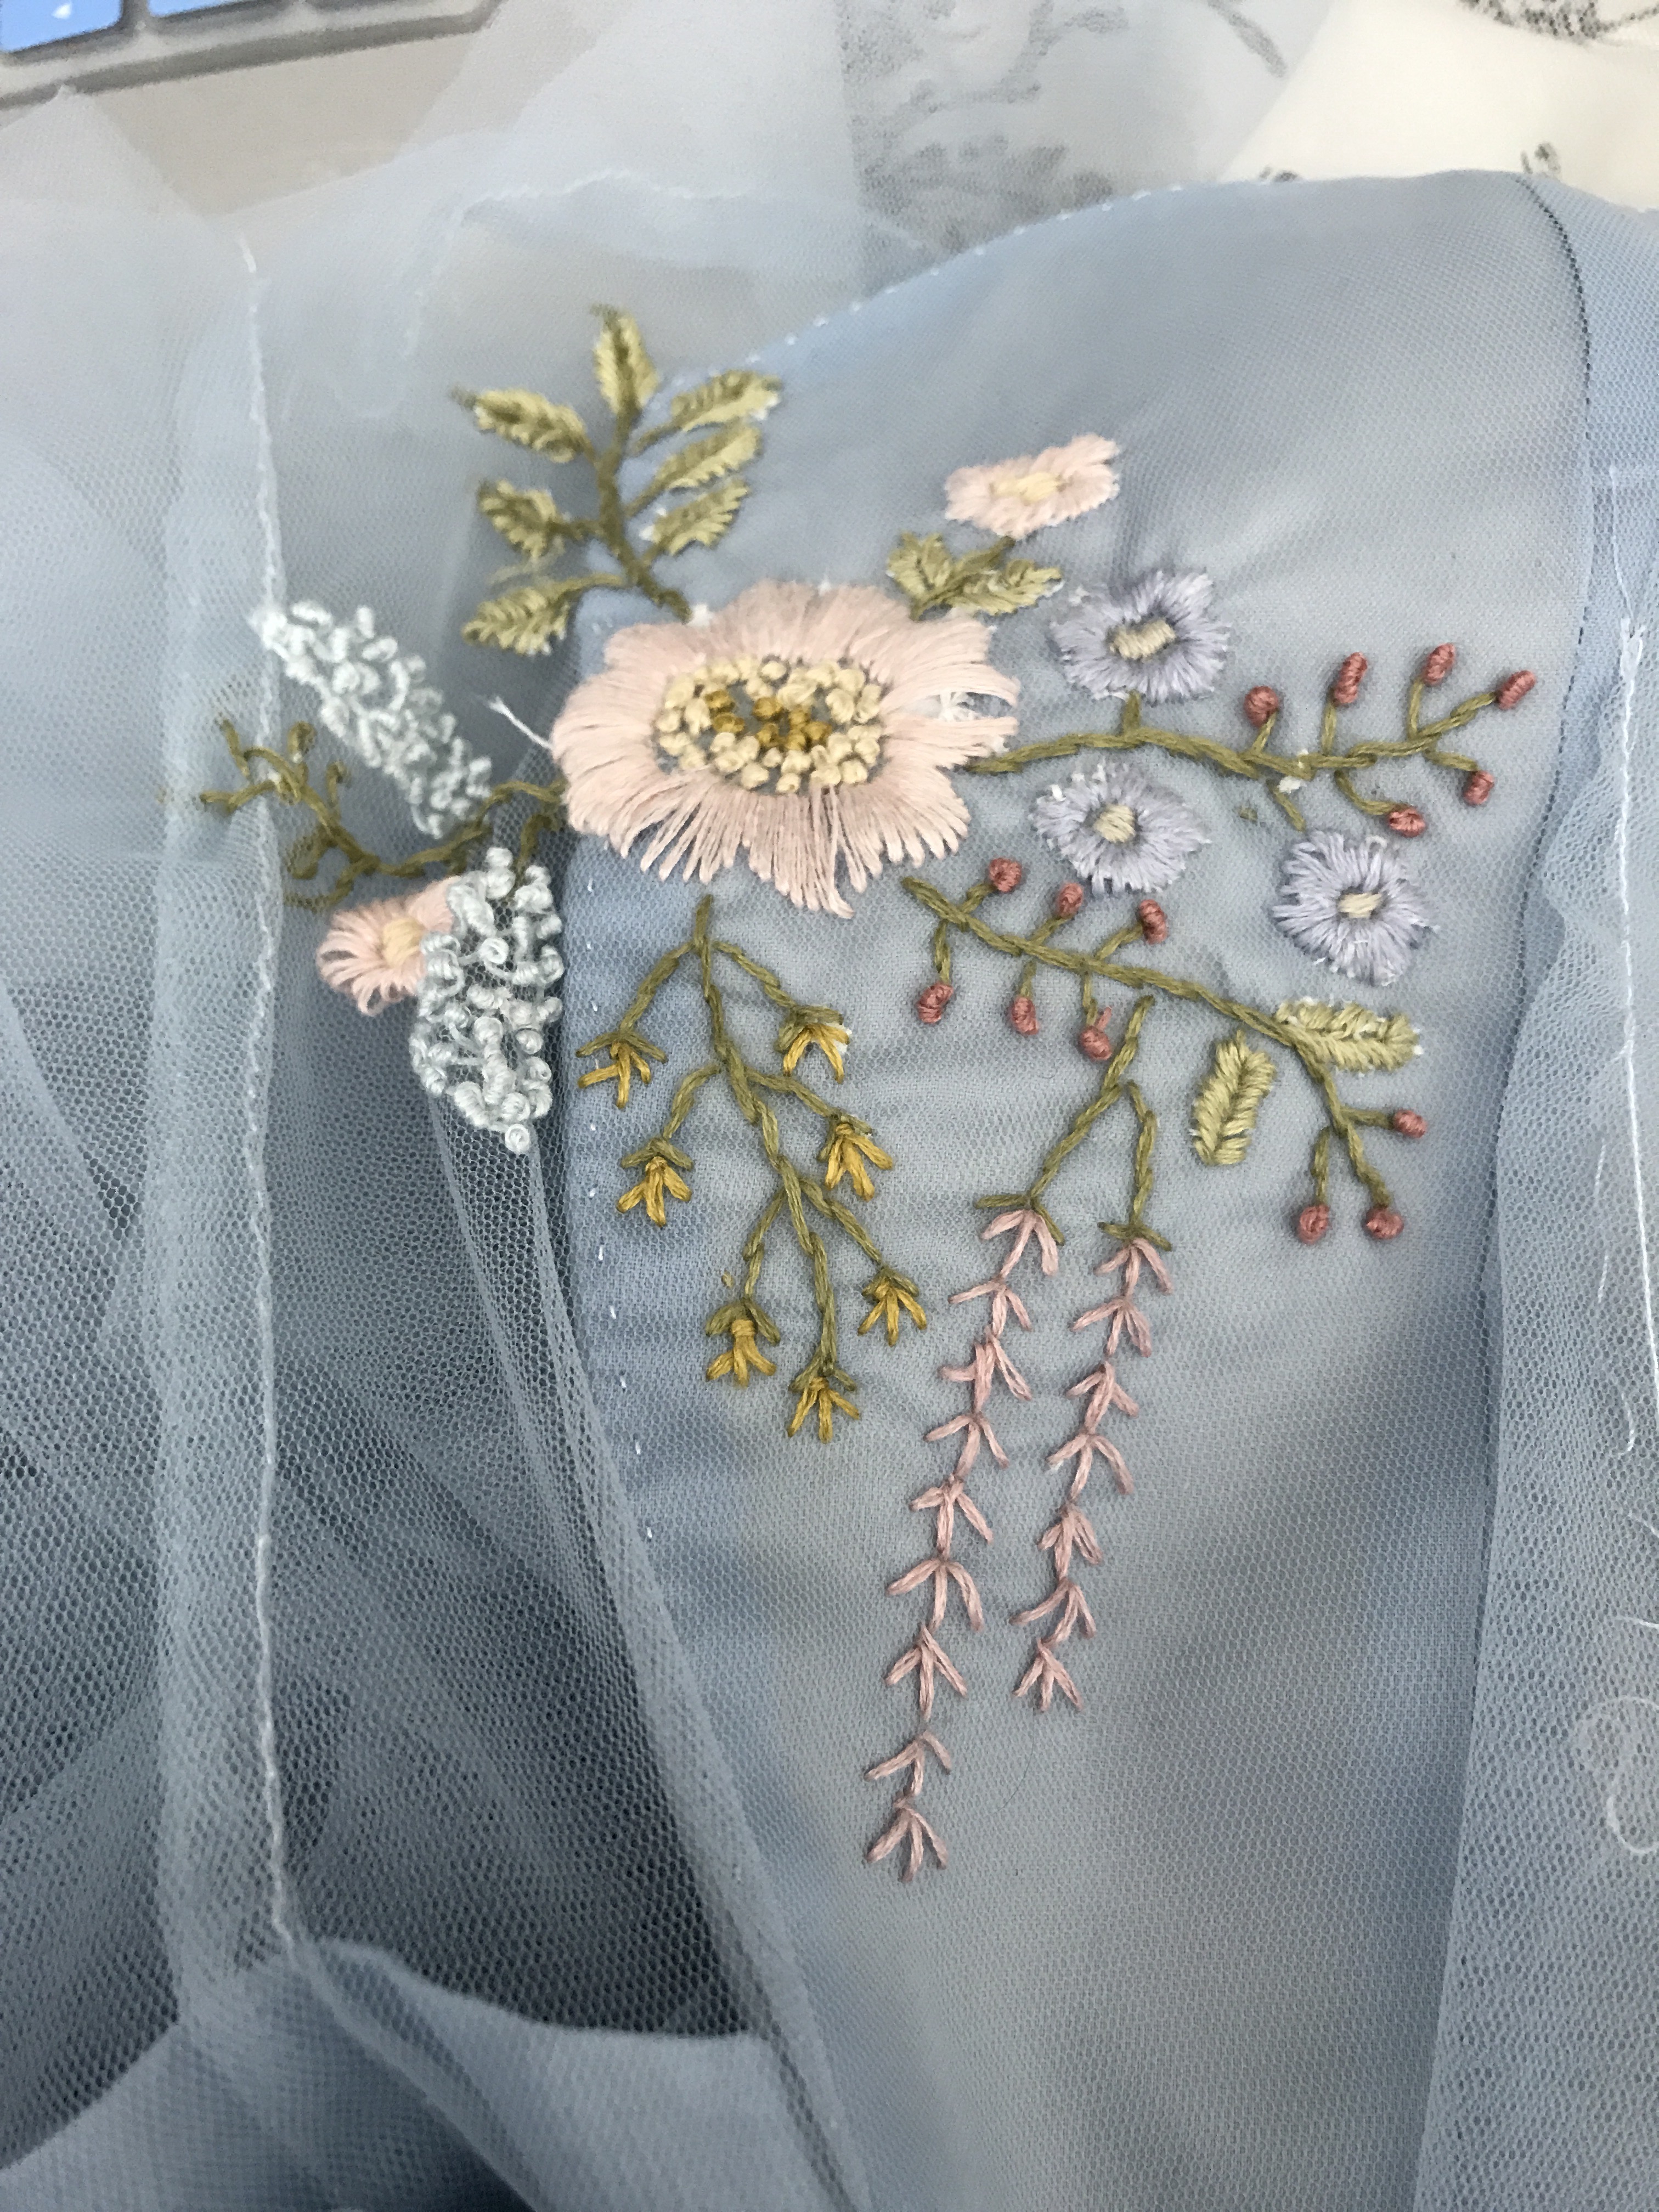
Then I started embroidering the crap out of this thing. I followed the general style of the inspiration wedding dress but used different styles of flowers and in different colors. I wanted it to be whimsical and forest-y and fun more than elegant. I pretty much just looked on Google and Pinterest for floral embroidery photos for ideas. Here’s the one I used for the bust area (in the photo above).

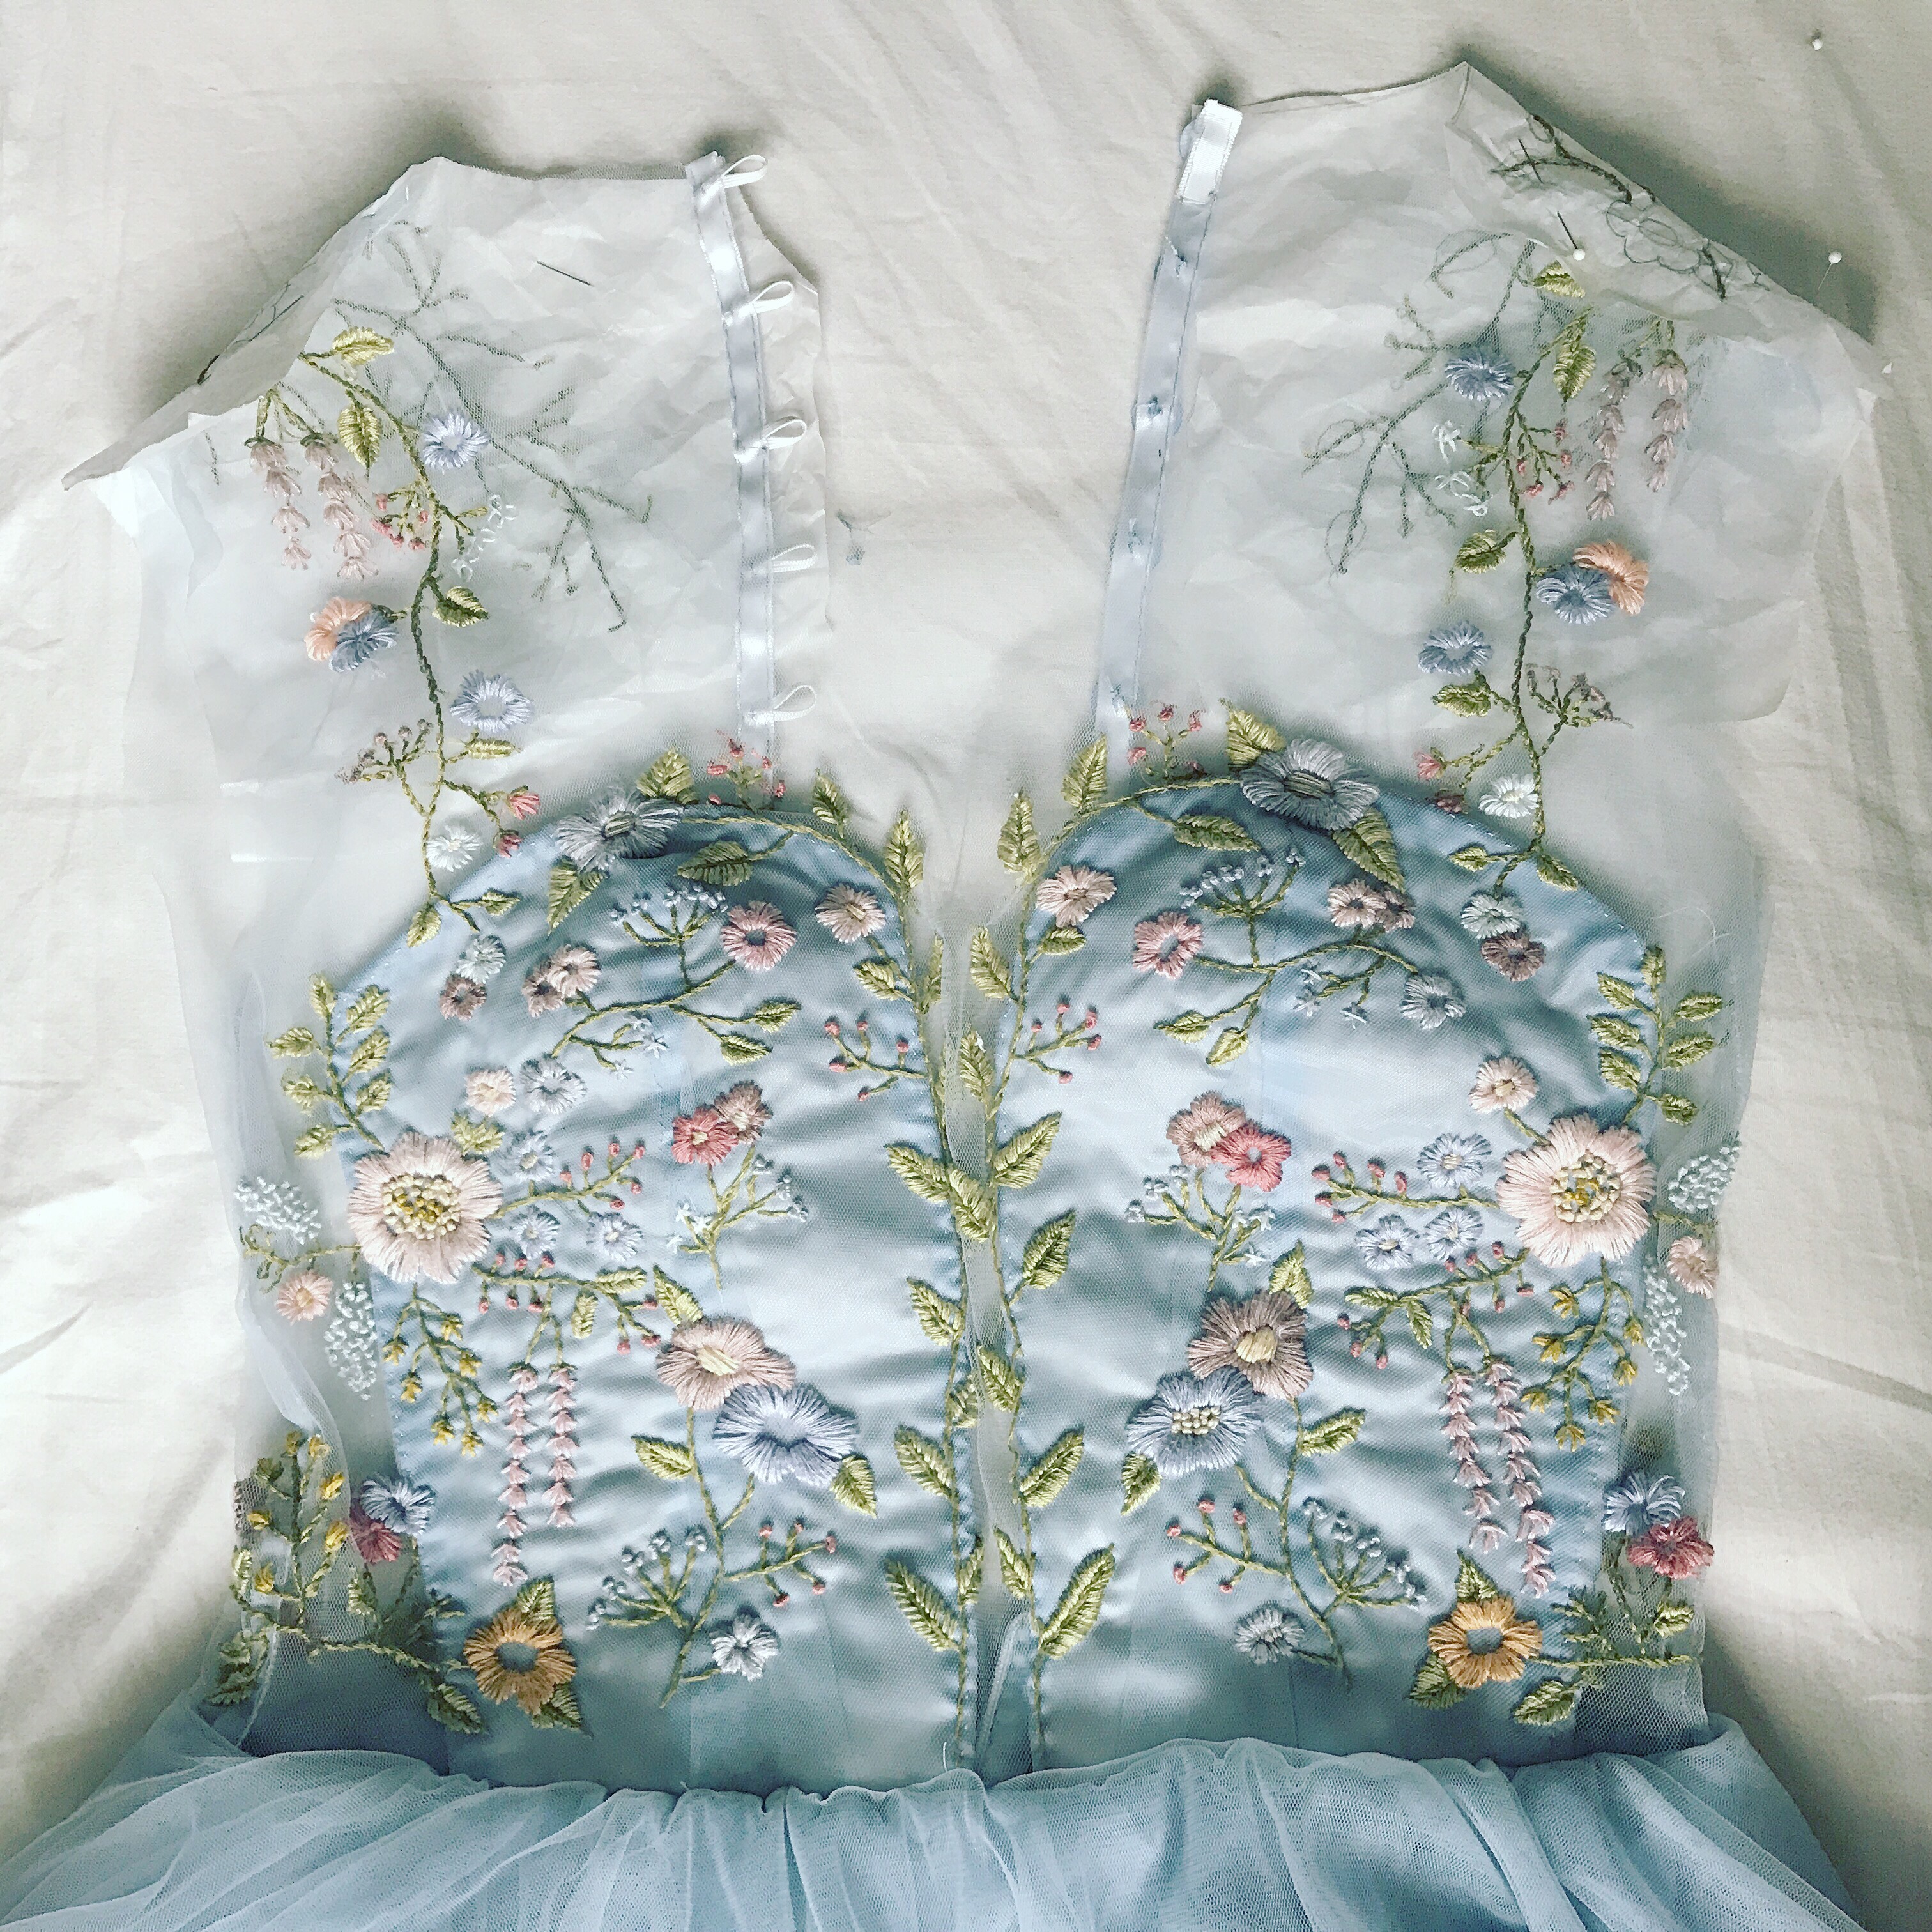
Once it was done, I made 6 above-the-knee circle skirts — 3 mesh, 3 chiffon — and sewed those to a waistband, which helped support the cups and hold everything together. The waistband then got folded under so you don’t actually see it from the outside.

Now excuse me while I try to resist starting to plan next year’s costume, which will consist of beads, twill tape, and sheer fabrics.

For the record, my friend doesn’t sew and draped her entire dress herself!!

(Thanks for the photos Keith!)

mystery fabric contest 2017

Mystery Fabric Contest dress 2017

Mystery Fabric Contest dress 2017

Mystery Fabric Contest dress 2017

Mystery Fabric Contest dress 2017

Mystery Fabric Contest dress 2017

Mystery Fabric Contest dress 2017

Mystery Fabric Contest dress 2017

Mystery Fabric Contest dress 2017

Mystery Fabric Contest dress 2017

Mystery Fabric Contest dress 2017

Mystery Fabric Contest dress 2017

Mystery Fabric Contest dress 2017

Mystery Fabric Contest dress 2017

I’ve been a little absent from the interwebs the past several weeks and here is the reason why.

My school does a mystery fabric contest every year (here’s last year’s entry).  The rules are pretty simple. You pick a random bundle of fabric that’s all wrapped up and labeled with only a color. You have to use at least 50% of each piece of fabric in the bundle, and this year there was the added “Red Carpet” theme.

I decided to make thing really really easy on myself. *snerk* Actually what happened was my brain decided to fixate on one idea and wouldn’t budge, and I ended up making approximately 200 yards of bias tape. (Nope, that’s not striped fabric.) And then it just had to be reversible.

In the interest of not including 100 photos in one post, I’ll save all the how-to’s and befores and afters and progress photos for the next post.

Adventures in drafting – overalls

Overalls

Overalls

Overalls

Overalls

Overalls

Overalls

Overalls

I was sooo sad when my pants drafting class ended. Huge sad face.

The class was taught by Lynda Maynard (who also taught the Copying RTW class I took over the summer) and it was so much fun and I feel like a master of crotch fit now. That sounds dirty. But then again, so did most of the class. We used Suzy Furrer’s book* and drafted from our own measurements, and then it was just making muslins to tweak the fit. The rest of the class consisted of taking turns putting on our muslins and standing on a table while the entire class investigated our lower halves and volunteers pinned out corrections. Super hilarious and super fun. I used my draft to make a pair of skinny jeans (more on these later) and then just because I thought it was hilarious that she included it in the book, I also drafted the overalls as my final project for the class.

*It’s weirdly super expensive on Amazon so I would check elsewhere first. I snagged my copy from my school bookstore for like $60. (EDIT — A reader helpfully suggested this link, where you can get it for $65 plus shipping. Thanks Anastacia!)

These overalls are SOCOMFY. I started off following Suzy Furrer’s drafting instructions but like most drafting books I’ve worked with, there are no construction details so I got really confused about the button facings and why there needed to be front and back ones of the same shape. I ended up kind of deviating completely from the book and basically just drafted a copy of these Madewell overalls.  I tried something new with the pockets and basically added a muslin lining and then attached them as patch pockets. I also used two strands of gray thread instead of topstitching thread (someone in my class did that and it looked really cool).

I actually really love them in a lighter wash so I’m thinking I might need to make them someday when these wear out because I’m not sure I needed a pair of overalls, much less two pairs. The fit is mostly spot on, I think they’re just a bit baggier than the leggings/tights/skinny jeans I’m used to wearing. I do think the bib is a bit long and I had wanted to add a front pocket but didn’t get around to it before class started. Whoops.

**If you live in the San Francisco Bay Area and want to learn the ins and outs of fitting your crotchal region, Lynda teaches this class every fall at Cañada. (She also used to teach a pants construction class here that I’ve been unsuccessfully campaigning for them to bring back.)


Adventures in drafting // christmas dress 2016

velvet xmas dress

velvet xmas dress

velvet xmas dress

velvet xmas dress

OHAI. It’s been a while.

I realized the other day that while I’ve alluded to certain things, I haven’t actually talked about anything life-related in a while. So here’s a life update in a  nutshell:

Last year I decided that my old career was not exactly panning out to be what I wanted (a lot of this had to do with licensing regulations in California, but that’s boring and not sewing-related).  At the same time, I had signed up for a flat pattern class at the local CC just to have something to do while I looked for a new job after moving from Boston back to California. Pretty much by week 3 of the class I decided I was going to need to switch careers.  The next semester I signed up for a full class load. Now I’m finishing up my last semester (well, technically I’ll have one last class next semester) while interning as a pattern maker for a local designer.

So, lots of changes going on in the last year! Spoiler alert: I love it.

Anyway, full time school + internship + part time job means not so much time for blogging, which I really miss. I have a whole pile of clothes I’ve sewn in the last six months that need to be photographed. I keep being hesitant to do it because it’s too cold outside. And then I remember I used to do this in Boston, in the snow, in 30 degree weather. I’m shivering just thinking about it. -_-

ANYWAY, now that we’re all caught up, meet this year’s Christmas dress.

The backstory is that my friend kept buying these gorgeous velvet dresses from Anthropologie, and then we planned a weekend holiday trip and decided one evening we would wear velvet dresses. So I got on Pinterest and looked for velvet dresses and found this lovely one by Holly Willoughby.

Making the pattern was pretty straightforward. Move bust darts to waist and turn them into gathers, neckline yoke thing, V-front cutout that meets in the middle, puffed sleeve with gathers that don’t go all the way to the armhole. Since I was using velvet and didn’t want to bother with a separate lining, I made facings for the front and yoke to make it easier.

I used a cheapy stretch velvet from Fabrics ‘r Us because this was kind of an experiment. We’ll call it a Christmas muslin. It actually wasn’t that hard to sew together. I basted the tricky bits but other than that the pile of the velvet sort of acted like velcro and it mostly stayed put. I used stitch witchery for the hem and sleeve edge to avoid having a row of stitching. It stays put and I just think it looks nicer.

The beading was super fun and so quick now that I have a beading needle. I didn’t even bother buying new beads. I’ve done so many beading projects in the last few years that I have an assortment of extra beads and the original dress didn’t seem to have any distinct beading pattern so I just used what I had.

Anyway, I do kind of wish the insides were a little prettier (I was kind of rushed because this was one of two finals week procrastination projects) but I’m in love. It’s one of the comfiest fancy dresses I own and I’ve already worn it twice. The velvet makes it look dressy but the stretchy means more room for feasting.

Maybe I need one in green too..


Accidental Sashiko

Sashiko dress

Sashiko dress

Sashiko dress

Sashiko dress

Sashiko dress

There’s a funny story behind this dress. Several months ago I got one of those “Here are all the things your stash needs!” emails from Fabric.com and one of the fabrics pictured caught my eye. I forget the designer (I want to say Robert Kaufman but I might be lying) but it was this beautiful chambray with lines of thread running through it. I immediately thought of fun, simple, rustic-looking summer dresses. Except they were sold out of it in like five minutes because holy crap it was beautiful. The idea of those summer dresses stuck in my head though, so after I took Copying RTW and made the flower-picking dress pattern, I decided maybe I should make my own stitched fabric. By hand.

Meanwhile, I had also come across Japanese-style mending on Pinterest, which if you aren’t familiar with, you should check out immediately because it makes me want to “mend” all of my clothes, regardless of state of wear and tear.

Anyway, those two ideas squashed together and I grabbed some cotton crochet thread and the needle with the fattest eye I could find and started stitching away at the two yards of gorgeous cotton chambray I picked up at Stone Mountain and Daughter.

It took.. forever. At least two seasons of Arrow. (salmon ladder ftw)

When I was about 86% done, I showed it to a friend, who said “Oh! Are you doing sashiko?” My response was “No, I’m just stitching.” When I was about 92% done, I showed a photo of it to another friend, who said “I can’t believe you’re sashiko-ing your own fabric!” It was around then that I figured I should probably look up what sashiko was. Whoops. And then around 95% completion, a third friend recommended a sashiko needle, which I didn’t even know existed. And lastly, when I showed up in my pants drafting class (taught by Lynda Maynard, who had also taught the Copying RTW class), Lynda started telling me all about her sashiko machine.

Anyway, the moral of the story is that this took forever and I need to look into different needle types because I also didn’t know that beading needles exists. But that’s a whole other embarrassing story.