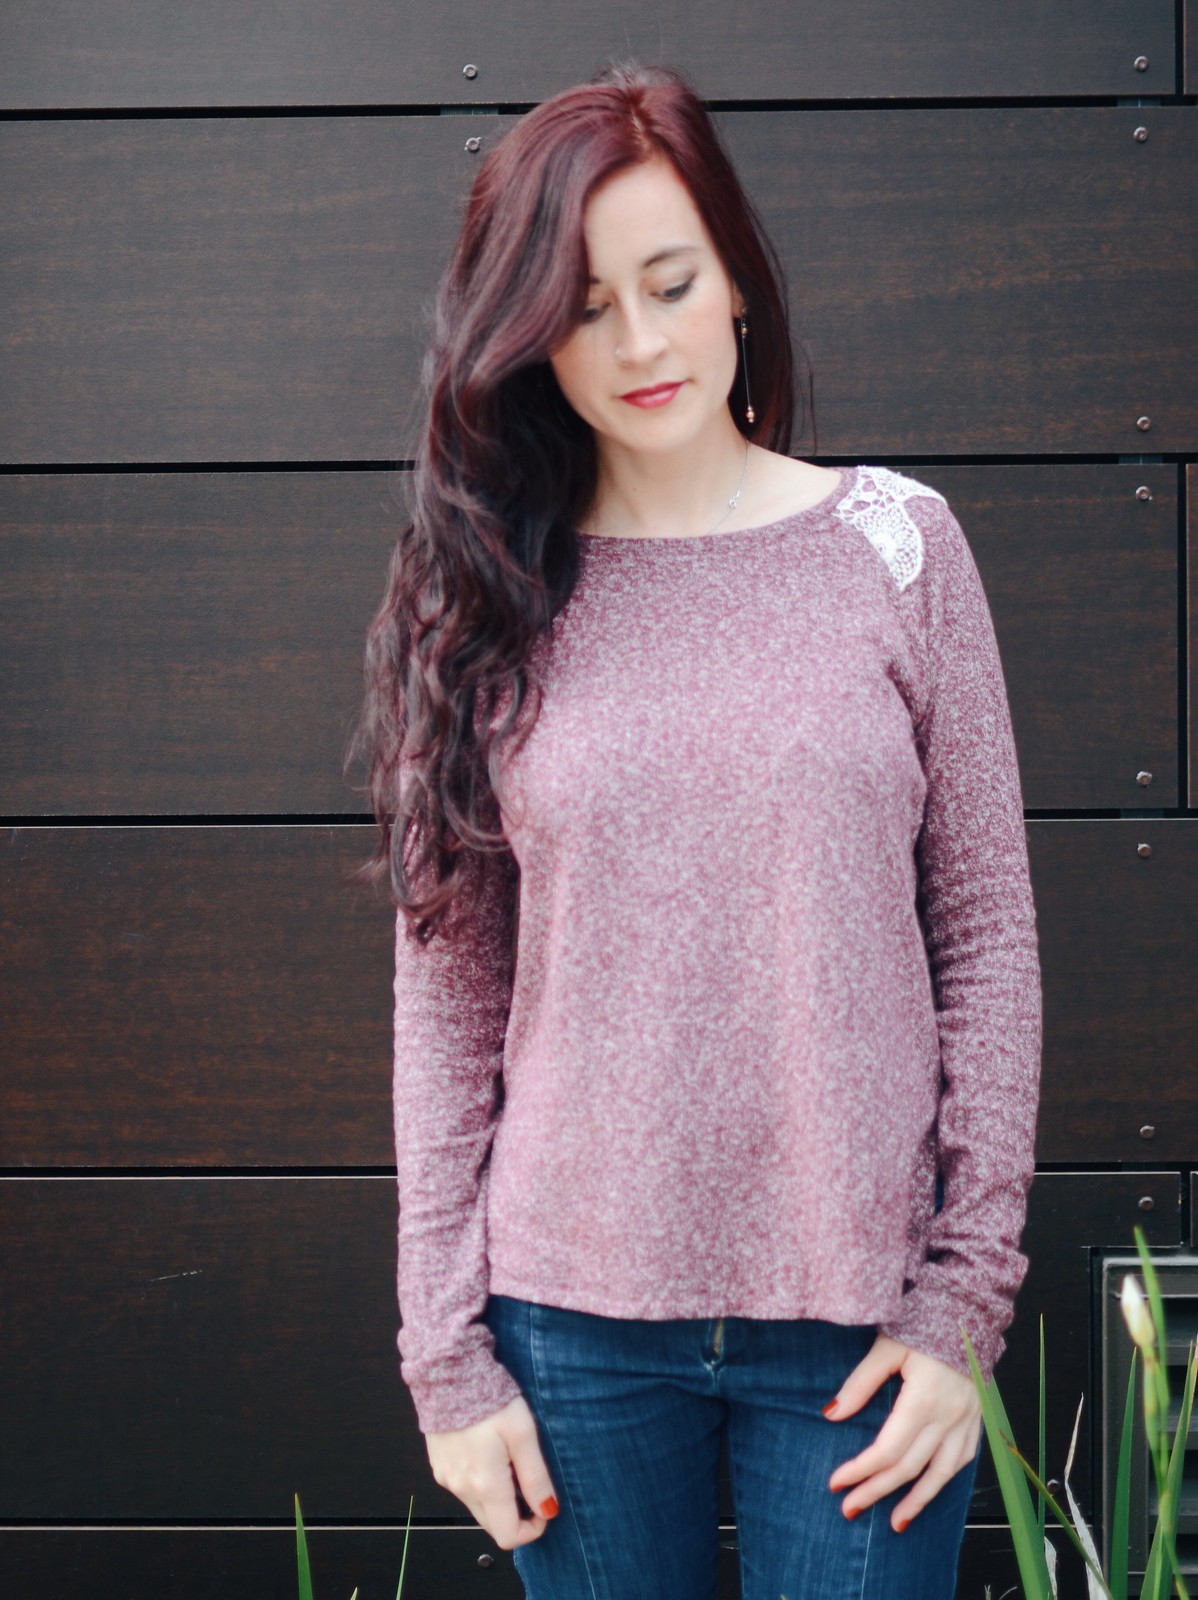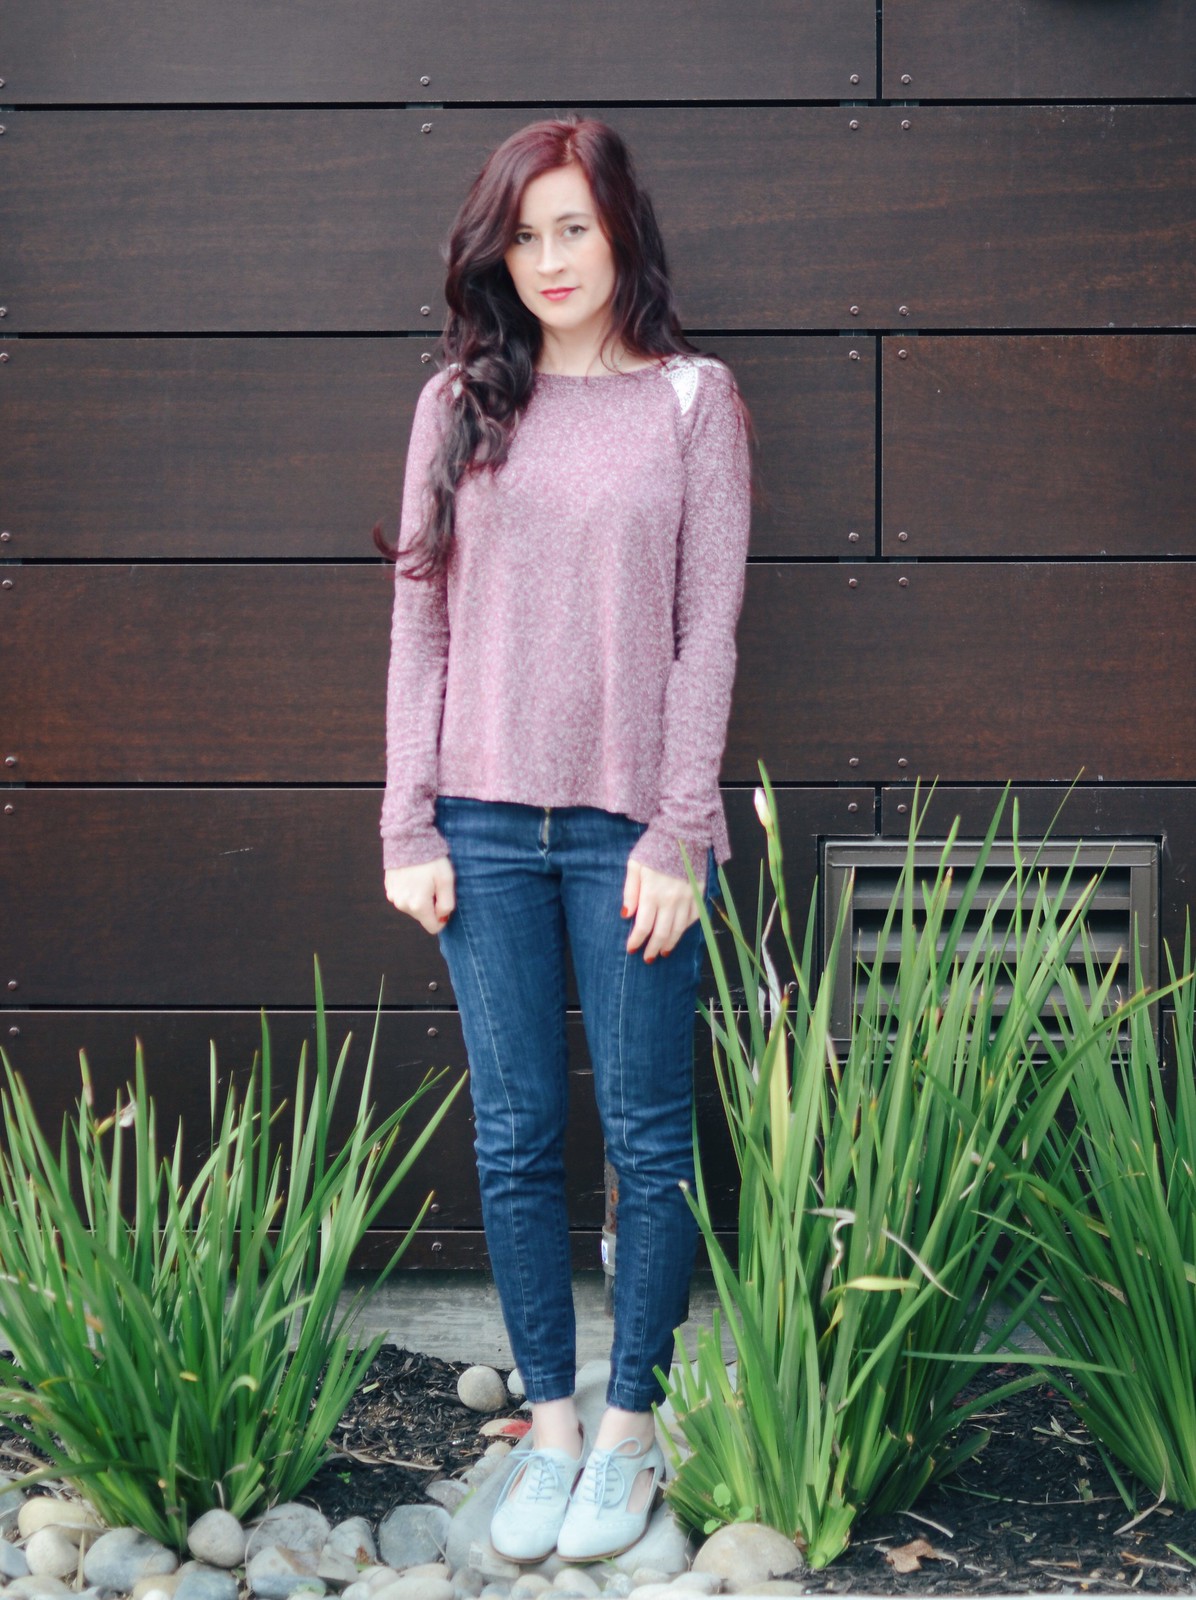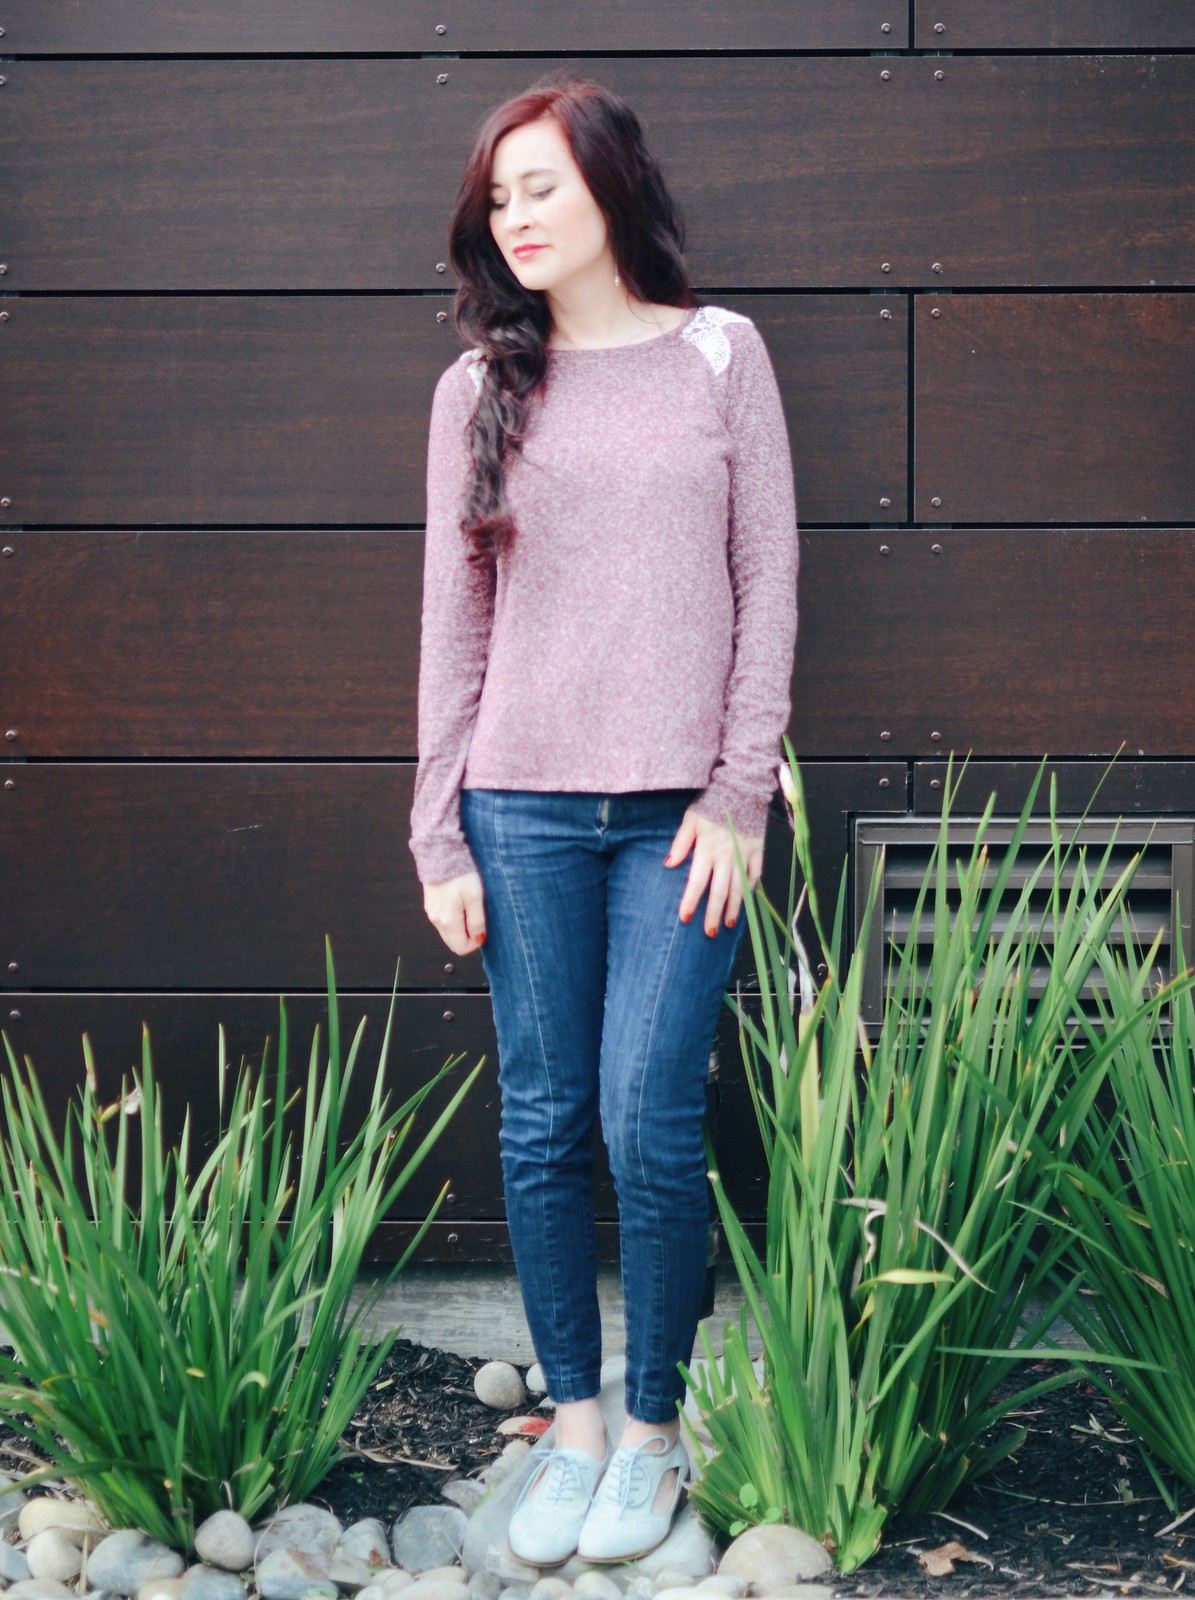
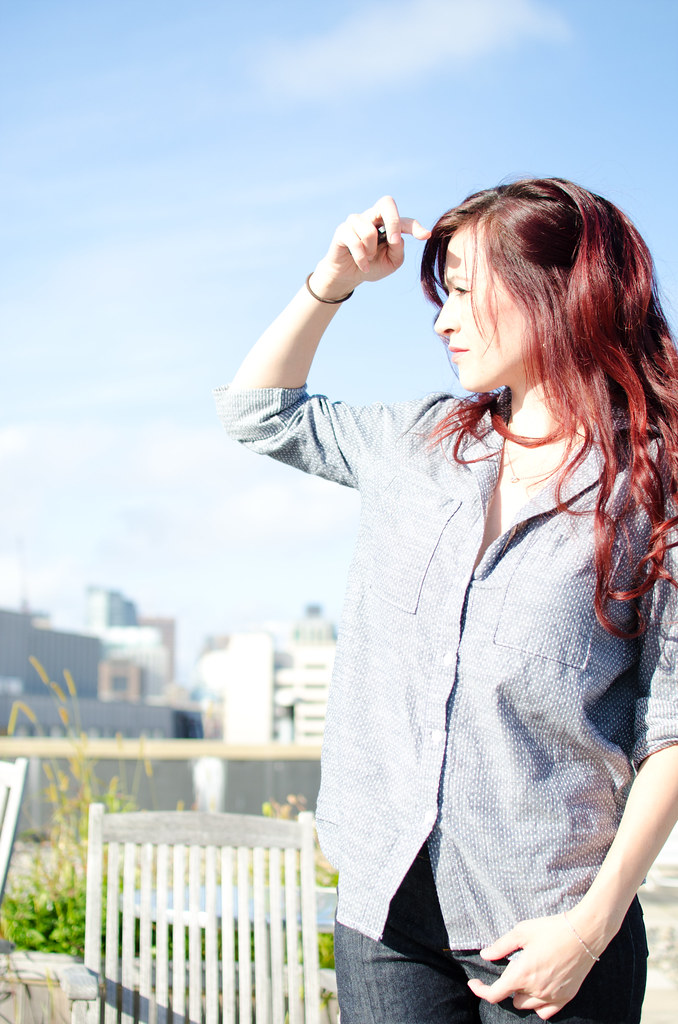
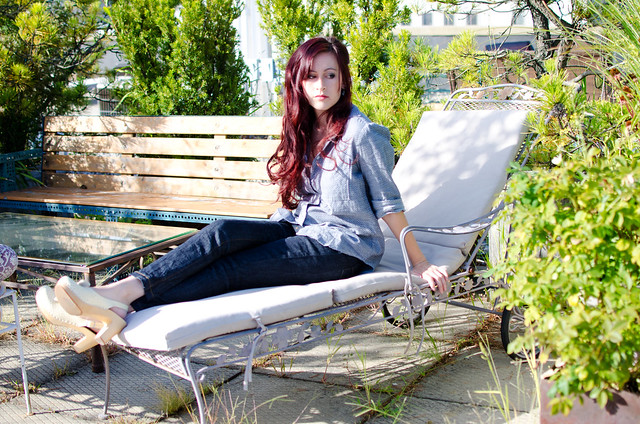
 top: self-made, pattern here // jeans: self-made, pattern here // shoes: Swedish Hasbeens
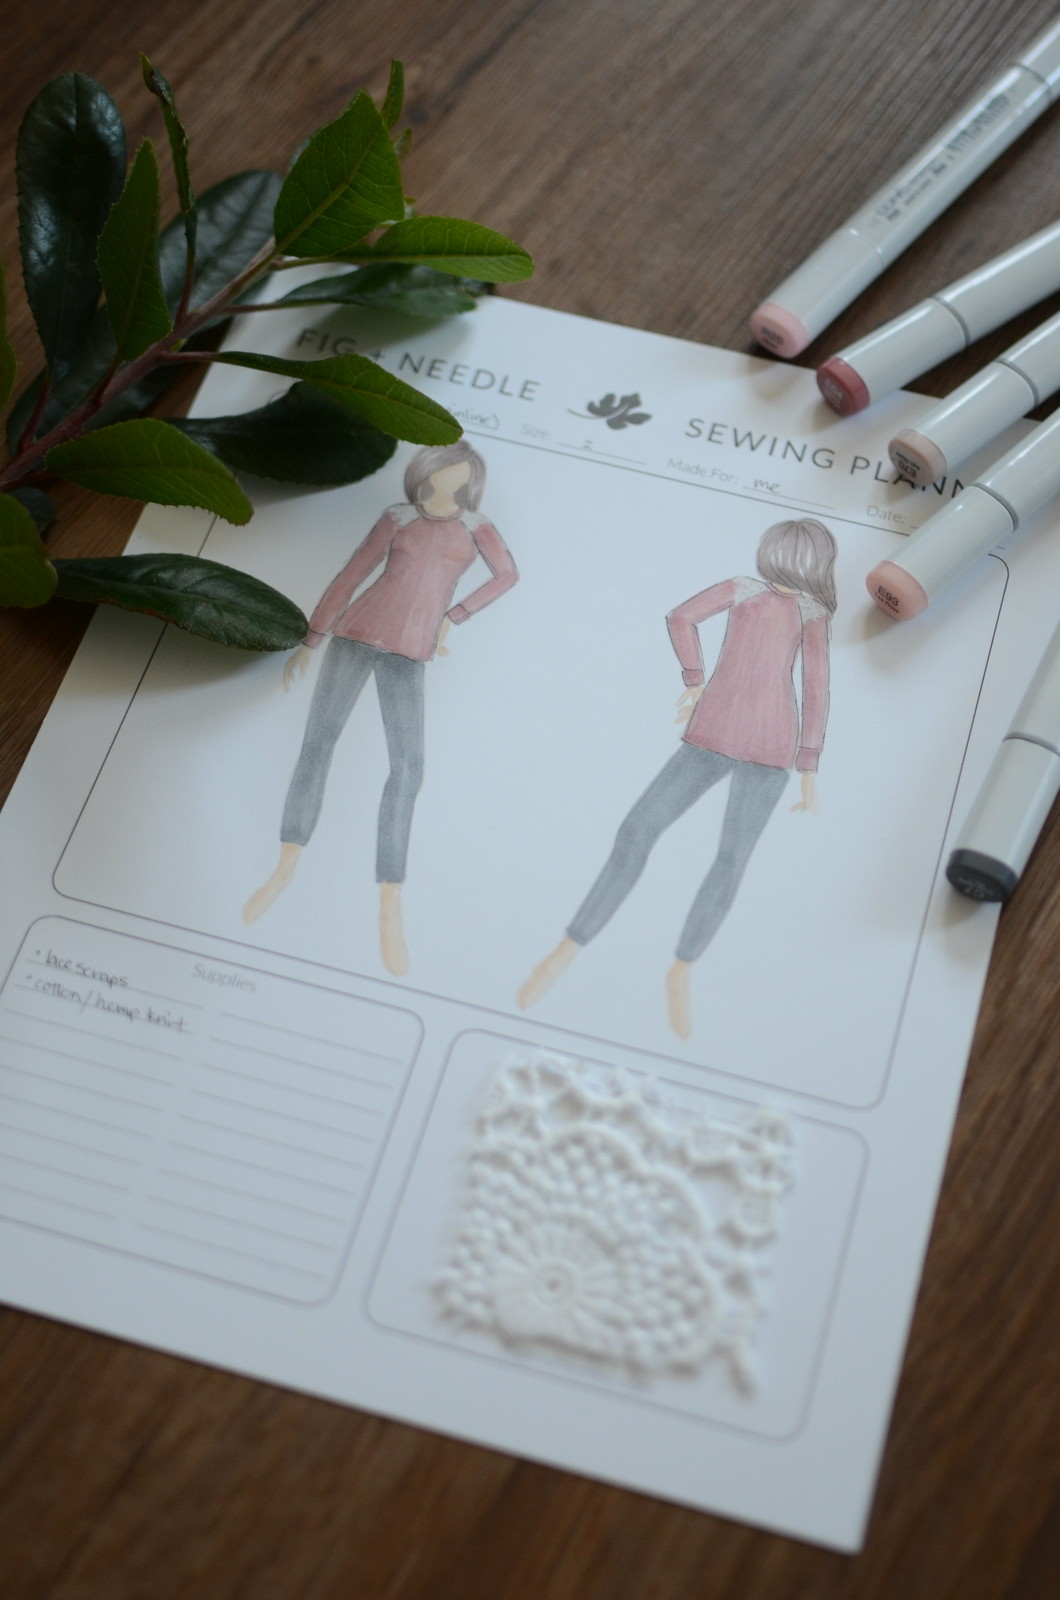
For a while now I’ve wanted to have a mostly handmade wardrobe. I wanted to be able to look down at my outfit and know that I made most of it. A happy percentage for my ego was about 80%. That meant I wore a lot of dresses and leggings because making actual jeans would of course be impossible. People don’t make jeans. Jeans come out of machines ready-made. Fairies are likely involved.
And then I discovered the joys of squats and deadlifts and pretty soon all of my jeans were too small in the butt and upper leg area (including my favorite pair of Paiges, sad!). This briefly prompted an interest in the Barbell Apparel Kickstarter until I remembered that I learned to sew so that I don’t have to pay over $100 for single garments. I spent about two weeks reading every single pattern review of jeans on the internet and decided that the Jamie Jeans pattern would be a good one to start with. My two fears were finding the right fabric and getting the fit to be flattering.
I had no idea where to start fabric-wise. I ended up ordering 5 different denims from fabric.com and then emailing Named Patterns out of sheer desperation. Laura from Named wrote me back with some super helpful advice that I’m posting here (with permission):
“Most of the women’s skinny jeans are made of light weight denim, meaning 12 oz or less, and have approximately 1-4% elastan/lycra. If you want to make the jeans very fitted, I would suggest choosing a 8 – 12 oz denim, with about 2% of elastan. A stretch percentage of 10-15% is just enough, as very stretchy denims that have more than 2% of elastan are not very durable – they will feel nice and comfy at first, but become baggy quite soon, as the elastan fibers will wear off faster than the cotton. Basically, the heavier the denim the more durable it is, and same goes for the stretch, the more stretchy, the more fragile. These are just a couple of things to keep in mind when choosing denim, because jeans are usually something that you will wear almost every day, and if you make the effort of sewing a pair, you will definitely want them to last as long as possible 🙂
An 8 oz denim with 10% stretch sounds all right to me, it could be a little heavier too, perhaps 10 oz for added durability. As I said, I wouldn’t suggest anything with more than 2%. The Jamie jeans have some negative ease though, and they are meant to be fitted, so in any case it’s necessary to have some stretch.”
For my first pair of jeans I used this fabric, which is sadly no longer available. At 12.5oz it’s a little heavier than Laura suggests but it worked out great and made a sturdy pair of jeans that were still stretchy and comfy as skinny jeans. They’re a little too heavy to be summer jeans but in the winter the thickness would be perfect. The Named instructions were decent enough but what I pored over religiously through the whole process was this Flickr tutorial that I found on Scruffy Badger’s Jamie review post.
The problem was that I didn’t like where they sat on my waist. My super long torso meant that they were just a smidge too high to be regular jeans and a smidge too low to be actual high waisted jeans. I ended up cutting off about an inch under the waistband all the way around, except I forgot to take this into consideration with the width of the actual waistband so I ended up with a pair of jeans that fits great all the way up to the waistband, which is constrictingly tight. I think I can salvage them by just cutting a longer waistband but by this time I needed to move away from this project.

This was before I added the button closure.

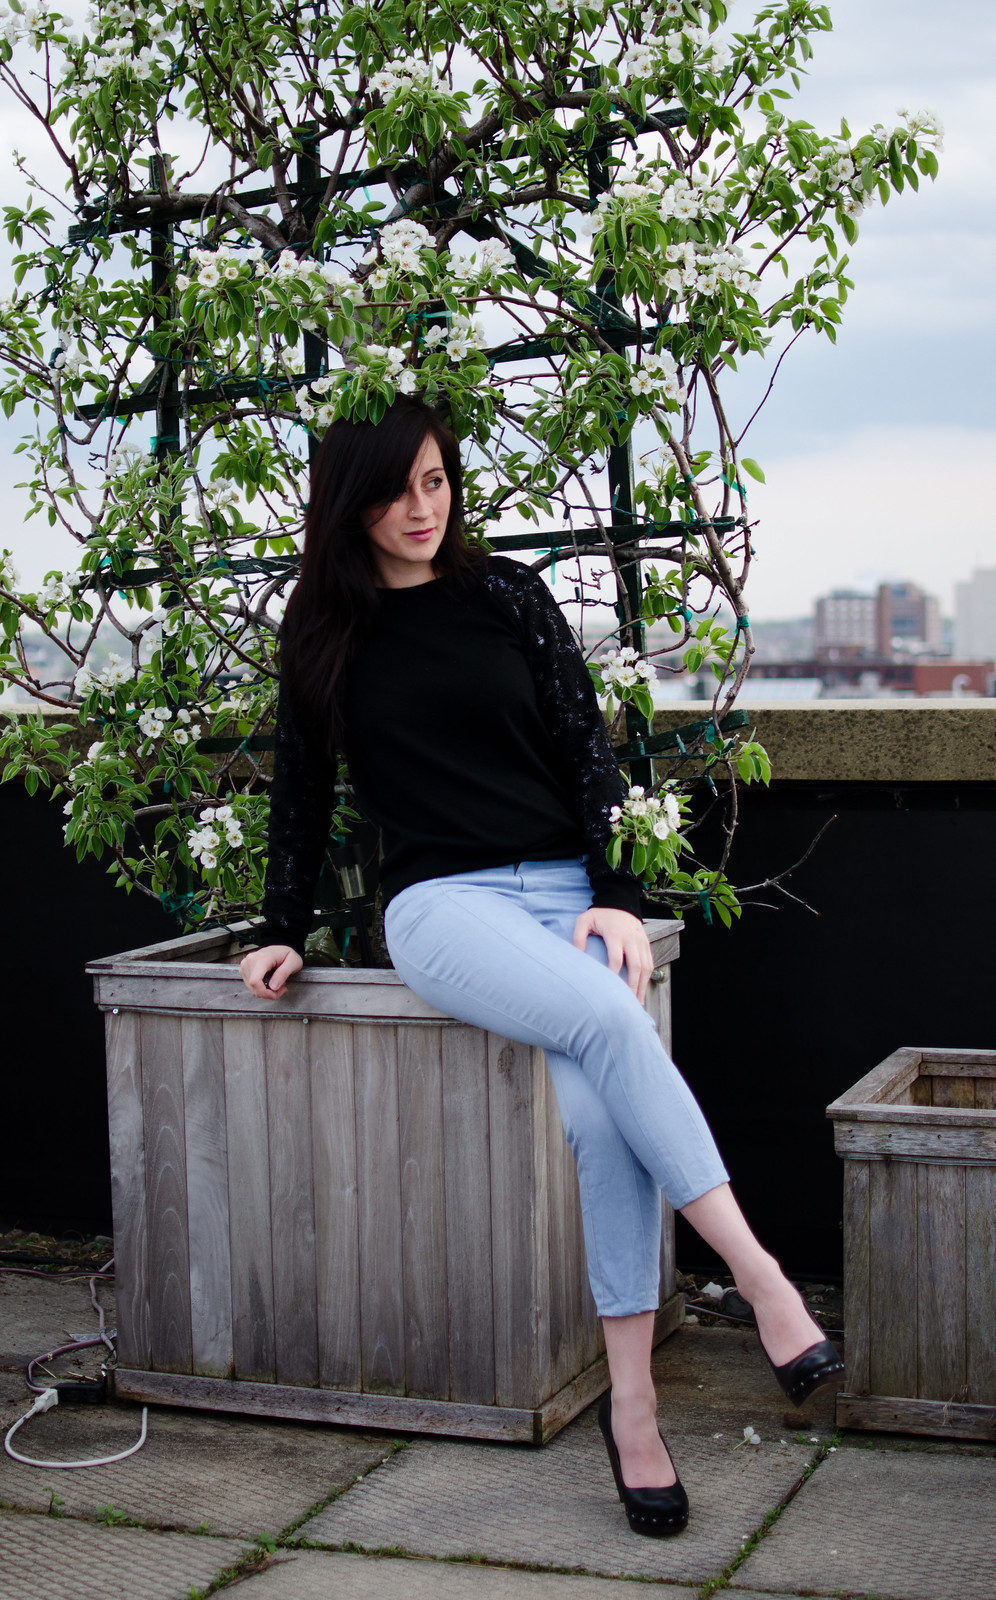
For my second pair I decided to do something a little more summery. I bought this fabric in white and decided to make a pair of white jeans that I would then dip dye. I used 100% white cotton thread so the thread would dye too and it turned out pretty well! The one thing that was a bit annoying was that I didn’t actual wear them around until after I’d dyed them and they stretched out a bit and some of the undyed white stitching showed through. If I were to do this again I’d wear white jeans around for a day before dyeing them. This fabric felt much lighter but the stretch doesn’t seem to have as much recovery as the other pair, which is a bit annoying.
I made them the exact same way as the first pair except with an adjusted waistband. Sadly I threw these in the wash with a pair of denim shorts that bled so there is some weird blotchiness on top. Luckily they hadn’t turned out as dark as I had wanted so I had wanted to redye them anyway.

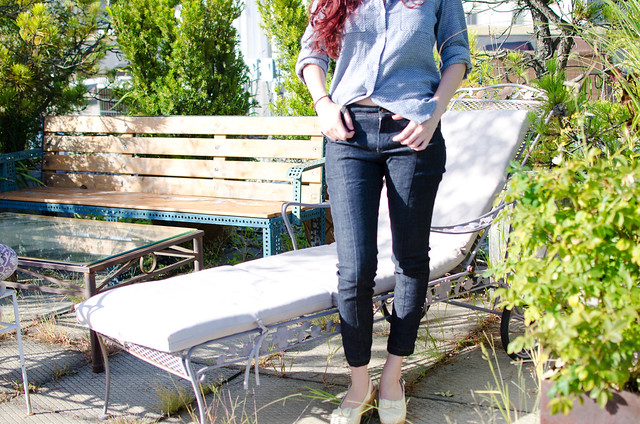
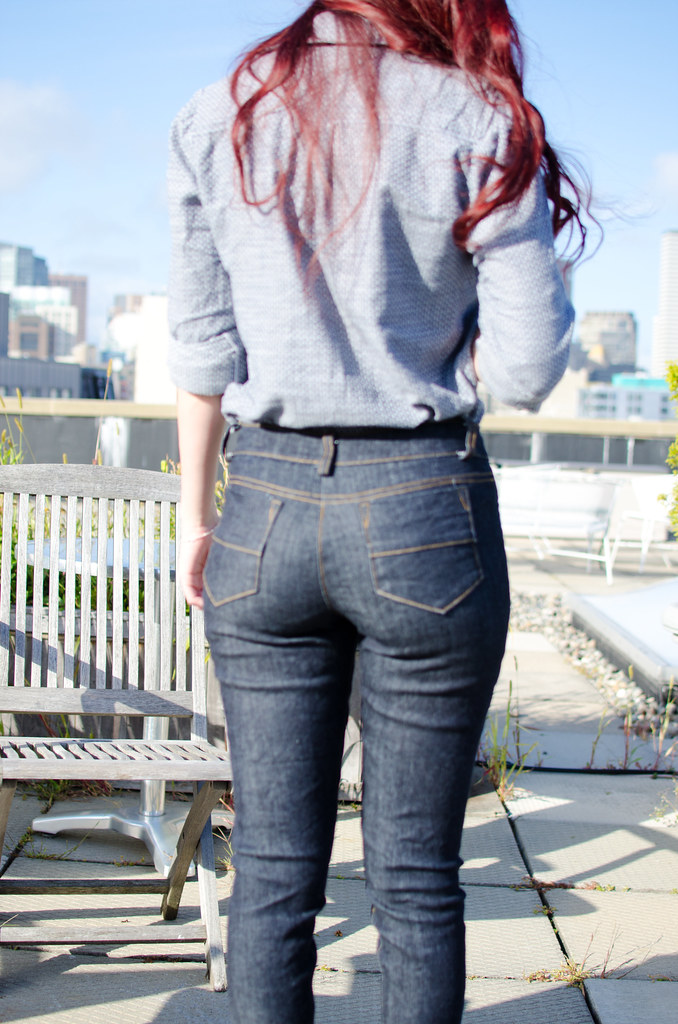
My third pair is very nearly perfect! I used a random denim I found at Joann’s (I think it was 8.5 or 9.5oz with 2% stretch). I took out a wedge at the top of the center back seam, trimmed an inch off the top before adding an appropriately sized waistband. I forgot that Named patterns have a 3/8″ seam allowance so I’m pretty sure I sewed these up with a 5/8″ seam, but it worked out because I remember having to take in the seams a bit in my first pair so these were the perfect size. They did stretch out a bit with wearing but I threw them in the dryer once (which I normally never do with jeans) and since then they’ve become the perfect size!
One thing I would do differently on the third pair is that I used cotton on the inside of the waistband instead of using denim. I found the waistband of the first pair (made of 12.5oz denim) slightly too constricting and thick and wanted to try using cotton instead. I forgot the actual reason for doing so and did it even though this fabric was more lightweight, which resulted in a flimsier waistband than I would like. Also the fabric was not the nicest and although it’s softened up with multiple washes, it was a bit scratchy at first.
Anyway, the moral of the story is that jeans are totally doable! The only supplies I bought that I’d never heard of where the jeans buttons (I wandered into Grey’s and asked Sarah “Do you have the button thingies that go on jeans?” and she was like “Here are 5 different kinds.”) and jeans topstitching thread. (Don’t laugh. I thought you just bought gold thread and maybe used the triple stitch button on your sewing machine.) The other thing that was absolutely indispensable in making my topstitching nice was the edgestitching foot I bought recently. It actually made topstitching fun rather than a perilous journey of sweat.
I’m currently working on my 4th pair in an unlabeled denim from Sew Low that feels around 9oz with maybe about 15% stretch. I’m trying something a little different with this one and using a dark thread for topstitching instead of the traditional gold. Next I want to do a light wash pair but I’m having some trouble finding a nice light shade of blue that isn’t weird.
Yay jeans!
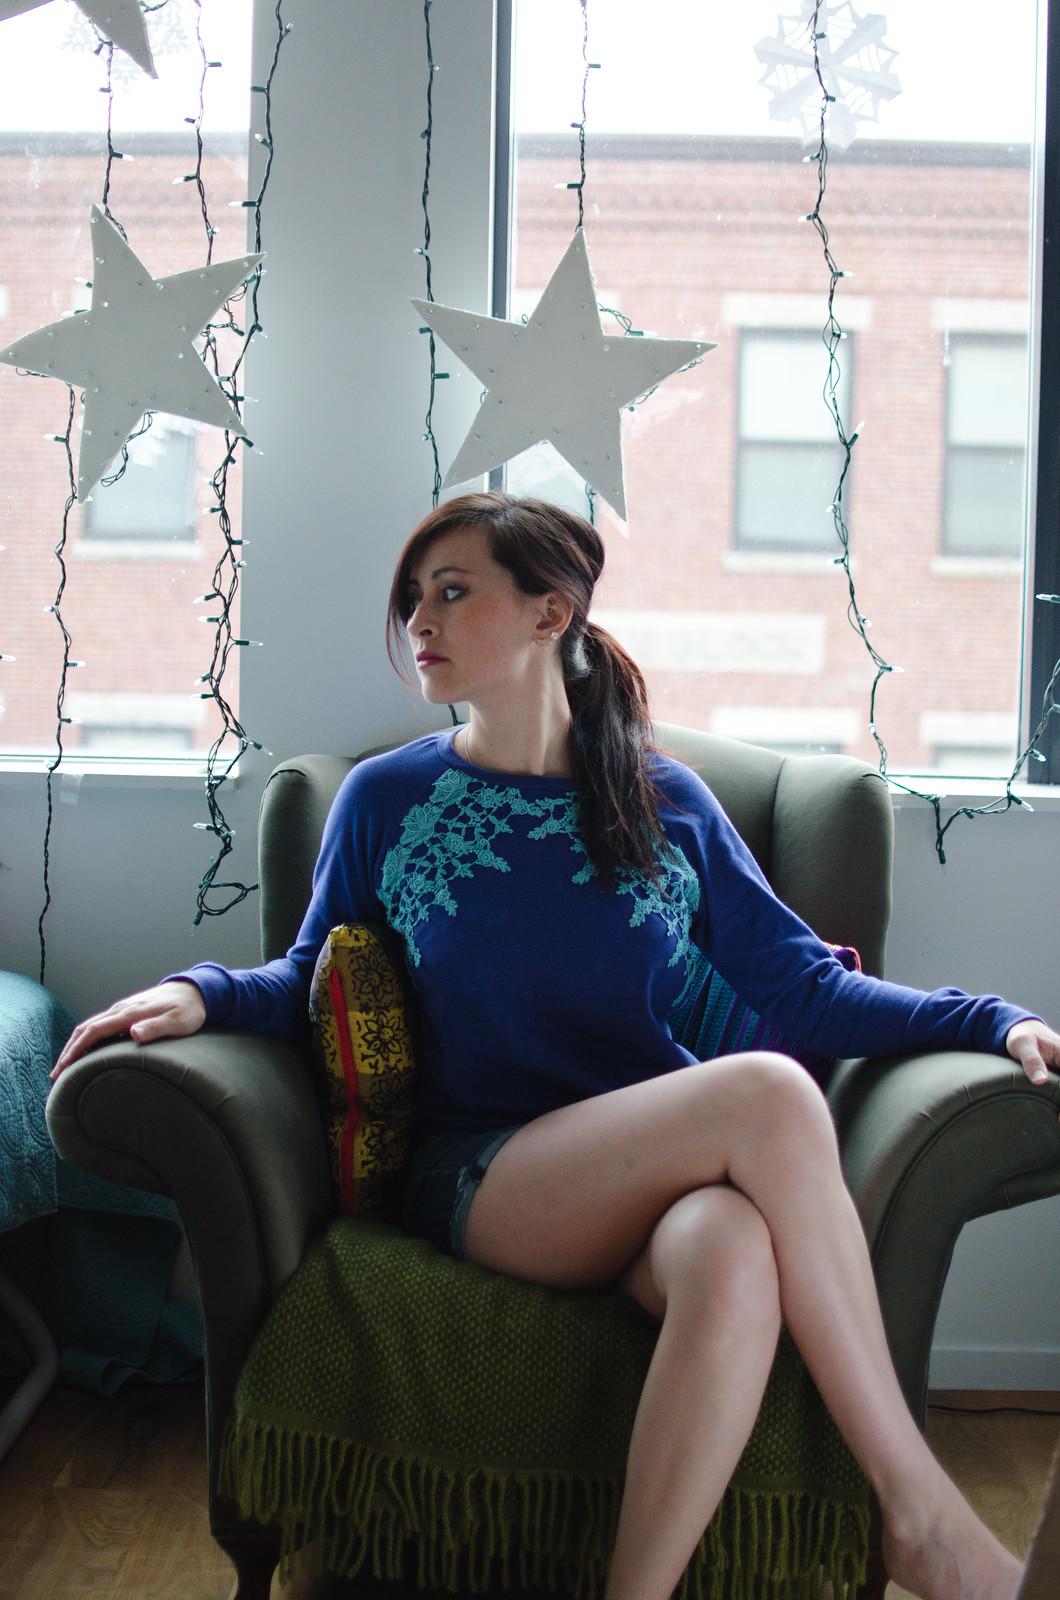
Oh and I FINALLY finished my poor abandoned dotted Archer. I had set it aside because I’d done something wrong and was too demoralized to try and fixed it and then it ended up just sitting in my closet for over a year. Once I’d picked it up again I couldn’t figure out what I’d done wrong and it took me all of about two hours to finish it. Wherps.