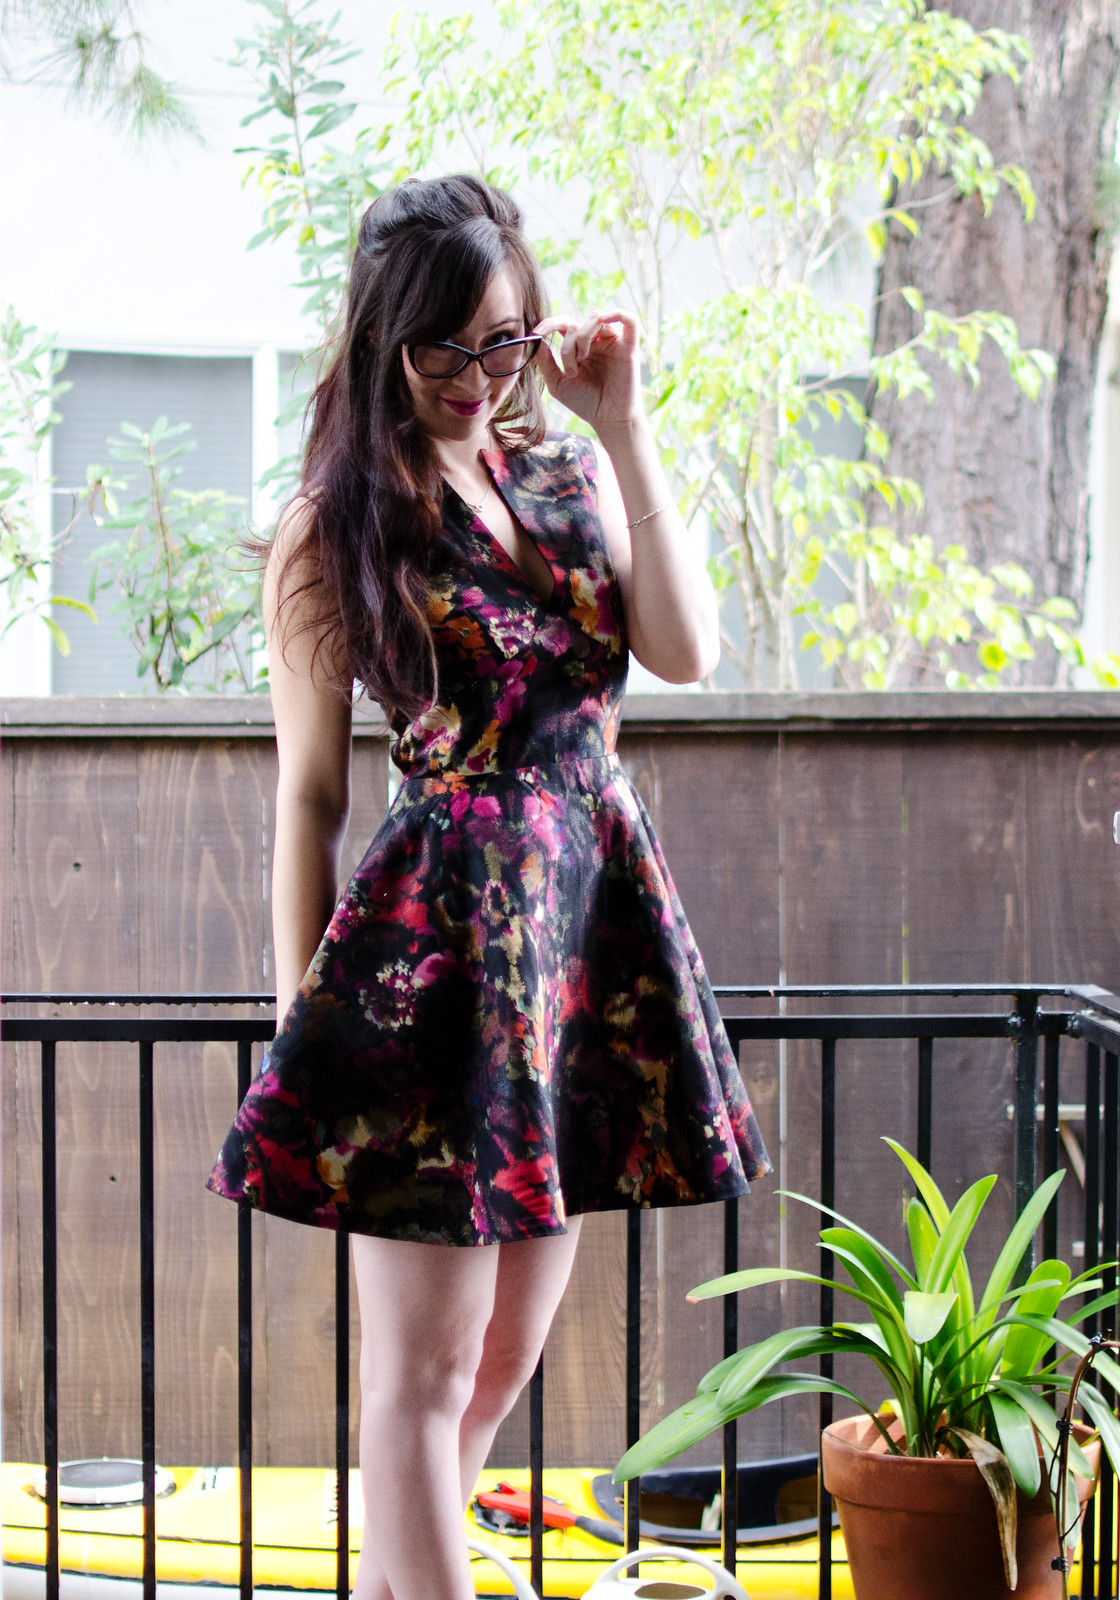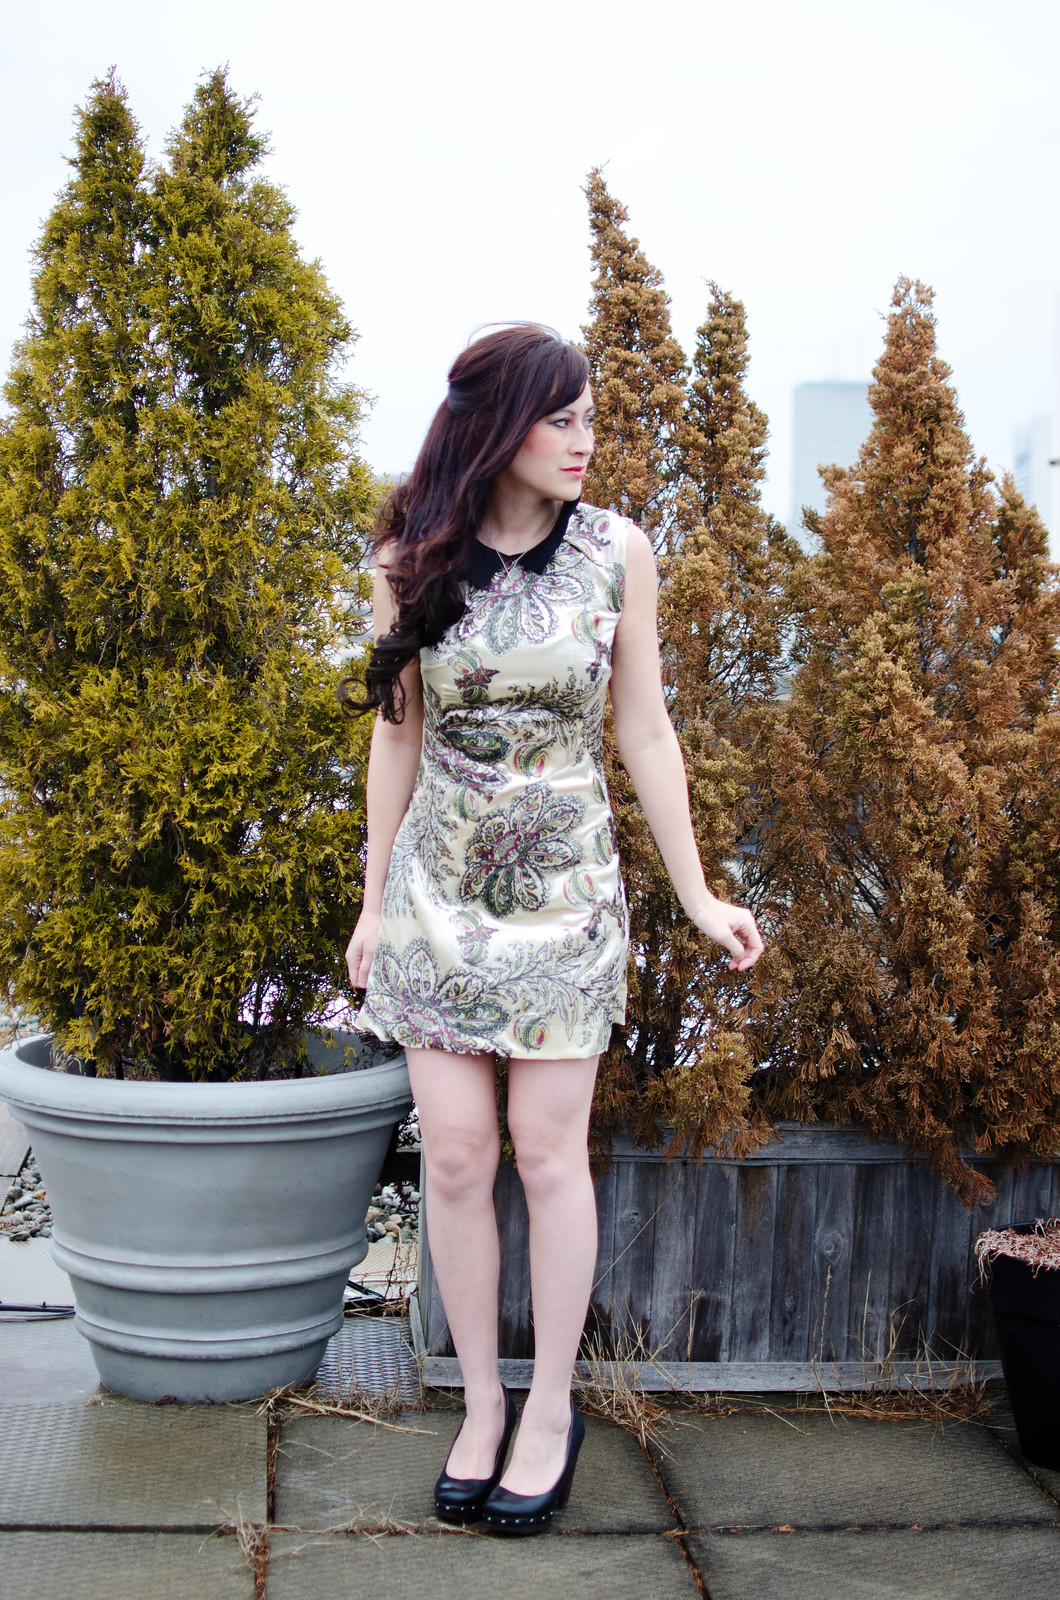

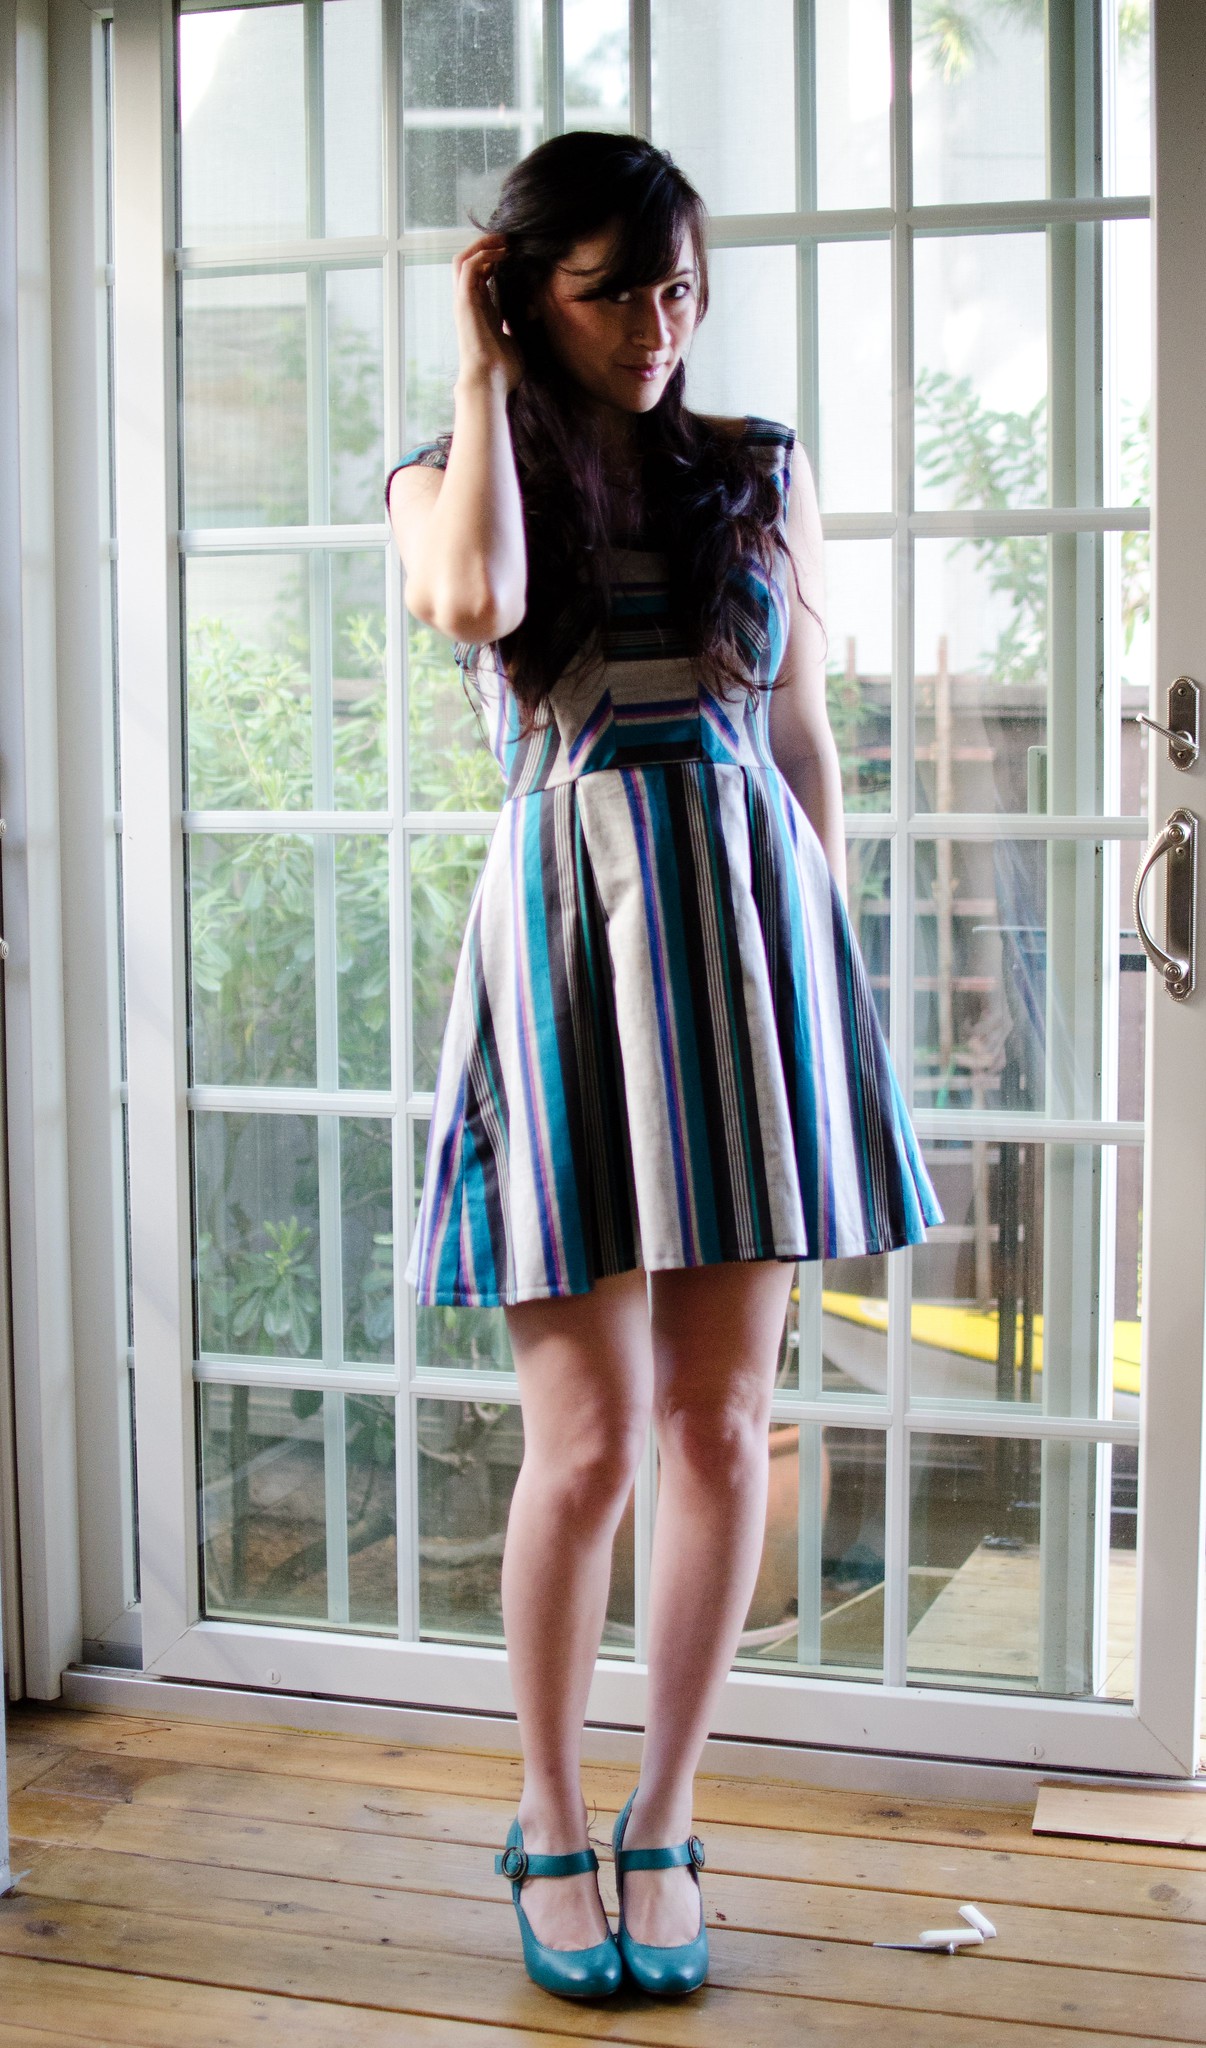
 dress: self-made, pattern here // shoes: Seychelles
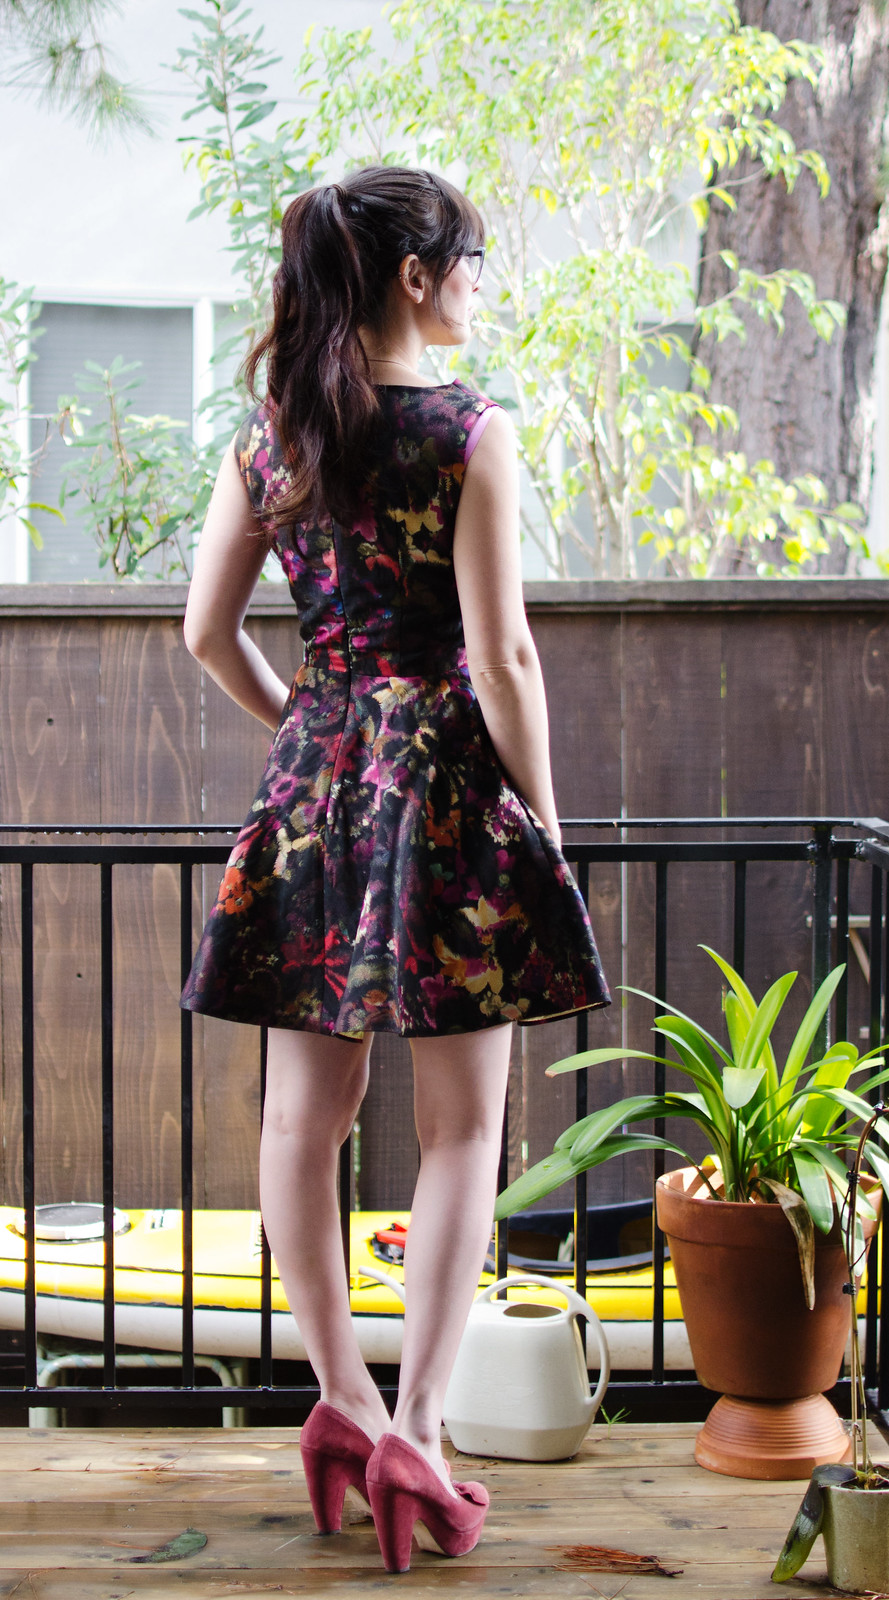
I received this book free of charge from Interweave. All thoughts, opinions, and silly anecdotes are my own.
When I was little, I had this flip book I absolutely adored where you could flip heads, bodies, and legs of all kinds of different animals to make weird and cool combinations. That’s what Boundless Style by Kristiann Boos felt like. You get five bodices (some with slight variations), five skirts (with varying skirt/peplum lengths), and five sleeves (some with varying lengths as well).

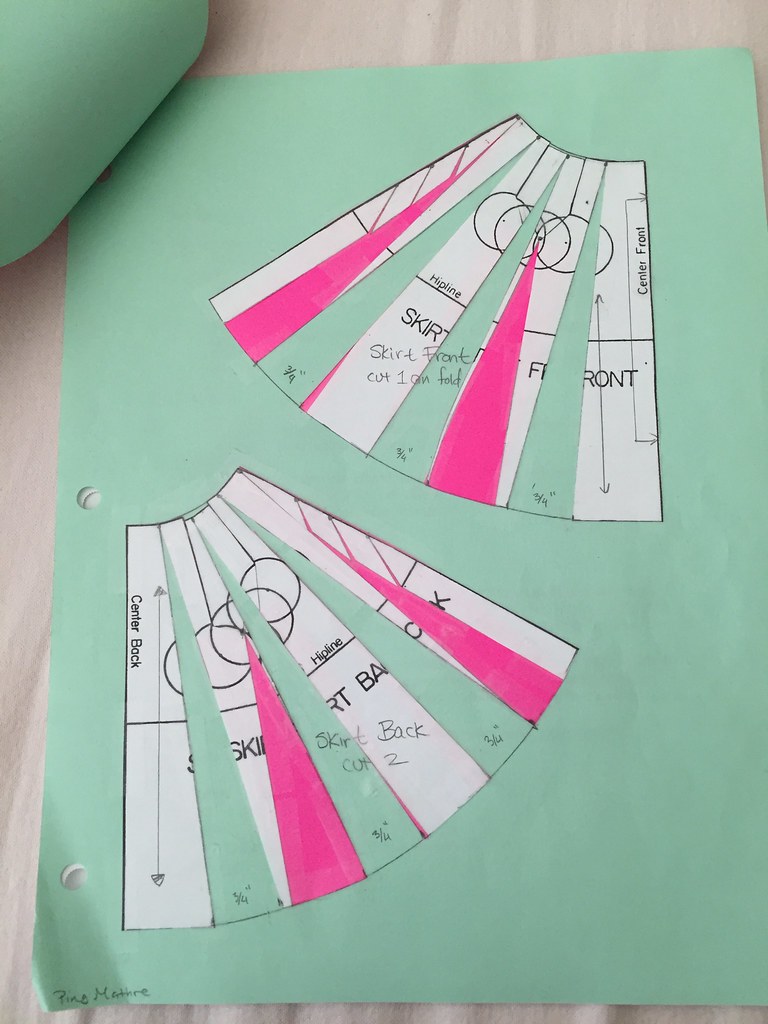
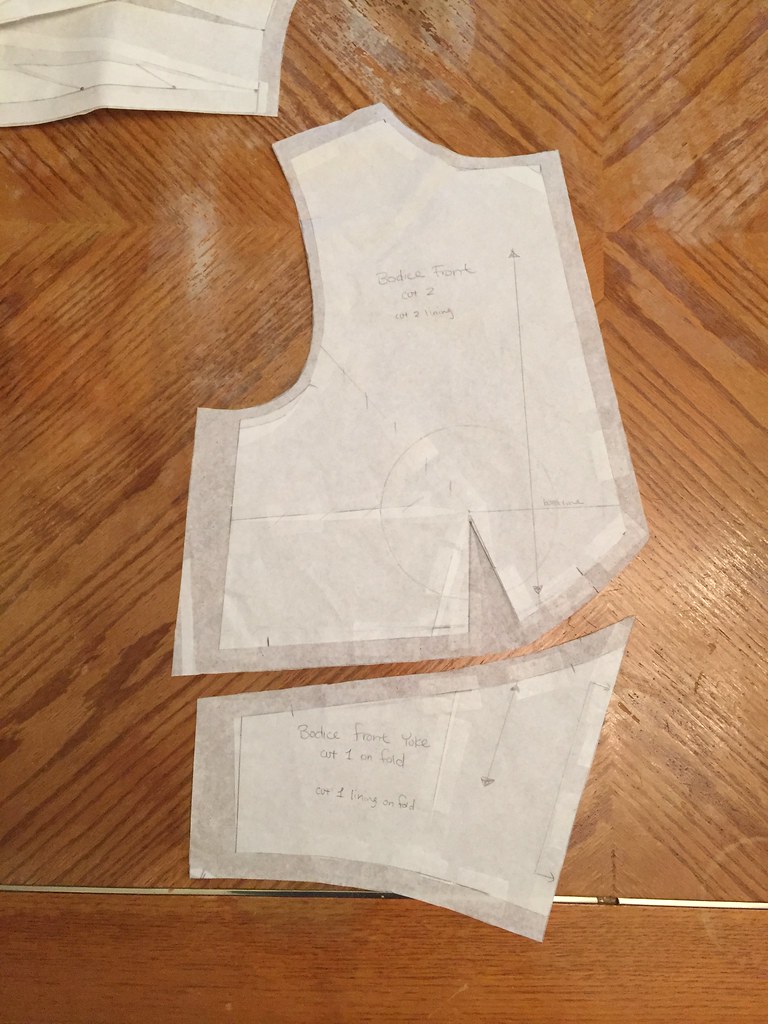
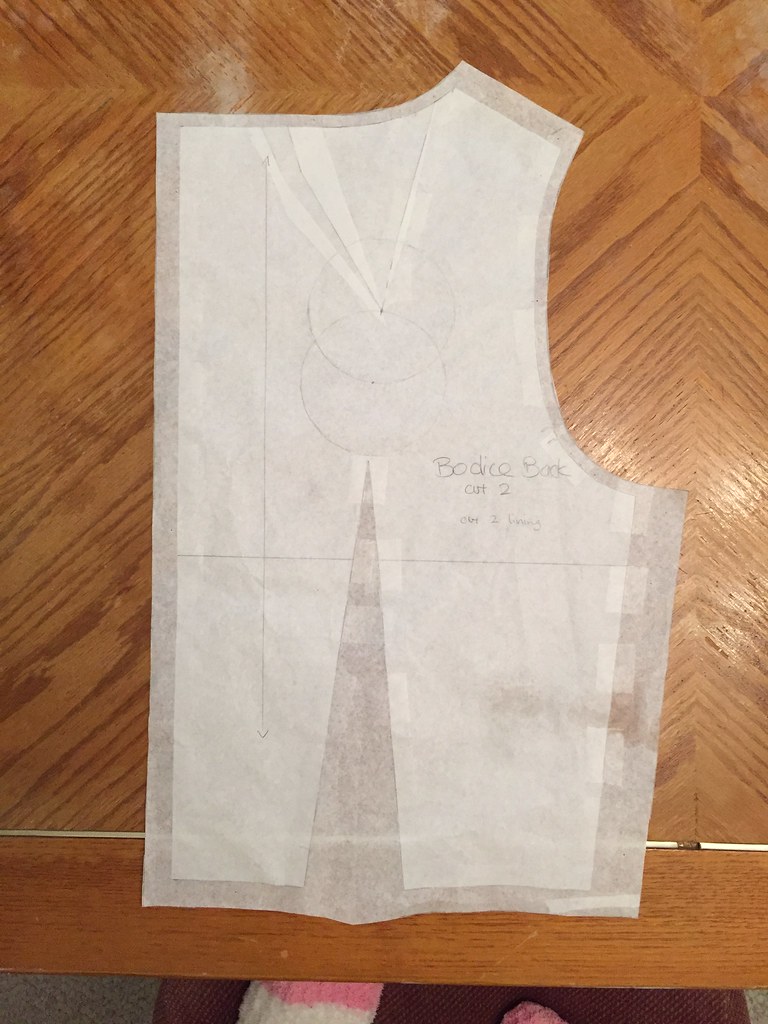
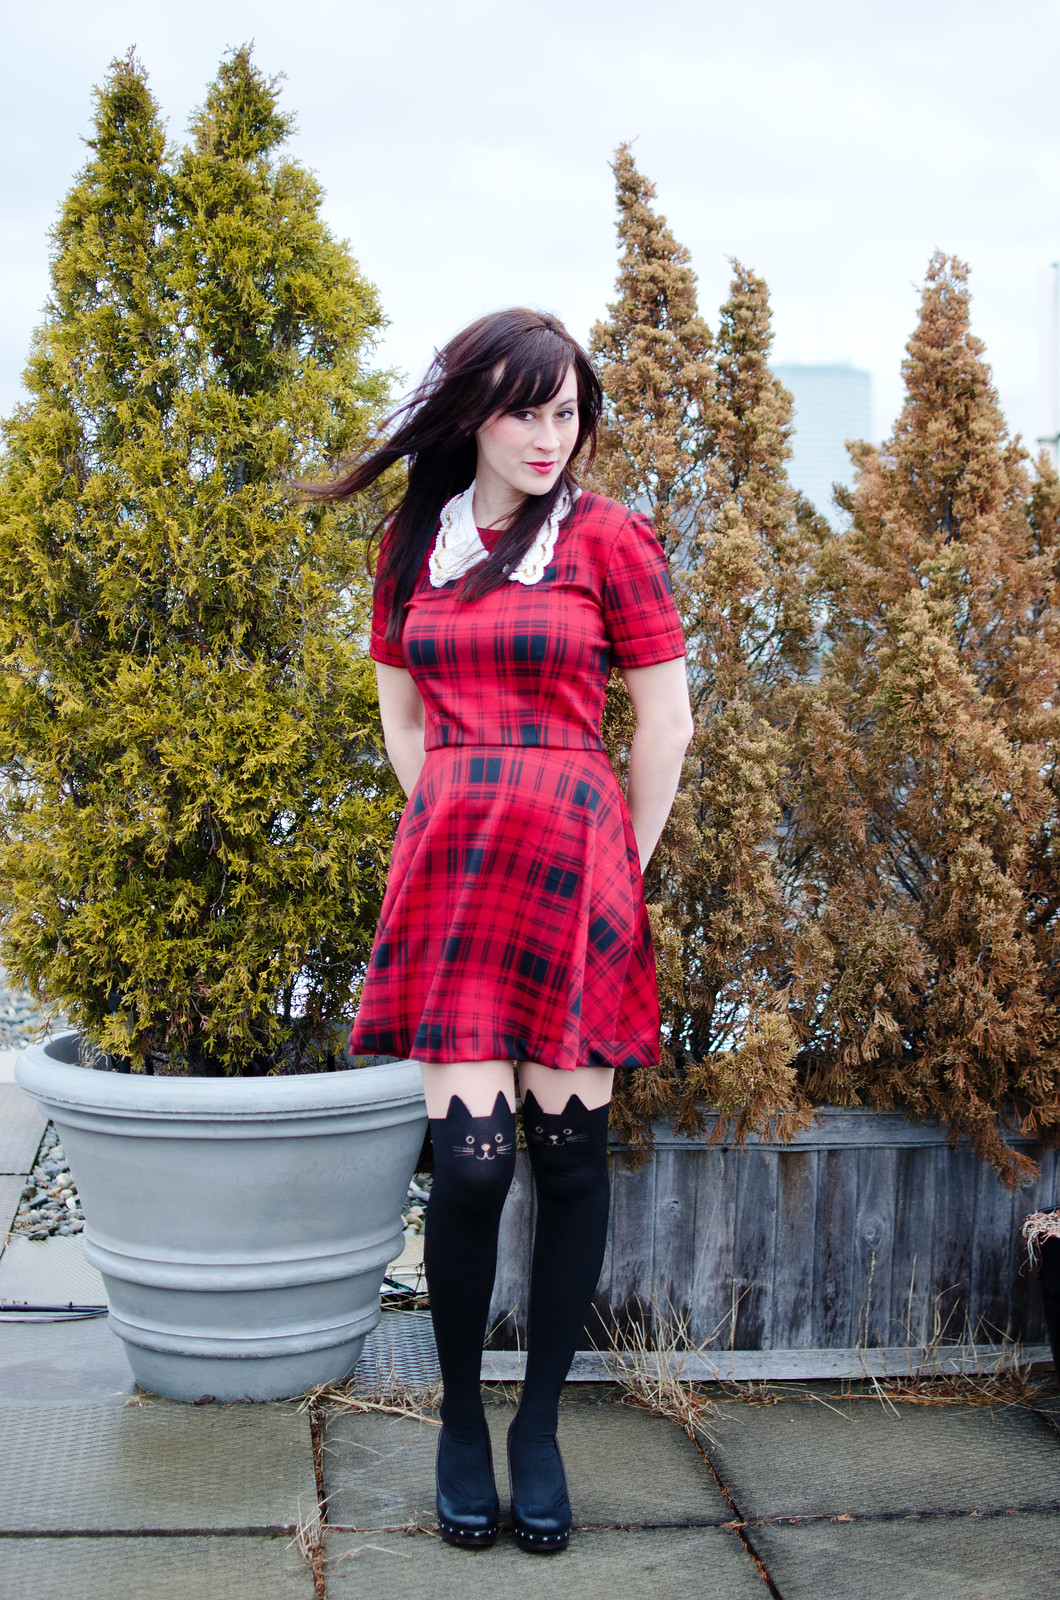
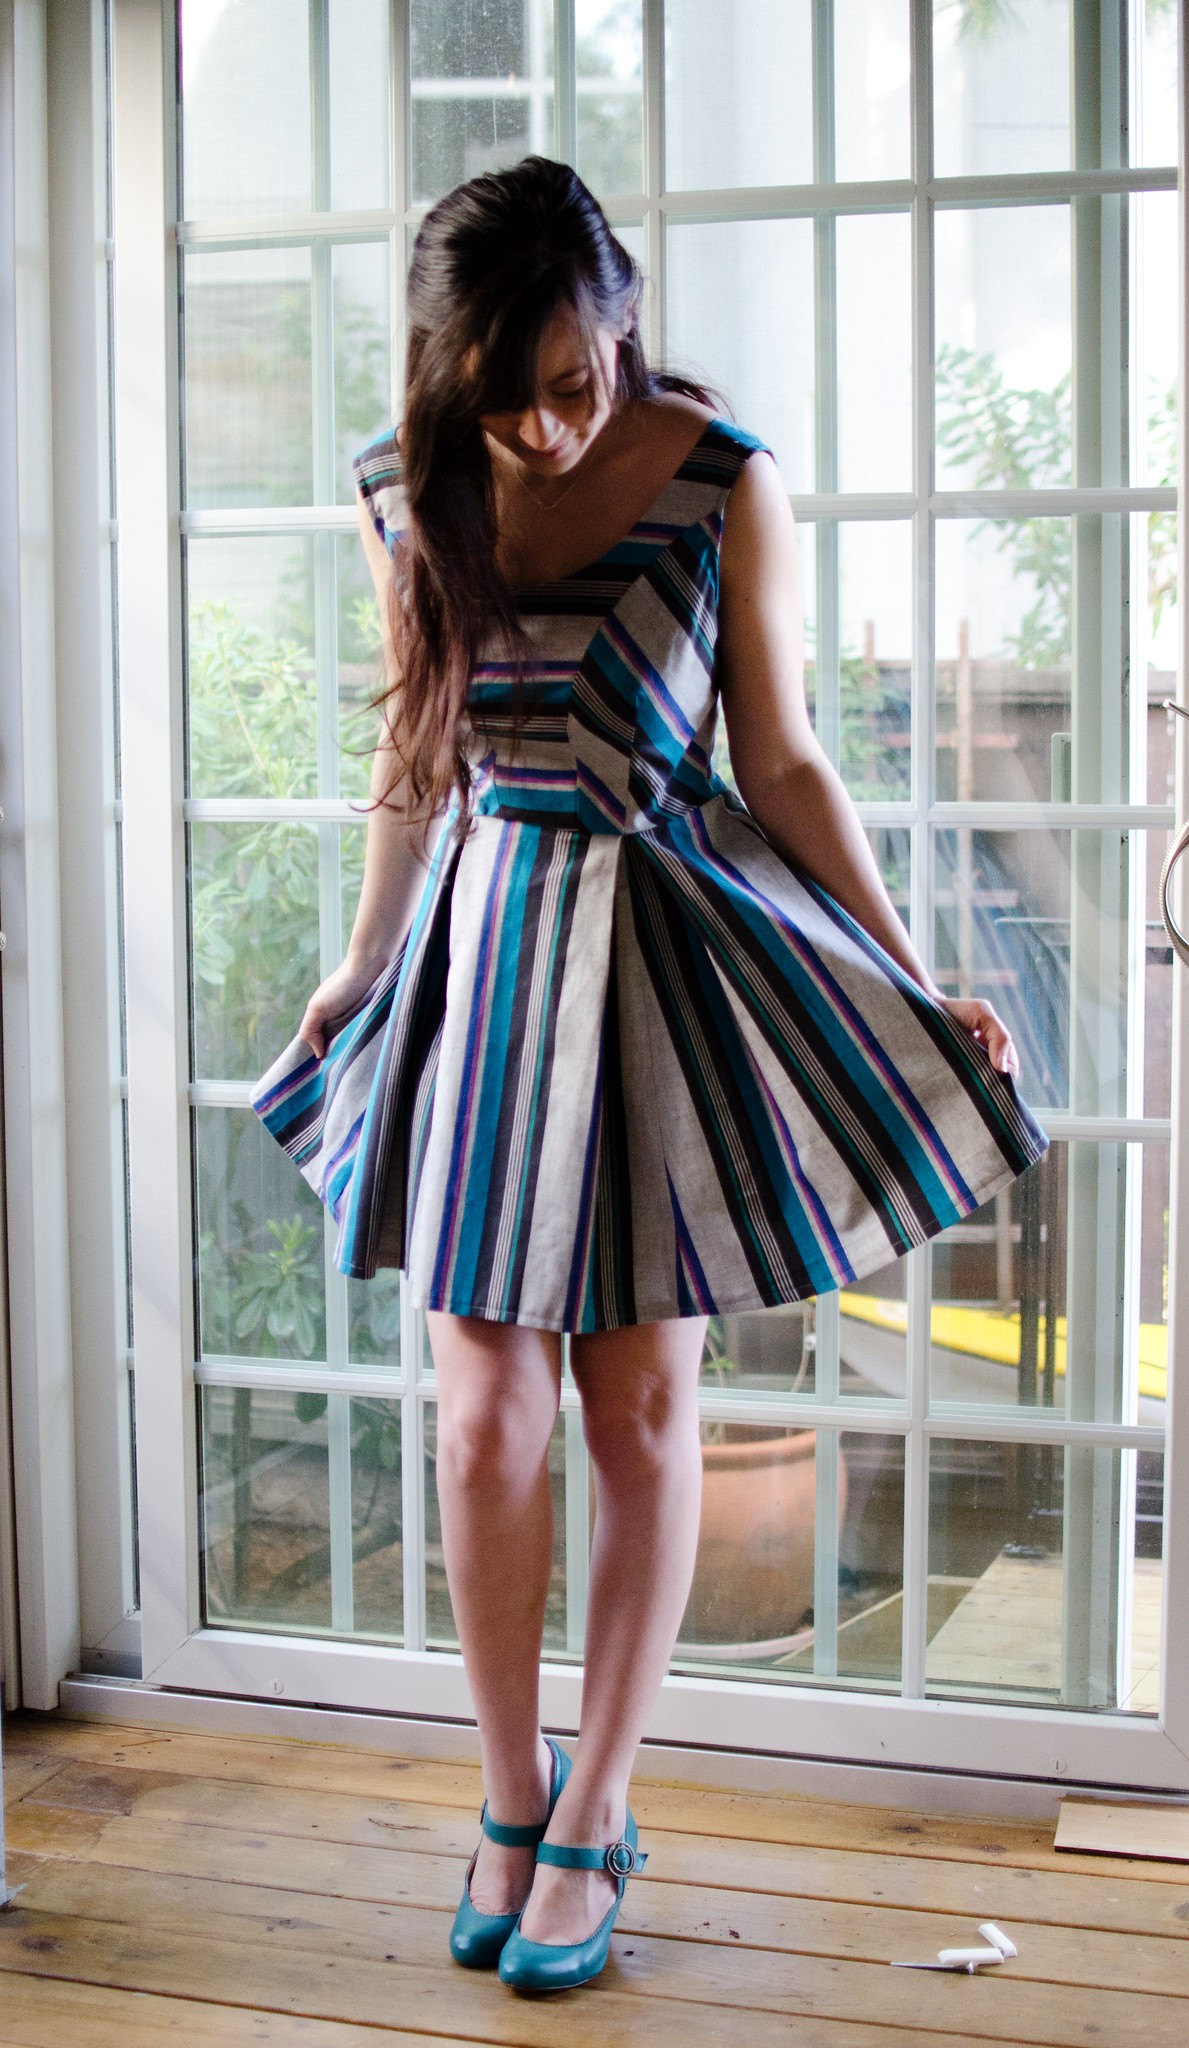
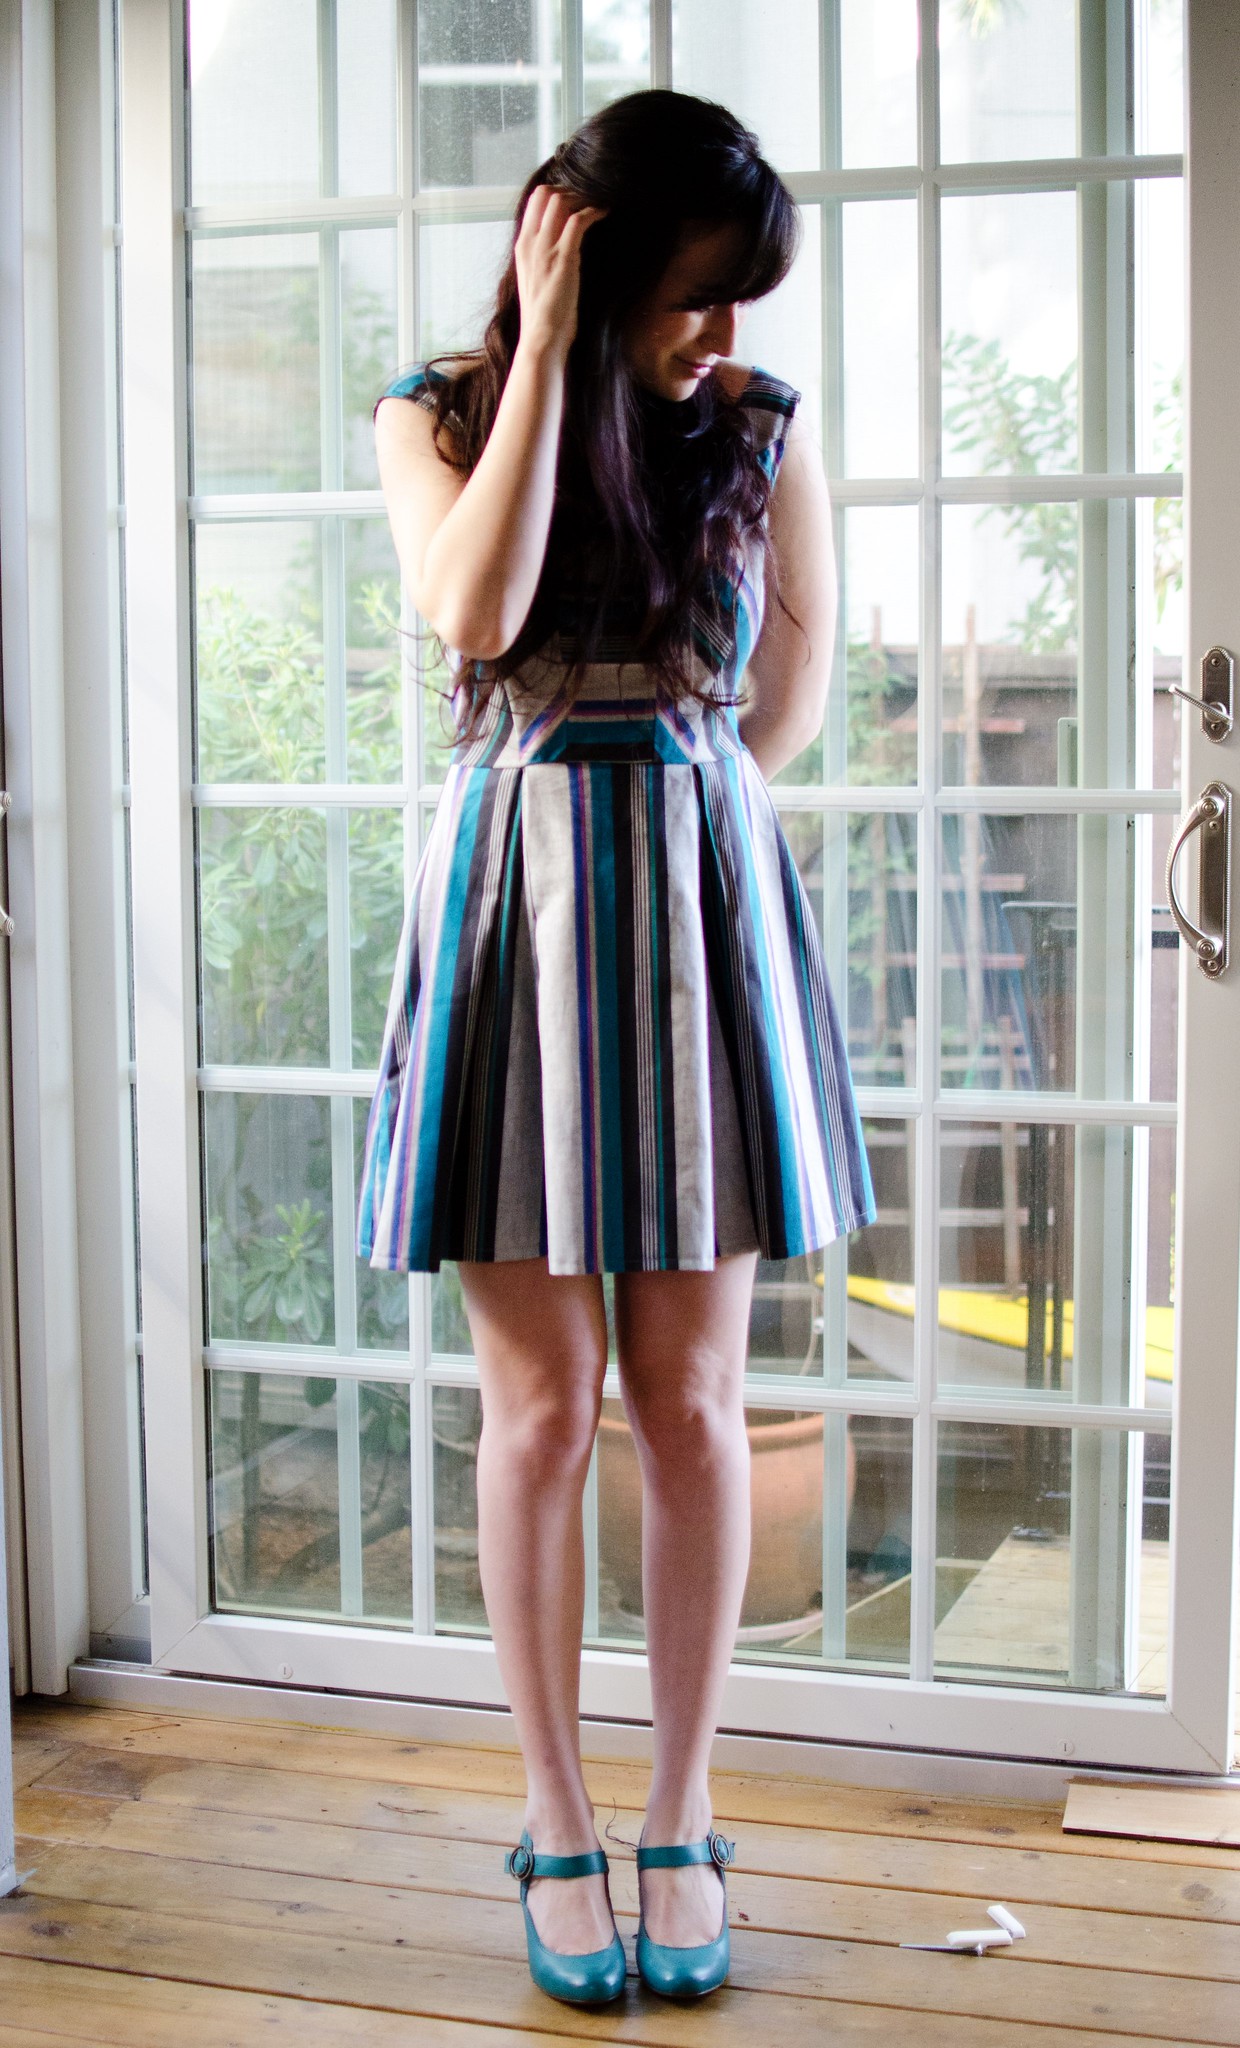
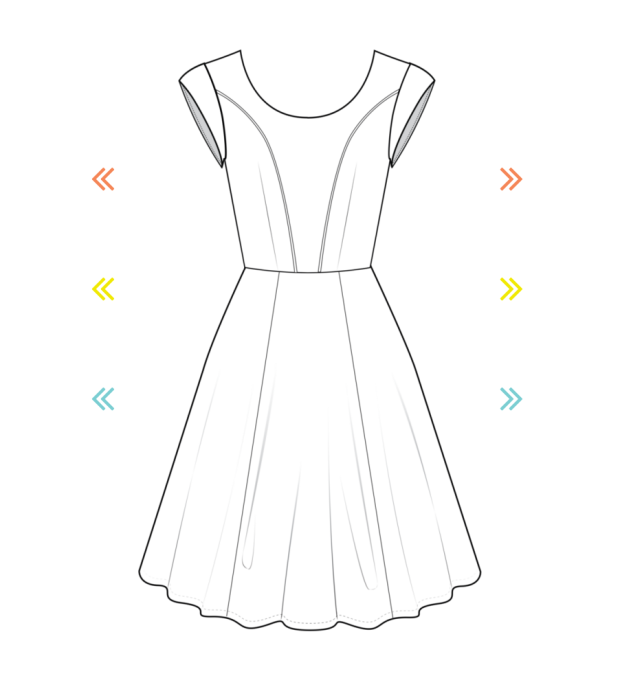
I chose to do the Catrina bodice paired with the Lydia skirt. I was originally going to add the Moss sleeves but with all the stripe-age going on, it ended up looking like a bit much so I left them off.
This dress was a bit of an adventure, and a really fun one. When I first flipped through the book, I spent about two hours just trying to decide which combination to do first. (Hint: check out their app if you haven’t already. It’s literally the dress version of that animal book.)
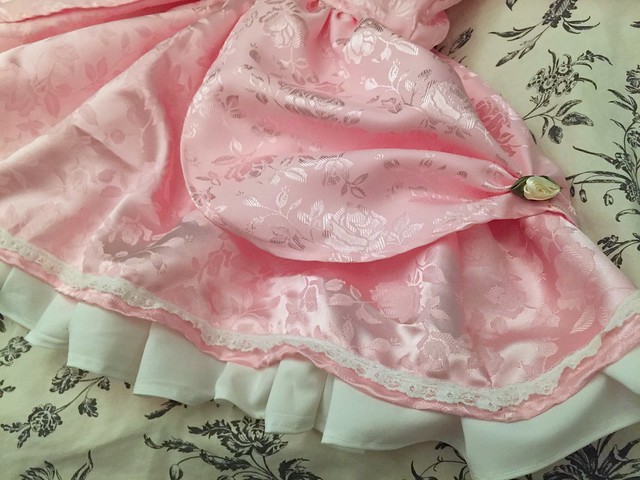
I ended up deciding on this one because I really wanted to try something fun with stripes going in different directions and I had this specific fabric in mind. My mom had been going through her old stuff and found this gorgeous striped fabric that my dad brought back from a business trip to India at least two decades ago. It was perfect.
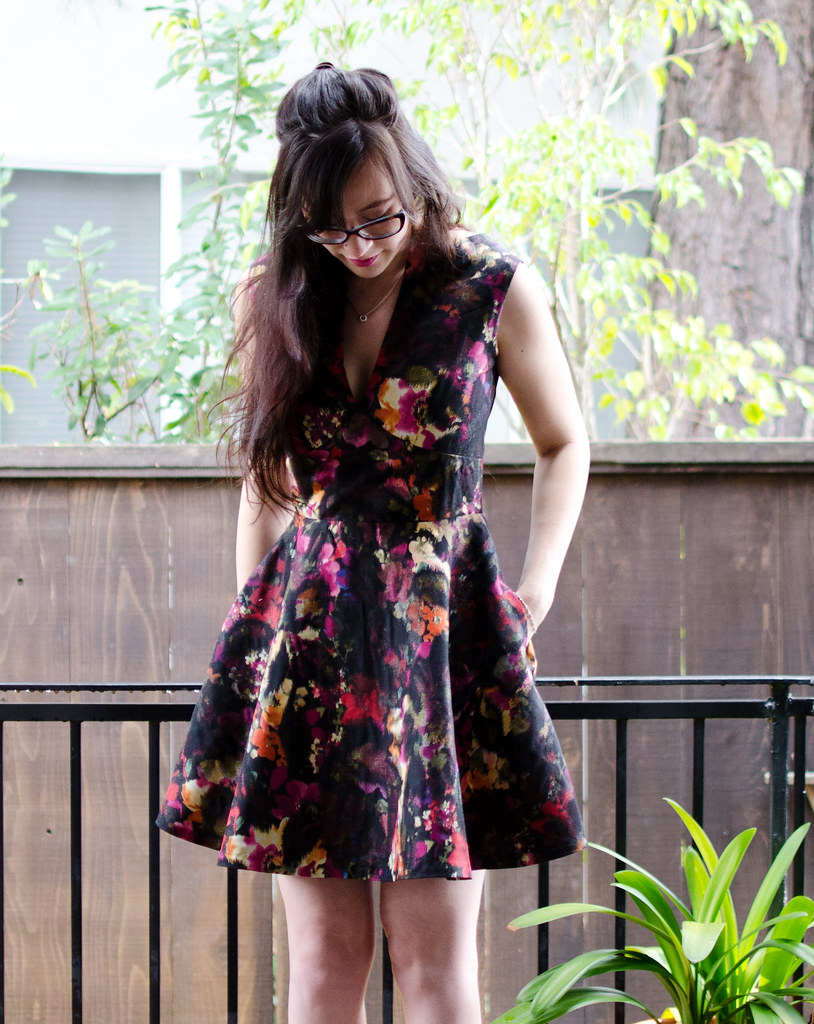
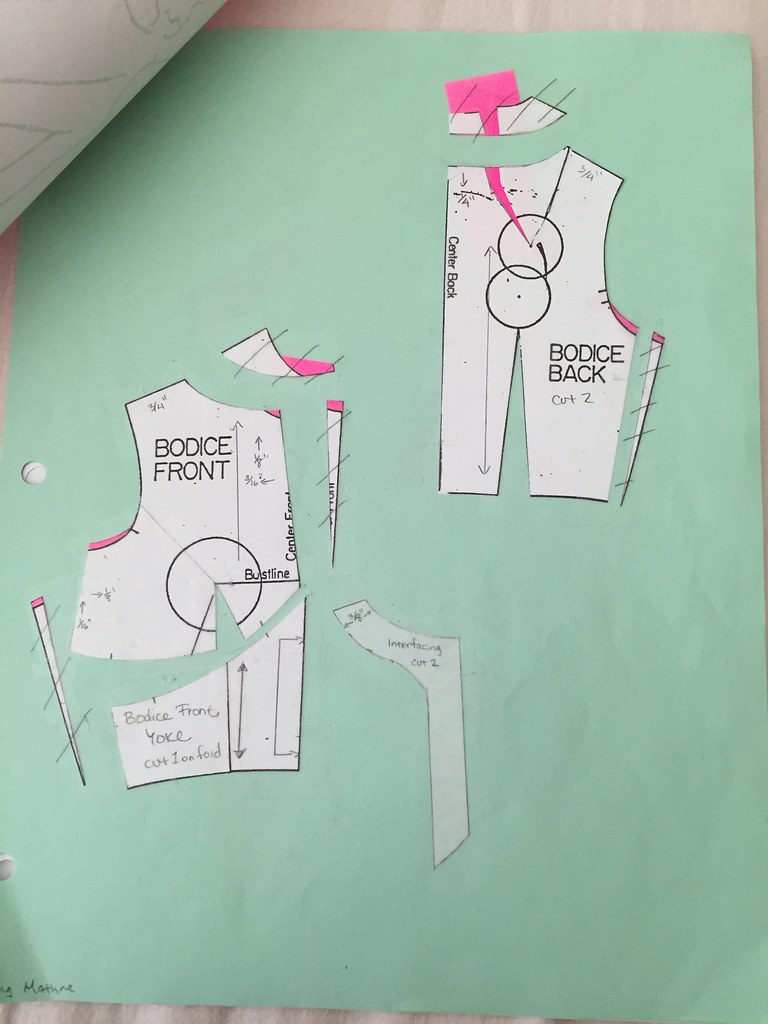
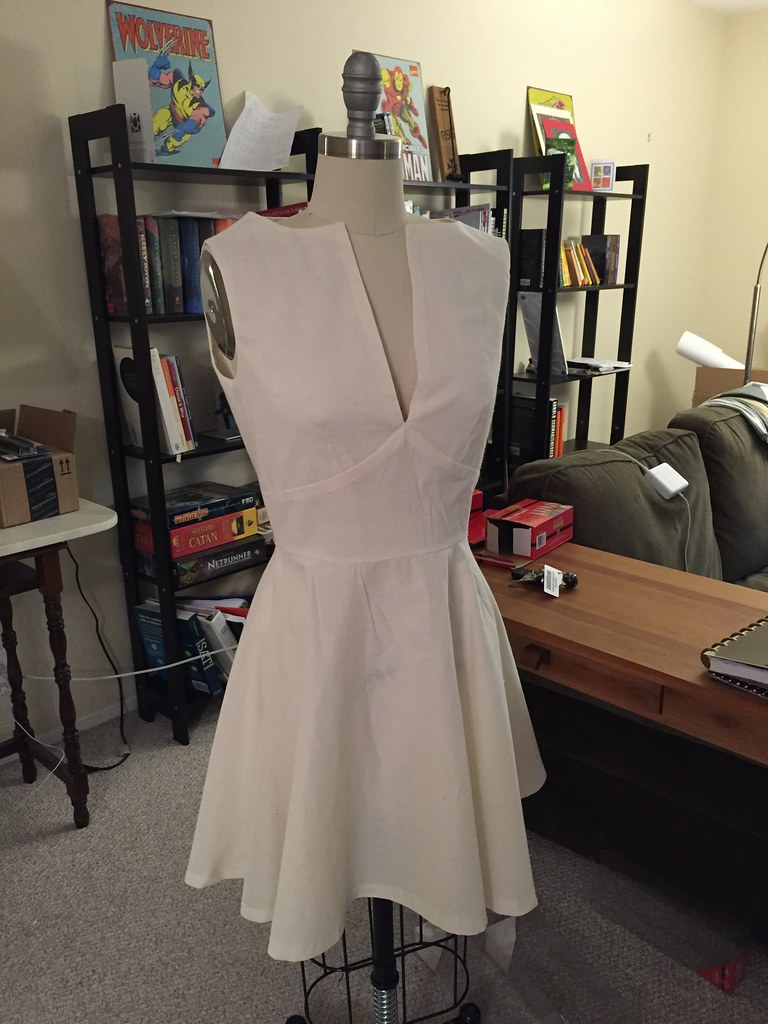
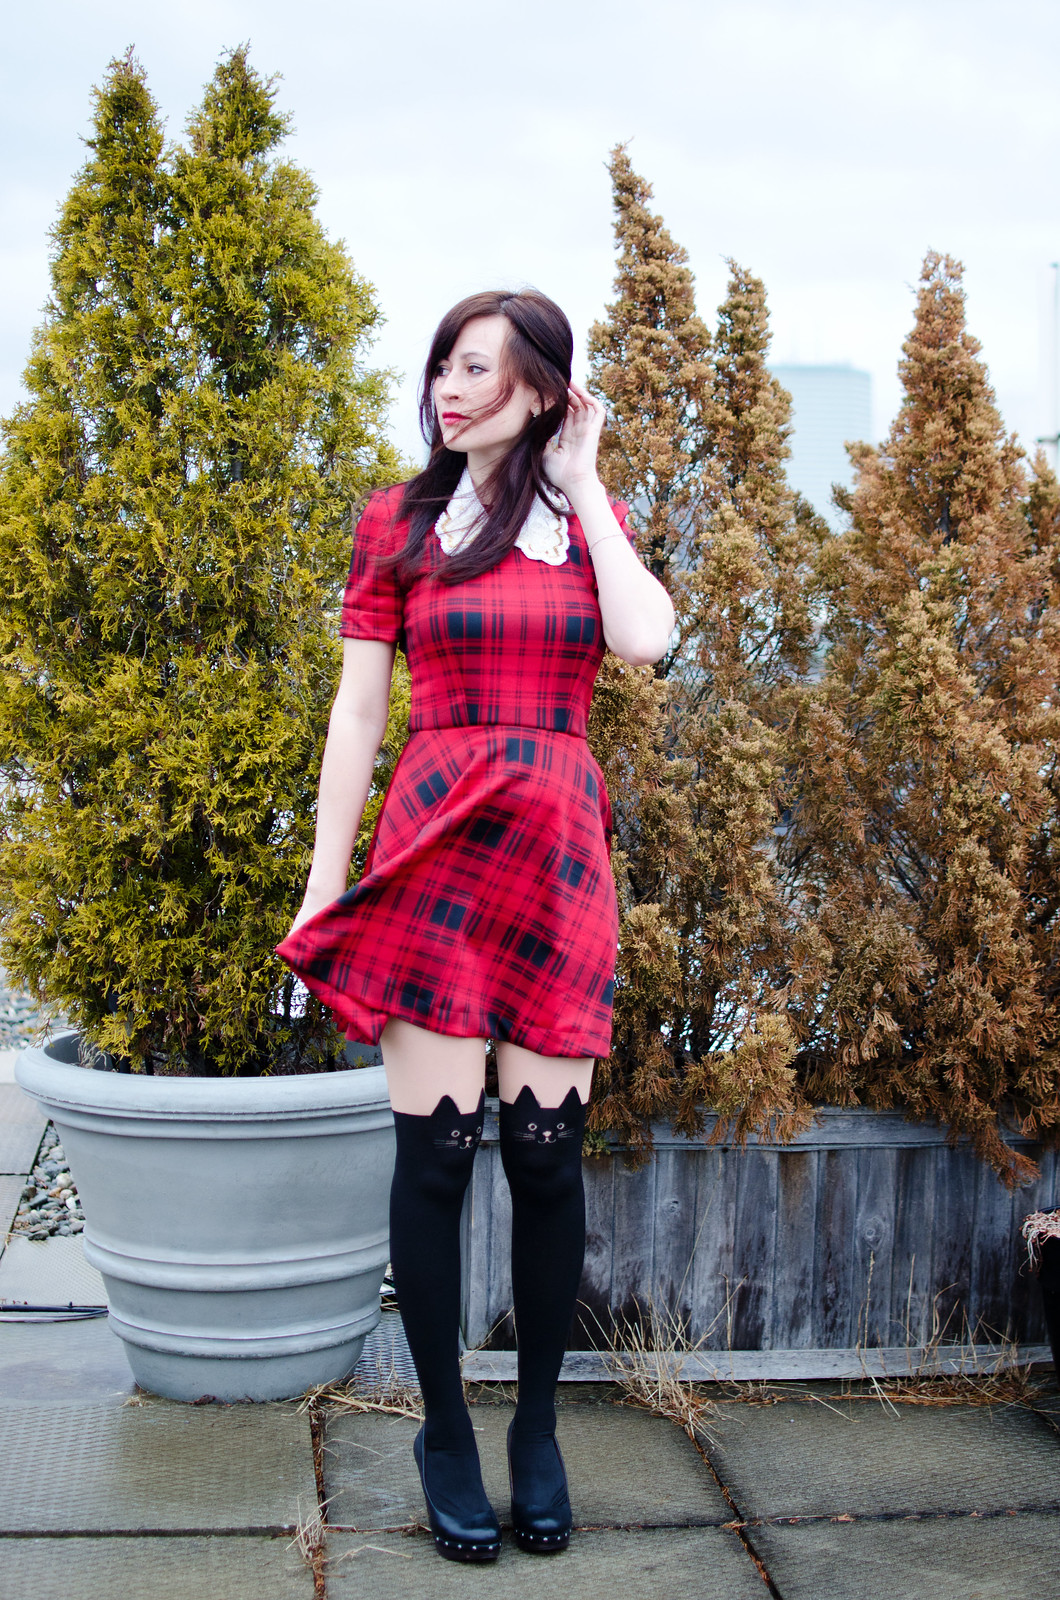
What I didn’t realize was that there are extra waist darts next to the style lines that make that gorgeous middle panel, and at first I wasn’t sure how much I liked it with those side pieces sewn up in the stripe. I actually spent a few hours re-drafting it to a wider princess line to incorporate those darts, but in the end it just looked boring. And then someone pointed out that with the way I cut the fabric, the waist darts are symmetrical and I decided that the way it bends the stripes on both sides actually looks pretty cool.

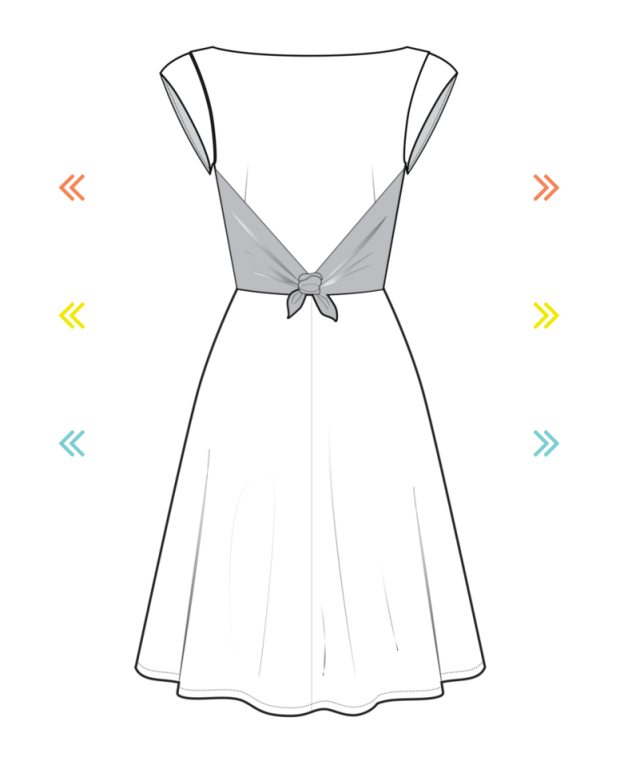
Anyway, I love this dress! The middle panel is lined and I used a bias binding for the armholes, which makes the whole thing really light and quick to put together, while still being nicely finished. Kristiann gives really great directions on each step without being overly hand-holdy. The only thing I didn’t love was that the patterns come on a CD in the back of the book. I’m not opposed to PDF patterns because in my mind, getting the pattern immediately is worth having to tape and trace. But if I have to wait to receive this book in the mail, then print out the patterns and tape them before I can even trace them, that seems a bit much. Also I’m pretty sure most computers don’t come with CD drives anymore, which would mean I’d either have to take this somewhere and pay to get it printed, buy an external CD drive, or find borrow a friend’s computer. I did read somewhere that if you run into this issue you can contact Interweave to have the PDF emailed to you, but if you don’t like PDFs in general, this won’t solve that particular issue for you.
Anyway, now I have this problem where I can’t decide which combination to sew next! Usually when I buy a pattern with several variations, I only ever end up sewing one of them. With this book, there are so many possible combinations, especially when you consider fabric choice, that I will definitely be sewing up several. I have some of this stuff from Cotton and Steel that screams to be made into a Jackie bodice.
I’m thinking something like this, with the navy print as the main part and either a contrast print or a solid navy as the front tie bit.
Seriously, this app (and book) are so much fun!