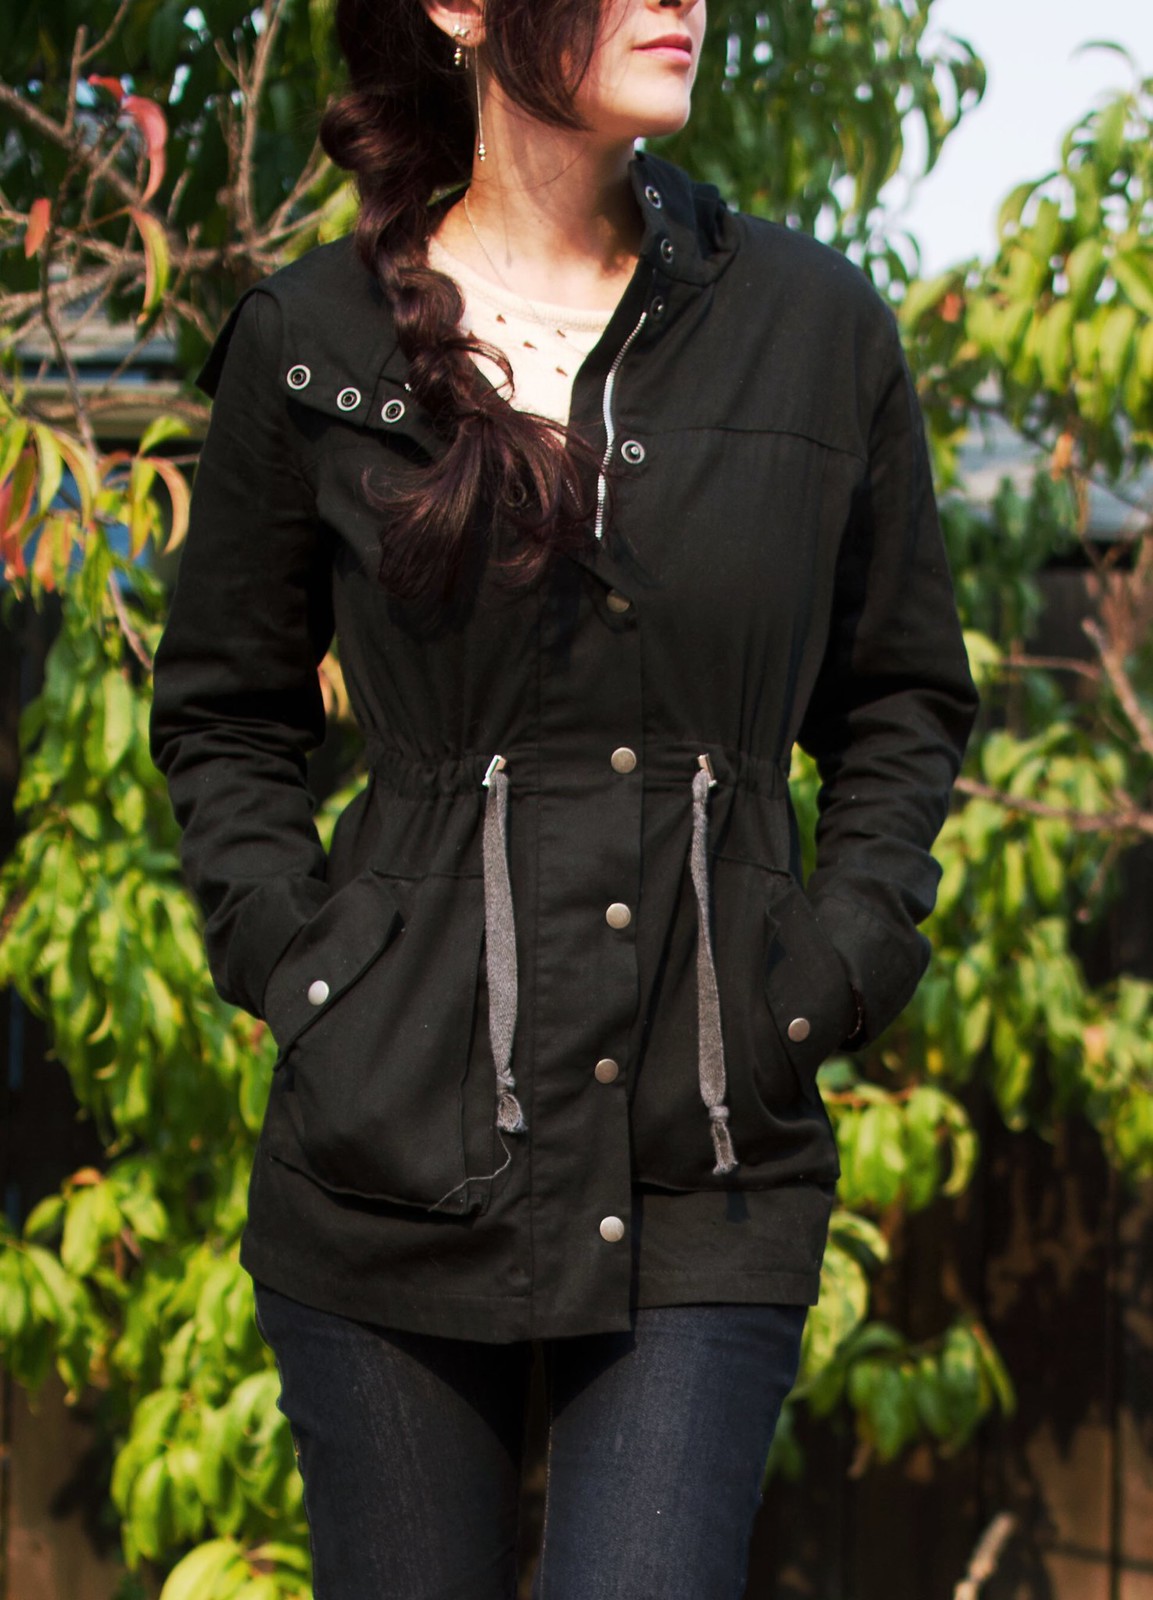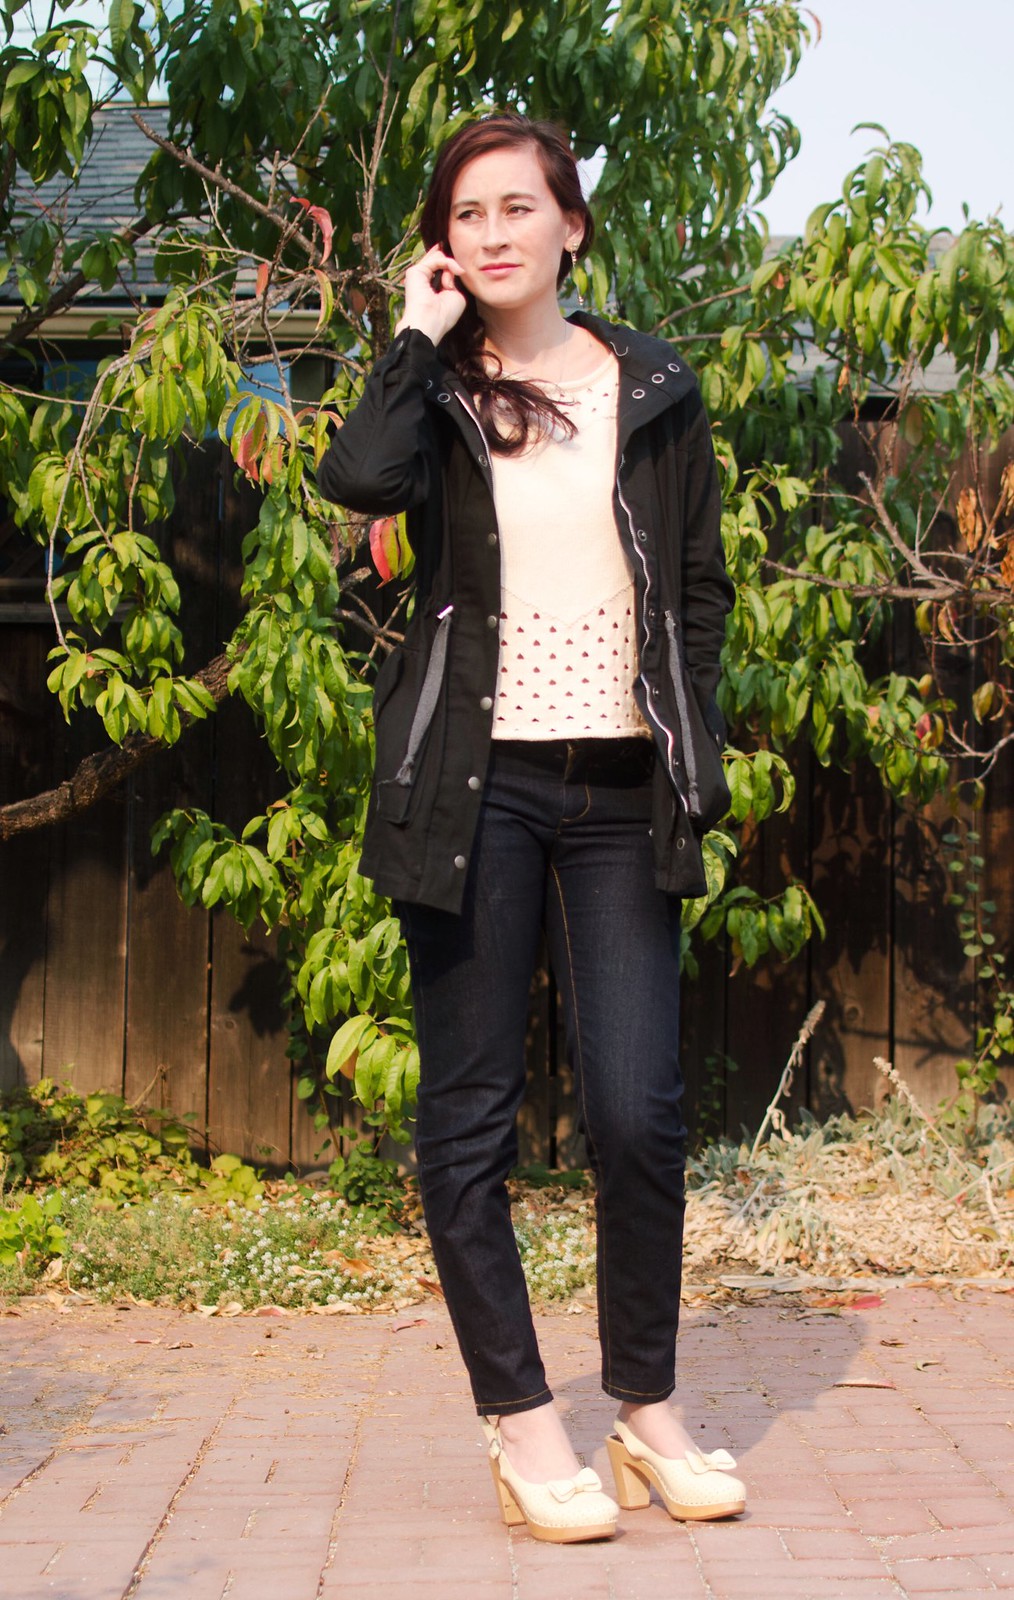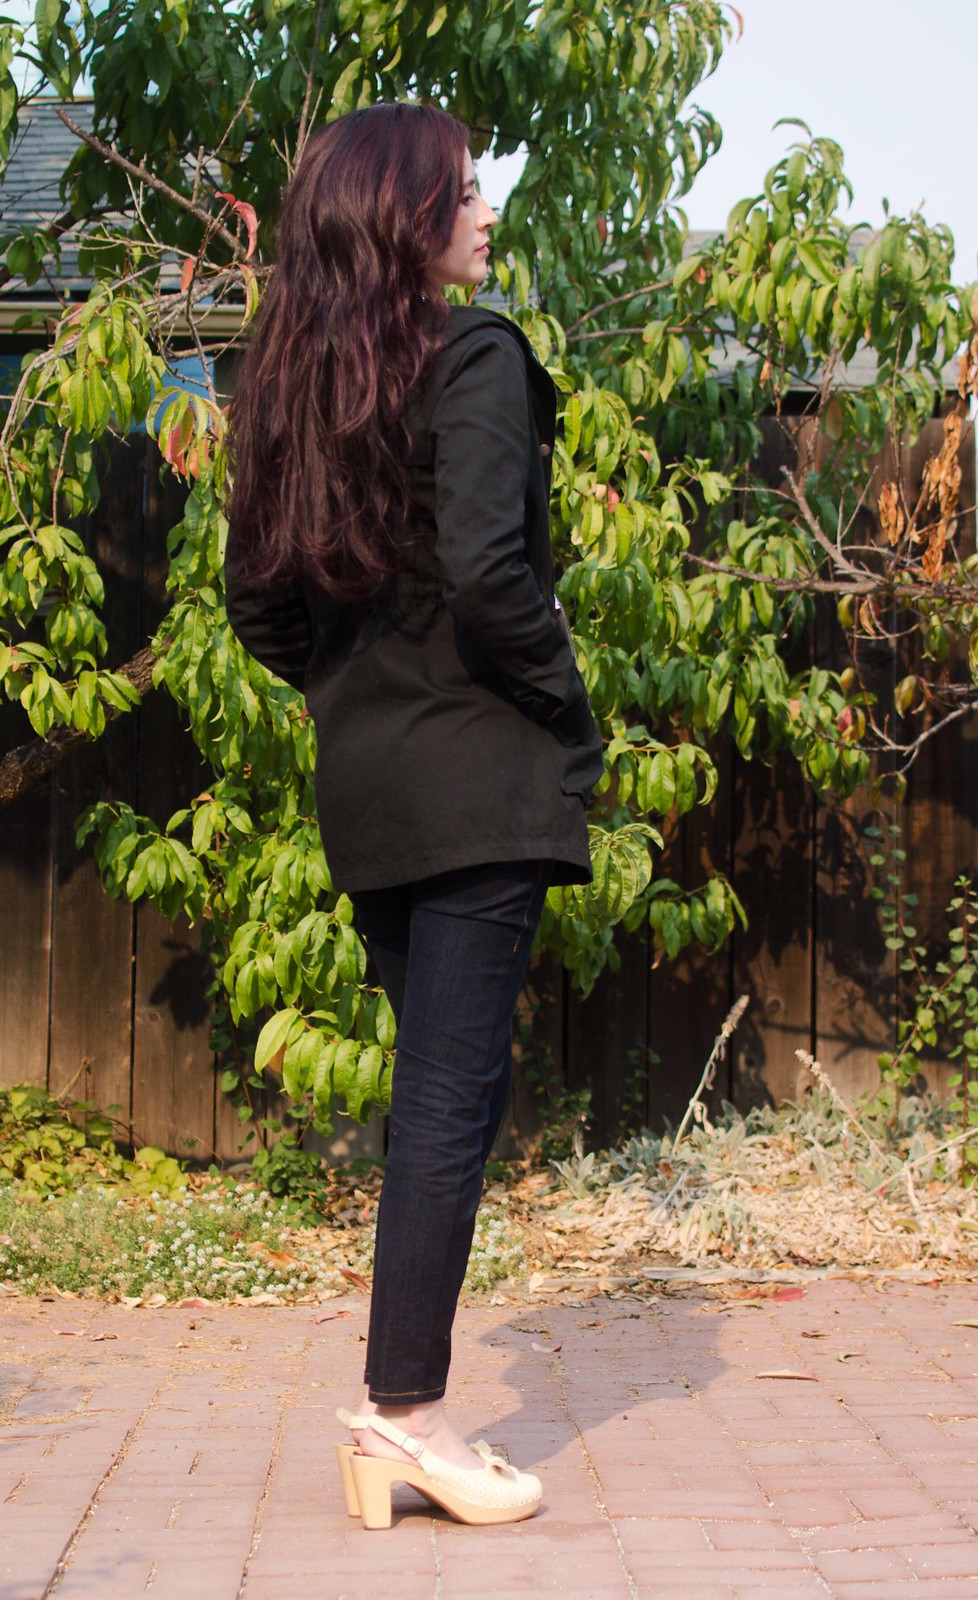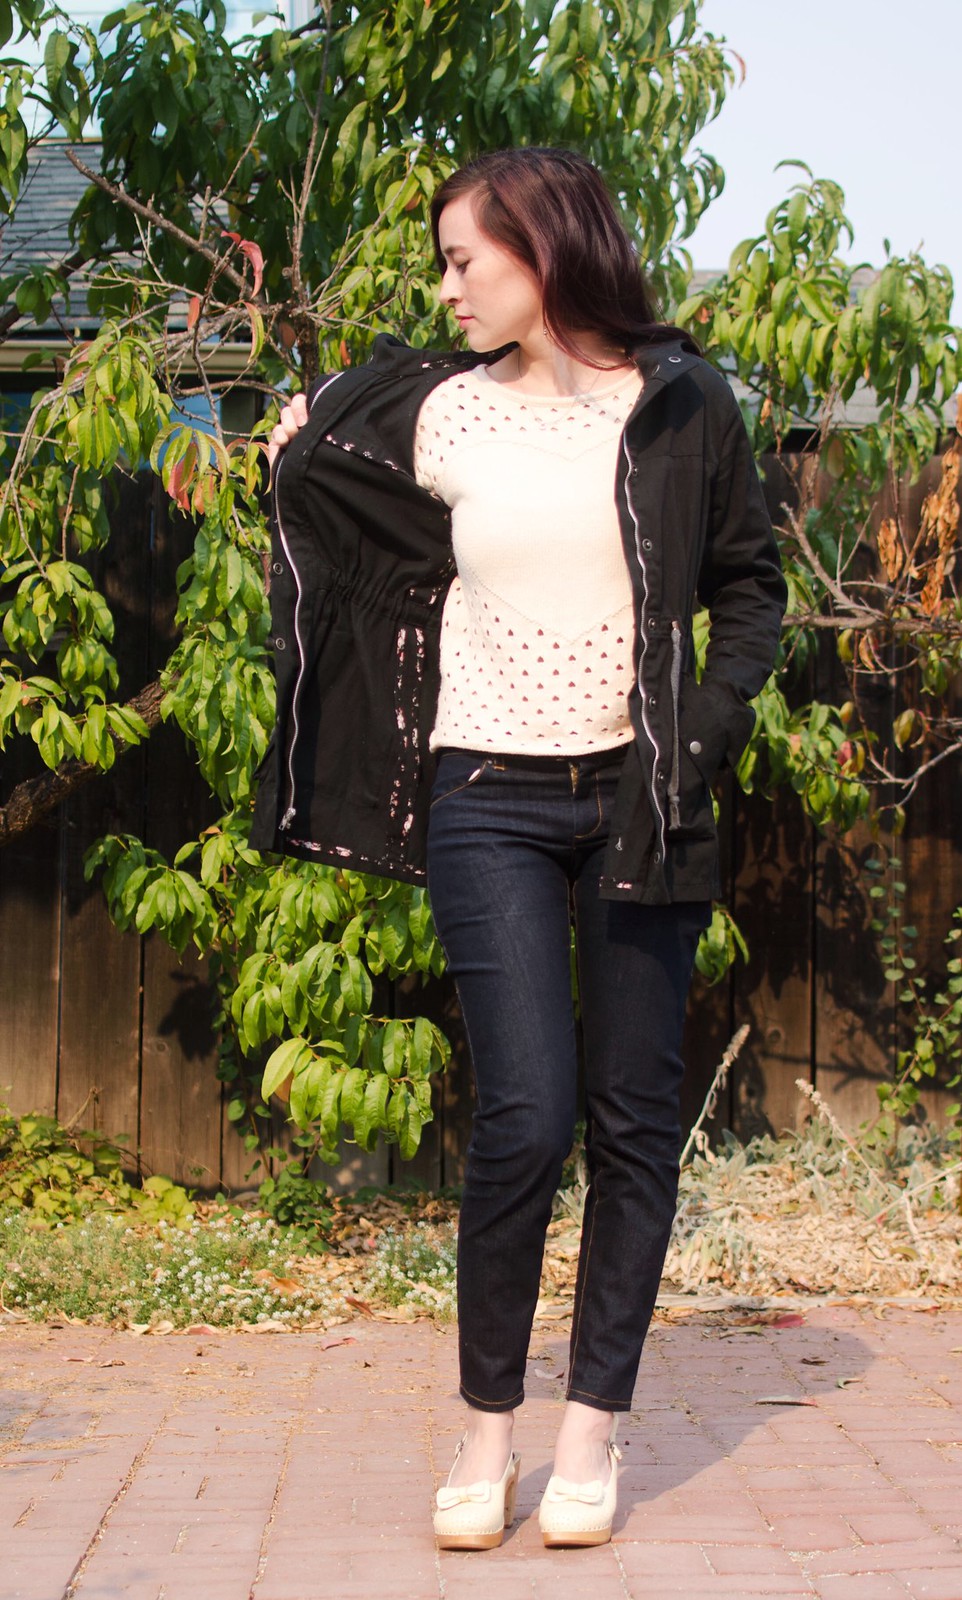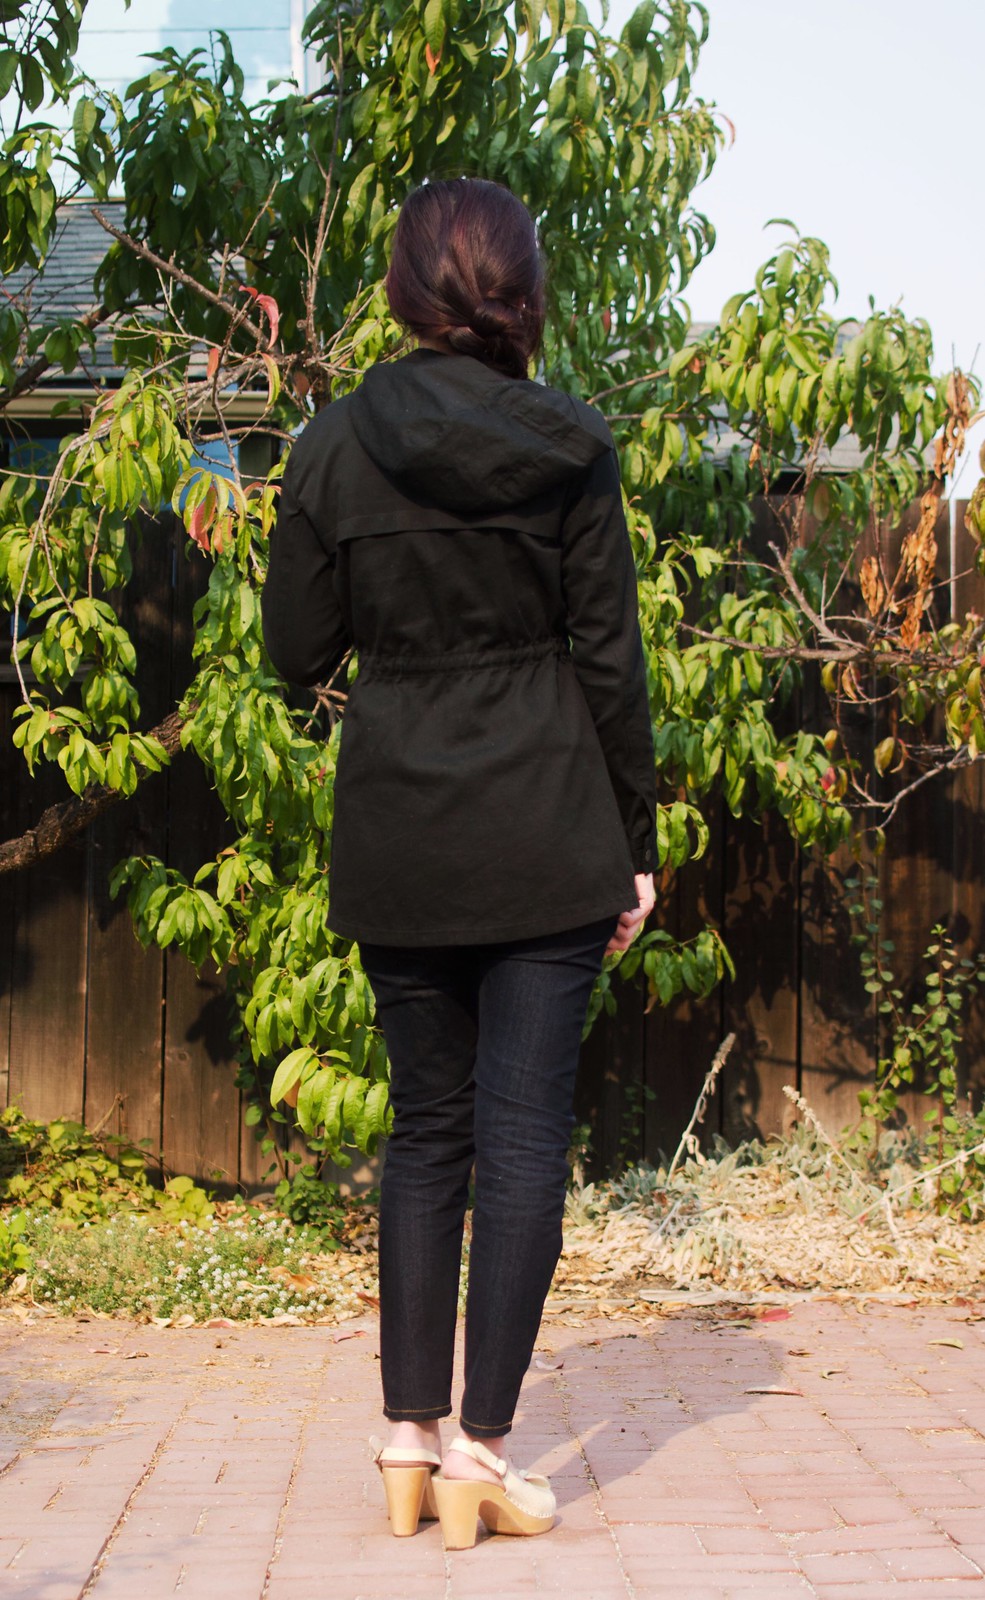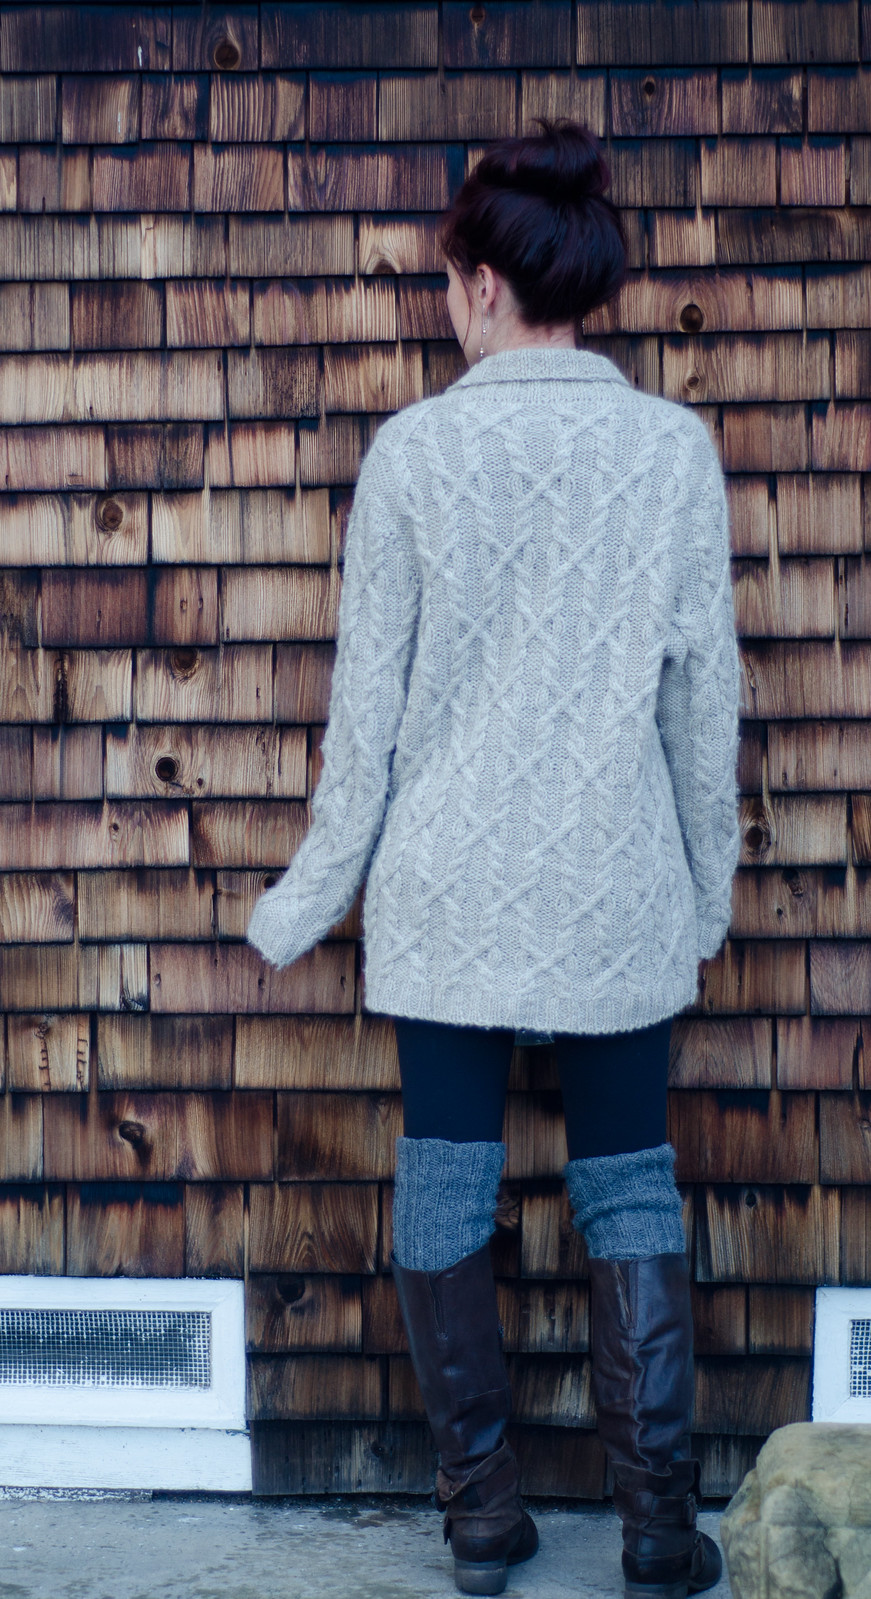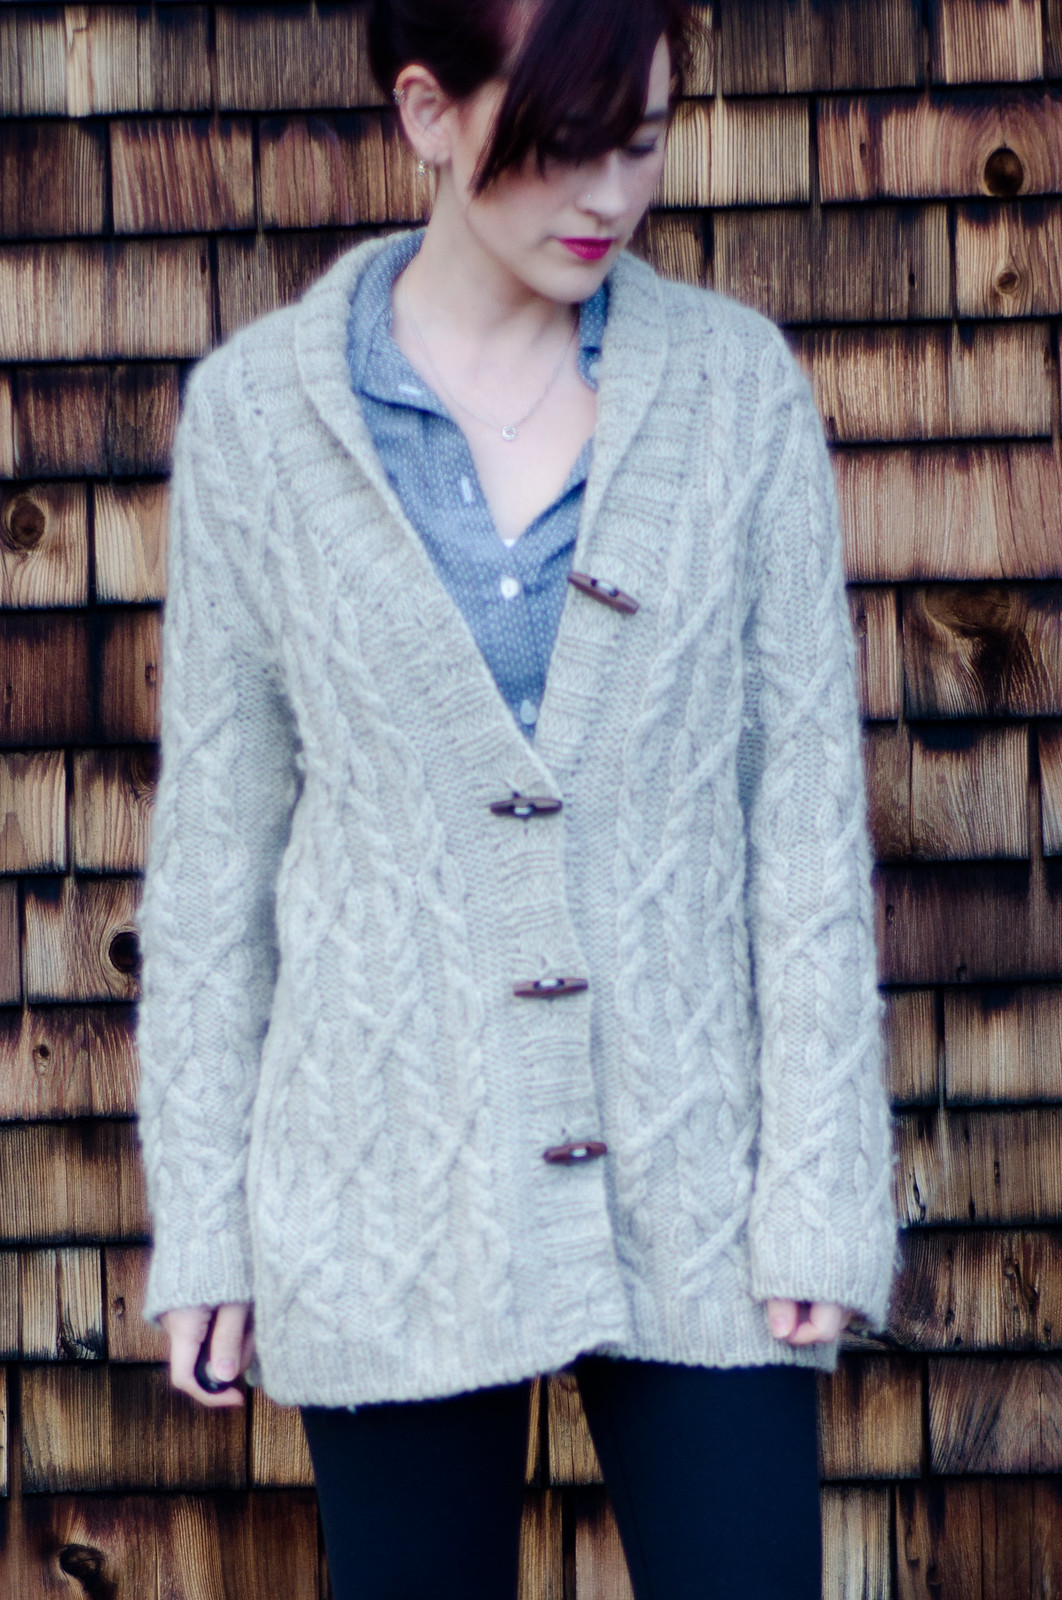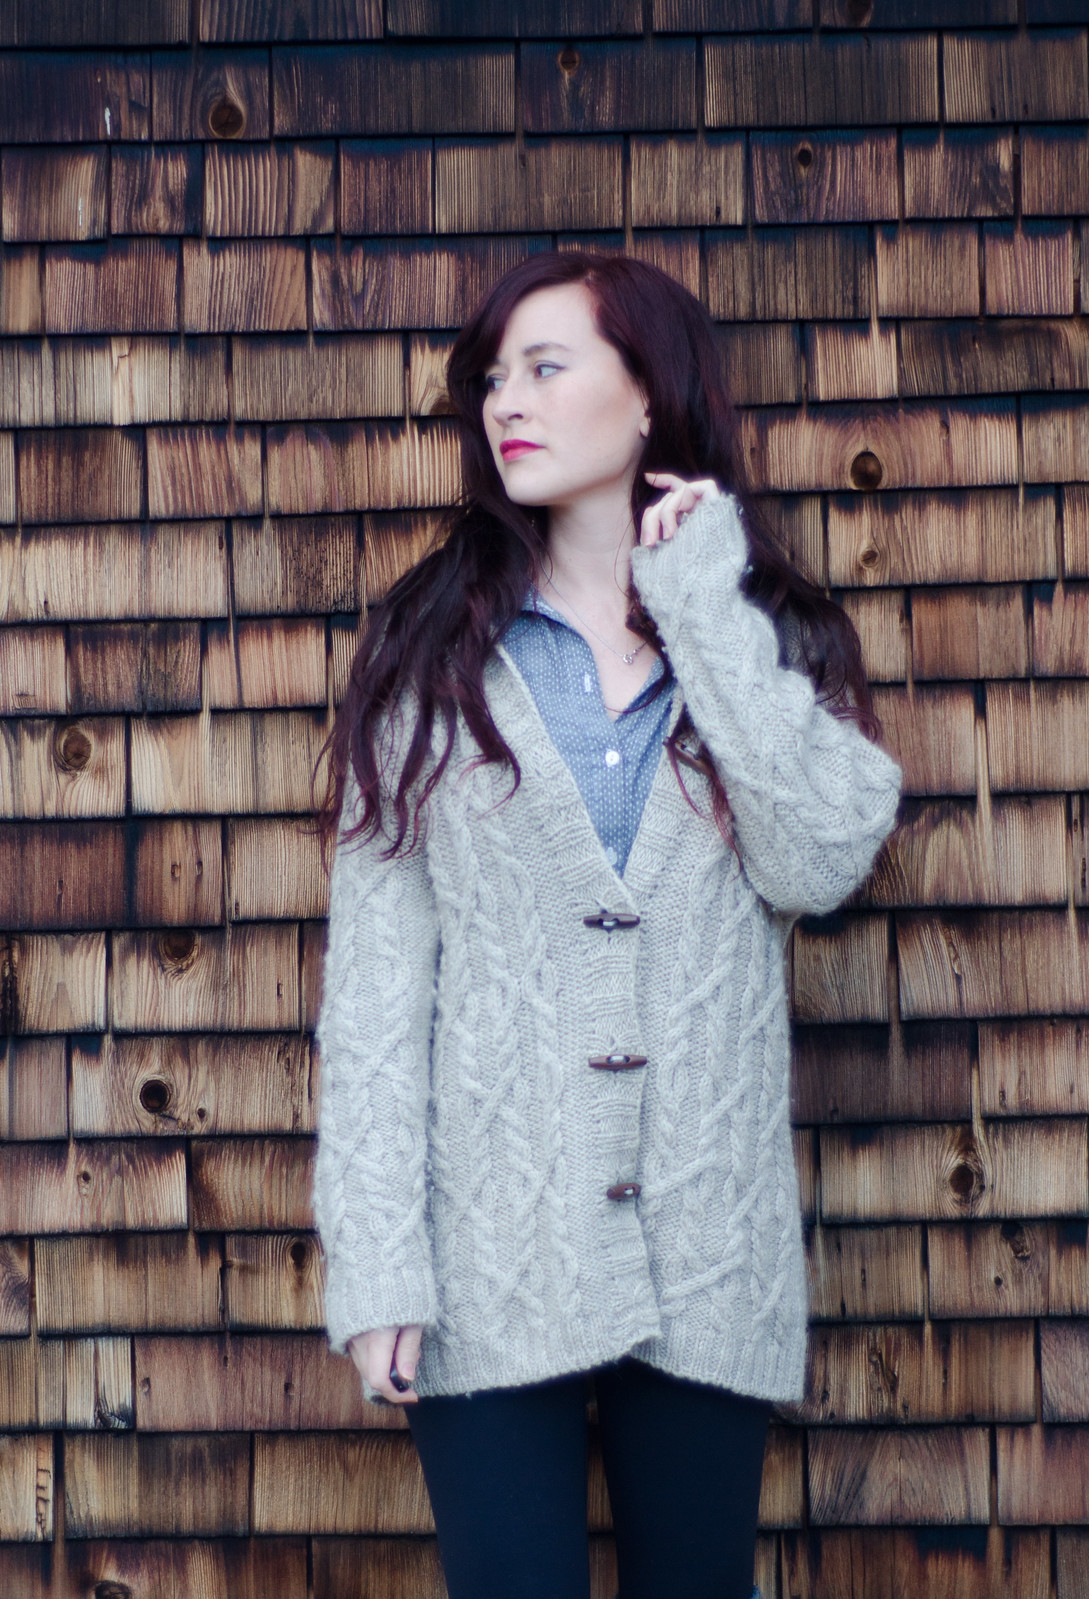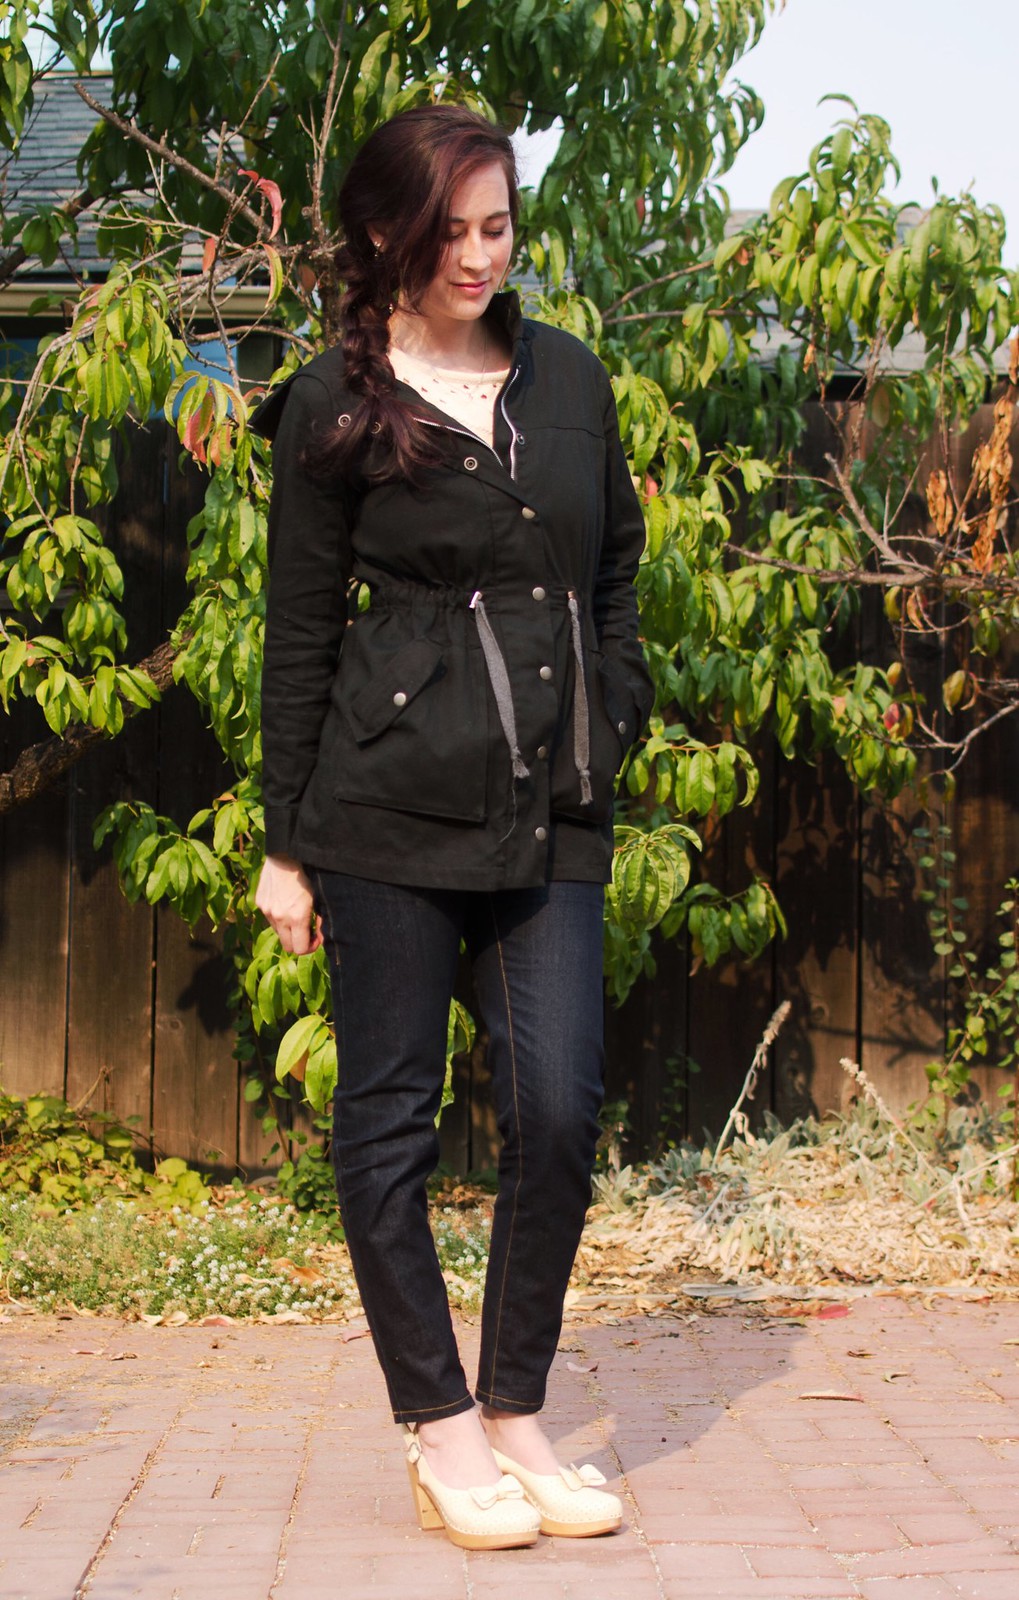
jacket – Kelly anorak // top – Dear Creatures // jeans – self-drafted // shoes – Swedish Hasbeens
Sometime last year I developed a huge affinity for anorak style jackets. Before that I’d been partial to peacoats and what I’ve dubbed “sleeping bag coats“, but I guess technically before that I lived in Boston where an anorak isn’t going to cut it most of the year.
The first one I sewed was the Waffle Patterns Tosti jacket because it was still pretty (relatively) cold and I wanted to play with all the different pocket styles. I also picked up two different Big 4 patterns in this style. And then Heather released the Kelly pattern and it was game over.
The fabric is black cotton twill from Joann’s, the snap buttons are Dritz, the twill tape and cord stoppers are from Pacific Trimming, and the floral bias tape on the inside is self-made from a rayon I got at a local discount fabric store.
I love this thing so much. It was pretty simple to put together, and my muslin fit me almost perfectly so I didn’t really make any adjustments. I did, however, make one bigger drafting change because I wanted an excuse to be able to use this for one of my classes, which required trying out a new skill.
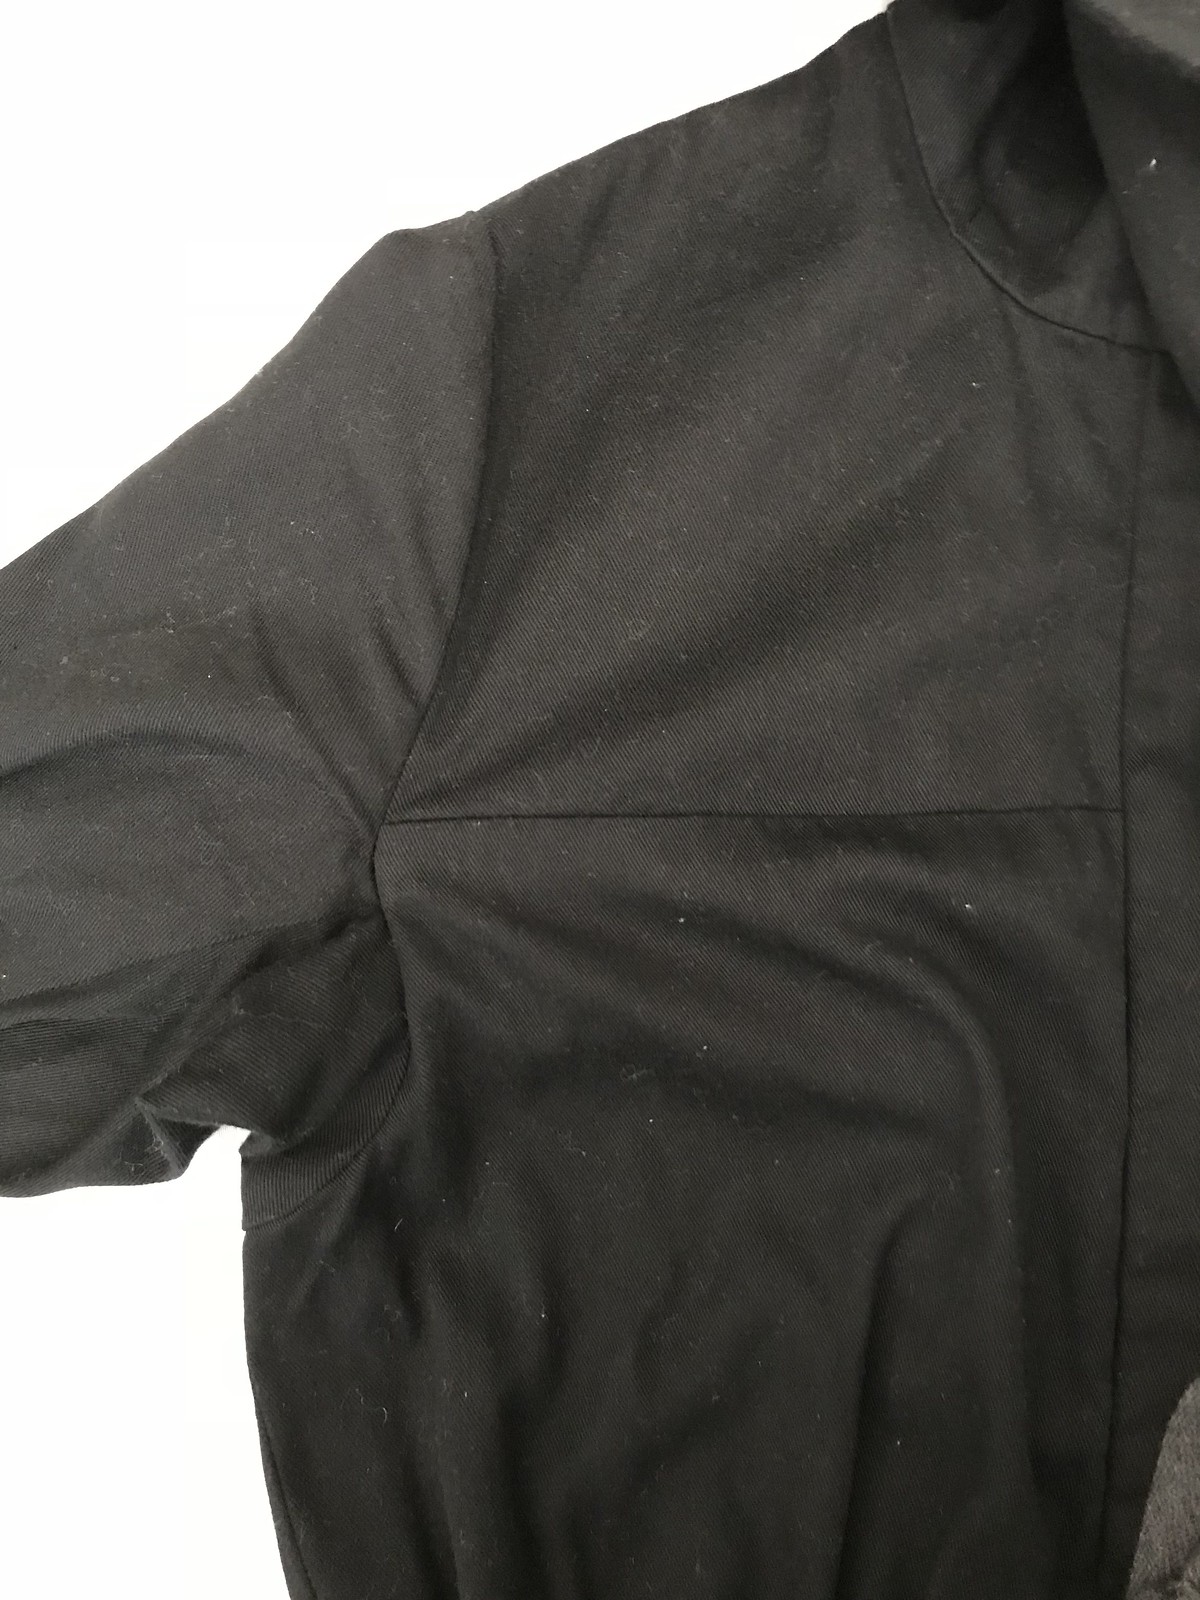
Back in my Copying RTW class with Lynda Maynard, she taught us how to do a cut-on gusset, which basically consists of adding a bit of fabric to the armpit area that then acts like a gusset so you can raise your arms without the whole garment lifting up annoyingly. I’d done it before to other patterns with single sleeves, but Lynda had sent me instructions for doing it to a two piece sleeve and I was super excited to try it. (I can’t seem to find instructions online for the single sleeve version, but it’s much simpler and I believe Lynda goes through it in her Sew the Perfect Fit Craftsy class, which I haven’t taken so I could be wrong).
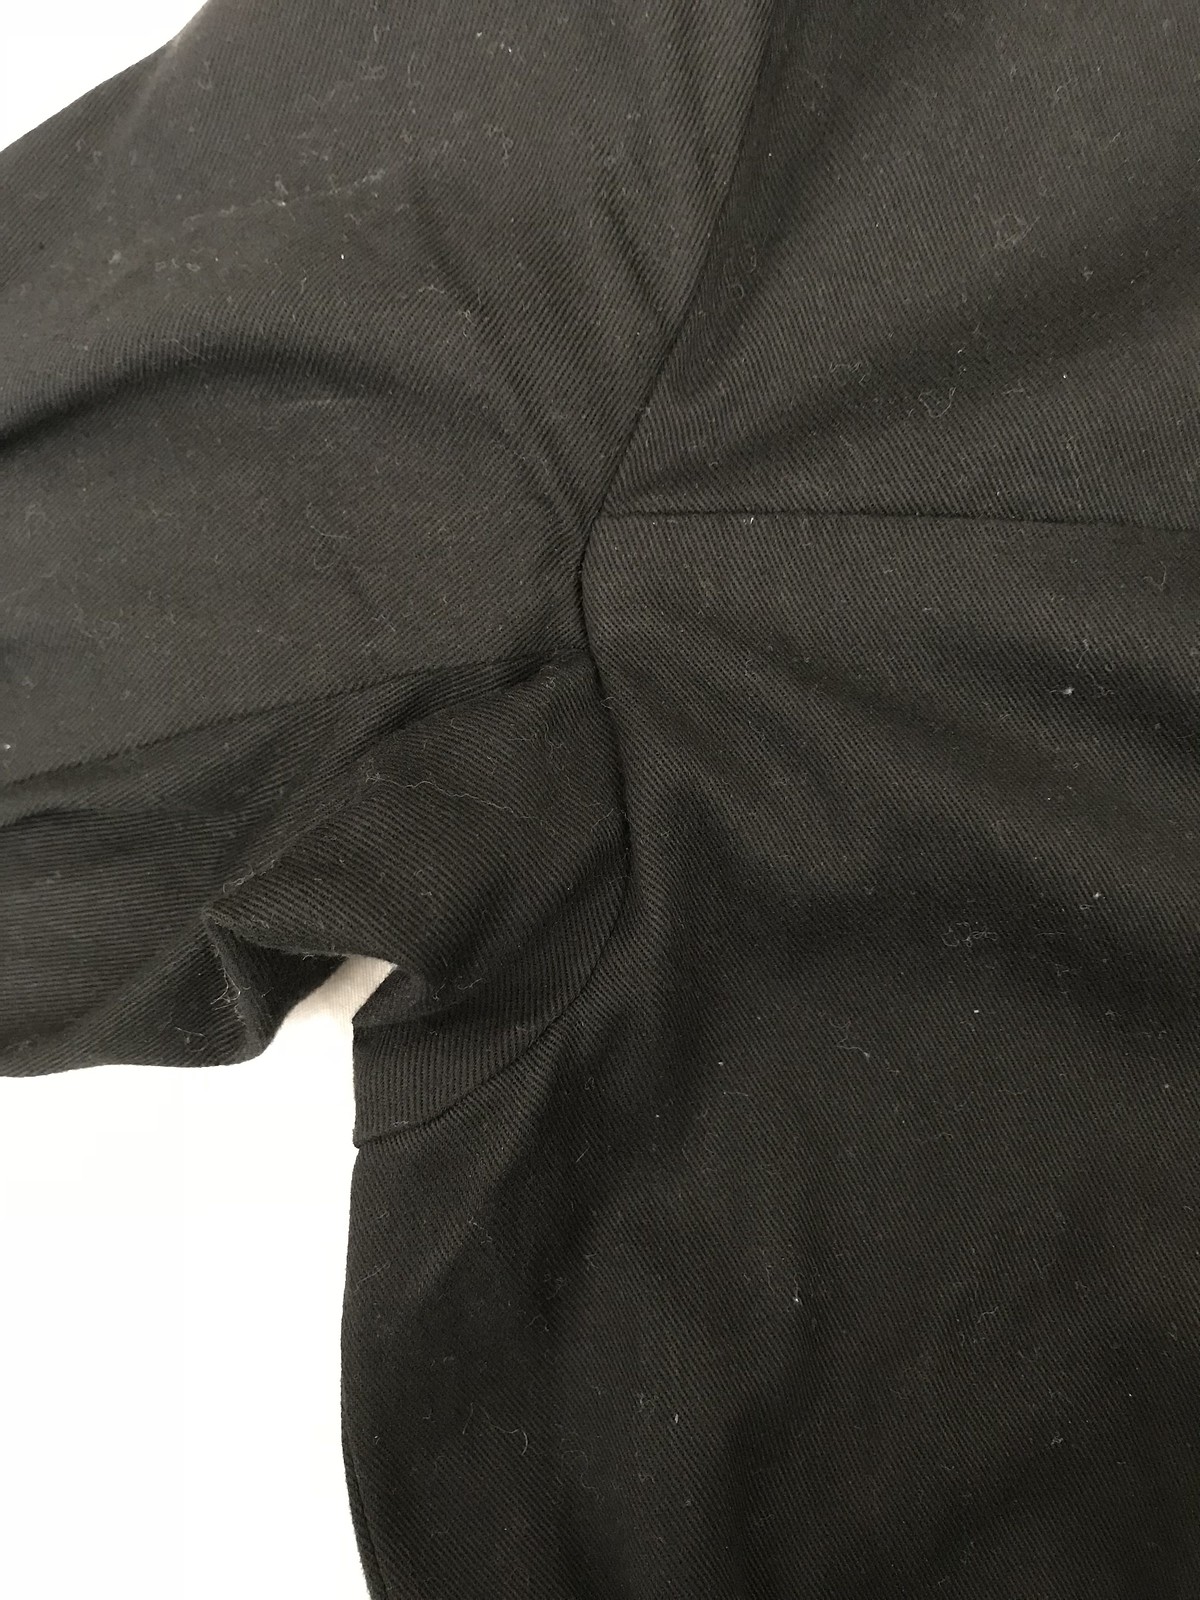 I attempted to take a photo of it but since it’s black it wasn’t easy. Basically that little extra pucker of fabric is the gusset, and just gives you more armpit space to be able to lift your arms. You’ll also notice the armhole ends up about 1.5-2″ lower than where it was originally, so be careful if you’re doing this on a light colored fabric where it’ll show and look weird.
Anyway, it turned out good-not-great. I love the idea of it, and I’m definitely able to raise my arms higher, but I think I screwed up the seam allowances because it pulls a bit in the front in a way that doesn’t quite make sense. I’ll have to try again on the next one. One word of caution though: the way this method works on a two piece sleeve means that you’ll have a much lower armhole seam than normal. I find it virtually unnoticeable in dark or busy fabric, but you might test it out first if you’re using a lighter color or something where seams are more apparent.
Anyway, I’m a huge huge fan of this pattern. I love all the well-thought out, professional looking details, and I’m a sucker for anything that requires hardware. The only thing I didn’t love is that while the pockets look super cool, I’m always a bit fearful of things falling out. I think next time I would want to somehow figure out a way to make the pockets at least snap shut at the top. Perhaps with a lined version?
I definitely want to make a lighter colored one, maybe in a khaki or pale gray. Ooh maybe with polka dot bias tape on the inside!
