Tag Archives: archer

Snoqualmie

Snoqualmie

Snoqualmie

Snoqualmie

Snoqualmie

Snoqualmie

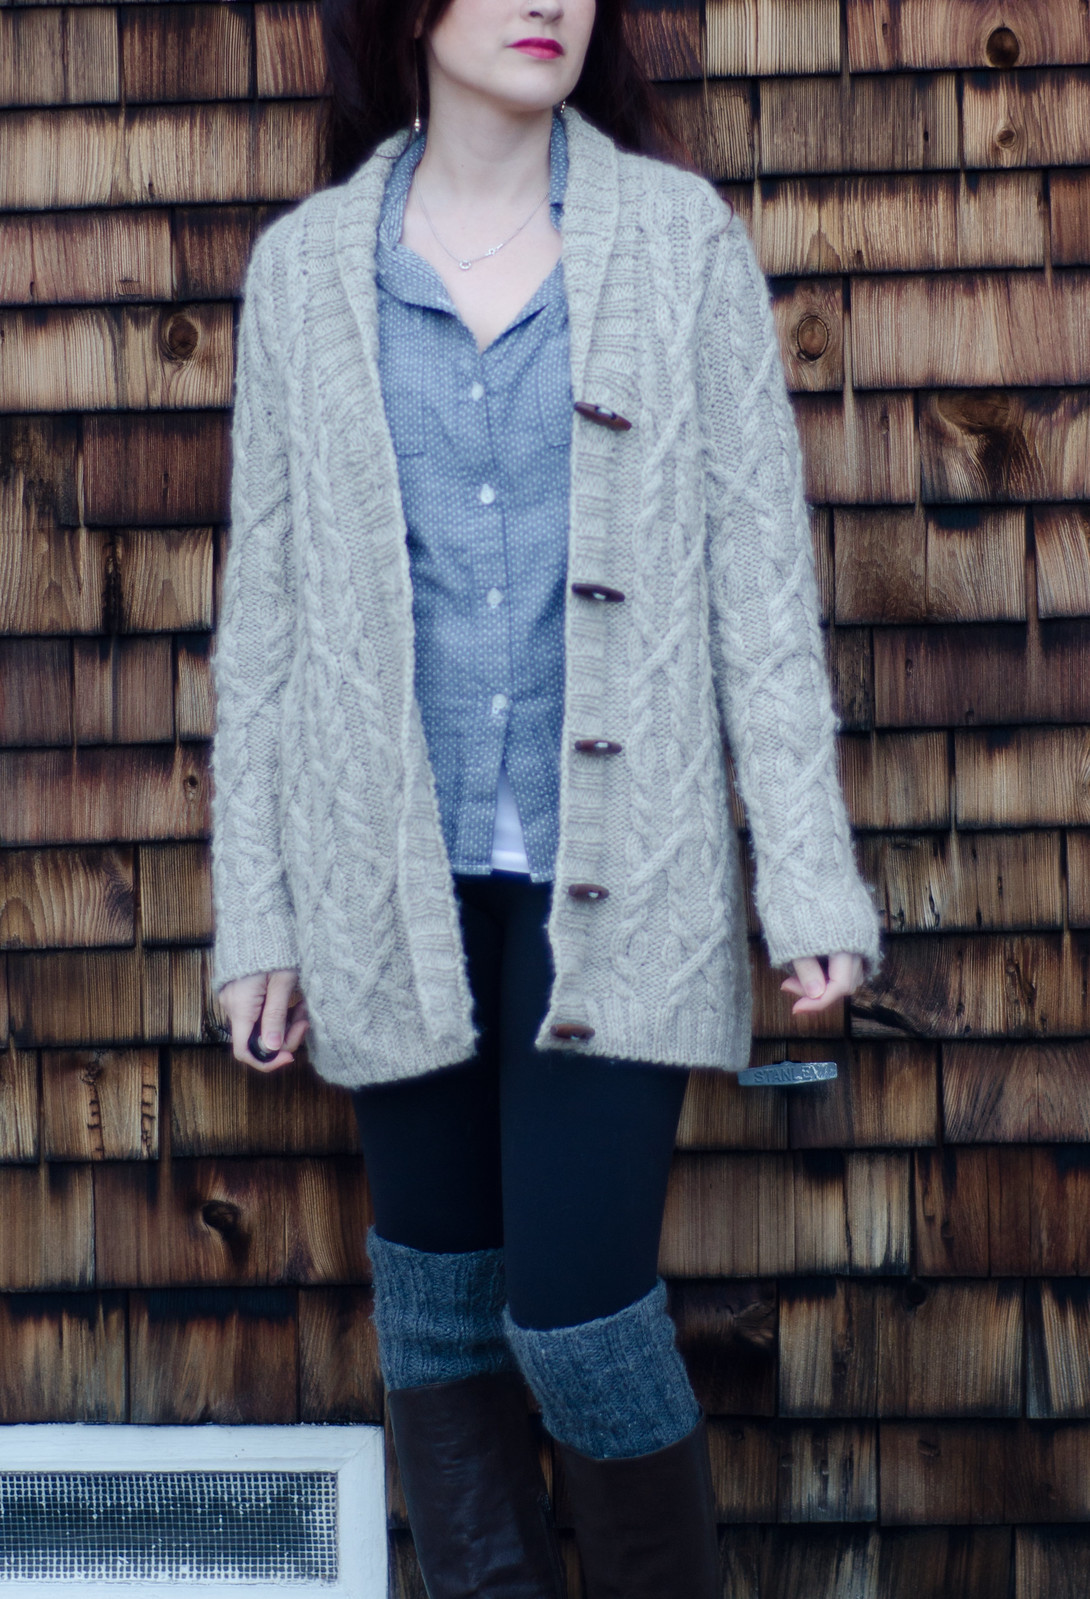
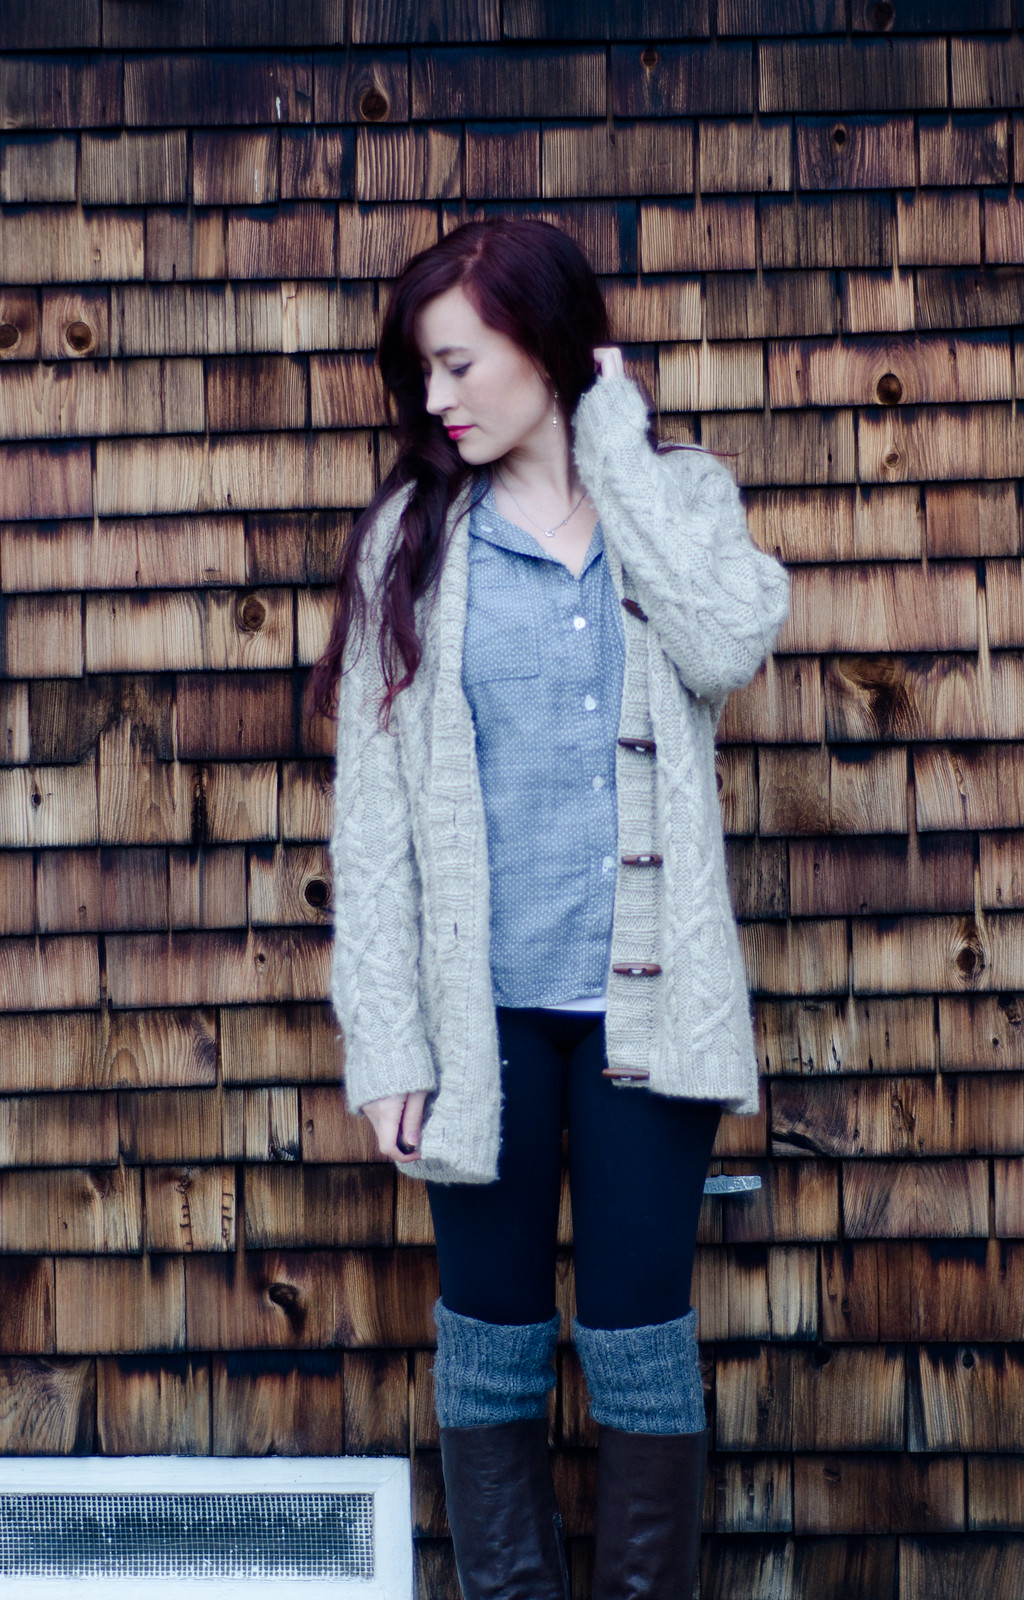
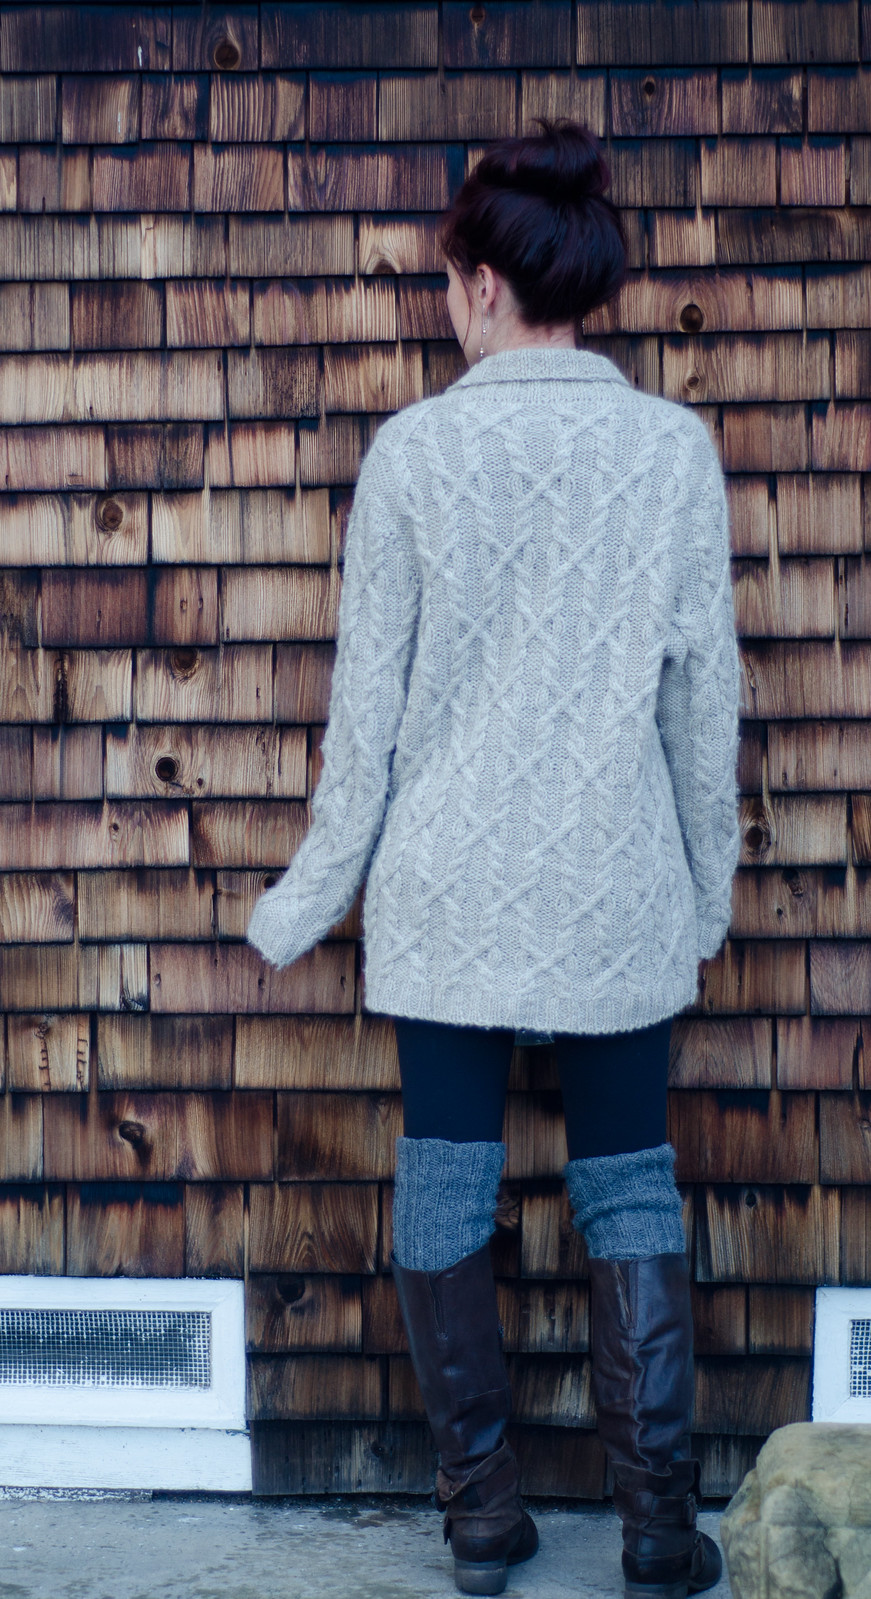
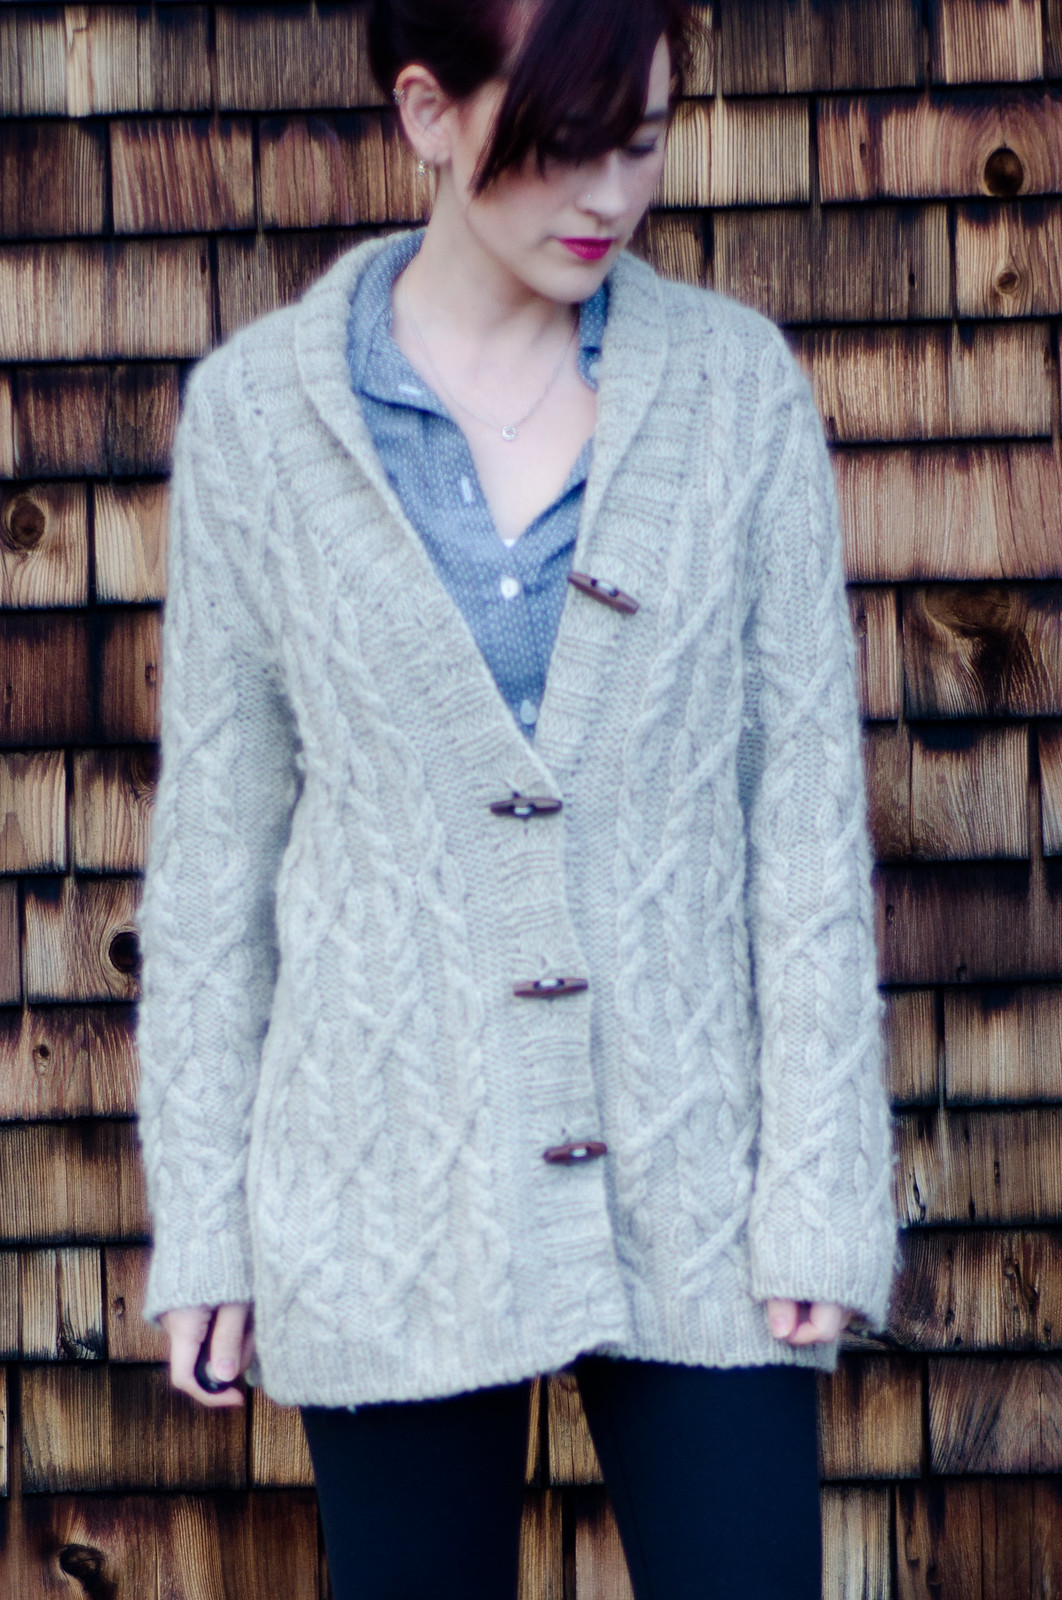
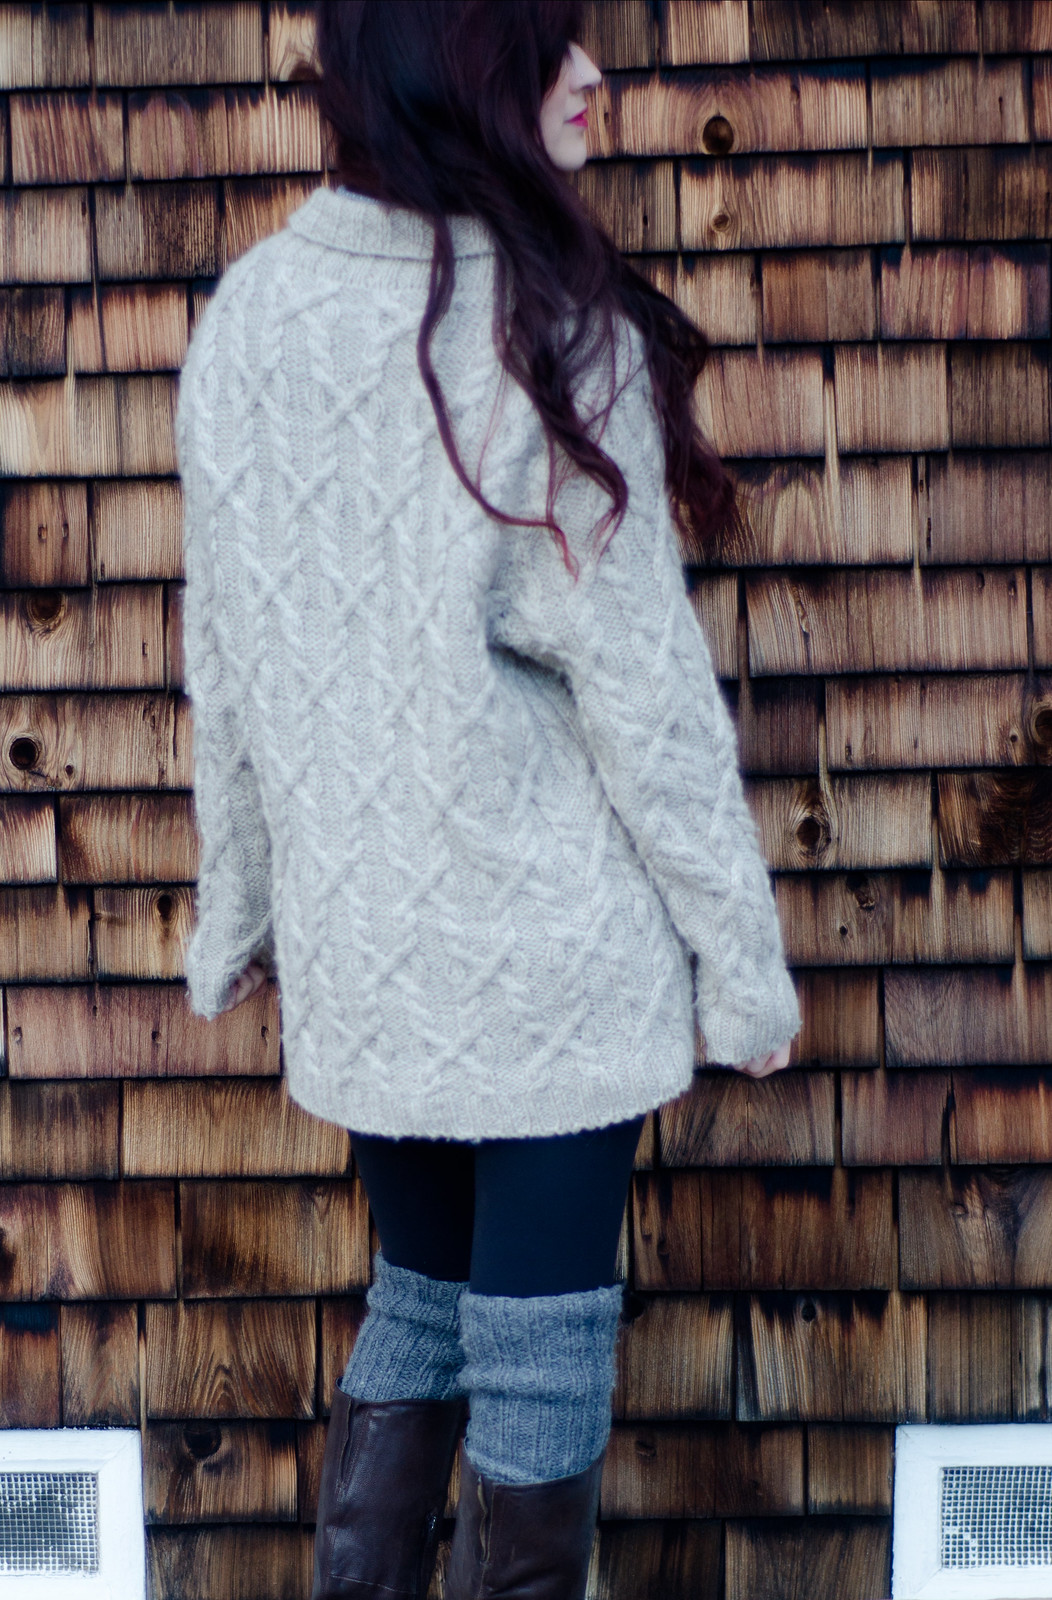
Snoqualmiecardigan: Snoqualmie by Michele Wang, pattern here // shirt: Grainline Archer, pattern here // legwarmers: pattern here

Snoqualmie is done!

(Semi-related: I’m pretty sure every single time I’ve typed “snoqualmie” it’s come out “snog.” Every single time.)

Anyway, I did this one for Heather’s Snoqualmie Knit-along last year. I started knitting it sometime in March, got caught up in end of the semester projects, and then it was summer and I was sweating too much to hold a pile of wooly cables in my lap. I picked it back up a few weeks before finals week of fall semester as stress knitting. And in fact, since it was my first semester of a full class load (plus work, plus I’d just started my internship), there was a lot of stress knitting and I actually accidentally finished it the week of finals. Oops.

I love everything about this pattern (I also love everything about Michele Wang). I wear this sweater ALL the time. The only issue I have with it is that I used Lion Brand Fisherman’s Wool because it’s on the cheaper side and it’s  usually knitted up pretty nicely before. This time it’s pilling like crazy. To be fair, I am wearing this sweater pretty often, but still. It seems a bit excessive. It’s such a comfy oversized boyfriend blanket of cabley goodness that I could totally see knitting a second one. I’ll have to try a better yarn next time and see if it makes a difference.

I struggled a bit with figuring out what kind of buttons to put on this one. It’s a pretty hefty cardigan so I wanted over-sized buttons, but the ones I tried first were a similar toggle style made of some kind of plastic or resin that was much heavier and pulled one side down too much. A friend gave me these lovely wooden ones that are super lightweight and exactly the size and style I was going for.

I knitted a 41 1/2 size (the second smallest size) and while I love how giant it turned out, I might size down or re-check my gauge on the next one just for variety. I like that I can pop this one on over leggings or a dress, but it might be nice to have a slightly more fitted one for wearing with jeans and a t-shirt. I’m also considering adding some grosgrain ribbon or bias trim to the inside of the button plackets and maybe around the back neckline edge for extra support. Does anyone have experience with this? I’ve seen it on RTW sweaters but haven’t actually tried it on anything I’ve knitted.

Now excuse me while I go snog this sweater. I mean snuggle.

Tyger tyger

Tiger Archer

Tiger Archer

Tiger Archer
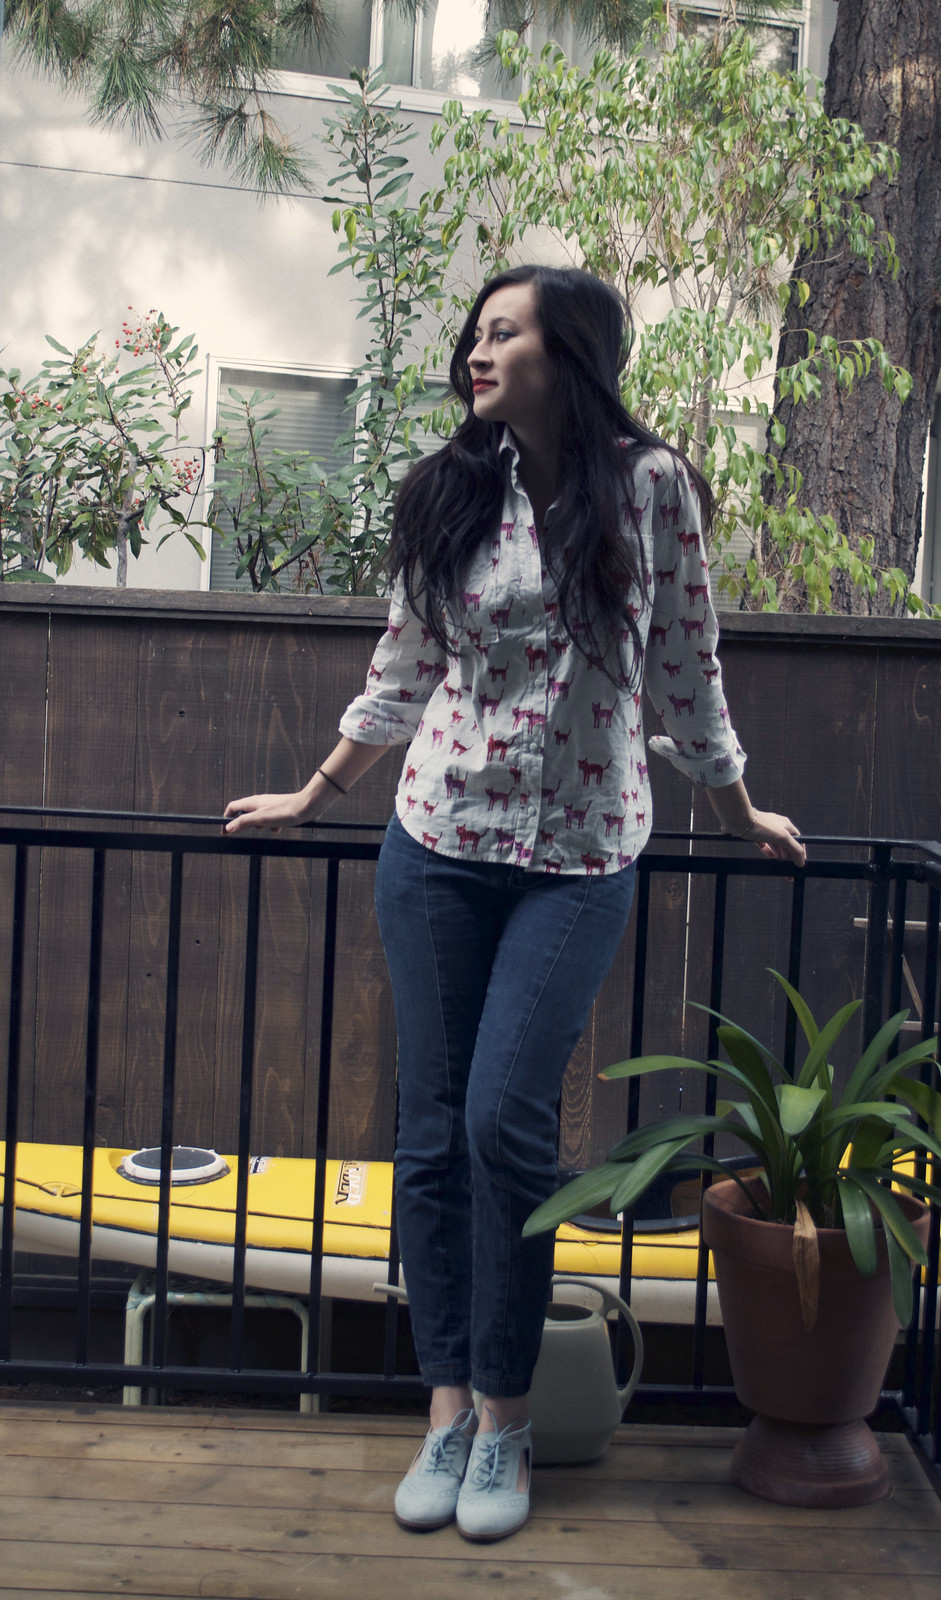
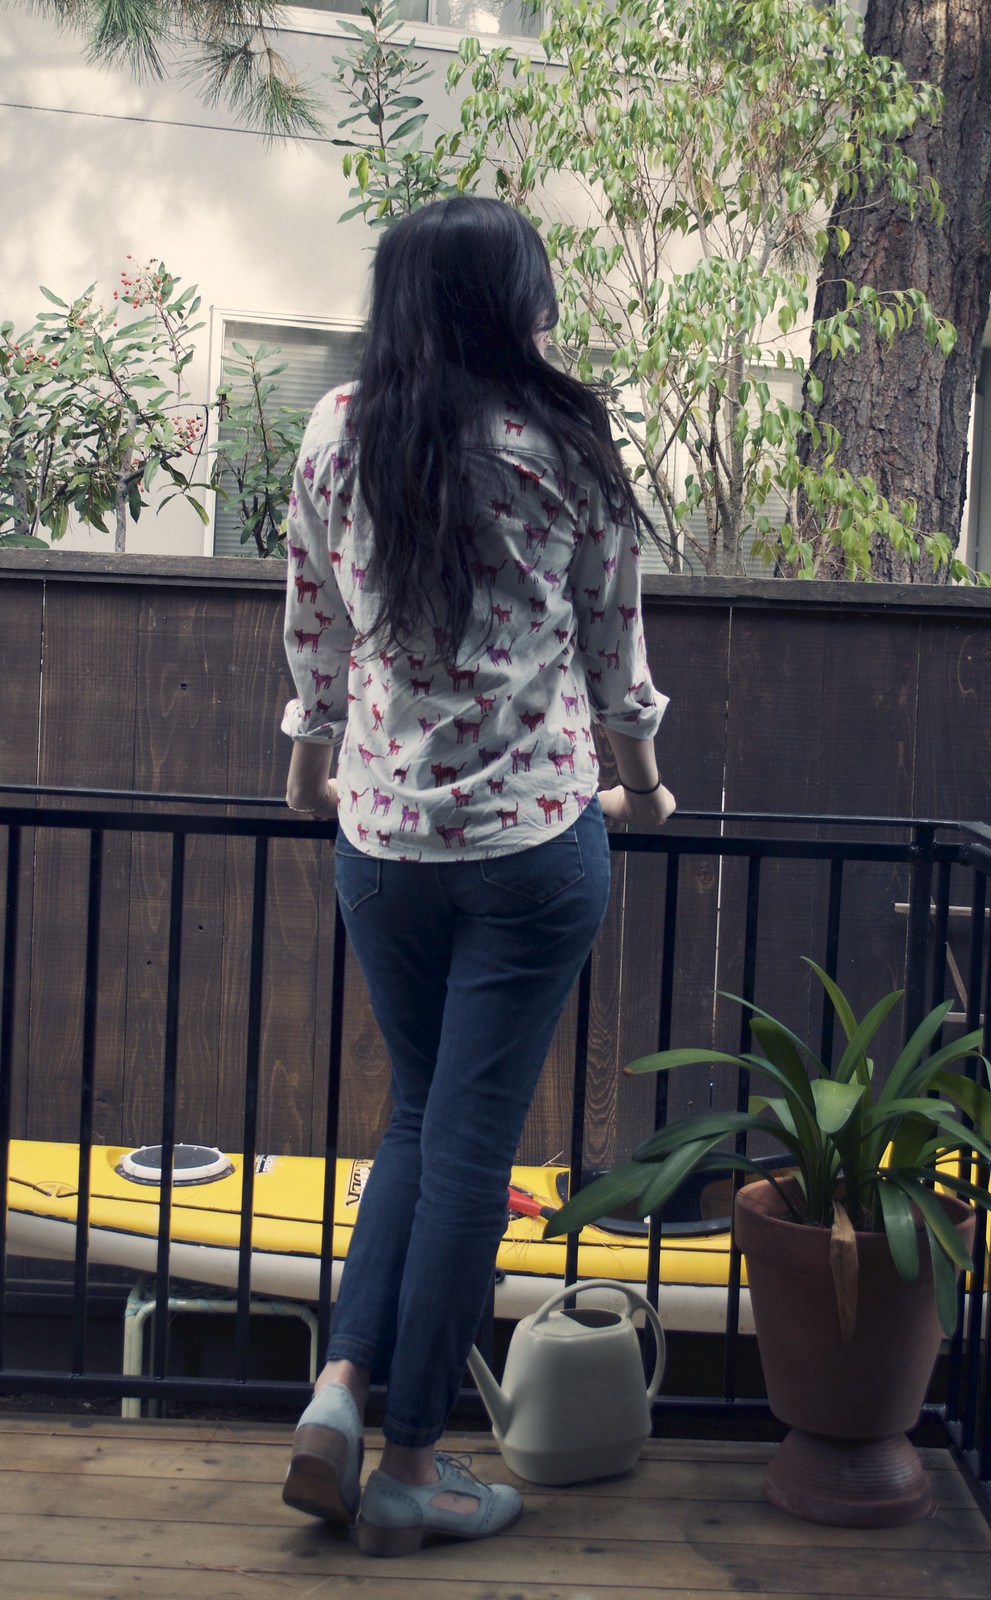
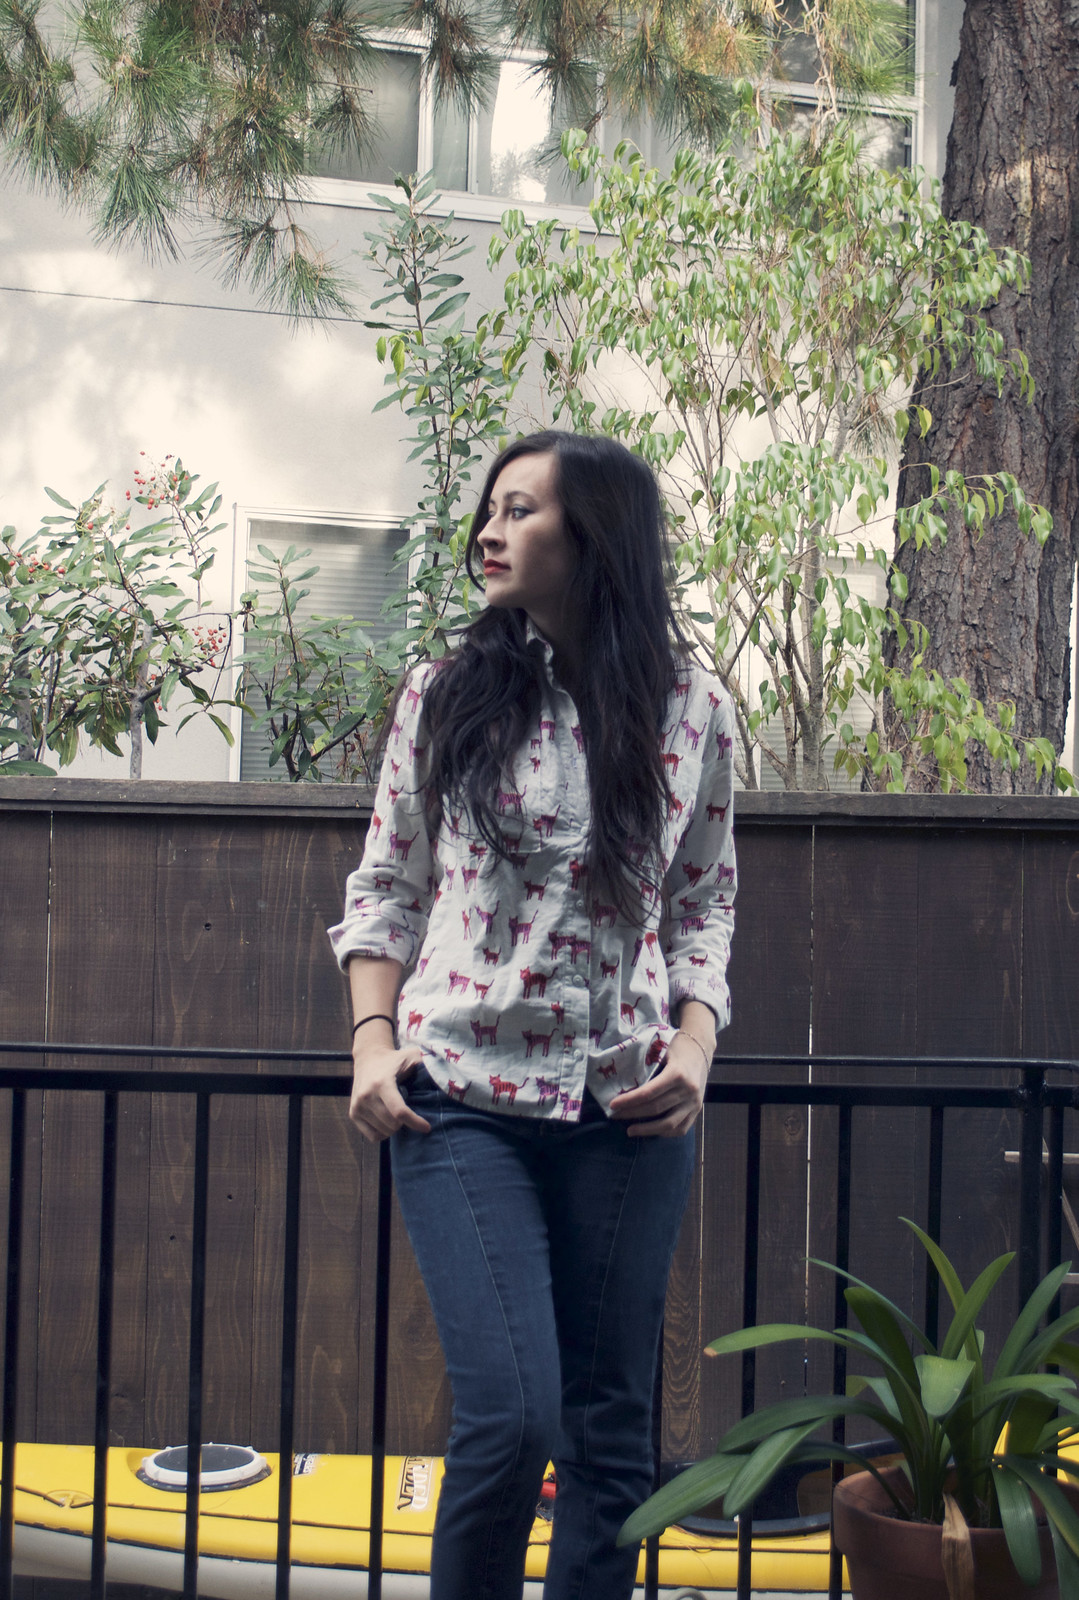
top: Archer shirt // pants: Jamie Jeans // shoes: Shellys London

I’ve made a lot of Archers. I think the official count is at eight at the moment. I feel like I say this every time I make a new one, but I always mean it: this is my new favorite one! Or at least it’s a three-way tie for first place (the red/blue plaid one and the dotted one get worn a ton).

One of my goals this year has been to be more careful and precise with my sewing. For this project I slowed myself down and was extra careful and ironed after every seam. Usually I get far too impatient and rush through things and then it shows (to me, at least), so this time I wanted to do everything right. (Especially since I finally gave into my Cotton and Steel obsession during a particularly awesome Craftsy sale.) In the end it took me about as long to do this one as the others because I didn’t have any seams to rip out. And it’s SO NEAT. I may have danced a little when I finished. And then wore it for three straight days. I also made a pretty little tag for the inside. I just used some twill tape and the only font function on my ancient Bernina to spell out Peneloping. Easy peasy.

The buttons were a complete fluke. I’d picked them up at a discount fabric store ages ago with no plan in mind because they were pale mint and adorable. It wasn’t until I was nearly done with this shirt and realized the background color was just minty enough that white buttons wouldn’t work that I found these buttons again. They’re a tad smaller than I normally use but I still haven’t gotten over how perfect the color is so I’m happy.

Fit-wise, I changed things up a bit. Before this one I’ve always sewn a size 2 for extra swingy-ness and added an extra 2″ to the length for butt coverage so I could wear them with leggings. I decided I wanted this one a little more fitted so I traced a size 0 and didn’t add the extra length. LOVE. I also sliced off about 3/8″ of the shoulder because I noticed previous ones hang off my shoulders a bit. I don’t mind so much if it’s a giant flannel shirt but this helped with the more fitted look.

I have five more fabrics waiting to be made into Archers (I know.. I told you I was obsessed.) and I’m having trouble deciding which fit I like better. Since they’re all flannels I might do a few of each so I can have my buffet-dinner Archers and my fancy-fall-outfit Archers. I’ve even infected my sister, who has requested two plaid flannel Archers for Christmas. Let’s hope non-sewing sisters can appreciate plaid matching skills.

-pointed stare-

de Nîmes

Jamie Jeans + Archer
Jamie Jeans + Archertop: self-made, pattern here // jeans: self-made, pattern here // shoes: Swedish Hasbeens

For a while now I’ve wanted to have a mostly handmade wardrobe. I wanted to be able to look down at my outfit and know that I made most of it. A happy percentage for my ego was about 80%. That meant I wore a lot of dresses and leggings because making actual jeans would of course be impossible. People don’t make jeans. Jeans come out of machines ready-made. Fairies are likely involved.

And then I discovered the joys of squats and deadlifts and pretty soon all of my jeans were too small in the butt and upper leg area (including my favorite pair of Paiges, sad!). This briefly prompted an interest in the Barbell Apparel Kickstarter until I remembered that I learned to sew so that I don’t have to pay over $100 for single garments. I spent about two weeks reading every single pattern review of jeans on the internet and decided that the Jamie Jeans pattern would be a good one to start with. My two fears were finding the right fabric and getting the fit to be flattering.

I had no idea where to start fabric-wise. I ended up ordering 5 different denims from fabric.com and then emailing Named Patterns out of sheer desperation. Laura from Named wrote me back with some super helpful advice that I’m posting here (with permission):

“Most of the women’s skinny jeans are made of light weight denim, meaning 12 oz or less, and have approximately 1-4% elastan/lycra. If you want to make the jeans very fitted, I would suggest choosing a 8 – 12 oz denim, with about 2% of elastan. A stretch percentage of 10-15% is just enough, as very stretchy denims that have more than 2% of elastan are not very durable – they will feel nice and comfy at first, but become baggy quite soon, as the elastan fibers will wear off faster than the cotton. Basically, the heavier the denim the more durable it is, and same goes for the stretch, the more stretchy, the more fragile. These are just a couple of things to keep in mind when choosing denim, because jeans are usually something that you will wear almost every day, and if you make the effort of sewing a pair, you will definitely want them to last as long as possible 🙂

An 8 oz denim with 10% stretch sounds all right to me, it could be a little heavier too, perhaps 10 oz for added durability. As I said, I wouldn’t suggest anything with more than 2%. The Jamie jeans have some negative ease though, and they are meant to be fitted, so in any case it’s necessary to have some stretch.”

For my first pair of jeans I used this fabric, which is sadly no longer available. At 12.5oz it’s a little heavier than Laura suggests but it worked out great and made a sturdy pair of jeans that were still stretchy and comfy as skinny jeans. They’re a little too heavy to be summer jeans but in the winter the thickness would be perfect. The Named instructions were decent enough but what I pored over religiously through the whole process was this Flickr tutorial that I found on Scruffy Badger’s Jamie review post.

The problem was that I didn’t like where they sat on my waist. My super long torso meant that they were just a smidge too high to be regular jeans and a smidge too low to be actual high waisted jeans. I ended up cutting off about an inch under the waistband all the way around, except I forgot to take this into consideration with the width of the actual waistband so I ended up with a pair of jeans that fits great all the way up to the waistband, which is constrictingly tight. I think I can salvage them by just cutting a longer waistband but by this time I needed to move away from this project.

This was before I added the button closure.

For my second pair I decided to do something a little more summery. I bought this fabric in white and decided to make a pair of white jeans that I would then dip dye. I used 100% white cotton thread so the thread would dye too and it turned out pretty well! The one thing that was a bit annoying was that I didn’t actual wear them around until after I’d dyed them and they stretched out a bit and some of the undyed white stitching showed through. If I were to do this again I’d wear white jeans around for a day before dyeing them. This fabric felt much lighter but the stretch doesn’t seem to have as much recovery as the other pair, which is a bit annoying.

I made them the exact same way as the first pair except with an adjusted waistband. Sadly I threw these in the wash with a pair of denim shorts that bled so there is some weird blotchiness on top. Luckily they hadn’t turned out as dark as I had wanted so I had wanted to redye them anyway.

My third pair is very nearly perfect! I used a random denim I found at Joann’s (I think it was 8.5 or 9.5oz with 2% stretch). I took out a wedge at the top of the center back seam, trimmed an inch off the top before adding an appropriately sized waistband. I forgot that Named patterns have a 3/8″ seam allowance so I’m pretty sure I sewed these up with a 5/8″ seam, but it worked out because I remember having to take in the seams a bit in my first pair so these were the perfect size. They did stretch out a bit with wearing but I threw them in the dryer once (which I normally never do with jeans) and since then they’ve become the perfect size!

One thing I would do differently on the third pair is that I used cotton on the inside of the waistband instead of using denim. I found the waistband of the first pair (made of 12.5oz denim) slightly too constricting and thick and wanted to try using cotton instead. I forgot the actual reason for doing so and did it even though this fabric was more lightweight, which resulted in a flimsier waistband than I would like. Also the fabric was not the nicest and although it’s softened up with multiple washes, it was a bit scratchy at first.

Anyway, the moral of the story is that jeans are totally doable! The only supplies I bought that I’d never heard of where the jeans buttons (I wandered into Grey’s and asked Sarah “Do you have the button thingies that go on jeans?” and she was like “Here are 5 different kinds.”) and jeans topstitching thread. (Don’t laugh. I thought you just bought gold thread and maybe used the triple stitch button on your sewing machine.) The other thing that was absolutely indispensable in making my topstitching nice was the edgestitching foot I bought recently. It actually made topstitching fun rather than a perilous journey of sweat.

I’m currently working on my 4th pair in an unlabeled denim from Sew Low that feels around 9oz with maybe about 15% stretch. I’m trying something a little different with this one and using a dark thread for topstitching instead of the traditional gold. Next I want to do a light wash pair but I’m having some trouble finding a nice light shade of blue that isn’t weird.

Yay jeans!

Oh and I FINALLY finished my poor abandoned dotted Archer. I had set it aside because I’d done something wrong and was too demoralized to try and fixed it and then it ended up just sitting in my closet for over a year. Once I’d picked it up again I couldn’t figure out what I’d done wrong and it took me all of about two hours to finish it. Wherps.
A is for Another Archer And An Aidez

Aidez + Archer

Aidez + Archer

Aidez + Archer

Aidez + Archer

Aidez + Archer

Aidez + Archer

Aidez + Archer
shirt: self-made, pattern here // sweater: self-made, pattern here // leggings: self-made, pattern here // glasses: Bonlook // necklace: Modcloth
Today’s post is a two-for-one!

This sweater is one I made aaages ago and sort of forgot about it. It was pre-dSLR and pre-knowing-anything-about-how-to-photograph, and apparently before I had learned that taking outfit photos in a dark room with the shutters closed isn’t terribly effective. Anyway, you can find all the sweater info in this post. I’ve been thinking of making another one and I’m thinking maybe a dark red.

Next up, my latest Archer! Funny story about this one. I was perusing an online thrift shop and they had a ballerina pink silk button-up top from JCrew that was absolutely gorgeous and I needed it. Except my bank account started crying and then I remembered that I had just inexplicably without a project in mind purchased rayon challis in the perfect color and was also itching to make another Archer.

Let’s just say this one was not nearly as fun as the other ones. I always get distracted by how soft and pretty rayon challis is and forget what a bitch it is to sew with. Let’s just say it’s a damn miracle the shirt got made, and we’ll be rolling up the cuffs on this one. It’s a tiny bit embarrassing. I was able to French seam this one though, and I love that every little seam is neat and hidden.

In other news, last week I decided not to do Christmas knits this year. Yesterday I realized that I came to the same conclusion last year and then was overwhelmed by guilt the week before Christmas and ended up spending a full week knitting nonstop. SO I ended up buying yarn for ten people’s presents to get started early. I may have also bought yarn for three presents for myself. (How did that happen?) I feel so accomplished except that technically I haven’t even started yet. Yikes. Christmas knitting really needs to be started in May.

PS Epic apologies for taking ten years to respond to comments. I absolutely love hearing from you guise and I got totally sidetracked this last week due to life and things. 

PPS I am in a very silly mood today. I think maybe I had too much caffeine..

Archer + Virginia sittin’ in a tree

Plaid Archer Plaid Archer Plaid Archer Plaid Archer Plaid Archer shirt: self-made, pattern here // leggings: self-made, pattern here // glasses: Bonlook // knee socks: J.Crew // boots: Boutique9 

Sometimes projects just don’t work out the way you planned. You have this perfect image in your head, you painstakingly gather all the supplies, read all the tutorials, and do all the math, and something just doesn’t work out.

This was kind of the opposite. :]

I had absolutely zero faith that this would work out. I’ve always had a soft spot for a cute plaid shirt, but even after seeing a bunch of gorgey Archer on the interwebs, I had sort of decided that that was beyond my skill set or patience level to even attempt. But then I decided that I needed a crazy skill-developing project (to even out the endless hours of mindless ruffling) so I figured this would be a good idea. But I was pretty sure this was going to fail.

I started looking for a cute cotton flannel plaid print that wasn’t too preppy/matronly/sleepingshirty/manly/boring and when I saw this one I knew it was a winner. I immediately set out to read about a million tutorials on how to match plaids.

These two posts were particularly helpful:

http://reallyhandmade.com/cutting-out-plaid/
http://reallyhandmade.com/sewing-plaids/

I’m not joking when I say that it took me two weeks to cut out all the fabric. I had to read and reread tutorials a bajillion times, and then I’d get myself all geared up to cut into the fabric and give up at the last minute. Two weeks. Maybe I should’ve picked a shittier fabric to start with because falling in love with this one made things even more stressful. The fact that the cotton flannel didn’t like to keep its shape is great for shirt comfy-ness but not so great for cutting.

I totally have the hang of it now though!I stalked everyone else’s Archers to see what pieces were supposed to be cut on the bias (I ended up doing the pockets, the right button band, the sleeve cuffs, and the outside piece of the back yoke) because I realized I had no idea which ones were supposed to be. I even made the pockets and sleeve cuffs (which I forgot to roll down and photograph) identical to each other! I tried to match everything else as best as I could and it was totally worth the extra effort, although I now have an annoying habit of scrutinizing (ok, and judging) everyone’s plaids to see if they match.

And yeah, I’ve worn this every single day since I finished it on Wednesday evening. I should probably make a few more.

PS Yes, those are a pair of Virginia leggings I snuck in there! These were made out of moisture-wicking fabric that I ordered off eBay. I’ve worked out in them but I haven’t actually gone for a run in them so I can’t really speak to the effectiveness of the moisture-wicking abilities. They’re definitely super toasty though.

PPS I feel like Archer + Virginia is a match made in heaven.

PPPS You guys, I’m so in love with this shirt it’s not even funny.