Cat lady fashun

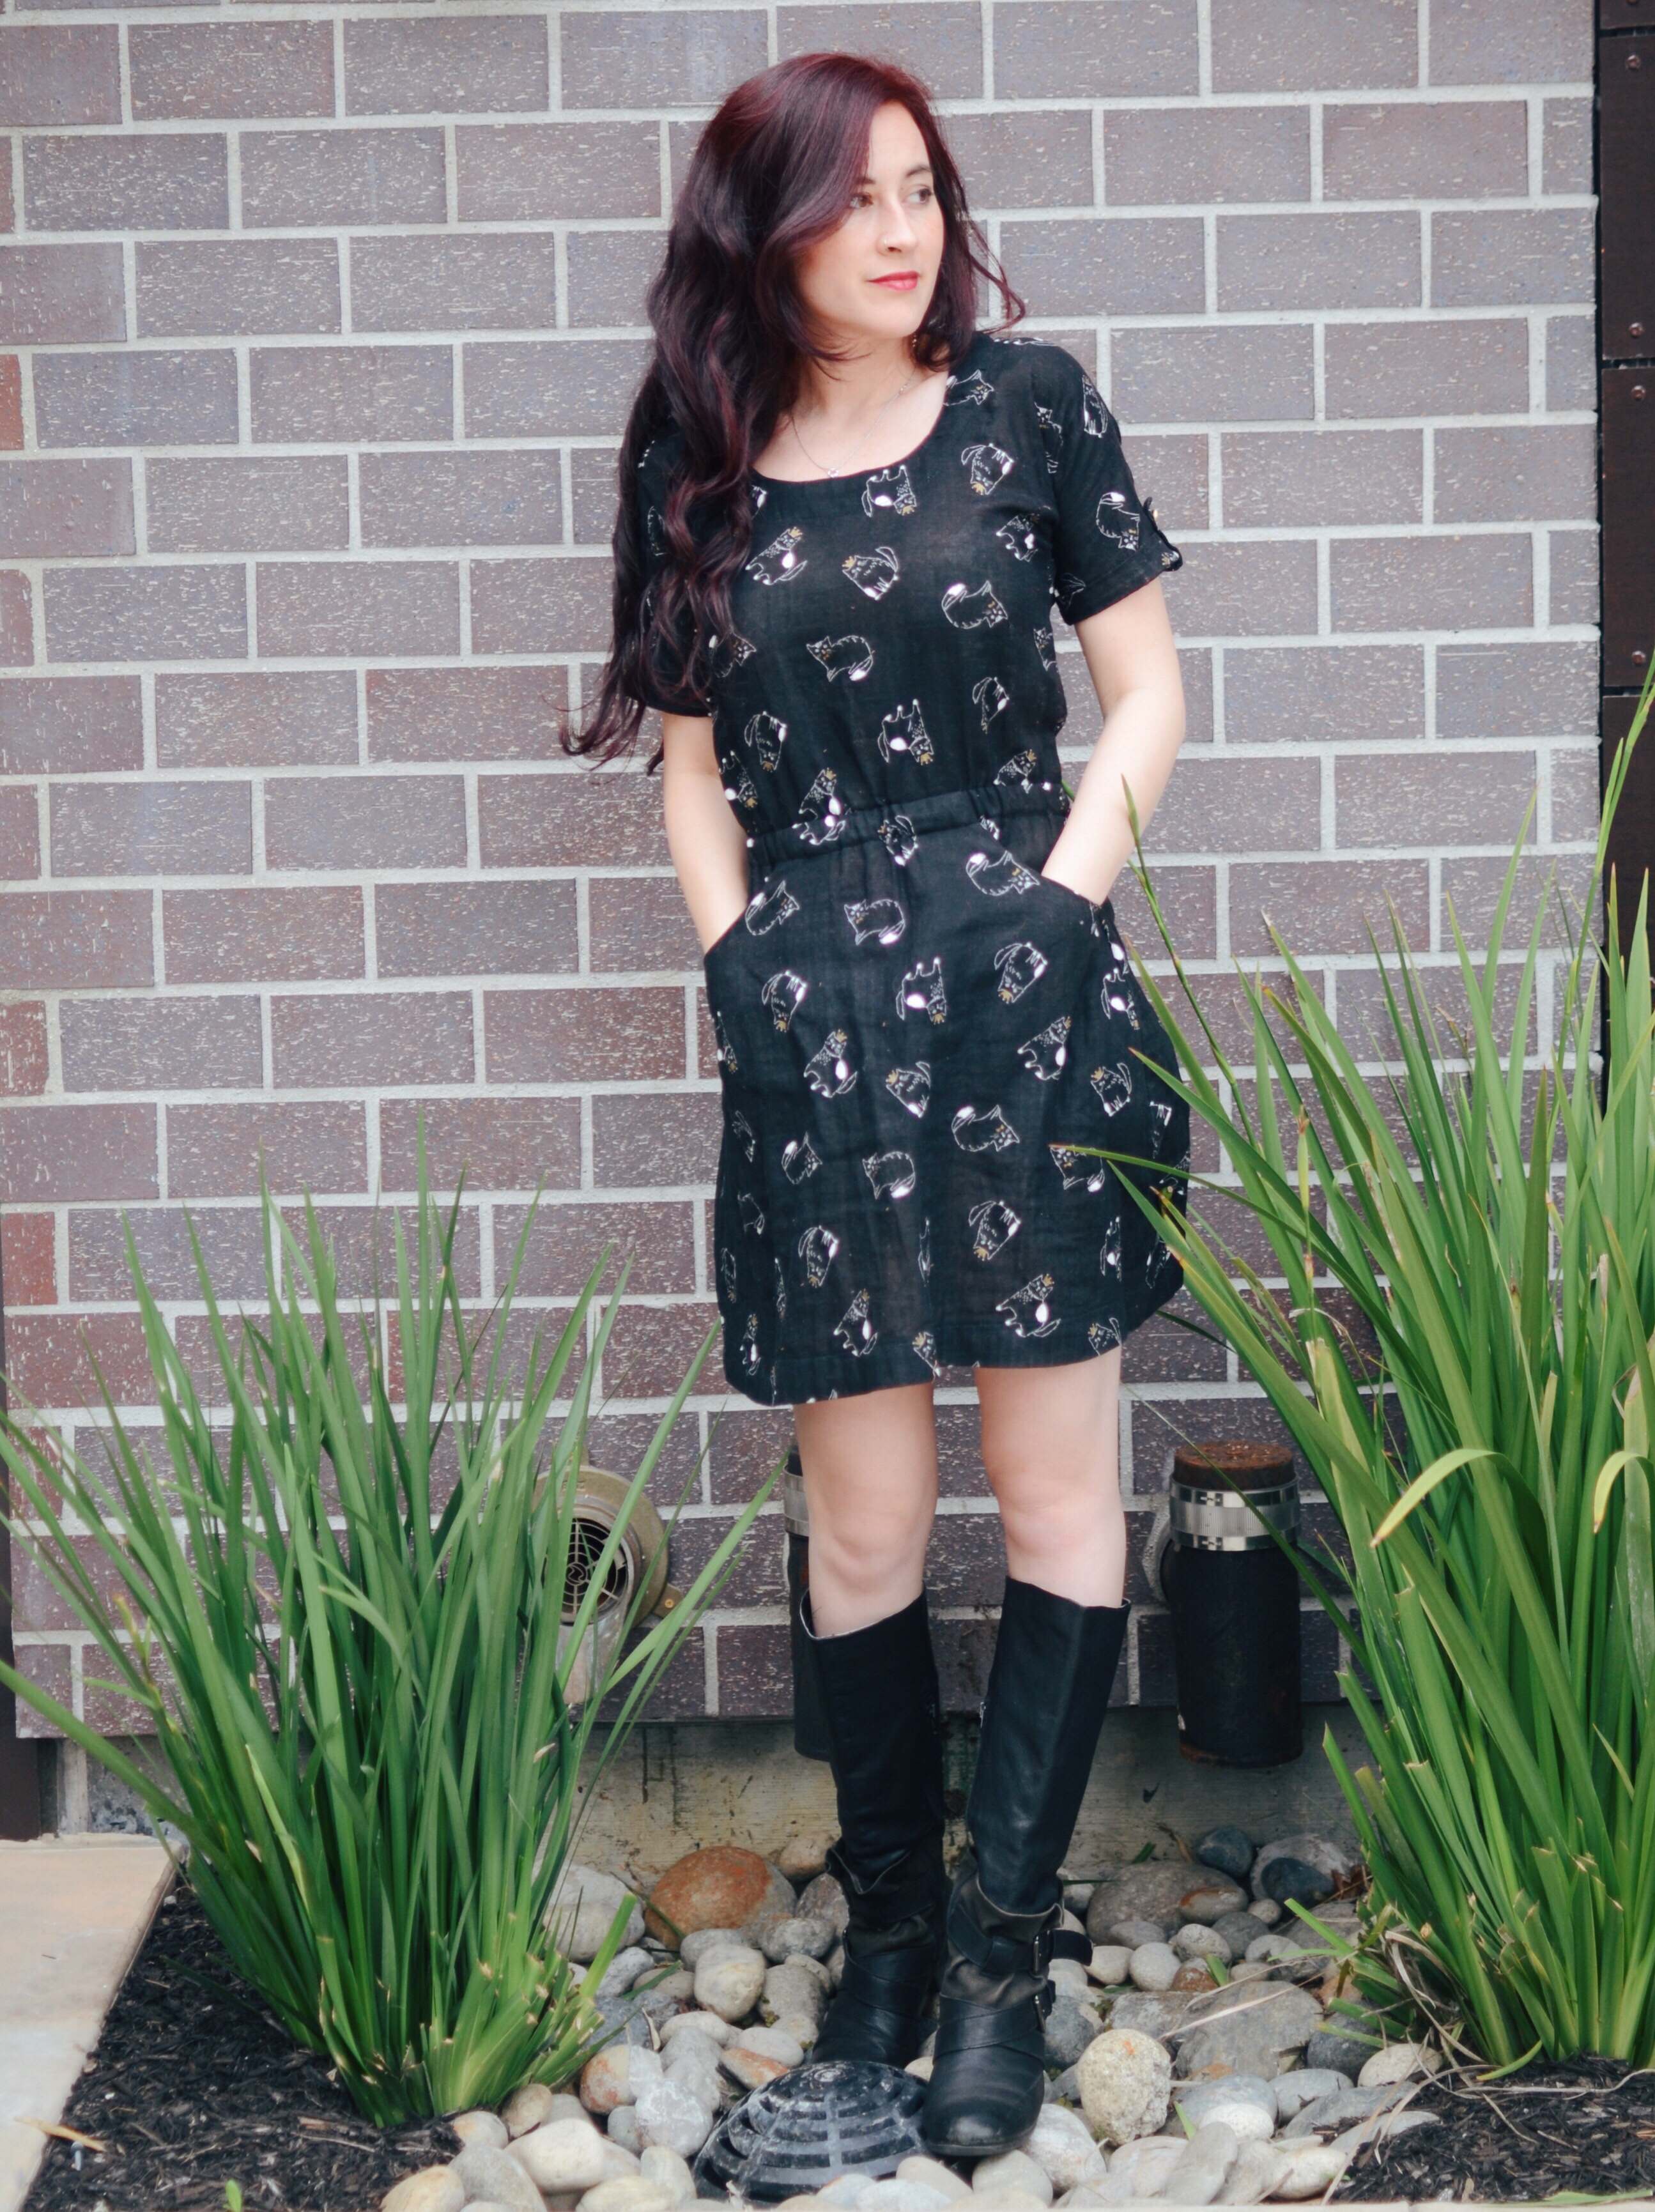
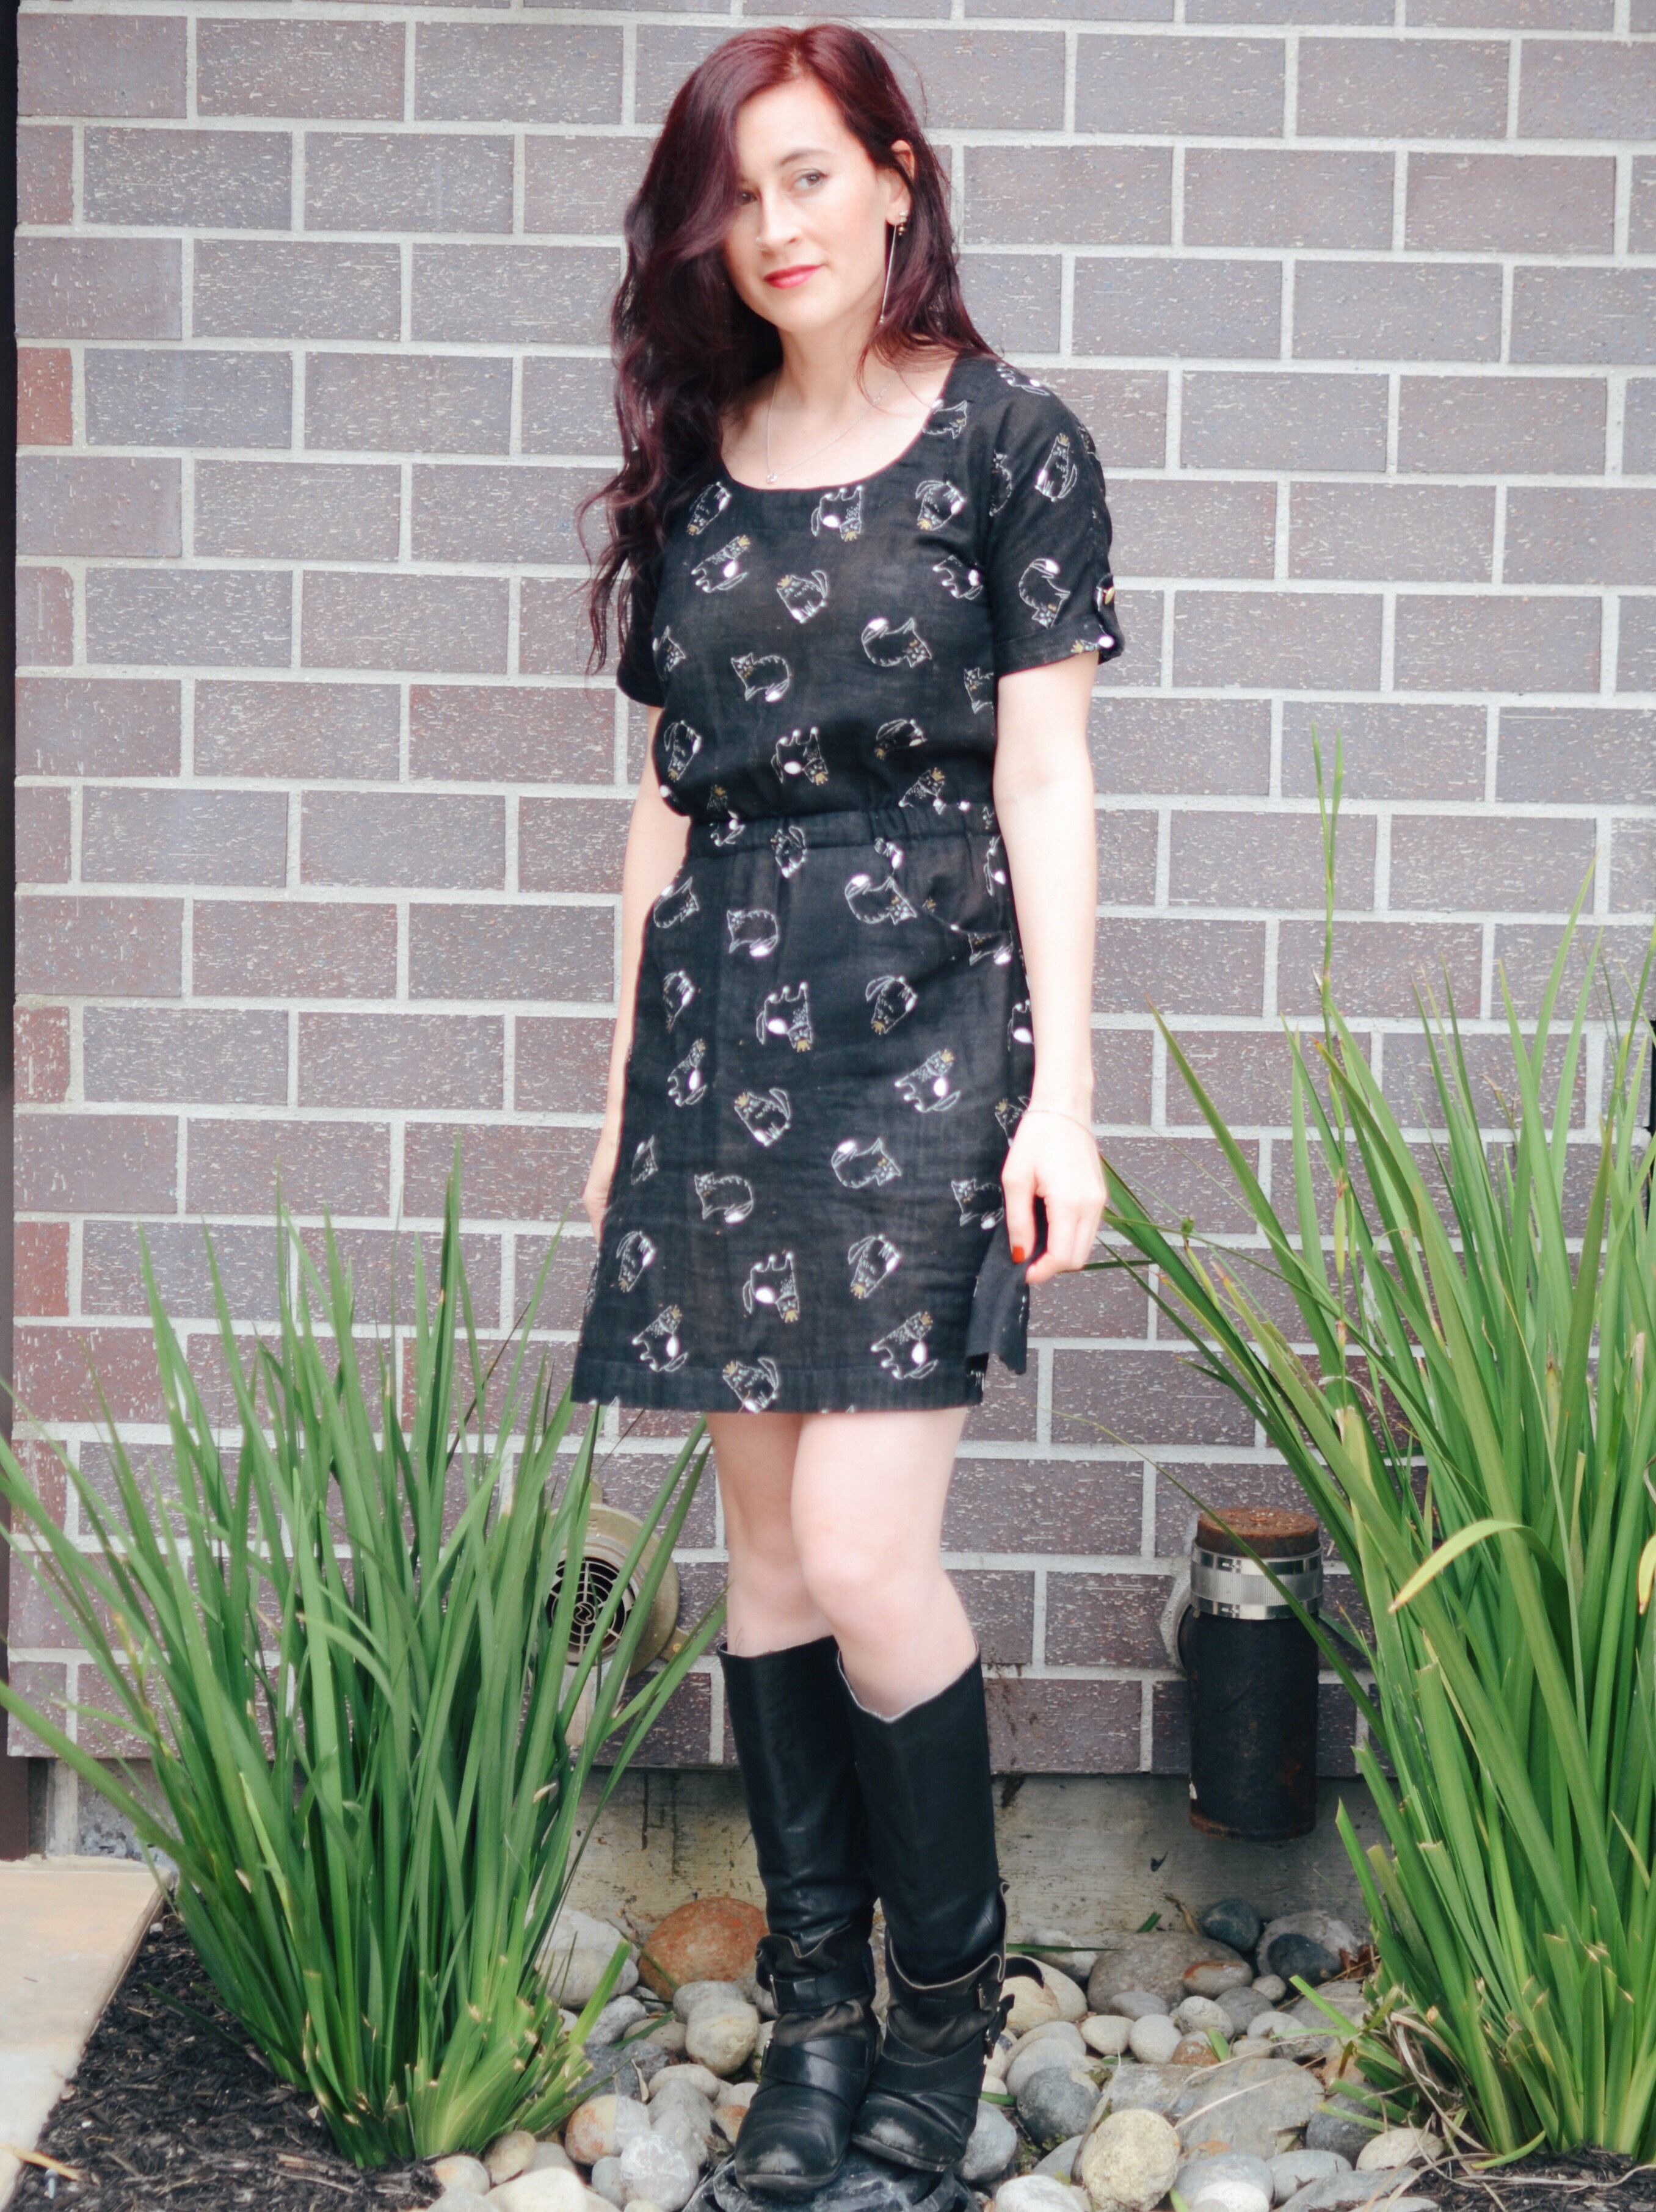
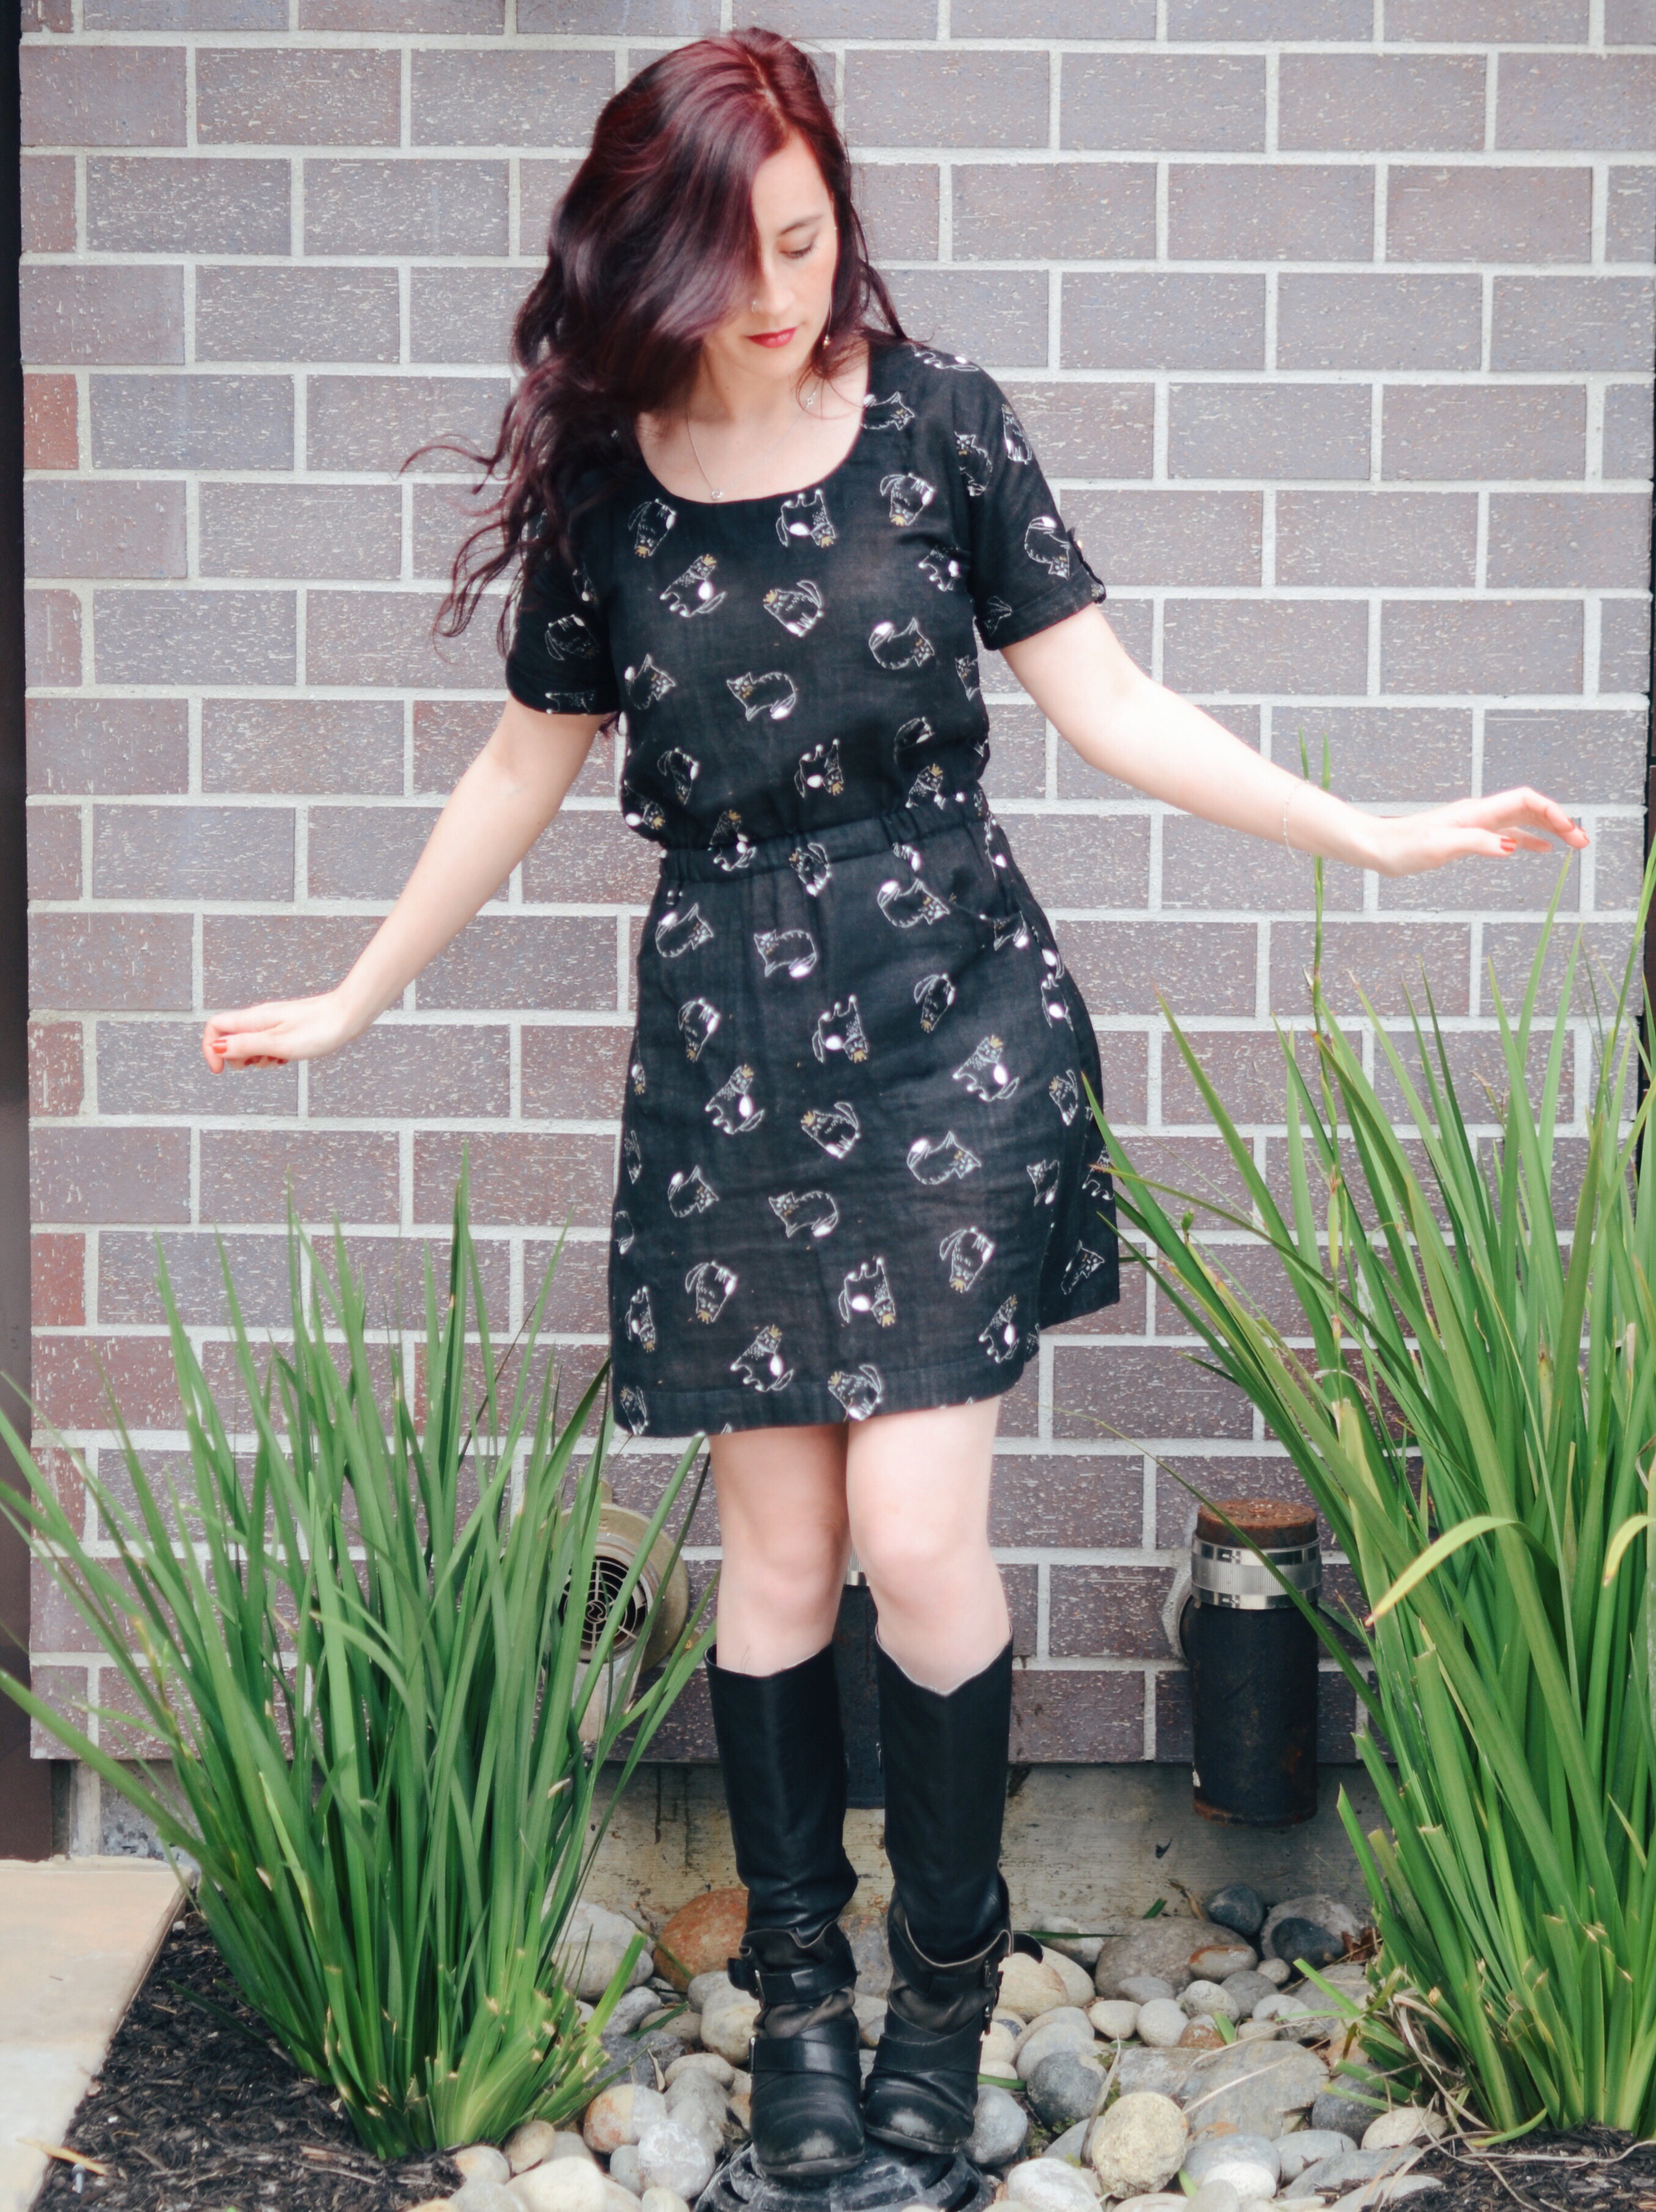
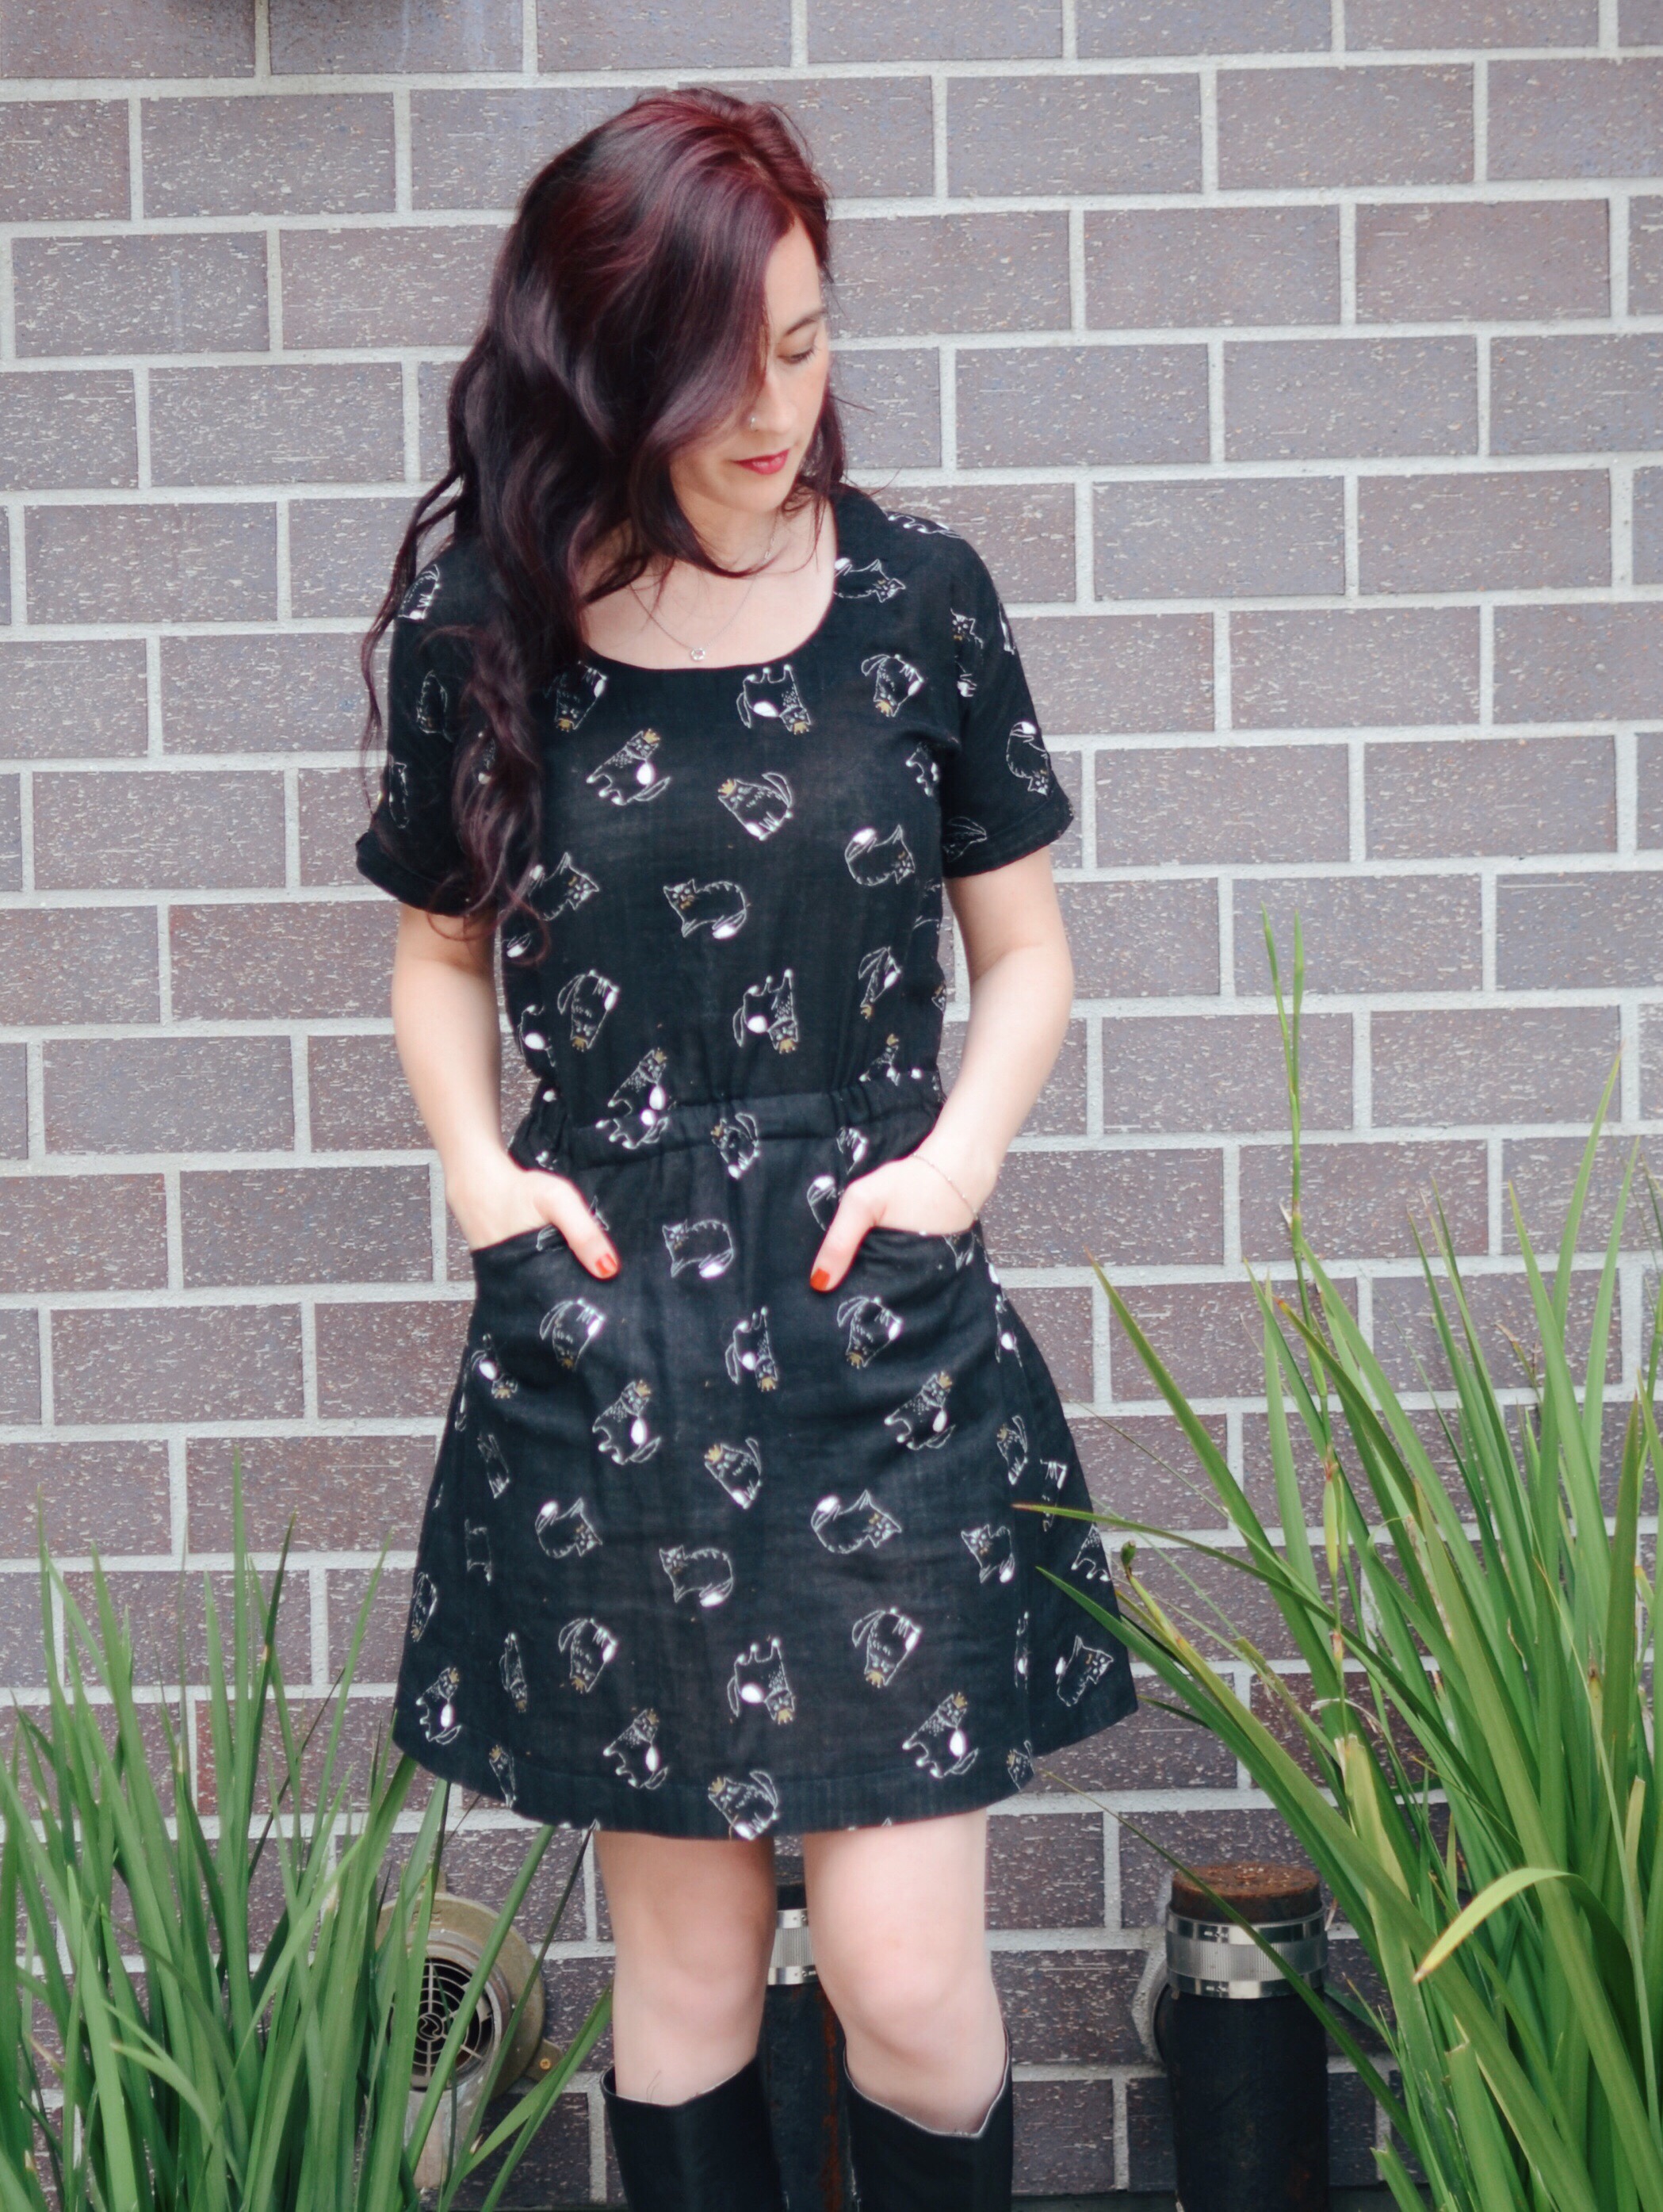
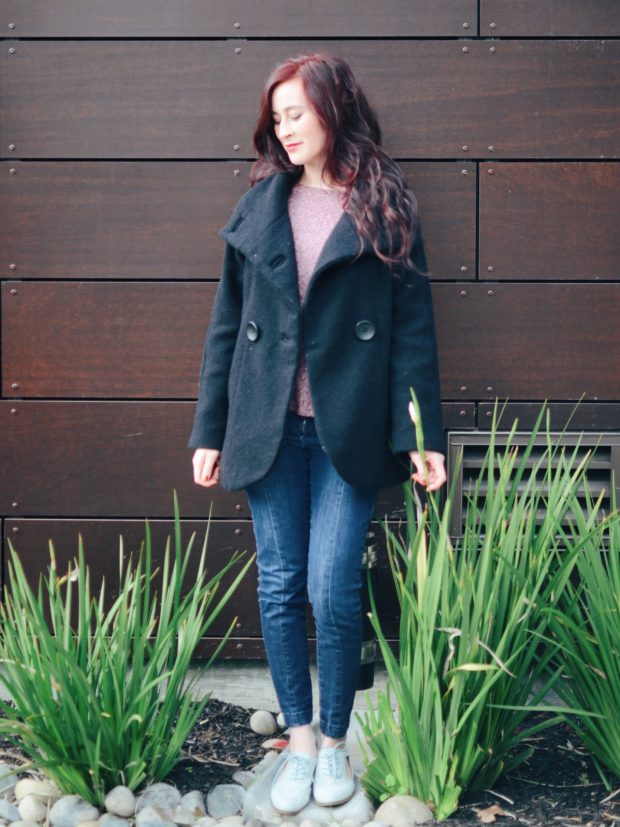
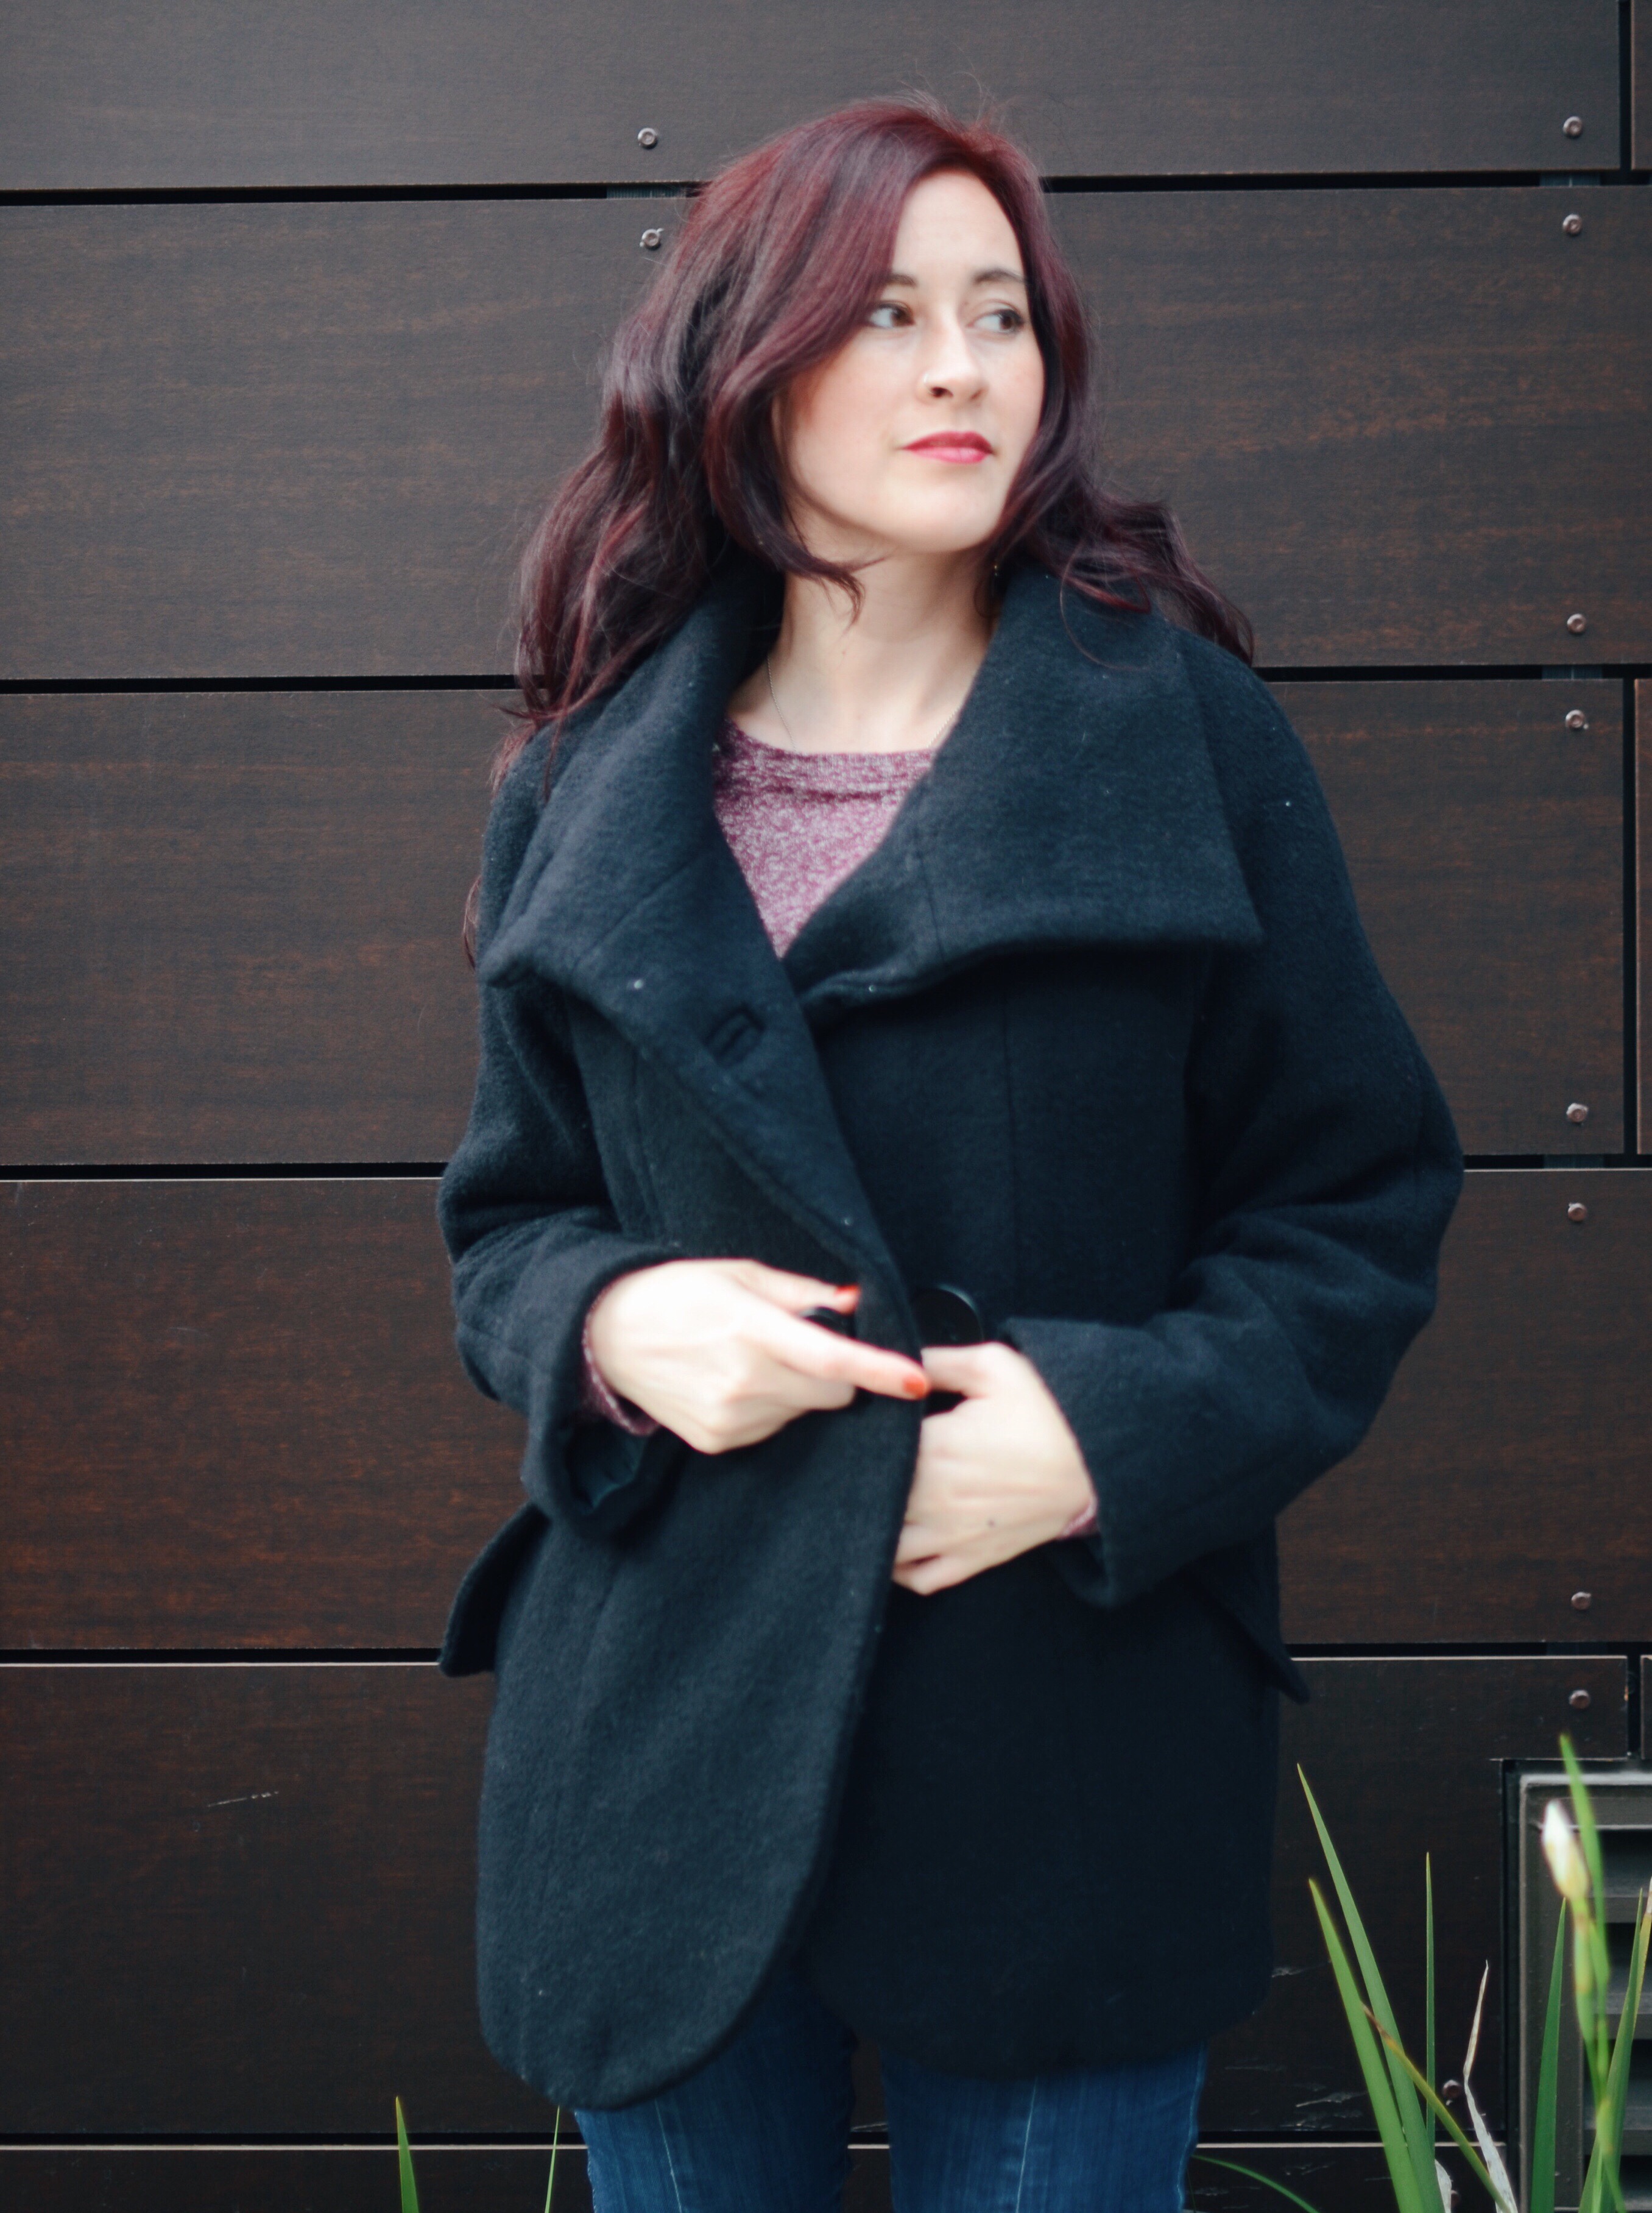
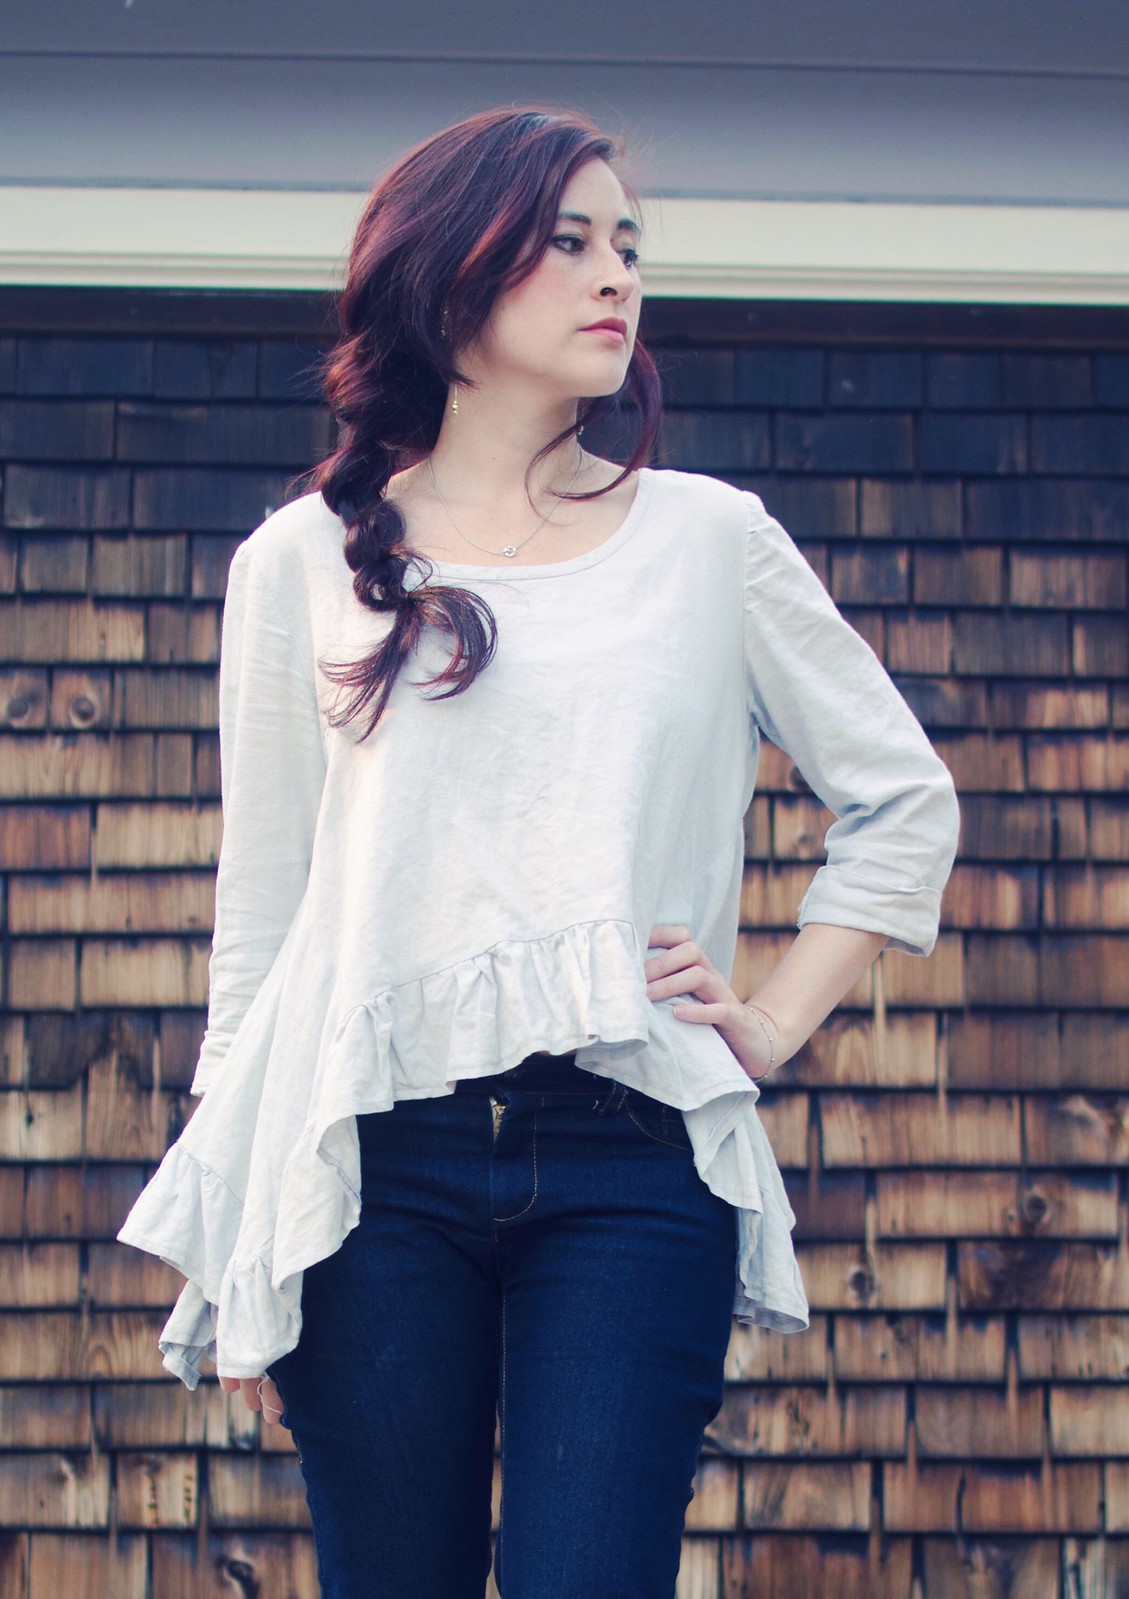
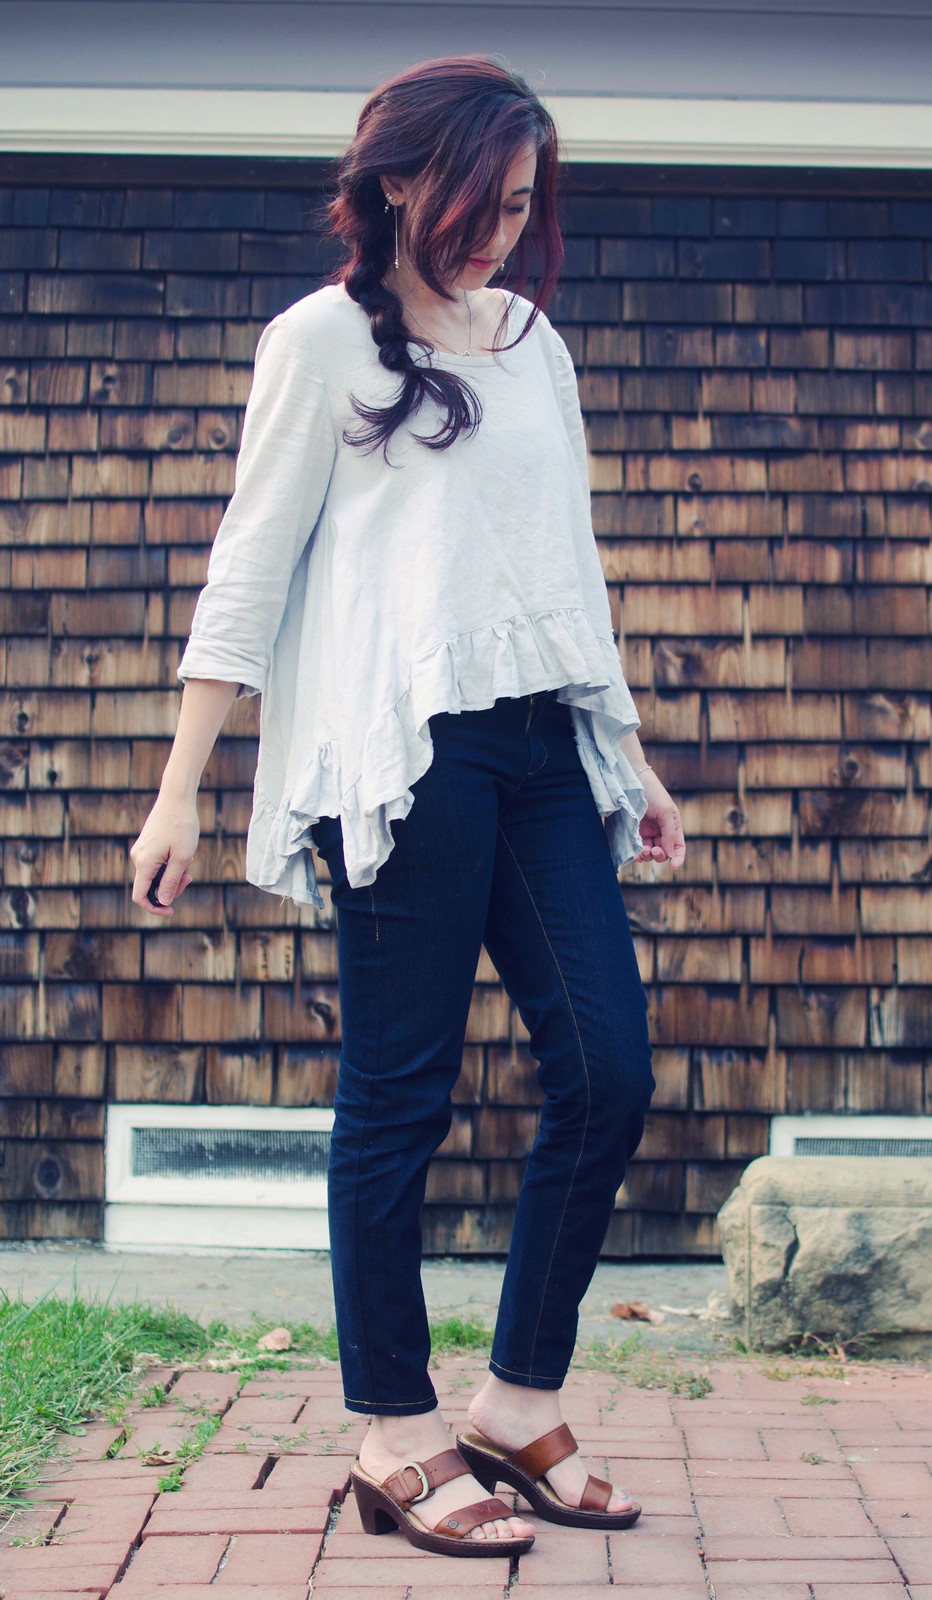
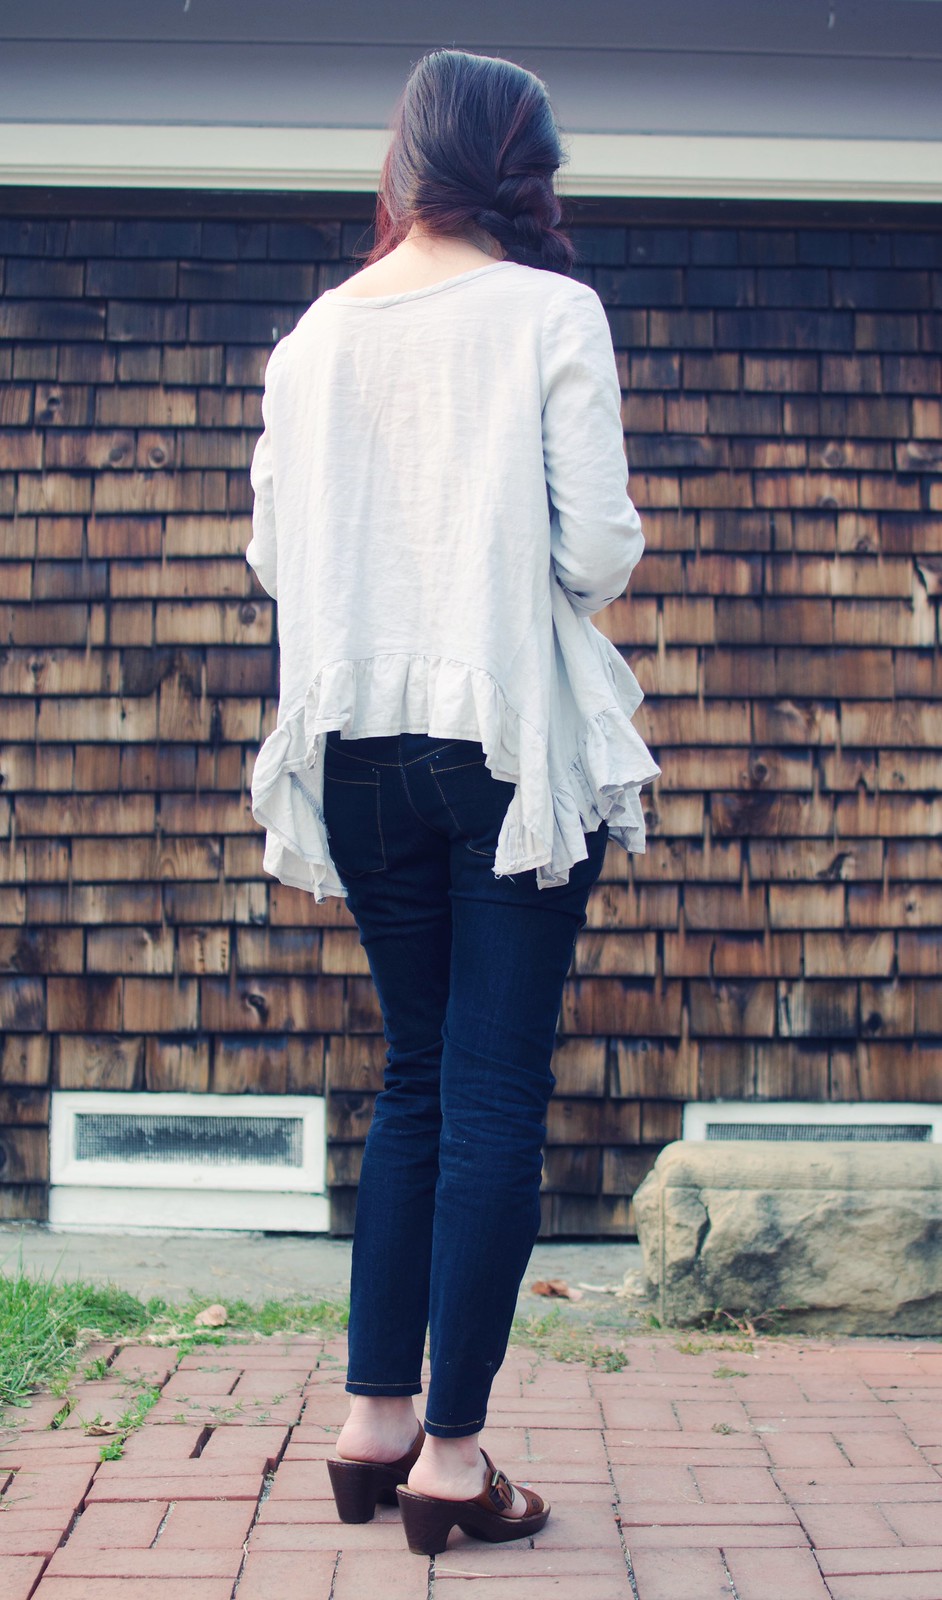
dress: Bettine by Tilly (slightly altered)

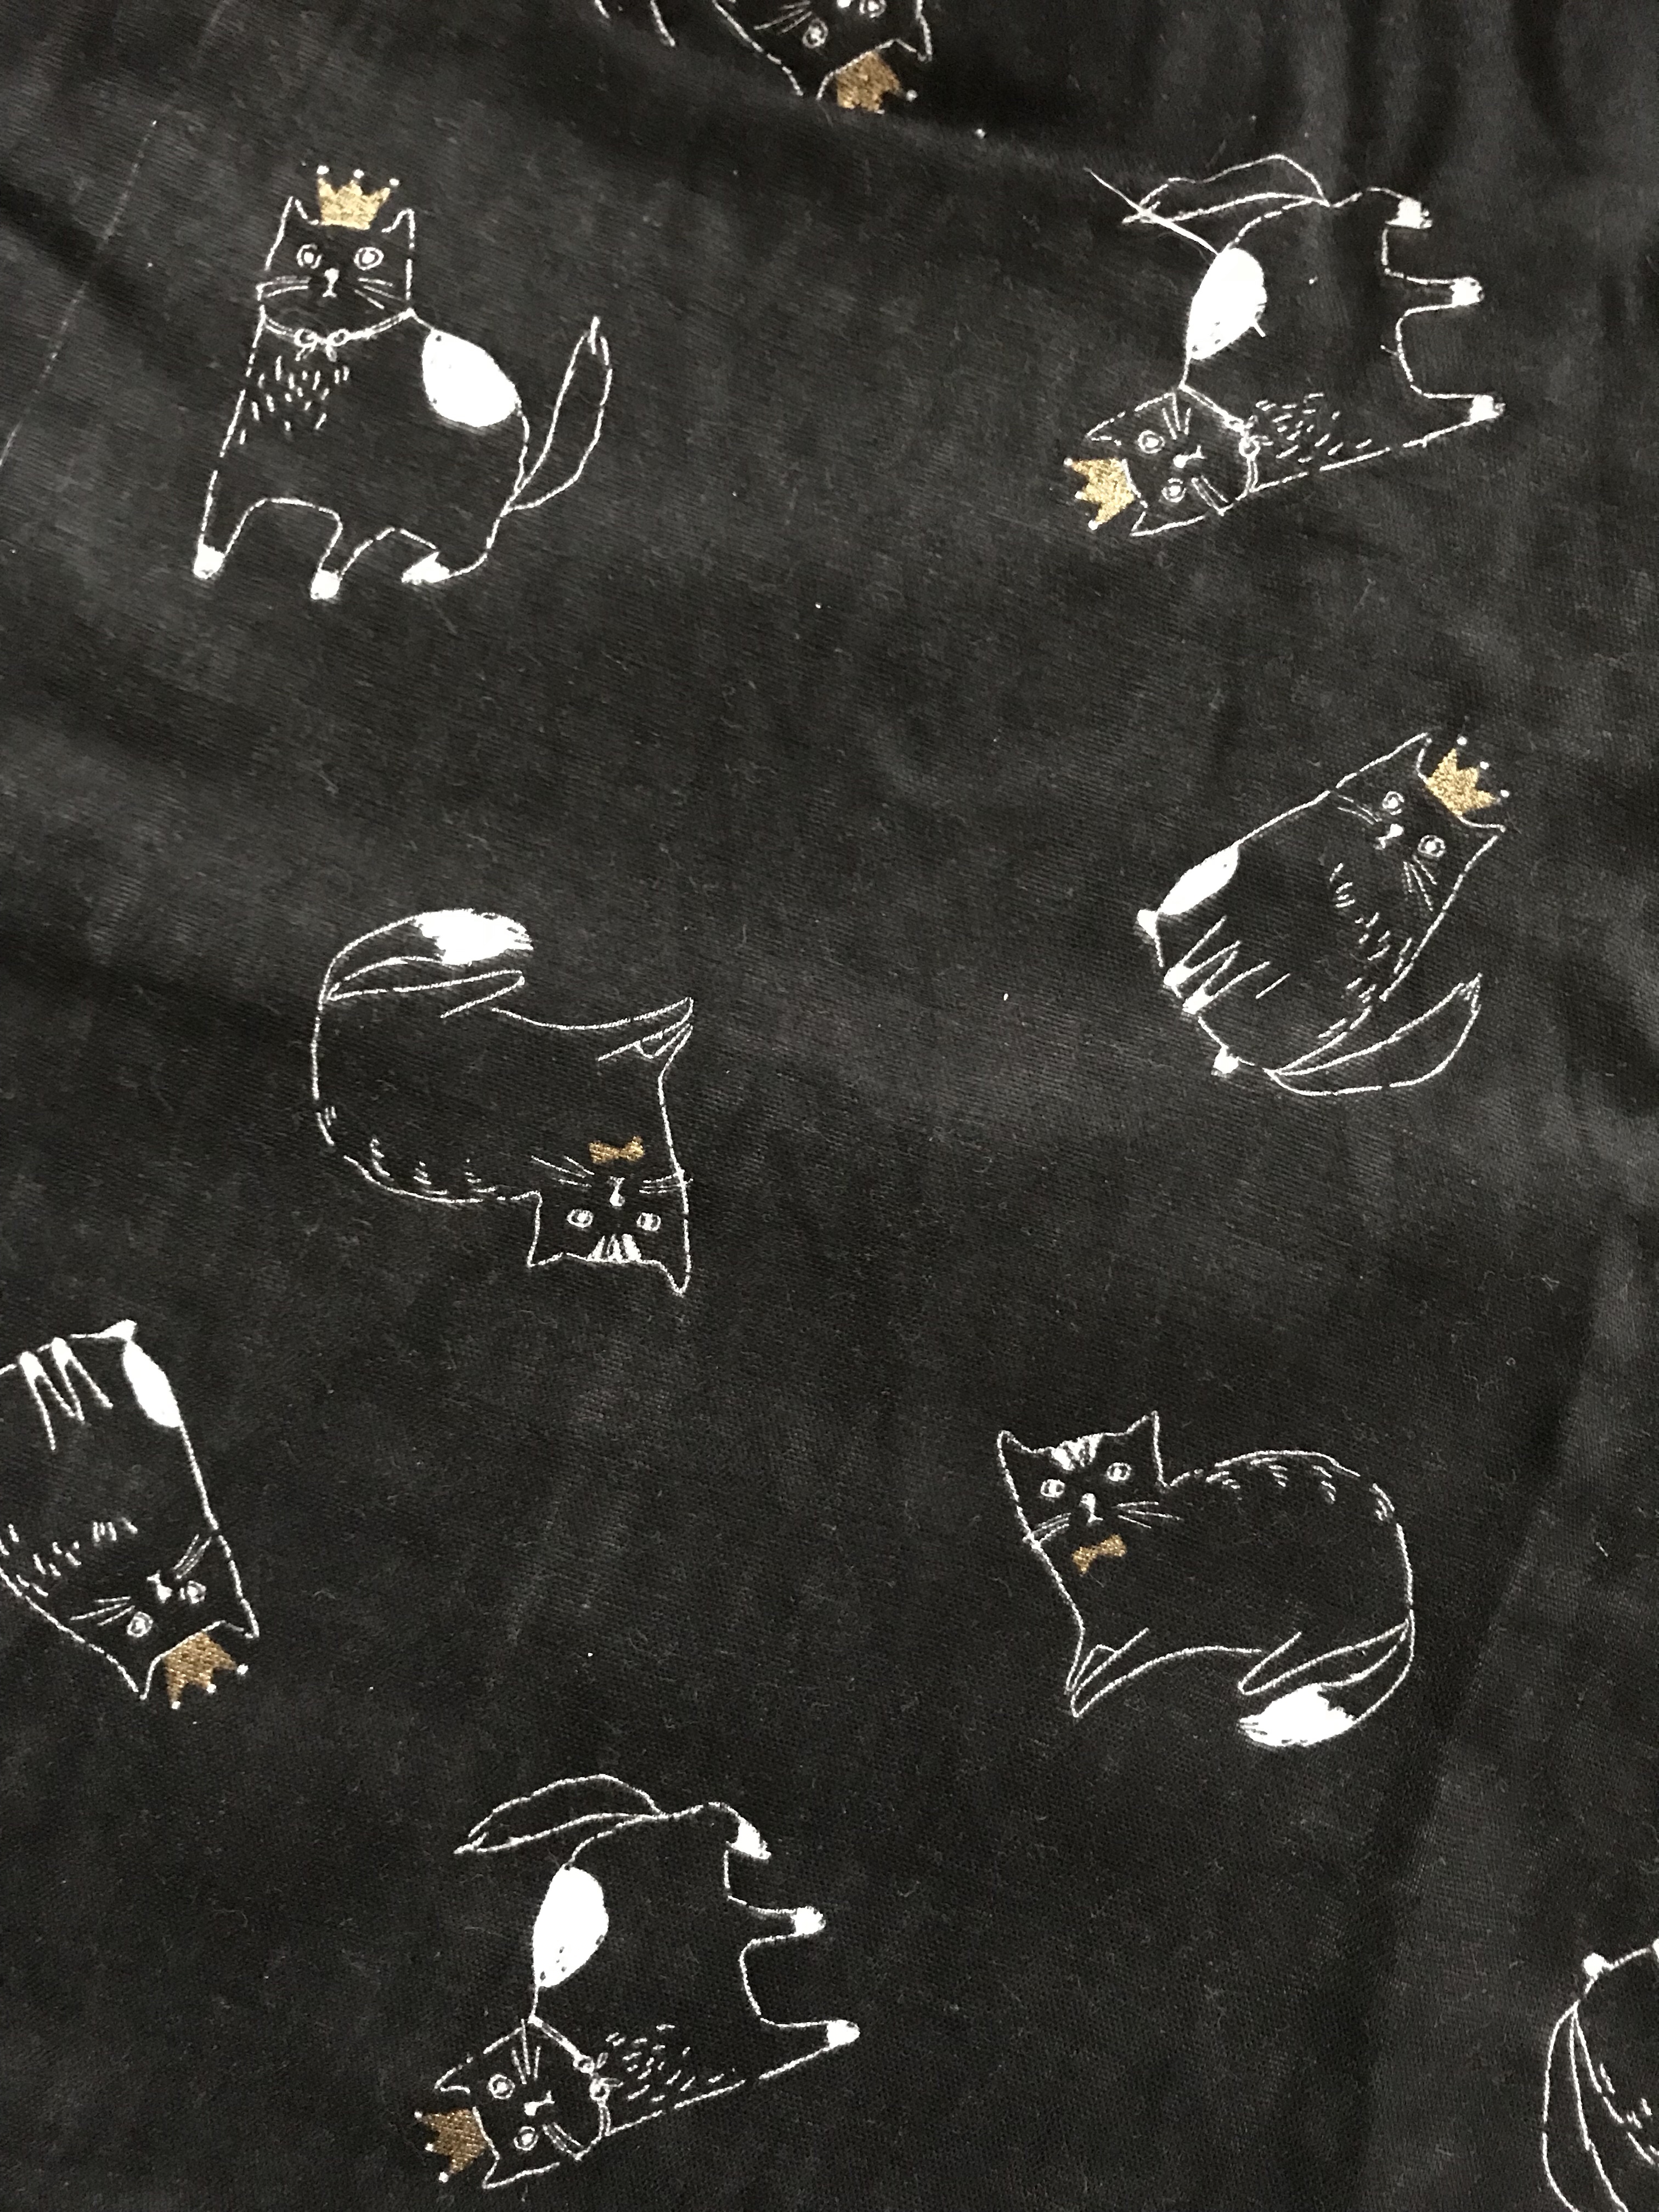
This summer I became super obsessed with double gauze. I especially love Kokka Echino and other Japanese prints but most of what I found was either too bright and busy to be easy to wear or looked like it would make super cute pajamas. I like the idea of double gauze summer pajamas but what I really wanted was a fun summer dress that I could throw on and look like I’m trying to look cute when in reality I feel like melting and couldn’t give two craps what I look like.

I kept an eye out all summer and didn’t find anything. And then sometime in November, I got opened a Stone Mountain and Daughter newsletter to a thumbnail of this georgeous print. Double gauze? Wearable print? Cats?? With GOLD crowns?? Yes please!!

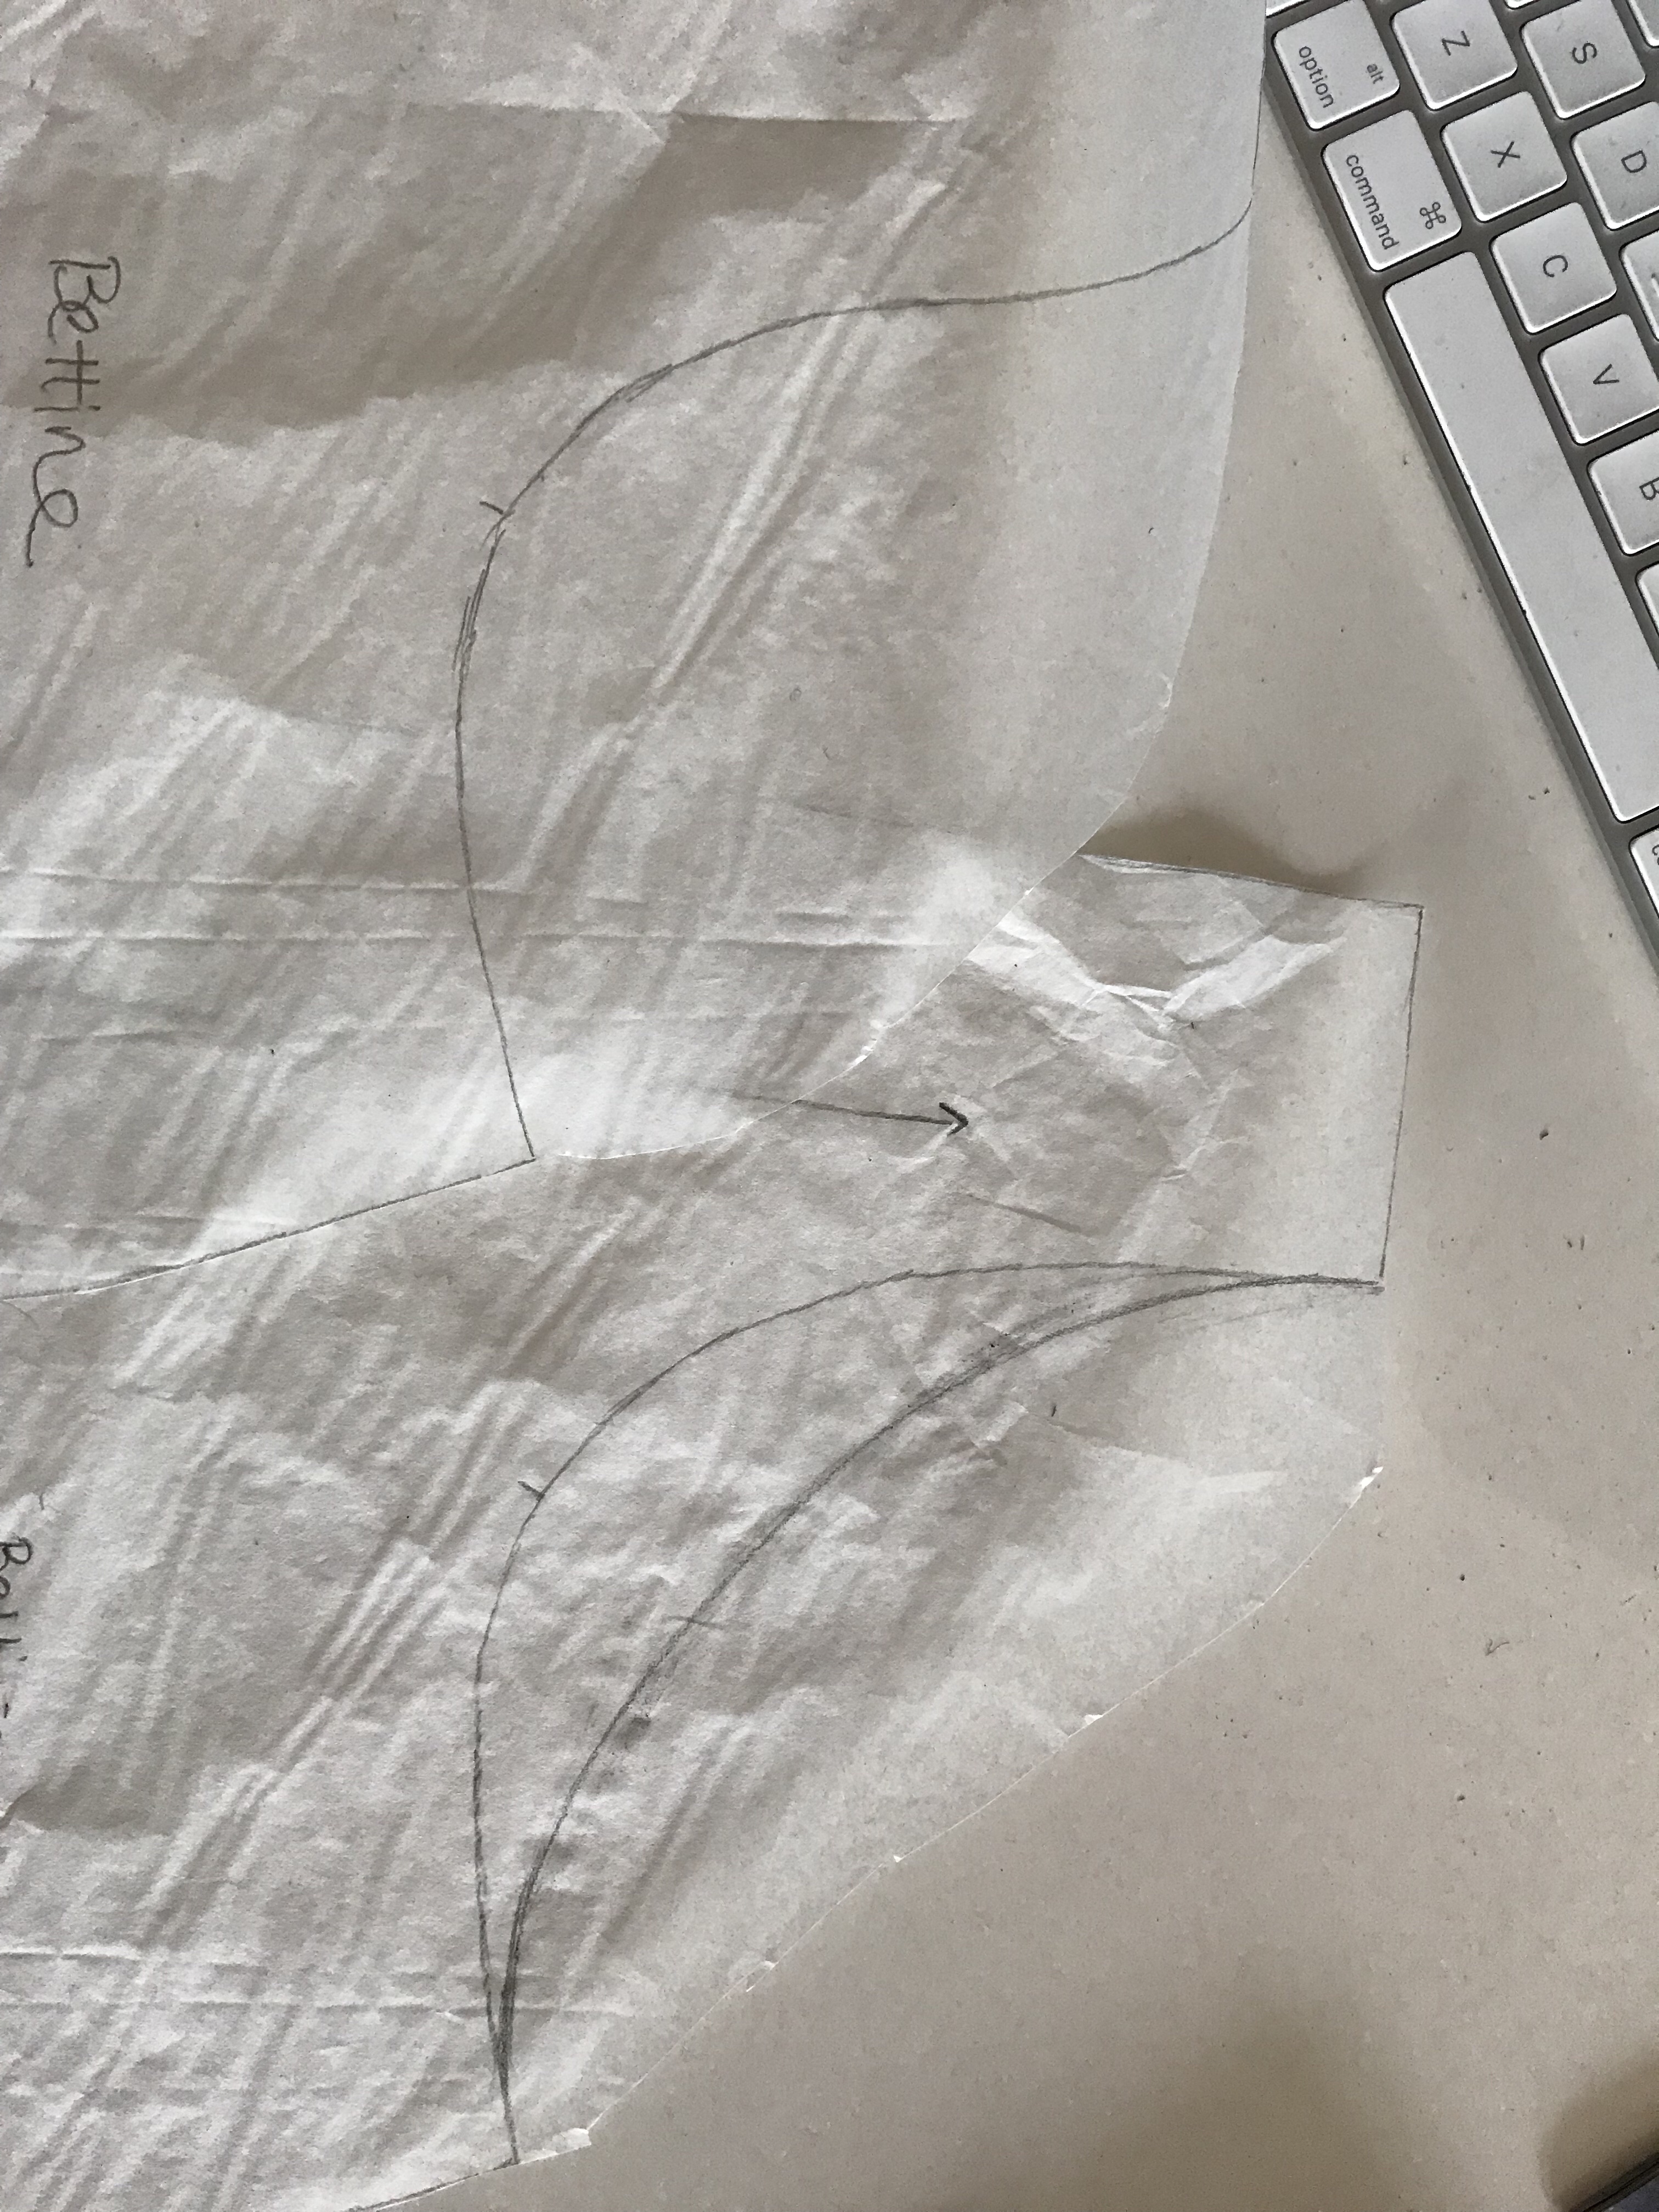
Deciding which pattern was a little tricky. I thought about doing Grainline’s Farrow dress but I decided I want to sew that one in a fabric with more body (I have a thrifted chambray sheet all set for that one). Then while unpacking I came across the Bettine dress and it was perfect. I made a muslin and it fit pretty well but I did make a few adjustments.

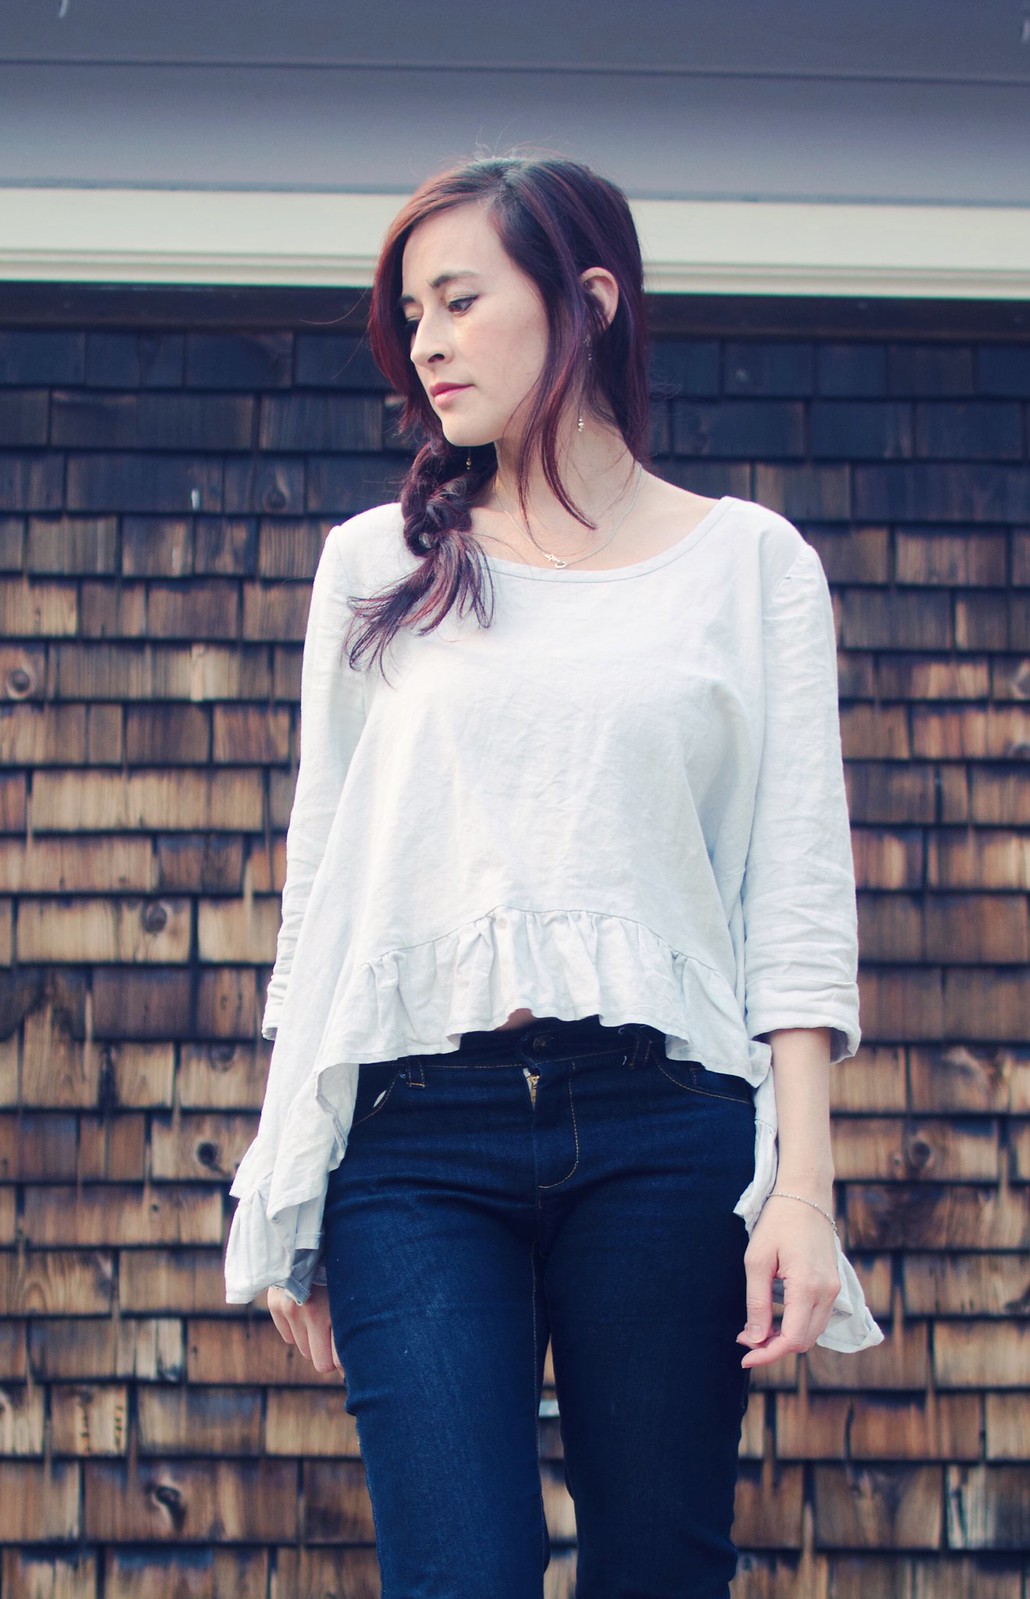
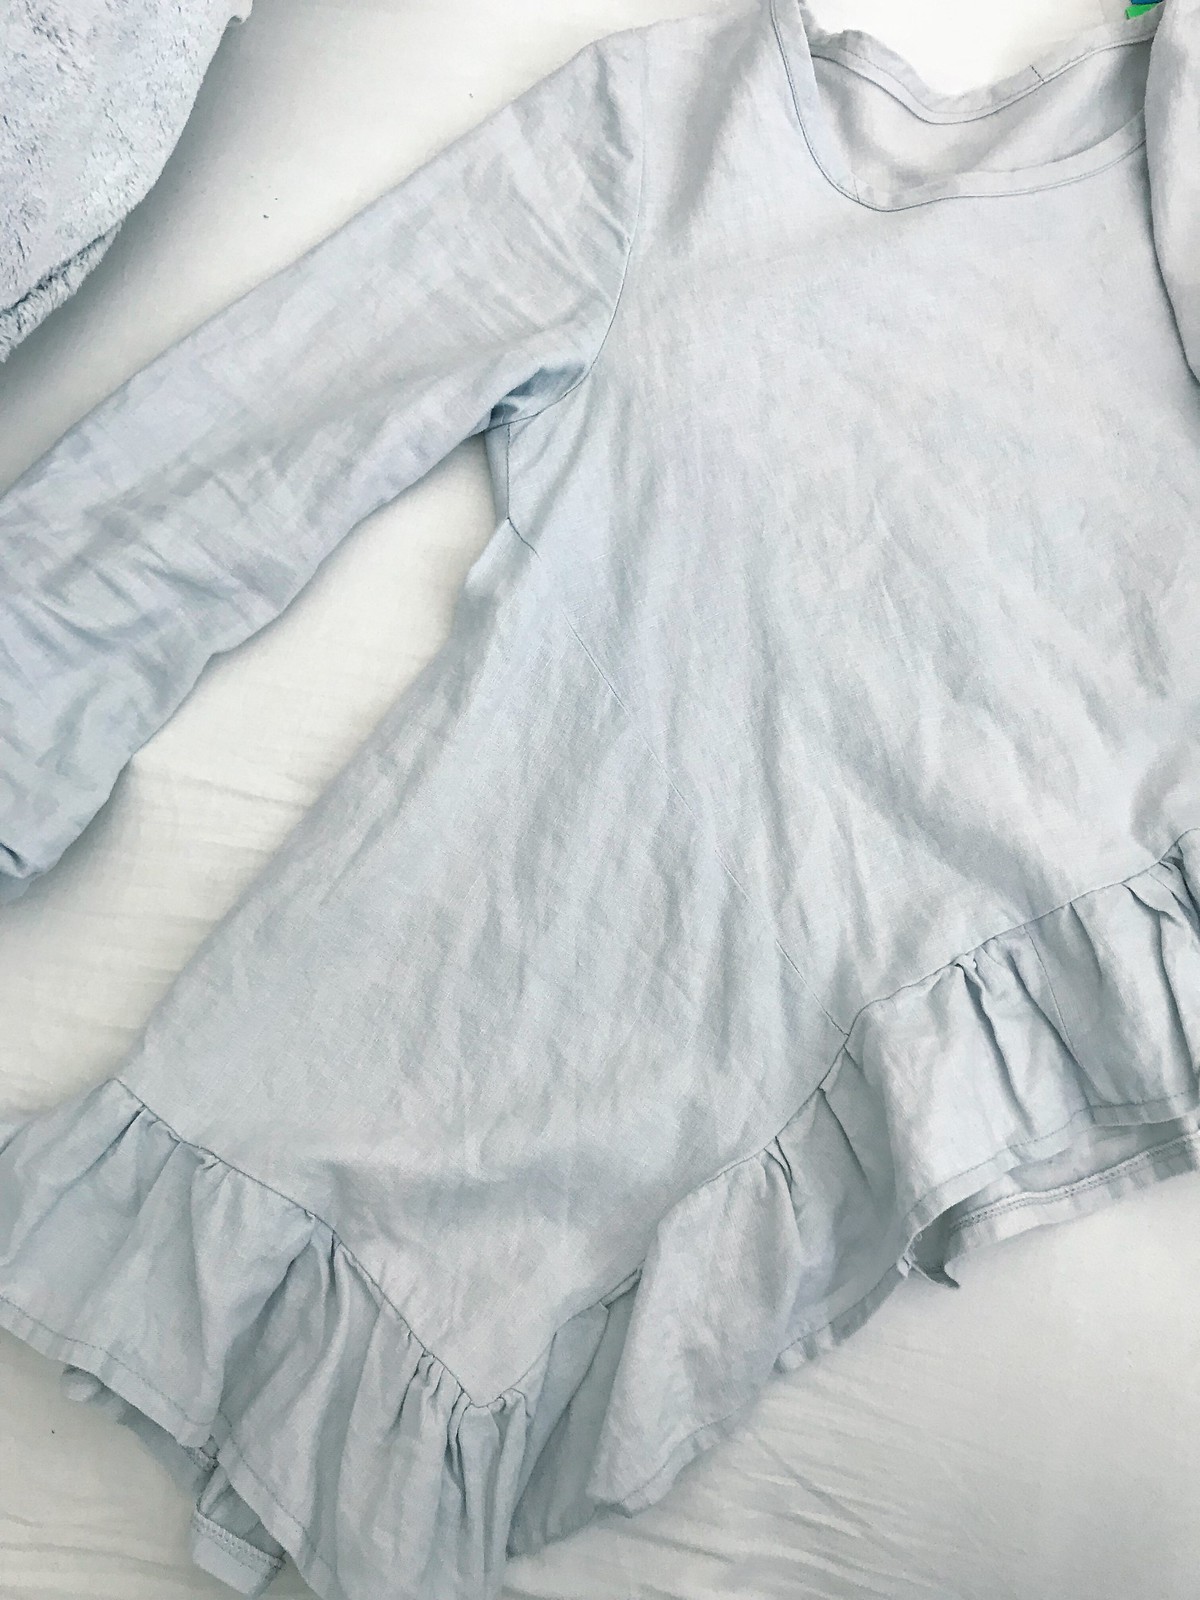
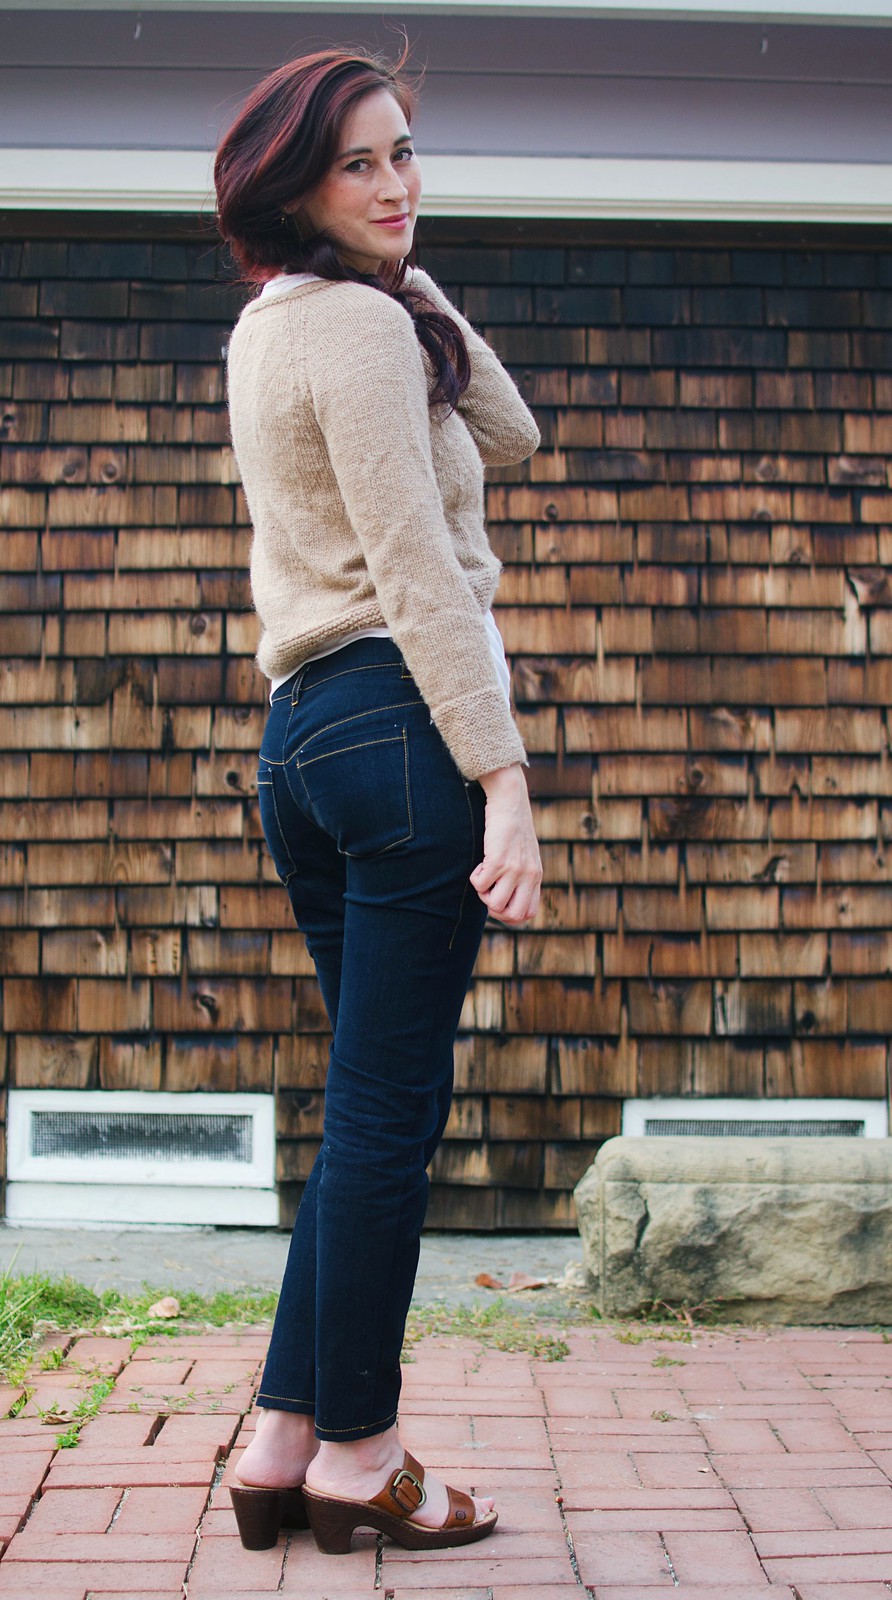
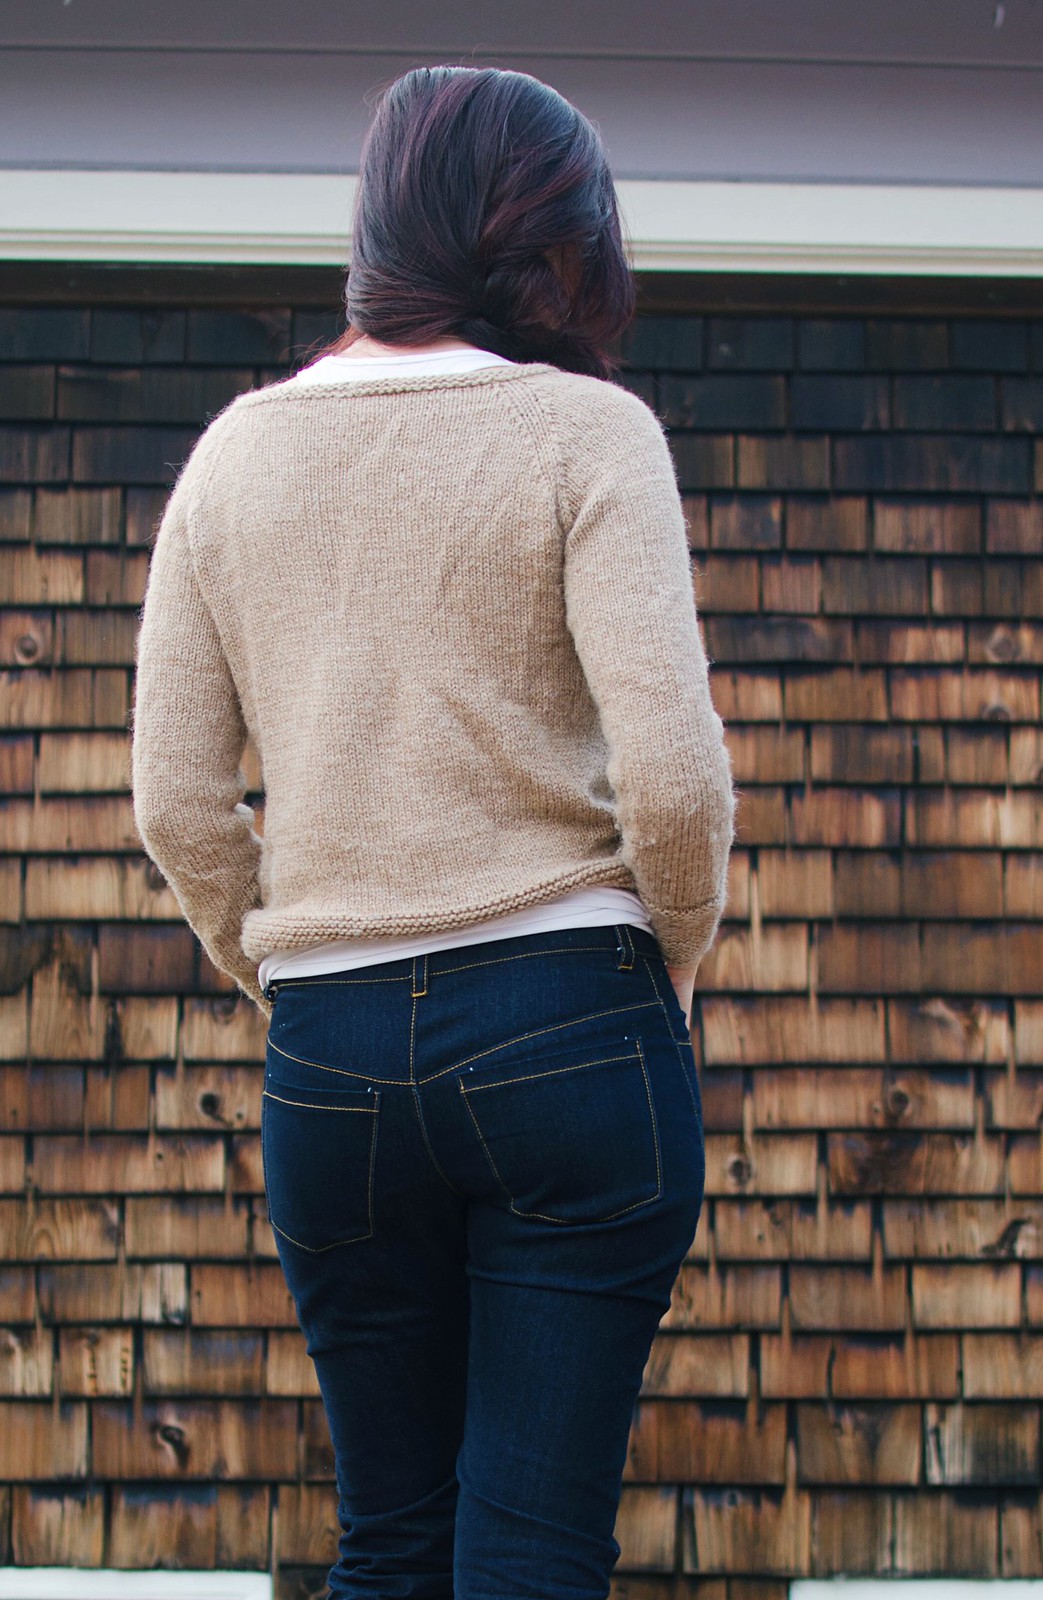
Growing my butt at the gym has been an ongoing project, and one of the side effects is that I couldn’t sit down in the Bettine as drafted. Standing was fine, even walking was OK. Sitting, not so much. I also usually prefer a little more volume in the skirt anyway, so I slashed and spreaded to make a little more of an A-line silhouette. I also didn’t love the deep curve of the pocket edge so I made it a little more shallow. And then I traced the same adjusted curve to the pocket bag.

I think next time I would do a slight FBA to the front piece. It technically fits, but my D cup boobs feel a bit trapped. I think ladies who wear a C cup or smaller can get away with bodice fronts that are the same as bodice backs, but this one was cutting it close for me.

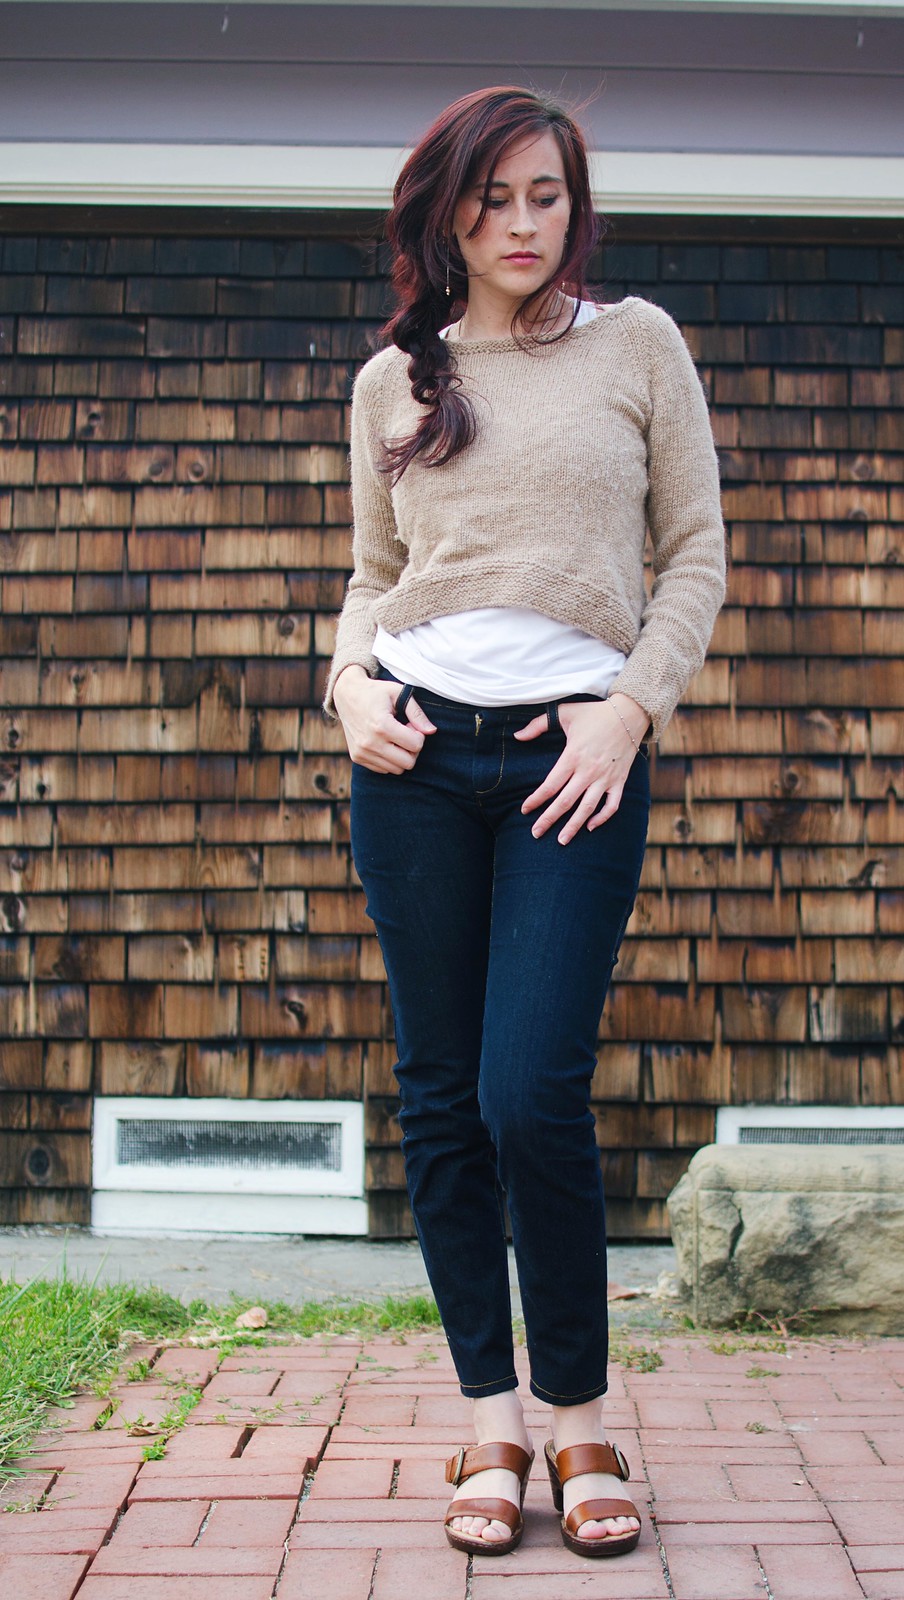
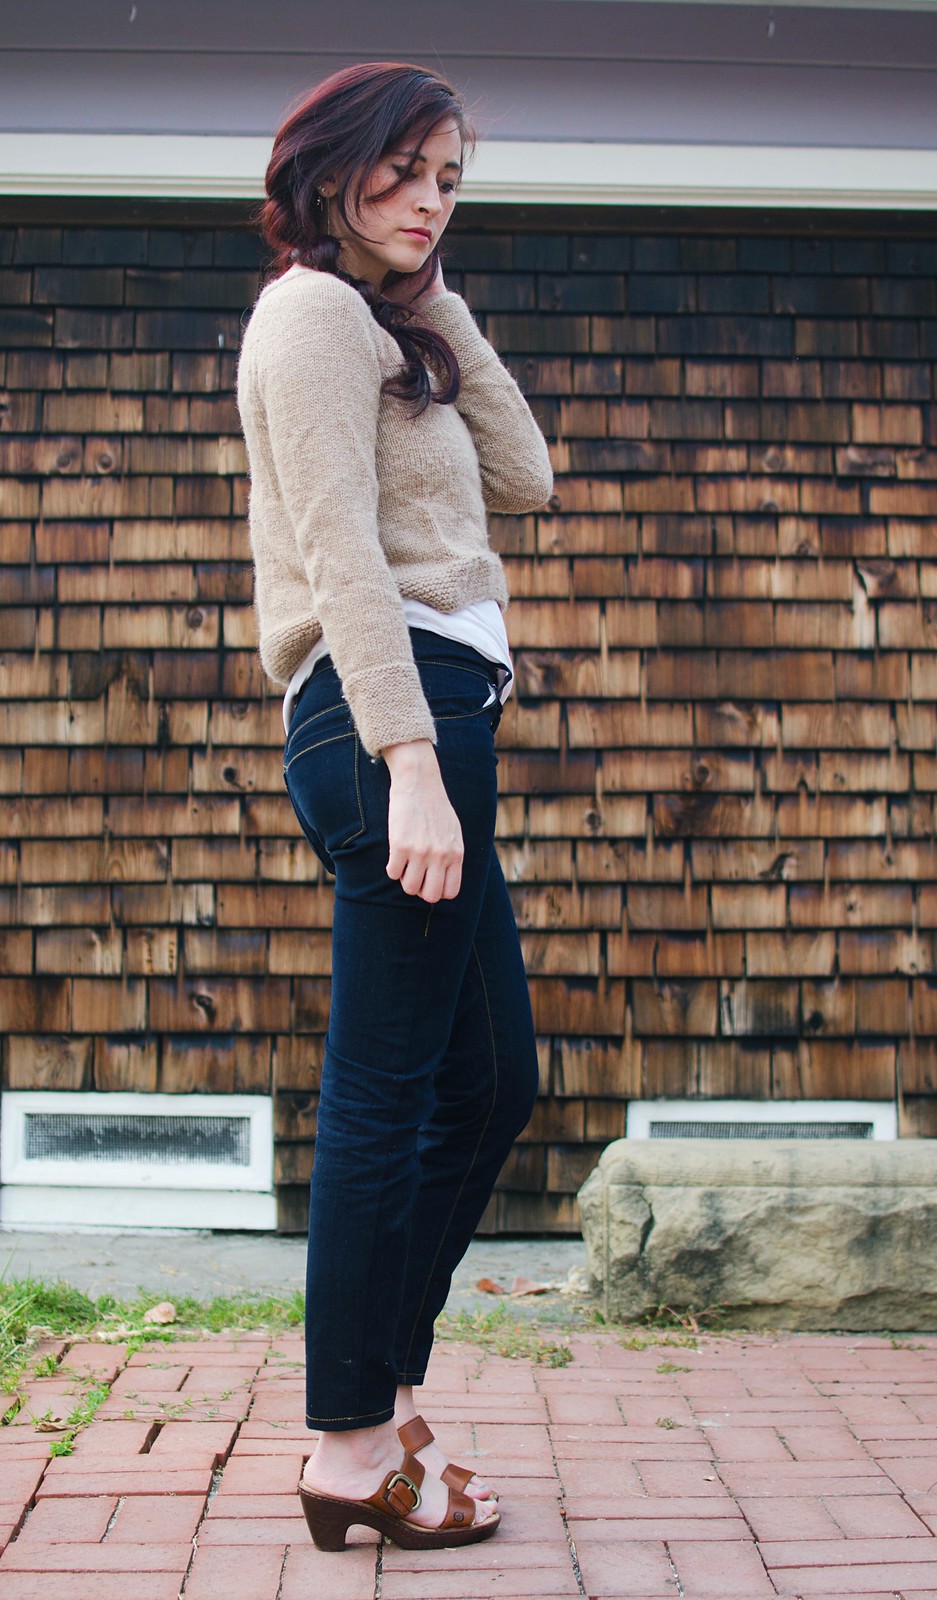
I always love little details that set a garment off so I looove the view with the sleeve tabs. I got some cute little gold buttons to attach and I love how they match the gold in the fabric.

Yuzu

Coat: Yuzu size 38 // pants: Jamie jeans

I’m quickly becoming a Waffle Patterns fangirl. First there was the Tosti jacket that fit me perfectly with zero alterations, now it’s this wonderful wonderful coat.

I had originally imagined it in an oatmeal color, but the only oatmeal wool I could find seemed like it might be too loose a weave. Then I magically happened upon some black boiled wool and black cotton flannel in the “free stuff” pile at school and it seemed like it was meant to be. All I had to buy was some Bemberg rayon for the lining and 6 gigantic buttons.

Maybe this is a remnant of living through four Boston winters, but I wanted this coat to be gigantic and heavy and warm. I cut some scraps of the wool, muslin, and black flannel, and overlapped them in different combinations to decide how to underline it. I ended up going with black flannel underlining on all the pieces except the collar and front overlapping pieces. Those were underlined with muslin because I wanted the collar to be a bit softer and I thought two layers of cotton flannel plus four layers of boiled wool over my boobs sounded excessive.

I also looved the flap pocket option Yuki added. They were pretty easy to put together too! I made thread chain “leashes” at the bottom edge of the pockets that attach them to the bottom of the coat so they don’t wander. I also decided to add inside lining pockets by basically cutting that lining piece in half and adding seam allowances and a pocket bag into the seam. I had meant to only do it on one side but was on autopilot and cut two layers of fabric so I figured, why not both sides?

Anyway, I’ve been living in this thing. It goes with dresses as well as jeans, and is so easy to just throw on. I think I do still need an oatmeal version.

How many coats is a normal and acceptable amount of coats? Asking for a friend..

snow

Snow White

Snow White

Snow White

Snow White

Snow White

Snow WhiteBased on Snow White from Once Upon a Time

I had so much fun making Snow White! It felt a little weird though, because other than the hand-beading involved, the rest of it actually went together really quickly — although I guess at this point I’m comparing with Ella and Elsa, both of which took/have taken ages.

Anyway, I used McCall’s 6819 and I was really impressed with how spot on it was! I did tweak the neckline a bit to make it more true to the original, and I made the undershirt/sleeves its own separate garment, but other than that I just followed the pattern. To get the right curvy look of the standing collar thing, I stitched some wire into the edge of the collar before sewing the bias edging on, and then just bent it into the shape I wanted.

As mentioned before, the fabric is screen accurate but hard to find since it seems to be sold out pretty often. It’s a home dec fabric called “Diamond Tuft” in white by Robert Allen. I cut out all the pieces and then hand-stitched these beads onto them before sewing them together (I ended up needing about a bag and a half). I ended up having to pick off a few because I forgot that using a bias binding to bind all the layers means having to trim off the seam allowance and some of them went too close to the edge. Whoops.

The other fabrics were fairly straightforward (except the pants. Ugh, the pants). The undershirt is made of muslin because it was the right color. I might remake it in something silkier but we’ll see if that ever happens. The skirt panels are made from something stiff I found in the bottomweight section of Joanns. It’s a little too yellow and I halfassedly tried dyeing it but I was kind of in a rush and it didn’t work too well. The belt is made from a glittery home dec fabric that I painted over to make paler. I got the belt buckle from Joanns and the rhinestone things are from this eBay store from China.

Fun fact: I was super excited to use the grommet tool thing I found in my craft stash and then got through 75% of them before I realized that the reason they looked terrible was because I was using it backwards. Wherps.

And then there’s the pants. I had NO idea what fabric to use for the pants. I also don’t love sewing/wearing pants that aren’t jeans so there was that mental block to deal with as well. I ended up finding this perfect faux suede that was satiny on the back in the absolute perfect color. But then I couldn’t find a ponte in the right corresponding shade for the rest of it. I ended up just using this crappy beige knit from Joanns and doubling it up but it just didn’t work very well, was already pilling while I was sewing it, and then kept falling down during the entire shoot. SUPER FUN. I’m definitely going to have to redo these. Luckily I have a ton of extra faux suede so I’ll definitely be able to make better pants if I ever want to wear this to a con.

And lastly, the hair extensions are Chocolate Brown Silky Touch from Irresistible Me. I’m still amazed at how thick and luscious my hair feels when I have these guys in. Perfect for Snow!

Anyway, that’s pretty much it for putting together Snow White! Now excuse me while I go sneak the overcoat on and FINALLY catch up on this season of Once Upon a Time.

Sidenote: if you’re a closet OUAT fan (let’s be honest, it’s a terrible show but I love it), I recommend watching OUAT in Wonderland if you haven’t already. It’s only one short season and it’s so good. <3

PS Happy Halloween everyone!

Excessive ruffling

Ruffle top

Ruffle top

Ruffle top

Ruffle top

Ruffle top

This top happened kind of randomly. I was looking at slouchy linen tops on Pinterest when I saw one photo of this top and fell in love. It was just one angle and didn’t show the whole thing though, so I couldn’t tell from the photo how it was made. I clicked on the Pinterest link but it linked to the homepage of a random fashion website and I didn’t want to sift through hundreds of pages trying to find it.

I can’t remember exactly how, but with some tricksy internet sleuthing (and spending waay more time than I should’ve — I must’ve been procrastinating doing something), I managed to find the Facebook page of the boutique that sells it, and in one of their galleries they had photos of the same top in another color, from different angles. Jackpot! (The things I’ve done for reference photos..)

Untitled

Once I saw the other photos I realized it was actually pretty simple. It’s basically just a tank top but you kind of angle it inwards and then draft a rectangular insert so it drapes nicely, and then you attach a ton of ruffles around the whole edge. Figuring out the underarm seams was a fun adventure, as you can see from the photo above. I had to do two versions to get the length and drape angle right, but I’m really happy with how it hangs. I suspect it might look even better in black though, so I’m tempted to either dye this one or do another one in a dark color. I made this one in a linen rayon blend I picked up at Joann’s. They only had cream and I wanted to experiment with dyeing so I dyed it a very pale ice blue but it turned out much more subtle than I had planned. I looove how ruffles look rumply and rustic in linen though.

It’s so swingy and excessive, I love it. I will say though, I have not figured out a way to wear it under a coat or jacket, so thus far it’s been more of a spring/summer top.

Pants class – skinny jeans

Jeans

Jeans

Jeans

Jeans

Jeans

Jeansjeans: self-drafted // sweater: hand-knitted

These are the jeans I drafted for my pants drafting class!

I’m so so thrilled with these jeans. The only jeans pattern I’d tried before were the Jamie jeans by Named, which I adored, but only after I made tons of changes to the fit, by which point the legs were totally offgrain and the inseam would be pointing outward.  Plus, even though I now know how to fix the fit properly, it’s always nice to have a pattern for plain, simple jeans. They definitely worked, but not ideal. I now have a basic pant draft from which I made a basic jean draft (which has basically no ease because let’s be honest, I’m usually dressed like a sausage. Or a cupcake).

This is round 2 of tweaking this pattern and I’m pretty happy with the way these jeans turned out! I used the same book and same pants draft I used for my overalls: . Once I get everything properly tweaked, my plan is to make like three pairs of skinnies and then a pair or two of flares or bootcut jeans. So far for my wearable muslins I’ve been using a really shitty stretch denim I got at Sewfisticated in Boston. It’s just kind of crunchy-feeling and the recovery really doesn’t last that long. It’s only $2.50/yard though so it makes perfect muslins and then I can just wear them until they wear out a few months later.

For this nicer pair, I bought a scrumptious stretch denim at Stone Mountain and Daughter in Berkeley that took me like a week to build up the courage to cut into. It’s just so soft and buttery and makes me do a happy dance. I think I have enough for another pair of skinny jeans, or at least a pair of shorts, and I’m thinking I’ll need to go back and pick up some more for the flares.

All the jeans!

options_framework_theme Theme by NUDGE MEDIA DESIGN.