Category Archives: outfit

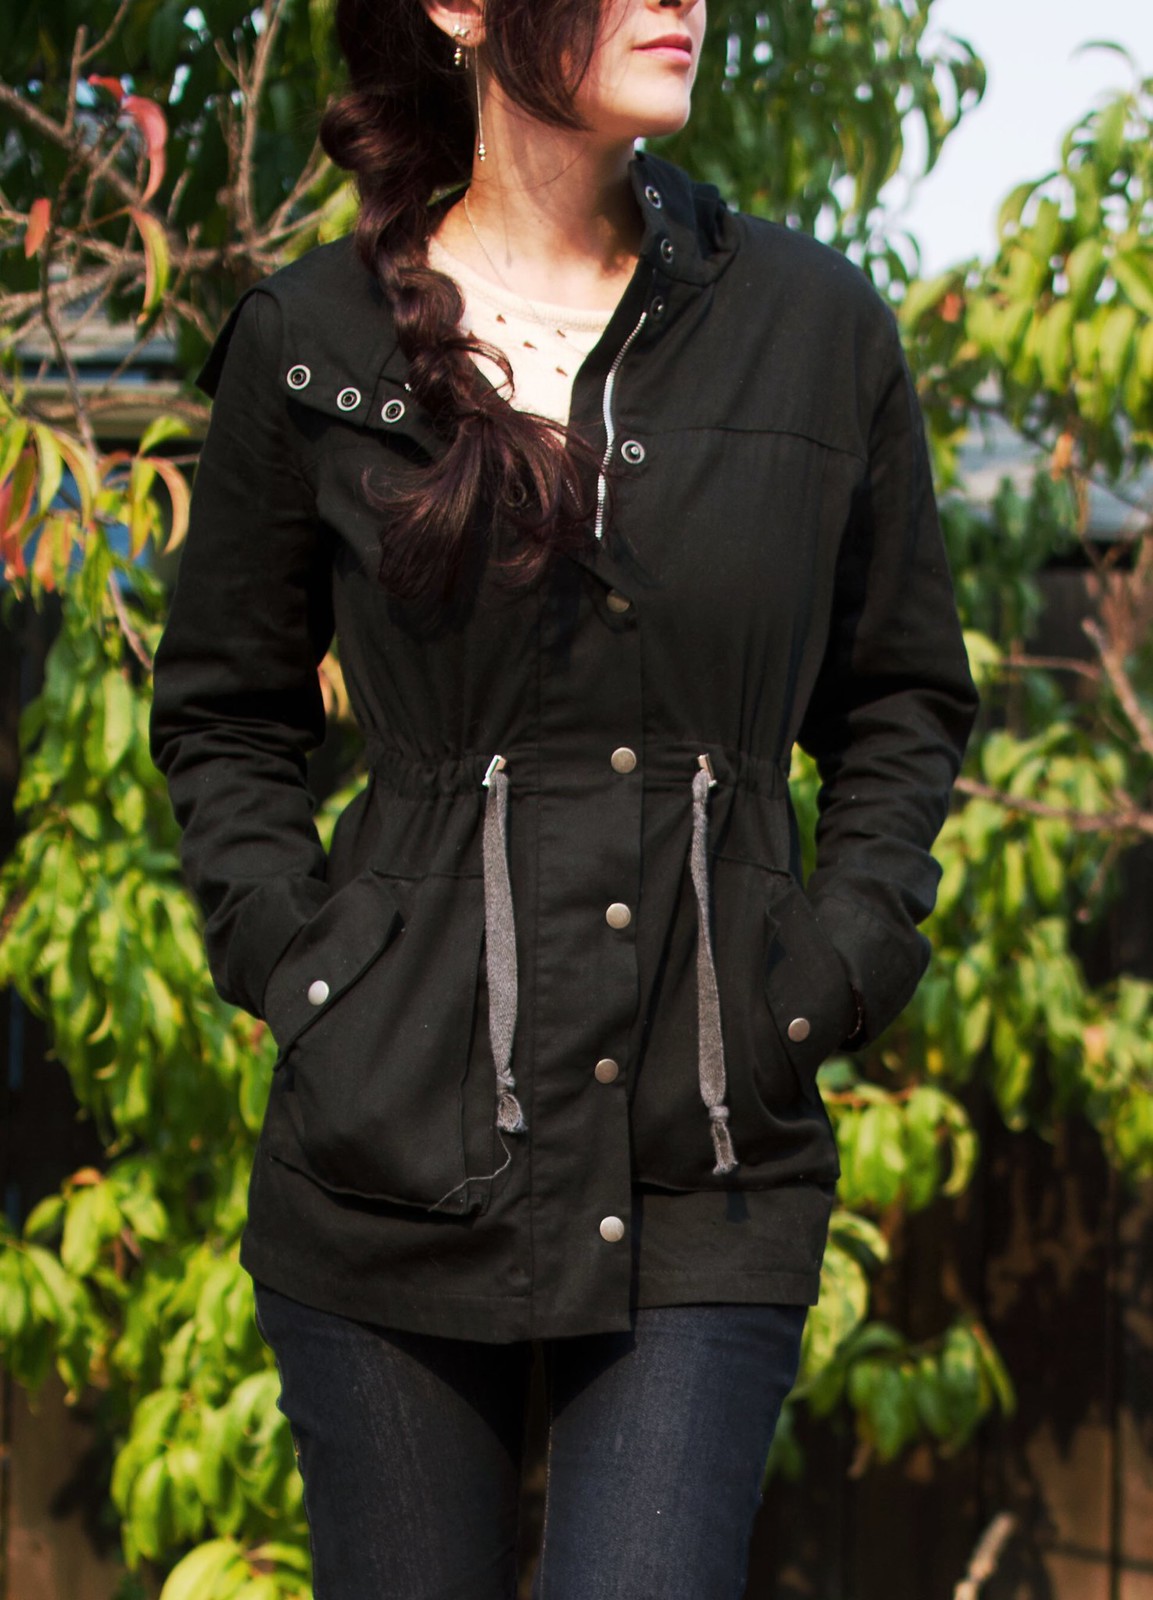
a Kelly jacket

Kelly anorak

Kelly anorak

Kelly anorak

Kelly anorak

Kelly anorak

Kelly anorak
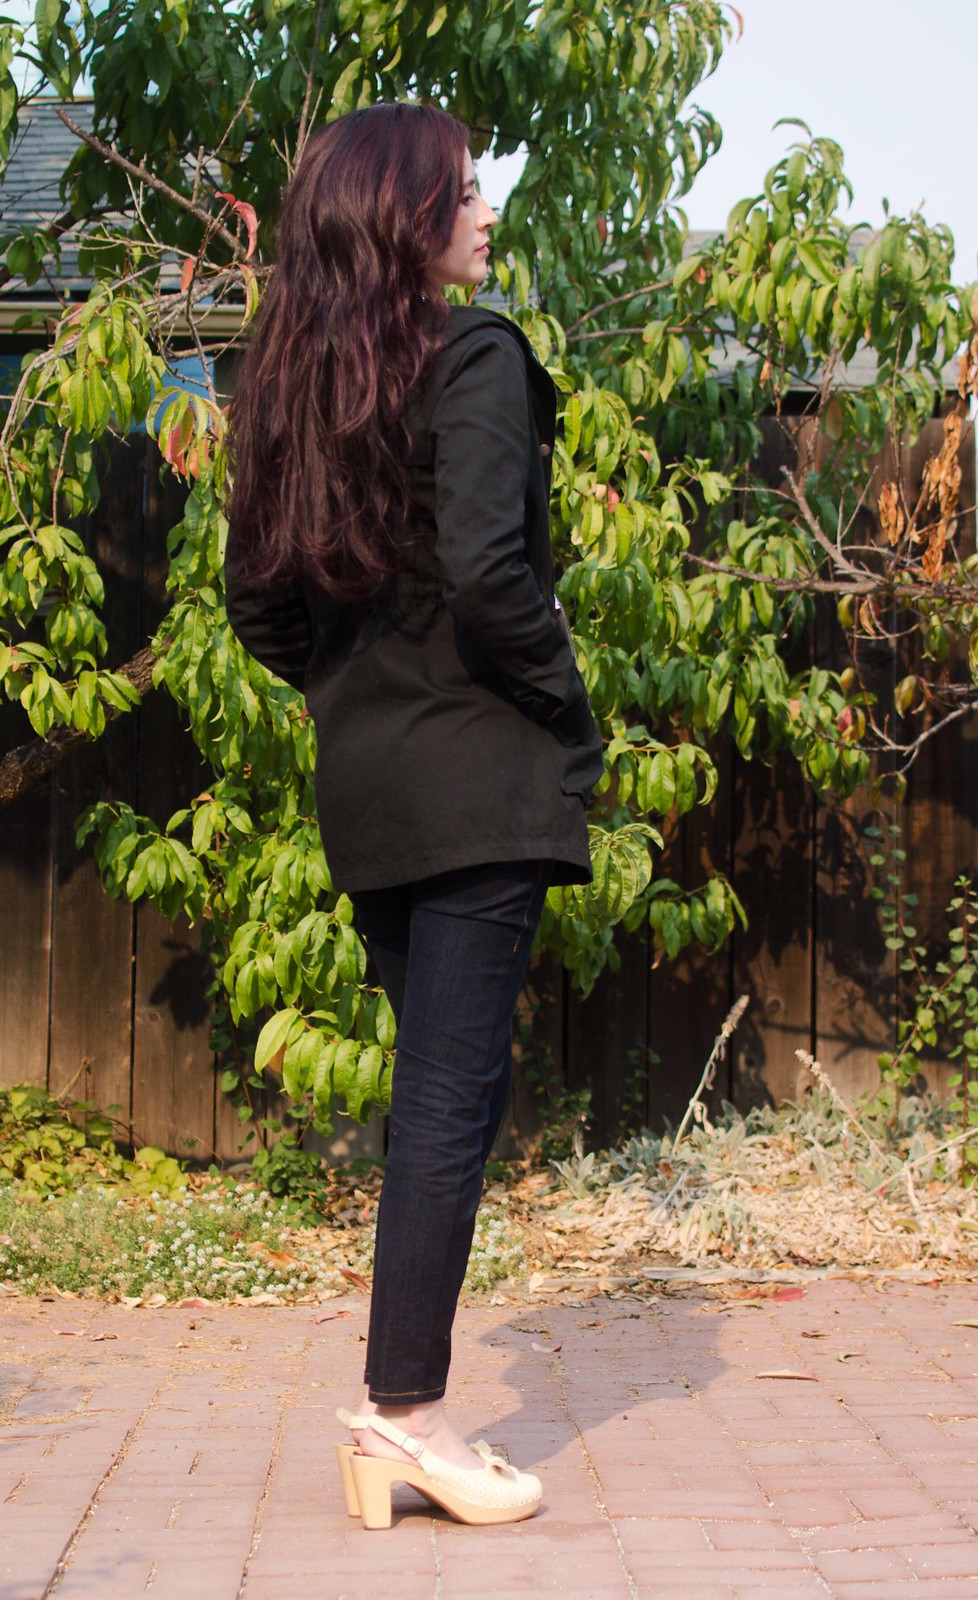
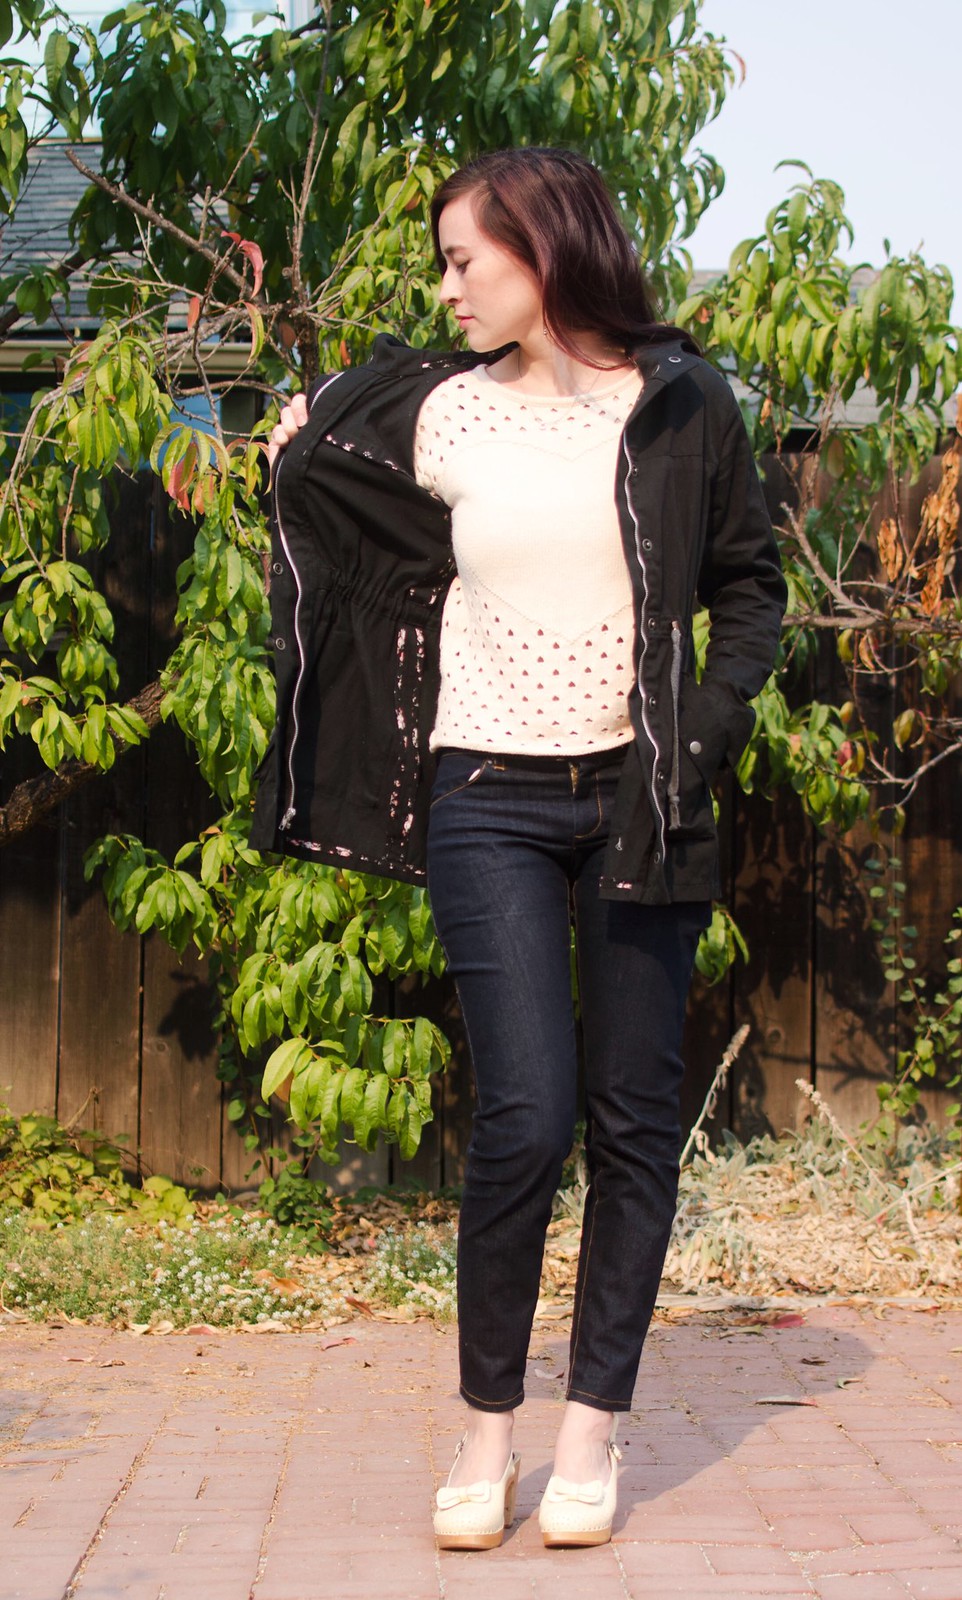
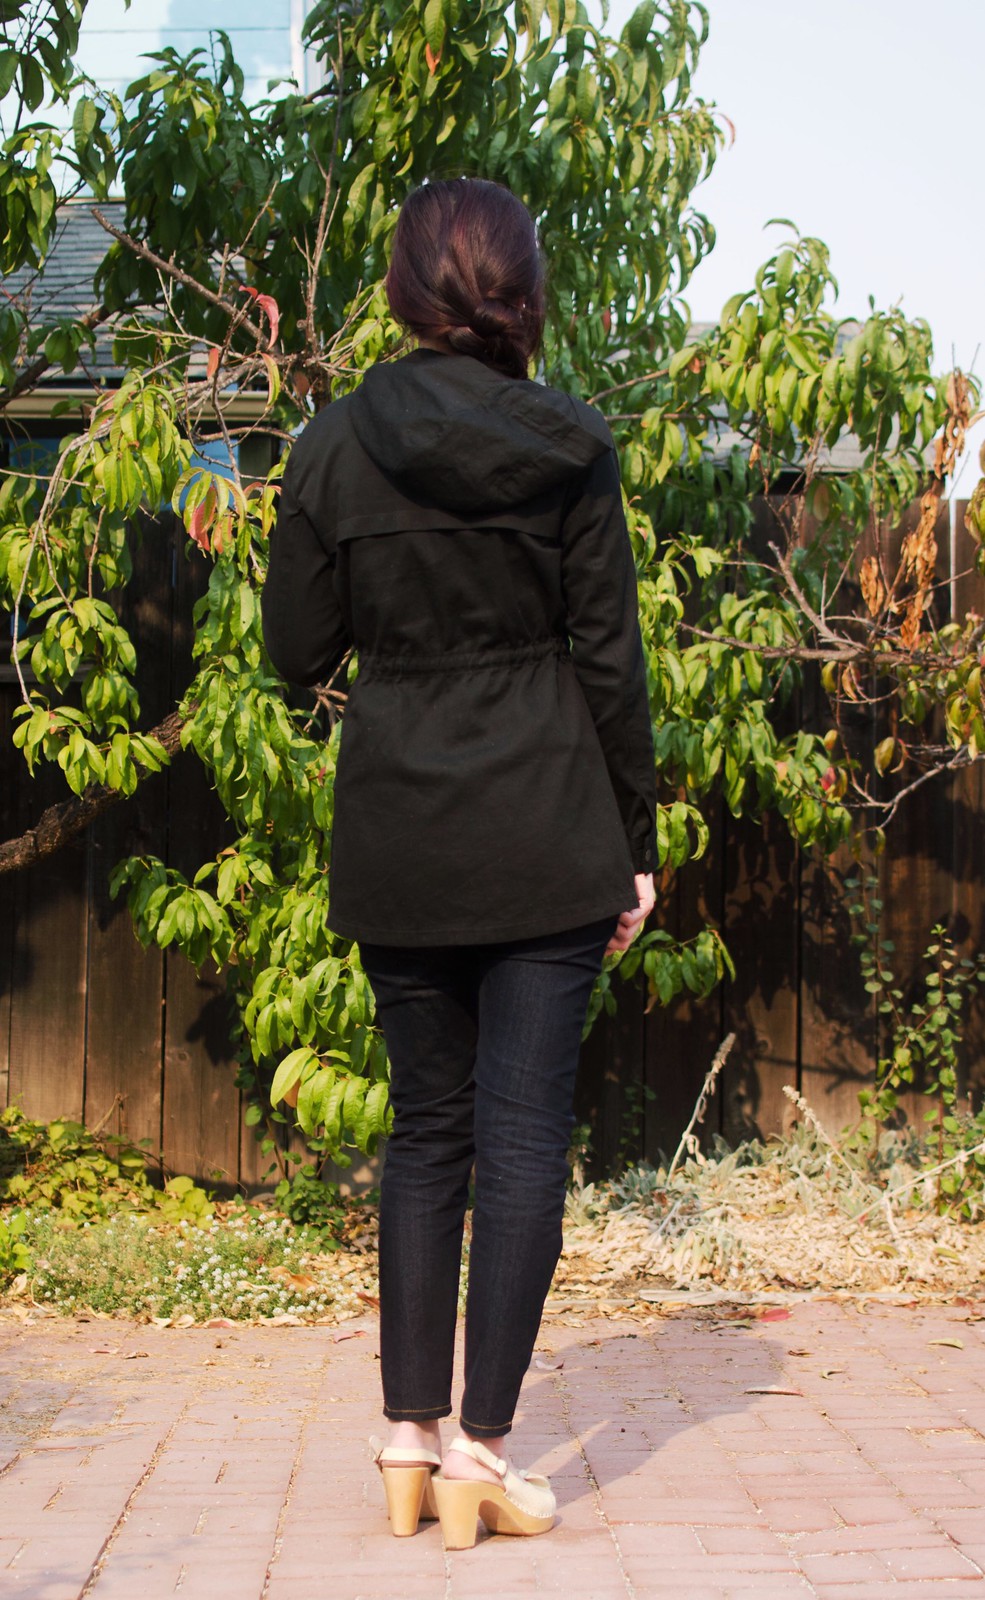
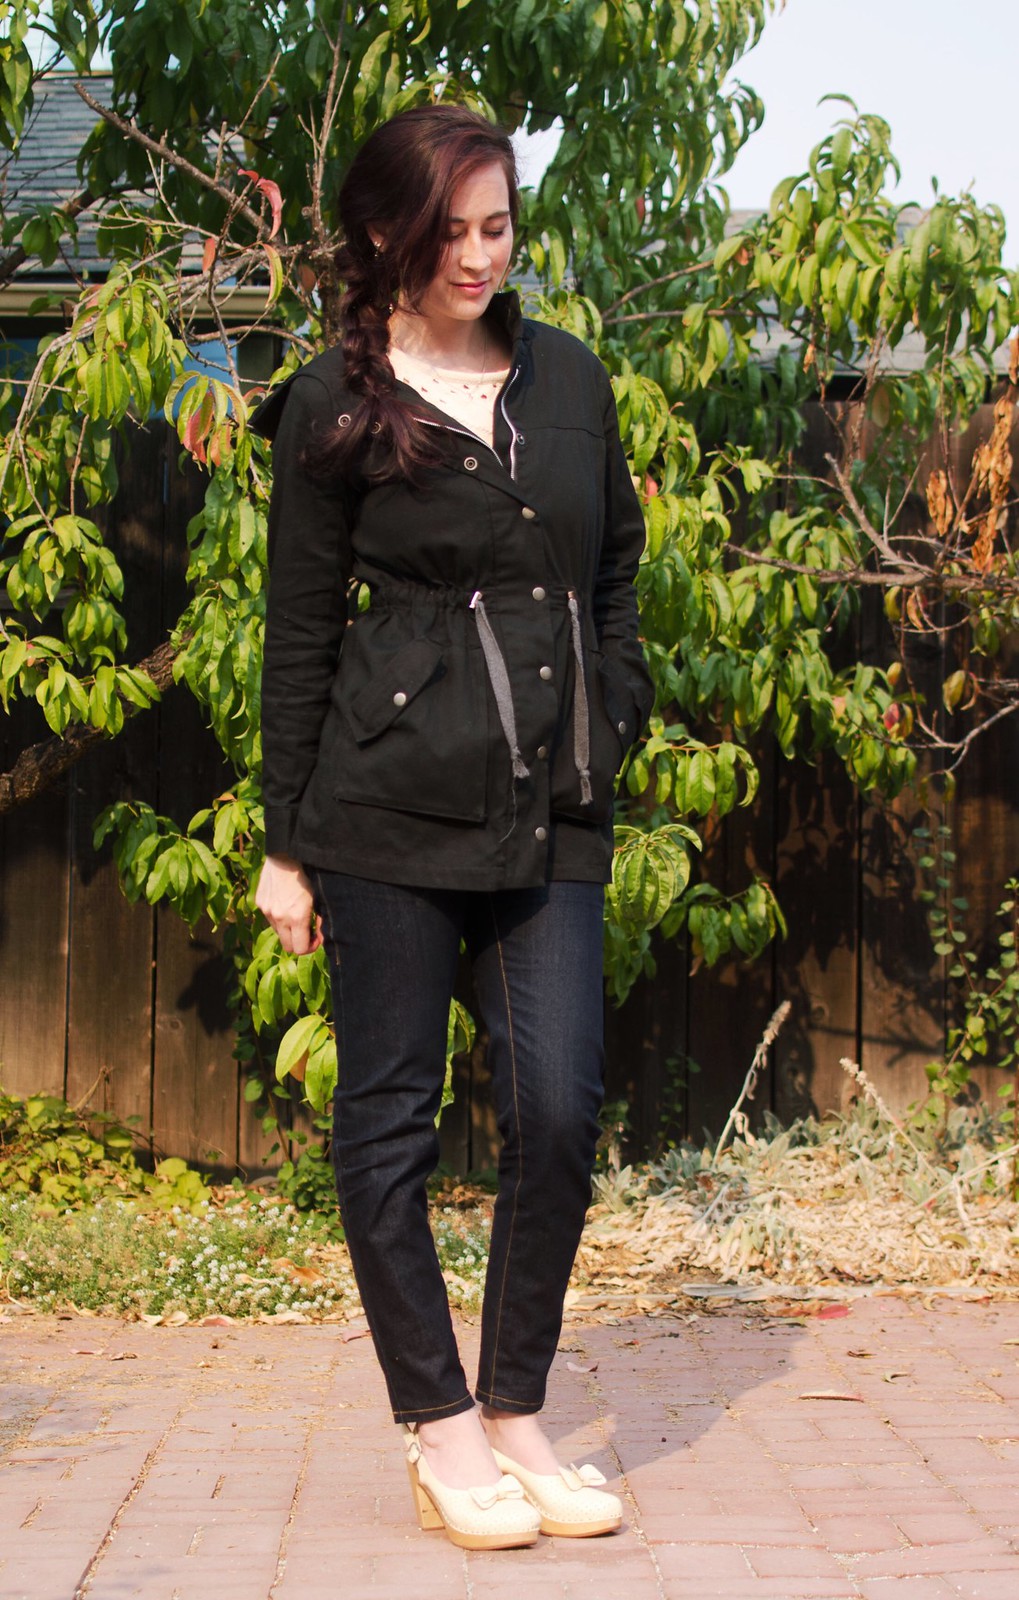
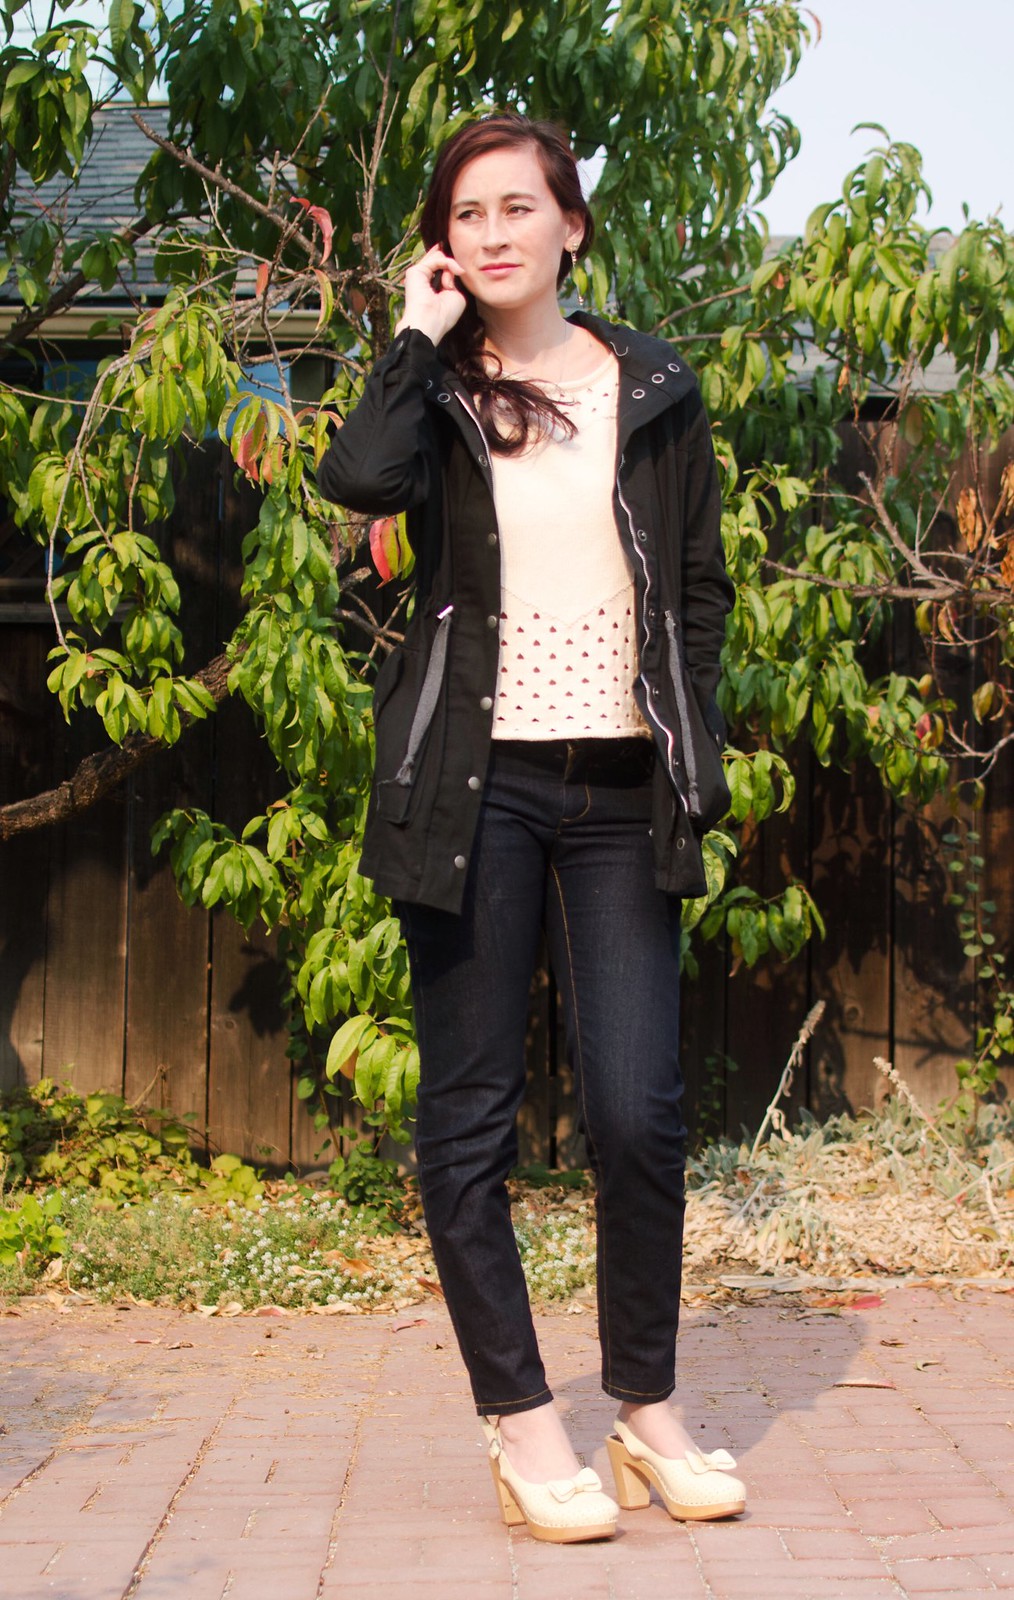
jacket – Kelly anorak // top – Dear Creatures // jeans – self-drafted // shoes – Swedish Hasbeens

Sometime last year I developed a huge affinity for anorak style jackets. Before that I’d been partial to peacoats and what I’ve dubbed “sleeping bag coats“, but I guess technically before that I lived in Boston where an anorak isn’t going to cut it most of the year.

The first one I sewed was the Waffle Patterns Tosti jacket because it was still pretty (relatively) cold and I wanted to play with all the different pocket styles. I also picked up two different Big 4 patterns in this style. And then Heather released the Kelly pattern and it was game over.

The fabric is black cotton twill from Joann’s, the snap buttons are Dritz, the twill tape and cord stoppers are from Pacific Trimming, and the floral bias tape on the inside is self-made from a rayon I got at a local discount fabric store.

I love this thing so much. It was pretty simple to put together, and my muslin fit me almost perfectly so I didn’t really make any adjustments. I did, however, make one bigger drafting change because I wanted an excuse to be able to use this for one of my classes, which required trying out a new skill.

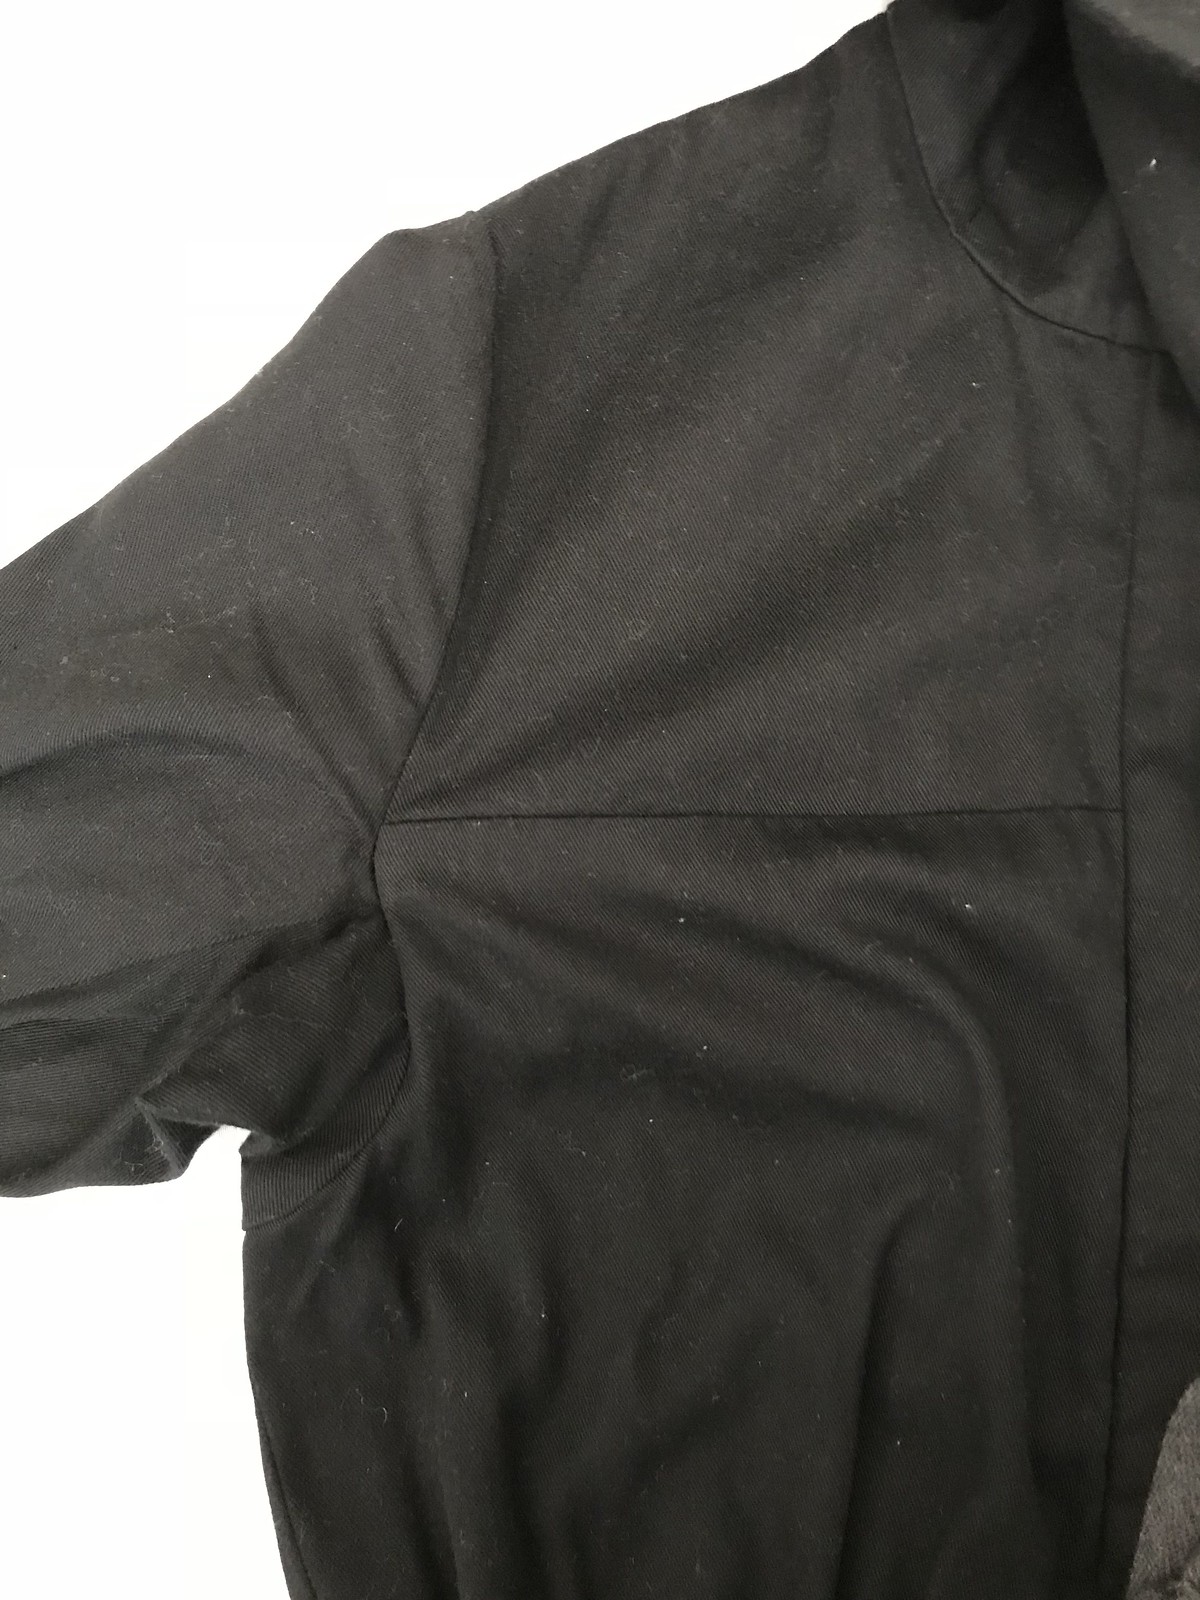
Back in my Copying RTW class with Lynda Maynard, she taught us how to do a cut-on gusset, which basically consists of adding a bit of fabric to the armpit area that then acts like a gusset so you can raise your arms without the whole garment lifting up annoyingly. I’d done it before to other patterns with single sleeves, but Lynda had sent me instructions for doing it to a two piece sleeve and I was super excited to try it. (I can’t seem to find instructions online for the single sleeve version, but it’s much simpler and I believe Lynda goes through it in her Sew the Perfect Fit Craftsy class, which I haven’t taken so I could be wrong).
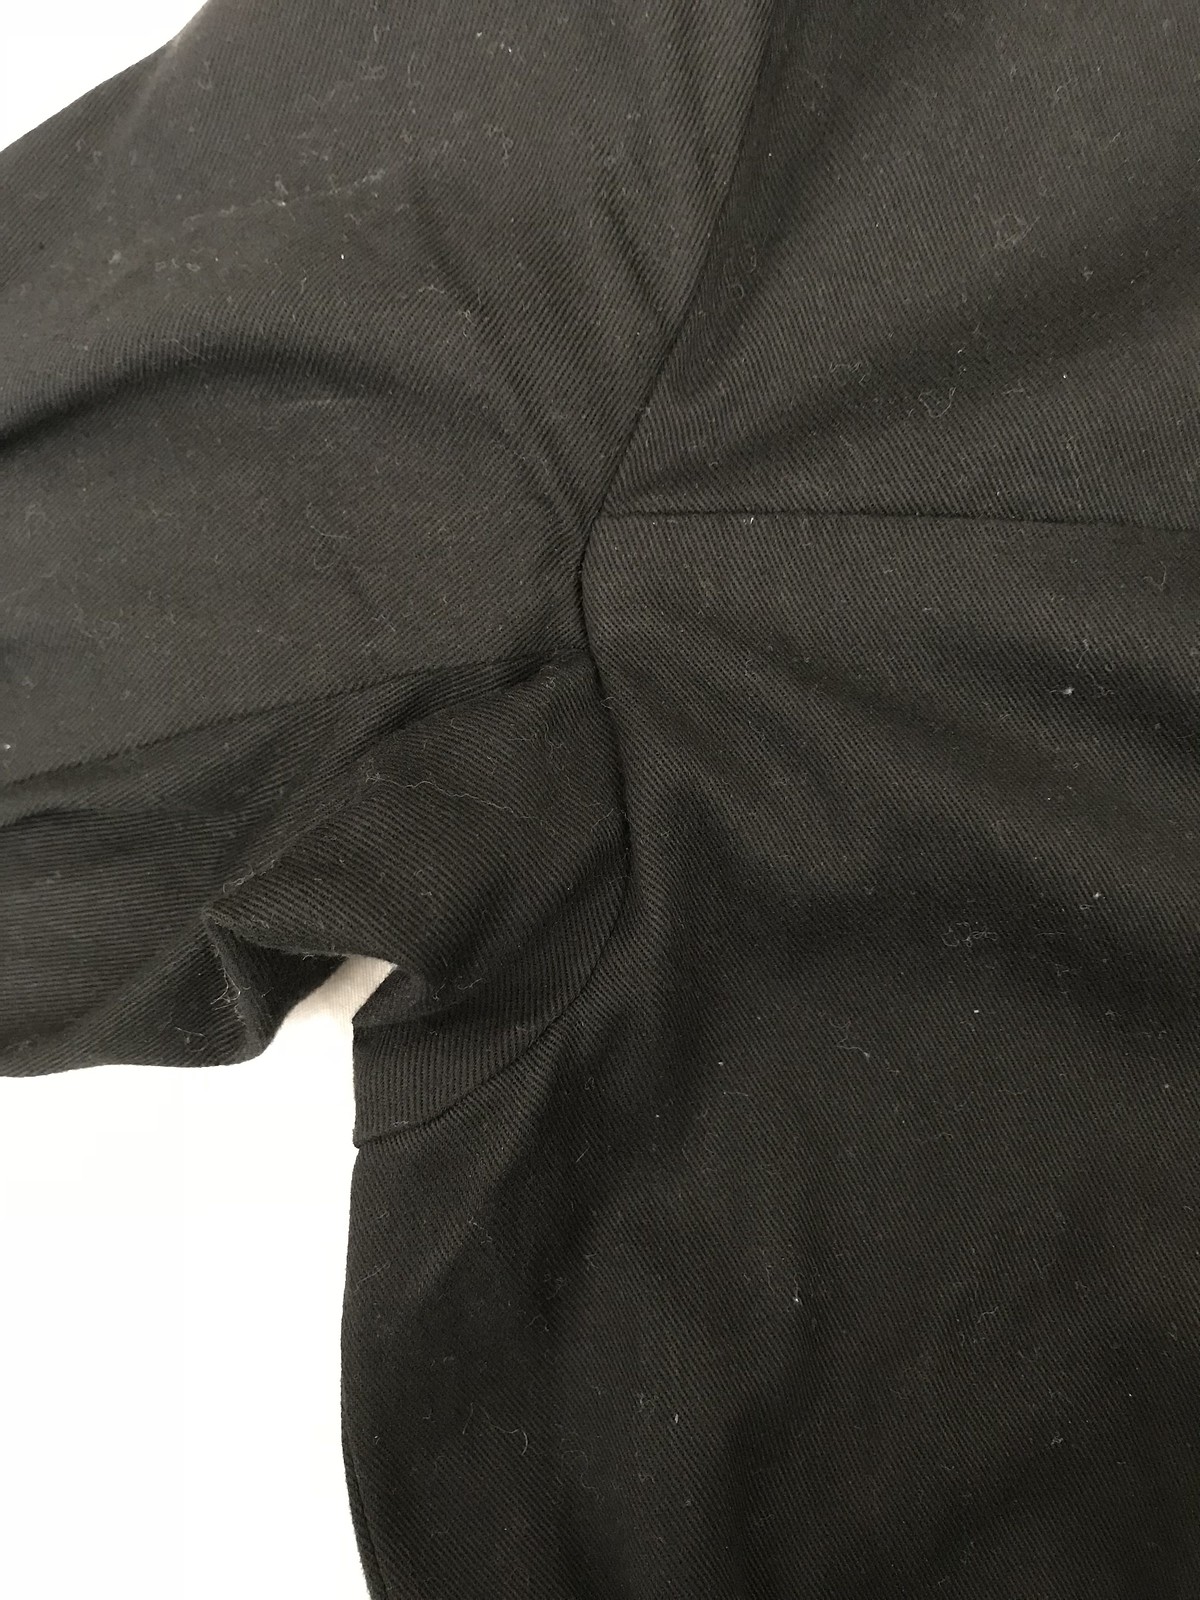
Gusset

GussetI attempted to take a photo of it but since it’s black it wasn’t easy. Basically that little extra pucker of fabric is the gusset, and just gives you more armpit space to be able to lift your arms. You’ll also notice the armhole ends up about 1.5-2″ lower than where it was originally, so be careful if you’re doing this on a light colored fabric where it’ll show and look weird.

Anyway, it turned out good-not-great. I love the idea of it, and I’m definitely able to raise my arms higher, but I think I screwed up the seam allowances because it pulls a bit in the front in a way that doesn’t quite make sense. I’ll have to try again on the next one. One word of caution though: the way this method works on a two piece sleeve means that you’ll have a much lower armhole seam than normal. I find it virtually unnoticeable in dark or busy fabric, but you might test it out first if you’re using a lighter color or something where seams are more apparent.

Anyway, I’m a huge huge fan of this pattern. I love all the well-thought out, professional looking details, and I’m a sucker for anything that requires hardware. The only thing I didn’t love is that while the pockets look super cool, I’m always a bit fearful of things falling out. I think next time I would want to somehow figure out a way to make the pockets at least snap shut at the top. Perhaps with a lined version?

I definitely want to make a lighter colored one, maybe in a khaki or pale gray. Ooh maybe with polka dot bias tape on the inside!
Adventures in patterndrafting // mystery fabric contest

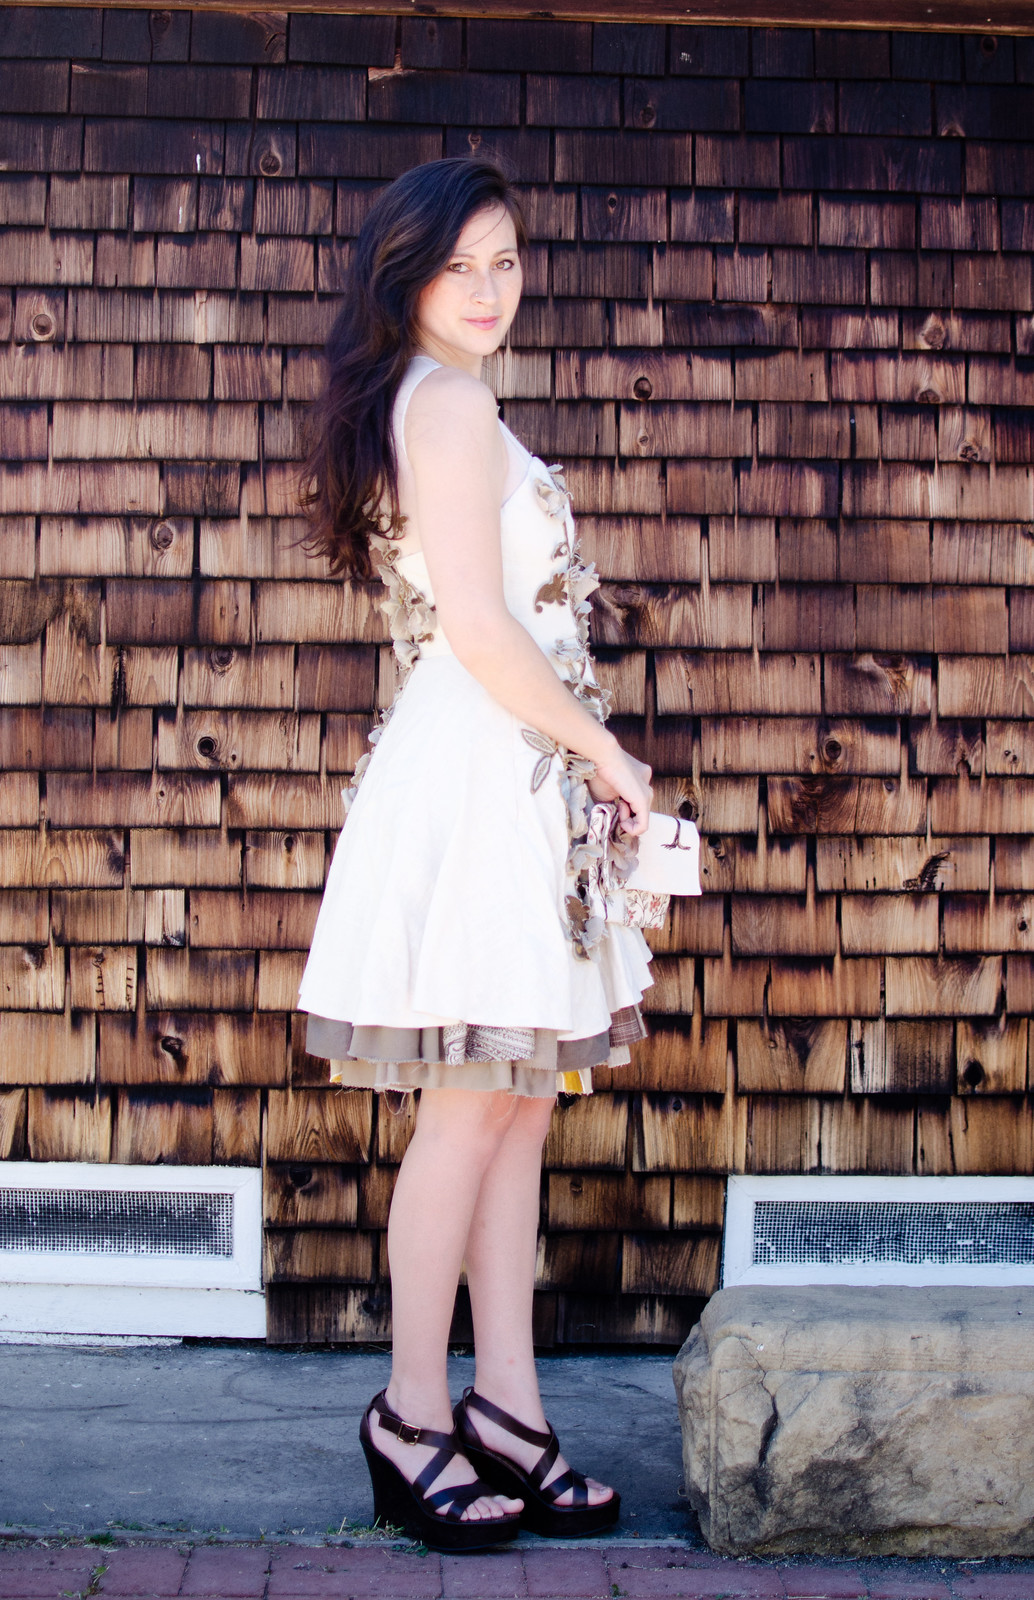
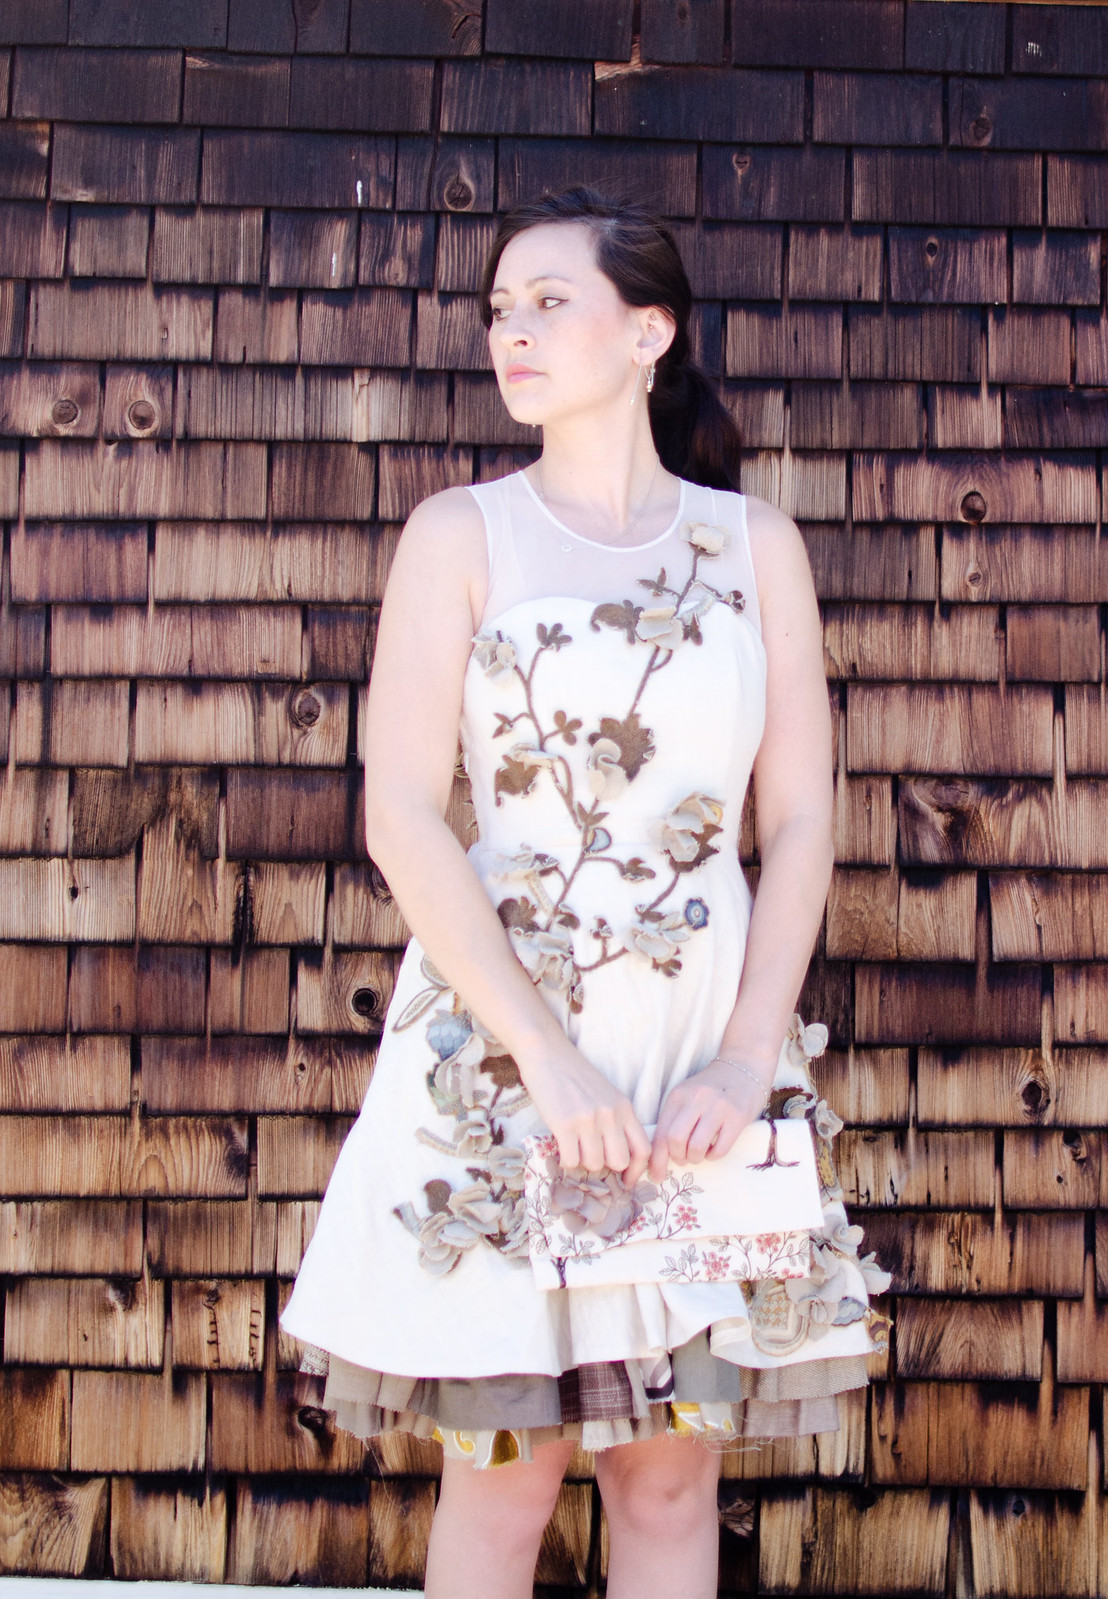
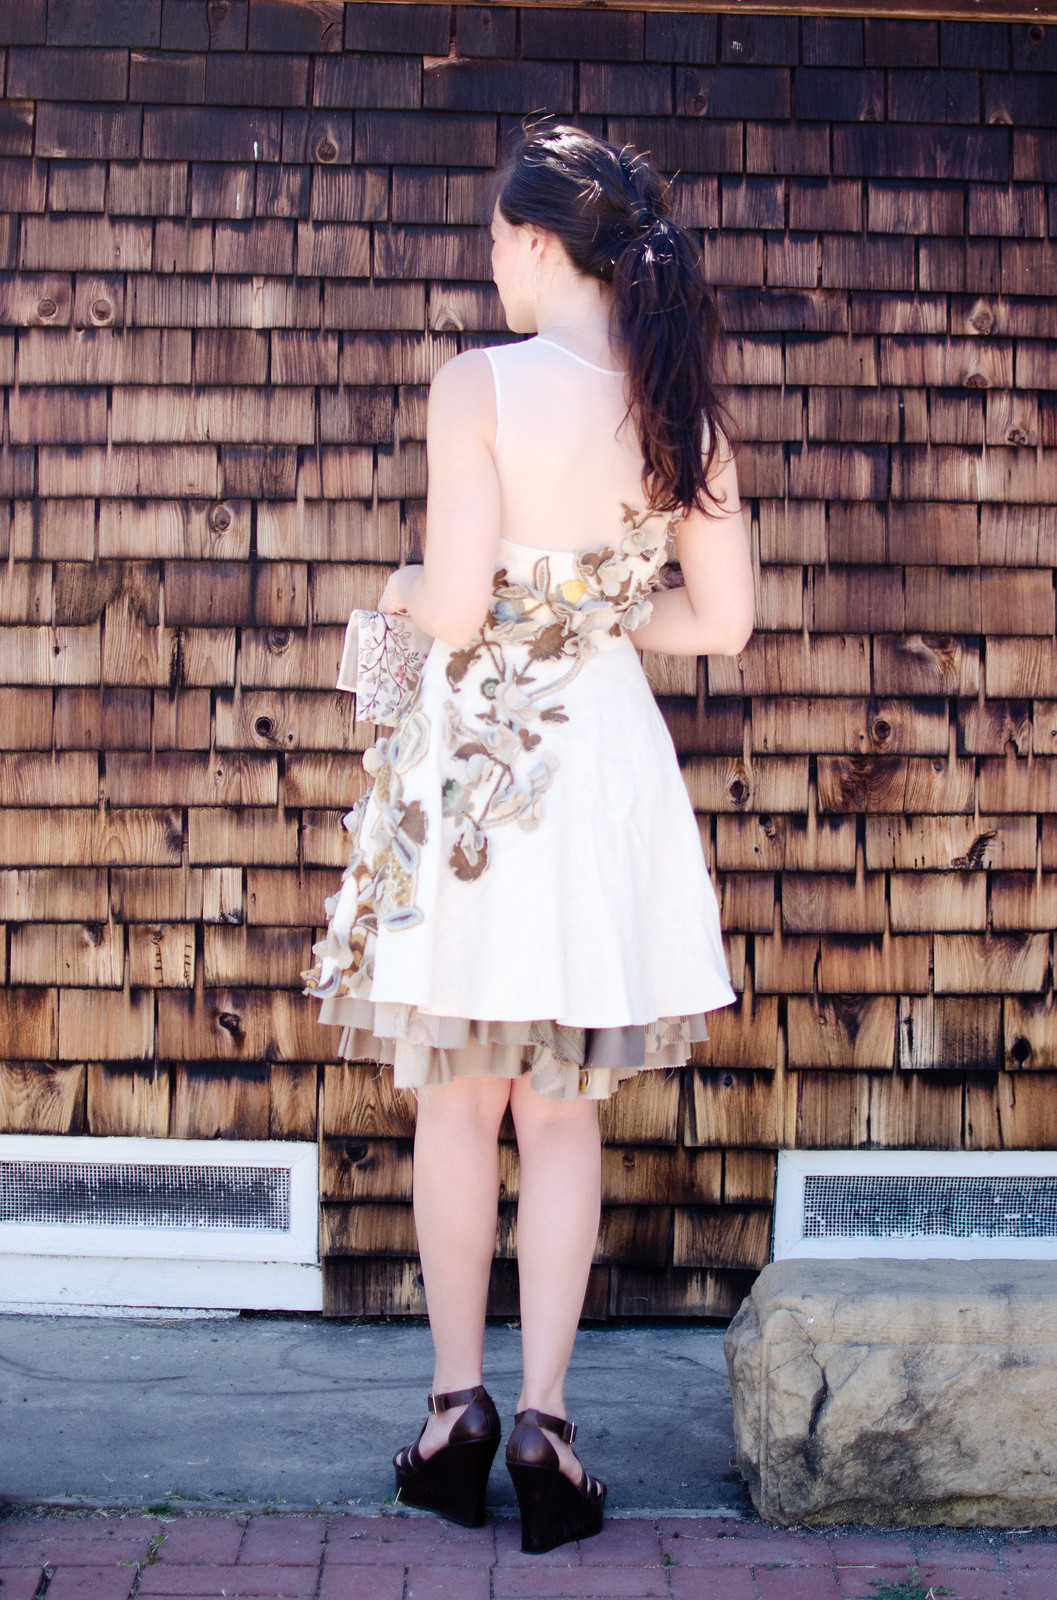
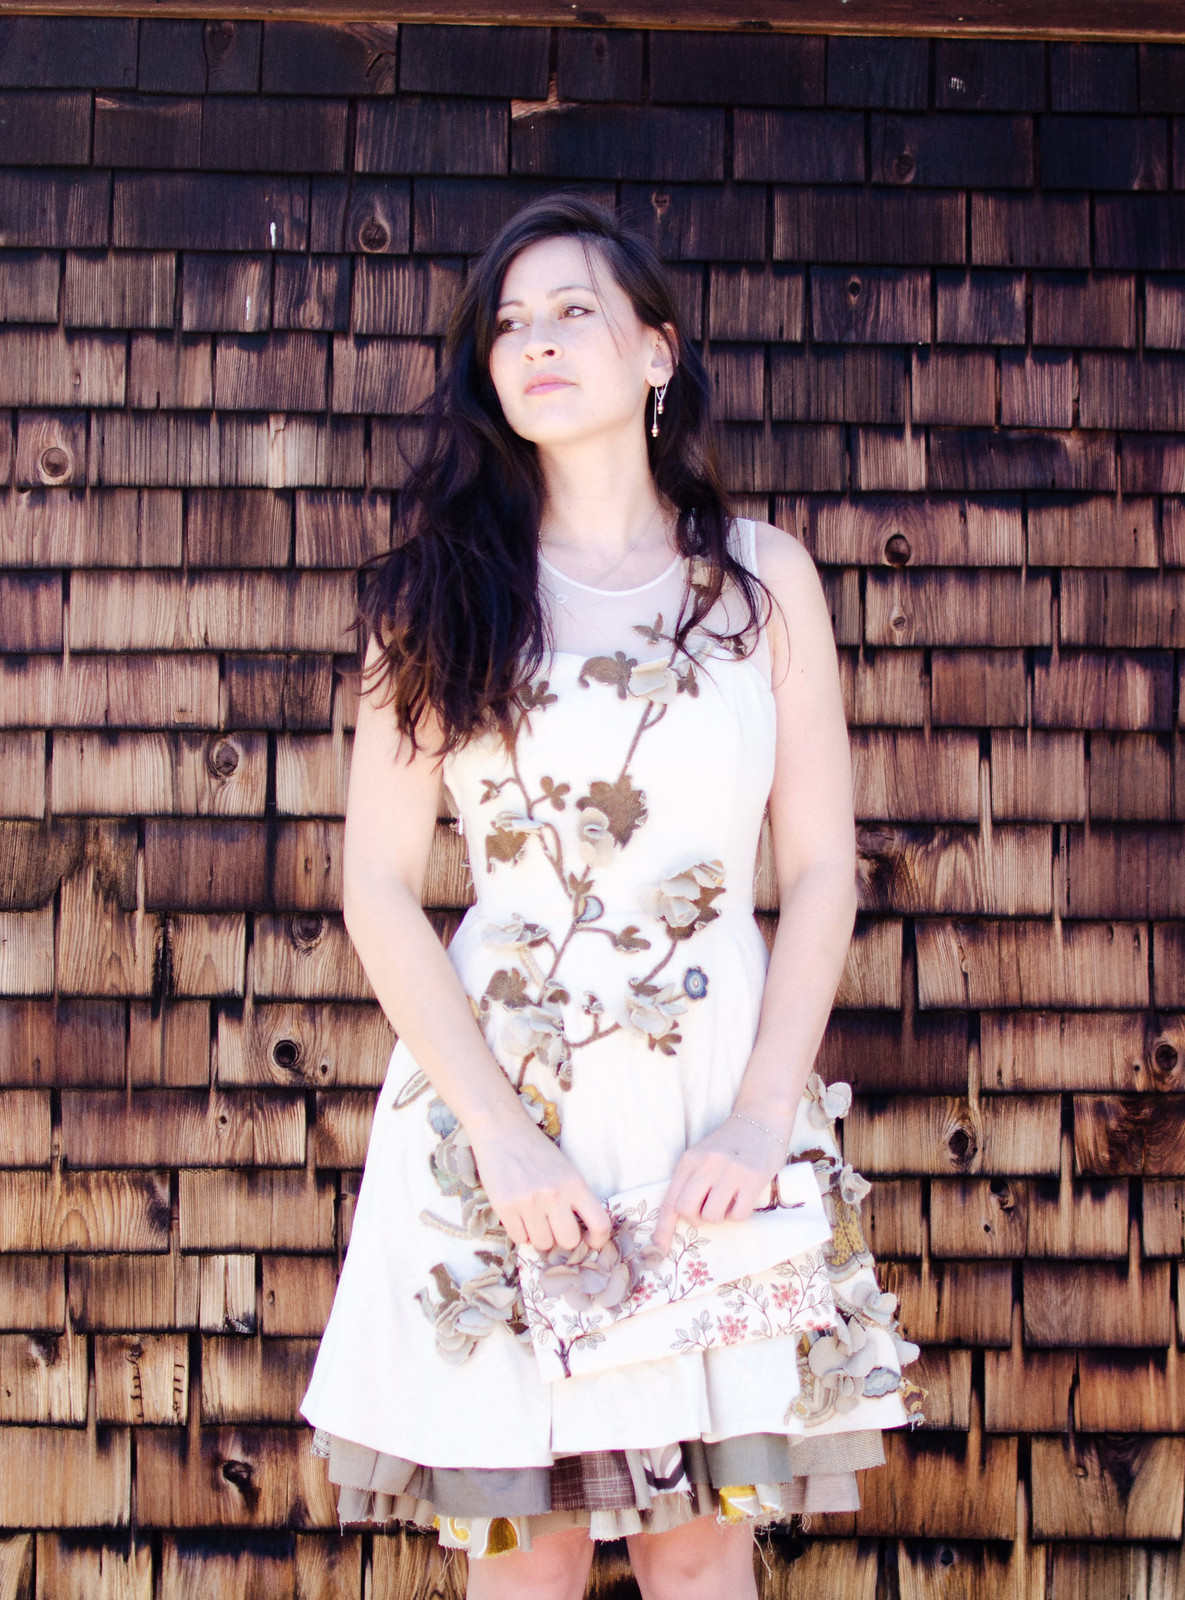
Mystery Fabric Contest dress

Mystery Fabric Contest dress

Mystery Fabric Contest dress

Mystery Fabric Contest dress

Mystery Fabric Contest dress

Mystery Fabric Contest dress

Mystery Fabric Contest dress

Mystery Fabric Contest dress

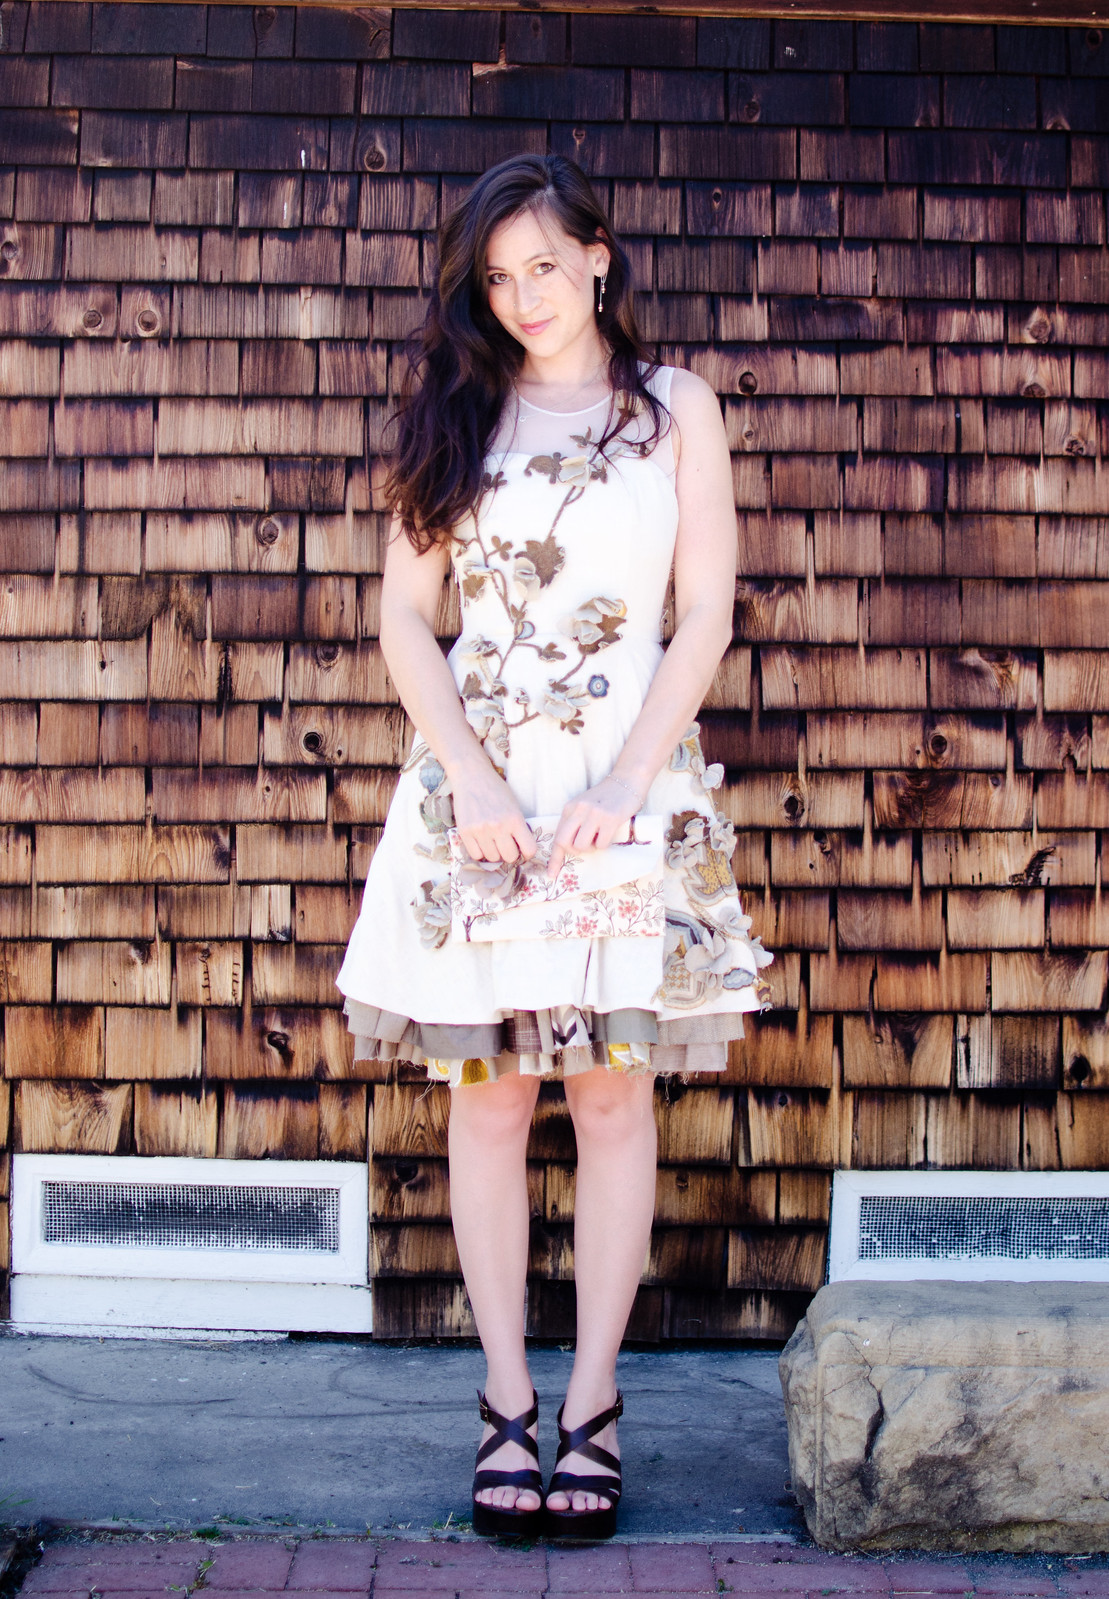
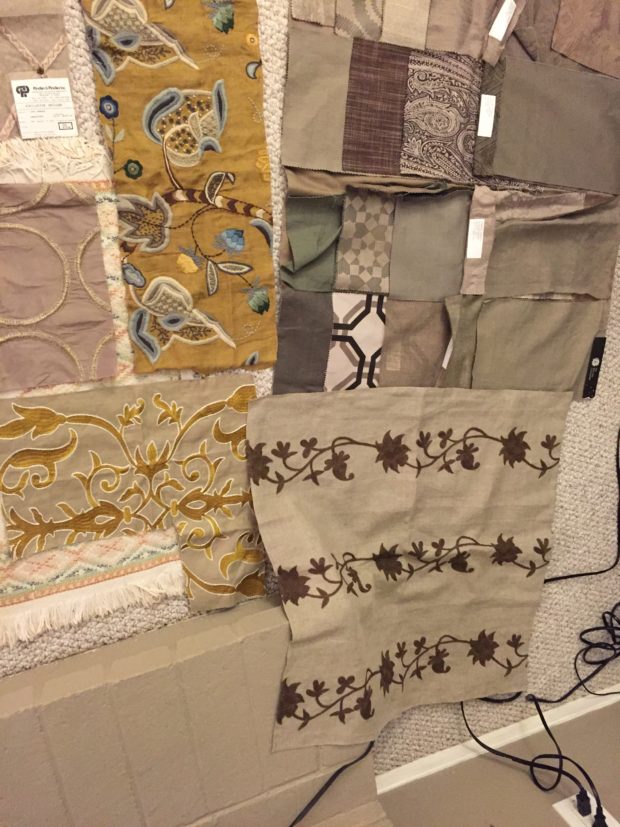
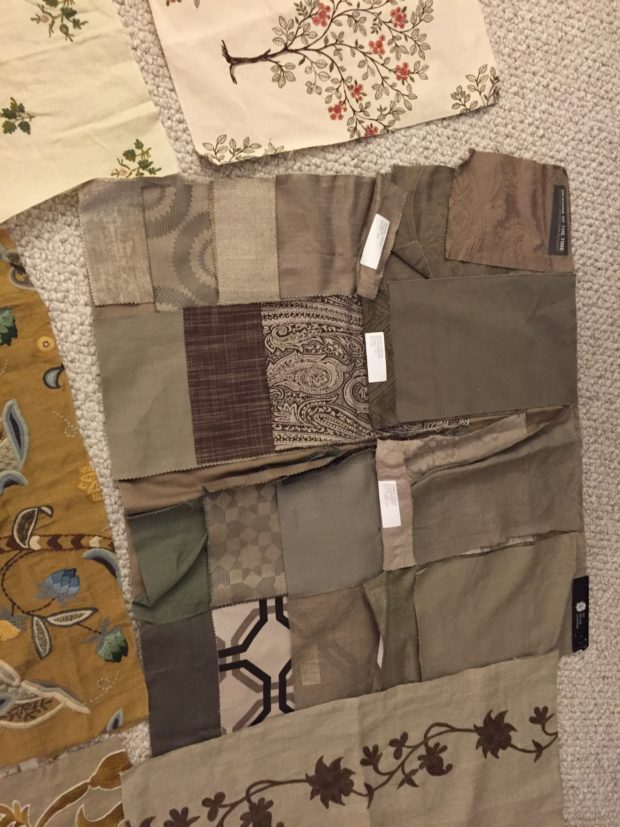
My school hosts a mystery fabric contest every year. This year participants received a bundle of mystery fabric, each one marked only with a number and the general color scheme of the fabric inside. You have from October to April to put together a garment using at least 50% of each piece of fabric included. Some people received several yards of the same fabric. Other people (ahem, me) received mostly tiny samples, with nothing bigger than a fat quarter. You can add as much fabric as you want too!

2016-01-28 22.37.12

2016-01-28 22.37.03

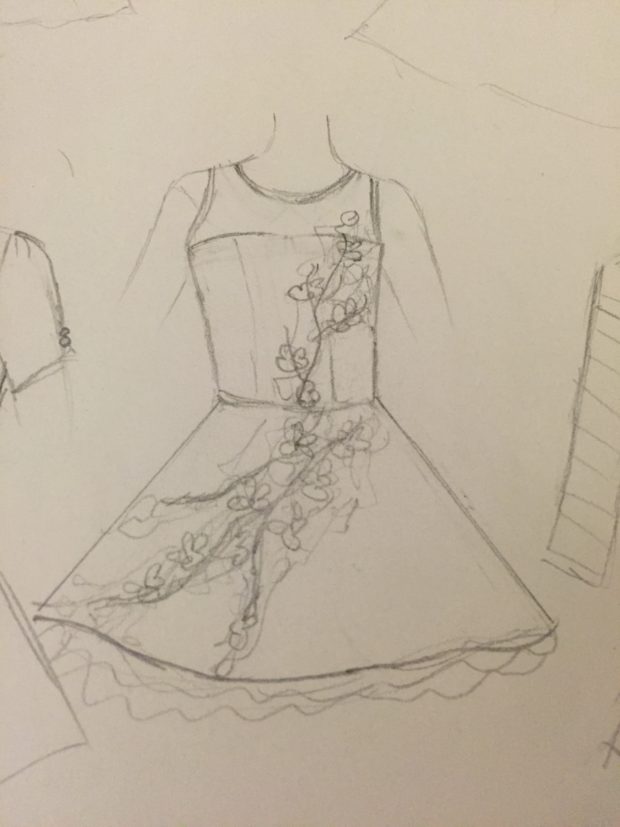
I was pretty stumped for a while after getting my bundle. At first I was thinking of doing something big and dramatic a la Regina from Once Upon A Time (season 1-2), with one side done in a cool patchwork pattern and the other side in a solid or floral print, but I kept coming back to a fear of it coming out looking like a quilt so I nixed that idea. Then one day when I was working on Cinderella’s ball gown while simultaneously daydreaming about doing Cinderella’s wedding gown (I am a crazy person, yes.), I had a lightbulb moment. Why not do a modernized party dress version of Cinderella’s wedding dress, but with the same floral/mesh/gauzy look?

2016-01-28 22.01.19

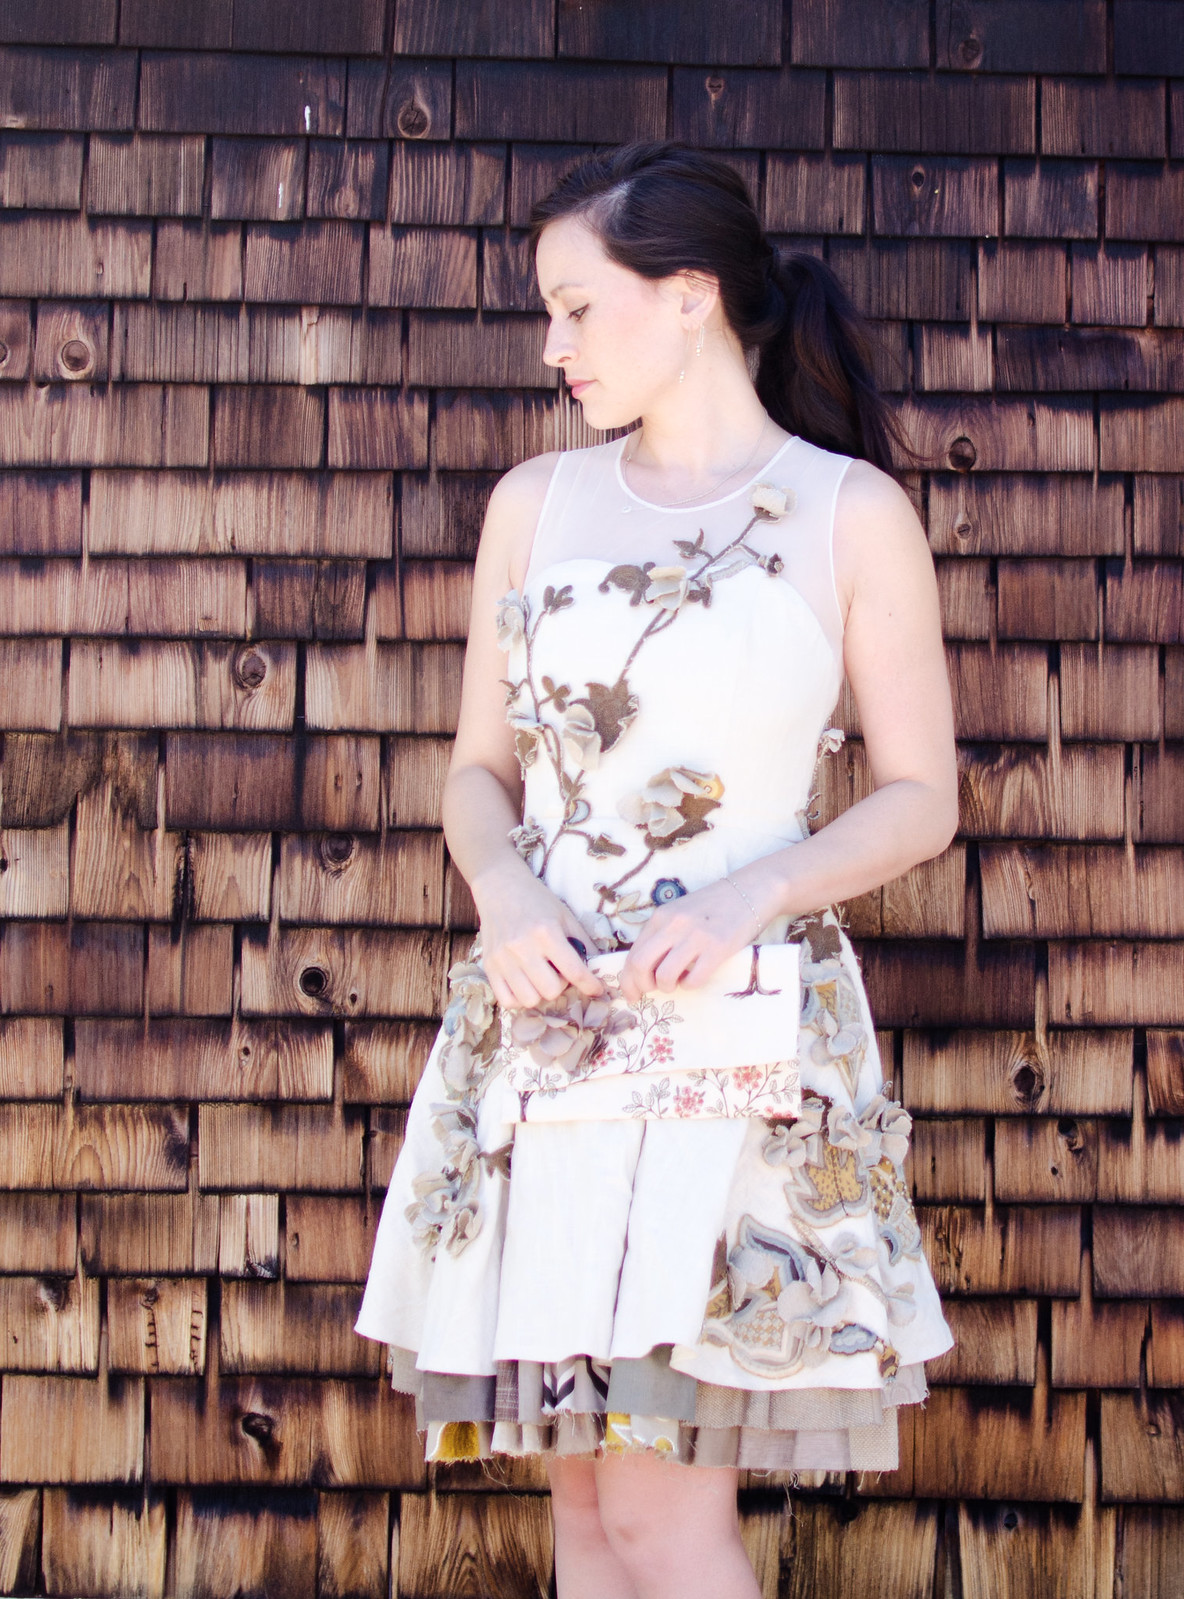
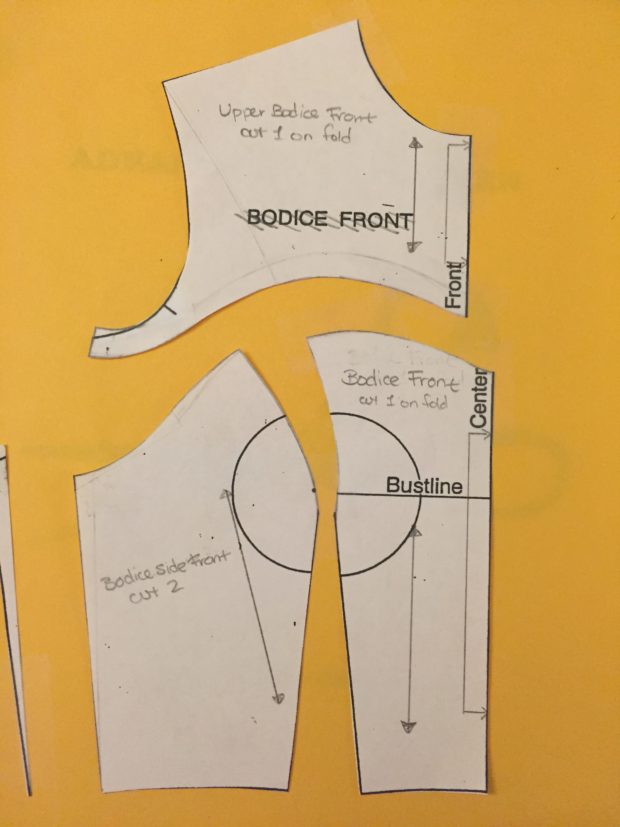
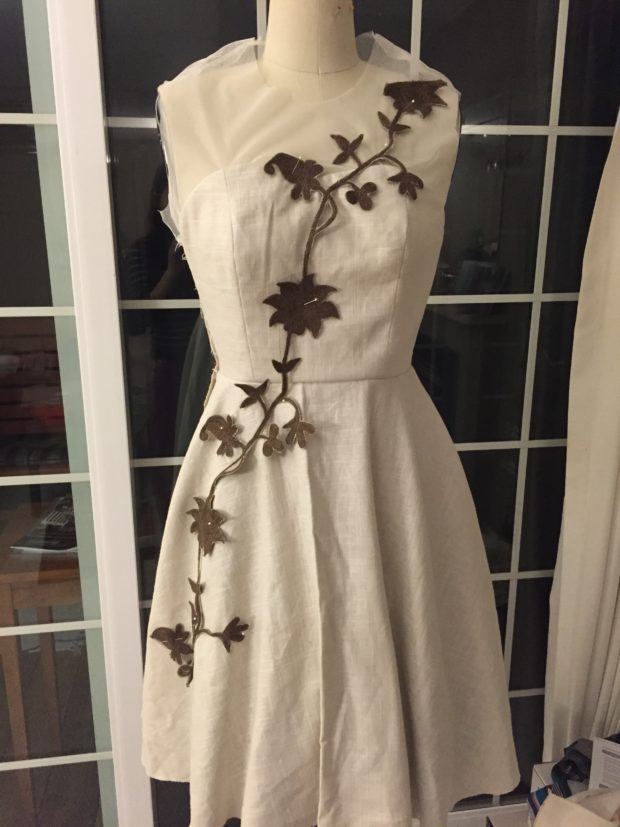
I started off drafting a pattern for a dress with an upper yoke in a sweetheart neckline shape. Since I knew I wanted to sew the upper yoke in mesh and since I wanted it to have a more formal party dress kind of look, I did a lot of contouring around the princess lines and sweetheart neckline to make it more form-fitting. Then I just used the same skirt pattern as my Christmas dress. Since a lot of the fabrics in my bundle were linens in earthy colors, I went for a similarly earthy (but still somewhat fancy-looking) linen from Joanns in ivory.

2016-01-28 22.01.26

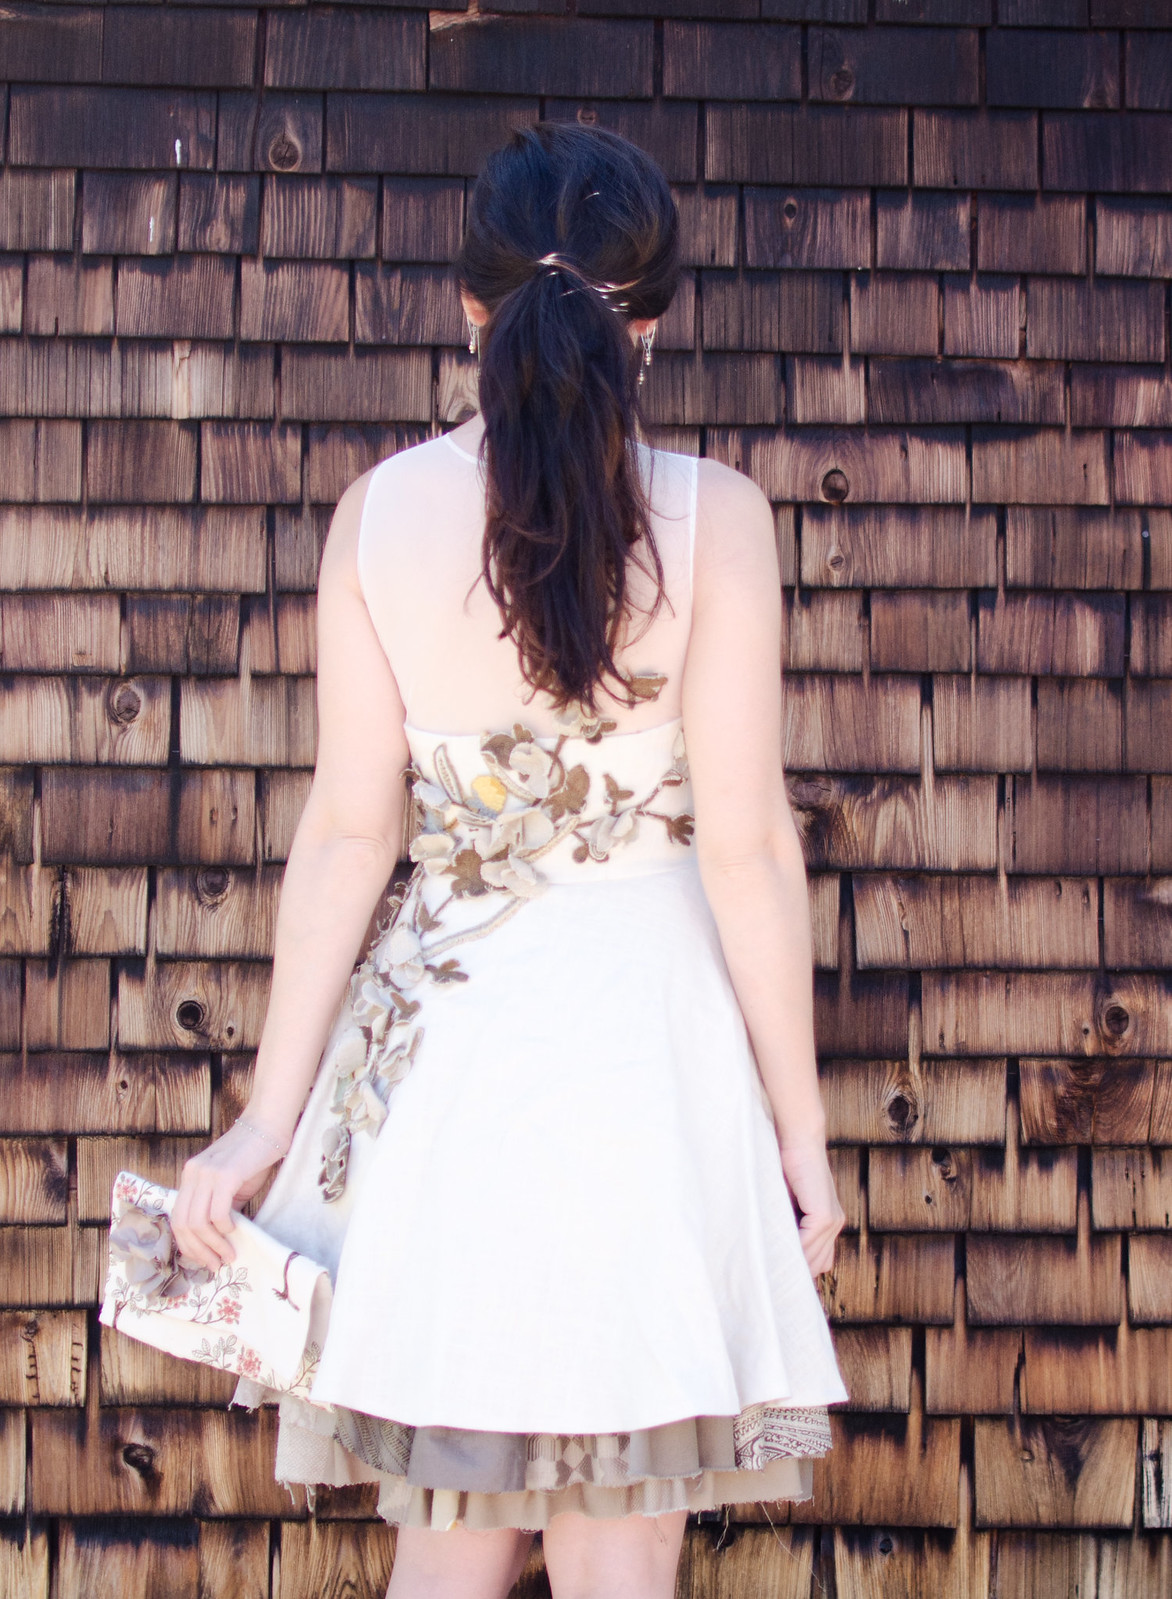
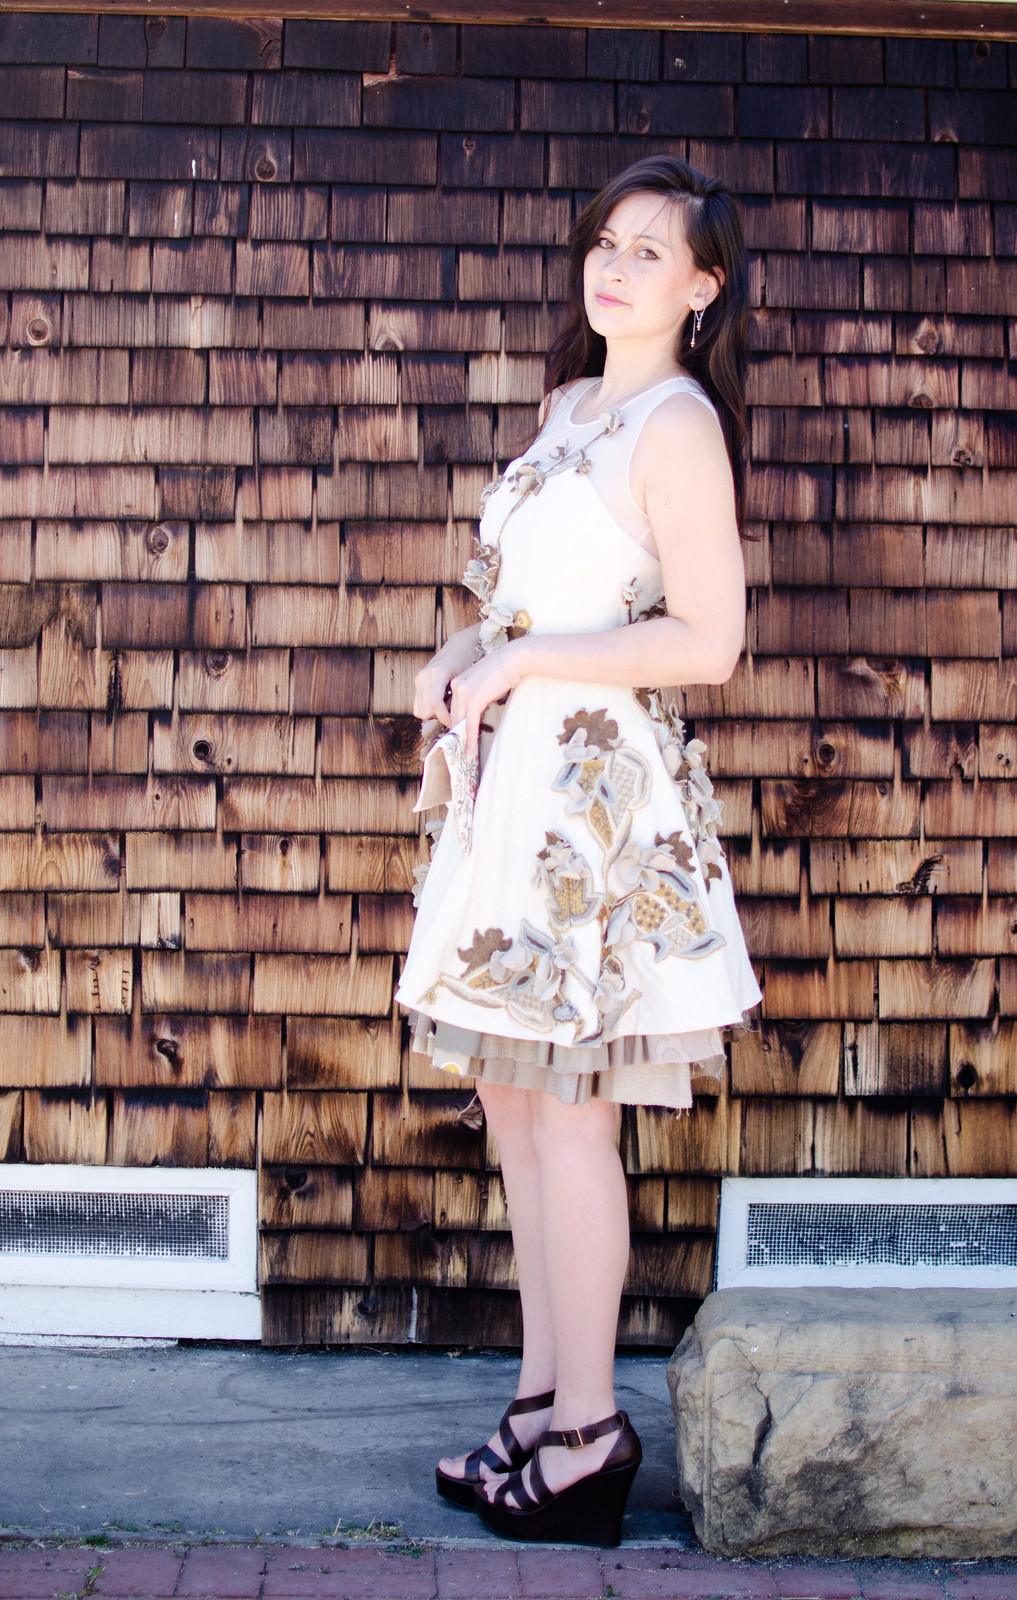
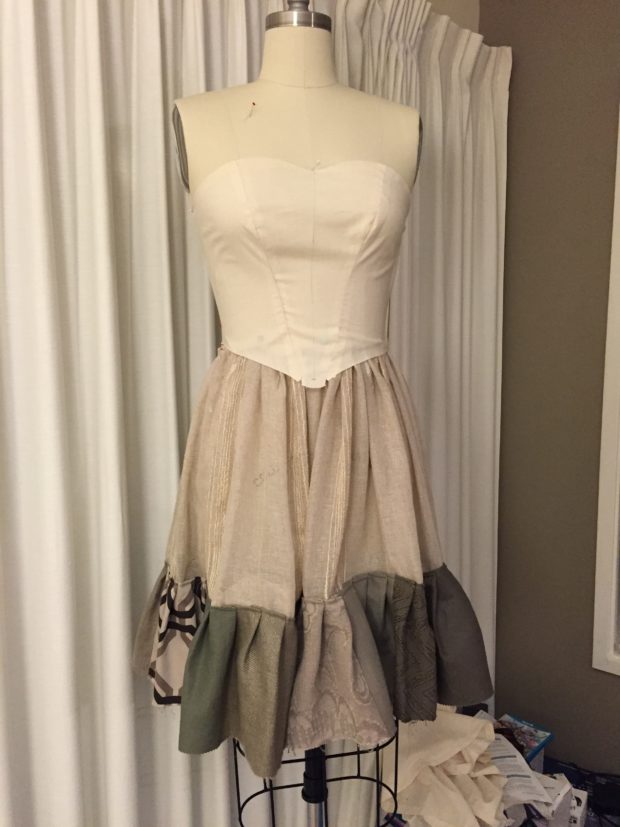
Construction-wise, I started off by taking the three identical pieces of sheer gauzy curtain fabric and sewing them together as a dirndl underskirt. Then I tore off all of the sample rectangles and cut up the backing fabric into similarly sized rectangles and sewed them together into a long piece (similar to what I did for my Cinderella ball gown). I then pleated  those and attached them in two tiers to the underskirt so they would peek out a bit under the main dress.

2016-03-07 23.17.29

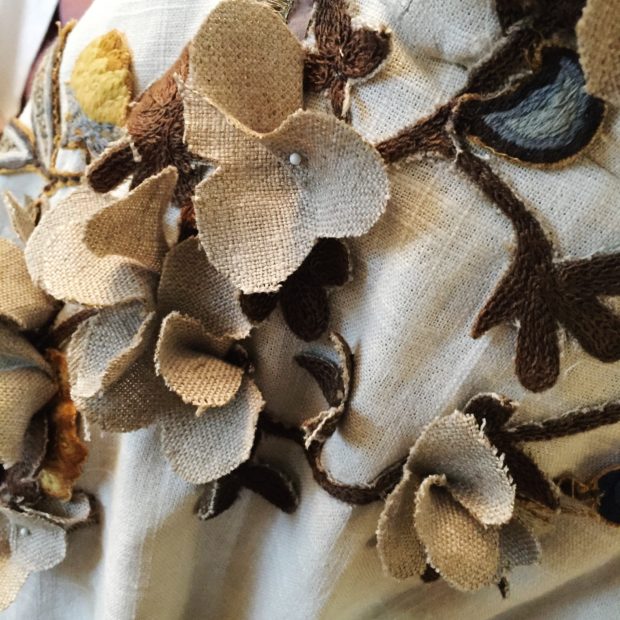
I’d had a hard time trying to figure out what to do with all of the thicker embroidered fabrics (especially ones where the background fabric clashed) so I decided to cut the embroidery out of the fabric and sew it onto my dress.

2016-03-24 13.06.28

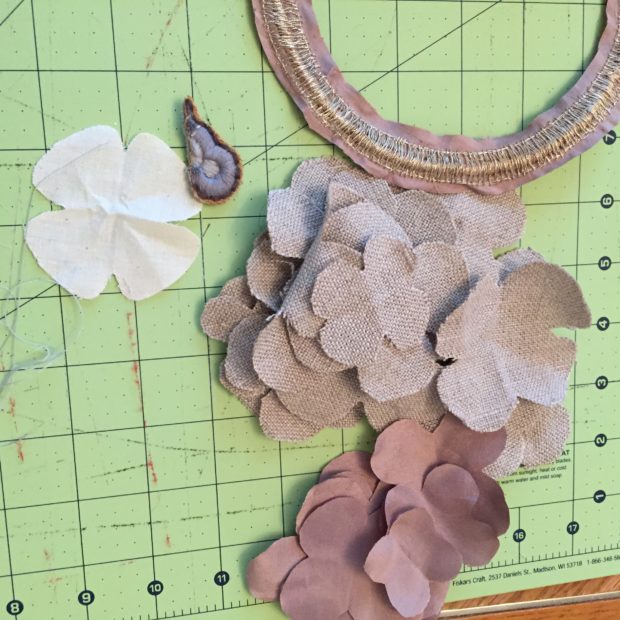
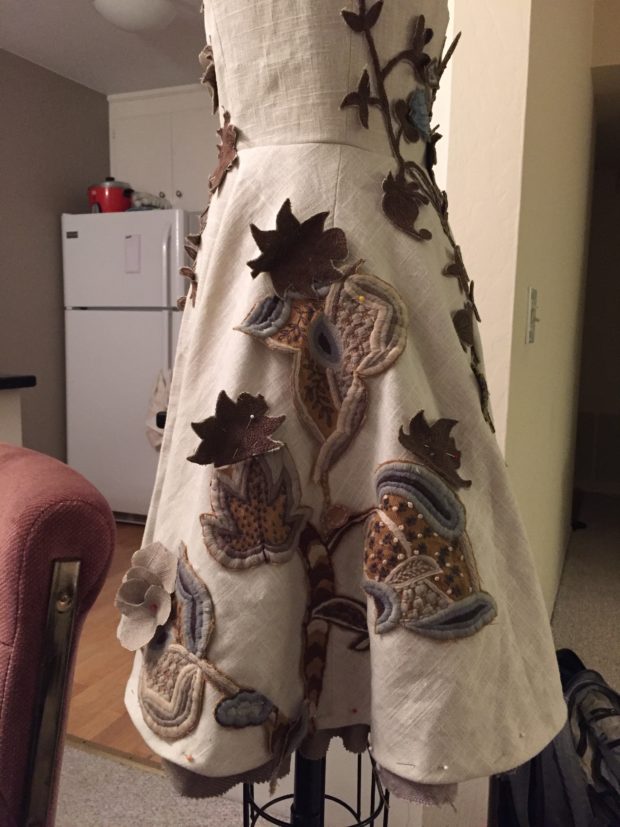
One of them was some kind of burlap-ish canvas and had a floral vine pattern so I cut out the vines and used them as the base for the hand-stitched design. Then I cut the background fabric into little flower shapes and folded them slightly and stitched them all over the garment.

2016-03-12 18.59.28

You may also have noticed the gorgeous colorful embroidered flowers on the horrid mustard background up there. Since the mustard really didn’t fit with anything, I decided to cut out all those little designs too and sewed them all over the dress for little hidden bits of color. Some of the bigger pieces ended up on the side of the skirt too.

2016-03-16 21.41.10

The end!

2016-03-24 13.16.48

You can check out some of the other submissions here. Tiny spoiler alert: my dress won first place!


Ruffle top(s)

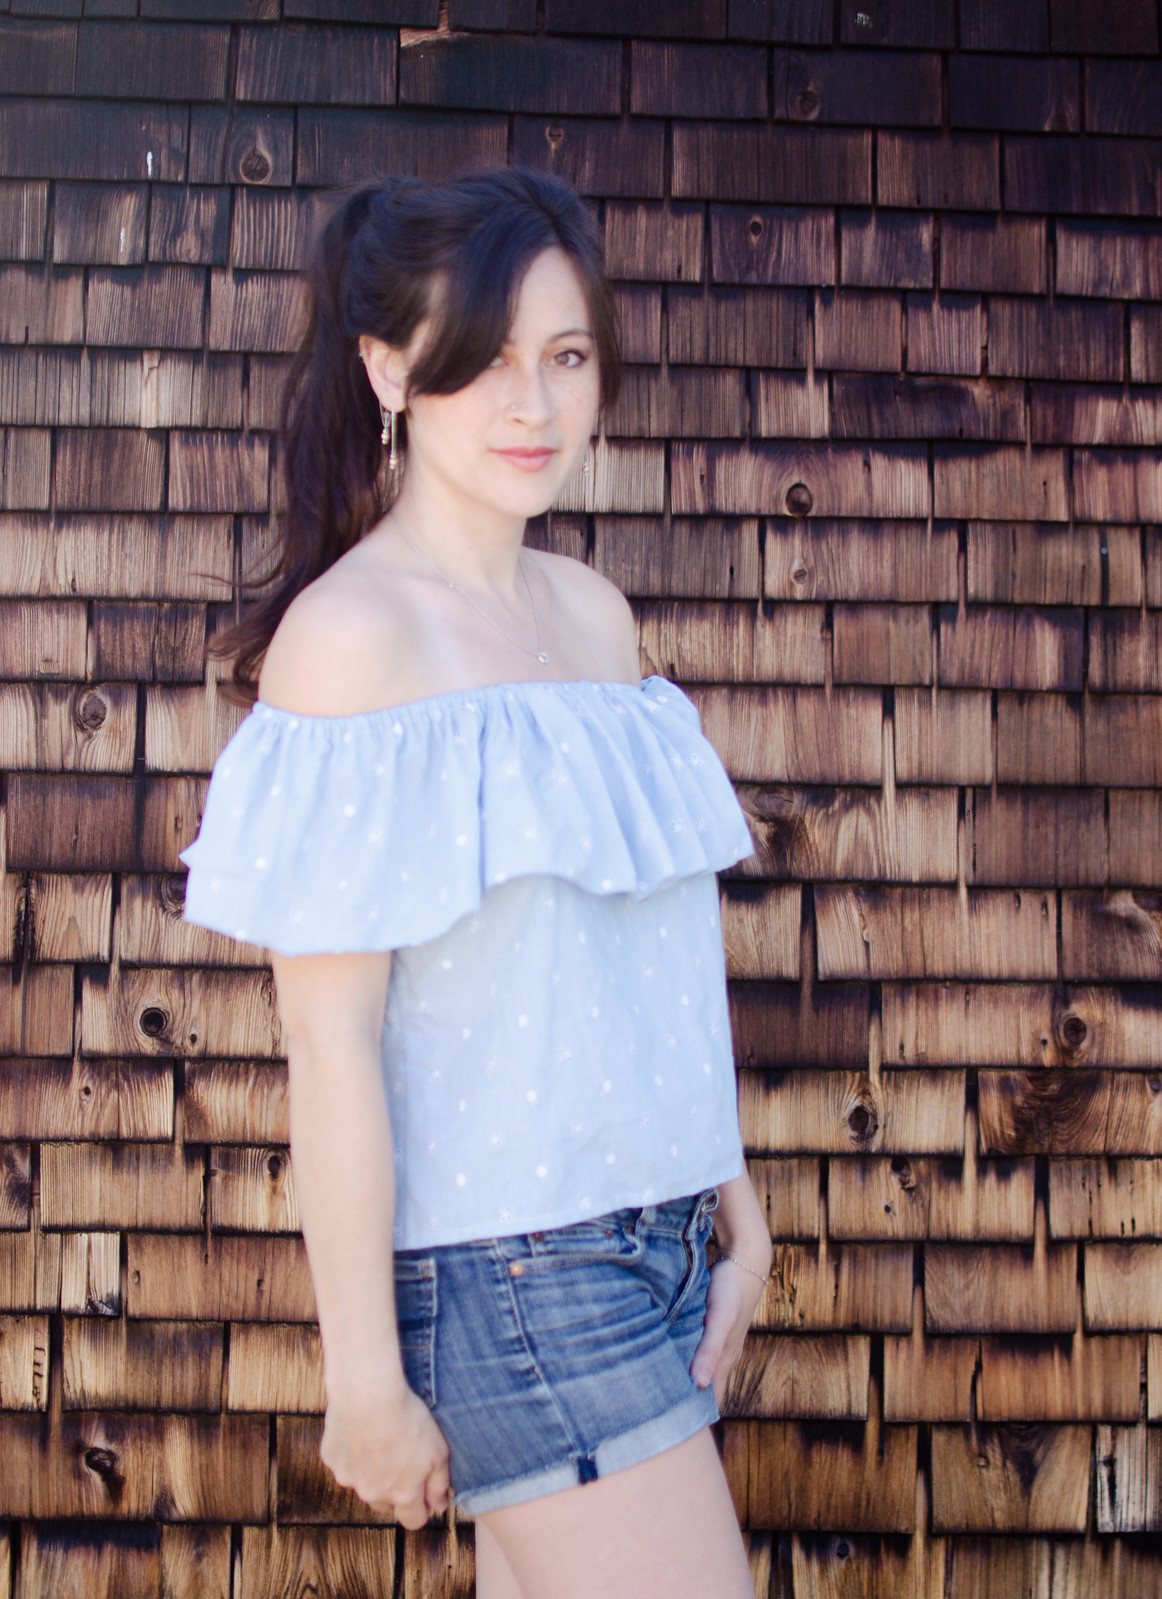
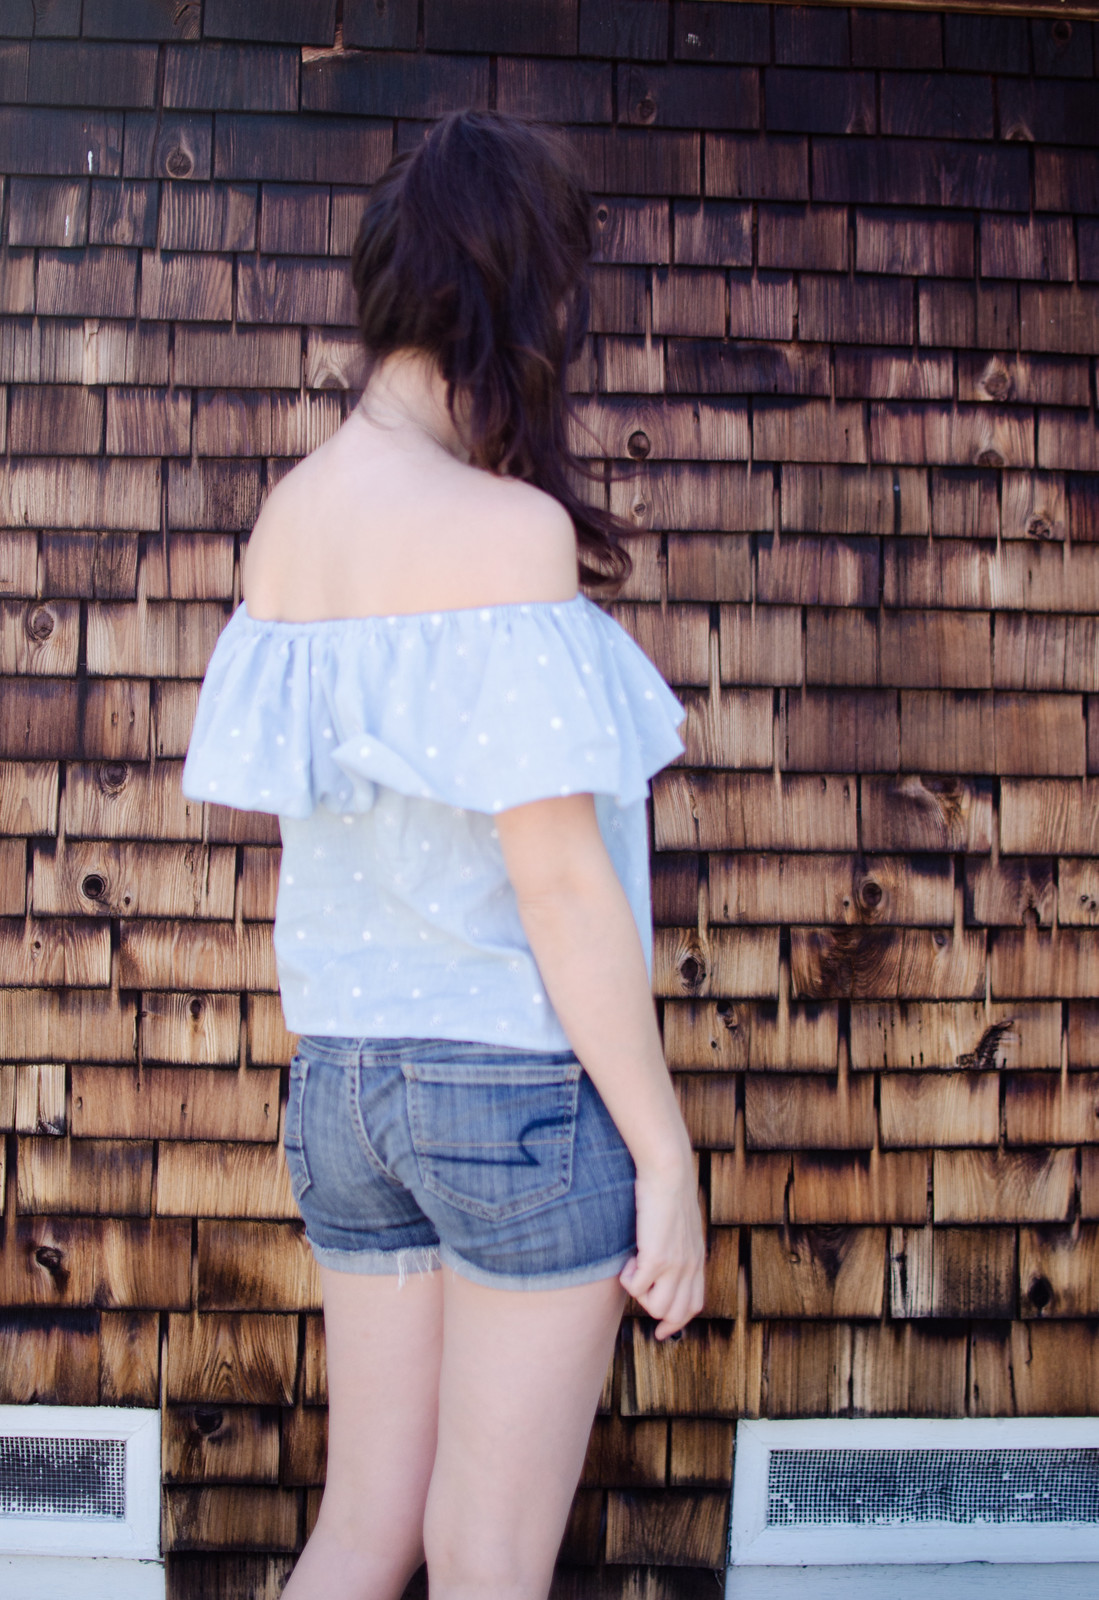
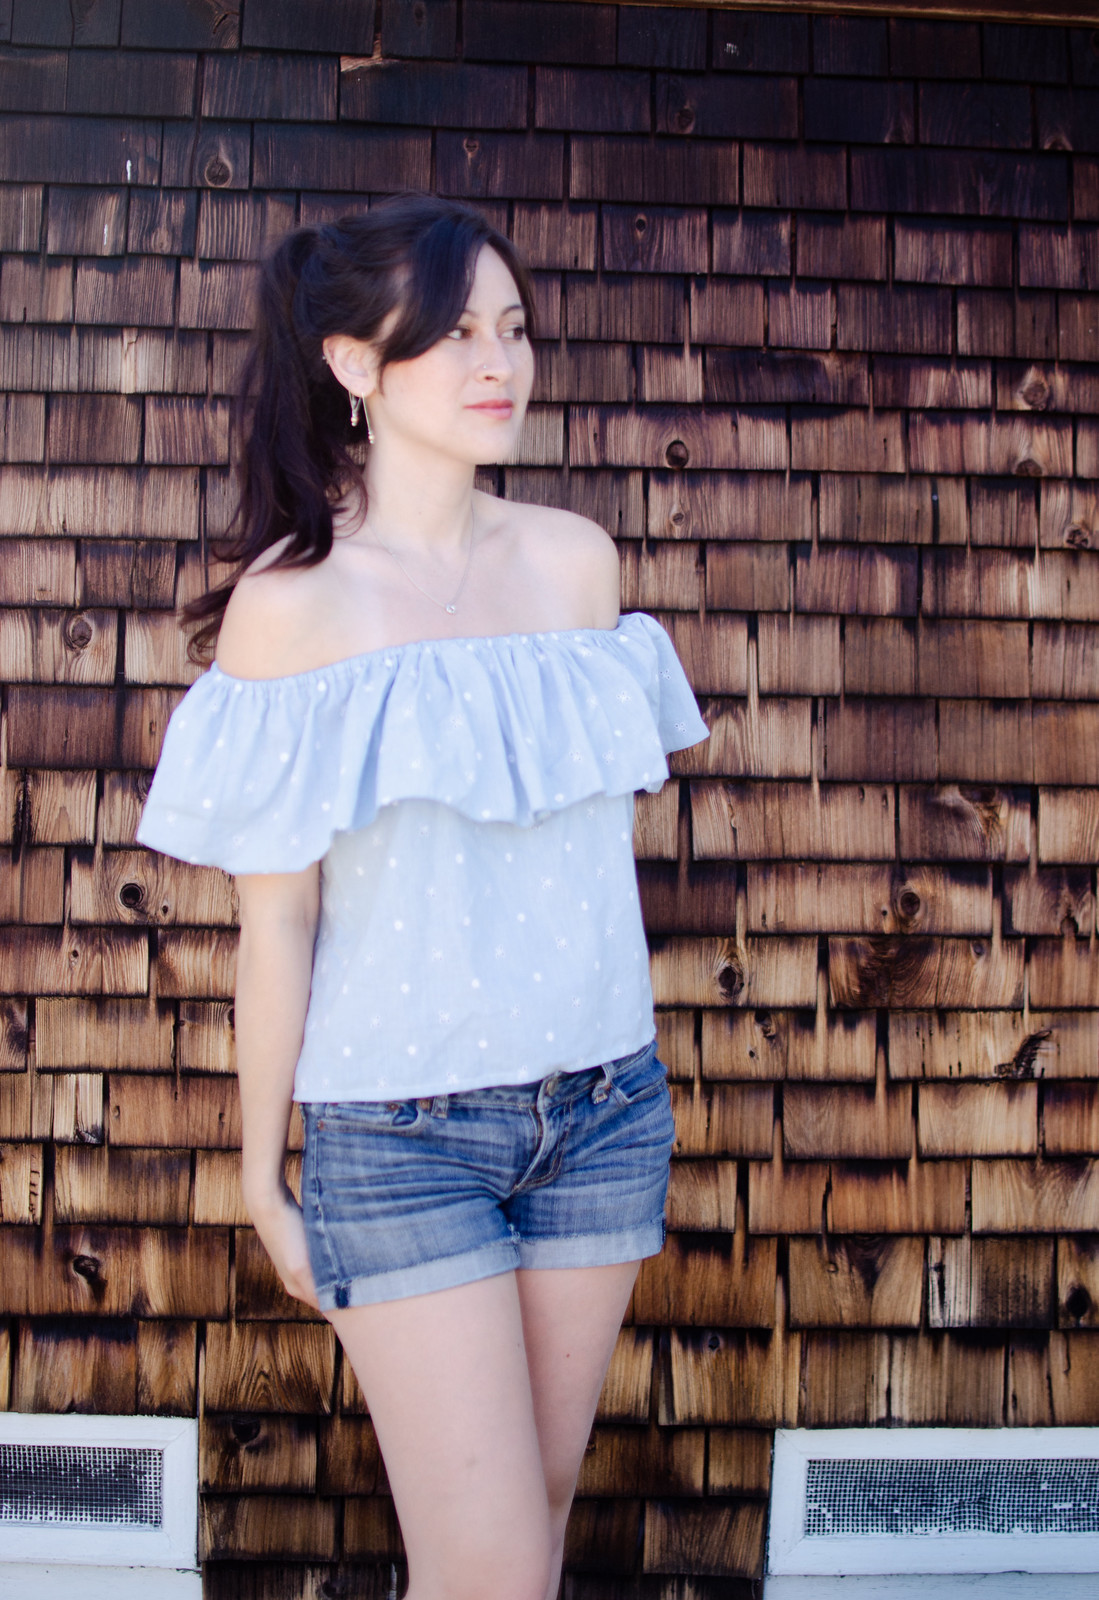
Off-shoulder ruffle tops

Off-shoulder ruffle tops

Off-shoulder ruffle tops

Off-shoulder ruffle tops

Off-shoulder ruffle tops

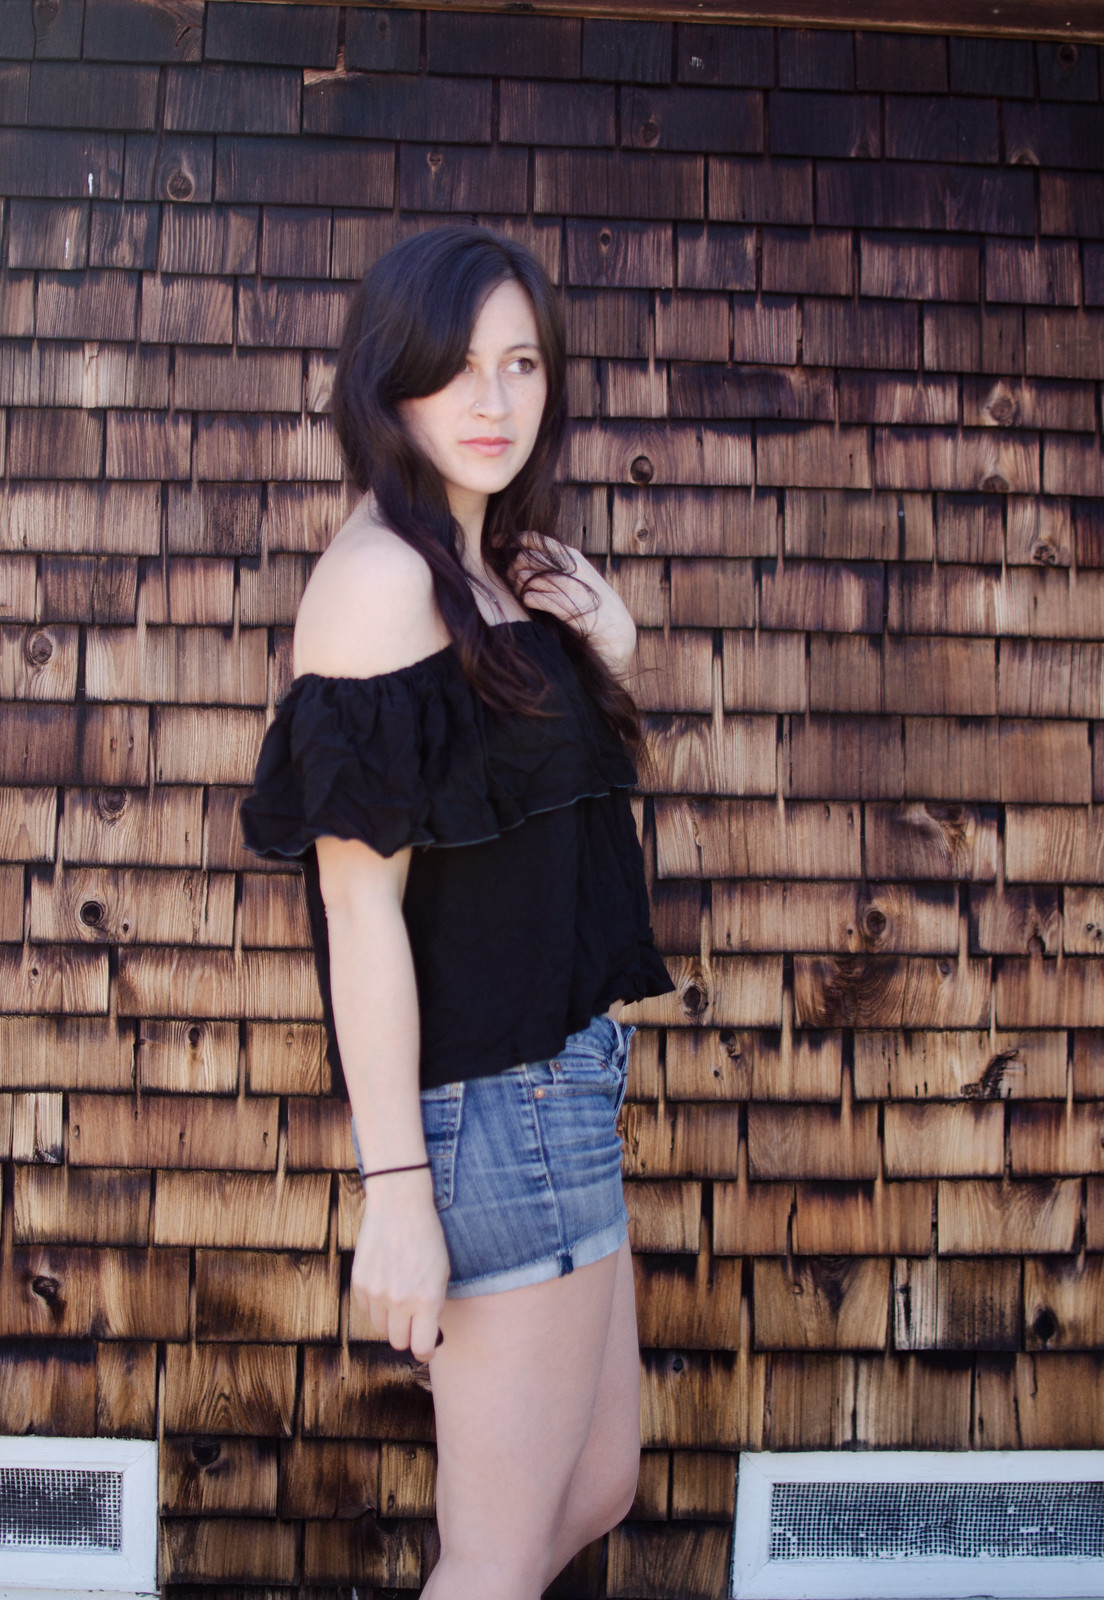
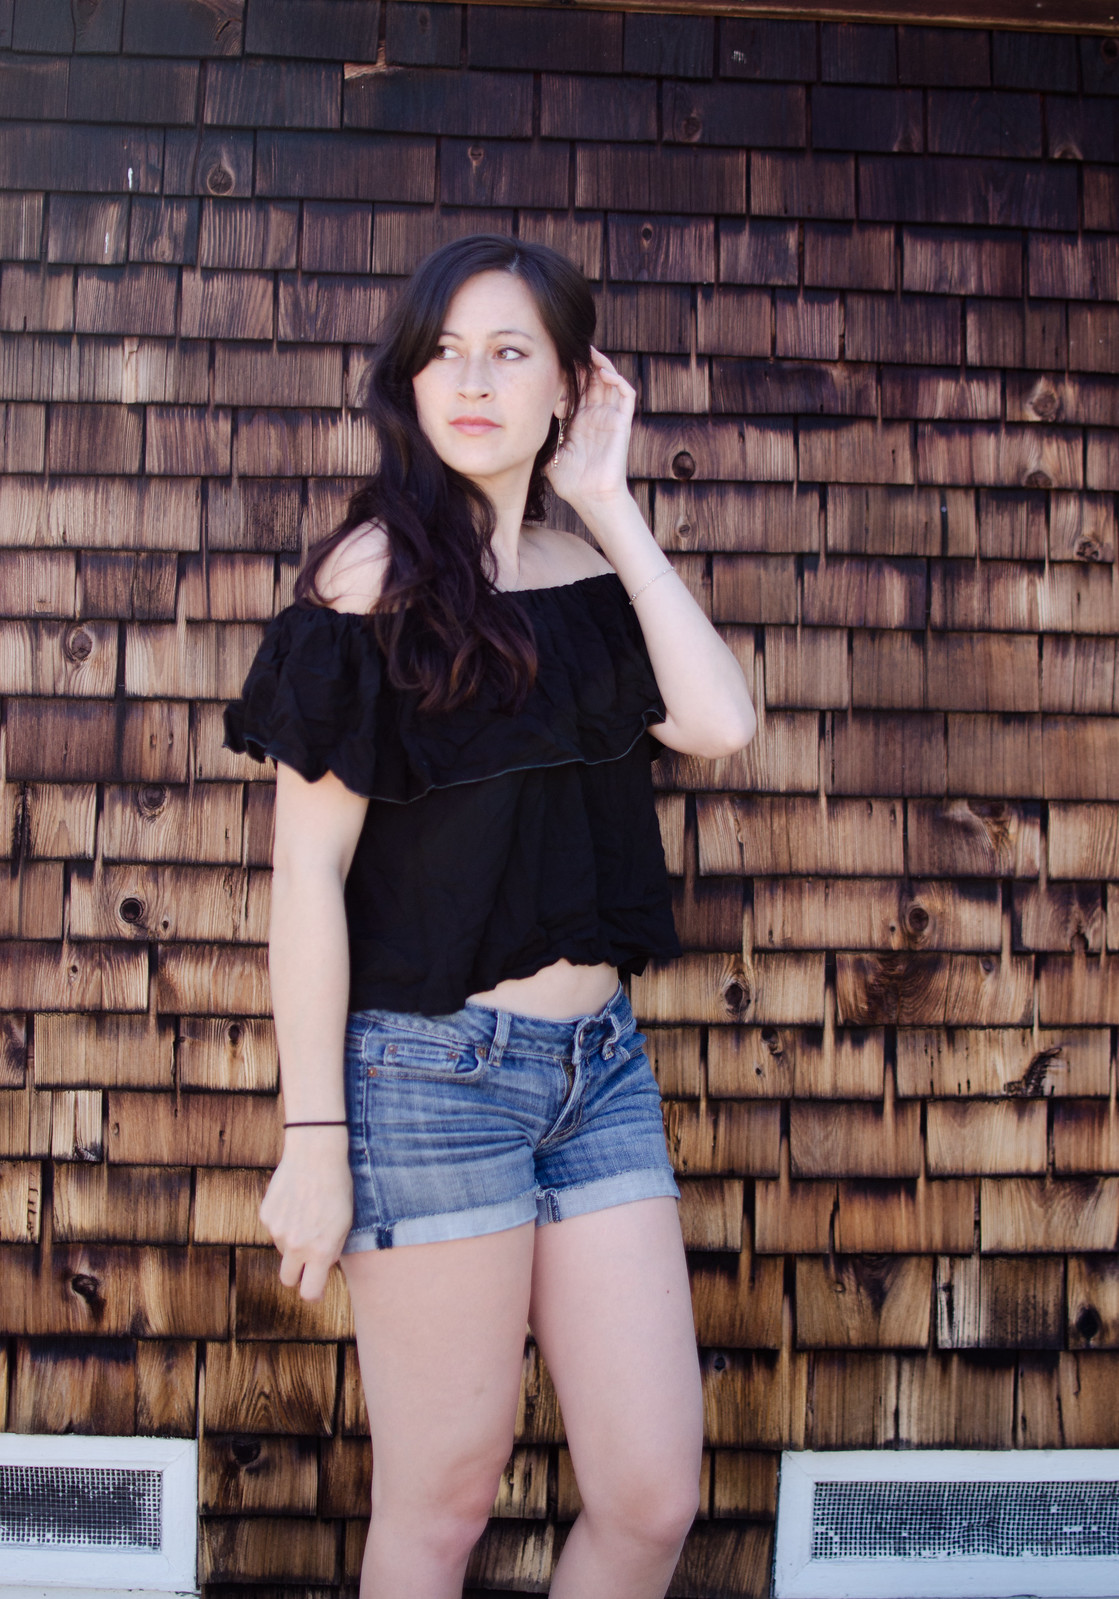
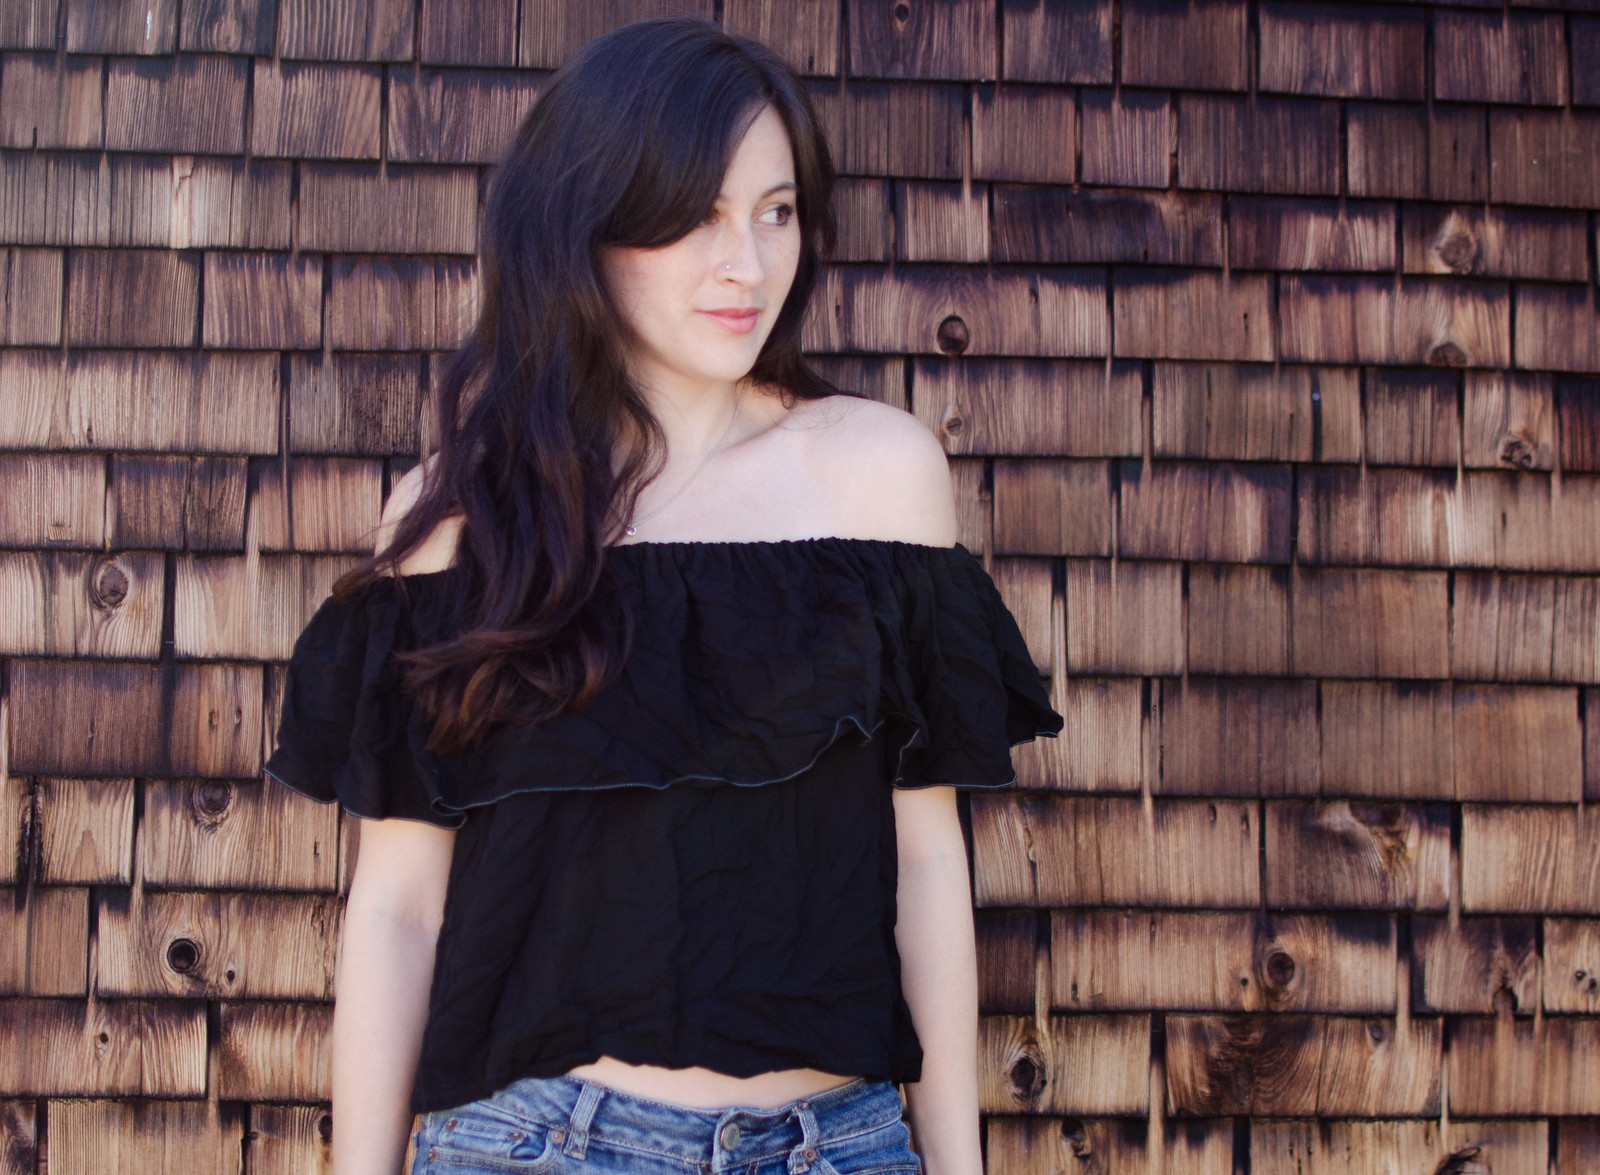
Off-shoulder ruffle topsboth tops: self-made, tutorial here // shorts: AE

Reasons why this is the perfect top for summer:

  1. It takes like 30min to put together. No joke.
  2. No bra necessary. The ruffle conveniently hides everything. (Ok, to be fair ladies with a certain amount of boobage might not be able to get away with that as comfortably. I’ve also worn these with a fun strappy sports bra and that looks cool too.)
  3. It’s SO comfy. I was a bit apprehensive at the whole elastic sitting at the shoulders thing but it’s so breezy and nice and I got used to it after wearing it once.
  4. Did I mention it literally took 30min to sew? I want one in every color.

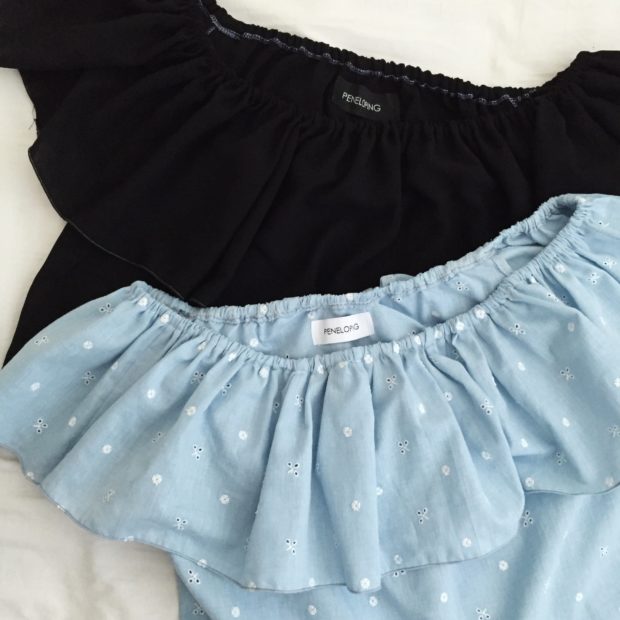
Sidenote: I made the blue one first and did it exactly as indicated in the tutorial, except I made it cropped instead of a dress. Since the black one is made of rayon challis and much drapier, I used more fabric and flared the edges of the bottom part outward like a trapezoid to get even more volume.

IMG_8849

Another thing I played around with was doing a rolled hem around the edge of the ruffle. I took a serging class this summer and managed to break my upper looper about an hour into the first class. I debated getting it fixed but it was kind of a dinosaur and we’d never been friends so I decided to buy a new one instead. I ended up getting a basically new Juki MO654DE (thanks to Heather’s awesome review) on eBay for half the price (win!) and I can’t even begin to describe  how much I love this machine. I’ll do a review of it soon along with some fun things I learned in my serging class.

Anyway, next I want to make a dress version. And maybe one with a more fitted bodice. Yee!


Adventures in drafting // red wedding

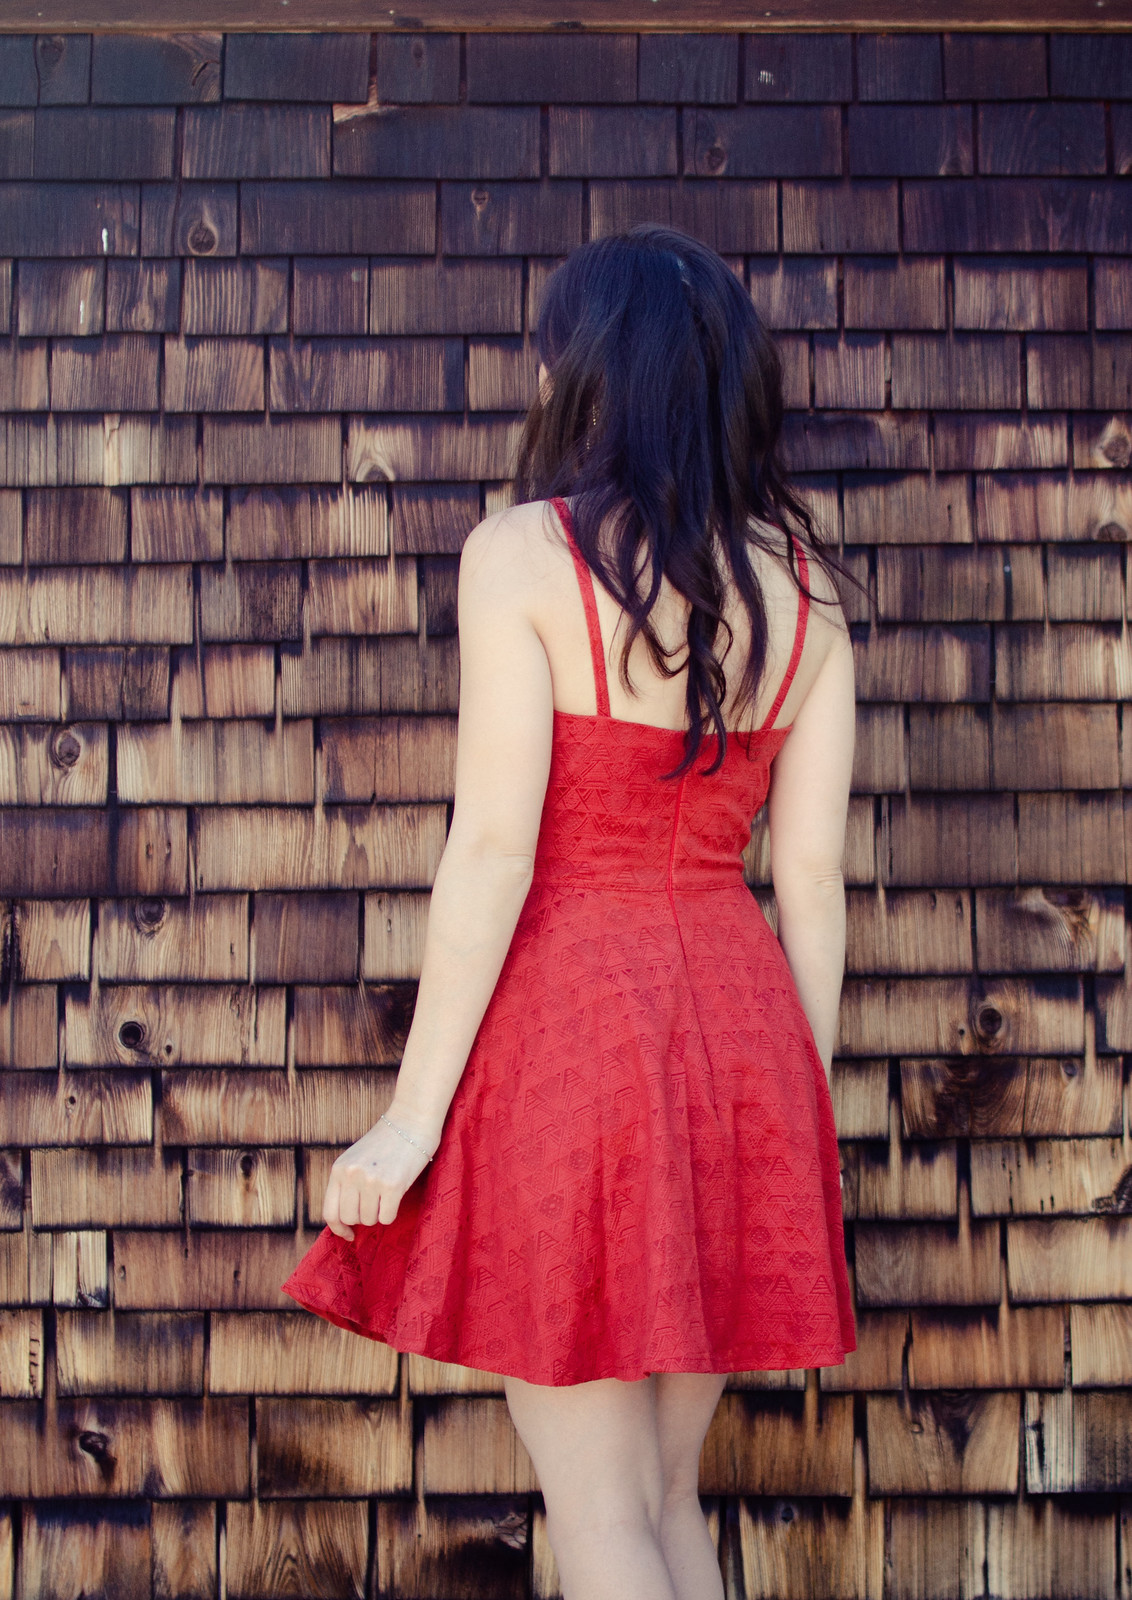
Red dress

Red dress

Red dress

Red dress

Red dress

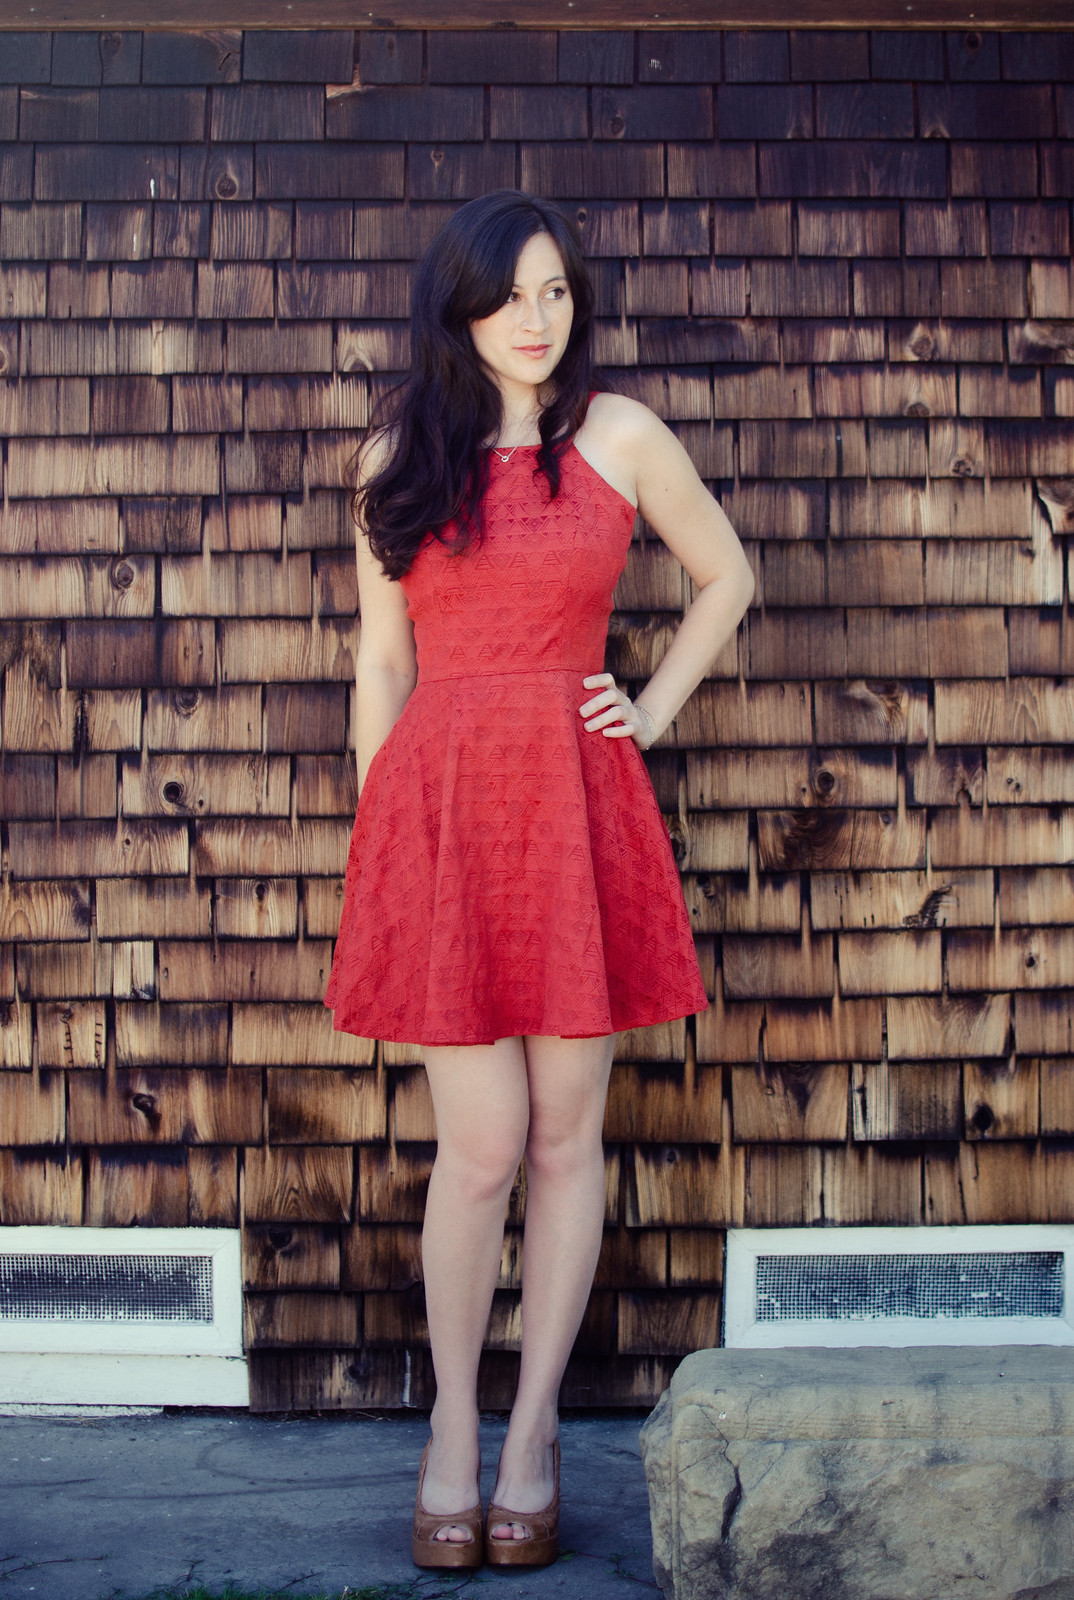
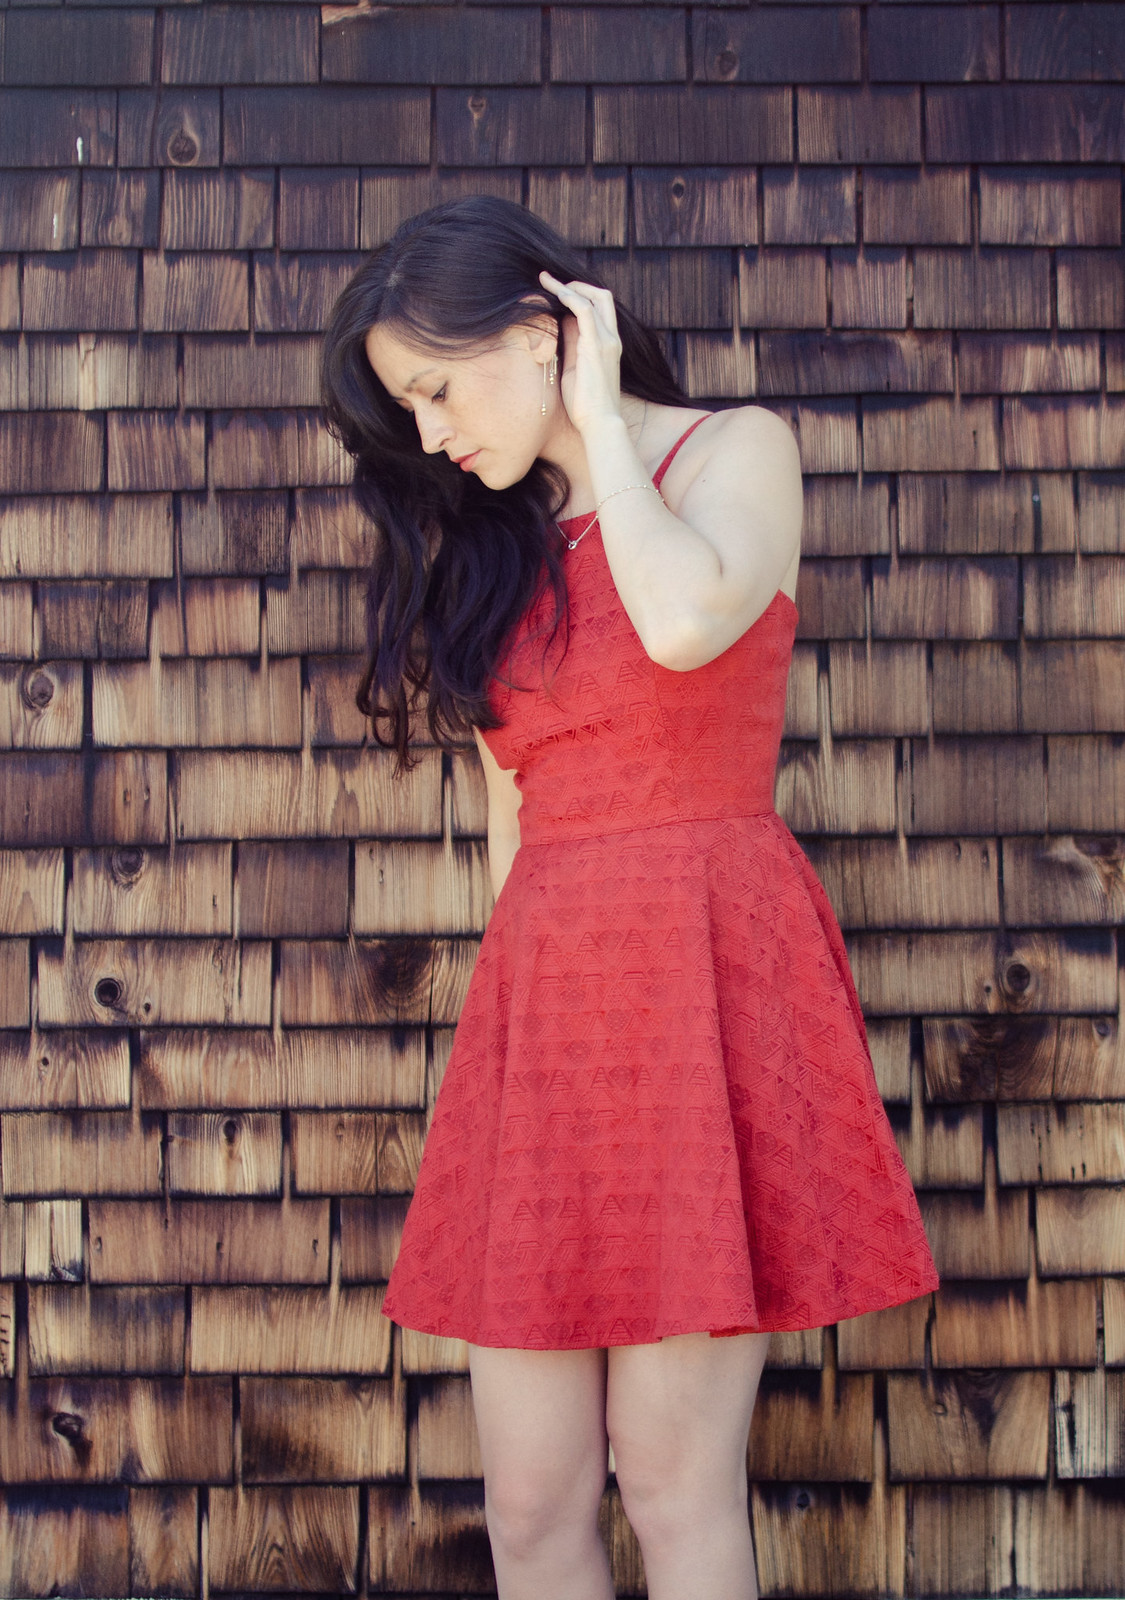
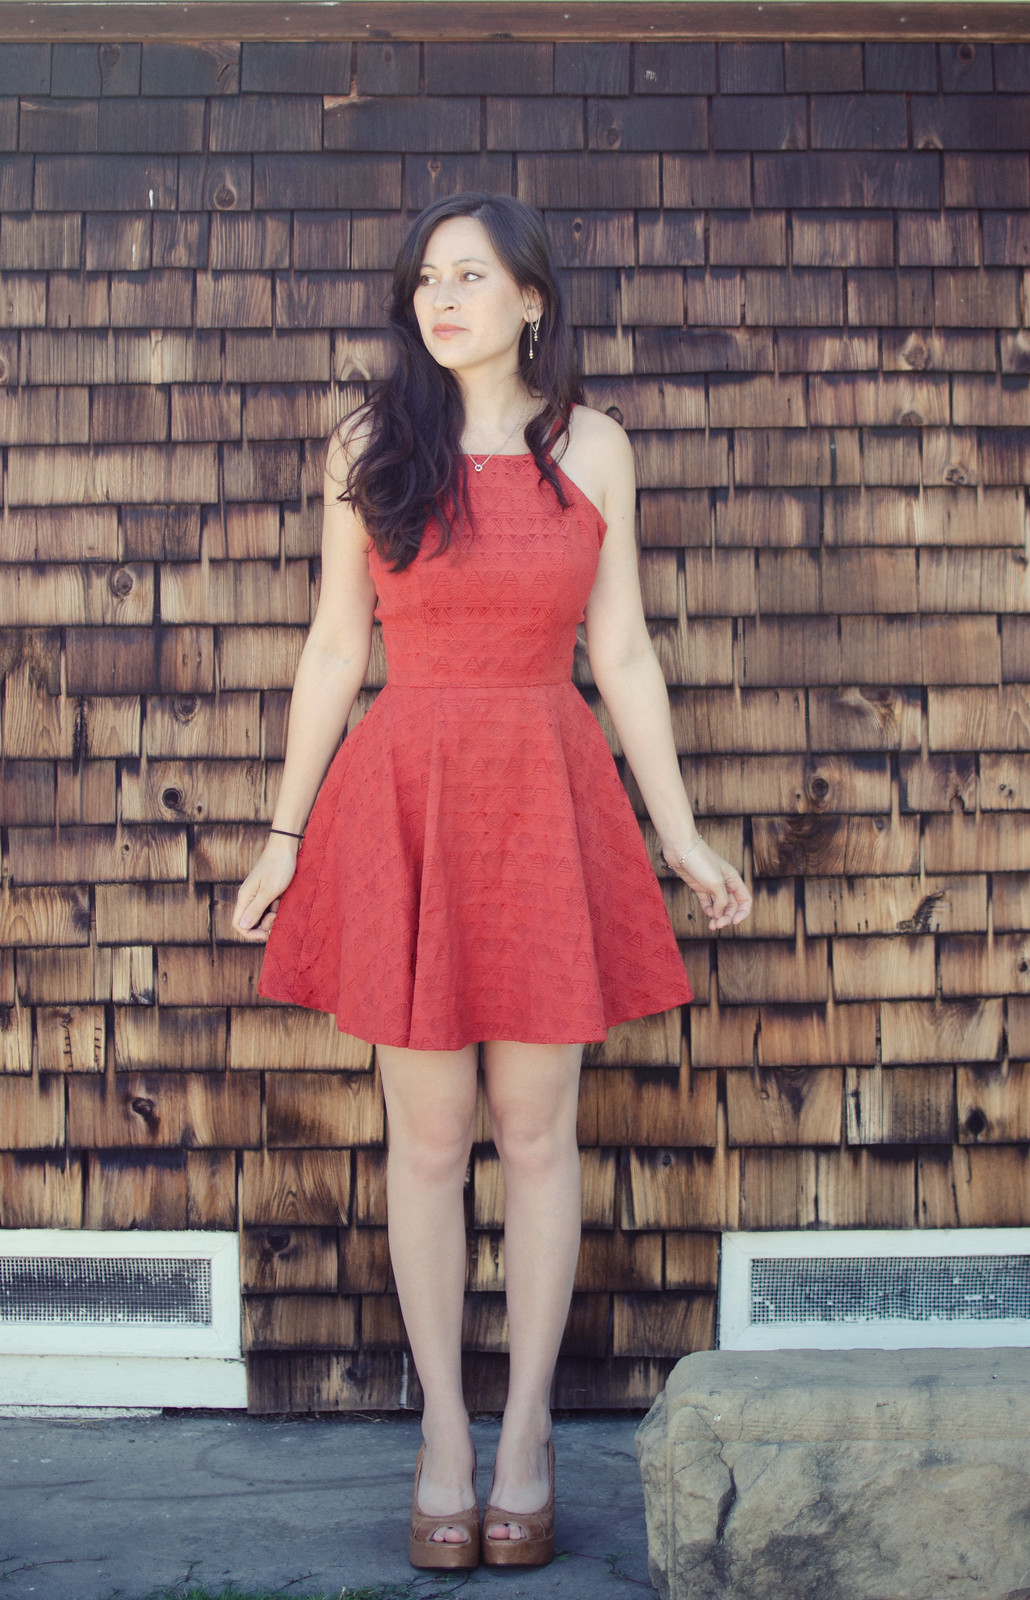
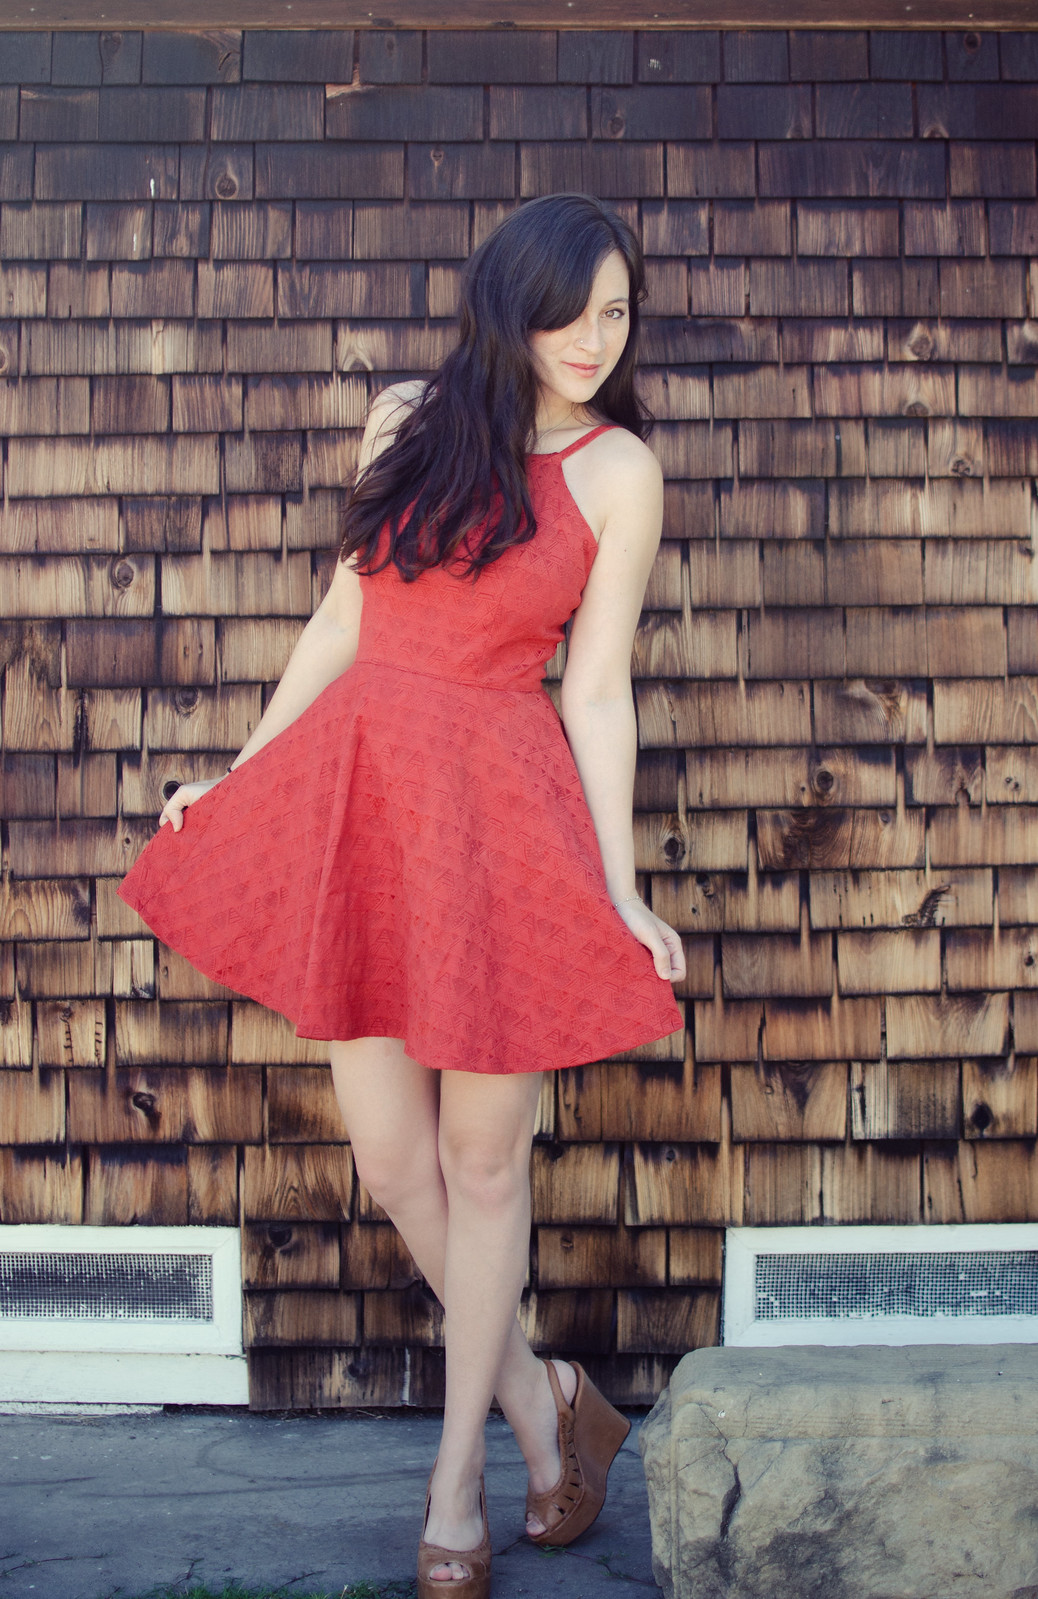
Red dresspattern: self-drafted // shoes: Cathy Jean

Haha just kidding. My friends’ wedding was lovely! No murderous musicians.

Anyway, I made this dress because a day before hopping on a plane to DC, I realized that every dress I owned was either black, white, one of the wedding colors, or more appropriate for winter.  So, I took a break from the Epic Peacoat Copycat of July to draft a quick pattern and then made an extremely panicked trip to Joann’s.

IMG_9062

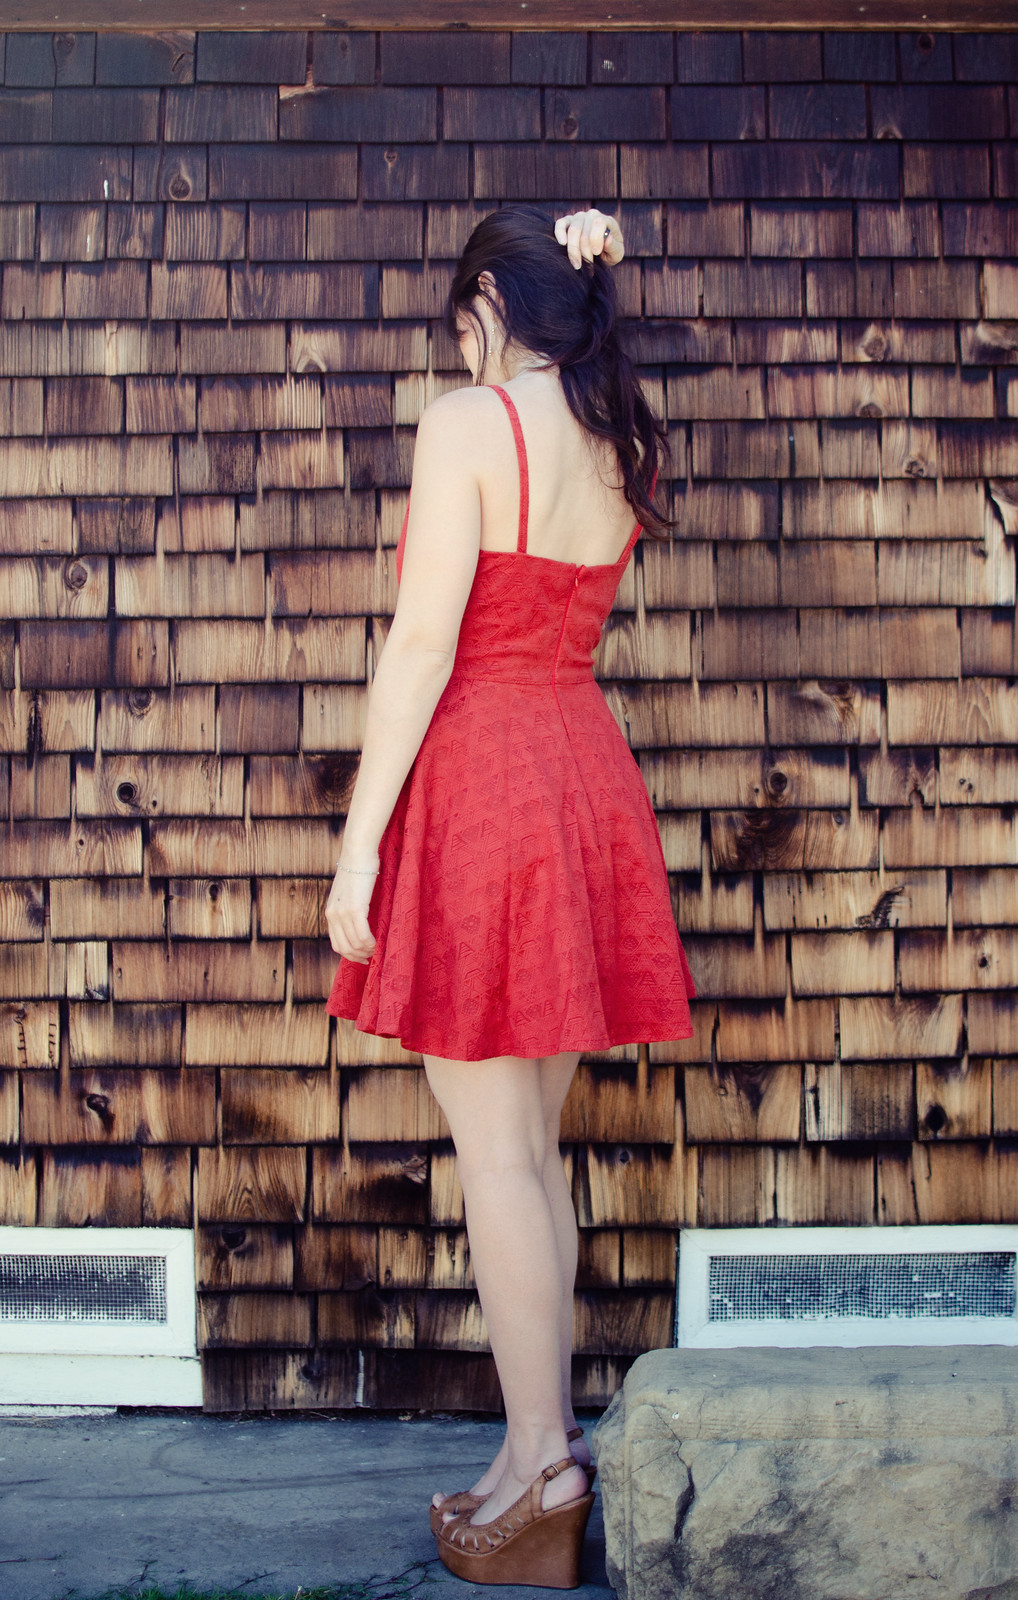
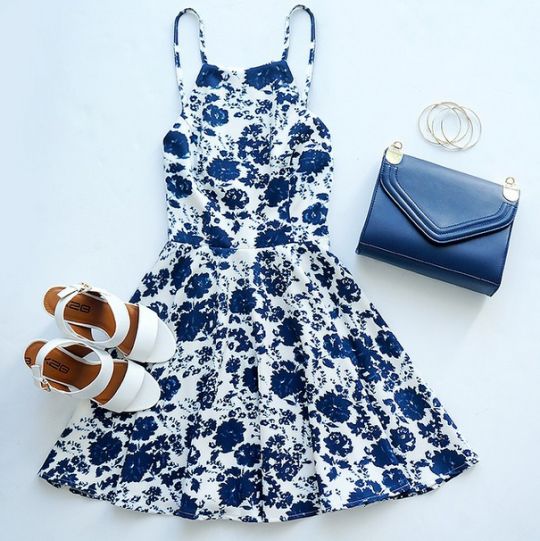
I had found this photo somewhere on Pinterest (not sure where the original is from!) and wanted to do kind of a high-ish front, low-ish back sort of thing. I basically just lowered the neckline ~2″ and drew a new flatter neckline, did a sleeveless adjustment (bring armholes up 1/2″ and in 1/2″), then drew connecting curves from the new armhole up to the corner of the new neckline. Then I contoured the crap out of all it and moved the bust darts up and turned them into princess lines. The back was easy, I just repeated the sleeveless adjustment, closed the waist dart, and drew a line from from the armhole dipping lower at center back.

I didn’t have much time for tweaking but I’m pretty pleased with how it turned out! We were going through a bit of a heat wave last week so I was way too hot and miserable (and lacking in time) to deal with figuring out a bra for this one so I decided to just go bra-les. Eh, it worked out I think.

IMG_0225

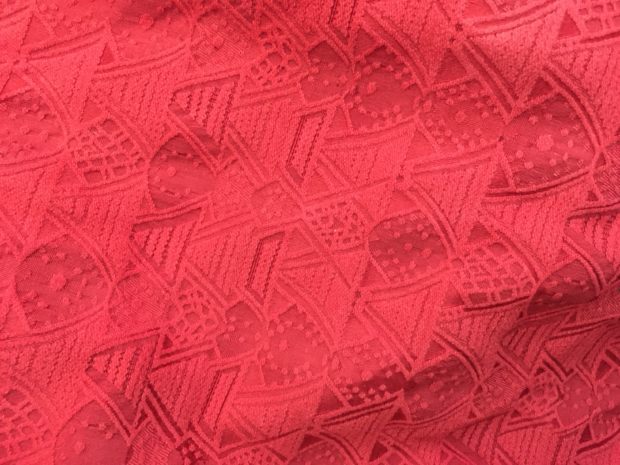
How cool is this fabric though?? I briefly considered adding trim or some other detailing to the dress but a) no time, and b) it really didn’t need it because of the cool texturing. Also, thank you Great British Sewing Bee for teaching me that even more subtle patterns should really be centered.

(Yes, it’s still bothering me that I was totally off on this dress but I feel slightly redeemed after getting it right this time.)

In other news, all this red is making me miss my red hair.

Galactic

IMG_4090

IMG_5404

IMG_5381

IMG_4127

IMG_4082
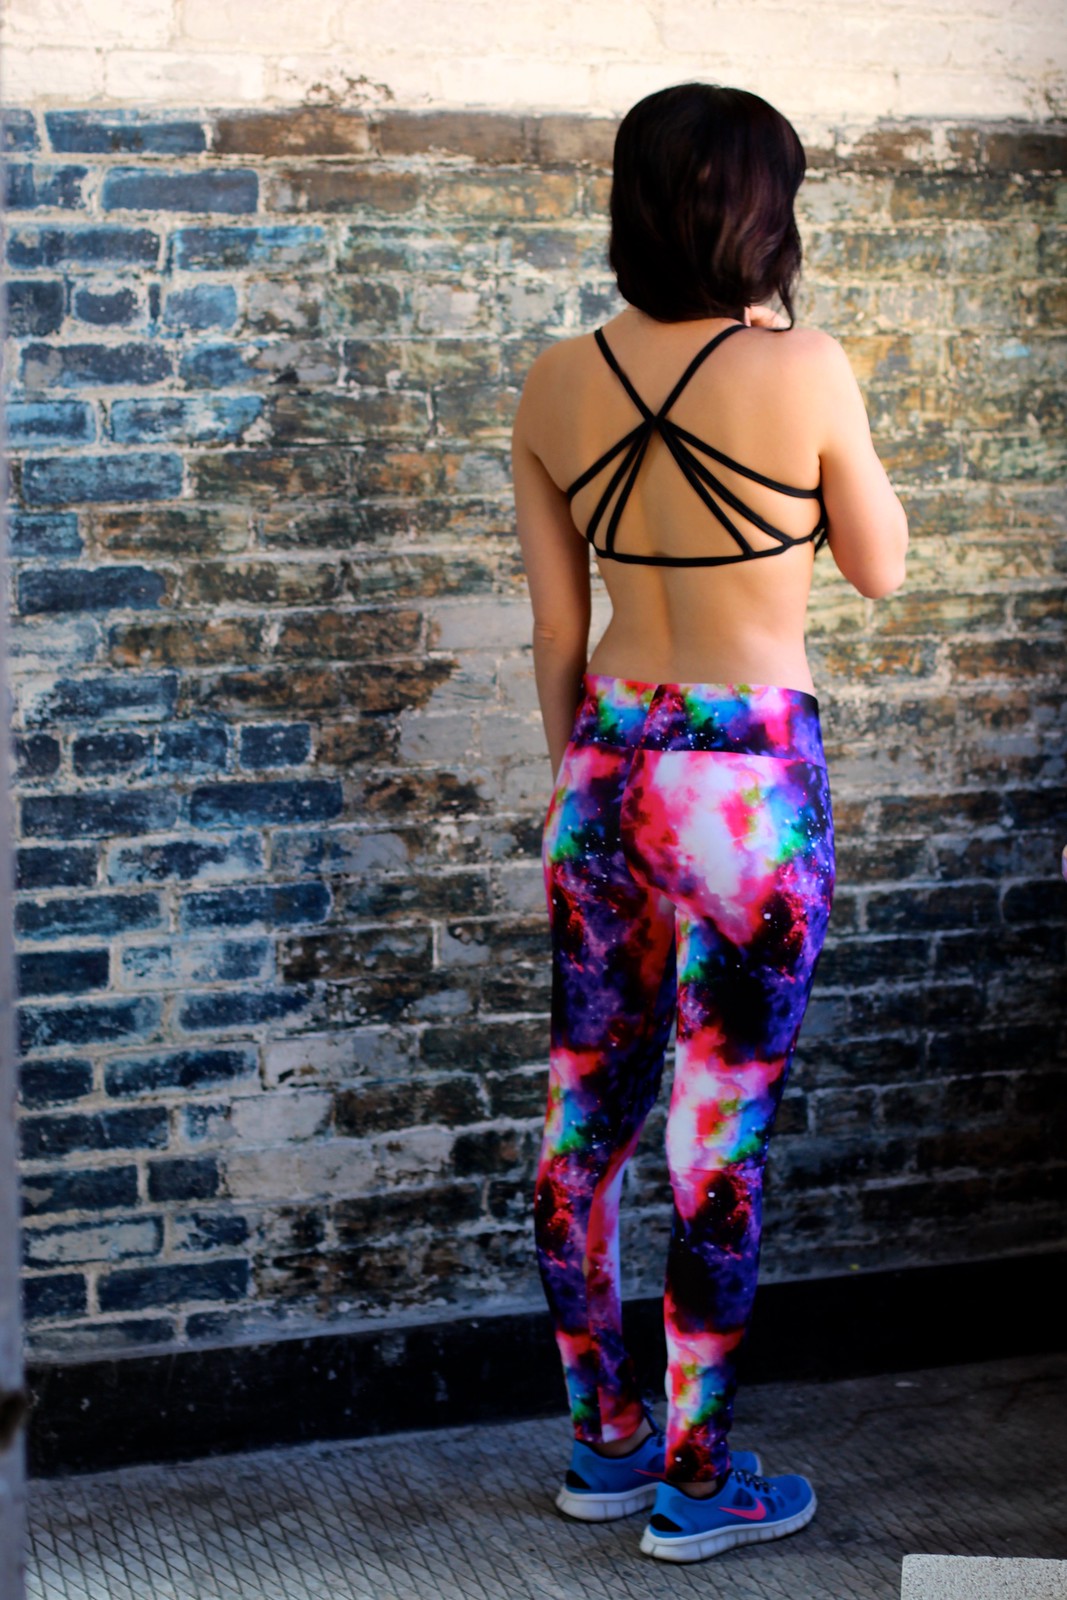
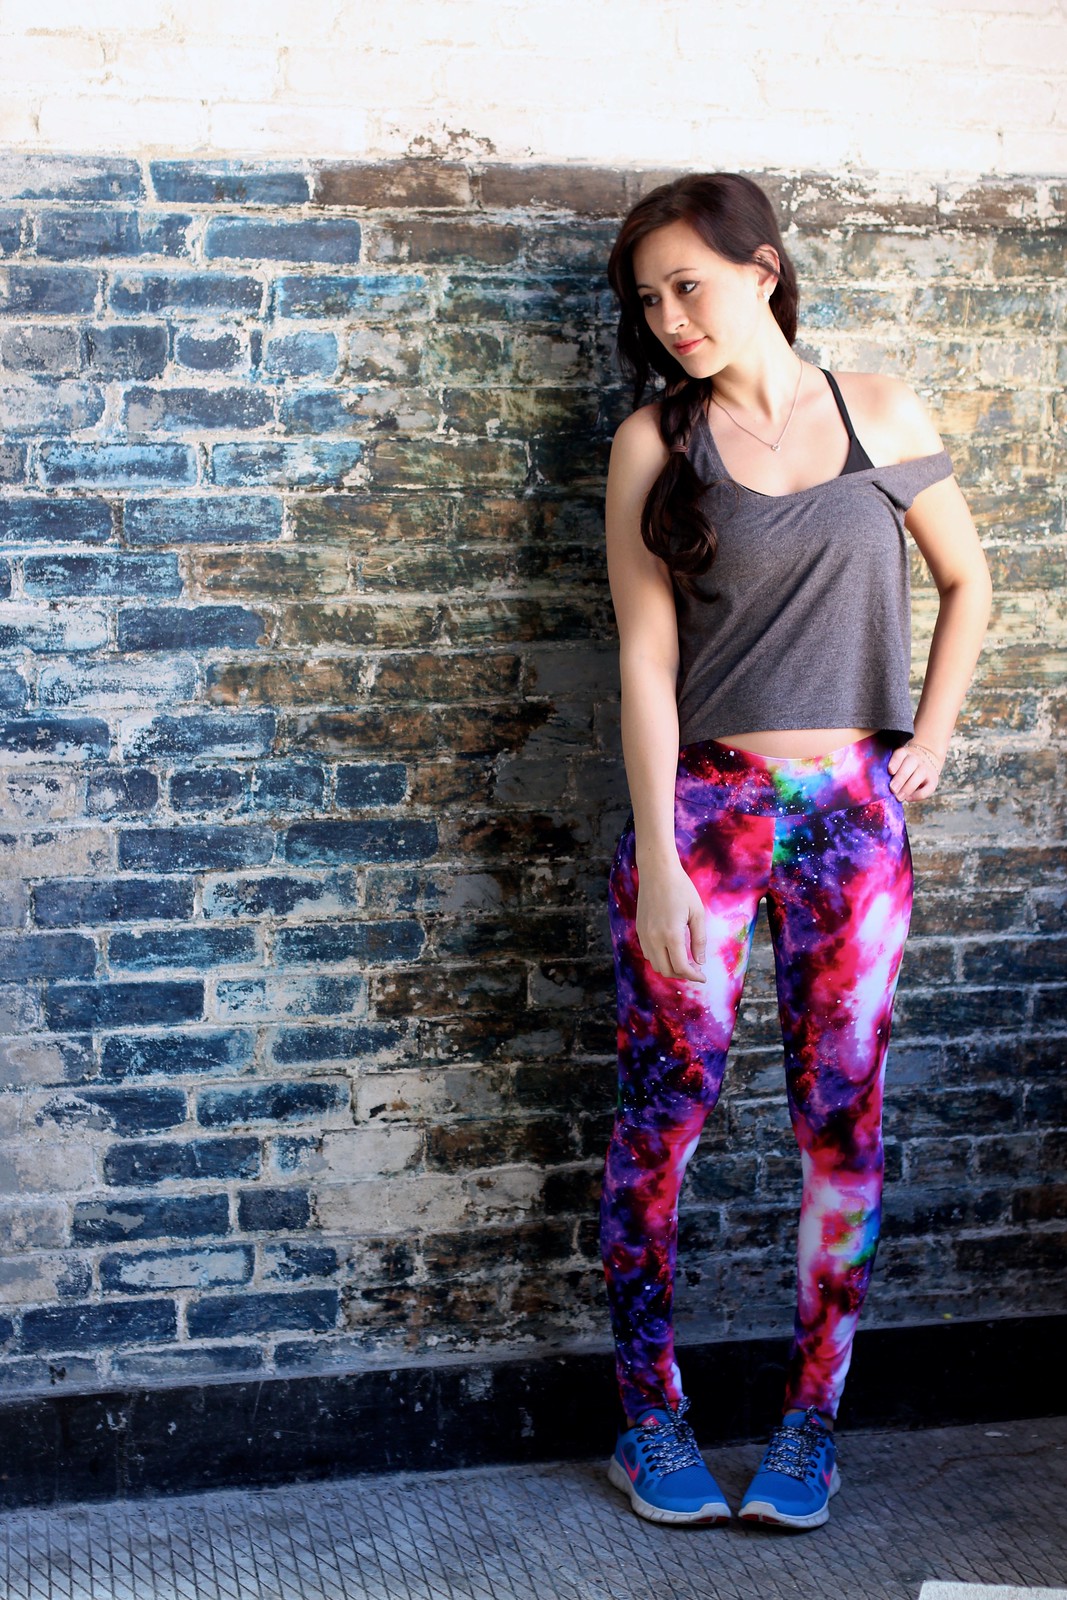
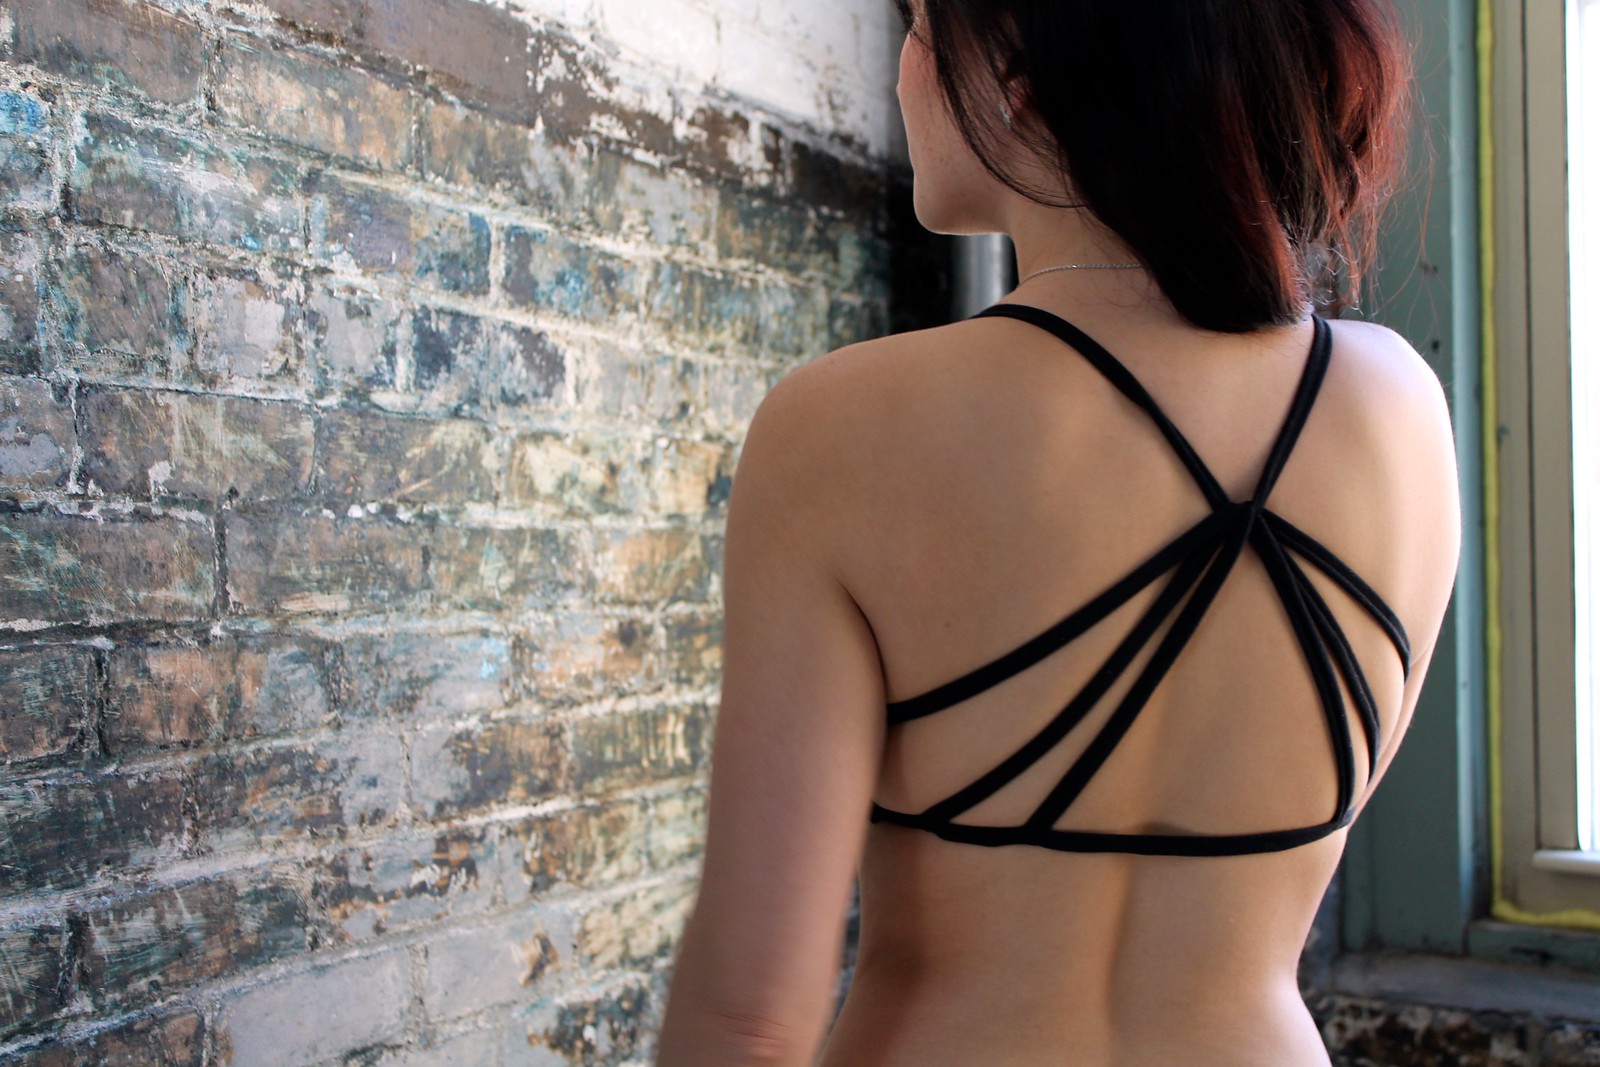
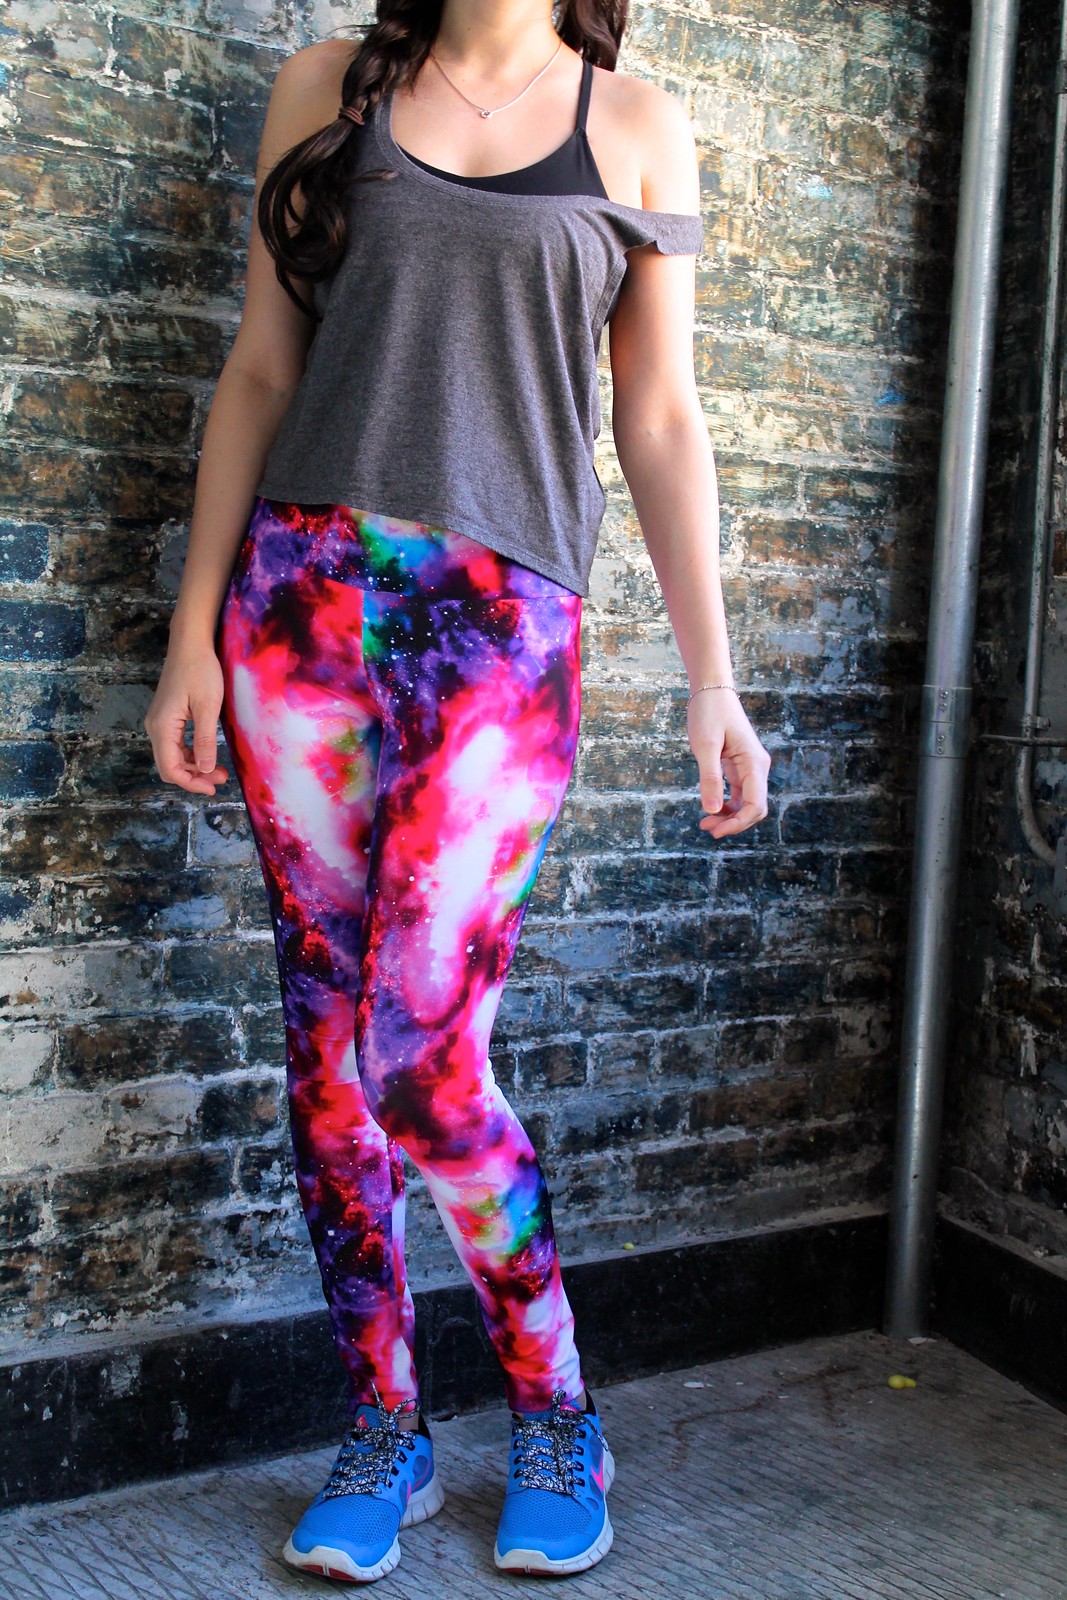
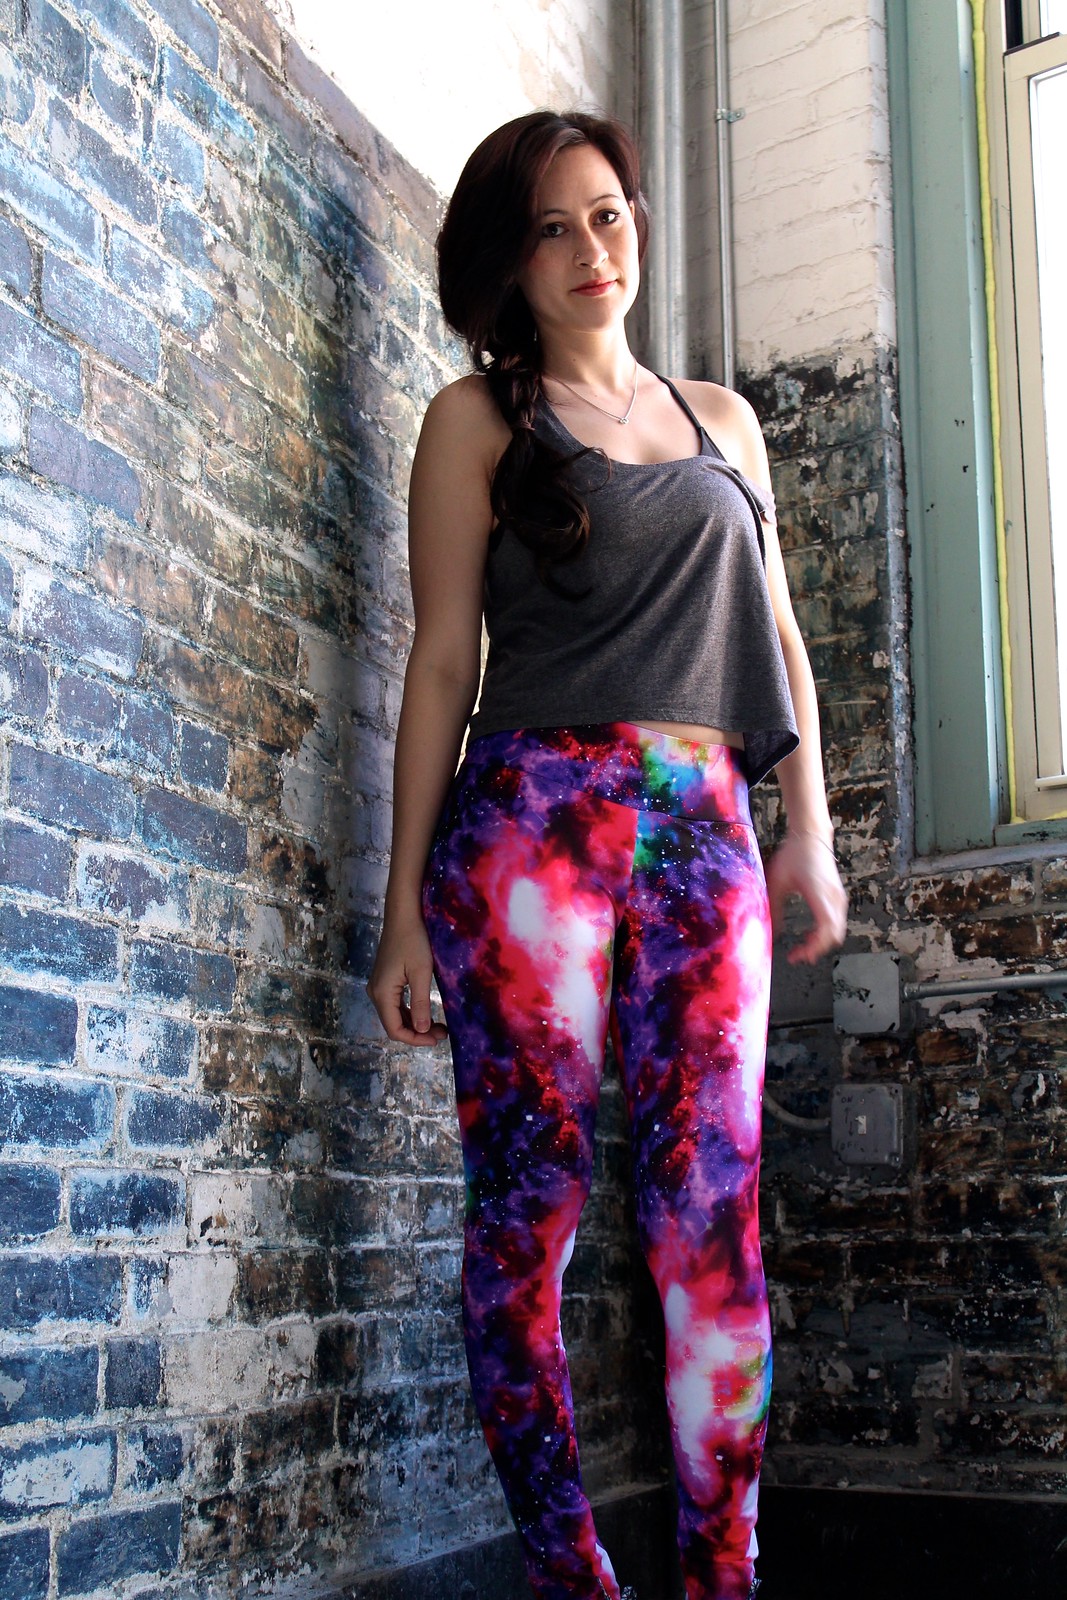
bra: self-drafted // leggings: pattern here //top: random brand

*Fabric for this project was provided by Funki Fabrics. All opinions, day-glo predilections, and strapping adventures are my own.

Funki Fabrics was generous enough to send me fabrics for three separate “outfits” (as much as you can call a neon bra/panty set an “outfit”) and this is the second one I came up with. As mentioned earlier, within minutes of perusing the Funki Fabrics site, I had galaxy leggings all over my brain. These were pretty easy to put together. I used this gorgeous fabric and Megan Nielsen’s Virginia leggings pattern with the minor adjustment of making the waistband 3″ tall (instead of 1″ as in the original pattern) and  then using 3″ elastic.

I was a little wary of the fabric being too thin and turning white when stretched out (particularly after a disastrous Girl Charlee order) so I was extremely pleased to find that this stuff is lightweight, has nice stretch, and is totally opaque. I can do my squats without worrying about wardrobe malfunctions!

The bra was so much fun to draft and has been such fun to wear as well. I got the idea from a Free People bra my roommate owns that I’ve been coveting for months. The problem with the original bra is there is absolutely no support and when I tried hers on I was falling out of it in every direction. I wanted it to be something supportive enough that I could wear as a sports bra but with delicate enough straps that I could also wear it as a fun undergarment for a few backless shirts I own (but haven’ t been able to wear due to not having the right kind of bra).

I used this black supplex which I absolutely adore. I want to make all my workout clothes out of this stuff. It’s much less shiny than it appears in the product photo, kind of like cotton-y swimsuit material with great stretch. I started off by tracing a soft sports bra from Target (basically this one) and went from there. I lowered the neckline and made a more pronounced V shape, and extended the sides a bit on either side for extra bewb room. I recommend putting the sports bra on and marking where your side boob hits. I cut two layers of this and sewed the top seams but left the bottom open. I added a strip of 3/4″ elastic for underbewb support and zigzagged the bottom seam closed.

Then it was just a matter of making a bunch of straps and playing with strap placement. I used 1/4″ elastic and Ada Spragg’s Bombshell strap method to make five straps, about 22″ long each. I played with placement on the mannequin, then used safety pins to pin each strap in place so I could try it on. It only took about two tries to get the placement right. Then I just trimmed where necessary and stitched them on. I also added a few stitches to where the straps all meet in the center back to help keep everything in place.

I think my summer uniform this year is going to be strappy bras and flowy backless tops and dresses. Basically my inspiration is everything on this page.