Category Archives: finished sewing project

Adventures in drafting // christmas dress 2016

velvet xmas dress

velvet xmas dress

velvet xmas dress

velvet xmas dress

OHAI. It’s been a while.

I realized the other day that while I’ve alluded to certain things, I haven’t actually talked about anything life-related in a while. So here’s a life update in a  nutshell:

Last year I decided that my old career was not exactly panning out to be what I wanted (a lot of this had to do with licensing regulations in California, but that’s boring and not sewing-related).  At the same time, I had signed up for a flat pattern class at the local CC just to have something to do while I looked for a new job after moving from Boston back to California. Pretty much by week 3 of the class I decided I was going to need to switch careers.  The next semester I signed up for a full class load. Now I’m finishing up my last semester (well, technically I’ll have one last class next semester) while interning as a pattern maker for a local designer.

So, lots of changes going on in the last year! Spoiler alert: I love it.

Anyway, full time school + internship + part time job means not so much time for blogging, which I really miss. I have a whole pile of clothes I’ve sewn in the last six months that need to be photographed. I keep being hesitant to do it because it’s too cold outside. And then I remember I used to do this in Boston, in the snow, in 30 degree weather. I’m shivering just thinking about it. -_-

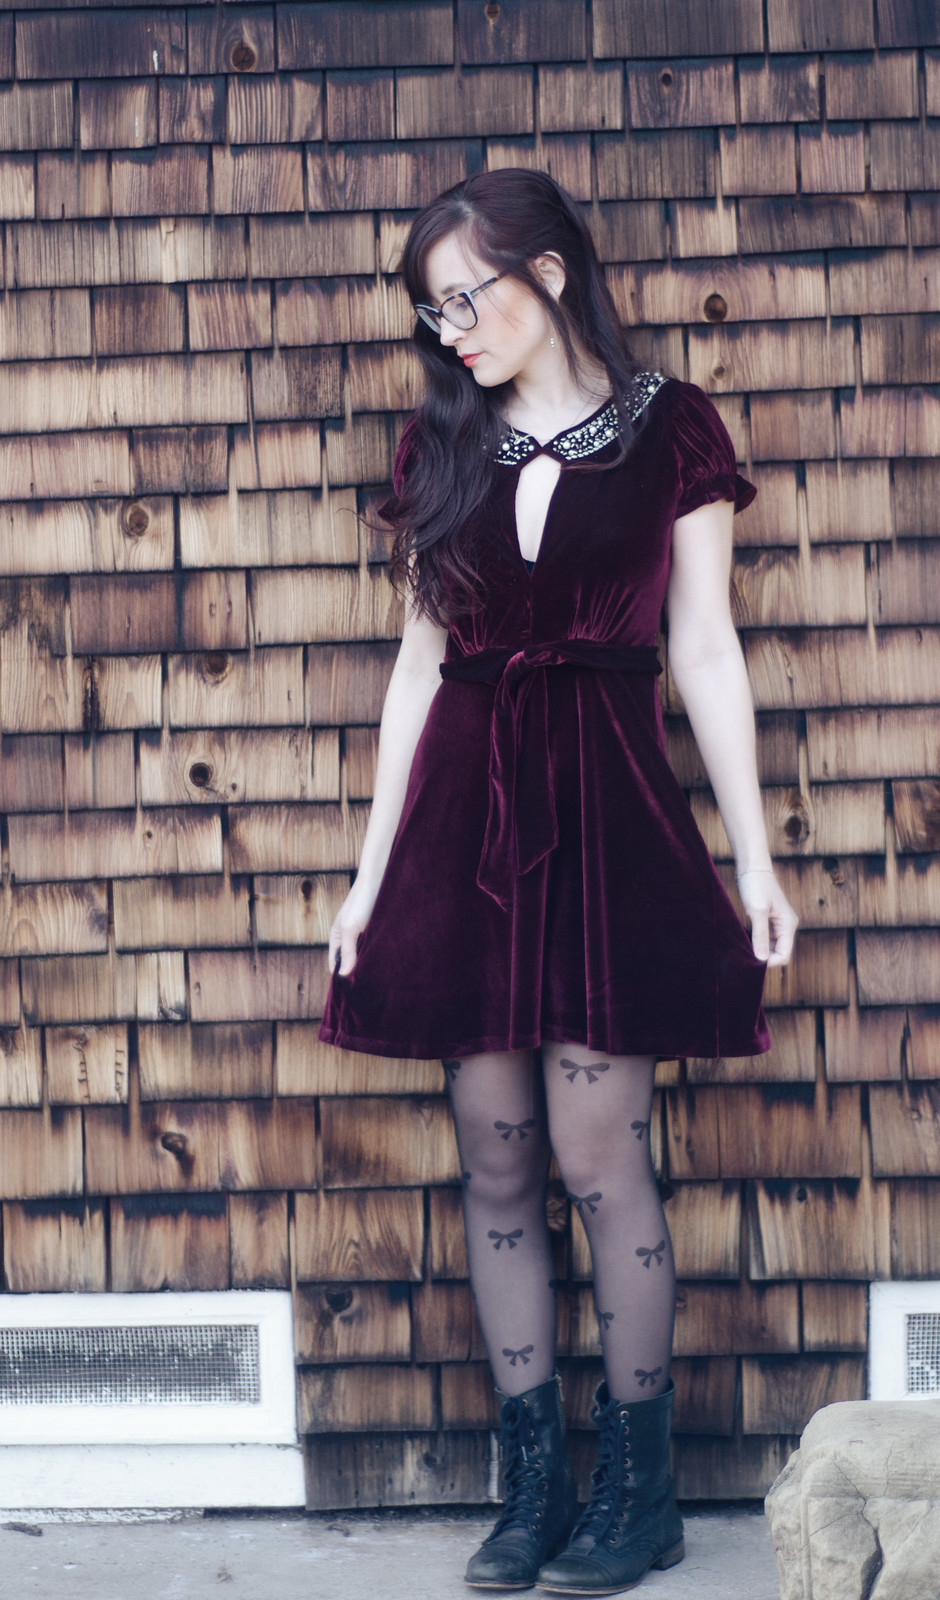
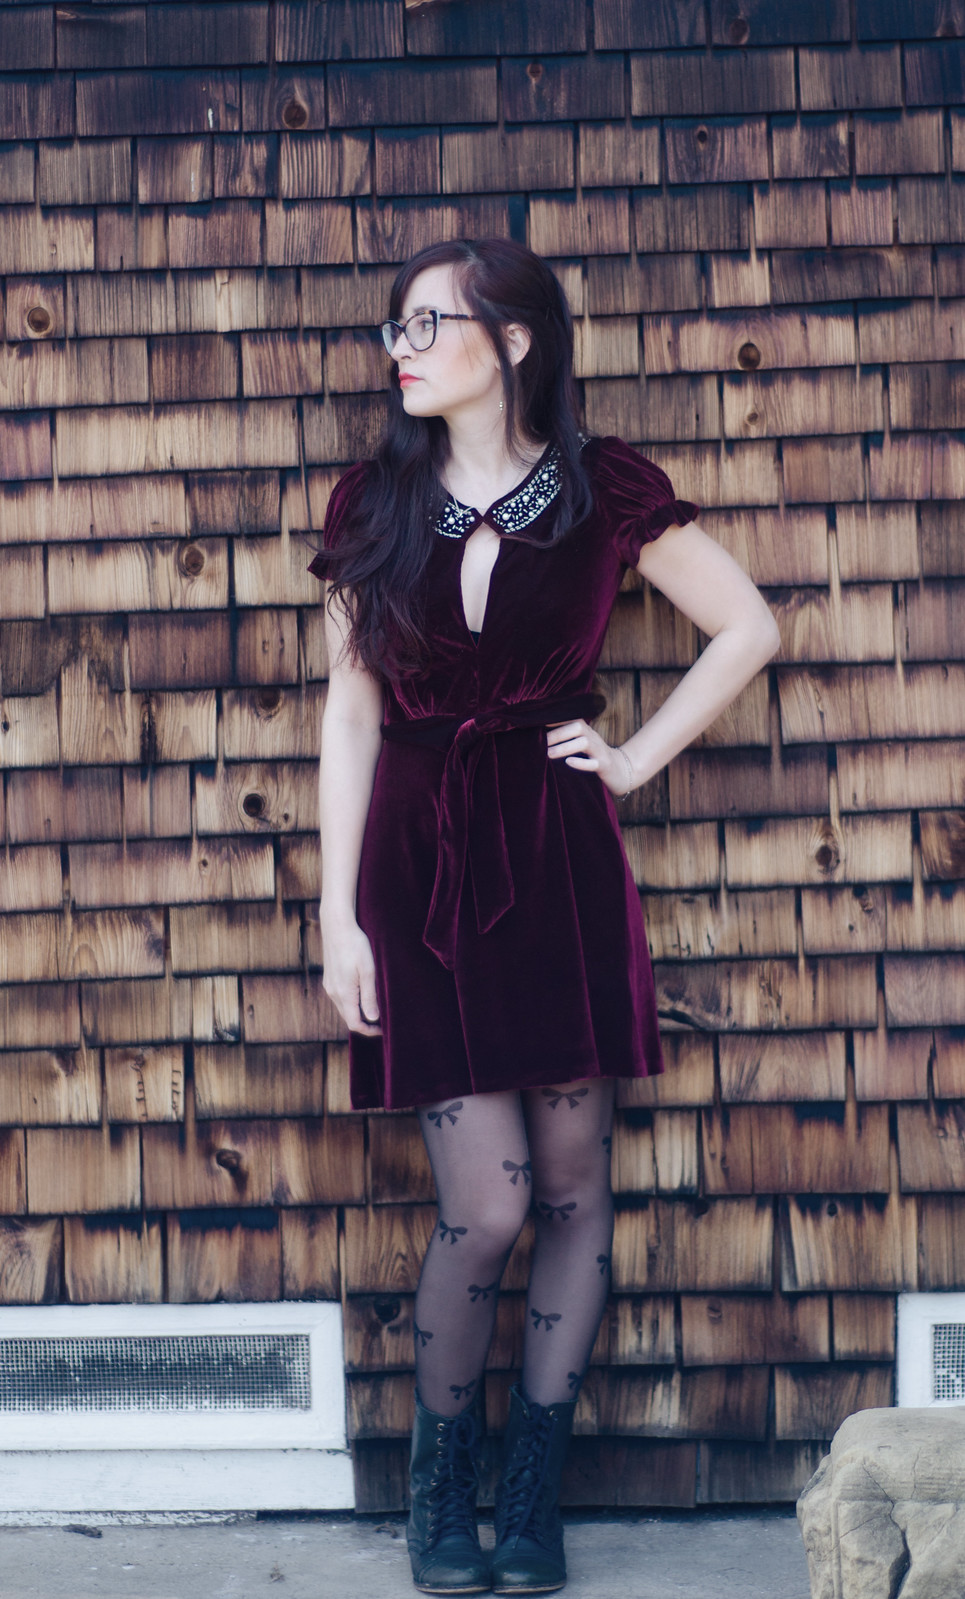
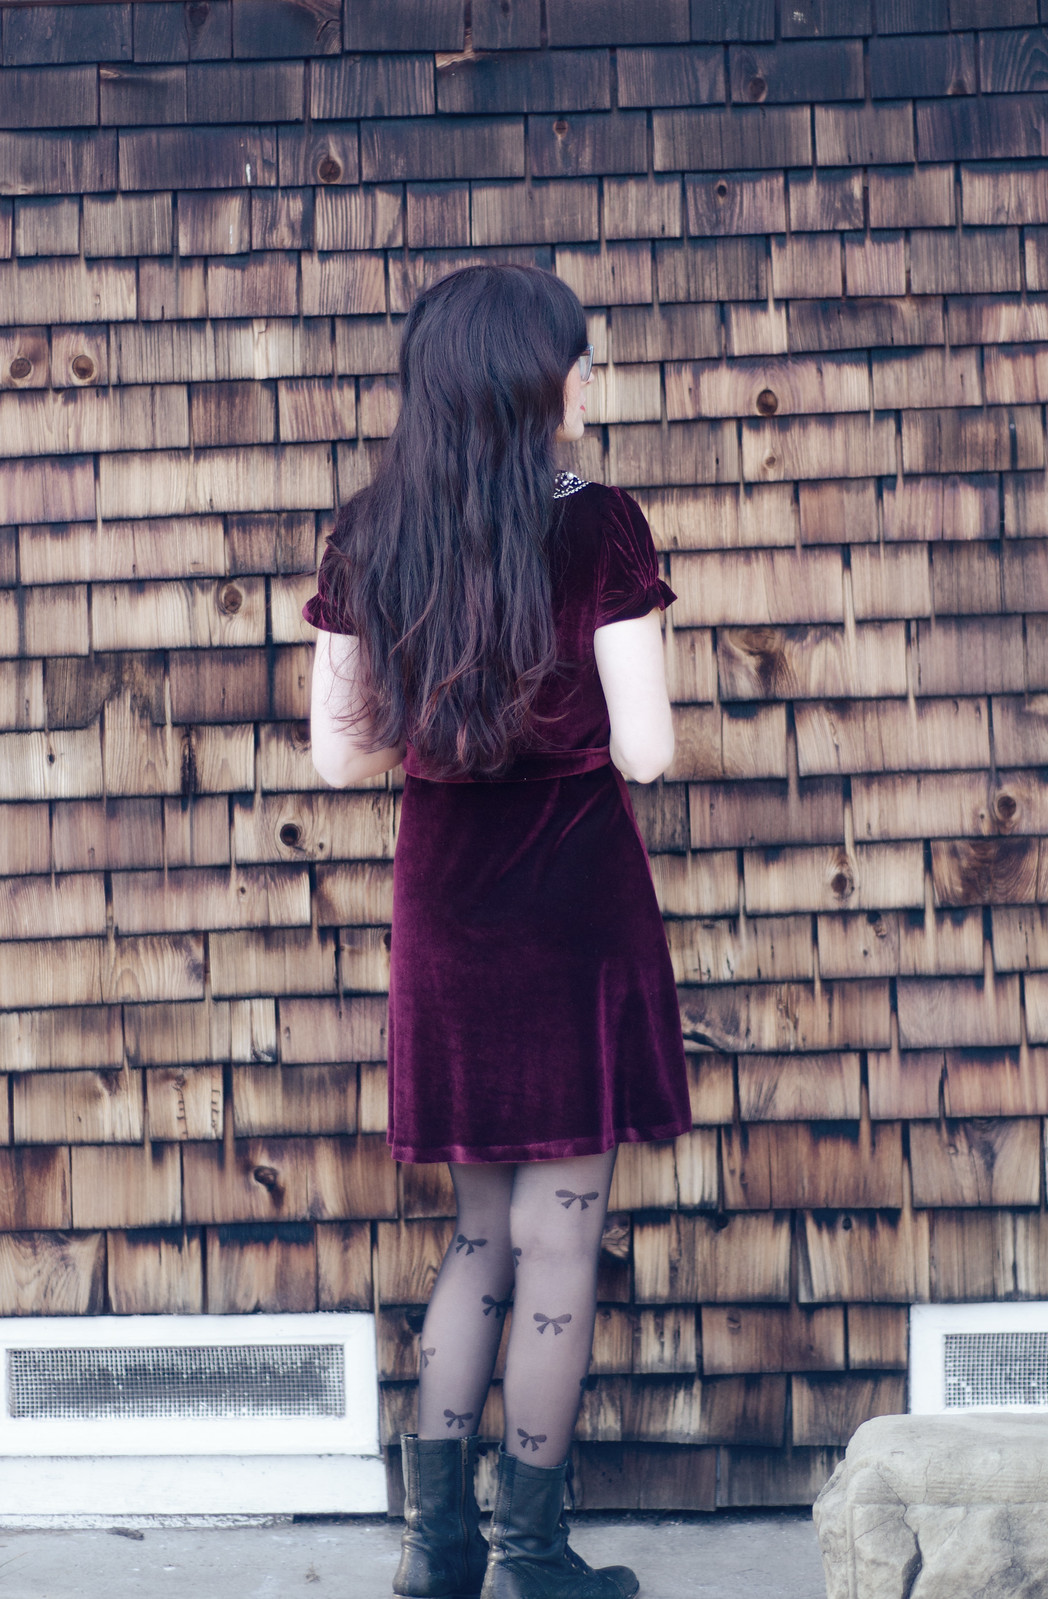
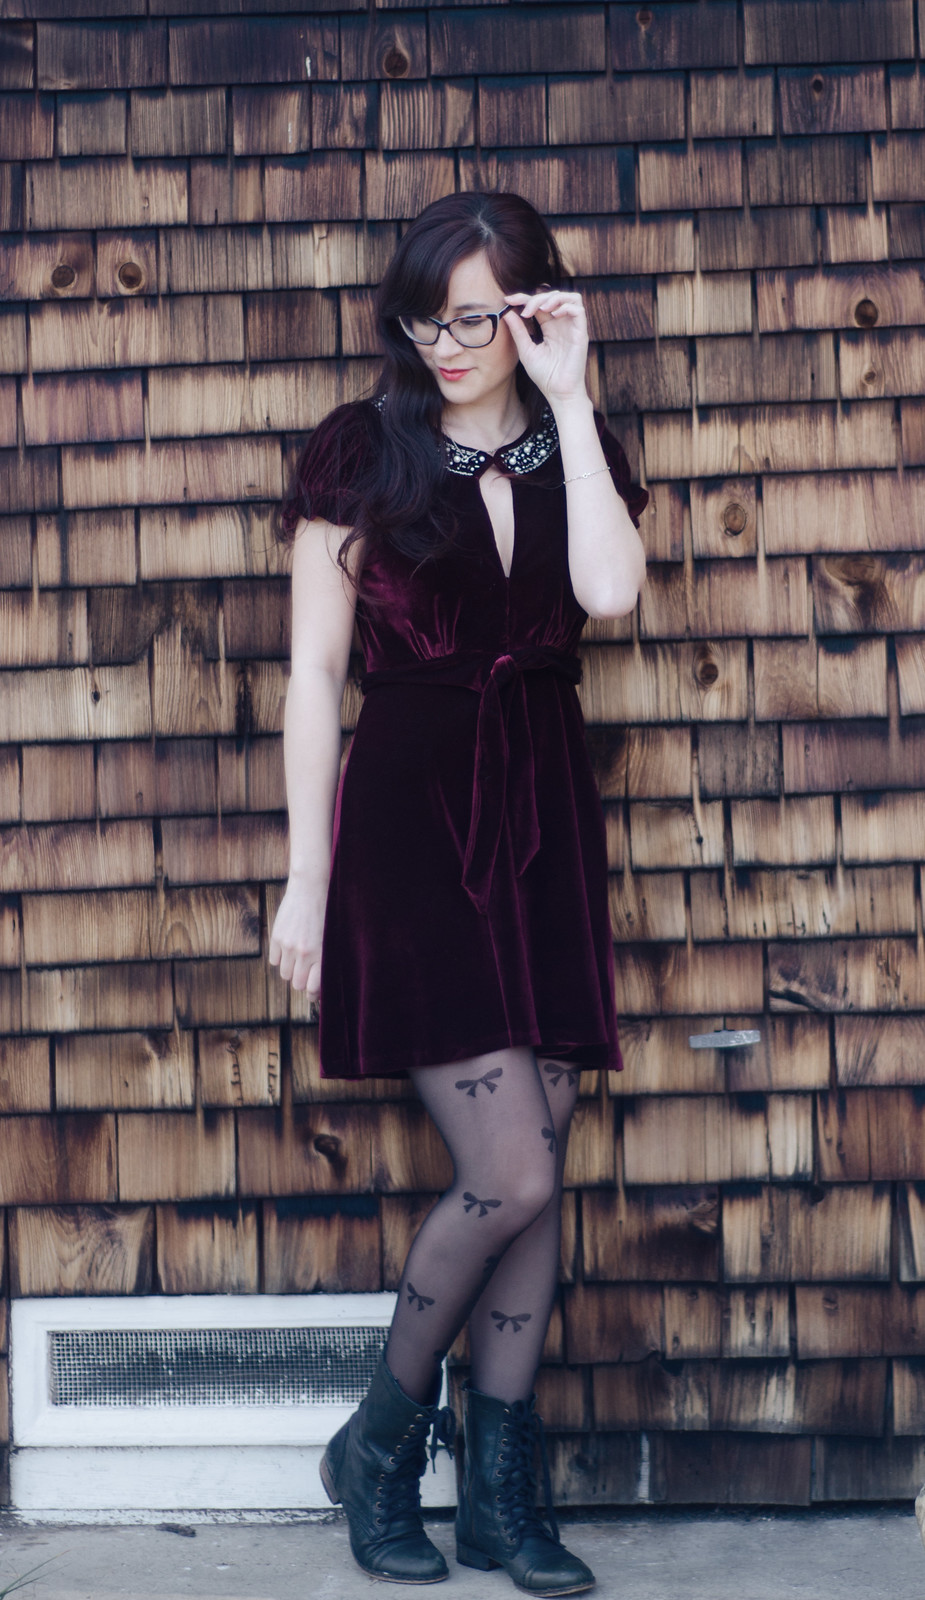
ANYWAY, now that we’re all caught up, meet this year’s Christmas dress.

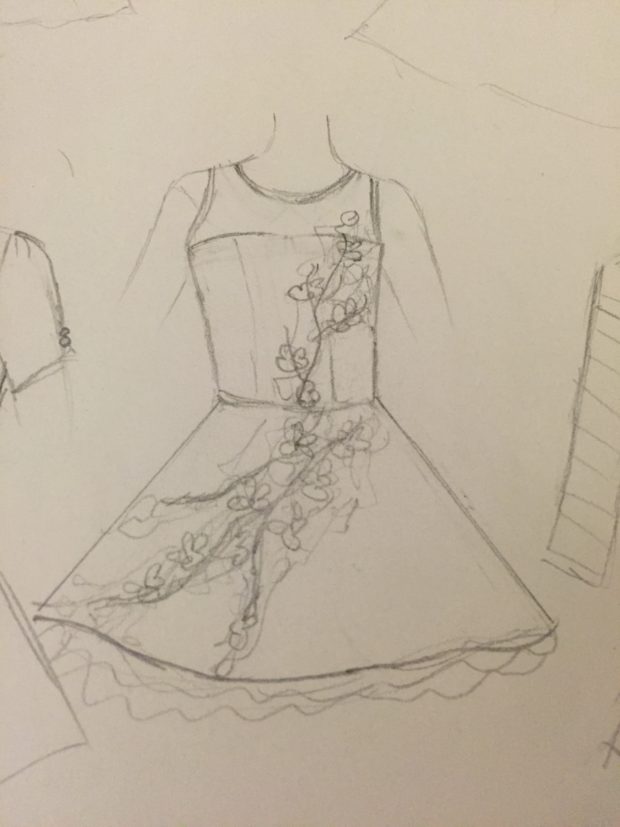
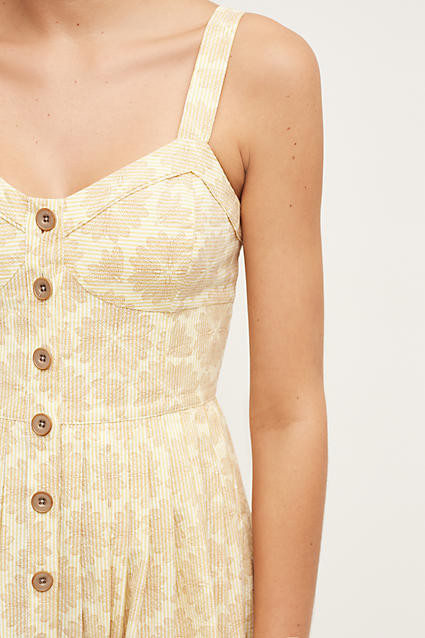
The backstory is that my friend kept buying these gorgeous velvet dresses from Anthropologie, and then we planned a weekend holiday trip and decided one evening we would wear velvet dresses. So I got on Pinterest and looked for velvet dresses and found this lovely one by Holly Willoughby.

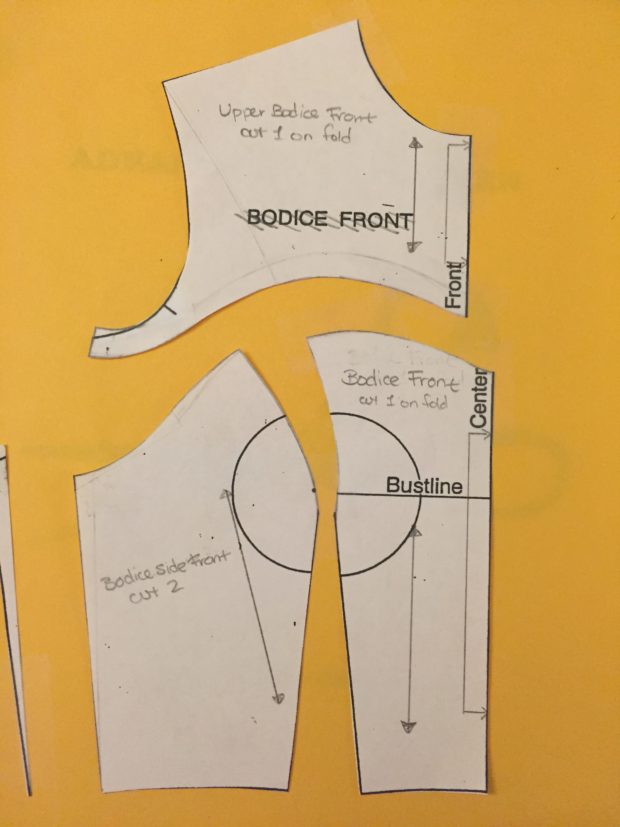
Making the pattern was pretty straightforward. Move bust darts to waist and turn them into gathers, neckline yoke thing, V-front cutout that meets in the middle, puffed sleeve with gathers that don’t go all the way to the armhole. Since I was using velvet and didn’t want to bother with a separate lining, I made facings for the front and yoke to make it easier.

I used a cheapy stretch velvet from Fabrics ‘r Us because this was kind of an experiment. We’ll call it a Christmas muslin. It actually wasn’t that hard to sew together. I basted the tricky bits but other than that the pile of the velvet sort of acted like velcro and it mostly stayed put. I used stitch witchery for the hem and sleeve edge to avoid having a row of stitching. It stays put and I just think it looks nicer.

The beading was super fun and so quick now that I have a beading needle. I didn’t even bother buying new beads. I’ve done so many beading projects in the last few years that I have an assortment of extra beads and the original dress didn’t seem to have any distinct beading pattern so I just used what I had.

Anyway, I do kind of wish the insides were a little prettier (I was kind of rushed because this was one of two finals week procrastination projects) but I’m in love. It’s one of the comfiest fancy dresses I own and I’ve already worn it twice. The velvet makes it look dressy but the stretchy means more room for feasting.

Maybe I need one in green too..


Adventures in drafting // linen dragons

DSC_0244

DSC_0238

DSC_0217

This top completely unintentionally reminds me of Daenerys from Game of Thrones. I originally set out to copycat this top from Urban Outfitters and decided to use the leftover linen from my Mystery Fabric Contest dress. Somehow I ended up with a cute summery top that totally looks like something Khaleesi would wear if she were summering in modern day California.

This top, along with my off-the-shoulder tops, has basically been my uniform this summer, and I’ve been experimenting with different fabrics. The problem is that I feel like this linen is a little too stiff and sort of sticks out awkwardly from certain angles. But then I tried a much drapier fabric and it was too lightweight to hold its shape. I’ll have to keep playing. I did have to make a special bra to wear underneath which is basically a nude halter the same shape as the front.

Drafting was pretty simple. I drew lines, then contoured. The one thing I did differently that helped with fit was before I added the bias binding and straps, I put it on the dress form and pinned the straps and pleats into shape rather than trusting the lines. It ended up fitting pretty much perfectly that way.

Now back to fabric experiments.

Adventures in patterndrafting // mystery fabric contest

Mystery Fabric Contest dress

Mystery Fabric Contest dress

Mystery Fabric Contest dress

Mystery Fabric Contest dress

Mystery Fabric Contest dress

Mystery Fabric Contest dress

Mystery Fabric Contest dress

Mystery Fabric Contest dress

My school hosts a mystery fabric contest every year. This year participants received a bundle of mystery fabric, each one marked only with a number and the general color scheme of the fabric inside. You have from October to April to put together a garment using at least 50% of each piece of fabric included. Some people received several yards of the same fabric. Other people (ahem, me) received mostly tiny samples, with nothing bigger than a fat quarter. You can add as much fabric as you want too!

2016-01-28 22.37.12

2016-01-28 22.37.03

I was pretty stumped for a while after getting my bundle. At first I was thinking of doing something big and dramatic a la Regina from Once Upon A Time (season 1-2), with one side done in a cool patchwork pattern and the other side in a solid or floral print, but I kept coming back to a fear of it coming out looking like a quilt so I nixed that idea. Then one day when I was working on Cinderella’s ball gown while simultaneously daydreaming about doing Cinderella’s wedding gown (I am a crazy person, yes.), I had a lightbulb moment. Why not do a modernized party dress version of Cinderella’s wedding dress, but with the same floral/mesh/gauzy look?

2016-01-28 22.01.19

I started off drafting a pattern for a dress with an upper yoke in a sweetheart neckline shape. Since I knew I wanted to sew the upper yoke in mesh and since I wanted it to have a more formal party dress kind of look, I did a lot of contouring around the princess lines and sweetheart neckline to make it more form-fitting. Then I just used the same skirt pattern as my Christmas dress. Since a lot of the fabrics in my bundle were linens in earthy colors, I went for a similarly earthy (but still somewhat fancy-looking) linen from Joanns in ivory.

2016-01-28 22.01.26

Construction-wise, I started off by taking the three identical pieces of sheer gauzy curtain fabric and sewing them together as a dirndl underskirt. Then I tore off all of the sample rectangles and cut up the backing fabric into similarly sized rectangles and sewed them together into a long piece (similar to what I did for my Cinderella ball gown). I then pleated  those and attached them in two tiers to the underskirt so they would peek out a bit under the main dress.

2016-03-07 23.17.29

I’d had a hard time trying to figure out what to do with all of the thicker embroidered fabrics (especially ones where the background fabric clashed) so I decided to cut the embroidery out of the fabric and sew it onto my dress.

2016-03-24 13.06.28

One of them was some kind of burlap-ish canvas and had a floral vine pattern so I cut out the vines and used them as the base for the hand-stitched design. Then I cut the background fabric into little flower shapes and folded them slightly and stitched them all over the garment.

2016-03-12 18.59.28

You may also have noticed the gorgeous colorful embroidered flowers on the horrid mustard background up there. Since the mustard really didn’t fit with anything, I decided to cut out all those little designs too and sewed them all over the dress for little hidden bits of color. Some of the bigger pieces ended up on the side of the skirt too.

2016-03-16 21.41.10

The end!

2016-03-24 13.16.48

You can check out some of the other submissions here. Tiny spoiler alert: my dress won first place!


Ruffle top(s)

Off-shoulder ruffle tops

Off-shoulder ruffle tops

Off-shoulder ruffle tops

Off-shoulder ruffle tops

Off-shoulder ruffle tops

Off-shoulder ruffle topsboth tops: self-made, tutorial here // shorts: AE

Reasons why this is the perfect top for summer:

  1. It takes like 30min to put together. No joke.
  2. No bra necessary. The ruffle conveniently hides everything. (Ok, to be fair ladies with a certain amount of boobage might not be able to get away with that as comfortably. I’ve also worn these with a fun strappy sports bra and that looks cool too.)
  3. It’s SO comfy. I was a bit apprehensive at the whole elastic sitting at the shoulders thing but it’s so breezy and nice and I got used to it after wearing it once.
  4. Did I mention it literally took 30min to sew? I want one in every color.

Sidenote: I made the blue one first and did it exactly as indicated in the tutorial, except I made it cropped instead of a dress. Since the black one is made of rayon challis and much drapier, I used more fabric and flared the edges of the bottom part outward like a trapezoid to get even more volume.

IMG_8849

Another thing I played around with was doing a rolled hem around the edge of the ruffle. I took a serging class this summer and managed to break my upper looper about an hour into the first class. I debated getting it fixed but it was kind of a dinosaur and we’d never been friends so I decided to buy a new one instead. I ended up getting a basically new Juki MO654DE (thanks to Heather’s awesome review) on eBay for half the price (win!) and I can’t even begin to describe  how much I love this machine. I’ll do a review of it soon along with some fun things I learned in my serging class.

Anyway, next I want to make a dress version. And maybe one with a more fitted bodice. Yee!


review // my fabric designs

DSC_0176

Insect dress

DSC_0177

Insect dress

DSC_0173

DSC_0189

Insect dress

DSC_0175dress: self-made, pattern (which I hacked) here // shoes: Swedish Hasbeens 

*My Fabric Designs sent me fabric free of cost. All Illustrator work, thoughts, and opinions are my own. Except for the part where I copied the fabric from an Anthropologie dress.

You guys! I  have a fun new hobby. I was contacted by the lovely people at My Fabric Designs about trying out some of their fabric, which works kind of like Spoonflower. You can upload your own print, use prints offered on the site, or make your own print with their design tool, and have it printed on one of the 26 fabrics they offer.

They sent me a swatch booklet that has a swatch of each of the fabrics they offer, each one with some colors and fabric information printed on it. You can snag one of these for $5 and I highly recommend doing so so you can gauge the fabric and print quality before choosing your fabrics.

While they do have some really awesome looking prints, I was most excited about trying to design my own. I use the term “design” very loosely because my first two ideas were copycat projects. You may have seen peeks if you follow me on Instagram.

The first problem I ran into is that I had no idea how to use Illustrator. I watched about 7 Youtube videos and slowly started to figure it out. I also recommend the videos at Lynda.com (for wayy more than just Illustrator too, they have classes on all kinds of stuff). There’s a monthly membership access fee involved, but there are two ways around that. 1) They offer a 10 day free trial. 2) Check to see if your local library has access! Mine does, so I was able to log in on the library-specific Lynda login page with my library card information (NOT on the actual Lynda website).

Another hint: if you have one of the more recent versions of Illustrator (and a computer that can run it), it comes with a patternmaker software where you can really easily make seamless patterns! My 2012 laptop complained a bit but in the end we got through it.

Anyway, I’ve always loved the fabrics used in dresses at Anthropologie so I clicked around for a while until I found this one. I just love how it’s a floral sundress but between the flowers looking like insects and the color scheme, it’s really not overly girly.

Many hours on Illustrator later, I came away with this:

Screen Shot 2016-04-30 at 4.14.12 PM

Pretty spot on, right?? My friend (who STILL has not given me the write-up on her Hunger Games butterfly dress) described it as like insect tea parties, except some of them are left out and lonely.

I also tried another color scheme:

Screen Shot 2016-04-30 at 4.16.28 PM

I ended up ordering the yellow fabric in the Organic Cotton Sateen, and the lilac one in Cotton Poplin. It took a while to get to me due to the whole custom-printing thing; I think this order took about two full weeks. (I’m completely spoiled by Amazon Prime.) I also just received my second order that you may have seen on Instagram that turned out SO BEAUTIFULLY and I’m so excited to share that one.

In terms of the fabric quality, the number one issue I’ve heard of with fabric printing is the colors fading in the wash so the first thing I did was cut off a piece of each fabric and run it through. I used the permanent press cycle on cold and then hung it to dry because that’s how I usually wash my clothes.

IMG_9106

IMG_1425
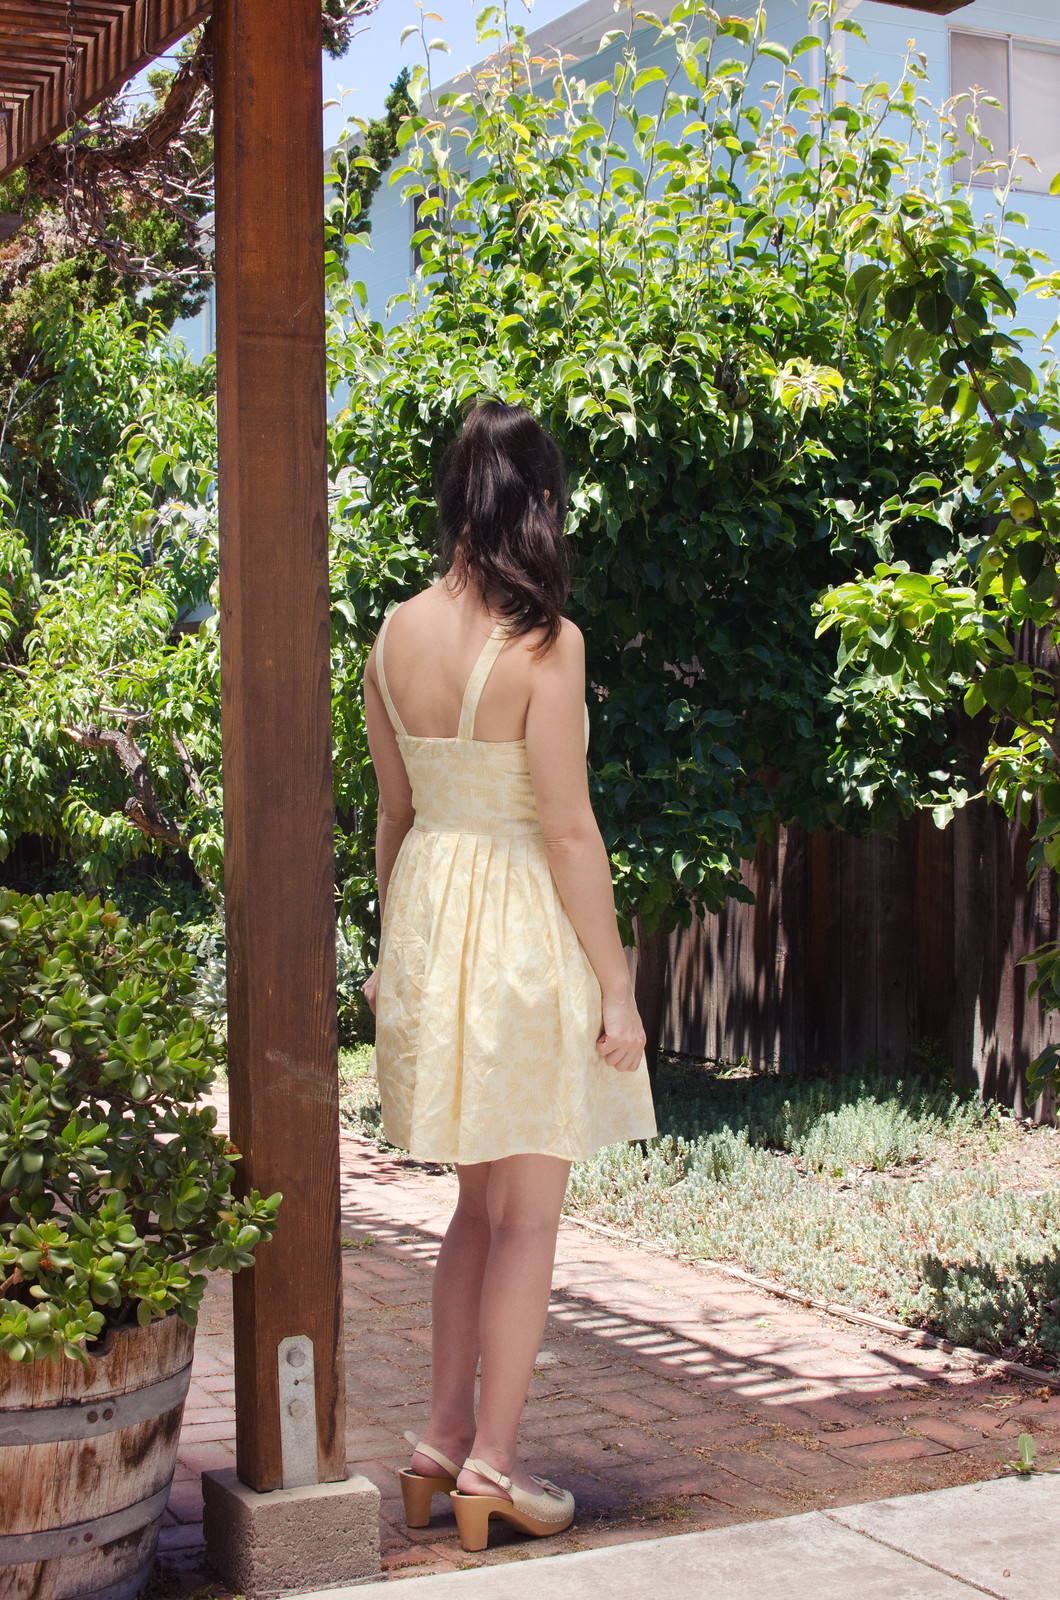
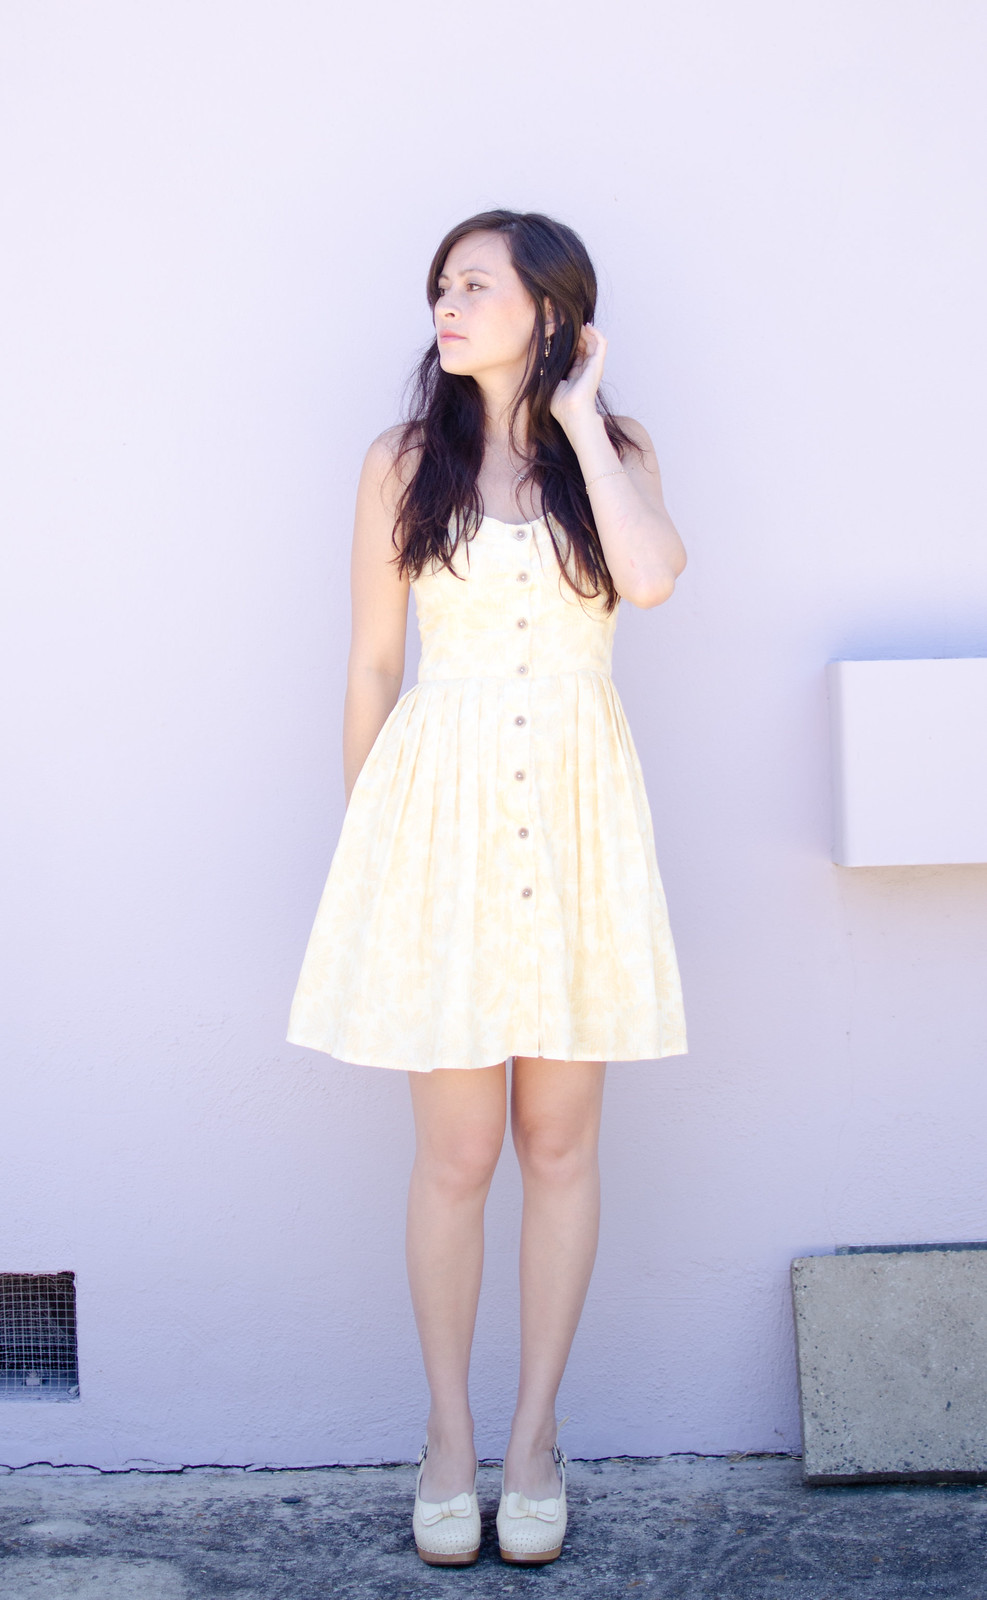
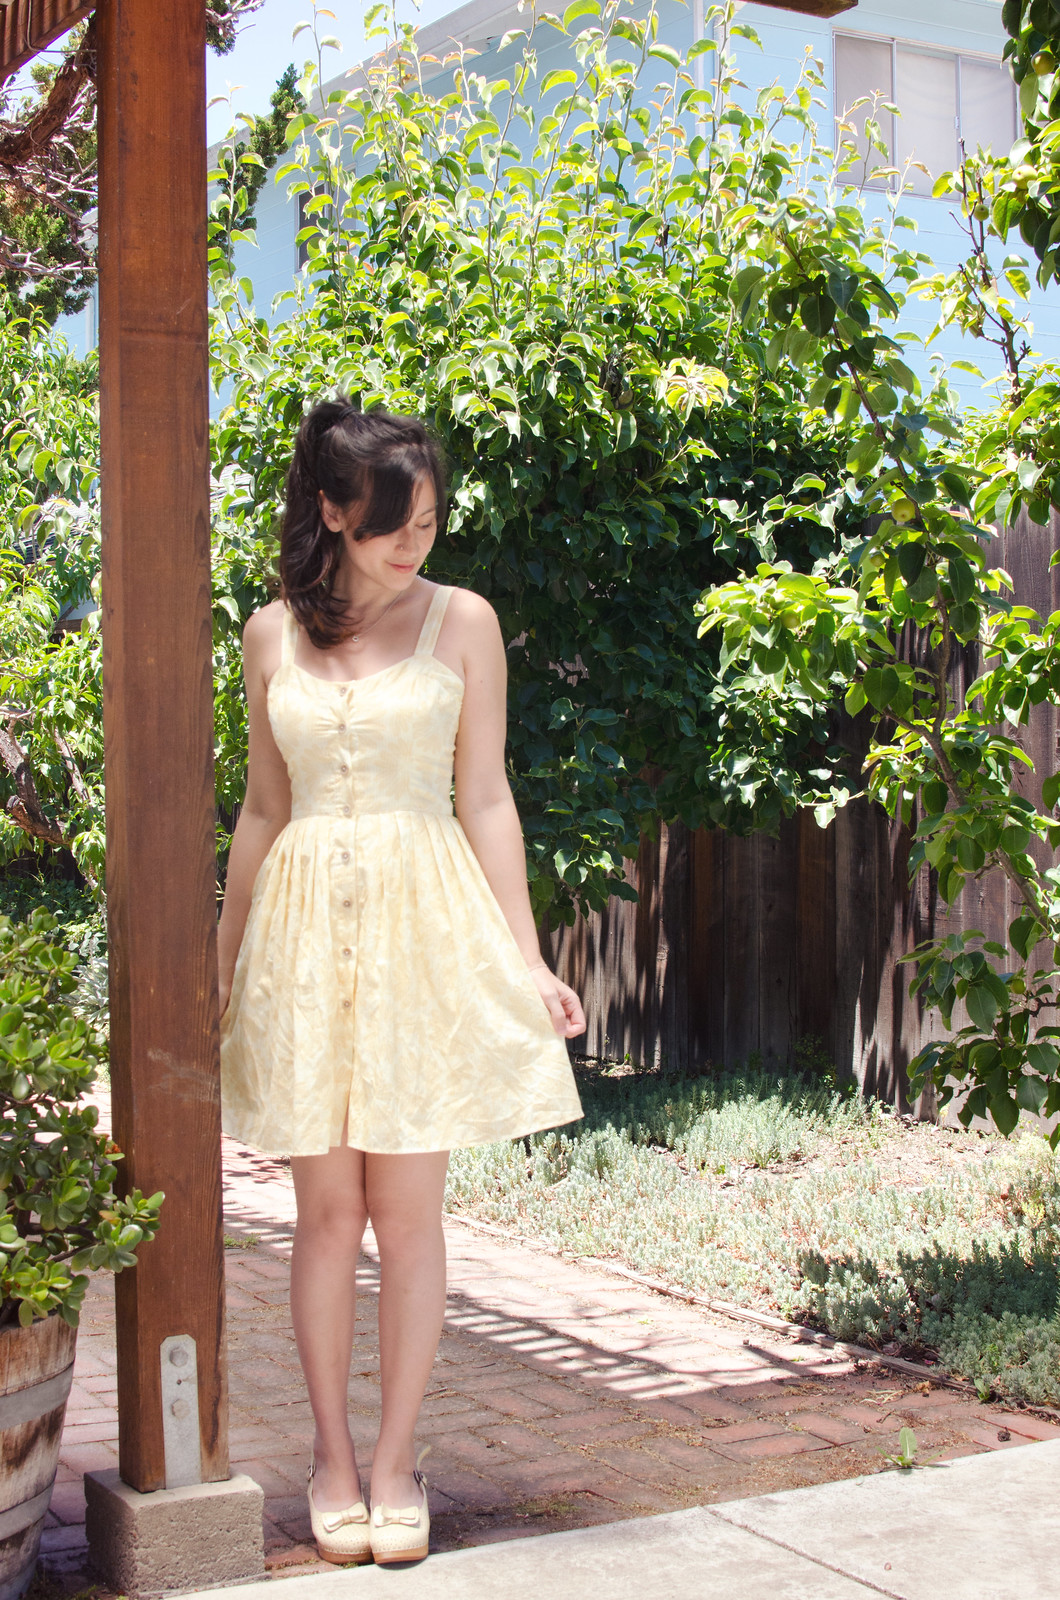
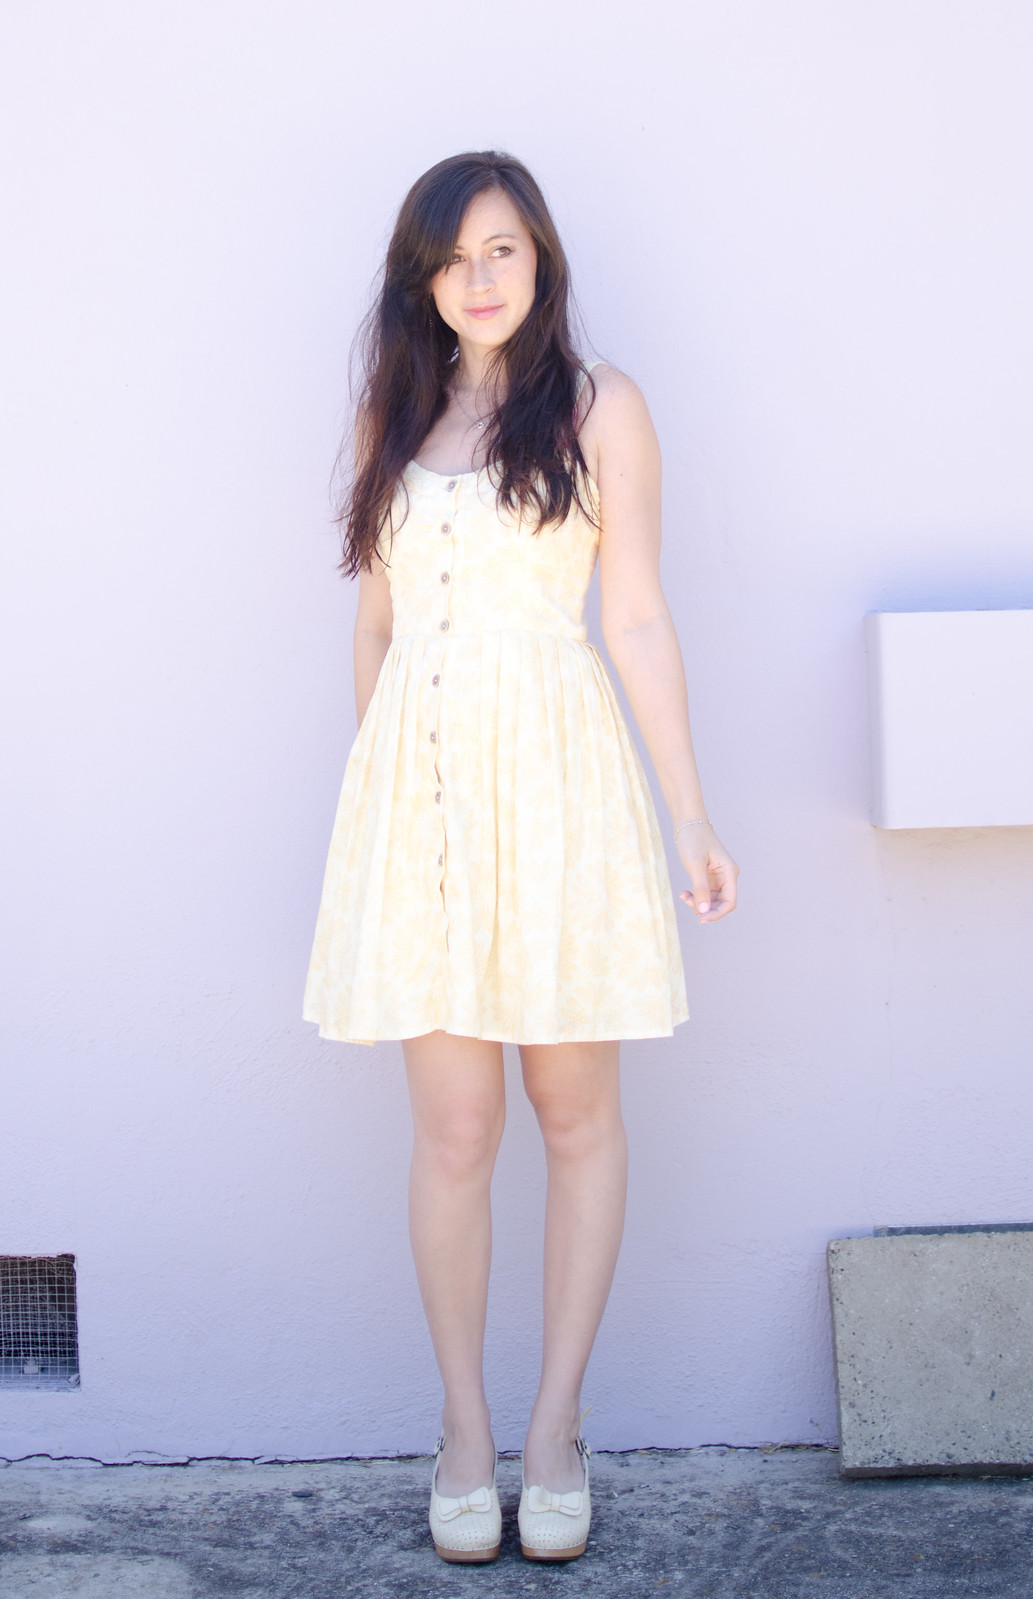
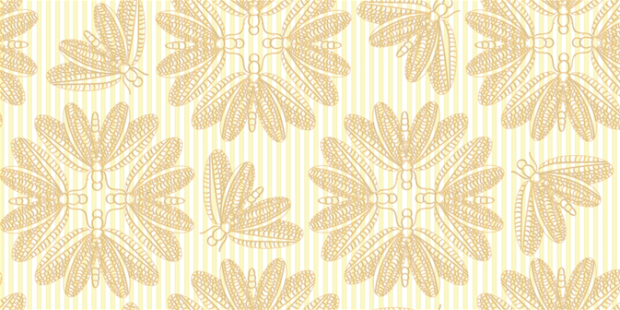
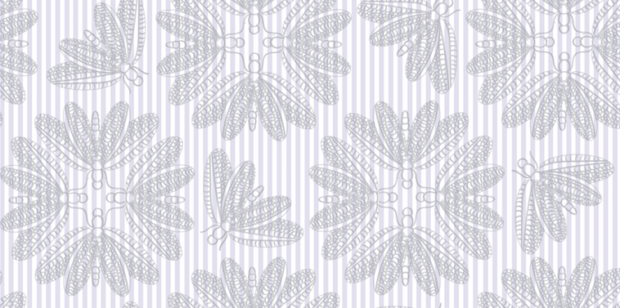
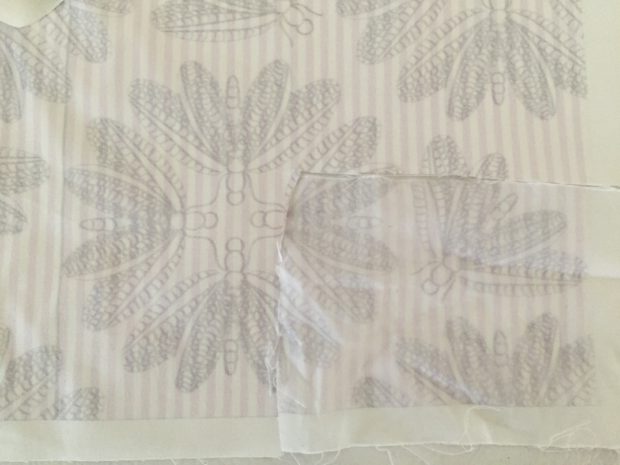
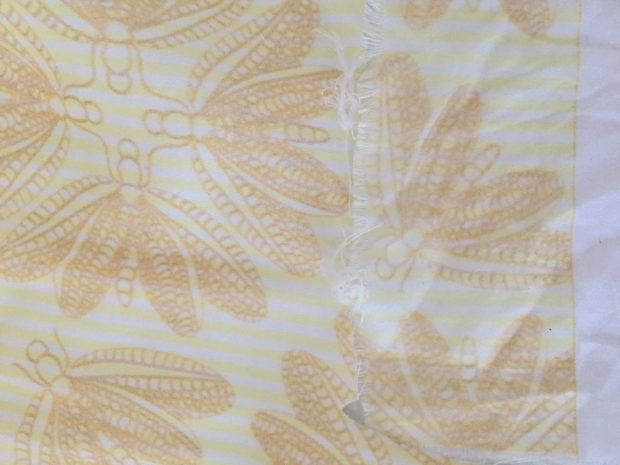
I took these photos while the fabric was still wet, so they look a little odd. They don’t actually look smudgey in real life, just slightly faded.

There was some slight fading, especially with the purple print, but  nothing super noticeable unless you look at it really closely at the original. I want to test it out with more vivid colors too but for these lighter prints I’m happy with the way it came out of the wash. The only thing I wish they had was a zoom feature on the preview screen so you can zoom in on what your fabric is going to look like. I stupidly left the stroke set to the brown color of the flowers so there are thin brown lines that form rectangles all over the fabric. I tried to be strategic with where I put them and I don’t think they look super terrible but I kind of wish I’d been able to zoom in to see that they’d be there. Or that I had thought to check for that in Illustrator. *headdesk*

Onto the sewing! So far I’ve only sewn up the yellow fabric, but holy crap I love this stuff. It’s super soft and drapey and lovely. It’s a bit on the thinner side so I lined the whole dress (with muslin because I’m lazy and have a ton of it lying around for school so why not?). The cotton poplin is much more crisp and it’s absolutely perfect for the other dress I have in mind. More on that later.

I used McCall’s 6740, which I bought a few years ago and couldn’t seem to find the right fabric for. I added a waistline seam by hacking it at the waist, and then drew in yoke lines for the top edges of the cups (~1.25″ wide). I decided to leave out the cup shaping because it seemed too complicated and frankly it looks fine the way it is. To be honest, I probably could’ve found a more accurate pattern to go from but I already had this one and it was already traced so I just went with it. It does need more contouring along the top edge which I’ll definitely fix if I decide to sew this one up again.

The skirt was pretty simple. I just did lots of little pleats until it fit the bodice. Then I made two button plackets and sandwiched the side seams into them and added these cool brown buttons from Joann’s.