Category Archives: edibles

Kale shrimp salad

Kale shrimp salad

I used to really hate kale. The only way I’d ever eaten it was steamed with a little bit of soy sauce, which just ends up tasting like a mushy mouthful of watery soy sauce and leaves. Not fun, especially for a kid.

But it is really healthy for you, so once in a while I would disdainfully buy a bunch and take it home to blend into smoothies with lots of bananas and mangos and other fruits to disguise the flavor.

Then a few years ago my friend introduced me to kale chips and I was floored. So delicious! Just toss them in a bag with olive oil and some kind of vinegar and bake until crispy. And they taste like french fries! And then over break I was experimenting with putting kale in soup and it turns out that’s delicious too! The kale gets all soft and silky but still keeps its structure. Super noms!

And then my sister and I were starving at Whole Foods one day and decided to grab lunch at the salad bar. Holy crap guys. Most delicious healthy meal out ever. We immediately went home and tried recreating some of our favorites.

Earlier this week I had a craving for a kale salad and happened to have some leftover raita from an Indian restaurant I’d gone to, so I decided to add that. So delish I can’t even. Anyway, this is my modified version that I made after I ran out of raita. And I’m 99% positive this is at least 99% clean.

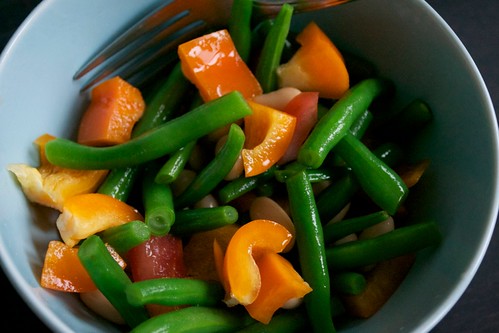
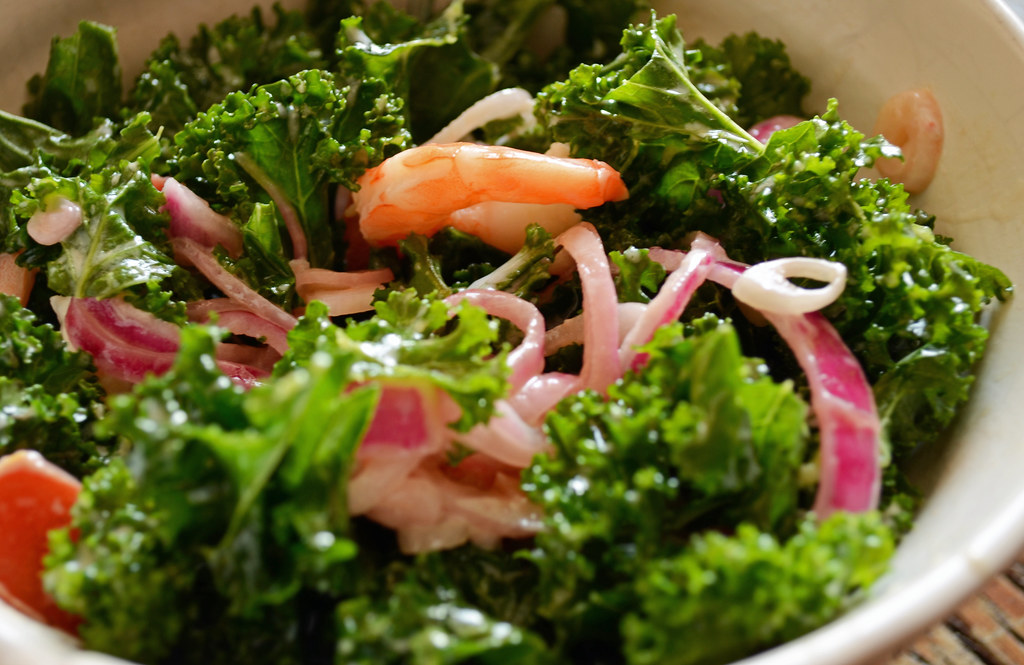
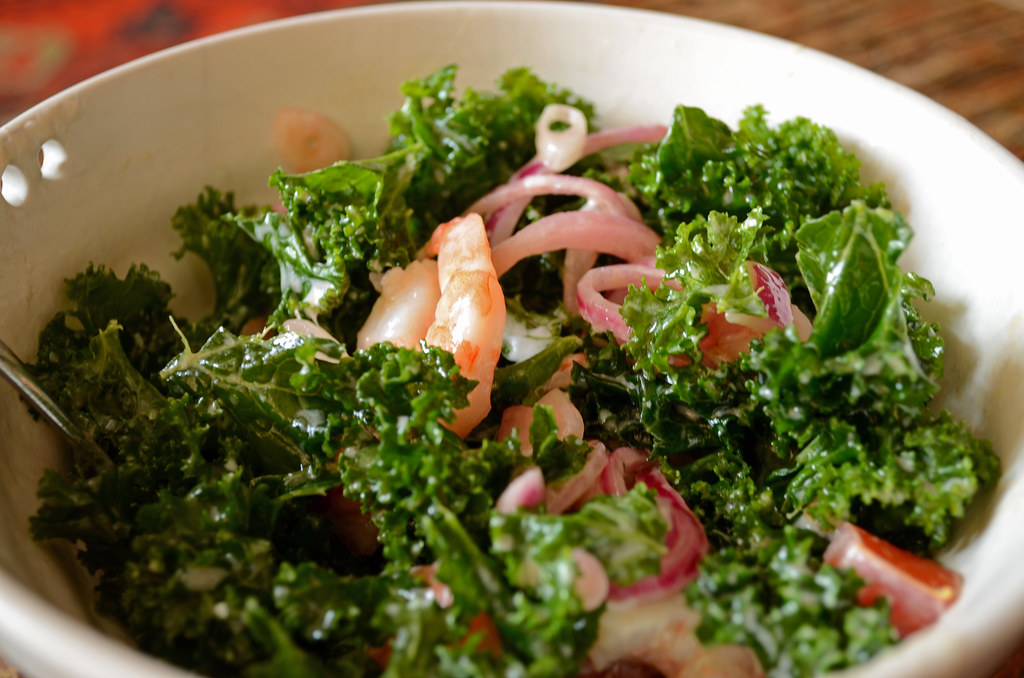
Clean kale shrimp salad
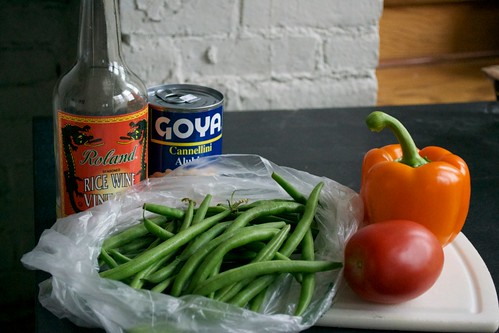
Ingredients:

  • 1/2 bunch kale, leaf only, washed and ripped into bite sized pieces
  • 1 roma tomato
  • 1/2 red onion
  • lemon juice (I use one of those lemon squeezer thingies)
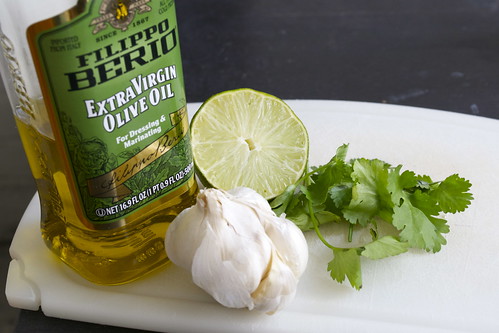
  • olive oil
  • shrimp (I get the frozen cooked tail off kind from Costco)
  • apple cider vinegar (best kind is Bragg’s, with the mother)
  • 2 tbsp nonfat plain Greek yogurt

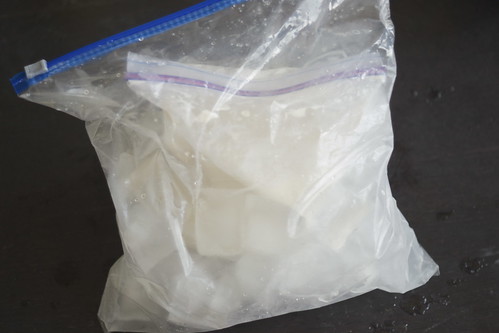
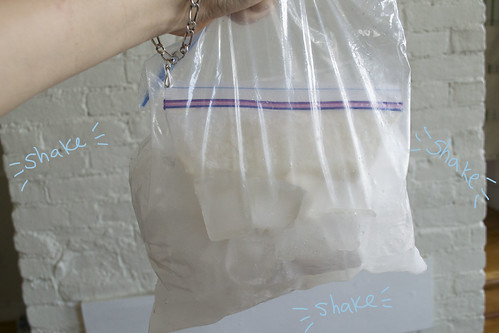
Put the kale in a ziploc bag and drizzle 1-2 tablespoons of olive oil and about 1 tablespoon of lemon juice. Close the ziploc bag and massage the kale around so all of the leaves are well coated. Kale is really tough but becomes more tender as it’s massaged so you’ll want to do this for a few minutes. Add more olive oil and lemon juice as needed.

Meanwhile, defrost your shrimp (I usually add about 5-8 shrimp per serving) by putting it in a small bowl, covering with water, and microwaving for one minute.

In a separate tupperware, add the chopped tomato and thinly sliced onion. Add 1-2 tablespoons olive oil, 1-2 tablespoons apple cider vinegar, and a pinch of salt. Shake well and let it sit in the fridge for at least half an hour for the flavors to mingle.

For the dressing just mix 1-2 tablespoons of Greek yogurt with lemon juice, consistency based on preference.

Serves 2.

Since grad school can get busy and I eat six meals a day*, I like to do a lot of cooking and food prep once or twice a week so I always have food ready. This is a great recipe for that because I can have one container of prepared kale, one with the tomato/onion mixture, and a separate one of pre-made dressing. It makes making dinner  super easy!

If you’re skeptical, go to Whole Foods and try one of their kale salads. It’s life-altering. Unless you inherently hate salad, in which case I really don’t recommend trying this. :]

Kale shrimp salad

*No, I don’t cook six times a day, and yes they are each smaller meals. I just hate that feeling of eating a ton and feeling bloated and crappy for a few hours and then suddenly being starving and then repeating the cycle. My metabolism has also gotten waaaay faster since I started doing this!

Enchiladas (mostly) from scratch

DSC_1310 copy2

I’ve been obsessed with enchiladas lately. They’ve always been a favorite of mine but in a guilty pleasure sort of way because of the way Mexican restaurants tend to pile on the scrumptious melty cheeses.

I’m drooling.

Anyway, I was wasting time meandering on Pinterest when I found this lovely food blog, and specifically this amazing looking recipe.

I had to make it immediately. I had never cooked with tomatillos before but she gives very clear instructions and they turned out not to be so very scary after all. Which is awesome because salsa verde is my faaavorite.

The enchiladas turned out decent (and even better the next day!) but there were a few things I wanted to tweak so I made them again tonight.

The nice thing about this recipe is that you can prepare the chicken and salsa beforehand and then just toss everything together and throw it in the oven right before dinner. Or you can be lazy and leave everything to the last minute like moi.

Ingredients:
– A 3/4 – 1 lb chicken breast; more if you want meatier enchiladas, less if you want to add other things into the mix
– 1 small onion, chopped
– 4 oz Greek yogurt (I nearly typed “Geek” there. lol)
– 2 cups salsa verde; I made some from scratch the first time using the recipe linked above but I cheated this time and bought a jar. In my defense my blender is broken and last time I had to mince everything by hand and it took ages :[
– Package of 8 wheat tortillas; the ones I got were 120 calories per tortilla. 
– Cheese, grated; Last time I used a four cheese Mexican pre-grated mix and then grated cheddar on top. This time I only used the pre-grated mix. Guess which one was tons better? Grate your own cheese.

DSC_1289 copy

Start with the chicken. It’ll need to be shredded and according to the interwebs, the best way to do that is to either grill it or boil it. I have no grilling skills so I tossed it in a pot of boiling water for 15 minutes.

DSC_1292 copy

It’s ok if it’s a little undercooked because it’s going right back in the oven for another twenty minutes. Just remember not to snack on it if it’s still pink!

(If you’re making your own salsa verde, now would be the time to do it!)

DSC_1293 copy

Pull the chicken out of the pot and transfer it to a largeish bowl. I’m sure there’s a fancy utensil with a fancy name that was designed for shredding chicken, but I went the poor grad student route and attacked mine with two forks.

DSC_1291 copy

In a pan, drizzle some olive oil and add the chopped onions and a dash of salt.

Let it cook for a few minutes on medium heat and then add the chicken, half of the salsa verde, Greek yogurt, and whatever else you might want to add. I kind of want to try it with spinach. Or broccoli? Hmm, maybe not broccoli.

DSC_1297 copy

Mix it all together and turn the heat off. Grab your tortillas because here’s the fun part!

DSC_1300 copy

Drizzle a few tablespoons of salsa verde onto a 9 x 13″ baking dish. Spoon a few tablespoons of filling onto the tortilla in a straight line. Fold one side of the tortilla over, tuck it under a little, and then roll the whole thing closed.

DSC_1301 copy

Place it on the baking dish with the seam side facing down.

DSC_1302 copy

Rinse and repeat.

DSC_1303 copy

Once all of the enchiladas are filled and tucked, drizzle the rest of the salsa on top of them and spread it evenly.

DSC_1304 copy

Then sprinkle the cheese on top.

DSC_1305 copy

Bake at 375 F for about 15-20min. It’s ready when the cheese on top is golden and bubbling.

DSC_1310 copy

Nom and enjoy! (Make sure you make extra because it’s reeeally good as leftovers!)

DSC_1312 copy

Next I want to try a version with red sauce!

10min homemade ice cream

No, I’m not joking. And if you’re yawning because you’ve seen this a million times, bear with me because I just discovered this idea and I’m astonished and fascinated.

(You’ll also notice that I got a new toy in the mail today! I meant to post this much earlier today but I hadn’t counted on it taking so long to get used to writing on a tablet, so also please excuse the chicken scratch as I learn how to use this thing. Also, I love Photoshop Elements! I can’t believe I’ve never tried it before.)

Anyways, onto the ice cream!

Here is what you’ll need.

Ice cream in ziploc bags

– 1 cup heavy cream (The first time I did this I used whole milk –my attempt to make this a bit healthier. It turned out ok but was more sorbet-y than ice creamy. This time I went all out and used heavy cream. I think half and half works as well.)
– 1.5 tablespoons sugar
– 2 tbsp vanilla
– 2 trays of ice cubes
– 1/4 cup salt (You’re technically supposed to use rock salt or ice cream salt, but I couldn’t find any so I used regular table salt.)
– 1 gallon ziploc bag and 1 quart or pint ziploc bag (I used a quart one but it probably would’ve been better if it had been smaller.)

This next part’s important. We made ice cream in empty juice cans in summer school when I was little and one unfortunate kid accidentally put his salt in with the ice cream. No happy ending there.

Ice cream in ziploc bags

Sidenote: My favoritest ice cream in the world is Haagen-Dazs vanilla, so I went with plain vanilla on this one. Feel free to experiment with different flavor combinations! I want to try adding crunched up oreos or assorted berries.

Make sure the small bag is completely sealed shut and give it a shake to mix up the ingredients. Then just slip it inside the bigger ziploc bag.

Ice cream in ziploc bags
See how mine’s a little too big and all of the ice is at the bottom? It turned out fine, just called for more creative and rigorous shaking.

Now just shake it! It takes about 8-10 minutes for it to become ice cream.

Ice cream in ziploc bags

I got impatient after 5 minutes and had to take a peek!

Ice cream in ziploc bags

All done! Just make sure you rinse the salt off of the smaller bag before you open it! I forgot to when I opened mine up for a taste and it was not at all pleasant.

Ice cream in ziploc bags

Noms! Bean salad recipe

When the weather gets warm, this is one of my favorite salad recipes. It’s cold, healthy, and super easy to put together!

Unfortunately, this year it is now June and the high today was in the low 50’s. Is this normal for New England? Considering it barely snowed three times all winter, I’m guessing not.

Anyway, I’ve been making sundresses and busting out sunglasses and making summer food in the hopes that the weather will catch on and heat up. So far, no dice.

Maybe you’ll have better luck!

Bean salad

Ingredients:  Note: This is one of those guesstimate amounts type of recipes :]

-1 bell pepper, diced (I’ve tried this with red, orange, and green bell peppers and orange is by far my favorite. Plus it goes the prettiest with the other colors, which is of course  a vital factor.)

-1 roma tomato (I still have no idea which kinds of tomatoes are good for which types of dishes, but romas work great for this.)

-green beans (These are my favorite part of the salad so I use a lot.)

-1 can cannellini beans with the juice (I’ve also used kidney beans and they’ve turned out great!)

-rice wine vinegar or rice vinegar (Is there a difference? You could probably also use apple cider vinegar for an even healthier version although I’ve never tried that.)

-salt to taste

Bean salad

Prepare the green beans and cut them up into bite sized pieces. I usually put them in a pan with a few tablespoons of water and let them cook just enough to be cooked but still delightfully crunchy.

When they’re done cooking, transfer the green beans to a separate bowl and pour cold water on them. Let it sit until the beans have cooled down so they don’t cause the other vegetables to cook when you mix them together.

Chop up the bell pepper and tomato into bite sized chunks, however big you want them.

Mix all of the veggies together. Pour the cannellini beans on top, including the juice. Add a few tablespoons of rice vinegar. I would start with one or two tablespoons and add more if desired. Add salt to taste.

Bean salad

It’s best if you stick it in the fridge for at least an hour but I usually can’t wait that long.

Enjoy!

Garlicky sandwich spread

Noms

When we were living in San Francisco, Boyfriend introduced me to an absolutely nommilicious sandwich shop that quickly became a favorite. Sadly, I haven’t found anything remotely close to it over on the other coast. It’s something about the sandwich spread they use. Very garlicky, very delicious, but definitely not the place for a first date!

Anyway, we were missing home the other night so I decided to attempt to recreate these sandwiches.

Noms

I used a giant clove of garlic (it was seriously huge, probably about the size of 2-3 normal cloves), juice from half a lime, about a tablespoon of chopped fresh cilantro, and enough olive oil to cover it all.

For the other sandwich toppings we did turkey slices, sharp white cheddar, and tomato slices on toasted sourdough bread. It didn’t turn out quite the same as our sandwich shop but it’s definitely something I’m going to make again.

Noms

I highly recommend doing your kissing before consuming this one. Just sayin’.