
 jacket: pattern here
Was everyone keeping Waffle Patterns a secret from me??
I discovered them a while ago actually, and I remember my impression being that all of her samples looked impeccably, perfectly put together and that I loved the shapes of her garments but wasn’t sure I could pull them off. For some reason I was also worried her patterns might be a bit more hands off and geared toward more advanced sewers who don’t need much in the way of instruction.
Now, I would definitely say that Tosti is an advanced pattern, but she does hold your hand every step of the way. She has graphics illustrating literally every step and everything is marked clearly. Some of the trickier steps are even explained in further depth with photo tutorials on her blog!
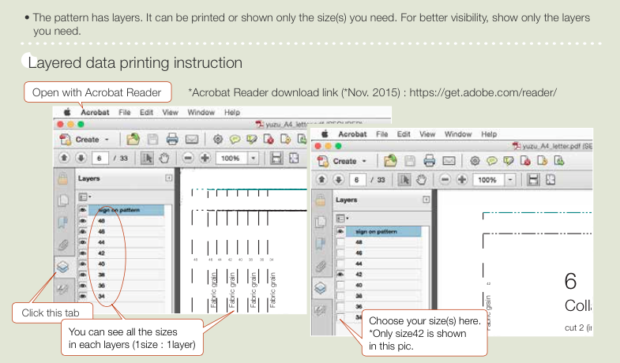
The other thing I loved was that the way the pattern is drafted meant that I didn’t have to do much to the pattern before I started sewing. First off, the seam allowances are 1/2″, which I’ve gotten used to using when I draft. The sleeves were the perfect length on me (I have monkey arms and my wrists gets cold so I like my sleeves a little past the wrist bone), and the jacket itself is the perfect length on me! The shoulder seam is shifted to the front a bit so it sits on your actual shoulder. The only thing I had to change was to rotate the sleeve in the armhole a little because my shoulders point forward, which changes where I need extra fabric in the cap. I didn’t actually change the draft or anything, I just rotated everything about 3/4″ forwards and ignored the fact that notches/seams no longer match up. No one’s looking at my armpits anyway (hopefully). AND she’s included layers in the PDF so you can select which size(s) you want to print and only print those! I sewed a straight 38 so I just unclicked all the other sizes and only the lines (stitching lines and cutting lines) for the 38 showed up. She also gives you simple instructions for how to do this if you (like me) had no idea this was even a thing. (Why doesn’t everyone do this??)
I started with a straight muslin where no changes were made. I did sew the first sleeve as indicated and noticed some poufing in the back so I sewed the second one rotated to compare. I was really thrilled with the way everything fit as drafted!
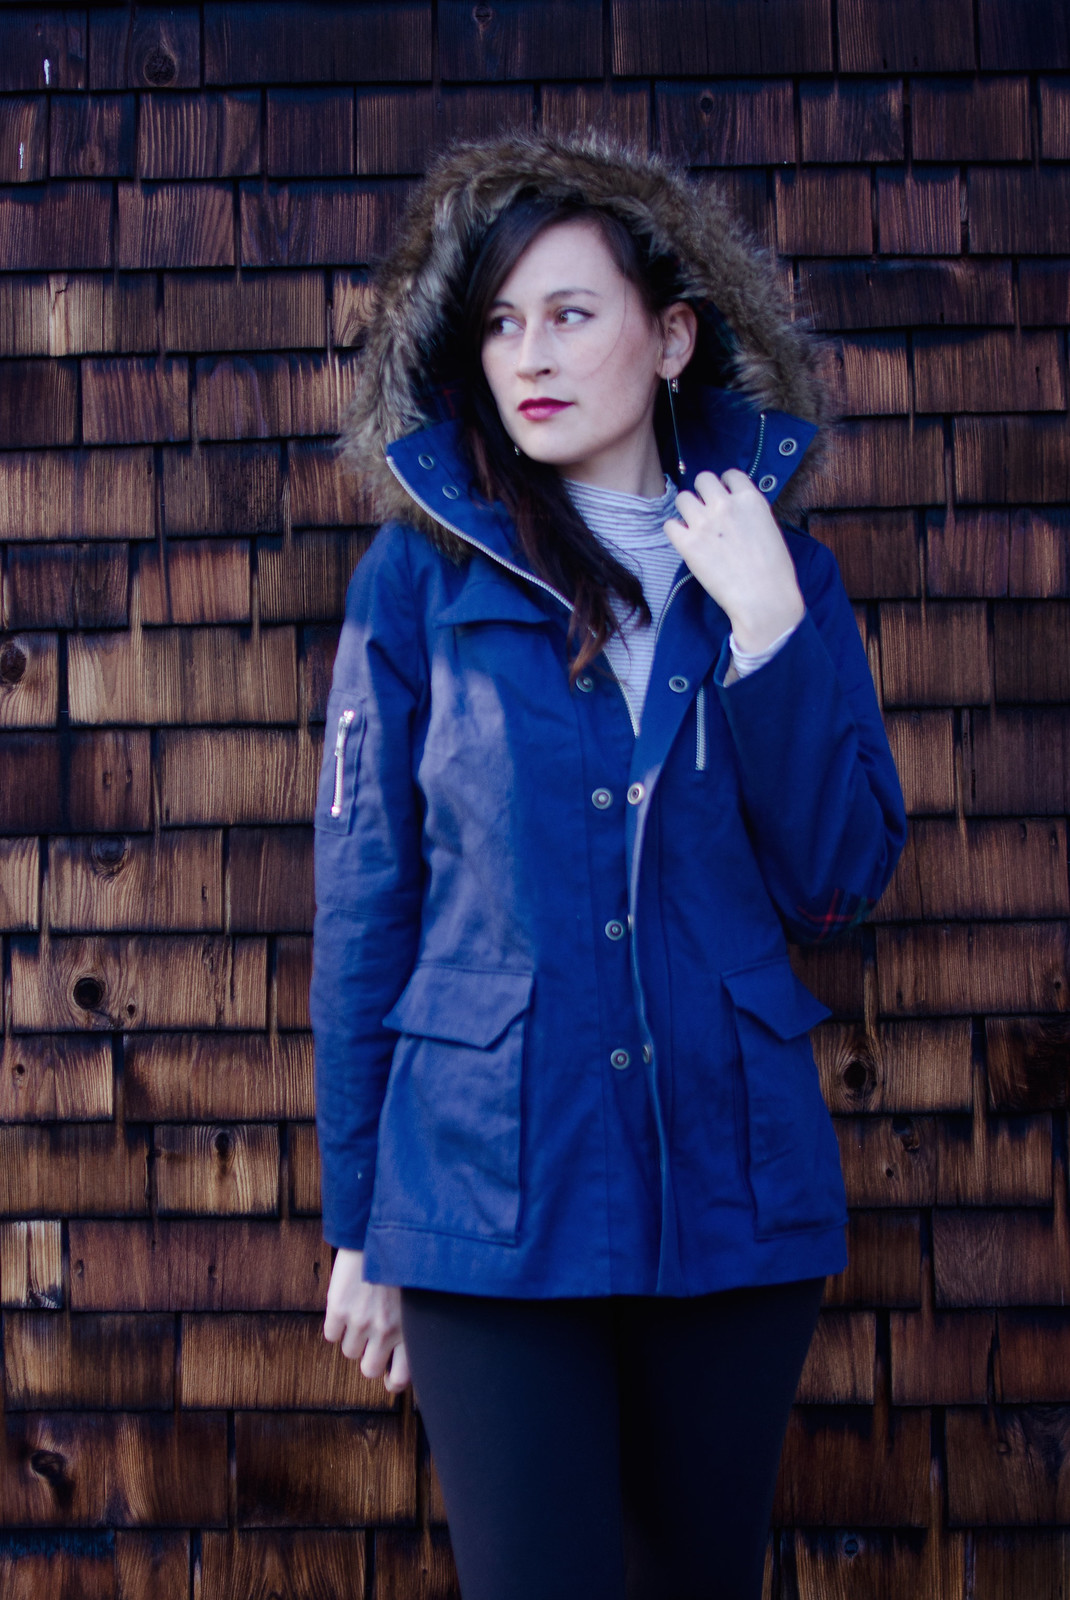
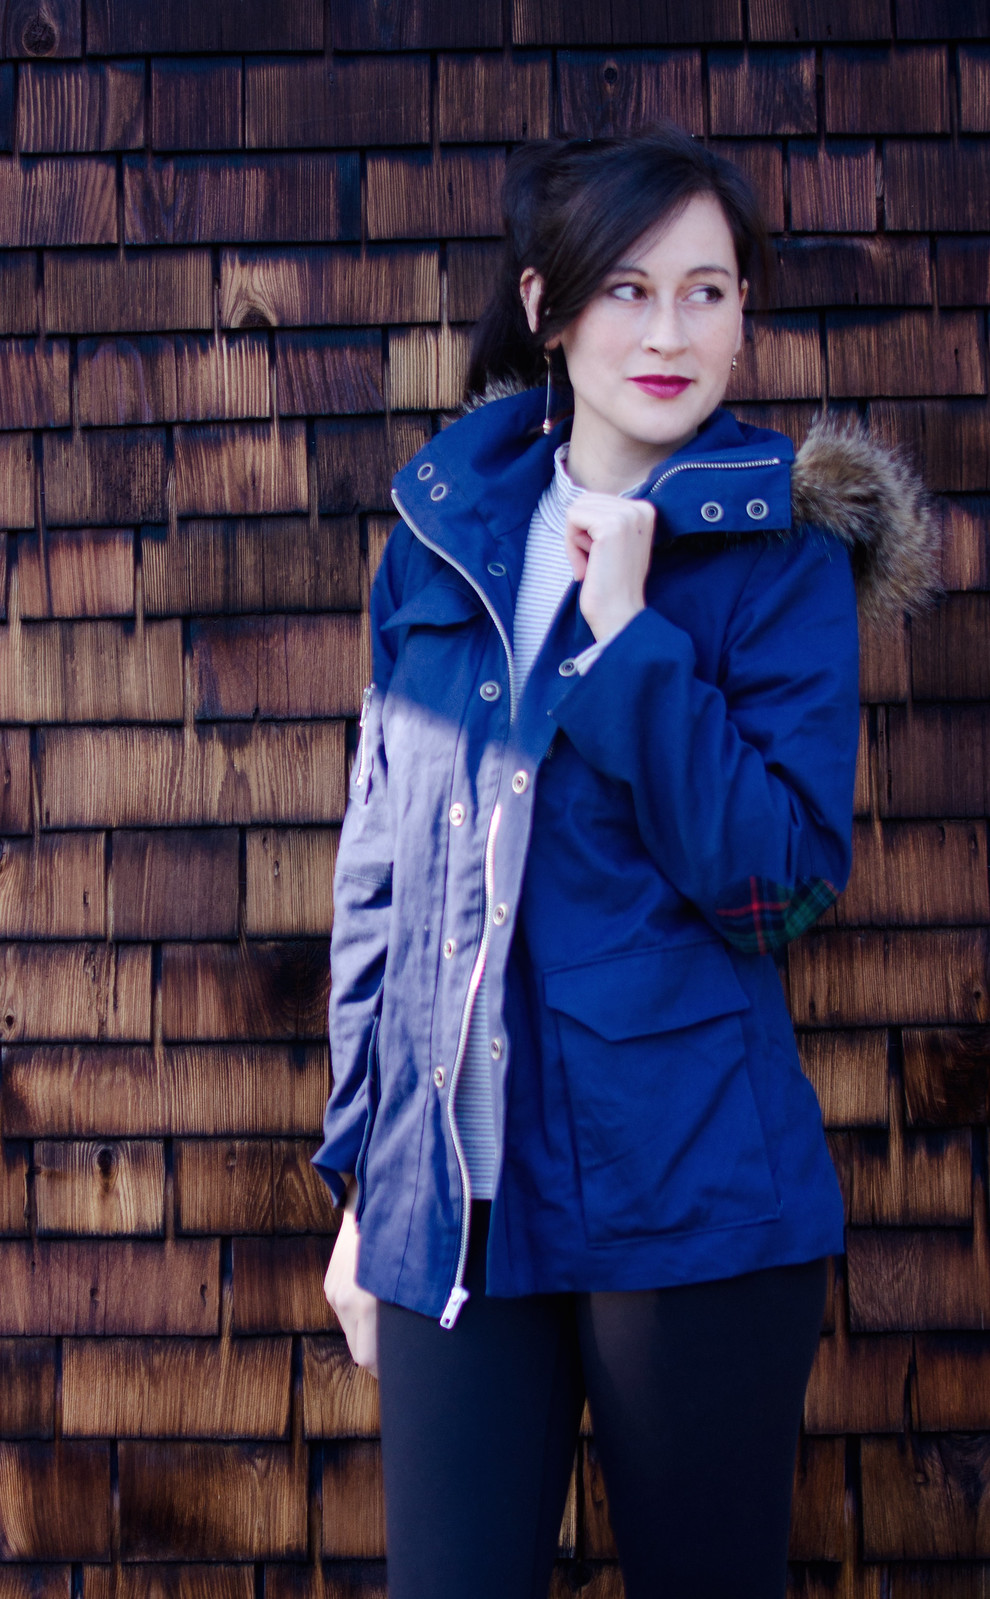
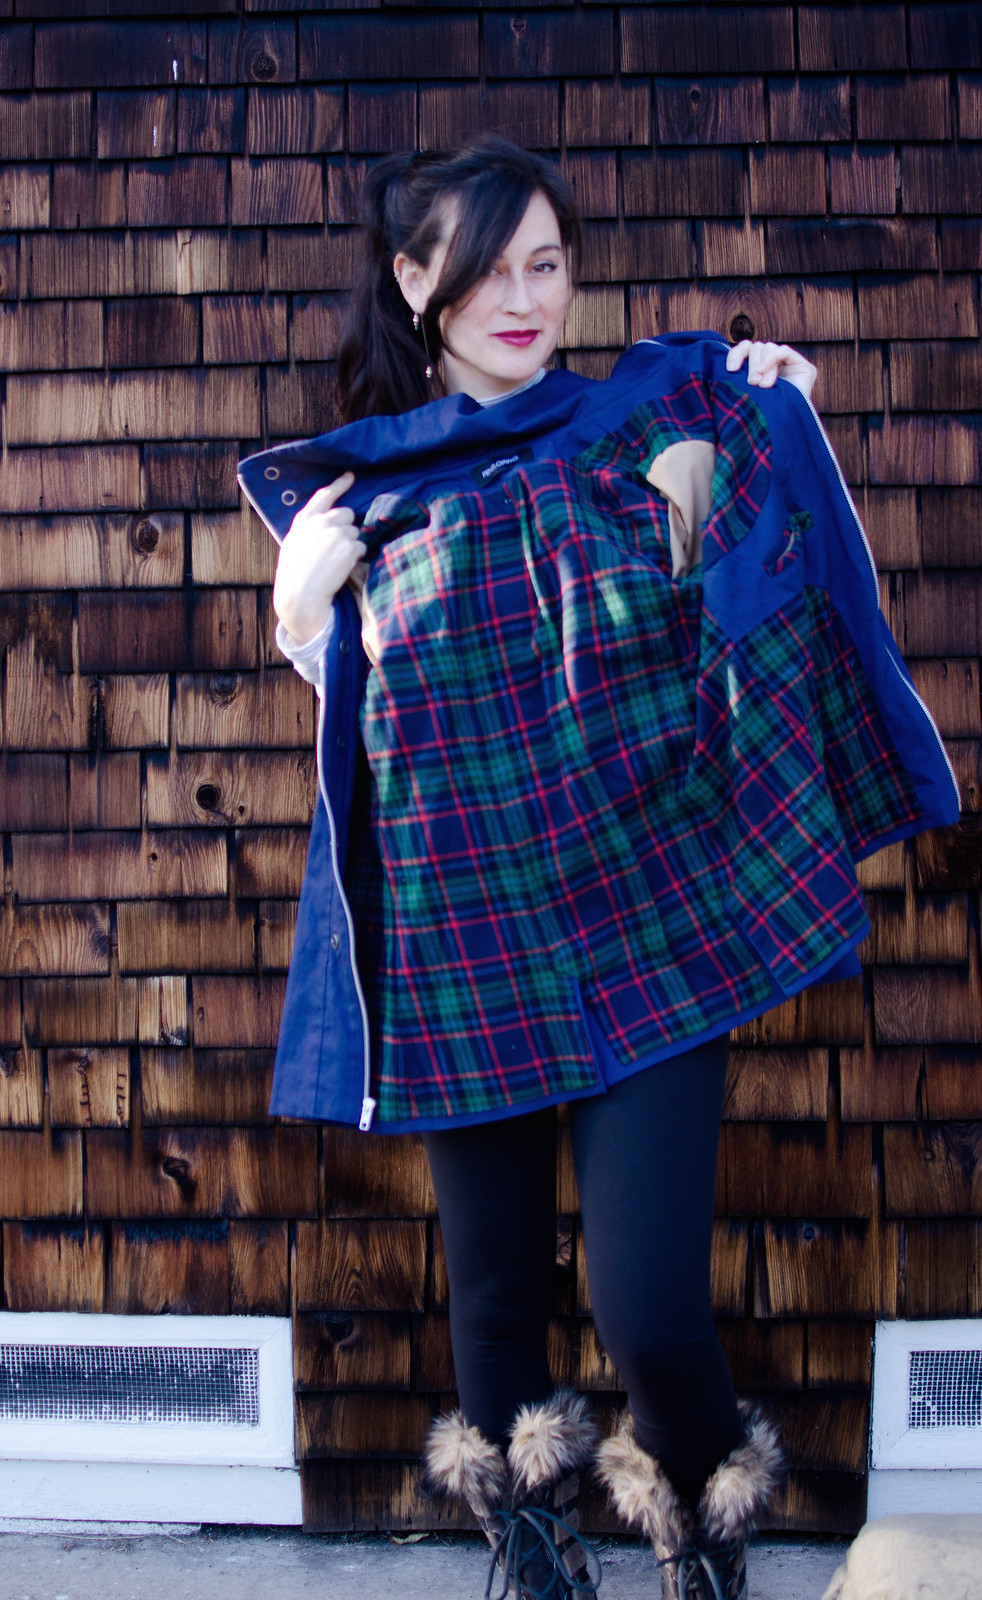
For my jacket, I knew pretty much immediately that I wanted one in a dusty navy color, with a plaid flannel lining and fur-trimmed collar. I got 100% navy cotton twill at Joann’s and I used a plaid flannel from my stash for the lining of the main coat. I was SO CAREFUL with my plaid matching except I completely forgot about it when cutting out my upper/lower pieces on the left side. Somehow I managed to get half the lines matched but it still bugs me.
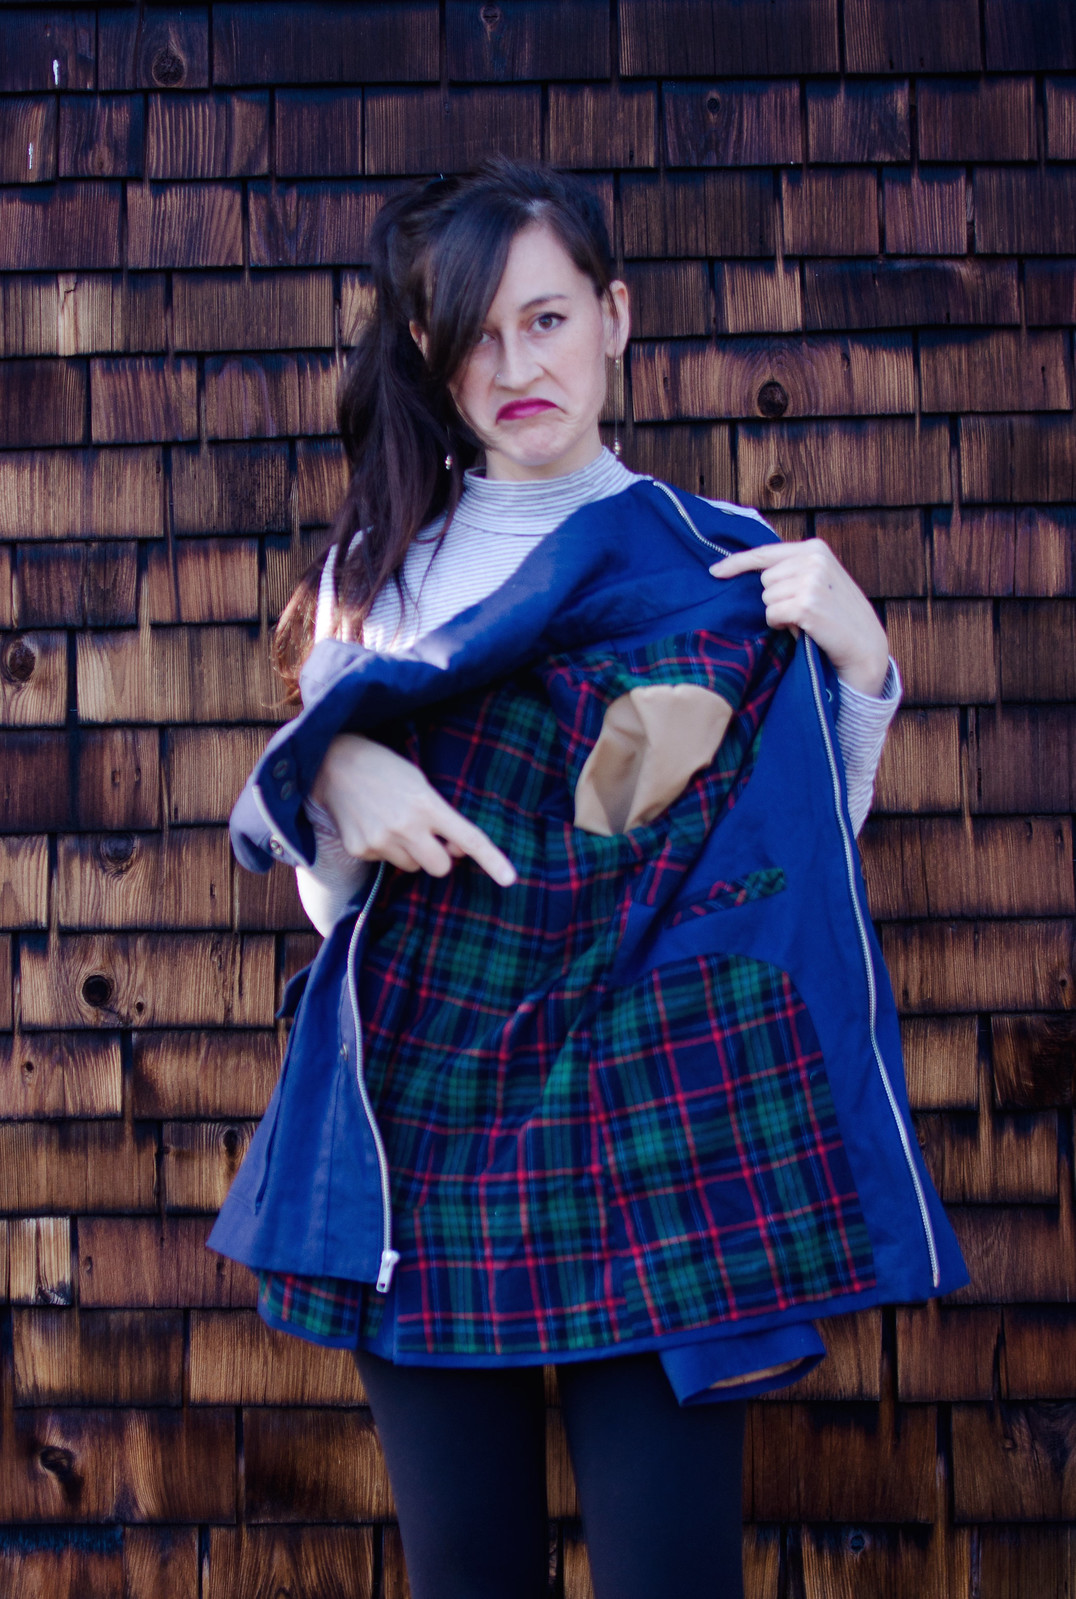
I lined the sleeves with a tan lining fabric from my stash (destashing ftw!) and while they feel great and my arms slide in super easily, I kind of wish I’d used a darker shade so there wasn’t such a stark contrast. Oh well. I also added plaid elbow patches to the sleeves because why not.
Concerning pockets: I think everyone knows I love pockets. Obviously you look at any of her samples and immediately notice “Wow, lots of pockets!” When I realized she’d included instructions for SIX different customizable pocket options I nearly died of happiness and wanted to try one of each. I decided to go with Pockets A (flap pocket on chest), B (zip pocket on opposite side of chest), C (bellows pockets with flaps), E (arm zip pocket), and F (double welt pocket on inside). And believe me, I only left out Pocket D because it would’ve been weird if the large front ones didn’t match.
Also, this isn’t included in the pattern PDF but she did post this tutorial on how to add a fur trim to the hood. I saw her jacket and immediately drooled all over the navy twill I bought. It was a bit of an adventure finding the right faux fur. At first I went to Britex but the only one they had that was remotely the right color family was slightly too greenish and was $75/yard fur with a cutting minimum of 1/2 yard. Fabric.com had the same cutting minimum and I really only wanted like 6″. Etsy was also a fail, since people were mostly selling giant pieces for baby photo shoot backdrops (weirdly specific). Eventually Joanns of all places came through and I picked up this gorgeous foxy faux fur that is super soft and goes so well with the blue. Fun tip: look for a faux fur that has modacrylic in it (mine is 10%). It mimics animal hair growth patterns, is super soft and realistic looking, and self-extingushing. (Thanks Textiles class!)
The snap buttons are from Joanns and were super easy to install. You do need to buy the little attacher thing but it was like $3, and then all you need is a hammer. The zippers were from an Etsy store and I had SUCH a hard time finding a long separating zipper that matched the tiny pocket zippers that I ended up just ordering tiny separating zippers for the pockets. It wasn’t ideal but you can’t tell. Next time I think I’ll just have to be ok with slightly mismatched pocket zippers.
When I bought the pattern I kind of assumed I wouldn’t need two utility jackets like this and would only make another if this one needed to be replaced, but with how well it fits and how often I’ve been wearing this one, I think I’ve changed my mind. I’m thinking of doing an unlined version in the traditional army green. And maybe a quilted ventless vest version in some kind of wool with the shorter collar and fur-less hood.
Great jacket , love all the details and the fur trim is perfect. I didn’t know you could just print one size on the pattern , I’ll look out for that on my next make . Looking forward to seeing the padded one.
Thanks! And yeah, definitely a huge plus. I don’t mind all the taping but the mess of lines drives me nuts.
GAH SO GOOD! It’s incredibly profesh-lady, WELL DONE.
As for the layers: the reason you don’t see it more is it’s a *lot* of work to do on the pattern designer’s end, and the majority of people then never use the function (a lot of people have trouble even just printing a normal PDF). So when you have tons of stuff to do, it’s kinda hard to justify. But maybe as more people learn to use them, that will change!
Thanks!! Ooh fair point. I hadn’t realized it took much more work to add that feature. Oh well, hopefully as more people learn to use them and the process becomes more streamlined it will become more of the norm.
GORGEOUS jacket! It looks so cozy and warm and perfect for a Canadian winter!
Thank you for this introduction to Waffle Patterns! I’d never heard of them and based on how well your anorak turned out, I felt confident in purchasing their straight coat–it’s EXACTLY what I had been looking for and would never have found it!
Yay! I’m so glad! Enjoy!
Your jacket is fabulous. I love everything about it.
Wow…beautiful jacket!!
Gorgeous jacket! So RTW.
Your version is just fantastic!! Love the combo navy x plaid. Thank you for sharing the photos. I really love to see my patterns turns to gorgeous garment! yuki@WafflePatterns
Thank you!! I really love this one and I have my eye on several more of your coat patterns :]
I already have 2 jackets I plan on making, but I think you just convinced me to add this one to the queue! Looks fantastic!
Thanks, I really love it! I’ve been wearing it so much I definitely need to make a second one :]
Very nice! The plaid elbow patches that match the lining are super-cute. Do you like how the waist fits? I suppose it isn’t too hard to add a cord to cinch in the waist if I want. I’m thinking of trying this in a waxed cotton à la barbour. Thanks for posting your thoughts about this pattern.
Thank you! I was actually considering adding something to cinch the waist in a bit but I decided in the end I like how it tapers in slightly at the waist. It fits the style and I think the coat might be a bit too heavy with a cord-cinched waist since it’s fully lined. If you want more shaping I would maybe do a tab with adjustable rings on either side to bring it in more. That way it brings it in without gathering it around the entire waistline. (Like the back of this coat if my extremely unclear description made no sense: http://www.eddiebauer.com/product/women–39-s-yukon-classic-down-jacket/20612114/_/A-ebSku_0069586400000050__20612114_catalog10002_en__US?showProducts=111&backToCat=&previousPage=SRC&tab=&color=100)