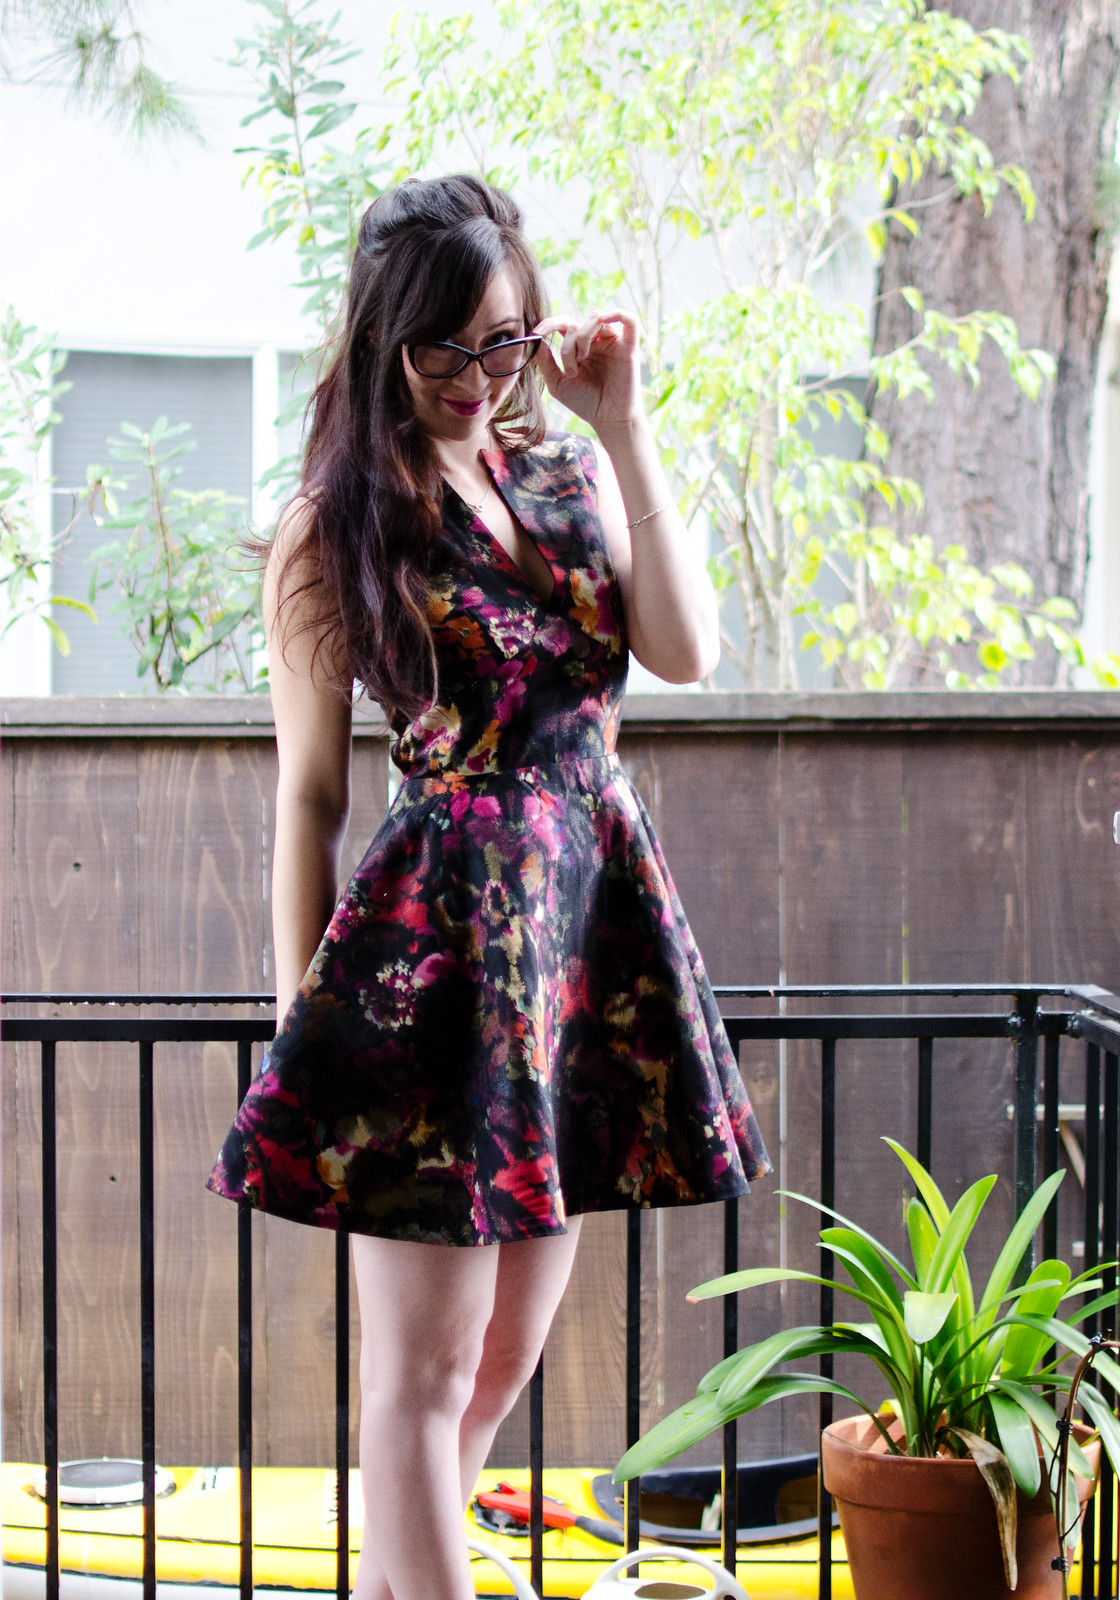
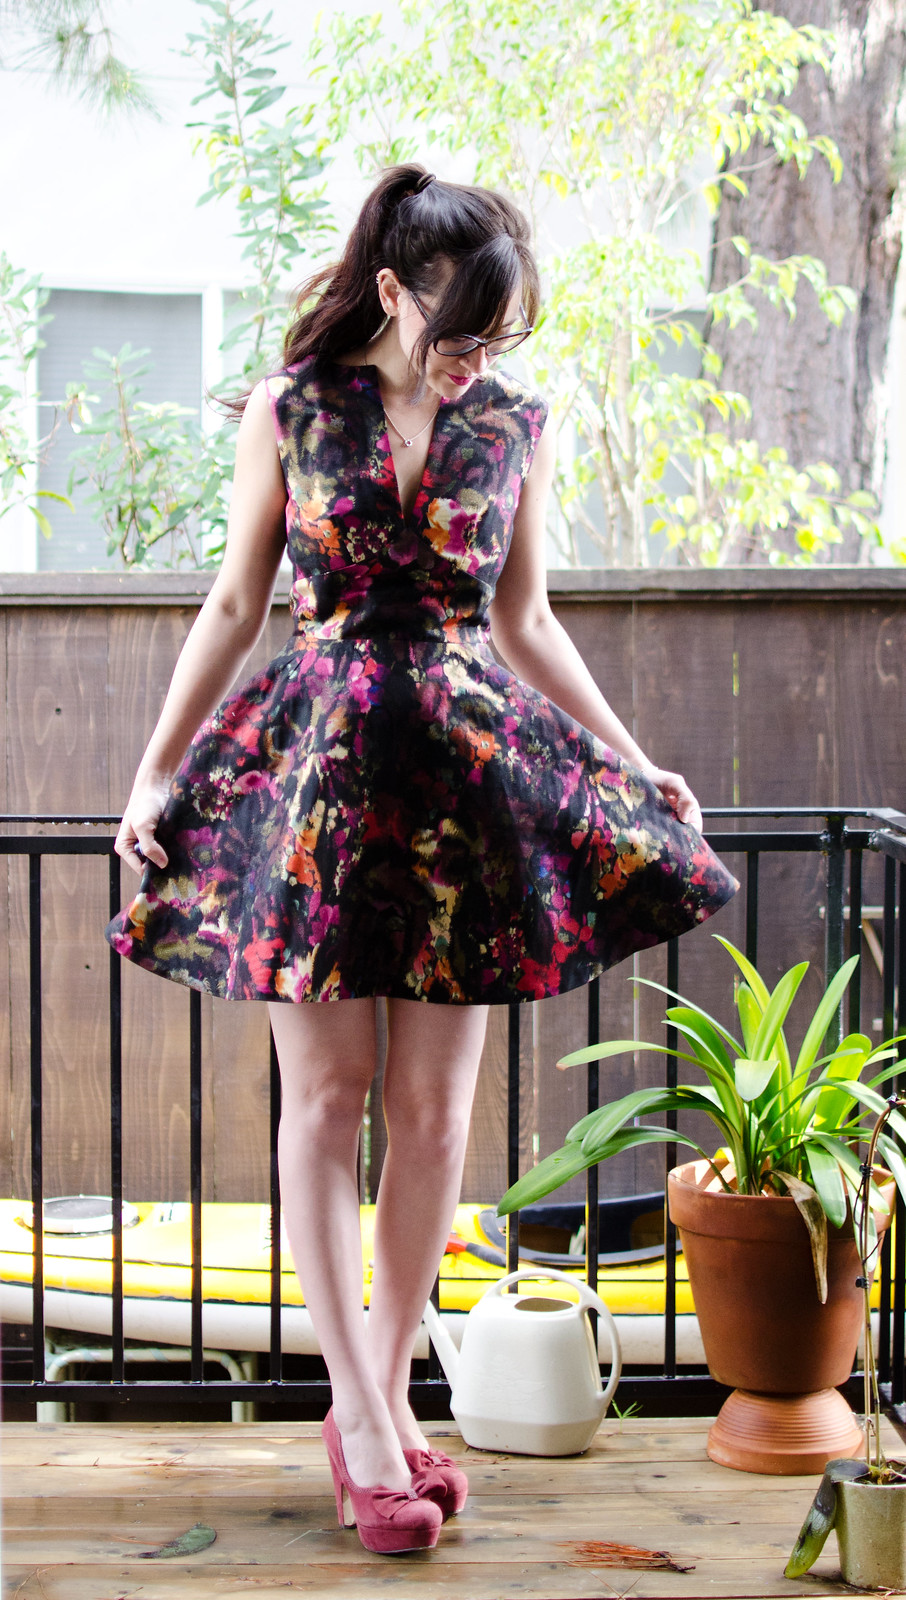
I finally had a chance to take pictures of this year’s Christmas dress! This one was my final project for my pattern drafting class last semester and I’m completely smitten.
I had some trouble getting started because the twee small child in me wanted to take my newfound knowledge of collars and necklines and throw a Peter Pan collar on everything I own. I decided on a bateau neckline and then cut a deep V into it for funsies. It wasn’t in the book but it worked in muslin and I just drafted a facing-shaped piece for interfacing and it stands up just fine.
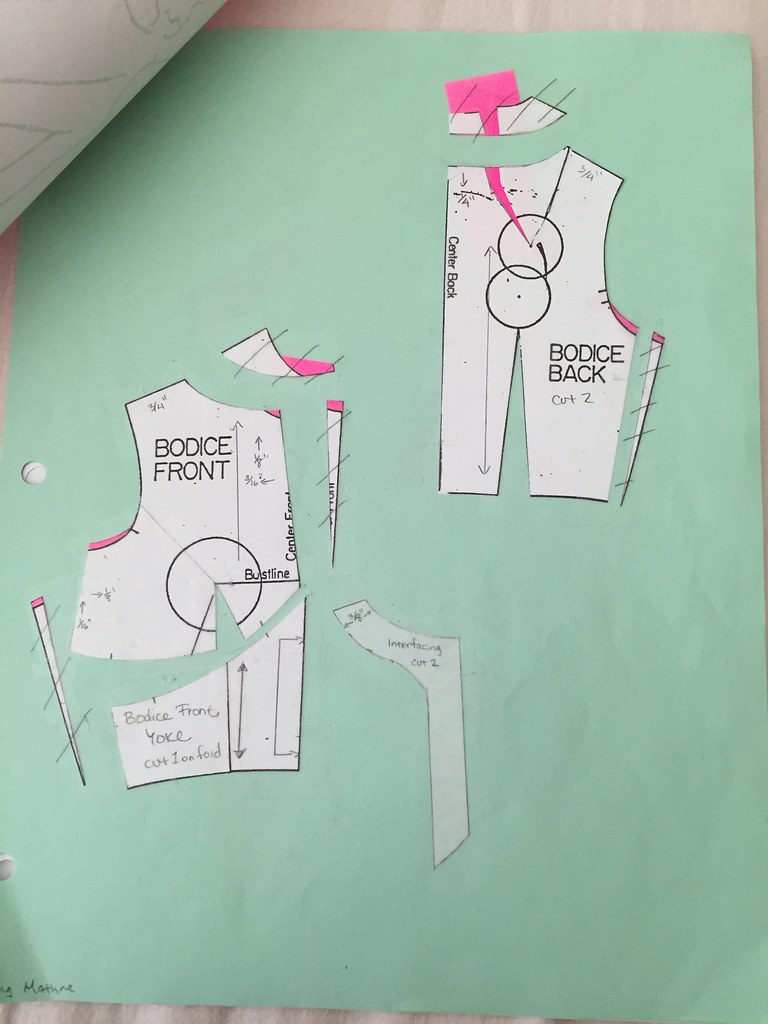
I started off playing around in quarter scale so all measurements on these guys are quarter-scale measurements. All of this stuff can be found in Principles of Flat Pattern Design. (We just started using the Armstrong book in the advanced class and so far I’m equal parts excited and overwhelmed. In a good way.)
I started with a combined waist dart sloper and did an adjustment for no sleeves, bateau neck adjustment, cut a midriff yoke, and then angled the dart slightly for aesthetics. The deep V is just cut straight from the new neckline edge straight down to the bust line.
Now that I’m looking at this again I’m realizing I never closed the neckline dart in the bateau. Whoops. No wonder it gapes just a tiny bit.
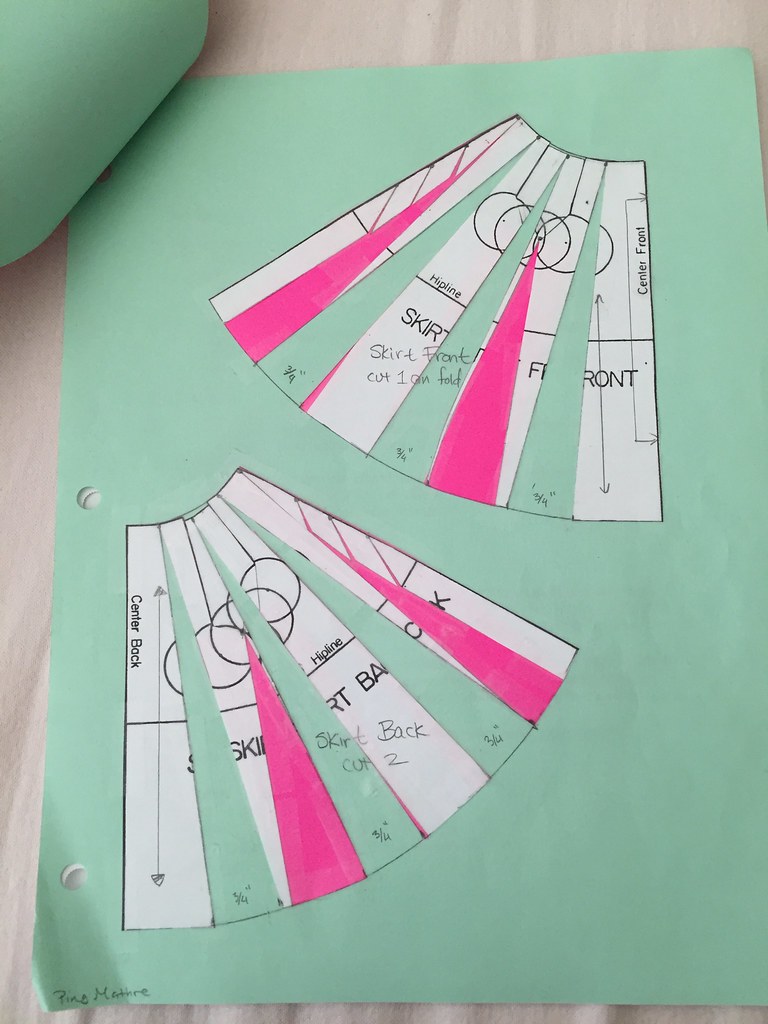
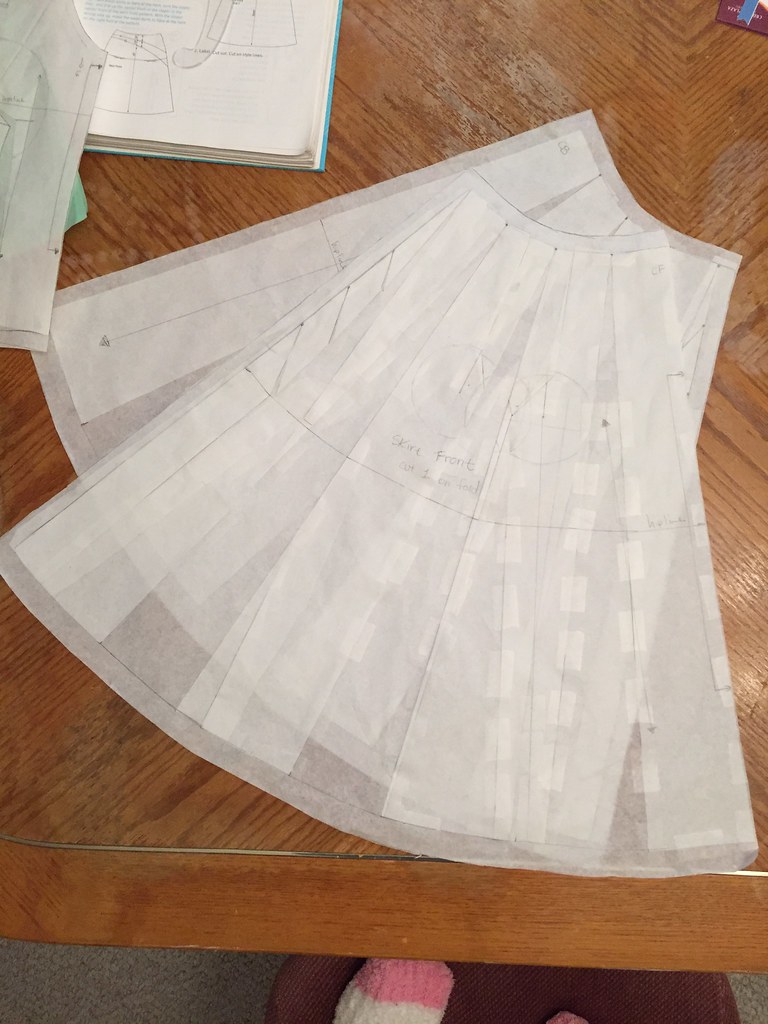
The skirt was pretty straightforward. I wanted something big but clean-looking (no gathers) at the waist, but not a circle skirt. I ended up doing a flared skirt (the pink additions) with extra flare (the green).
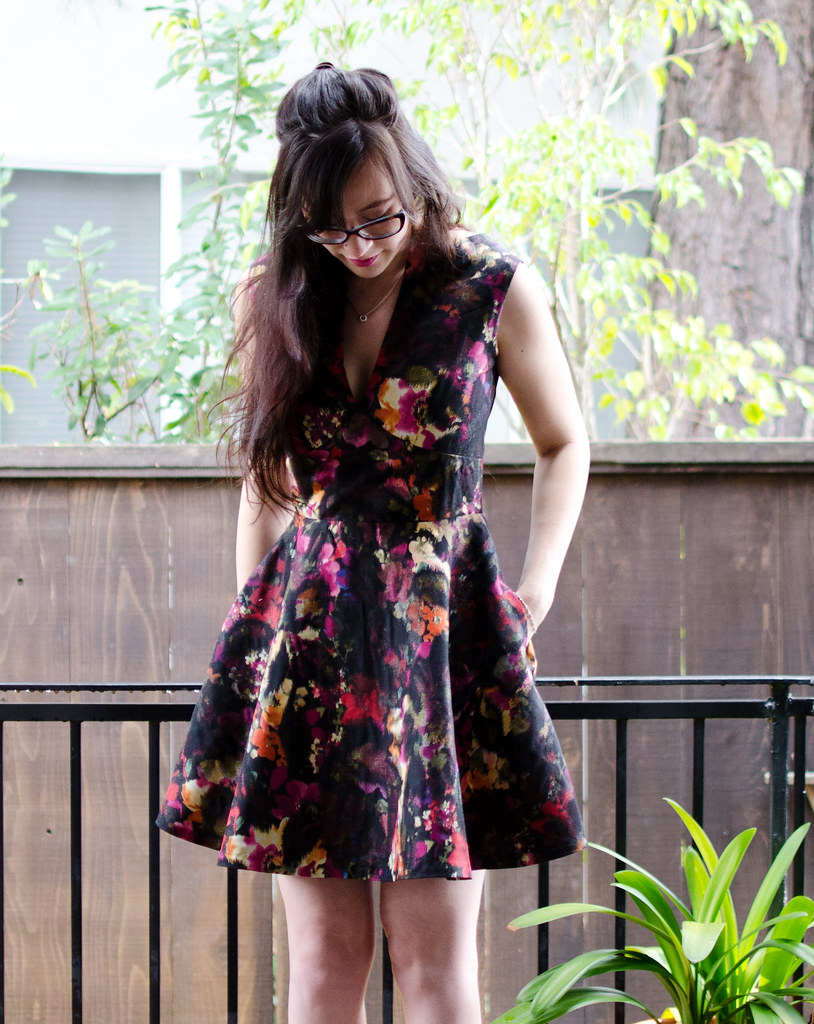
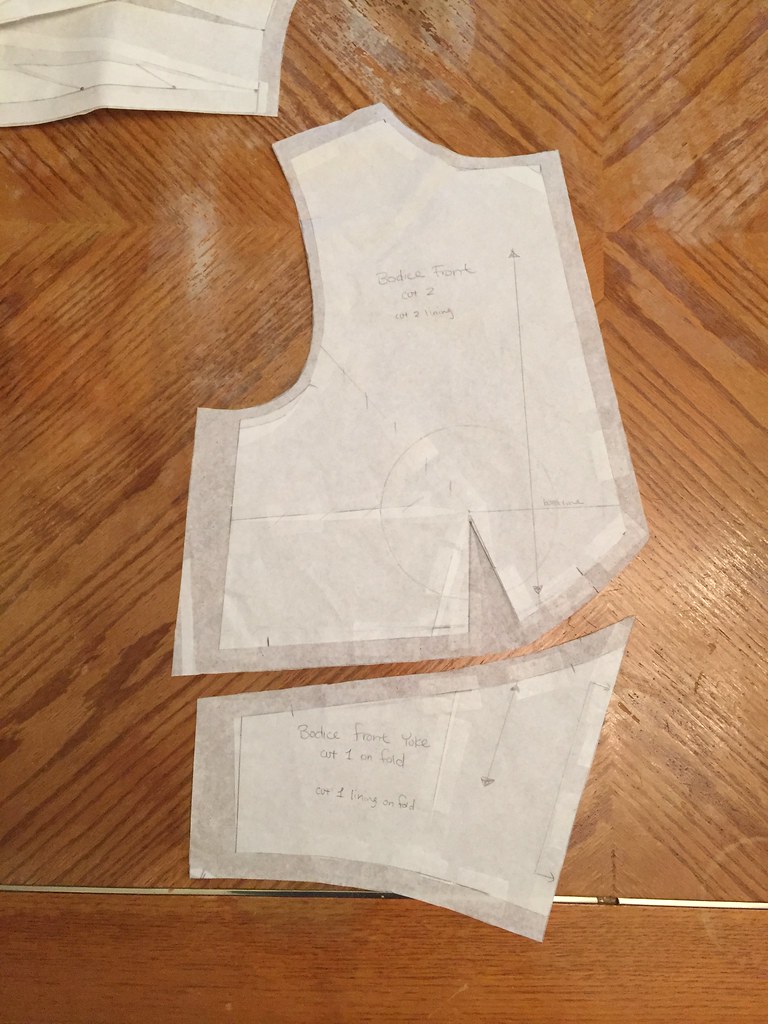
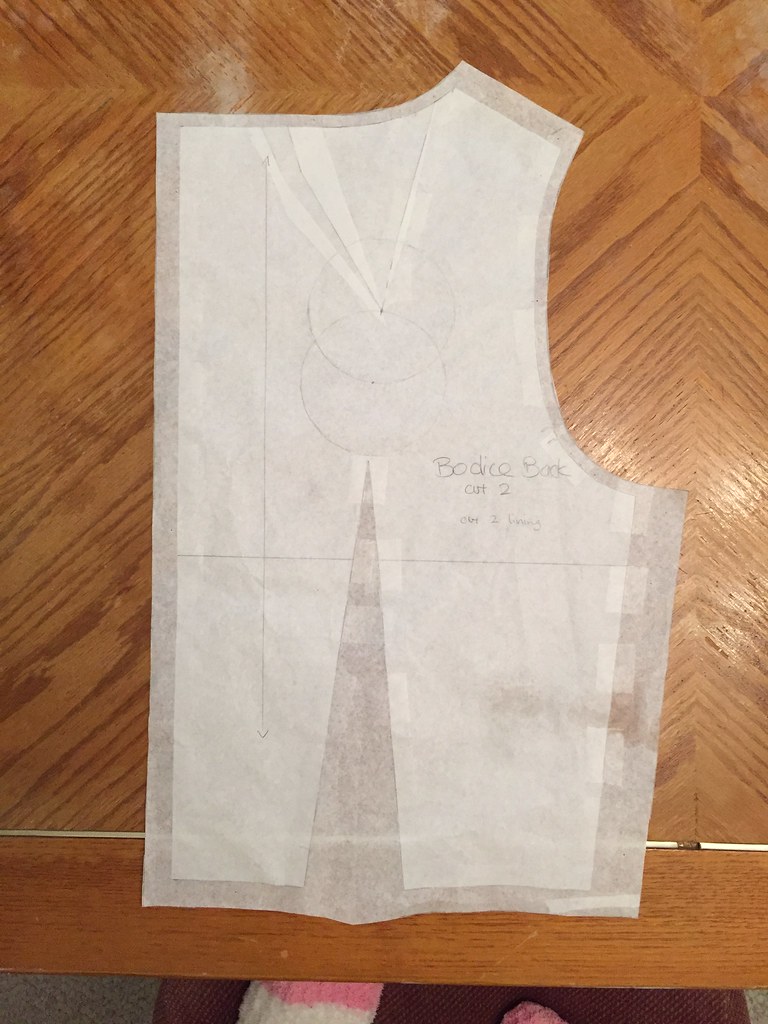
And then here’s what all the pieces looked like with seam allowances added! I did slightly tweak these after I took these photos though. I had forgotten to do the no-sleeves adjustment on the bodice back, and my hem allowance was too long so I changed it from 3/4″ to 1/2″. I also ended up drafting a pocket piece and added hidden pockets to the side seams of the skirt (as you can maybe see in photo #2 up there).
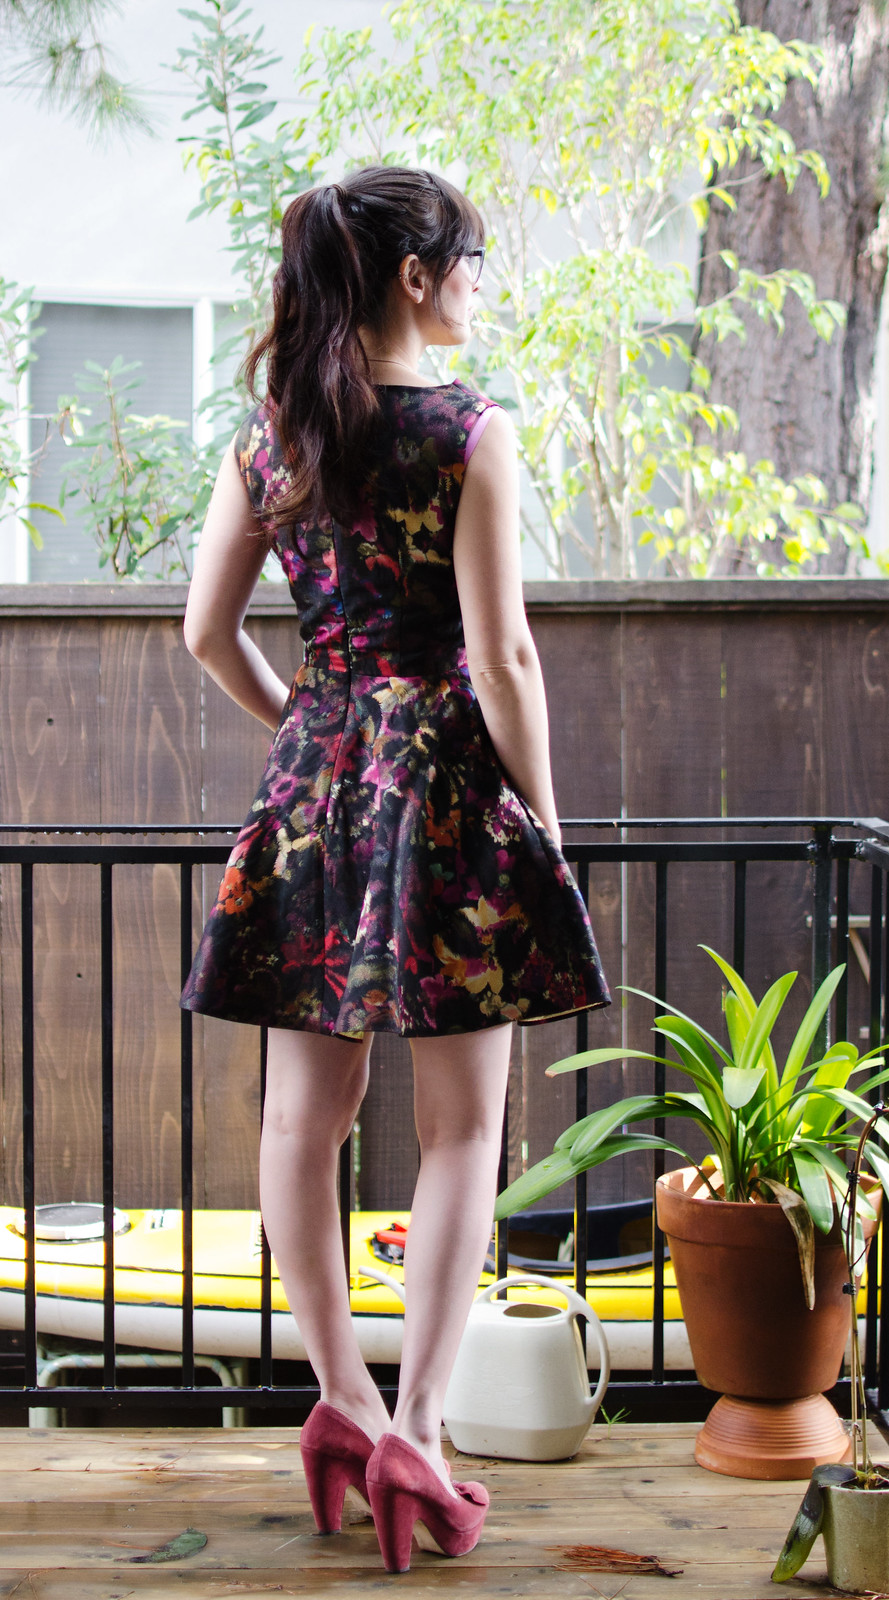
I also liked the idea of an invisible hemline so I used stitch witchery on the hem and then hand-stitched some gold bias tape (you can kind of see a tiny sliver of it in photo #3).
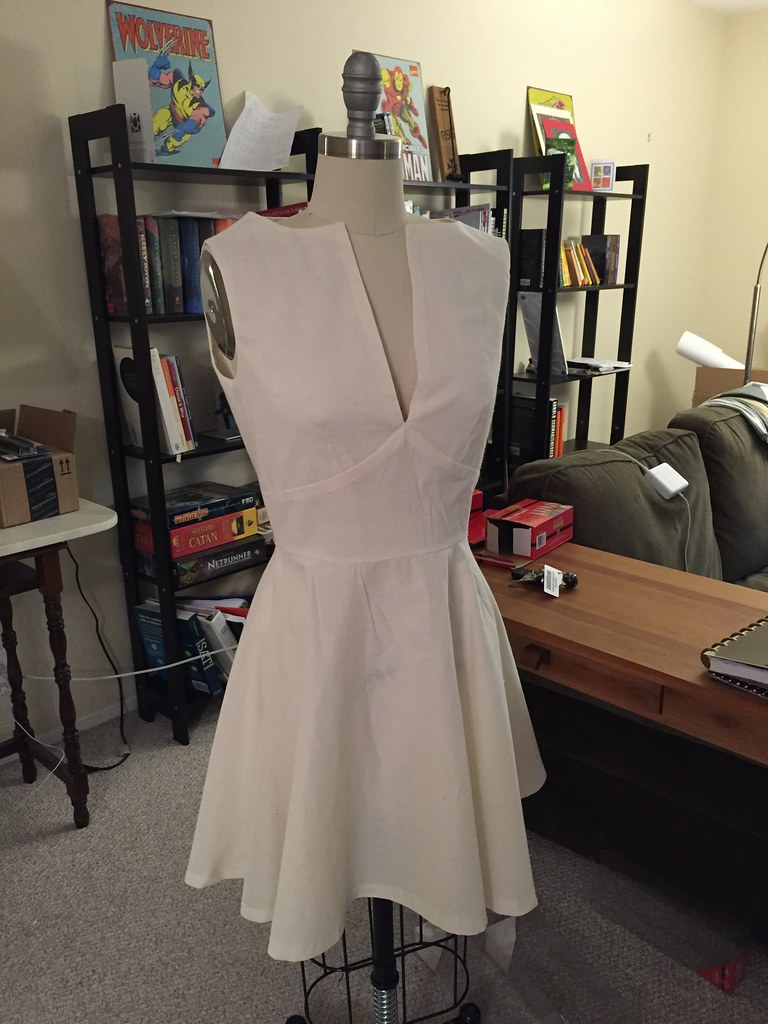
And here’s the first version sewn up in muslin! This was before I made the aforementioned tweaks to the pattern so you can see some slight armhole gaping in the back and definitely in the back neckline. (Although to be fair, this dress form is a bit smaller than the ones we use at school.) You might also be able to spot some of that annoying hem pulling that happens when your hem is too wide and sewing it causes drag lines. I spent WAY too long trying to iron it flat.
Sidenote: this assignment was to make a garment that fits the dressforms at school (which are size 8s from 1997) using a Butterick sloper size 8. It was sheer luck that I happen to fit my dress, so any slight fit issues are because it wasn’t actually meant to fit me!
And that’s it!
(I actually really like the way it looks in cream and might have to make another one of these in some sort of a cream linen or crepe!)

Very pretty fabric and dress! I love the midriff yoke and the deep V
Beautiful work!
Great job! I absolutely love the design and admit I’m a bit jealous of your skills. 😉
lovely dress. It’s neat to see the process behind it- so detailed! And what a good idea to work in quarter scale at first.
fabric is awesome, dress design is awesome – win!
The midriff yoke is so flattering! I might have to steal that idea 🙂 love the finished dress and agree it looks great in cream as well!
Looks great , I love the way the bodice fits , so flattering , the slash neckline is perfect .
Gorgeous! I like it in cream as well….so pretty!
This dress is absolutely lovely! I like your two two versions but your choice of fabric for Christmas dress is sublime. Congratulations!