
As promised, here’s a tutorial of how I made my navy and red Peggy dress from the Lady Skater pattern. I used thick knits for this but if you decide to use a woven fabric you can still apply the same general technique for the paneled skirt as long as you start off with a similarly shaped pattern meant for wovens.
What you’ll need:
-the Lady Skater pattern
-fabric as indicated by the pattern
-about an extra half yard of contrasting fabric
-two 1″ buttons (Peggy’s dress has gold ones)
-thread to match both fabrics
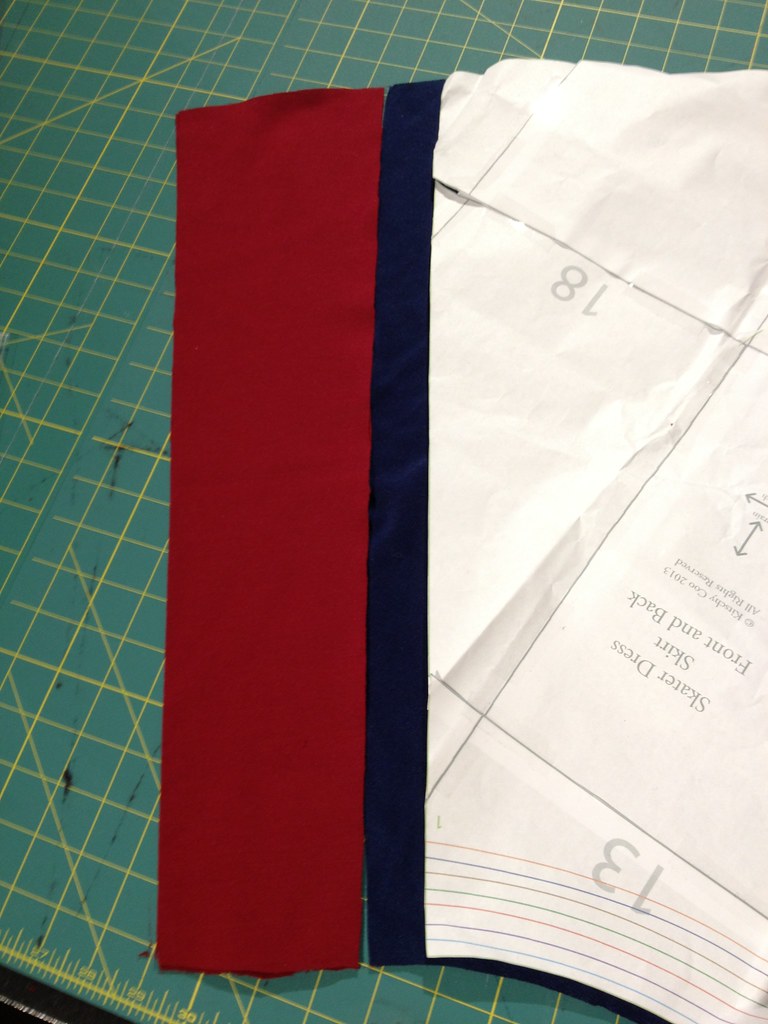
I started off with the skirt piece. Since I was using a thicker knit with less stretch than the Lady Skater pattern calls for, I cut about an extra inch past the skirt piece. I then cut a rectangle in red the same height as the skirt piece and about 5-6″ wide, depending how subtle you want the red panels to be.
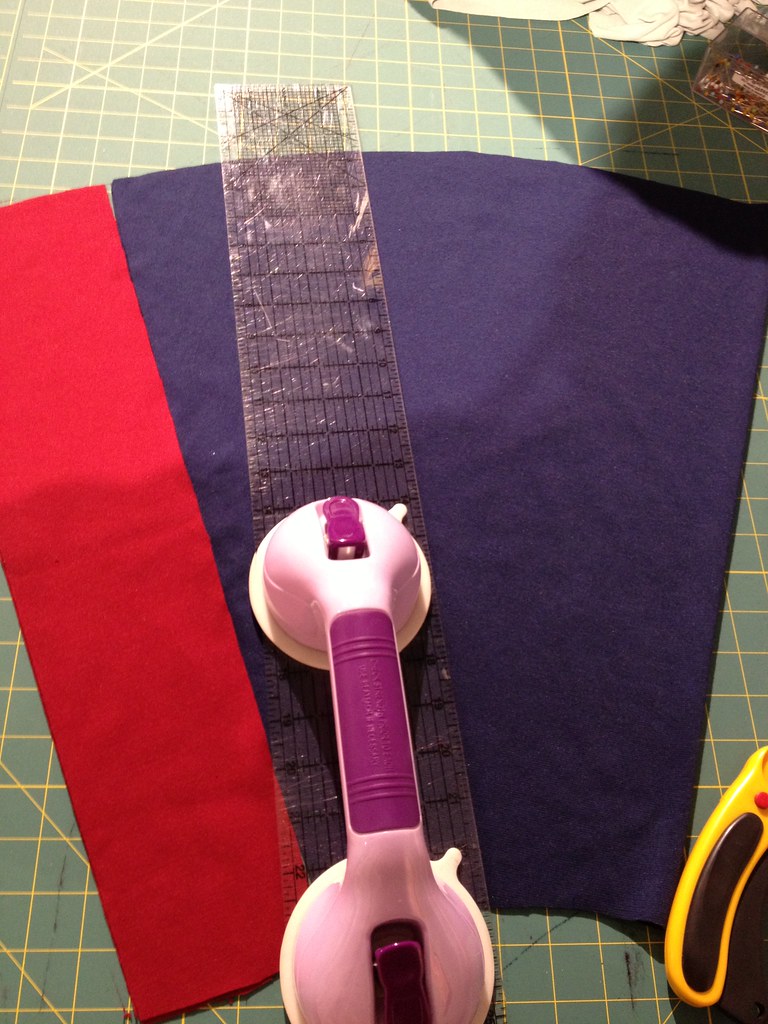
The photo on the right shows the ruler marker where I cut the navy fabric. I sort of eyeballed it. The navy fabric is one half of the skirt, cut on the fold.
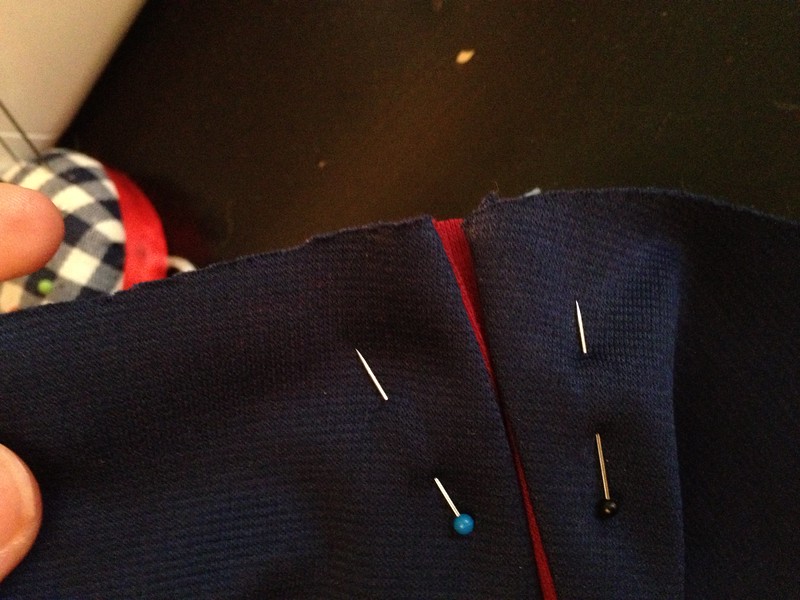
Once you’ve cut slices off the navy fabric, rearrange the panels so the red rectangle is inserted between the blue slices. 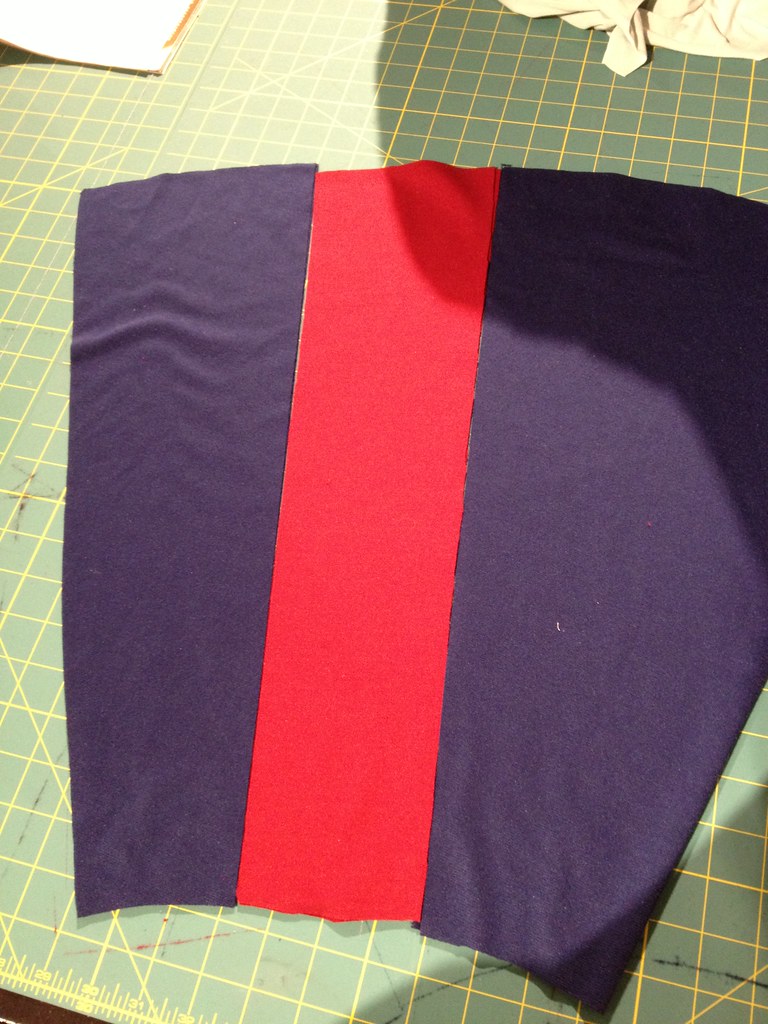
When you’ve sewn all the panels together, they should look like this. Remember, this is still just one half of the skirt. Now go back and do the same thing for the back of the skirt.
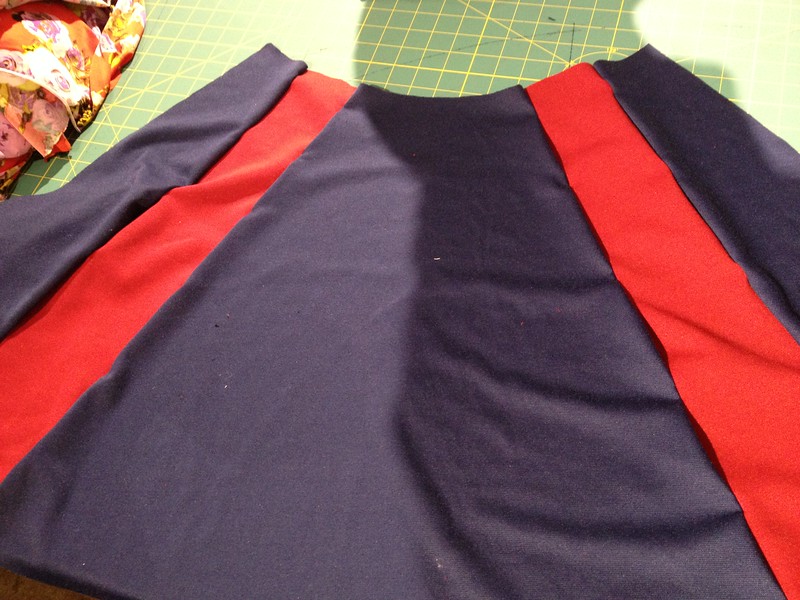
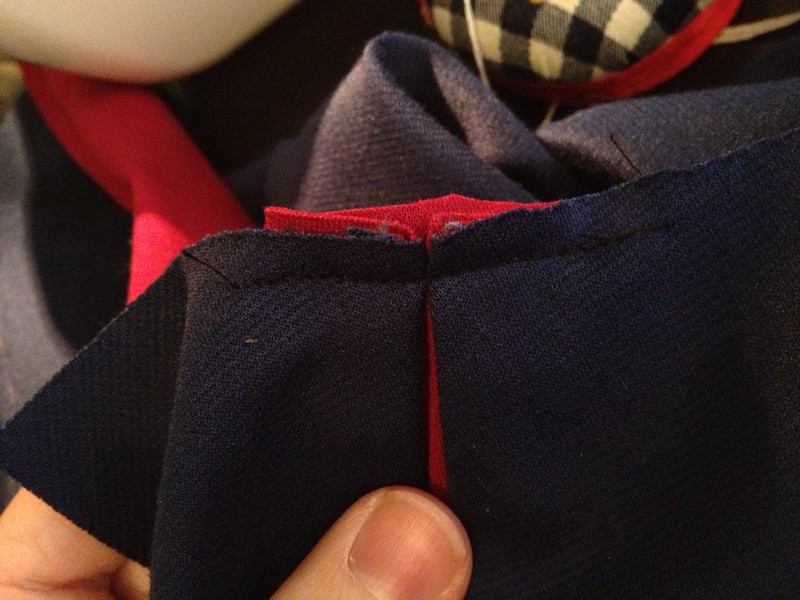
This is the fun part! You’re going to make a single box pleat at each red rectangle as shown. Baste it in place and treat it as normal.
The rest of the dress is made mostly according to the pattern. The only changes I made were to omit the neckband and just folded it over instead. Ditto the sleeves.
I also made the waist button tab thing that I forgot to photograph but it was pretty simple to make. I measured the distance between the two front pleats, added about 2″ for seams and so it would lie past the pleats, and then cut two long ovals that length and 2.5″ tall. I sewed them together, leaving 3″ open on one of the side seams, and then turned the whole thing inside out and top-stitched around it, closing the open 3″ in the process. It’s attached to the dress by the two decorative buttons in the front.

And there you have it! A Lady Peggy.
This is all kinds of awesome. I will be trying this as soon as I find suitable fabric. Thanks for the tutorial!
Thanks so much for sharing this tutorial! Love your Peggy dress and would love to have a go at making it (I just need to find such fabulous fabric…) 🙂
I can imagine so many applications of this technique. Thank you so much for the tutorial!
What a creative way to change the pattern. I love that you were able to see this version in the Lady Skater, instead of just seeing the Lady Skater.
Love your version of the Lady Skater. So creative! Thanks for the tutorial, you have made it look so easy, makes me definitely want to give it a try.
Let me know if you do! I’d love to see :]
I am a little confused. Does the red fabric increase the intended yardage for the skirt, or did you subtract the difference? When you say you eyeballed cutting the navy fabric, I am not sure if you subtracted the difference, or just reduced the slight bulk?
Hi Joan! I’m not completely sure if I understand what you’re asking but the red fabric is extra, added onto what the original Lady Skater skirt calls for. I basically cut the Lady Skater skirt as intended by the original pattern, then cut slices off of it and added extra red panels into where those slices were made. The Peggy dress skirt ends up being fuller than the original Lady Skater’s skirt because of the extra red panels.
Let me know if that doesn’t answer your question!
Geat idea and your execution was perfect! Love the look!
Such a beautiful dress! I love the contrst with these two fabrics!
Thank you a lot for the tutorial!
I like the dress, for me this gives me a little Snow-white vibe:
http://images2.fanpop.com/images/photos/6400000/Snow-White-Wallpaper-snow-white-and-the-seven-dwarfs-6475323-1024-768.jpg