Sorry, I suck. In my defense, grad school!
Anyway, I took a break from all the paper writing to make myself a handy dandy little camera bag. Well, not the bag itself, but the inserts. I realized I’ve been terrified of leaving the house with my very obvious black camera bag so I’ve just been leaving my camera at home, which is of the lame.
I had been eyeing drooling like an idiot over the bags at Kelly Moore and Epiphanie, but decided I would rather buy a second lens than a pretty handbag. And then it occurred to me that it really wouldn’t be that hard to buy a handbag and make foamy camera-safe inserts to put inside.
So this morning I shuffled off to Goodwill and picked up this lovely Liz Claiborne bag for a whopping $6.49.
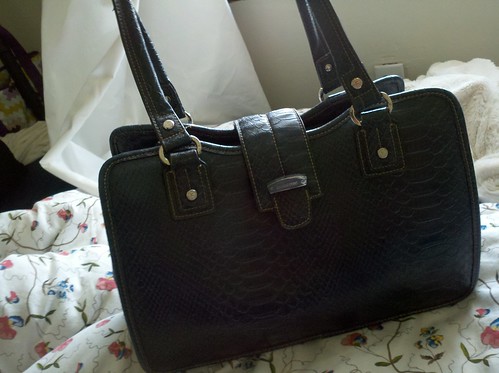
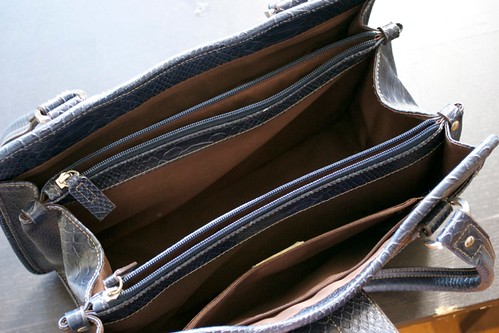
It has many many compartments, which I love. Plus the middley compartment where the camera will go has a structured rectangular bottom. I wouldn’t recommend trying this with a bag with a floppy bottom.
I sort of got over-excited and forgot to take pictures of the sewing process, but it’s pretty simple.
What you’ll need:
-A purse big enough to fit your camera with room for cushioning; if you want to fit extra gear, pick a bigger bag
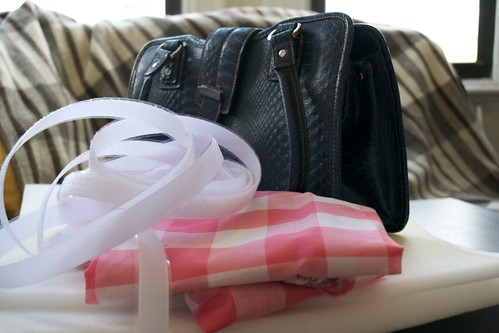
-1 yard of fabric; I chose cotton, just make sure it’s not scratchy
-1 yard of velcro; do NOT buy the stick on kind, it doesn’t actually stick and you can’t sew it. If you do buy this kind, I recommend you get some kind of fabric glue too because you’ll need it
-1 foot of 1/2″ foam; the foam I bought was 18″ wide
-1 1/2 feet of 1″ foam; also 18″ wide
Instructions:
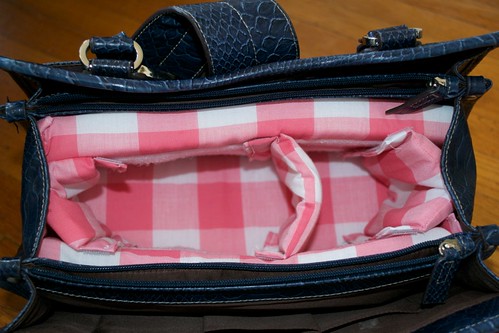
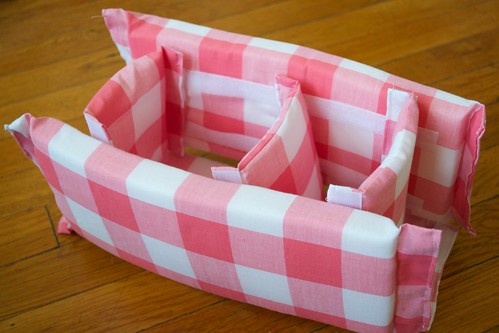
Measure the bottom of your bag. Cut a piece of the 1″ foam to those measurements. Mine was 11.5″ x 5″.
Put the cut foam on the fabric and measure out a piece of fabric that will essentially cover the foam like a pillow case. Sew all of the raw edges and tuck the finished insert in the bottom of the purse.
With the bottom insert in place, measure from the top of it to the top of the bag or as far up as you want the side inserts to go. Mine were 4.5″ x 11″. Cut two pieces of 1″ foam to these measurements. Cut out fabric similar to the first insert. Cut two pieces of velcro (the soft side) about 1″ shorter than the width of the side pieces and sew them in place on the same side, a few inches apart. Then do the same for the other side insert. Sew the pillowcase together for each.
For the middle ones, you’ll want to use the 1/2″ foam. With the bag pulled open, measure across the side inserts (I got 4″). When you cut the fabric for these, add an extra inch on either side for the velcro tab. Make the pillowcases for these the same way but just sew down an inch into the fabric on either side. Attach the velcro to the same side on each tab. I made three of these.
The best part is, you can remove the inserts and you’ll have just a normal purse!
You’ll notice I forgot that the sides and bottom didn’t need velcro so there are velcro tabs anyway.
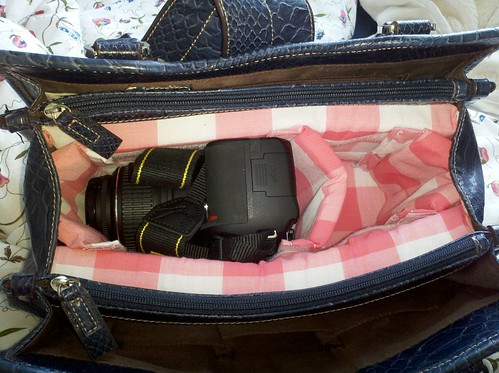
Look how snuggly it looks! (The extra space is for a new lens which is arriving tomorrow! -squee- )
Thanks!
Love this idea! It’s on my list for the weekend! My mind will finally be at ease with my camera safely packed in a cute bag!! 😉